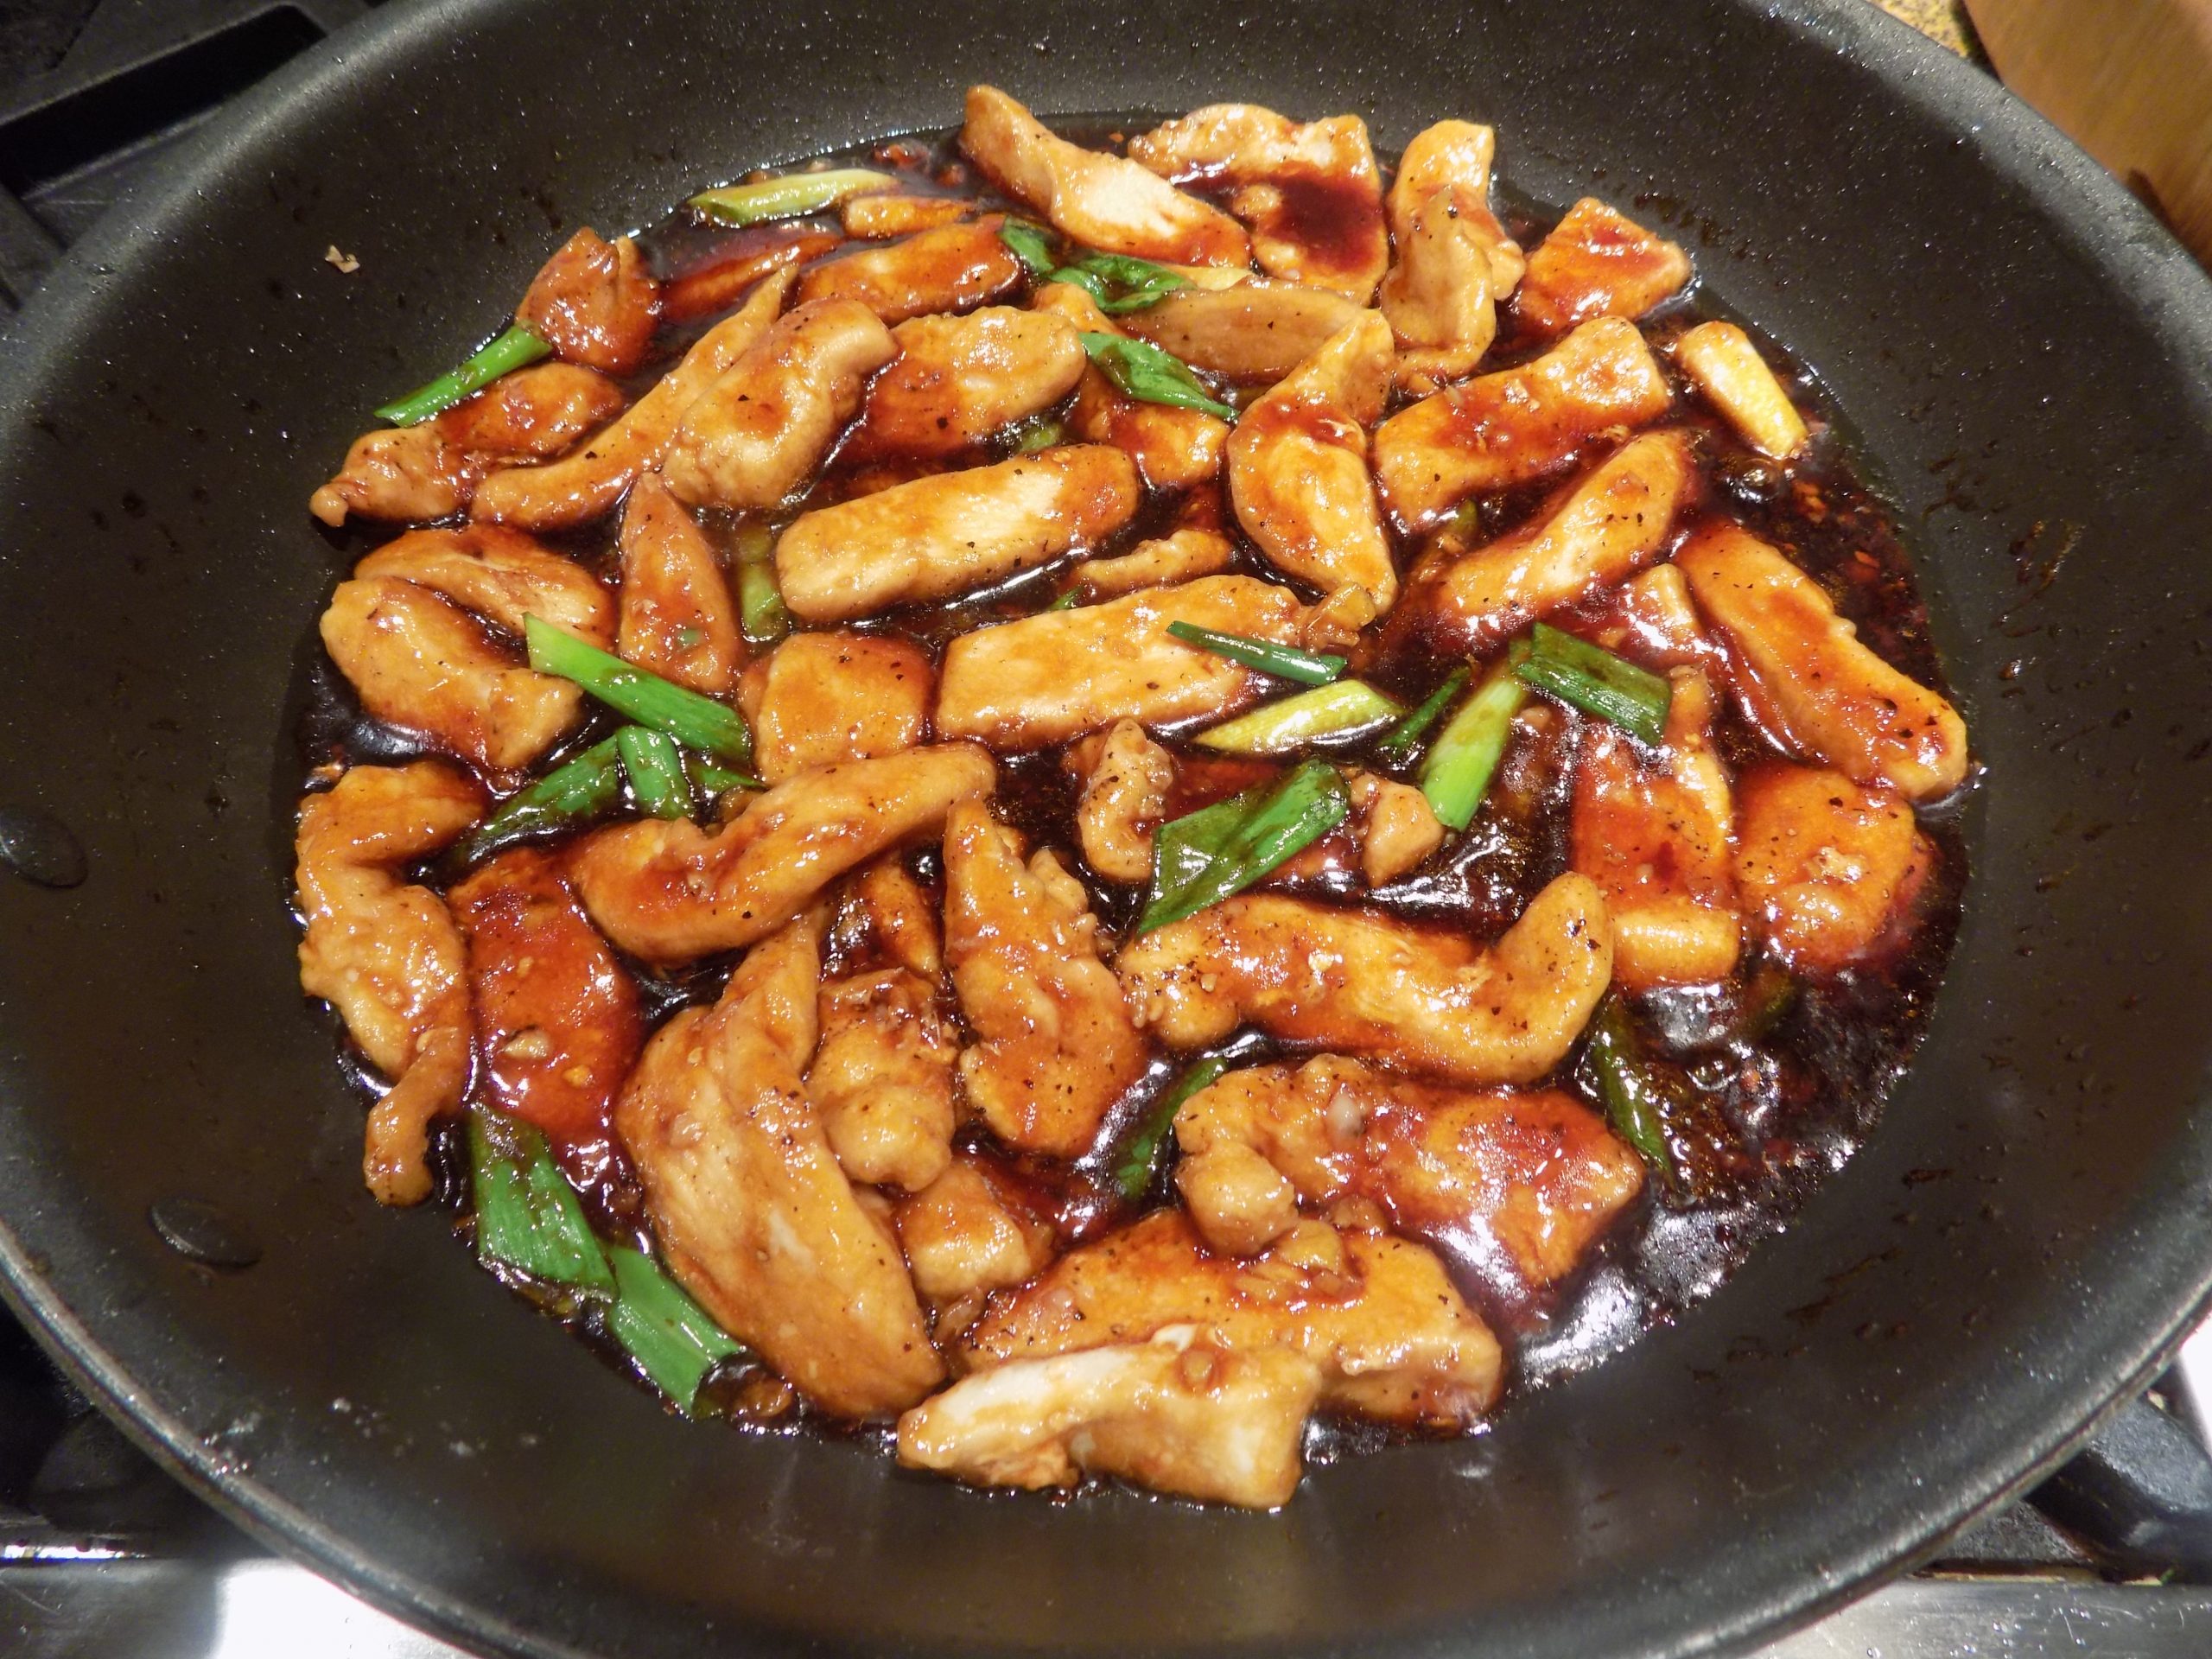
And yes, I know. White rice is not the best choice for a nutritious and low carb side dish. But frankly, there are just those culinary occasions when white rice is the best choice. Taste wise. And one of those times happened a few nights ago. (I won’t bother you with what I had prepared to go on the rice because it was one of those times I hate to admit that I had any hand in preparing, much less creating said dish.) But back to how this recipe came about.
I thought we would be enjoying leftovers of the failure (grrrr) I admitted to above, so I made sure to steam plenty of rice for the next evening. (I believe the saying you are attributing to me at this point is “hoisted on my own petard”.) Anyway, I had lots of cold steamed rice and now what to do with it? Simple really. Make fried rice. So, that’s exactly what I did!
Now I already have a great recipe for fried rice on this site. But truly, can you ever have too many recipes for a good thing? I didn’t think so either. Plus, I wanted a fast and easy recipe. So, with a few very minor changes to the recipe for Fried Rice I found on gimmesomeoven.com, I had redeemed myself. At least in my own eyes. (Mr. C. actually thought my self-proclaimed failure was just fine. But then he loves me.) And of course, I am always my own worst critic. Regardless, the Salisbury steak I produced the other evening was not worthy of your high standards! But I would offer up this recipe to anyone, because it is easy to prepare, contains ingredients that are easily obtained, and it tastes better than any fried rice you can order in a restaurant. At least, better than any I have ever eaten in a restaurant.
So, next time you have leftover rice, use this basic recipe to create your own special fried rice. Have other veggies on hand, use them. Want to throw in meat or seafood, go for it. This is a very versatile and adaptable recipe. And ever so delicious.
As always, have fun playing in your kitchen. Since our kitchens are the heart of our homes, make sure every member of your household feels welcome to help with meals in some way. Even if you are met with resistance for chores such as setting the table, clearing the table or emptying the dishwasher, members of your family will still feel appreciated if you remember to thank them. Thank you is such an easy way to show love. And especially with children, it is a good life lesson. If you learn to say thank you at an early age, it becomes a habit. And a habit that leads to respect. And if you want your children to receive respect as an adult, they must first learn to give it freely.
Peace and love to all.
2 T. unsalted butter, divided
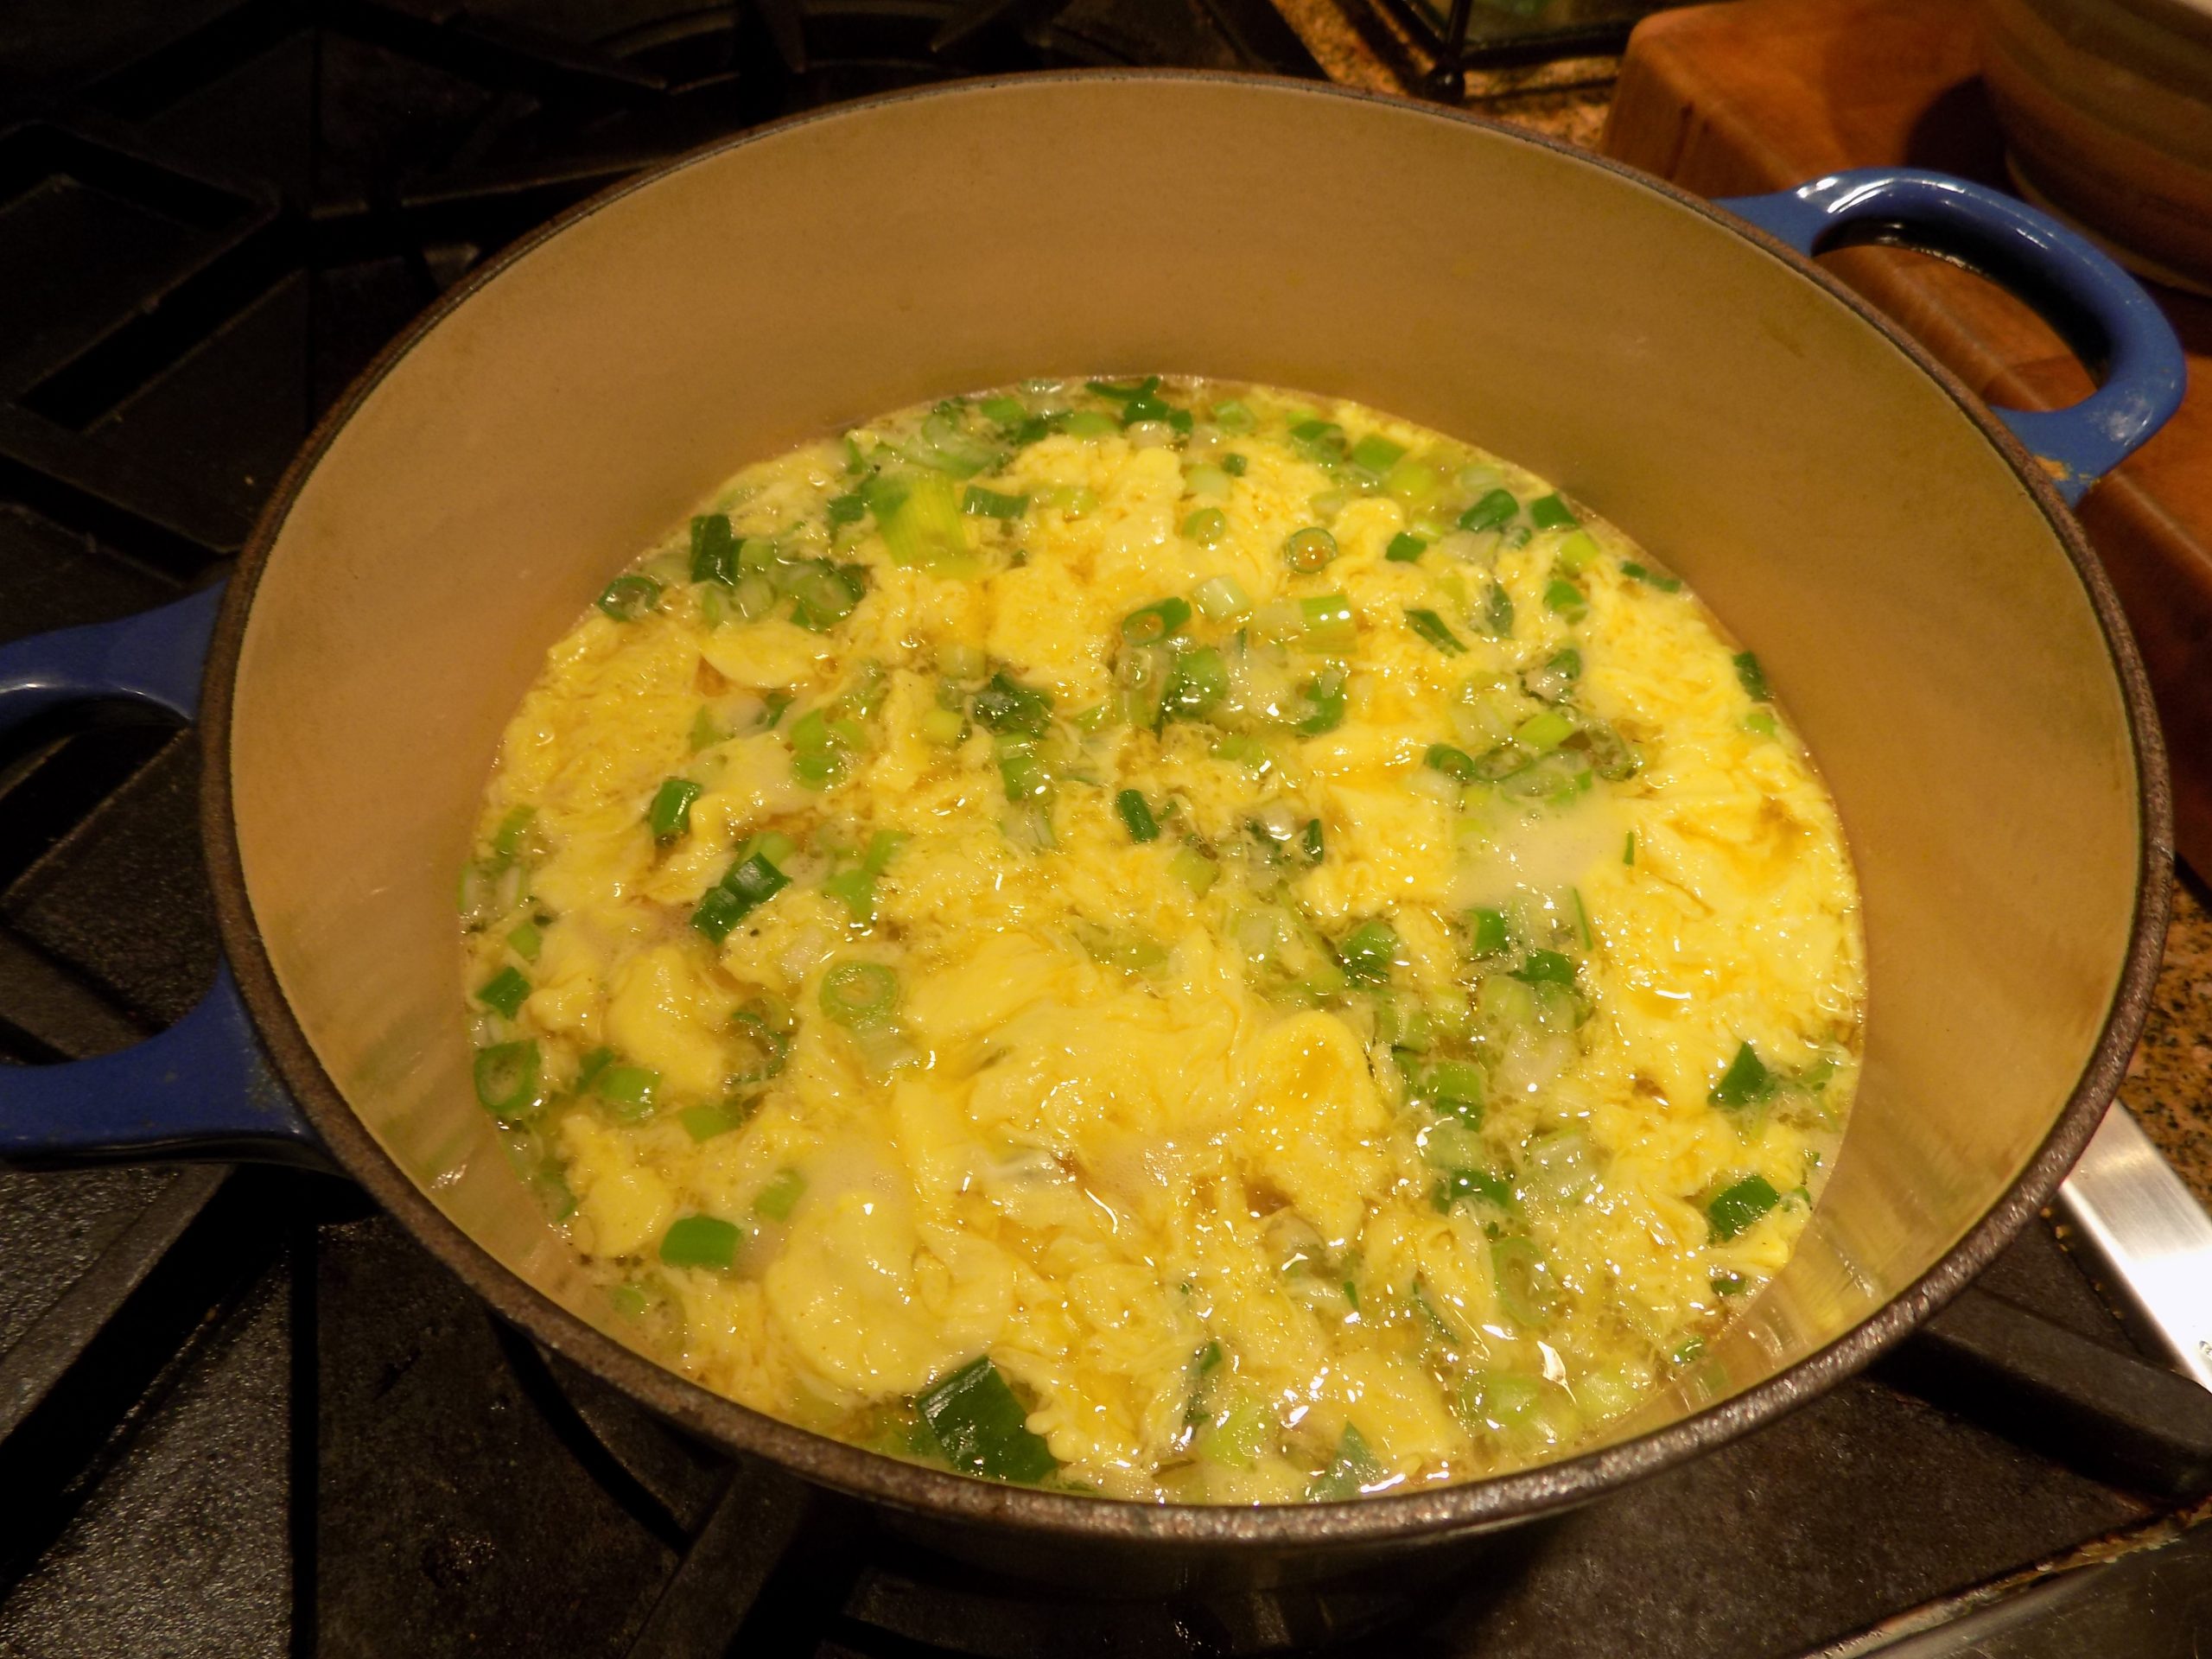
1 beaten egg
1 small carrot, finely diced
⅓ c. diced celery
⅓ c. finely diced onion
¼ tsp. kosher salt
freshly ground black pepper
1 lg. clove garlic, finely minced
2 c. cooked and chilled white rice
2 T. soy sauce, plus more to taste
1 tsp. oyster sauce
2 thin or 1 fat green onion, thinly sliced
¼ c. frozen peas
¼ – ½ tsp. toasted sesame oil
Heat 2 teaspoons of the butter in a medium-large fry pan. Cook the egg until set, stirring occasionally. Remove the cooked egg from the pan and set aside.
Add another 2 teaspoons of the butter to the pan and heat until melted. Add the diced carrot, celery, onion, salt, and pepper. Sauté gently for about 10 minutes or until the onion and carrot are soft. Add the garlic and cook for 1 minute.
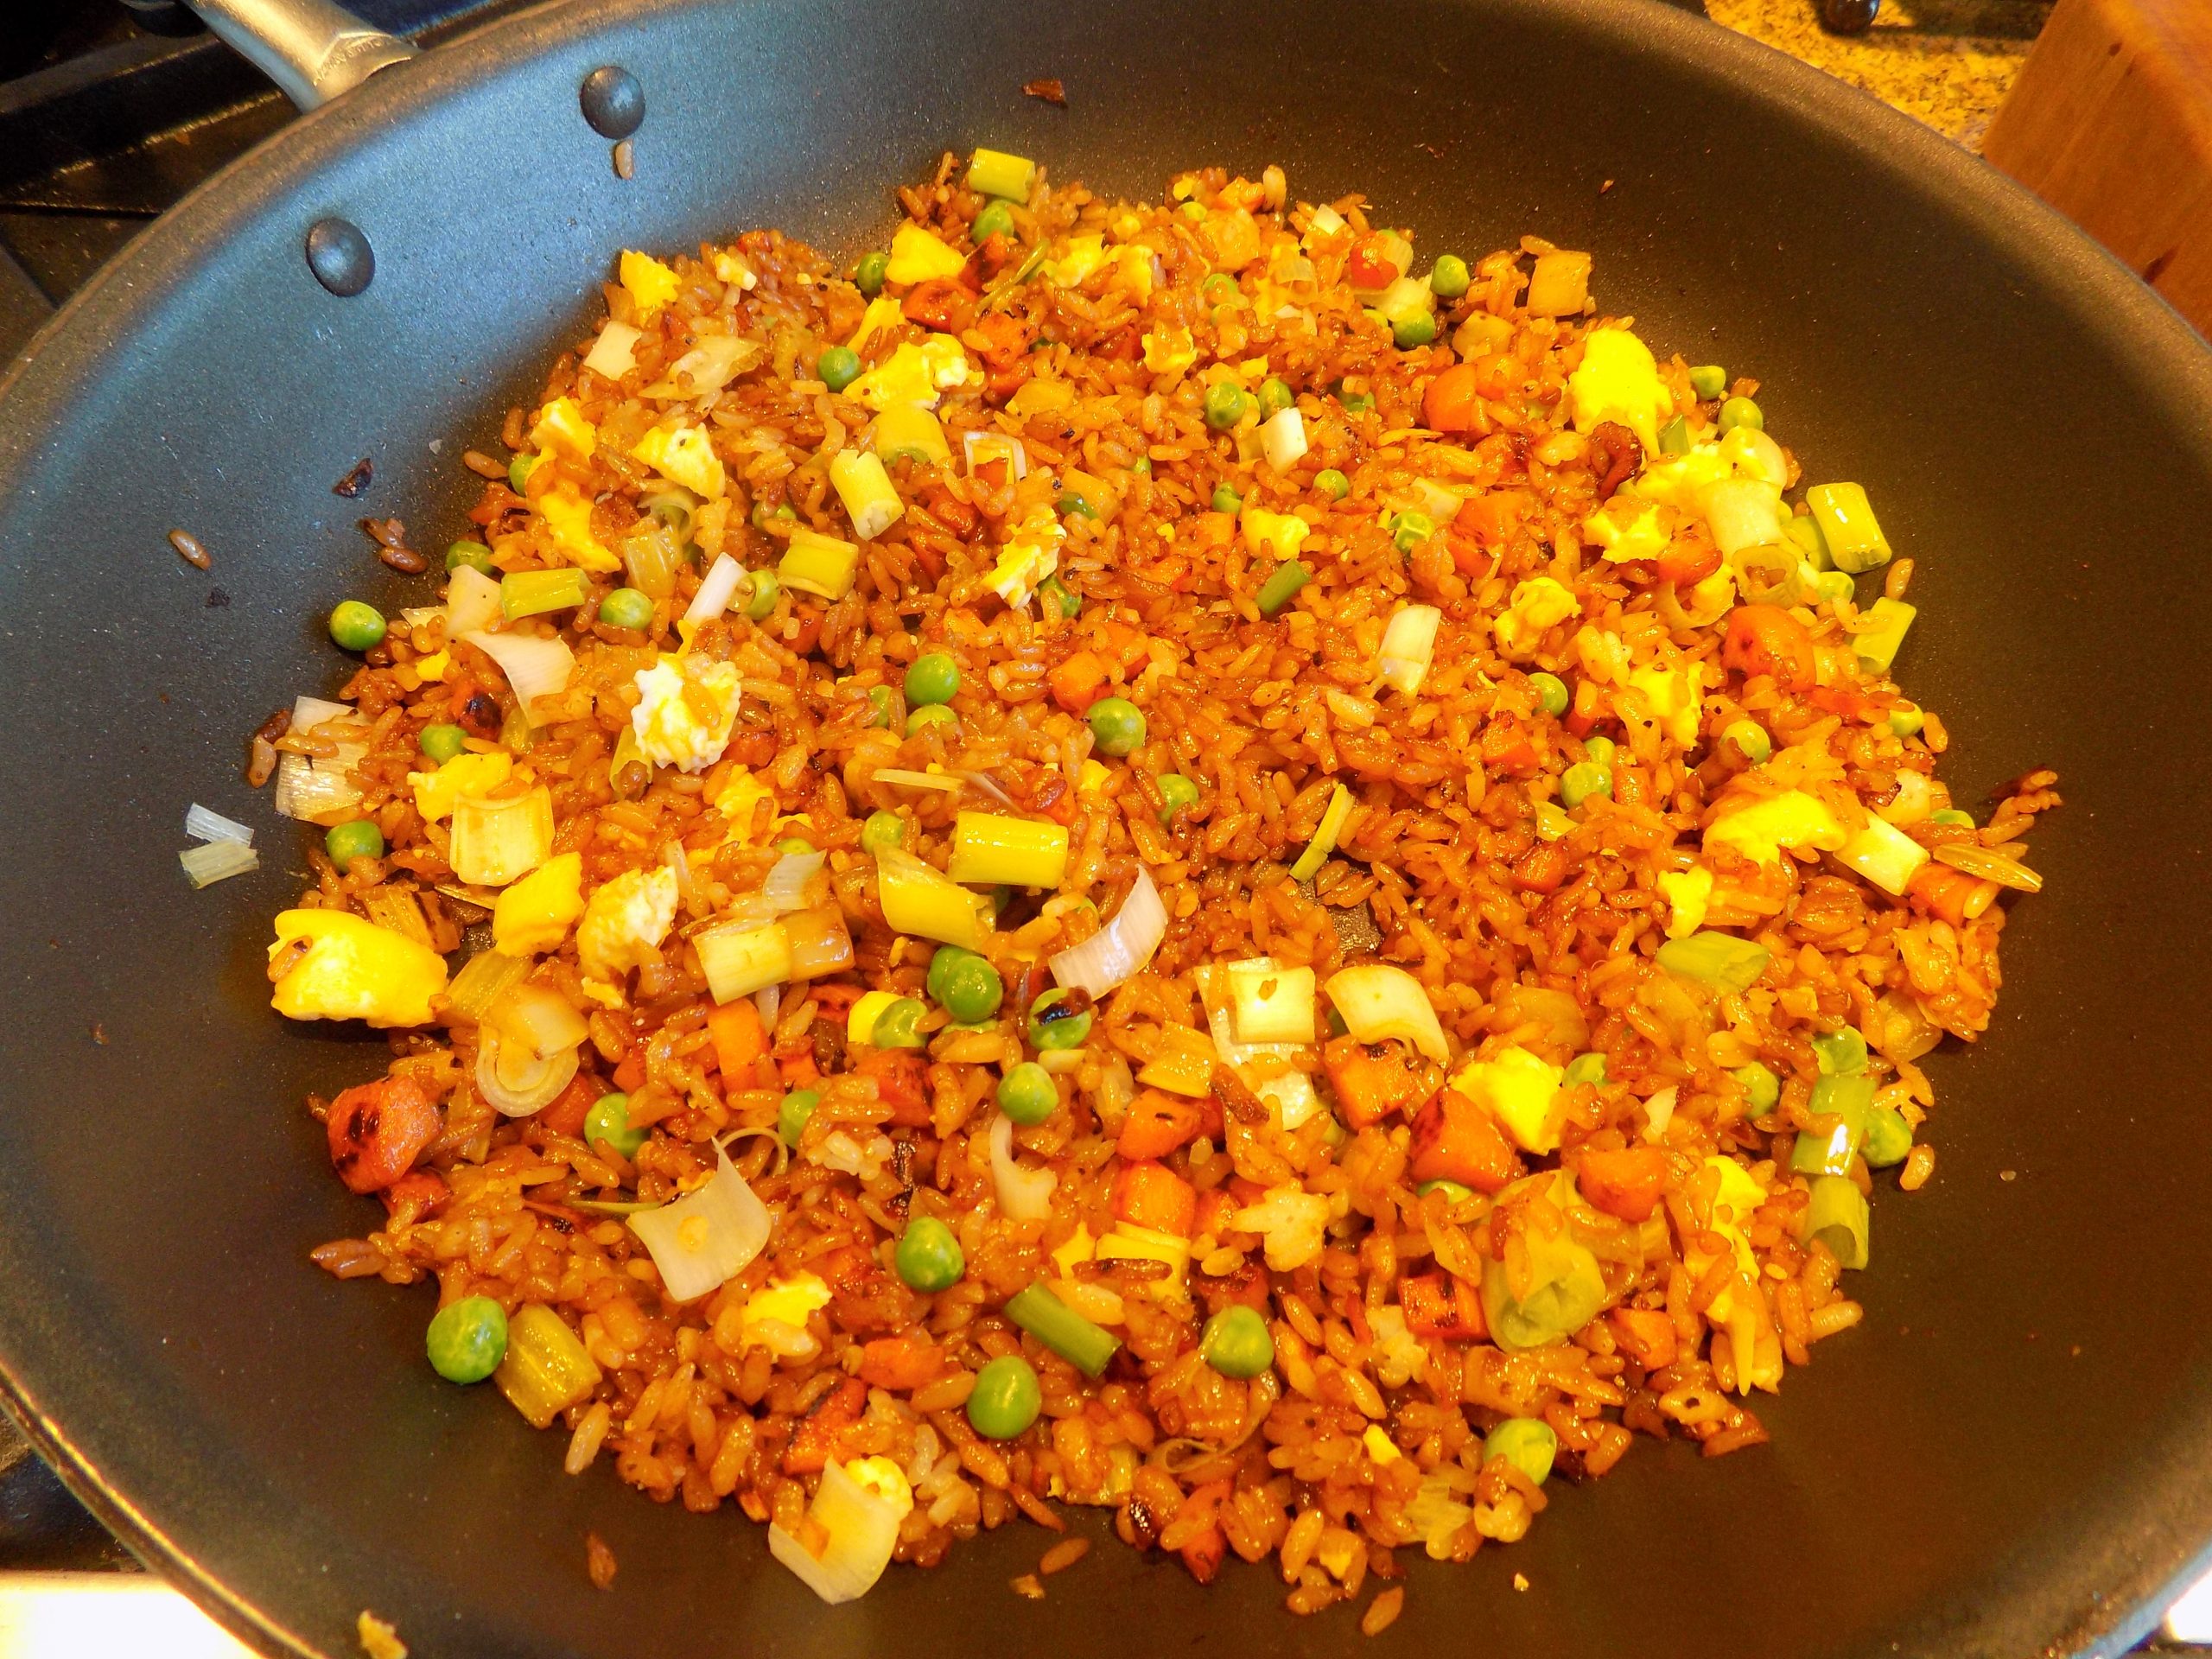
Add in the remaining butter and stir until melted. Add the rice, soy sauce, and oyster sauce. Stir until combined and the rice kernels are separated. Continue sautéing for a few minutes more, stirring occasionally. (Let the rice rest for a bit between stirs so that it can crisp up on the bottom.) Then add in the cooked egg, green onion, and green peas; stir to combine.
Remove from heat and stir in the sesame oil until combined. Taste and season with extra soy sauce, if needed. Serve hot.