Charcuterie refers to cured or smoked meats, i.e. prosciutto, sopressata, Genoa salami, etc. Technically, a traditional charcuterie is simply a plate of thinly sliced cured meat offerings.
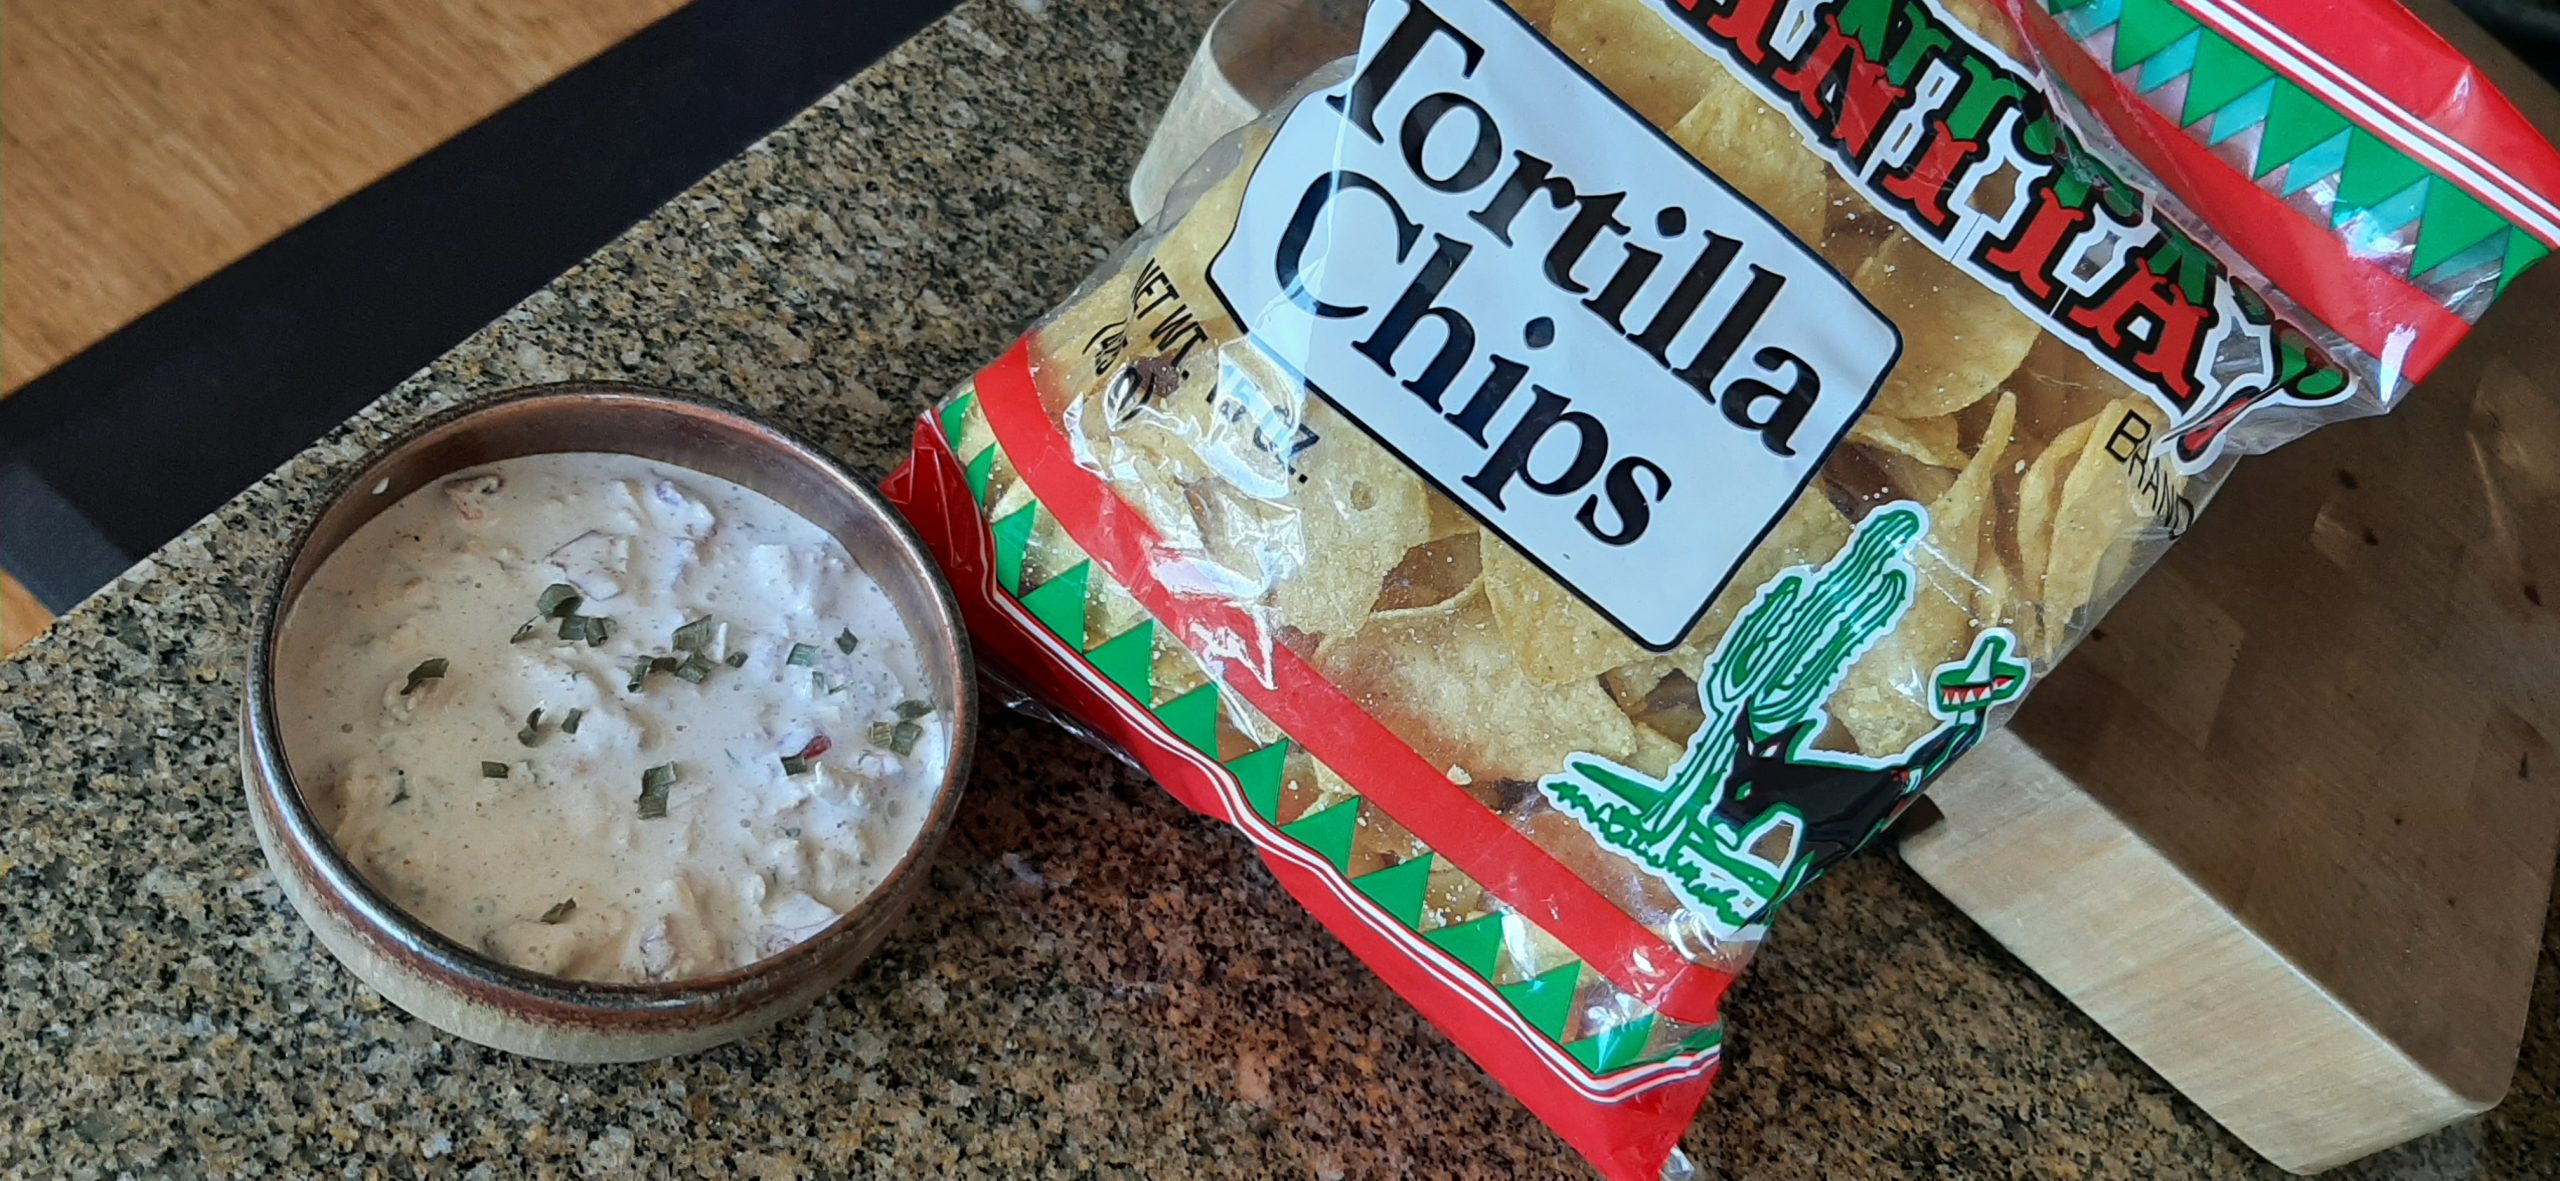
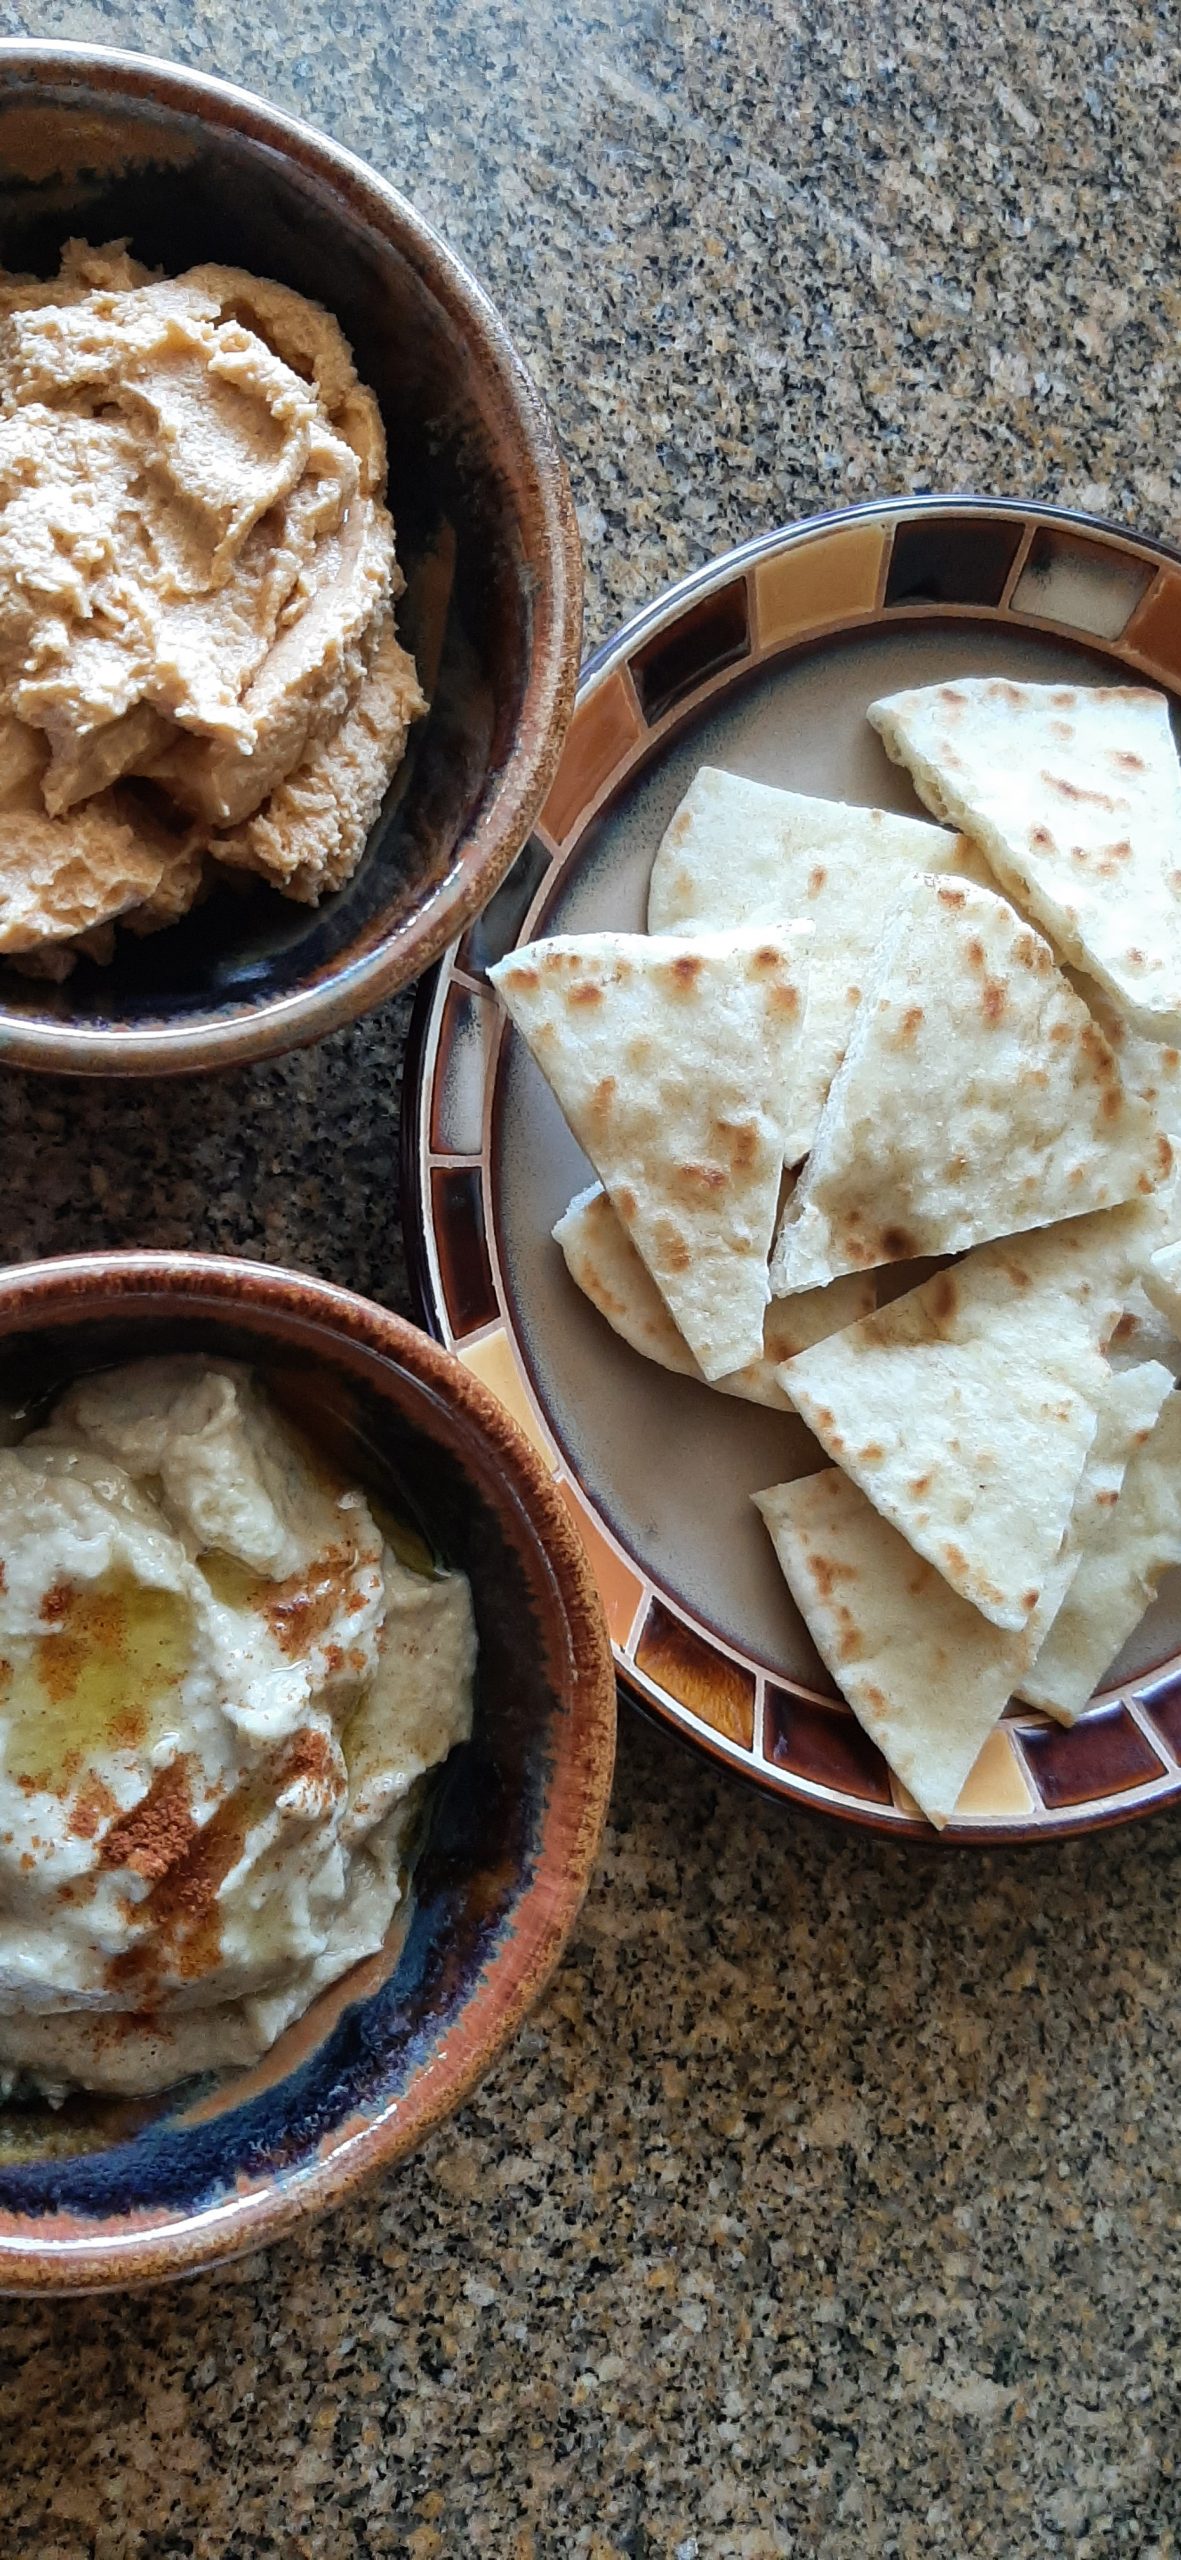
But the term Charcuterie Board has evolved over time to include not only thin slices of salami etc., but also multiple spreads for crostini and crackers, various types of cheeses, dried and fresh fruits and vegetables, olives, nuts, and condiments such as chutney, mustard, flavored honey, and sweet and savory jams and jellies. Just about any food item that is easily served as finger food or eaten spread on a cracker or crostini. And therefore, the possibilities are endless.
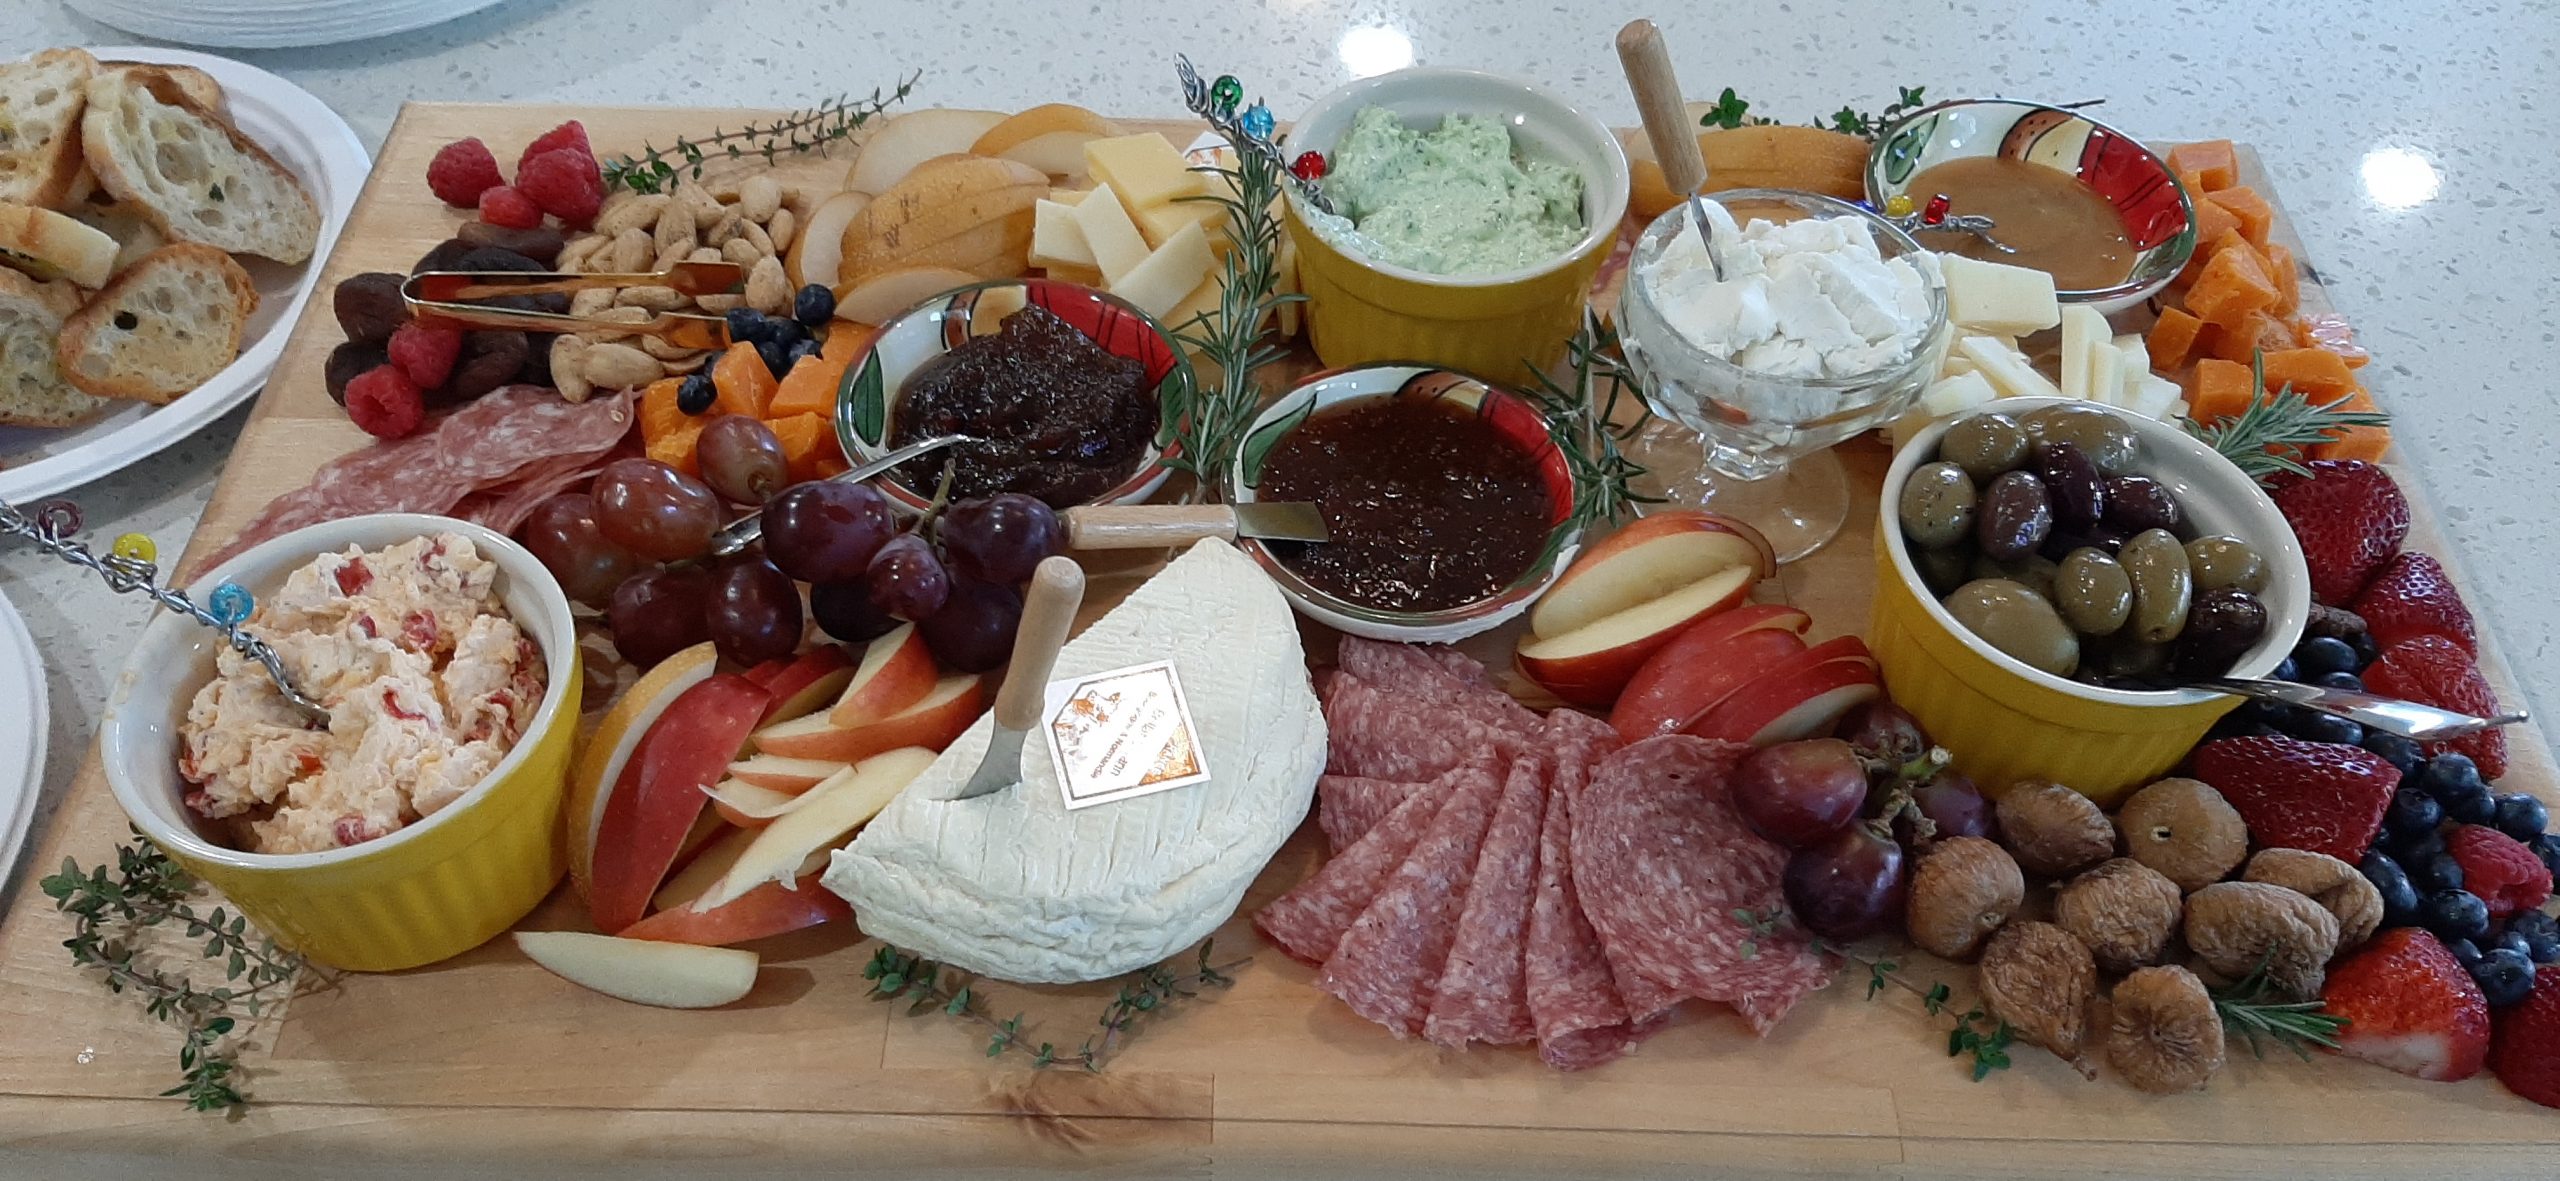
The charcuterie board you see pictured above was assembled by our dear friends Phyllis and Tim for the 70th birthday celebration of our mutual friends Margo and Jim. And not only was it a work of art, everything on “the board” was super delicious.
So, after receiving permission from Phyllis to use a picture of her handywork, I decided to share with you some suggestions for spreads and specialty items posted on this site that would be perfect next time you were inspired to serve a charcuterie board at one of your gatherings.
You know I love to share wonderful memories with you. And I hope this Charcuterie Board will stick in my memory for years to come. Along with a mental video of Phyllis putting this amazing appetizer spread together. It was so much fun to watch!
May you too have close friends and family with whom you build happy memories. And sharing delicious food is one of the best ways I know to make those great memories happen. So, cheers to my dear family and friends who make life just a bit better for everyone who is lucky enough to break bread with you. (You know who you are.) (And you also know that I love you to the moon and back!)
And as always, peace and love to all.
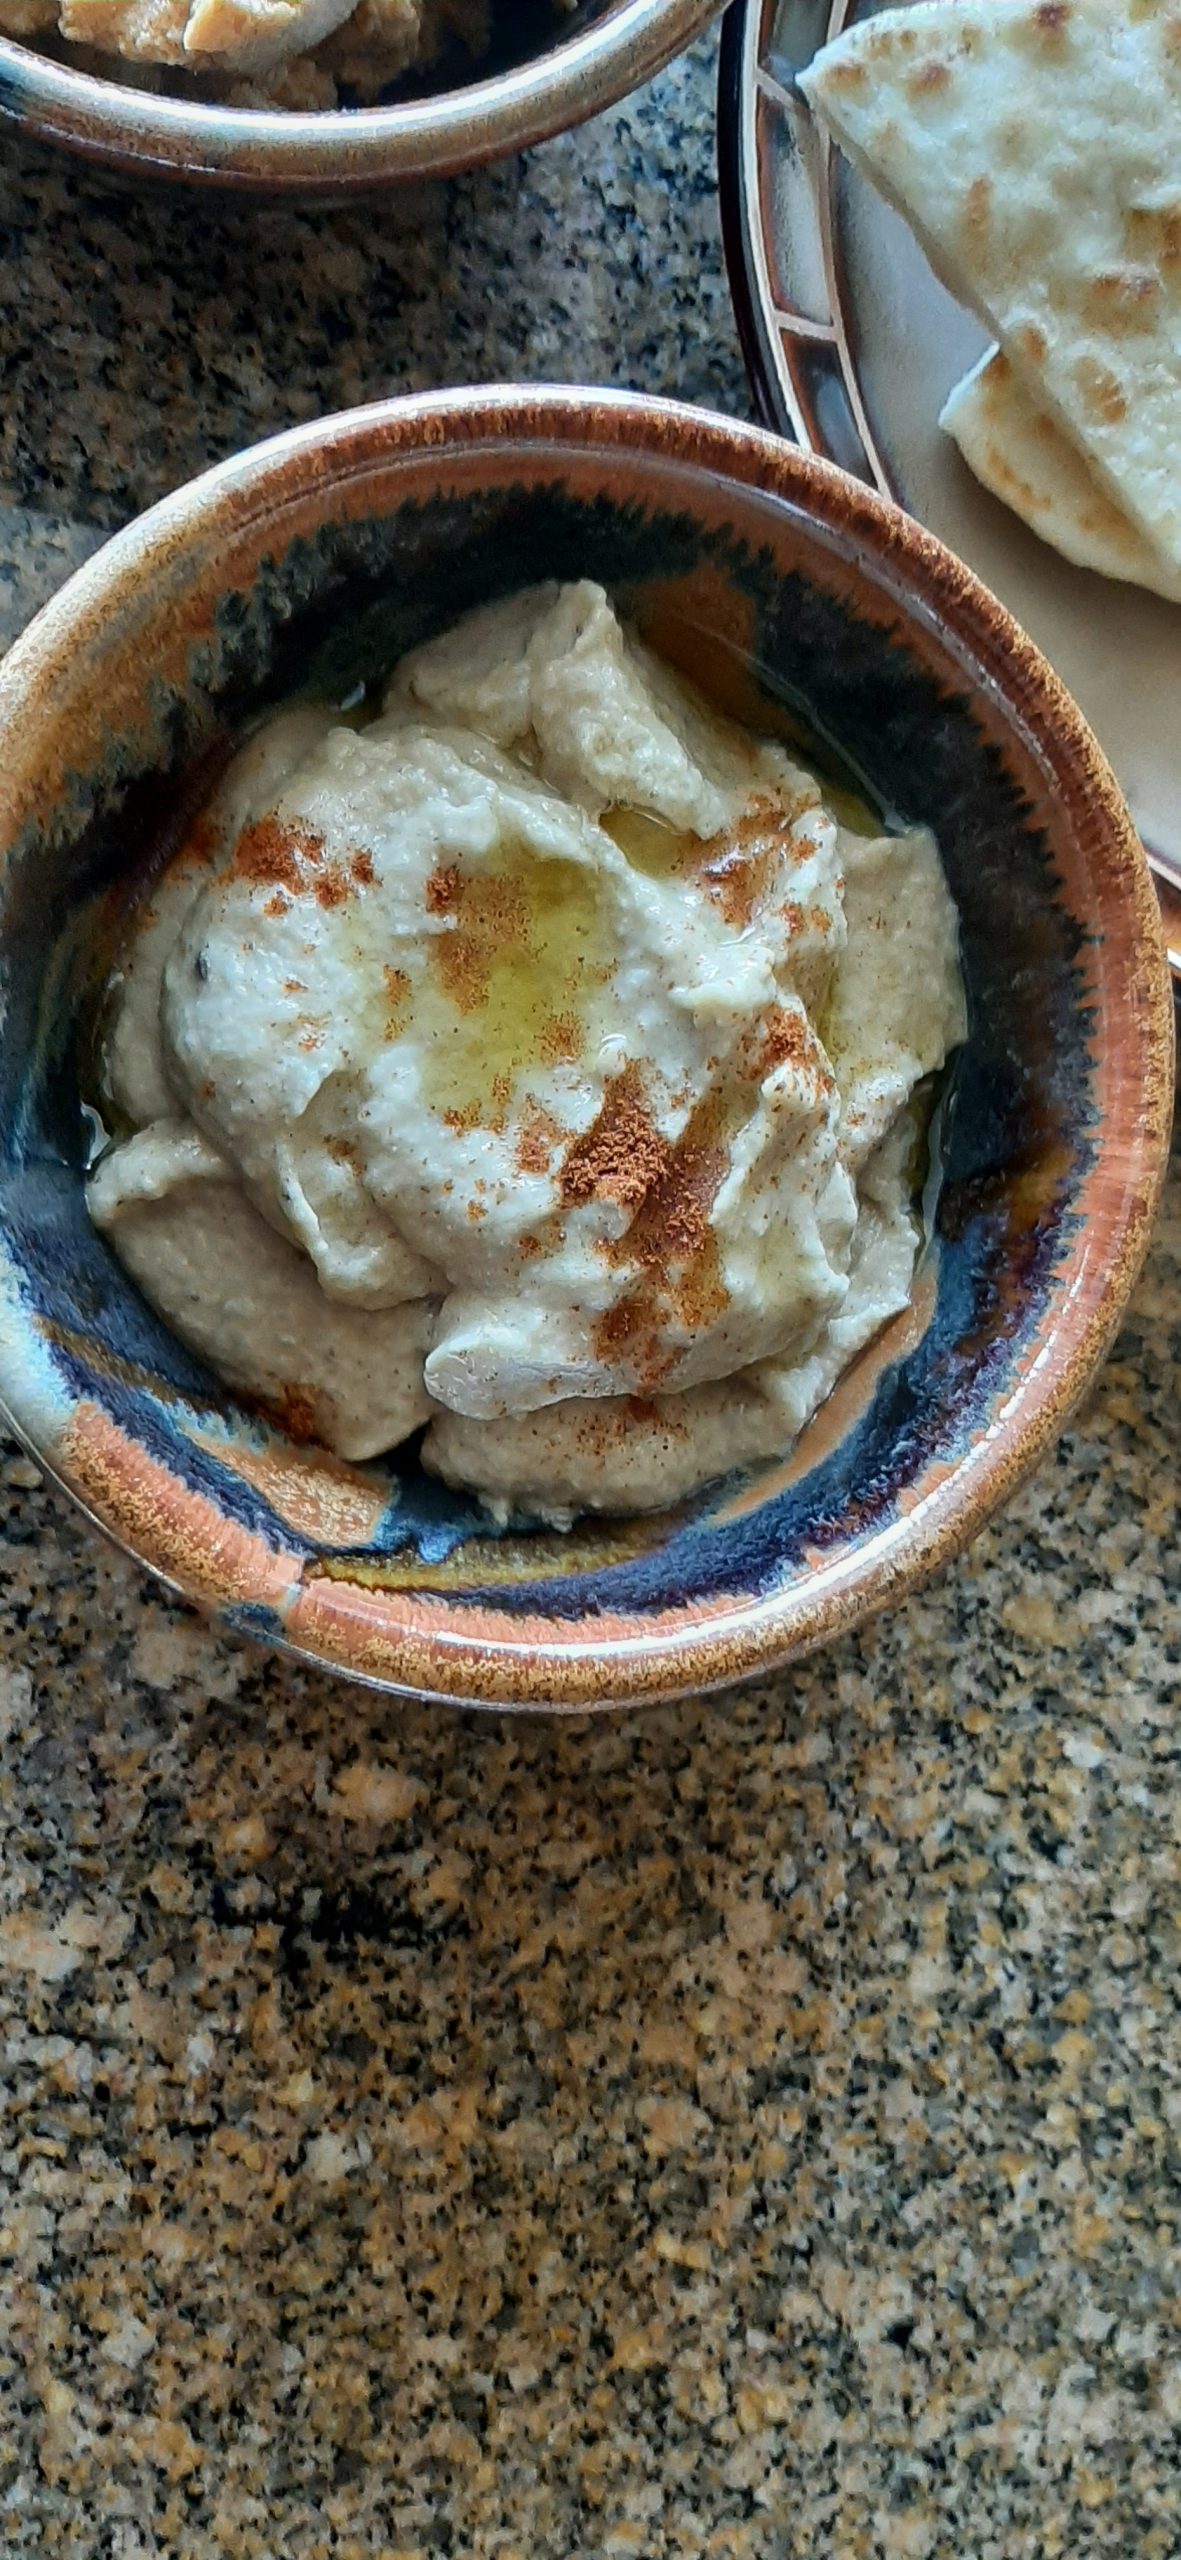
SPREADS AND PÂTÉS
Kalamata Olive Spread
Cream Cheese and Chutney Spread
Blue Cheese, Cream Cheese, and Date Spread
Southern Pimento Cheese Spread
Neufchâtel Cheese and Olive Spread
Viennese Liptauer
Smoked Salmon Spread
Roasted Red Pepper Cheese Spread
Cheddar and Port Wine Spread
Sun Dried Tomato and Fresh Basil Spread
French Chicken Liver Pâté
Mushroom Pâté
Tapenade
Homemade Ricotta Cheese
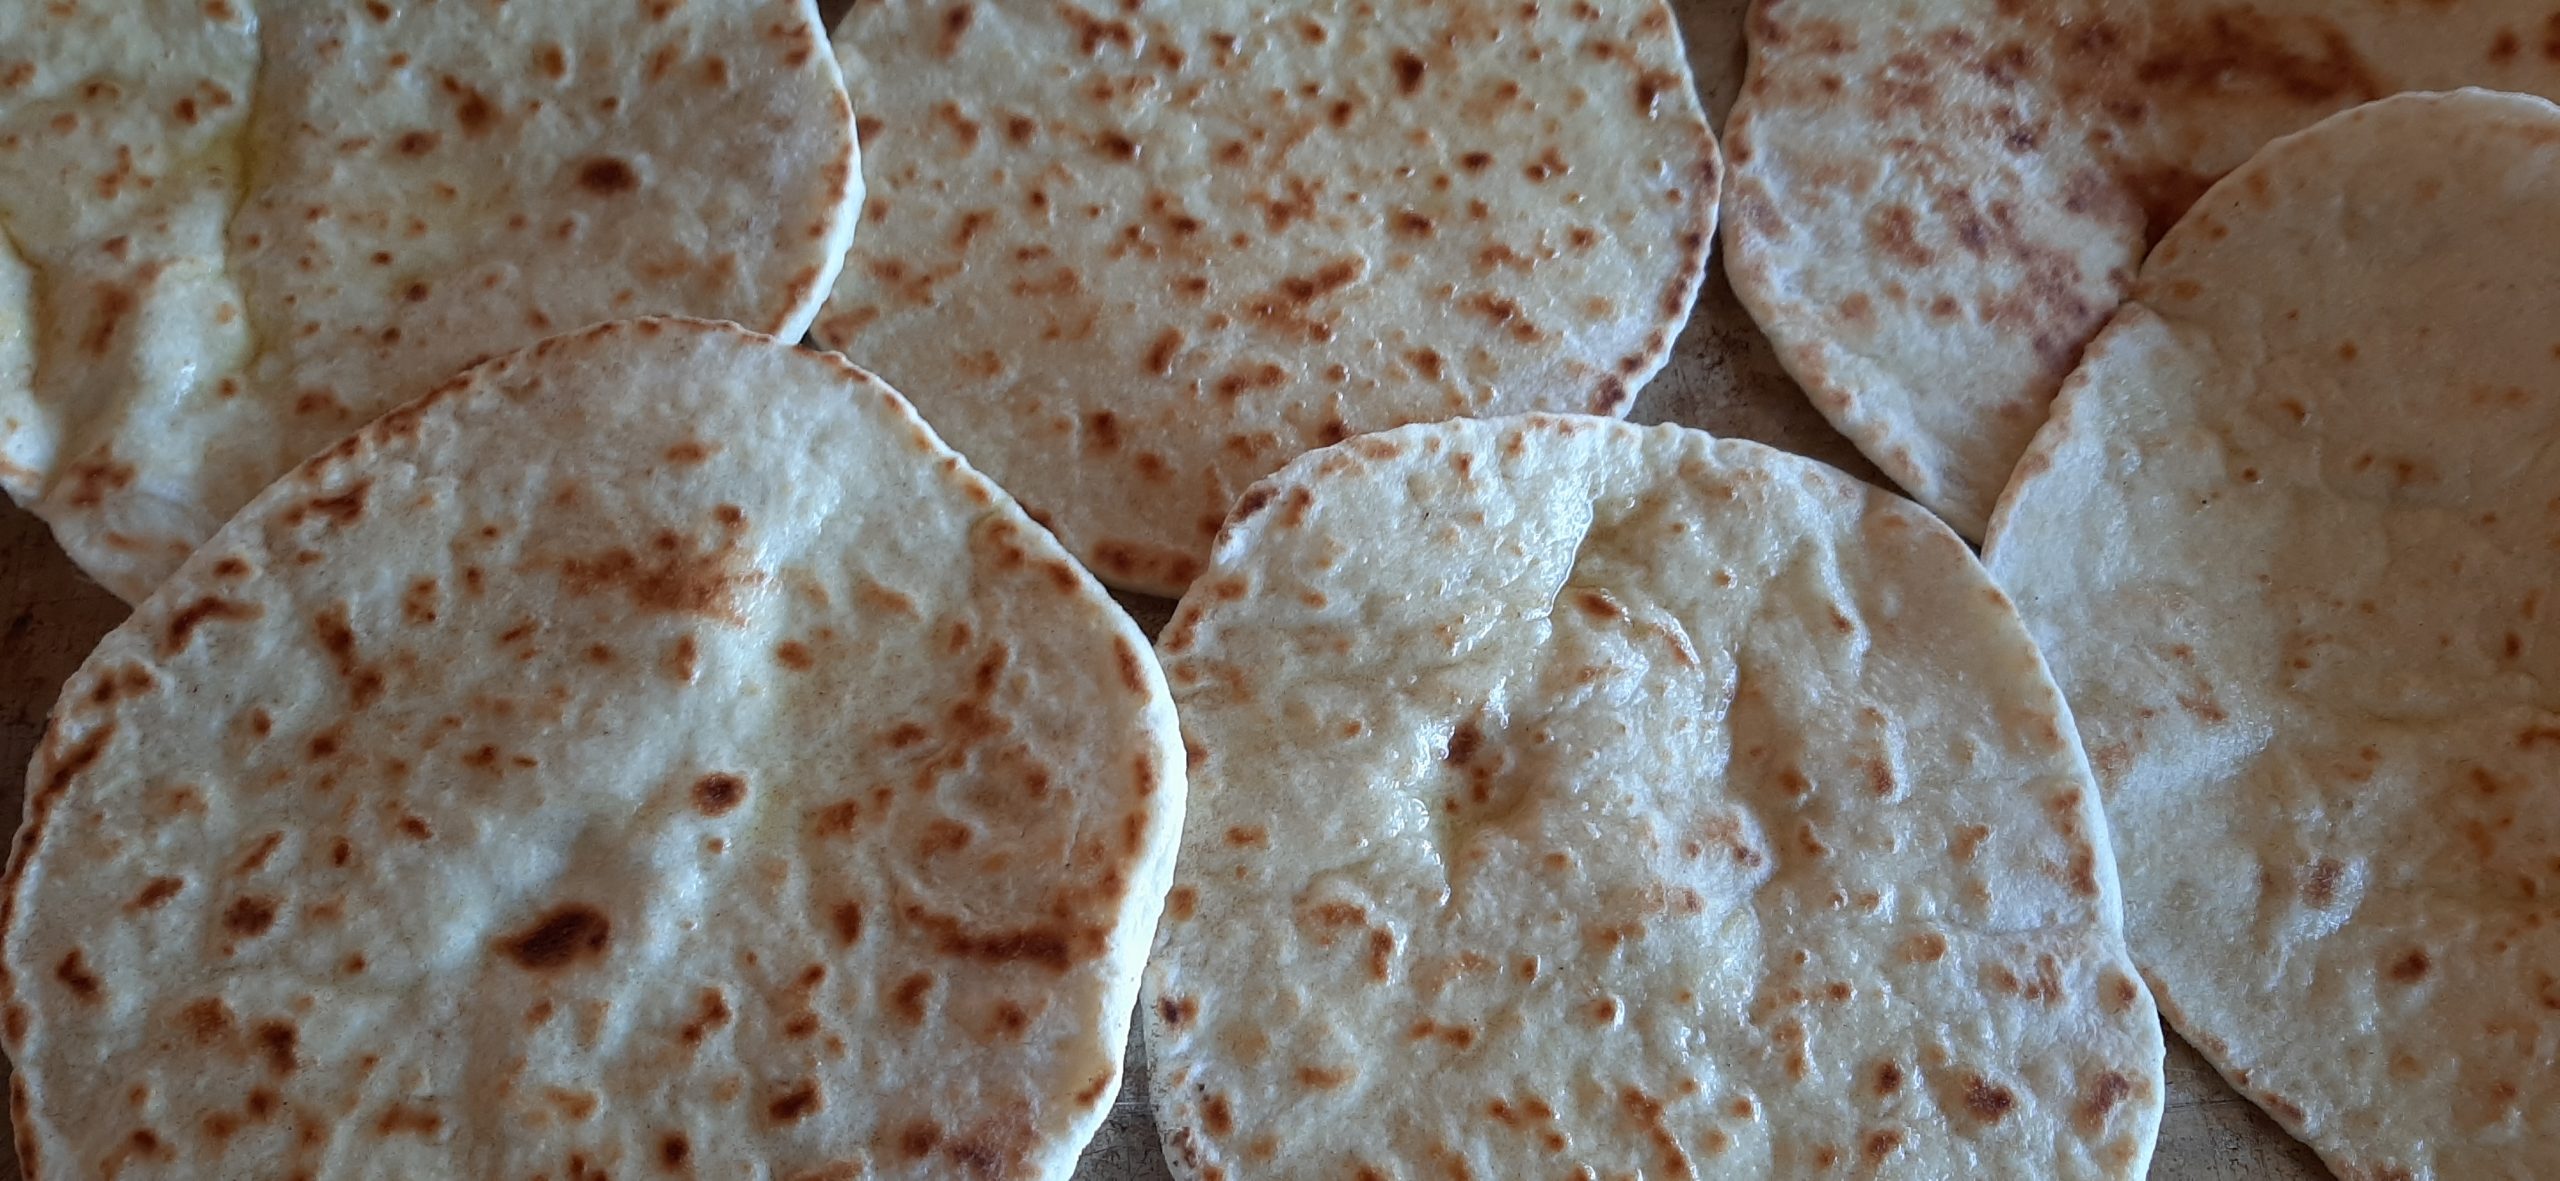
CROSTINI AND CRACKERS
Cheddar Pecan Crackers
Pecorino Romano Shortbread Crackers with Thyme
Parmesan Crackers
Crostini (Made with Chewy Sourdough Baguettes, Thin Sourdough Baguettes, Soft French Baguettes, or Classic Italian Baguettes. (All recipes for these breads found on this site too.)
MARINATED CHEESE
Marinated Goat Cheese
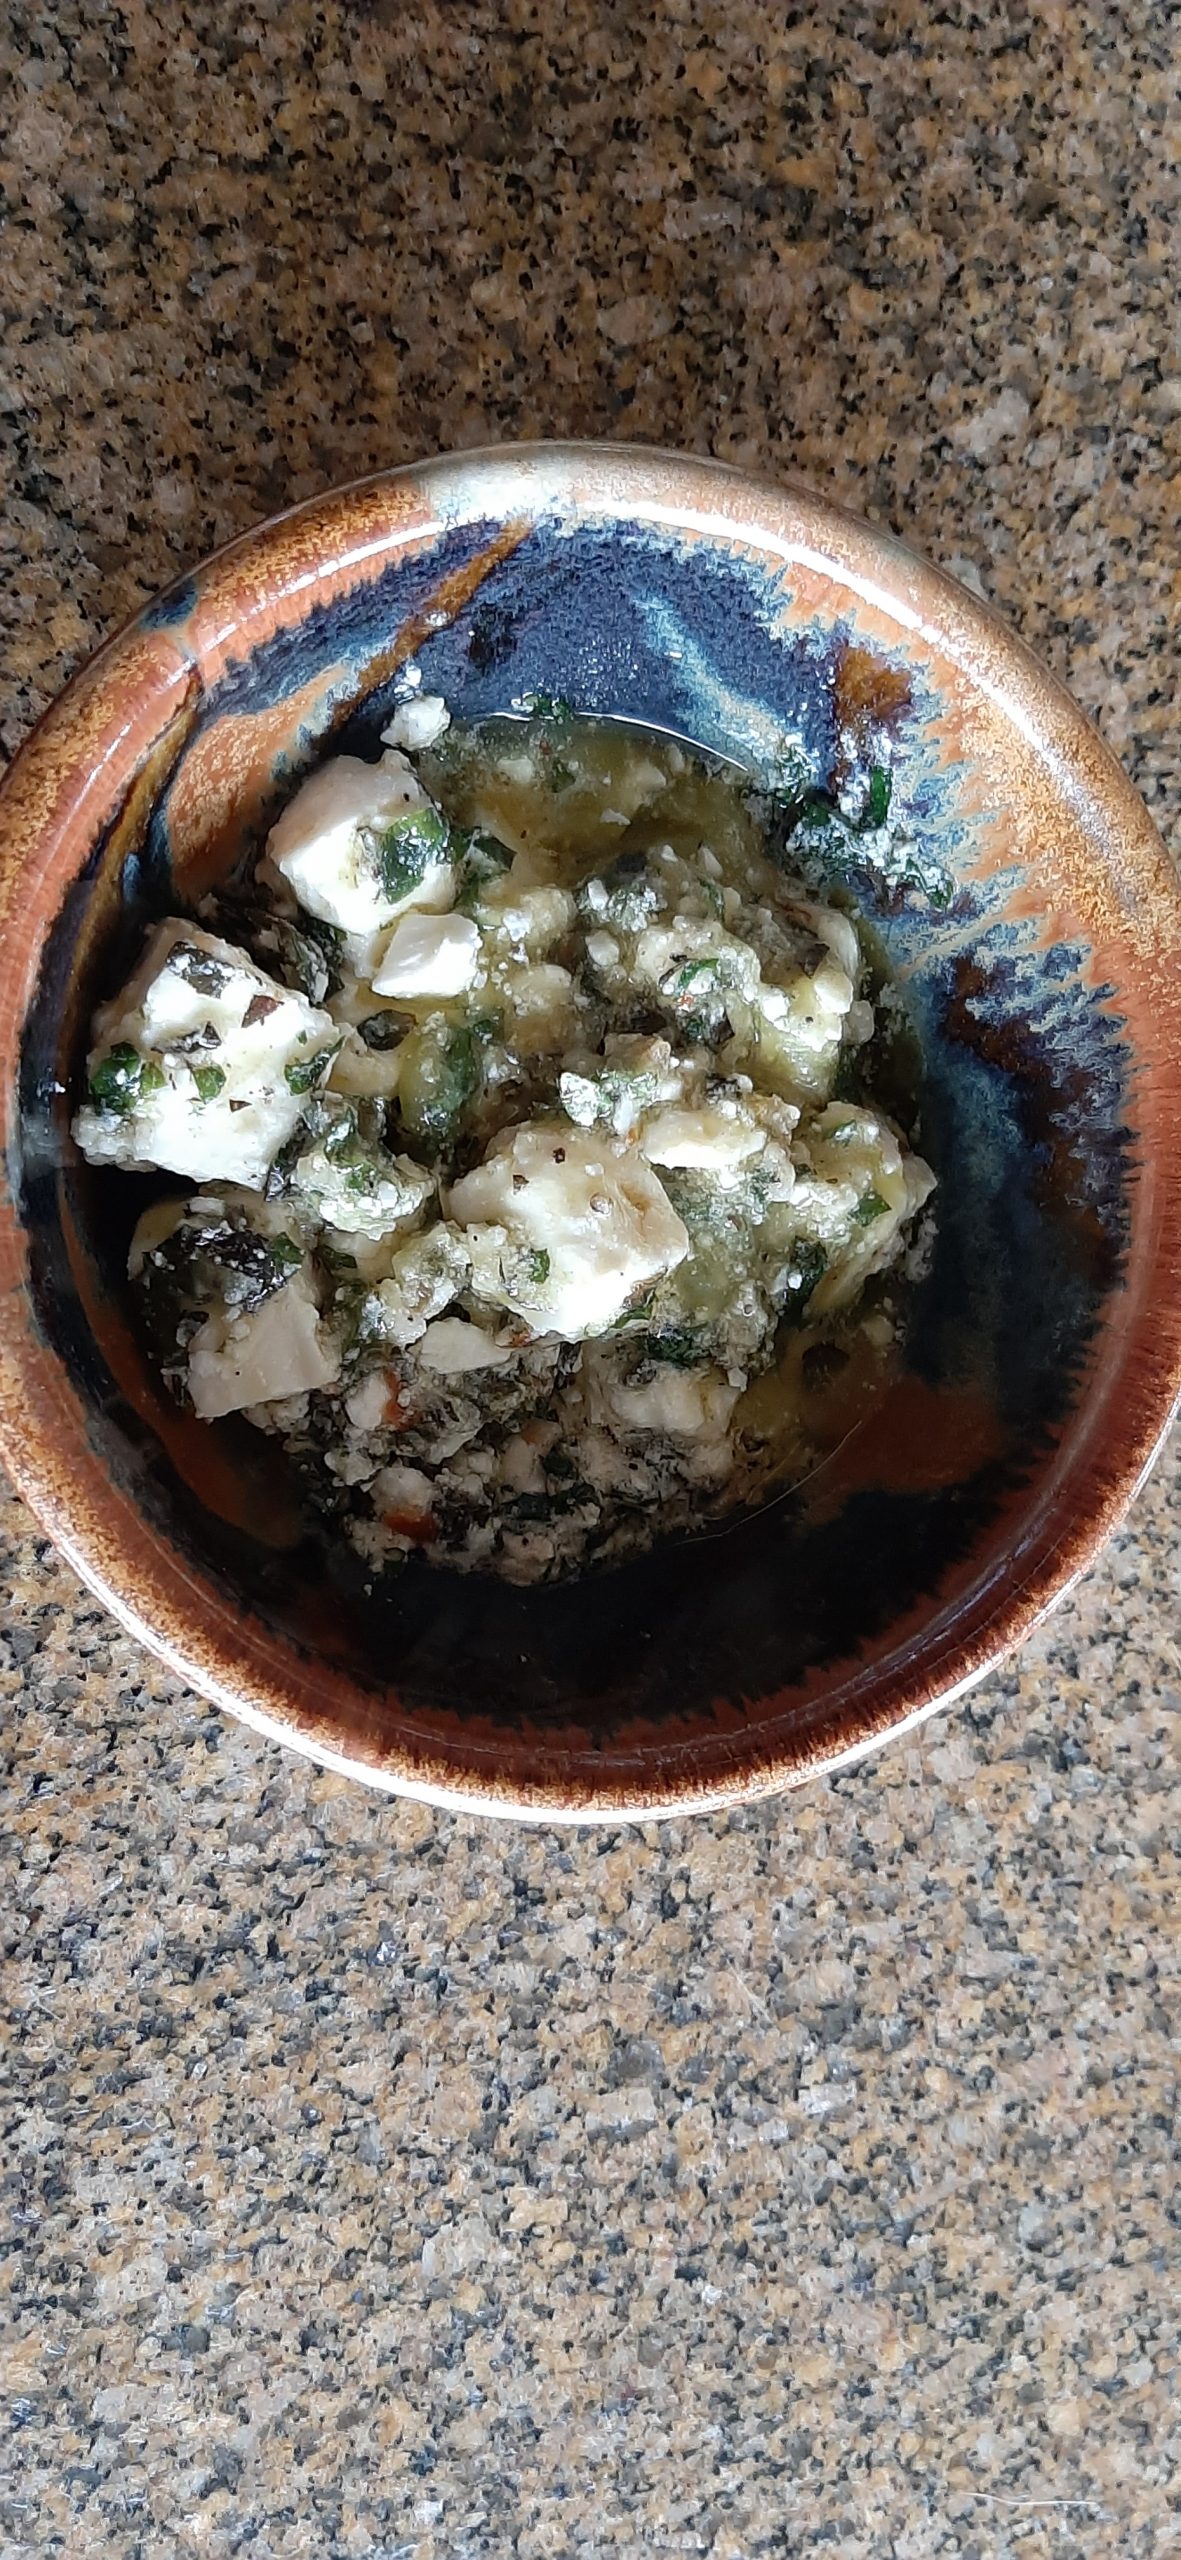
Marinated Feta Cheese Cubes
Marinated Bocconcini (small fresh mozzarella balls)
Marinated Mozzarella and Roasted Red Peppers
FANCY NUTS
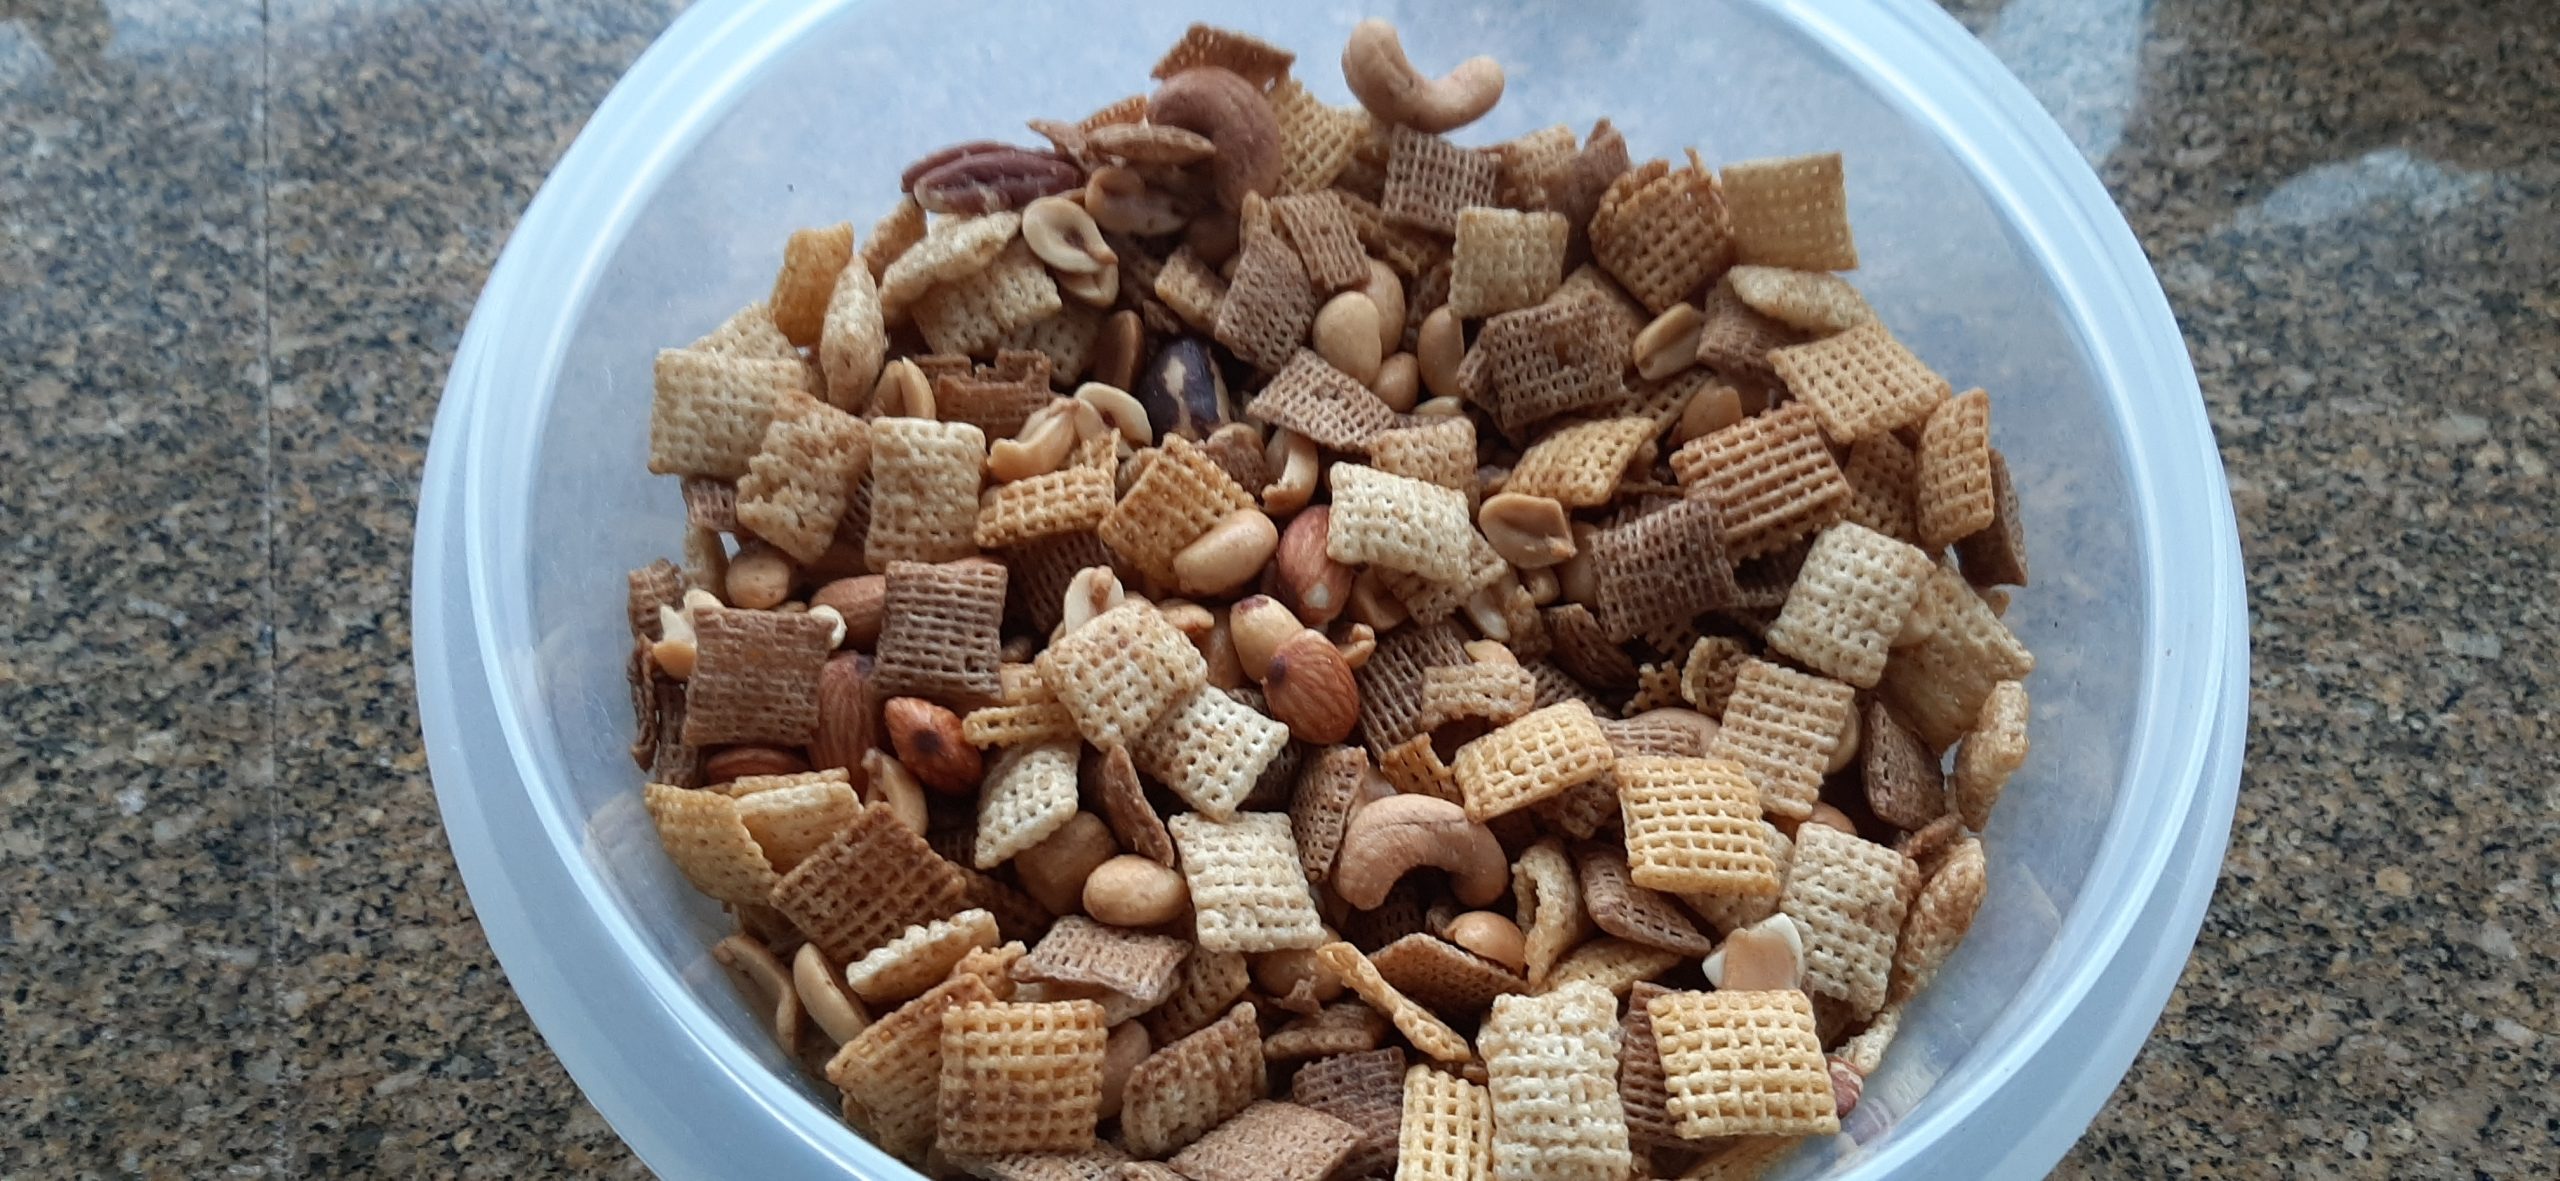
Rosemary Roasted Cashews
Sweet and Spicy Glazed Pecans
Honey Roasted Nuts
JAMS AND JELLIES
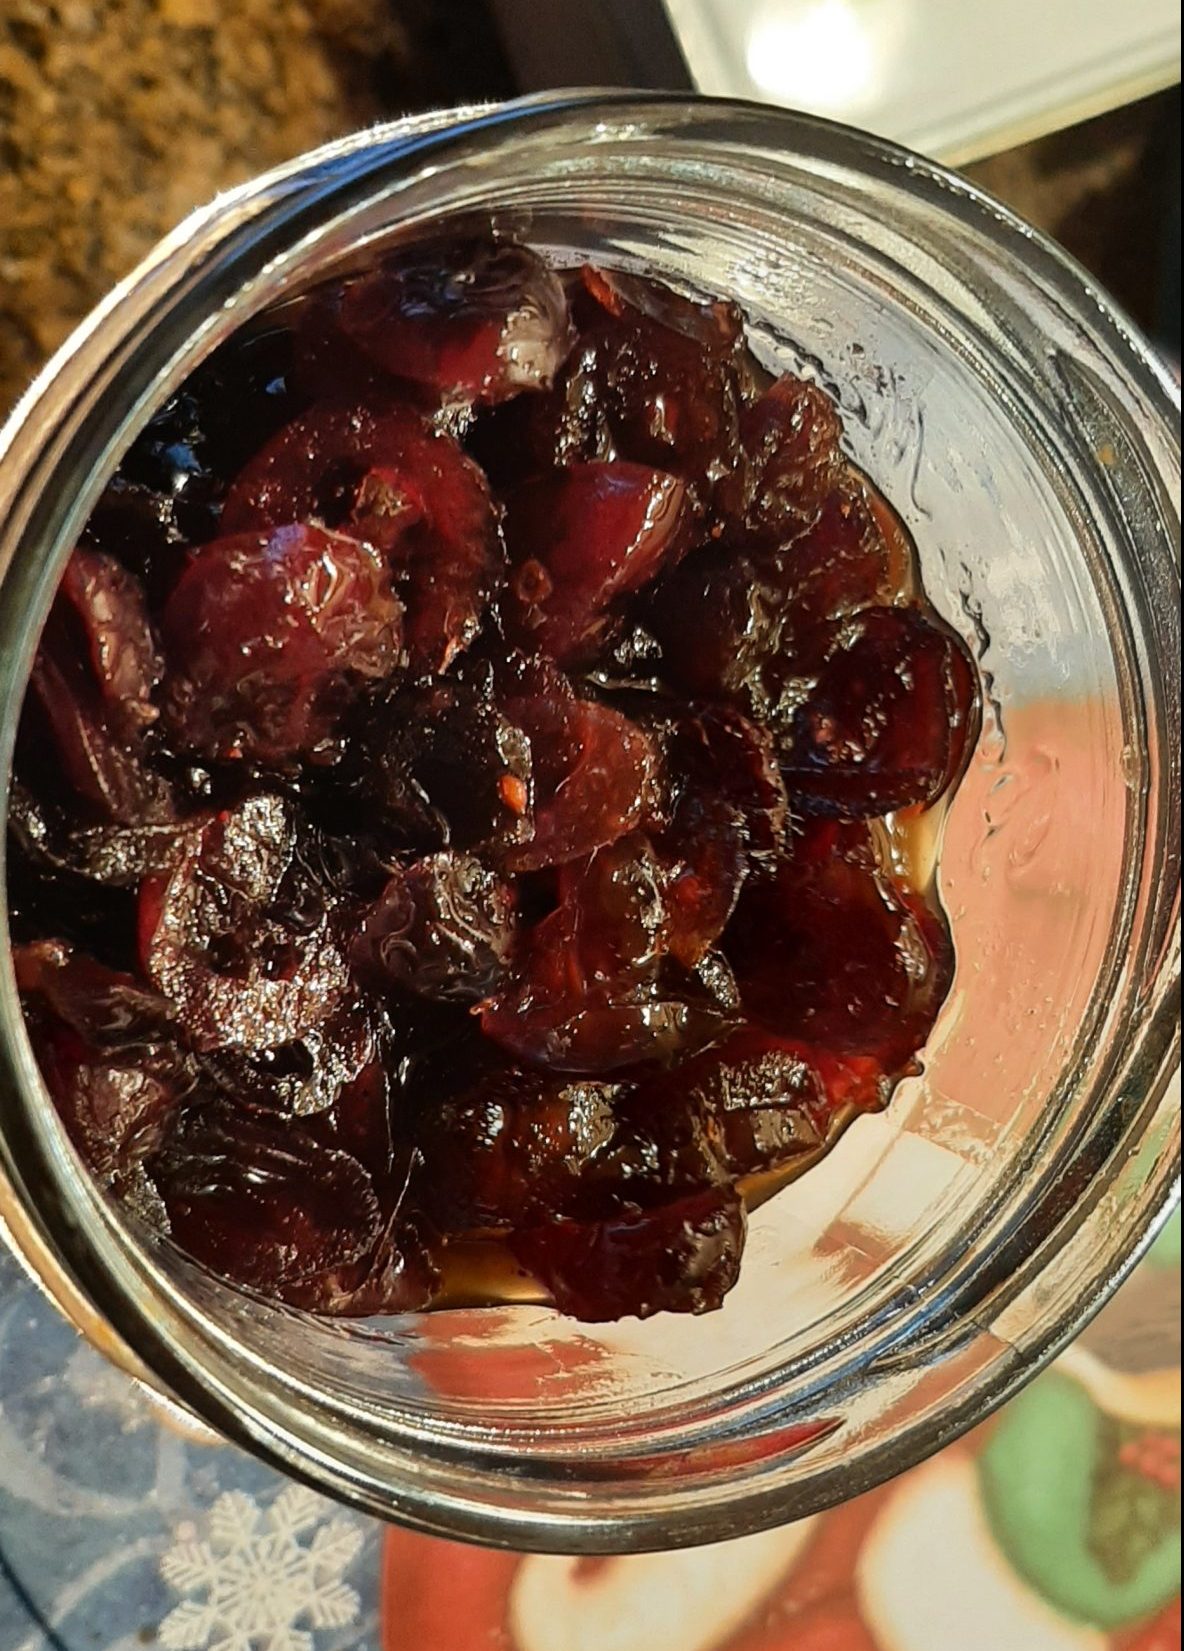
Fig and Orange Jam
Bacon Jam
Caramelized Onion and Port Wine Jam
OLIVES
Savory Marinated Olives (recipe soon to be published)