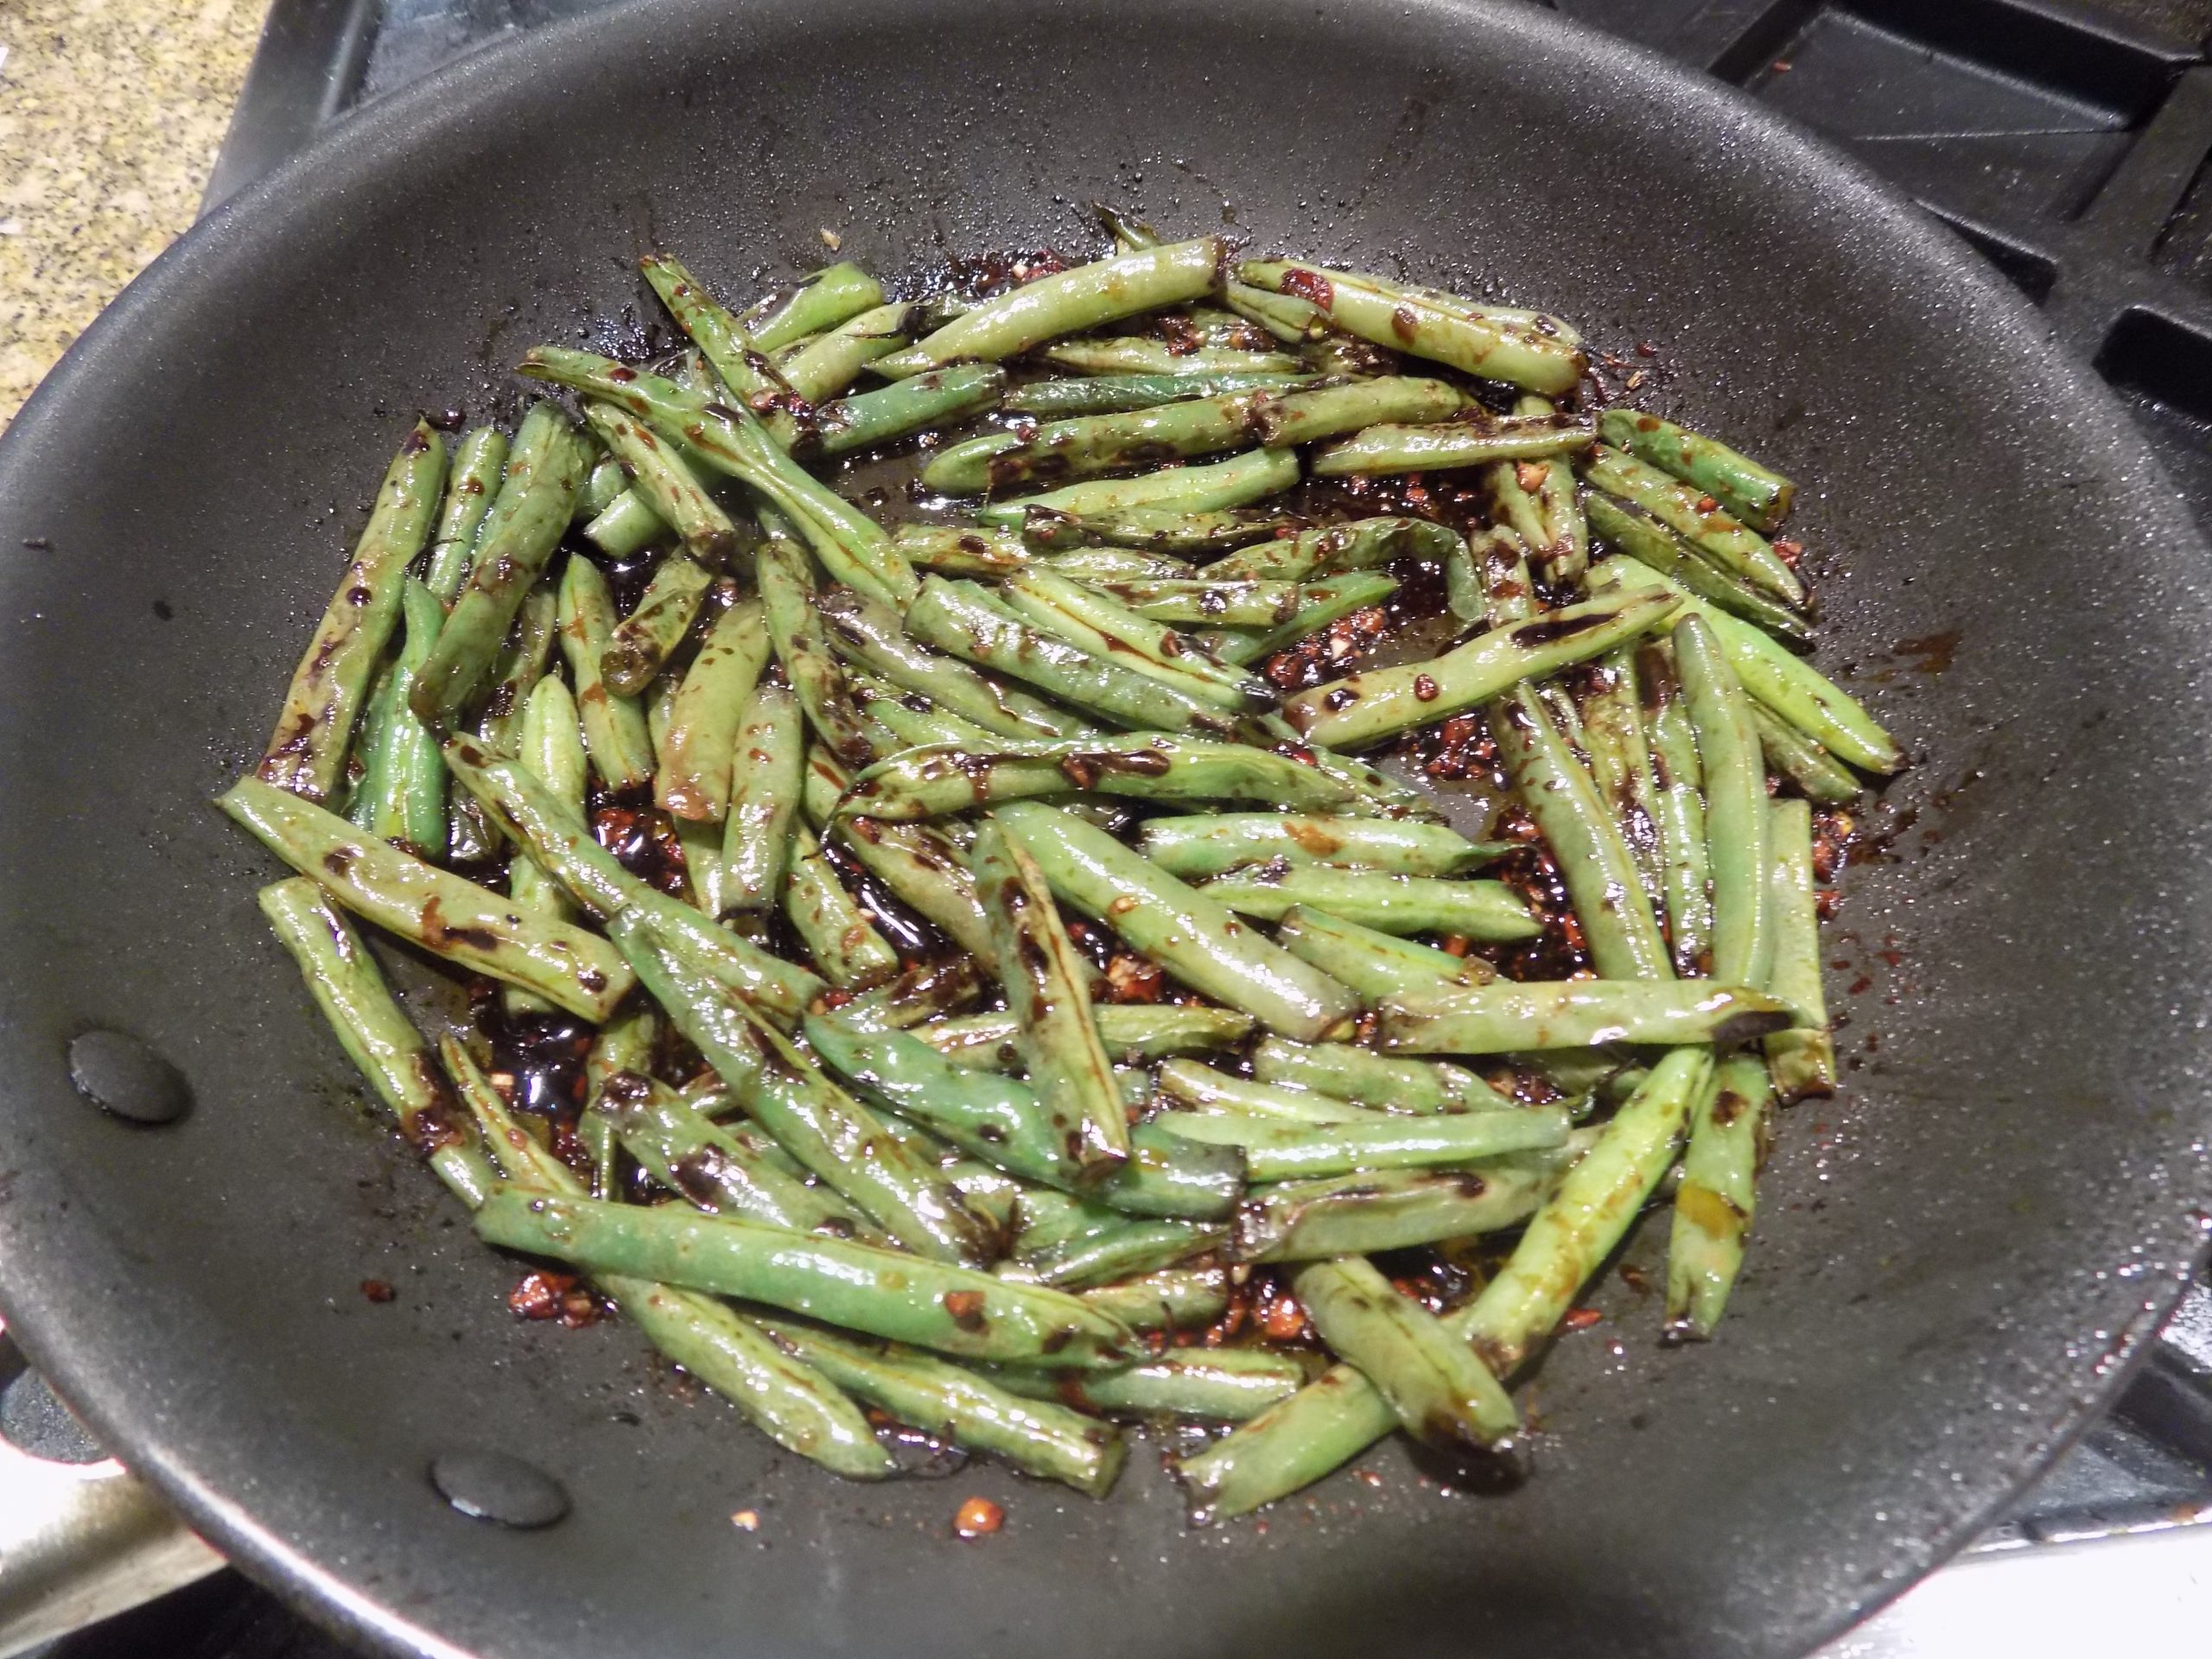
If you are new to my blog, there is something more you should know about me than just what I have confessed to in my introduction – “It’s really just all about me!” I love Chinese food. And not the kind you find in China because I have never been there. Nope, I love the kind of Chinese food you find in good old American Chinese restaurants, especially the ones that can be found in any large-city International District. And I especially love the dishes that have only a superficial resemblance to any dish you might actually find in China. Except for one. Because even though egg fu yung is considered an American Chinese dish, its culinary roots reach back to Shanghai, and the name of this dish is Cantonese, with several accepted spellings including egg foo young, egg fooyung, egg foo yong, egg fu yung, and egg furong. I have chosen to spell this dish egg fu yung, because, well I don’t know why, I just have! For the sake of simplicity, you may think of this dish as basically a fried omelet, with not very much meat, lots of veggies, and topped with a yummy sauce or gravy.
You will notice that I have included 2 recipes for the gravy/sauce. I made them both but couldn’t choose which one I preferred. And neither could Mr. C. or our dear friends Mark and Vicki. So, your choice.
Now after a rudimentary glance at these recipes, you might think they would be anything but easy to prepare. But I’m here to tell you, they are not difficult at all. Just preparing a simple gravy or sauce, then a bit of hacking and slashing of veggies, a bit of playing with the meat, then combining all the egg fu yung ingredients together. (Except the gravy/sauce that is!) And once you’ve ladled the egg mixture into the pan, you are about 3-5 minutes away from sitting down to dine.
So, if you too are a Chinese food fan, then I think you are in for a treat. And even though you may be a true Chinese food aficionado, I’m willing to bet you haven’t ordered egg fu yung in quite some time. Because if you are like me, you consider yourself to be a “foodie”. And how can a true food connoisseur consider a humble and often thought of “secondary” dish now be relighted to the highly sought over position of “entrée”? Well, until recently, I wouldn’t have considered egg fu yung to be the star of the show either. In fact, I hadn’t ordered it in years. OK, decades. But during a recent visit to a Chinese restaurant, I was advised to order it, and I simply flipped over how delicious it was. It was my favorite dish on the table. What had I been waiting for? So, be reminded. Egg Fu Yung is delicious, and when you make it yourself, you can include any old meat or veggies you choose. And regulate the amount of salt, etc. etc. So, take my advise and make this dish at your earliest convenience. It is truly delicious, not too expensive to prepare, and a lot less caloric than many other Chinese dishes that you might enjoy.
As always, have fun in your kitchen. Try new recipes, especially the dishes you enjoy the most when you go out to eat. They may be easier to prepare than you would imagine. And don’t get me started on how much money you will save by fixing your favorite dishes at home. I neither have the time nor the energy to prepare a 60-page dissertation on nutrition, unpronounceable ingredients, marketing, and economics.
Peace and love to all.
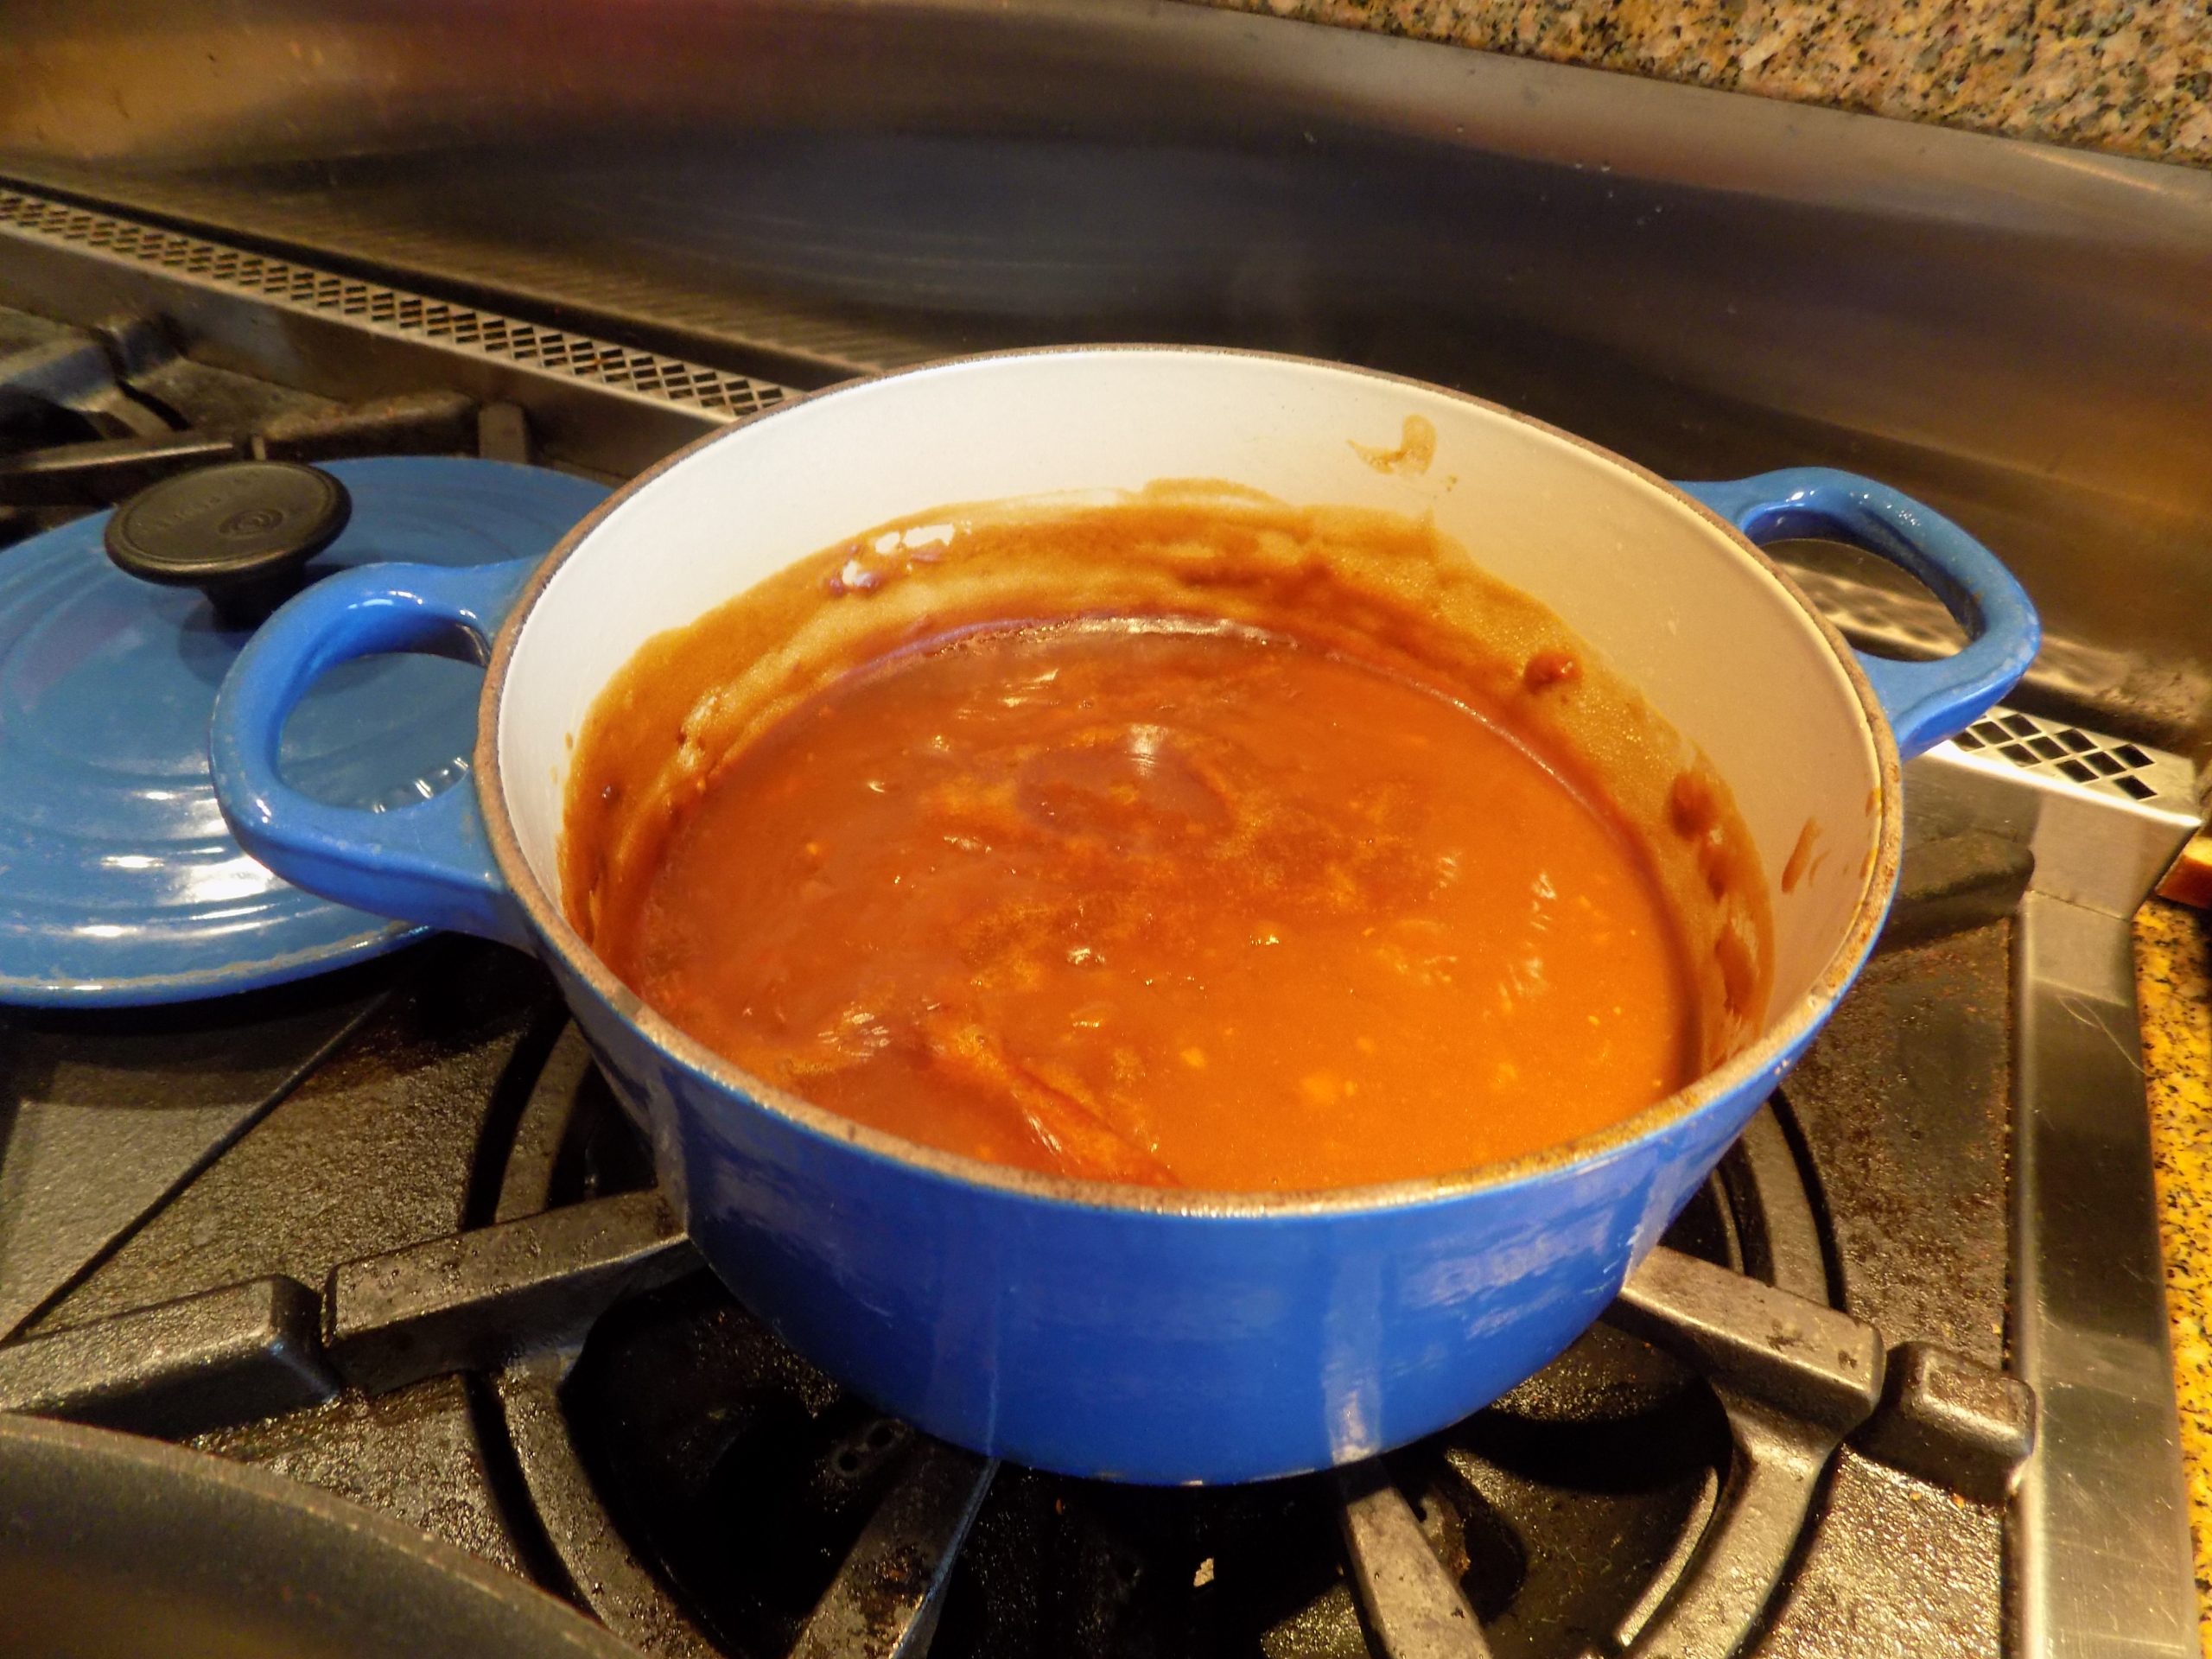
Egg Fu Yung Gravy:
¼ c. vegetable oil
¼ c. finely diced onion
6 med. button mushrooms, chopped well (or the equivalent in chopped shiitake mushrooms)
2 garlic cloves, finely minced
¼ c. flour
1 tsp. granulated sugar
pinch white pepper
2 c. water
3 tsp. chicken or vegetable base (I use Better Than Bouillon bases)
2 T. dark soy sauce
2 tsp. toasted sesame oil
Heat the vegetable oil in a frying pan. Add the onion, mushrooms, and garlic and cook until the garlic starts to brown. Whisk in the flour and cook for at least one minute. As it cooks whisk in the sugar and white pepper.
Slowly whisk in the water and chicken base. Cook until nice large bubbles appear. Then stir in the soy sauce and cook for another minute. Taste and adjust seasoning. Just before serving, whisk in the sesame oil.
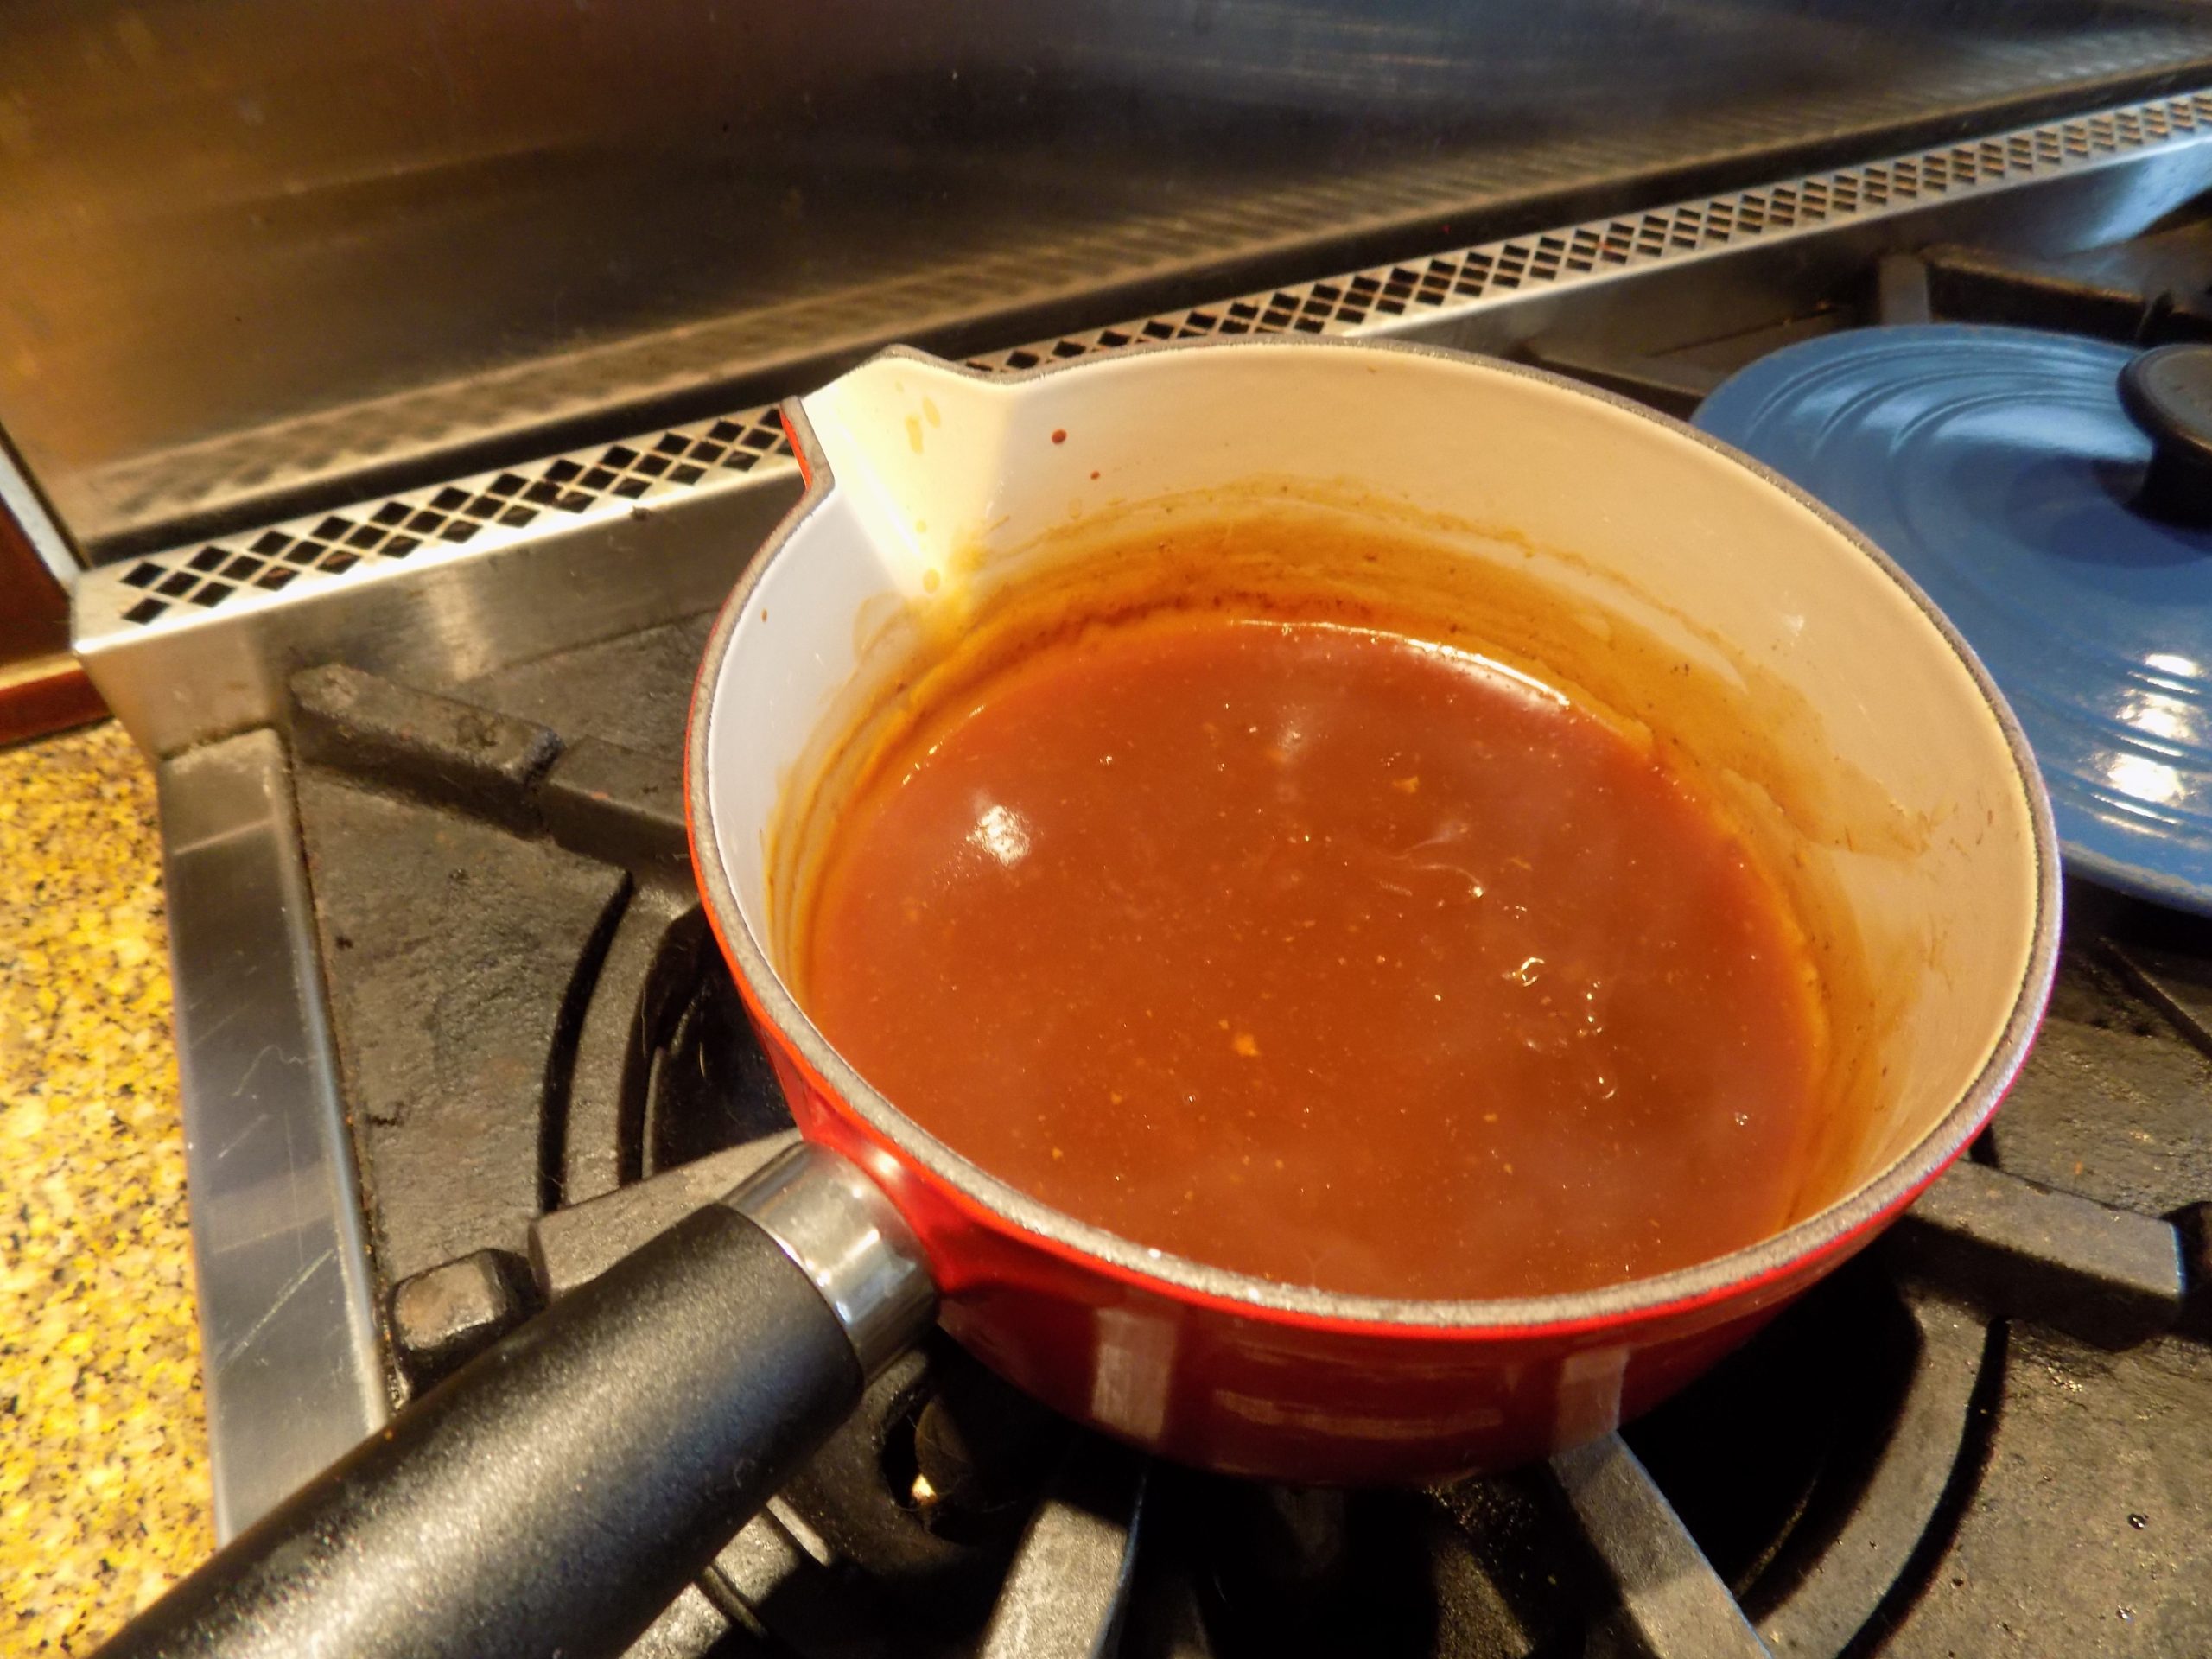
Simple Egg Fu Yung Sauce:
4 tsp. cornstarch
1 c. beef broth or 1 cup water and 1 teaspoon beef
2 T. soy sauce
Combine all sauce ingredients in a small pan and heat to a boil, stirring constantly. Boil for 1 minute; serve hot.
SHRIMP Egg Fu Yung:
2 T. vegetable oil, divided
3-4 button mushrooms, chopped
⅓ c. thinly sliced celery
1 sm. garlic clove, finely minced
6 eggs
½ c. bean sprouts
3 green onions, thinly sliced, divided
4 oz. chopped raw shrimp
¼ tsp. kosher salt
pinch white pepper
1 tsp. sesame oil
sesame seeds, opt. garnish
steamed rice
Heat 1 tablespoon of the vegetable oil in a very large, non-stick pan. Cook the mushrooms and celery until just starting to get soft. Add the garlic and cook for 30 seconds. Remove from heat and set aside.
Whisk eggs in a bowl. Add the beansprouts, ¾ of the green onions, raw shrimp, salt, and pepper. Add the cooked mushrooms, celery, and garlic.
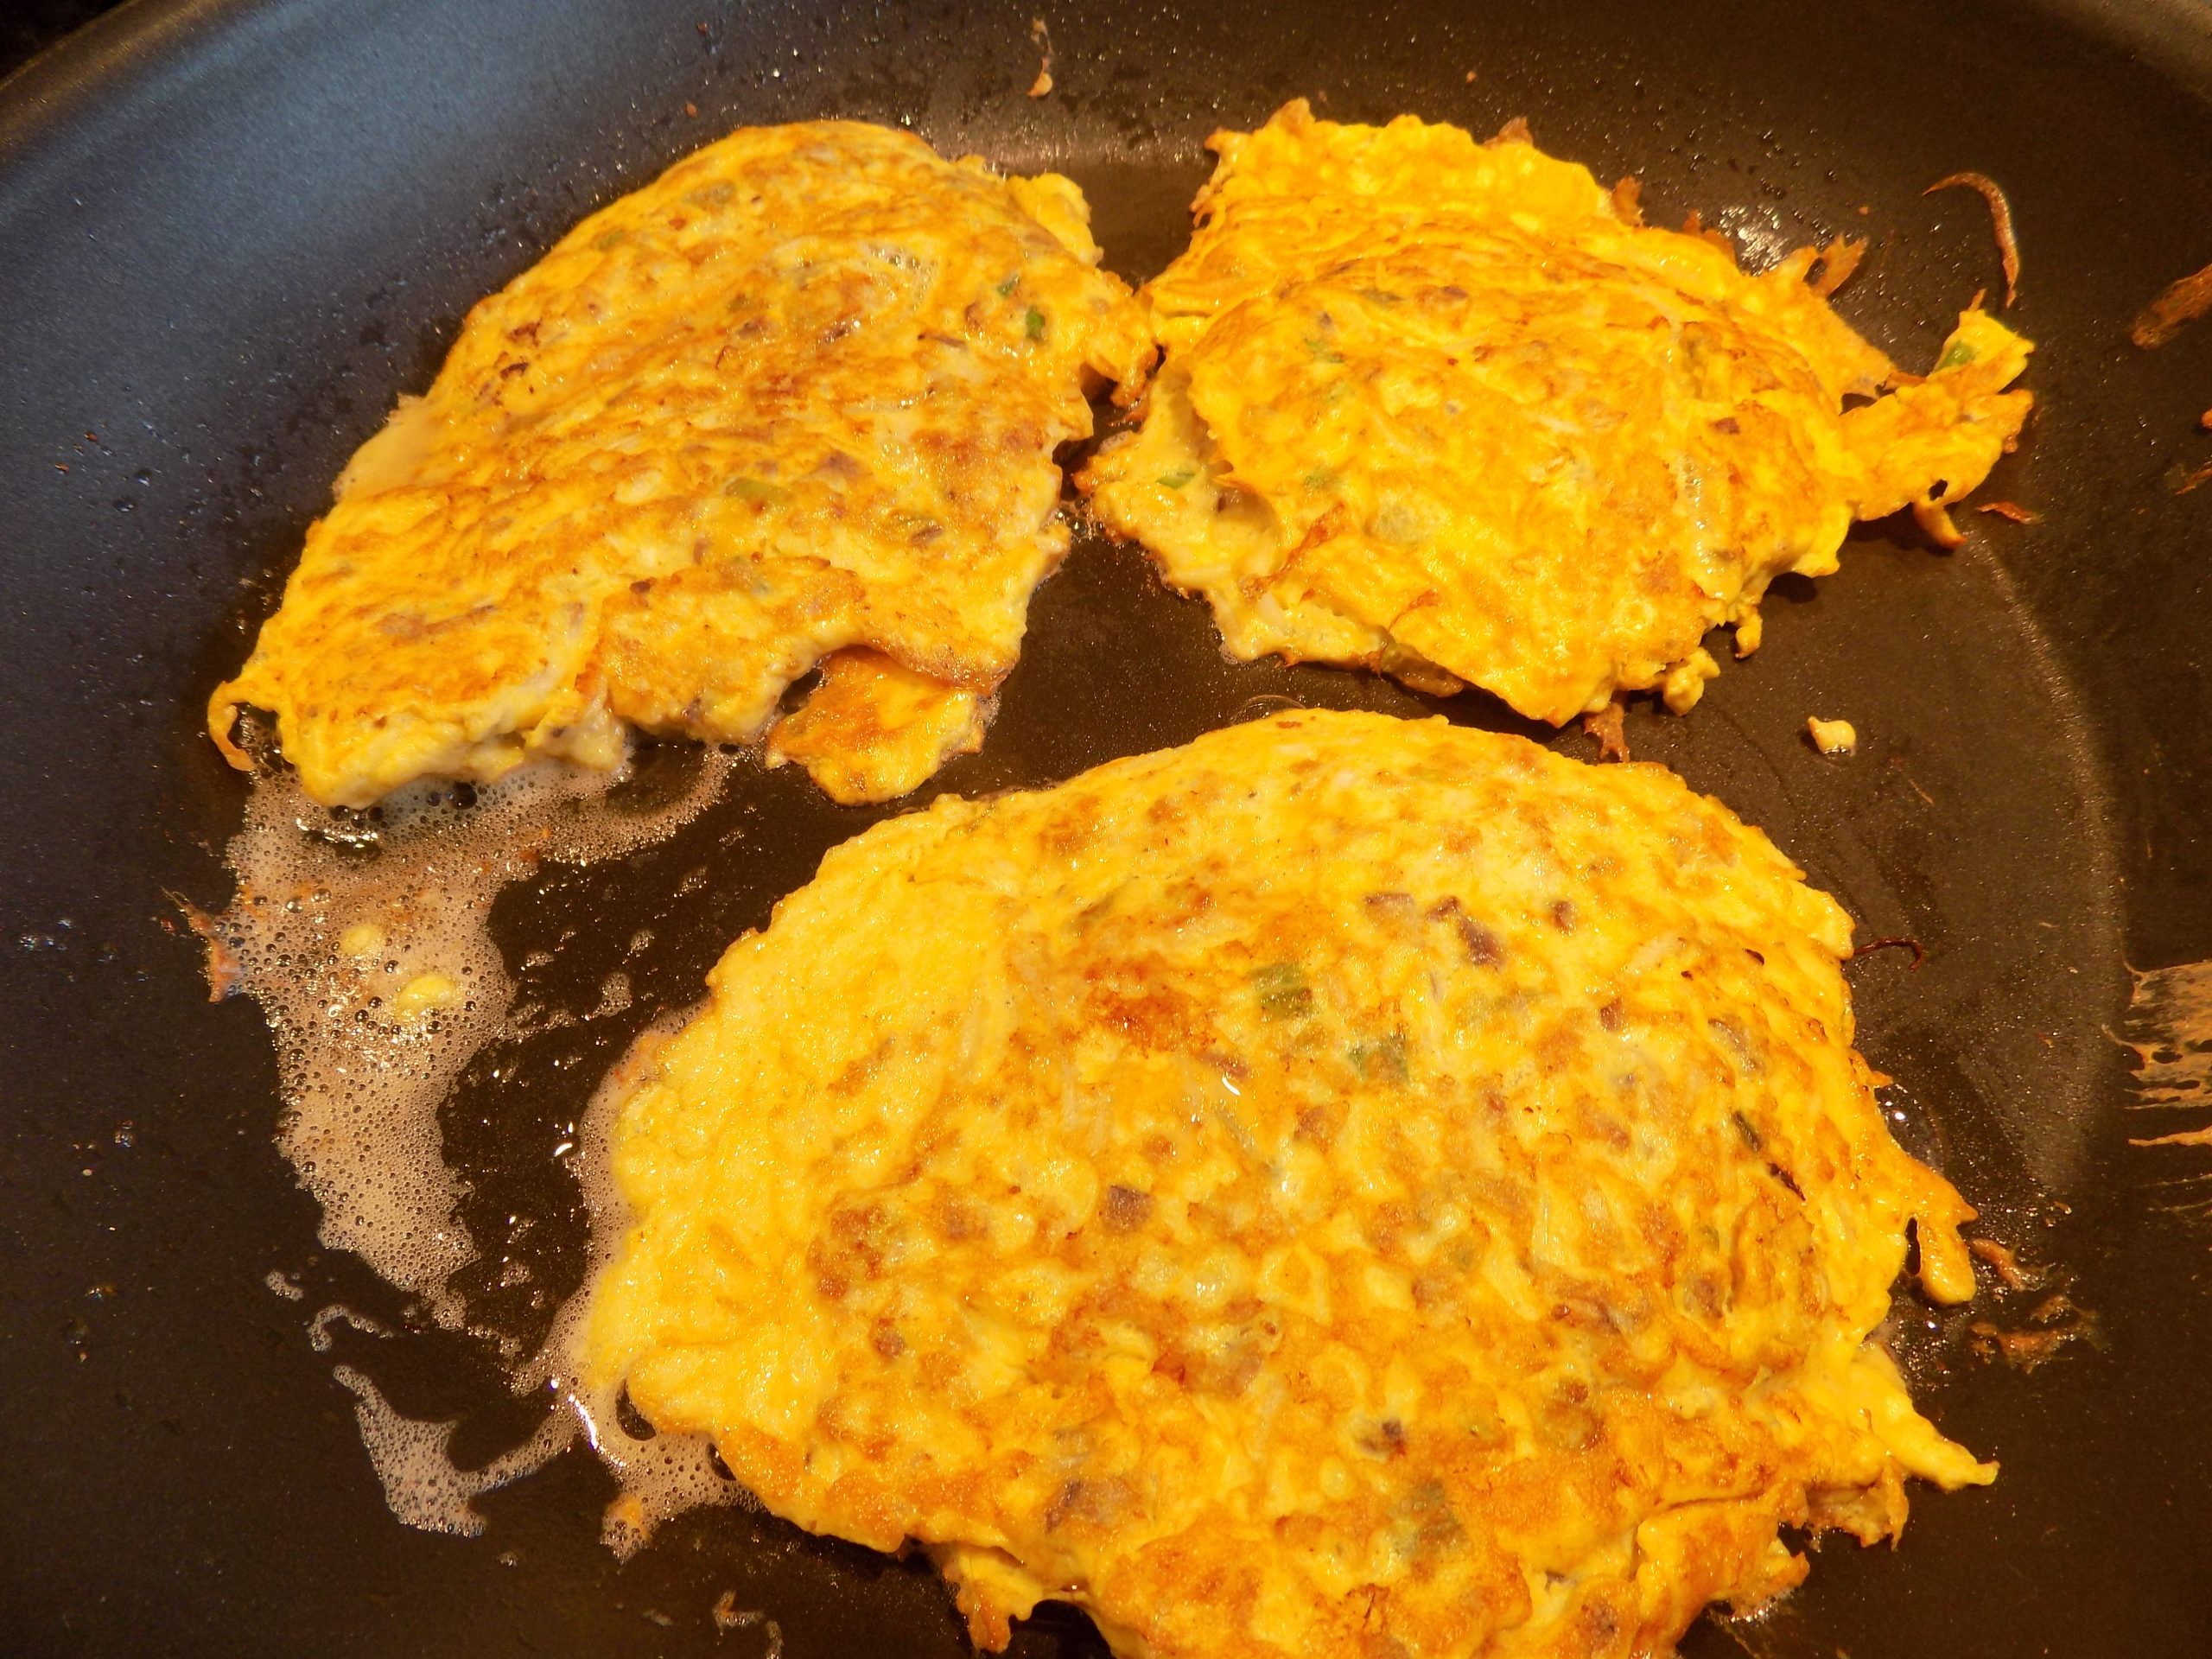
Heat remaining 1 tablespoon vegetable oil and sesame oil in the same very large pan and set over medium heat. (Use additional oil if you feel there isn’t enough in the pan. Especially if your pan is quite large.) Ladle in ¼ of the batter for each egg fu yung. Use a spatula to push edges in to form 4 round(ish) shapes. As mixture sets at the edges, with spatula, gently keep the egg mixture together as if you were corralling sheep.
Cook until the undersides are medium golden brown then flip and cook the other sides again until nicely browned. (The raw shrimp will cook during this time.)
Slide omelets onto plates. Dribble on some of the gravy. Then sprinkle with sesame seeds and remaining green onion slices. Serve with a side of rice and the remaining gravy or sauce.
Note: You can use any combination of meat/seafood and veggies. Use a total of 2 to 2½ cups of protein/veggies for 6 eggs.
PORK Egg Fu Yung:
4 oz. ground pork
½ tsp. soy sauce
½ tsp. oyster sauce
¼ tsp. sugar
dash sesame oil
2 T. vegetable oil, divided
3-4 button mushrooms, thinly sliced
⅓ c. thinly sliced celery
1 sm. garlic clove, finely minced
6 eggs
½ c. bean sprouts
3 green onions, thinly sliced, divided
¼ tsp. kosher salt
pinch white pepper
1 tsp. sesame oil
sesame seeds, opt. garnish
steamed rice
Place pork in a bowl. Mix in the soy sauce, oyster sauce, sugar, and sesame oil. Set aside.
Heat 1 tablespoon of the vegetable oil in a very large, non-stick pan. Cook the mushrooms and celery until just starting to get soft. Add the garlic and cook for 30 seconds. Remove from heat and set aside.
Whisk eggs in a bowl. Add the beansprouts, ¾ of the green onions, salt, and pepper. Add the pork mixture crumbled into the egg mixture with your fingers. Add the cooked mushrooms, celery, and garlic.
Heat remaining 1 tablespoon vegetable oil and sesame oil in the pan and set over medium heat. Ladle in ¼ of the batter for each egg fu yung. Use a spatula to push edges in to form 4 round(ish) shapes. As mixture sets at the edges, with spatula, gently keep the egg mixture together as if you were corralling sheep.
Cook until the undersides are medium golden brown then flip and cook the other sides again until nicely browned. (The raw pork will cook nicely during this time.)
Slide omelets onto plates. Dribble with gravy then sprinkle with sesame seeds and remaining green onion slices. Serve with a side of rice and prepared gravy or sauce.
Note: You can use any combination of meat/seafood and veggies. Use a total of 2 to 2½ cups of protein/veggies for 6 eggs.