Category Archives: PATTI CAKES

CHOCOLATE CHERRY CAKE (almost from scratch)  

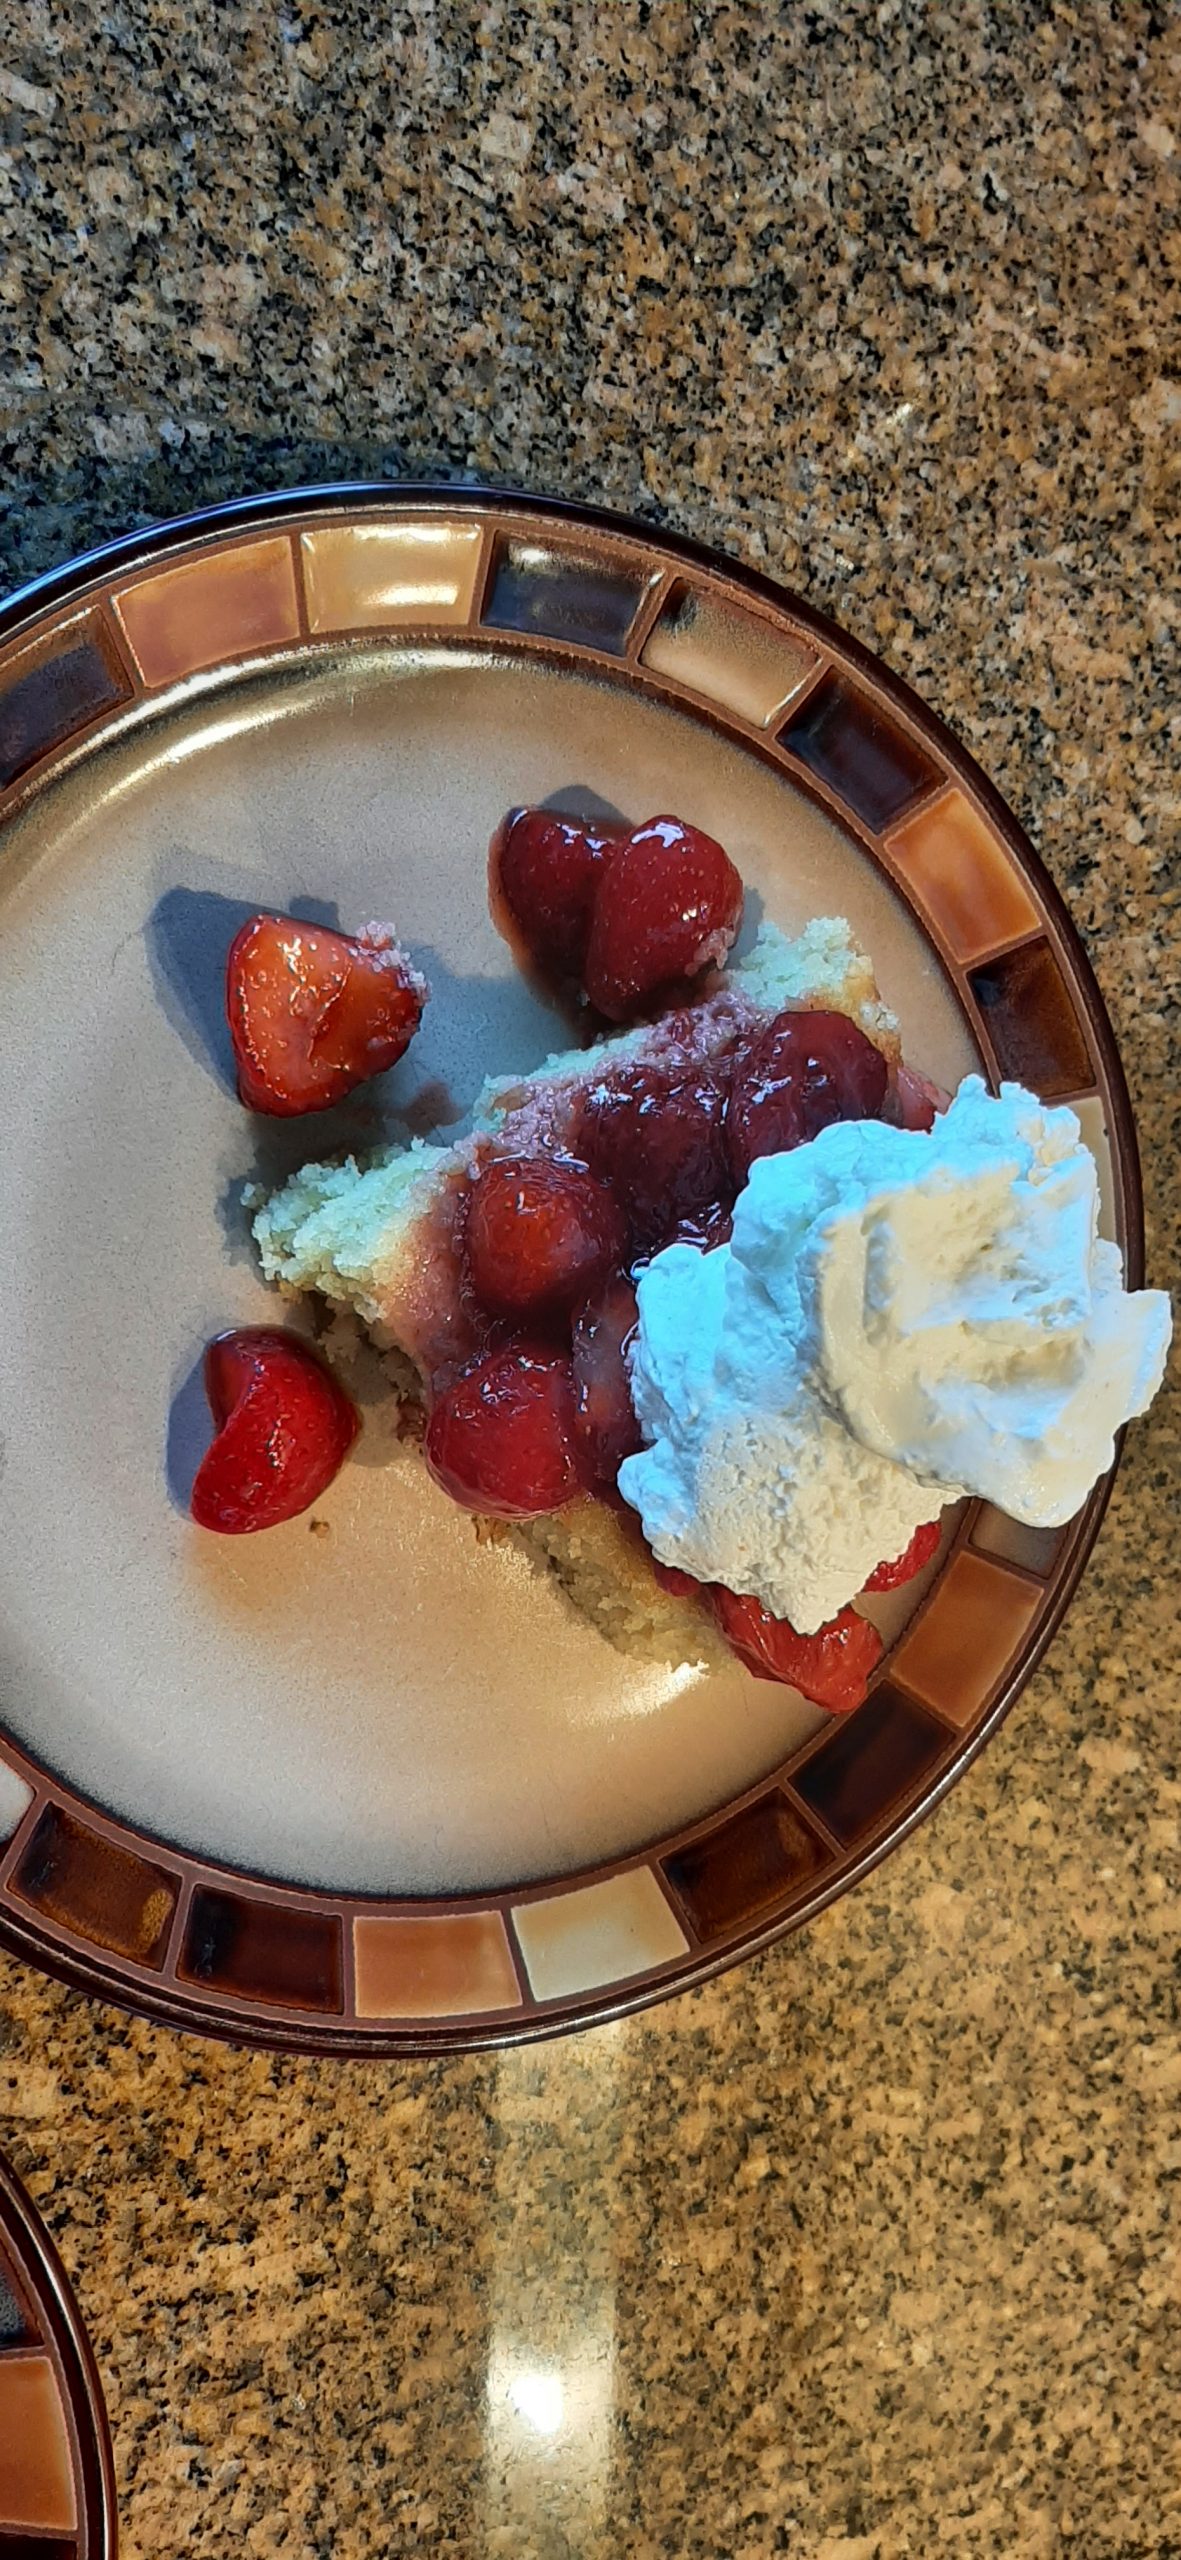
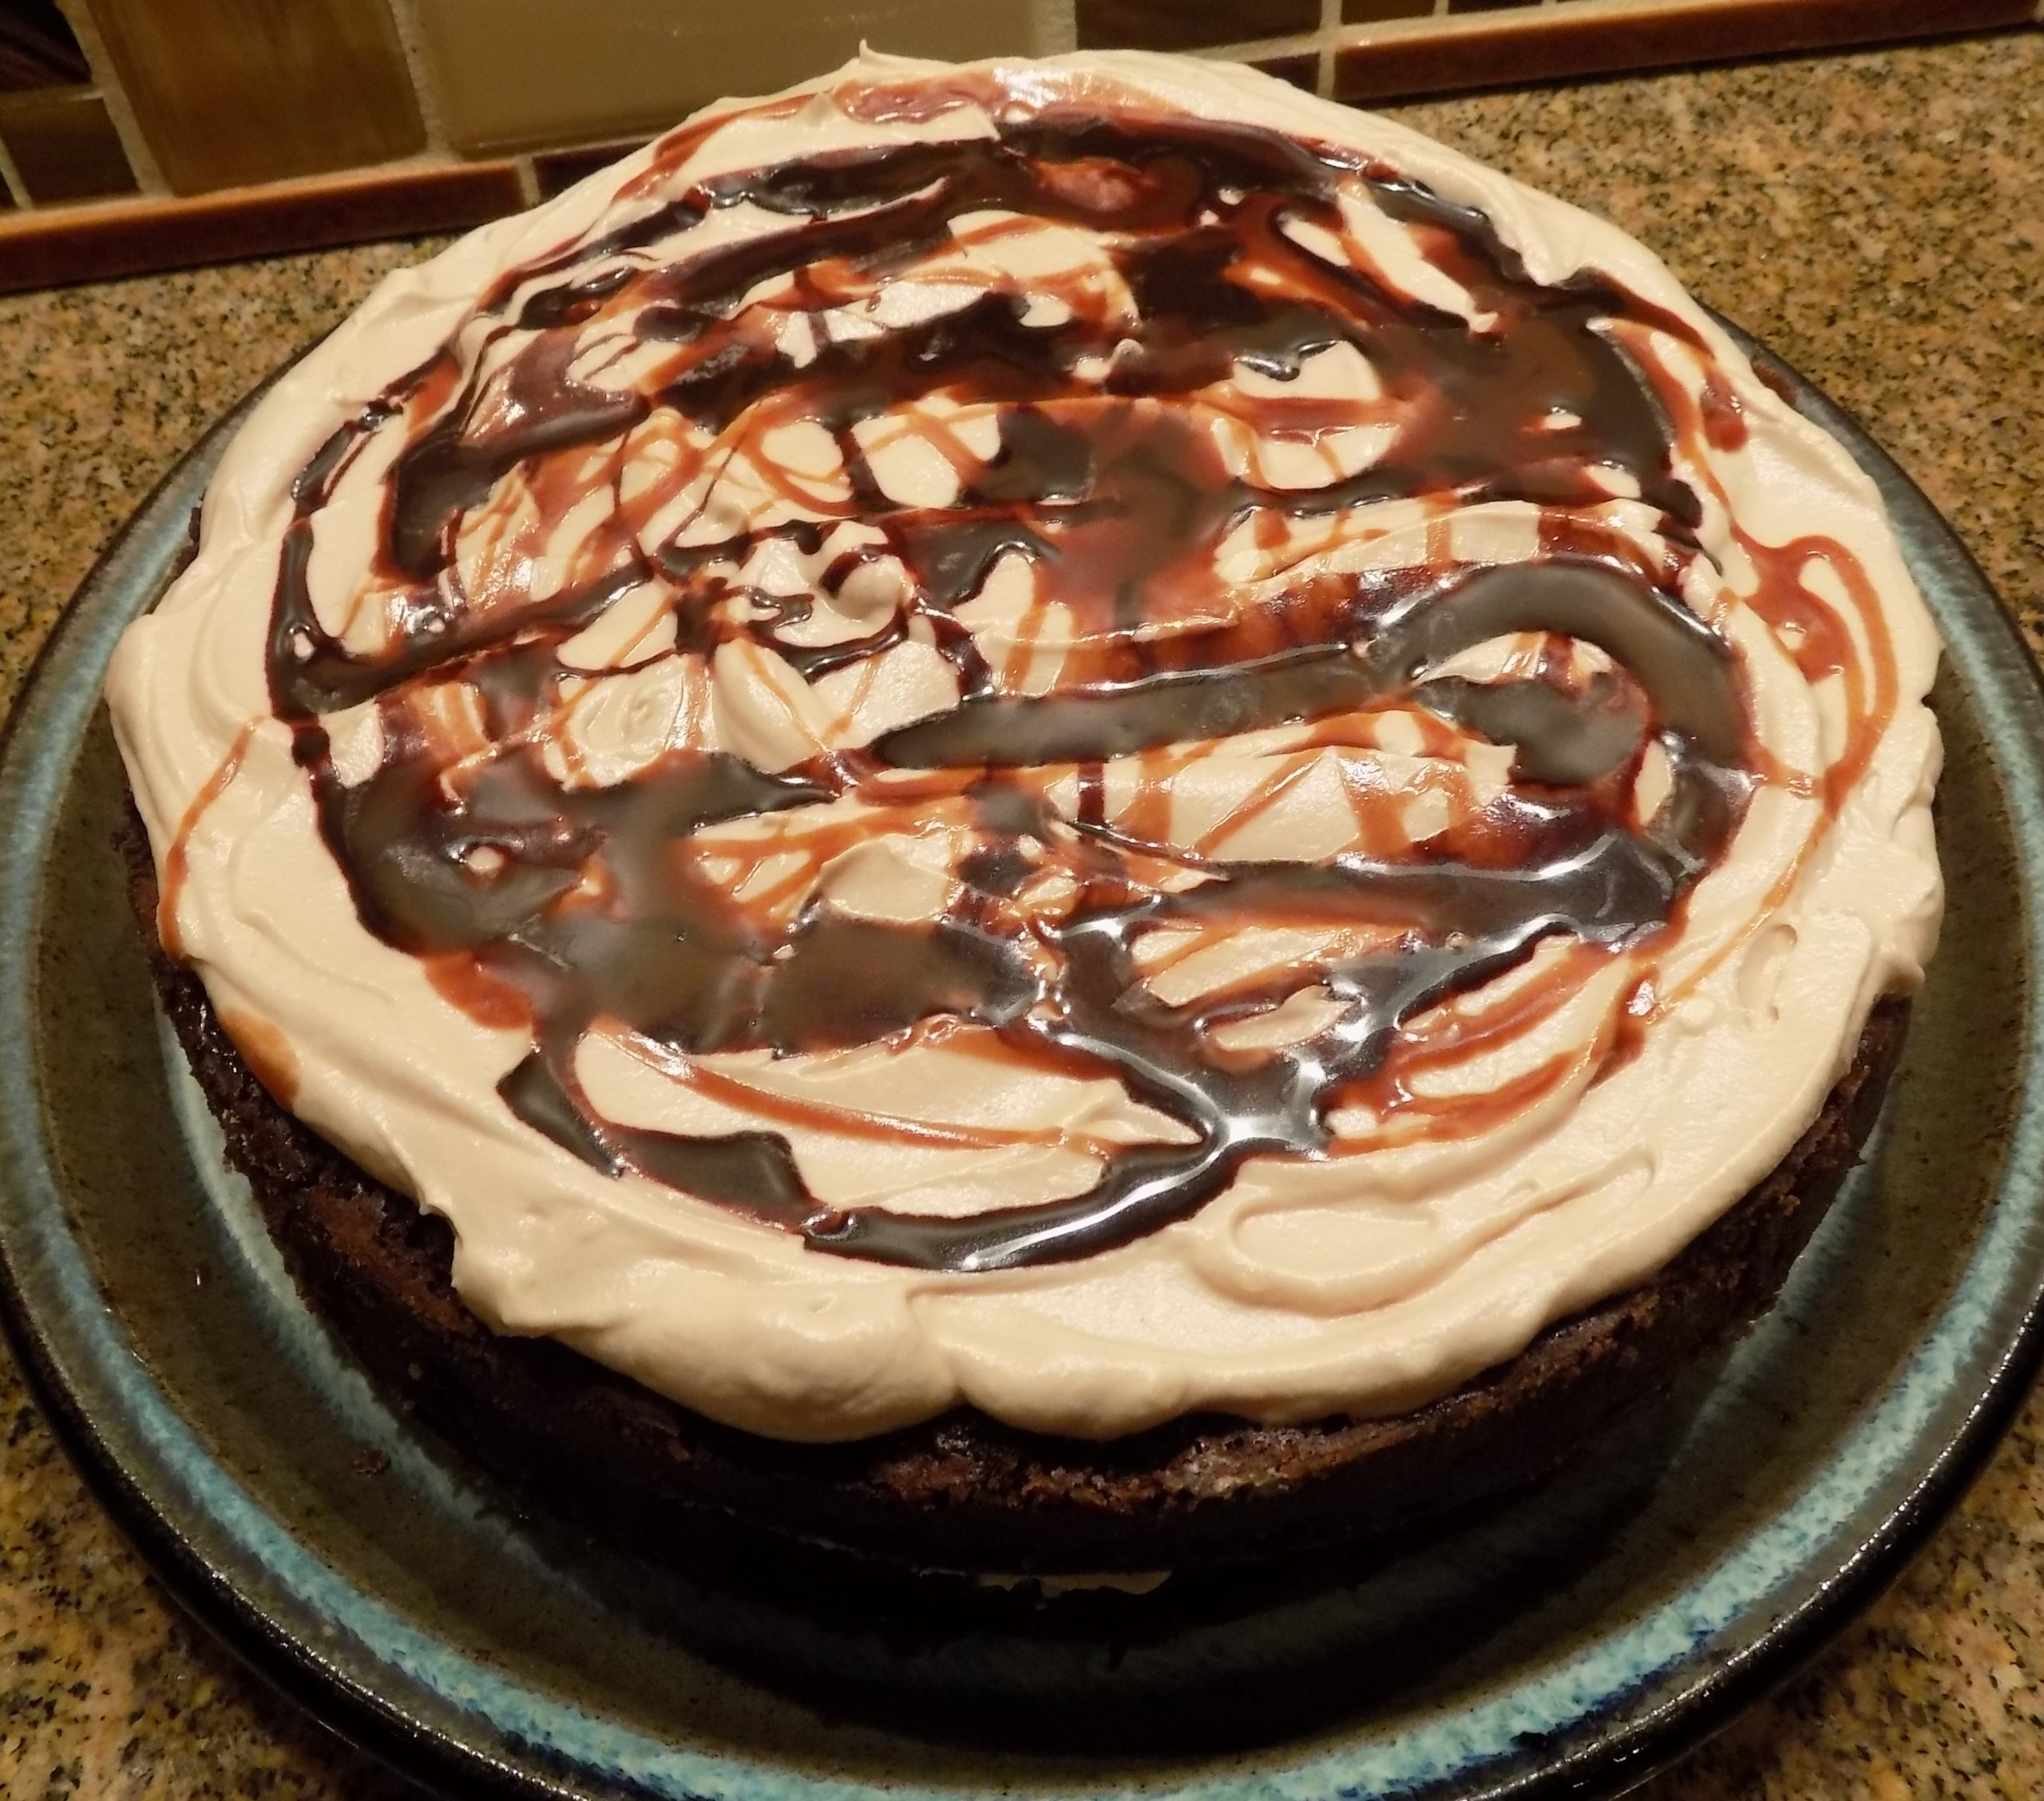
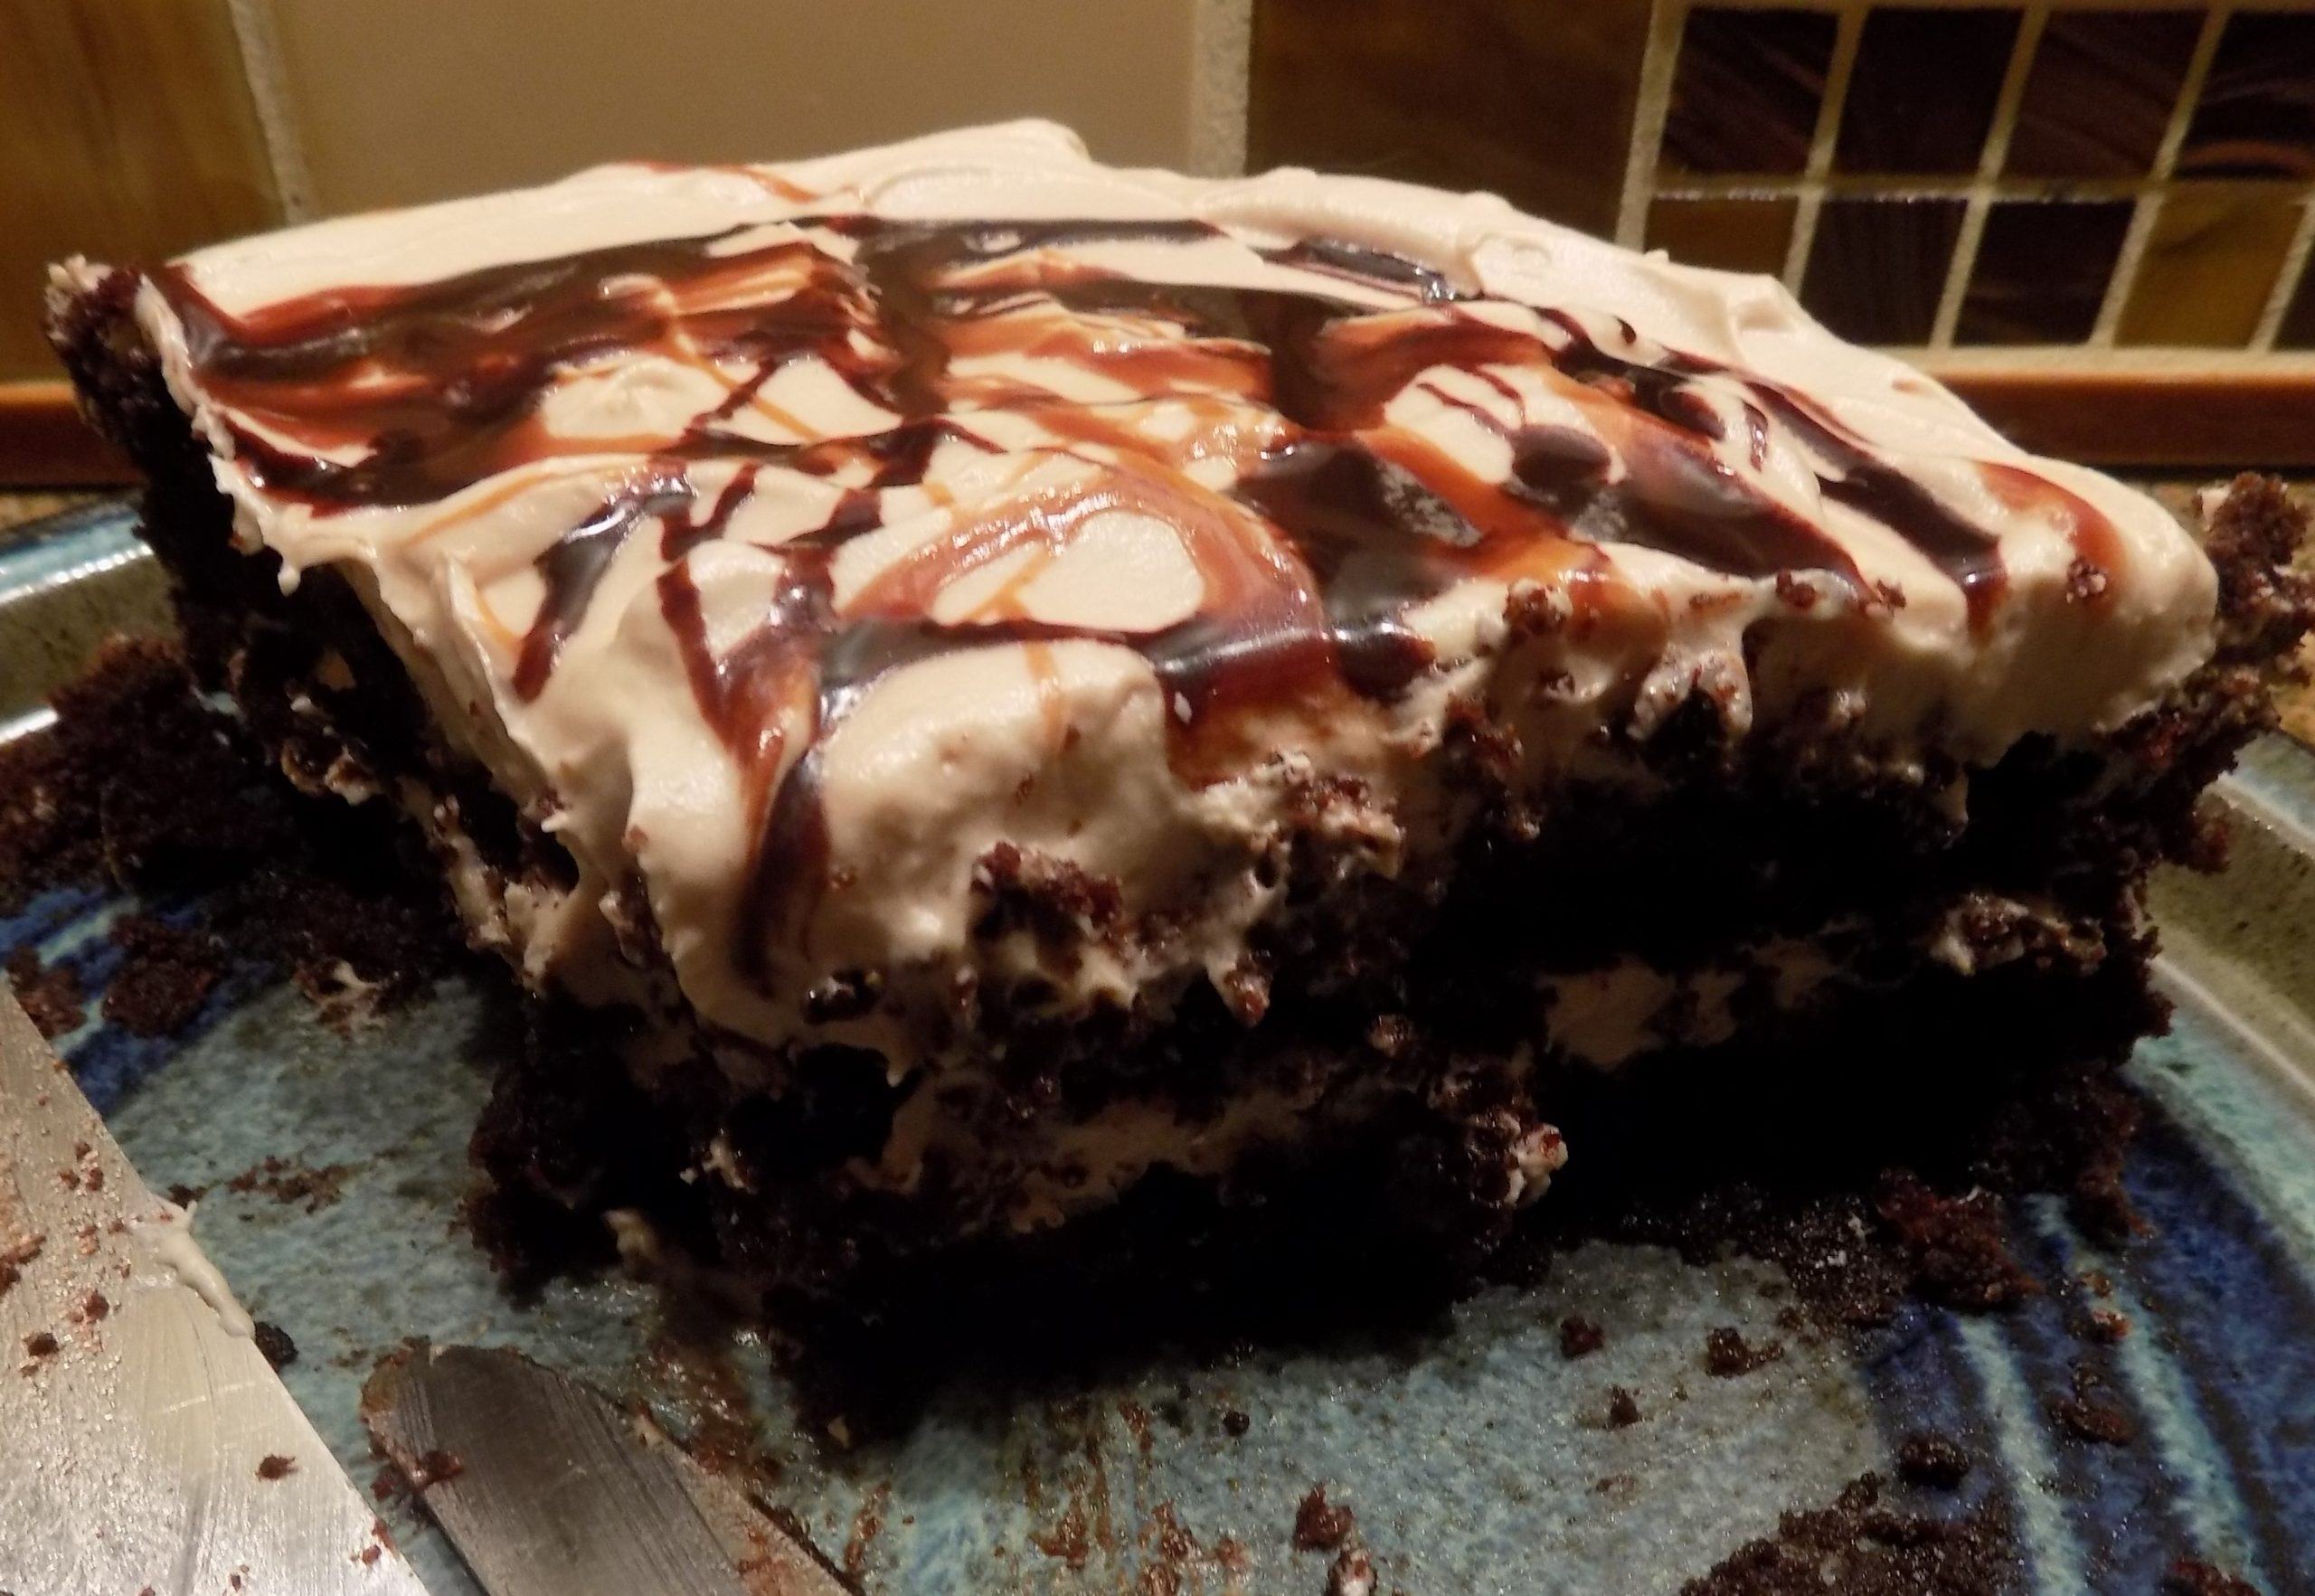
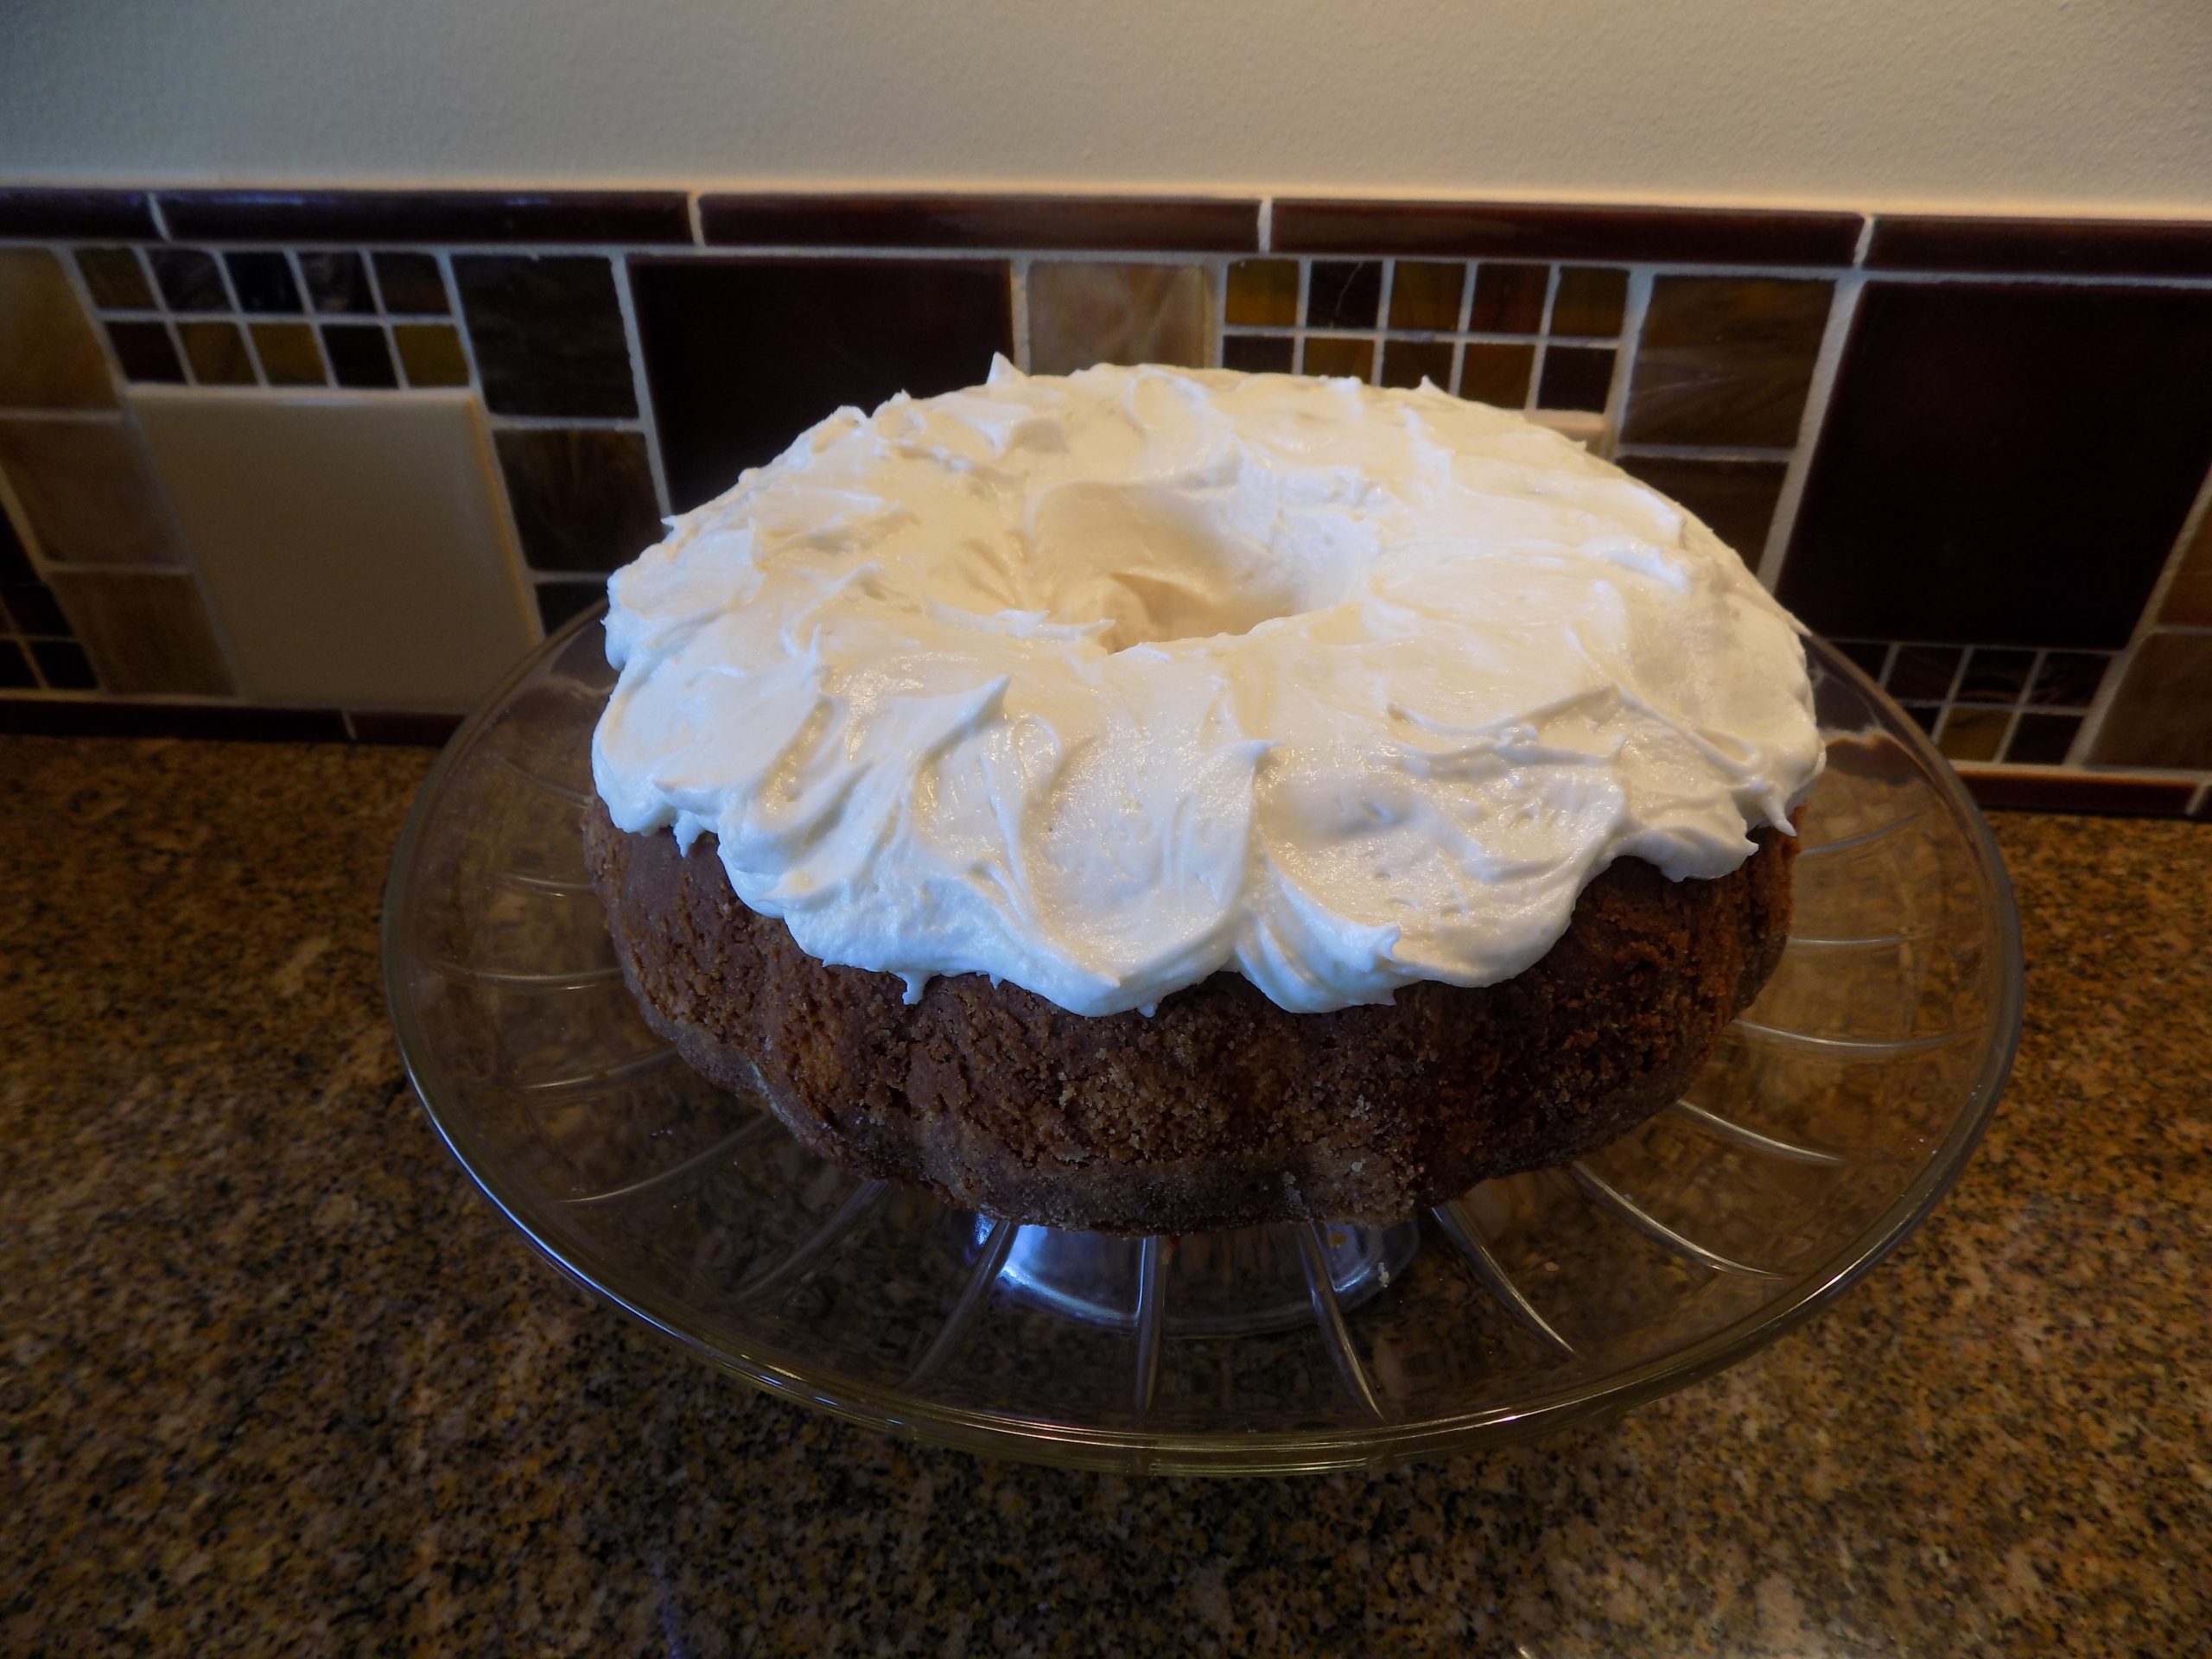
This past Sunday, we had our grandson Ivan up for dinner. I asked if there were any special requests. Without hesitation he answered the Chocolate Cherry Cake from my first cookbook. And since he had recently had a birthday, I decided a birthday cake would be absolutely perfect. So, instead of baking this cake in a bundt pan or a 9×13-inch cake pan, I used 2 (8-inch) square pans. One glass and 1 disposable aluminum that I could send home with him.

What a remarkable and wonderful young man he has become. We thoroughly enjoyed his company and can’t wait to spend more time with him. But I had to confess that this was not the original recipe from my cookbook. You can find that recipe using a cake mix under Chocolate Cherry Cake. Oh, and BTW, this recipe makes a much more delicious cake than when a cake mix is used. Go figure!   

Now, having made chocolate cherry cakes using a cake mix for more years than I care to disclose, I decided to go online and see if other bakers more qualified than I am to play mad scientist had come up with an alternative to using a packaged cake mix containing preservatives, artificial flavors, and more sugar than necessary. Another consideration being that some of the leading manufacturers have reduced their cake mixes from around 18 ounces to around 15 ounces. So, using a cake mix at this point is a bit iffy because the proportion of dry ingredients to wet ingredients has now been altered.

Unlike bread dough, where yeast is the leavening agent and you can more easily play fast and loose with additives or deletions, cake batter is a precise combination of ingredients. In fact, a cake recipe is a scientific formula in which the ingredients are combined in a certain way to form the cake’s structure.

So, to the internet I proceeded. And with my guardian angel firmly affixed to my right shoulder, I found this recipe on thesouthernladycooks.com site. Of course, I changed things up a bit, but the main recipe is straight off the site.

The only thing I still want to do is figure out how to make 21 ounces of cherry pie filling from scratch. So, when, and if I succeed, I will add that homemade version to this recipe.

Well, that’s it for today. The morning rain shower has gone elsewhere, and the sun is now shining. There are still clouds in the sky and over the mountains, but Port Susan Bay is blue and calm. The cats are taking their morning siestas, Mr. C. is reading, and I am doing what I love best. Typing up another recipe and sending all of you my best wishes for continued peace and love in your life.

For the cake:

2 c. unbleached all-purpose flour, fluffed

1½ tsp. baking soda 

½ tsp. sea salt

¾ c. pure cocoa

1¼ c. granulated sugar

2 lg. eggs

½ c. (1 stick) unsalted butter, melted

1 c. buttermilk

1 tsp. vanilla extract

1 tsp. almond extract

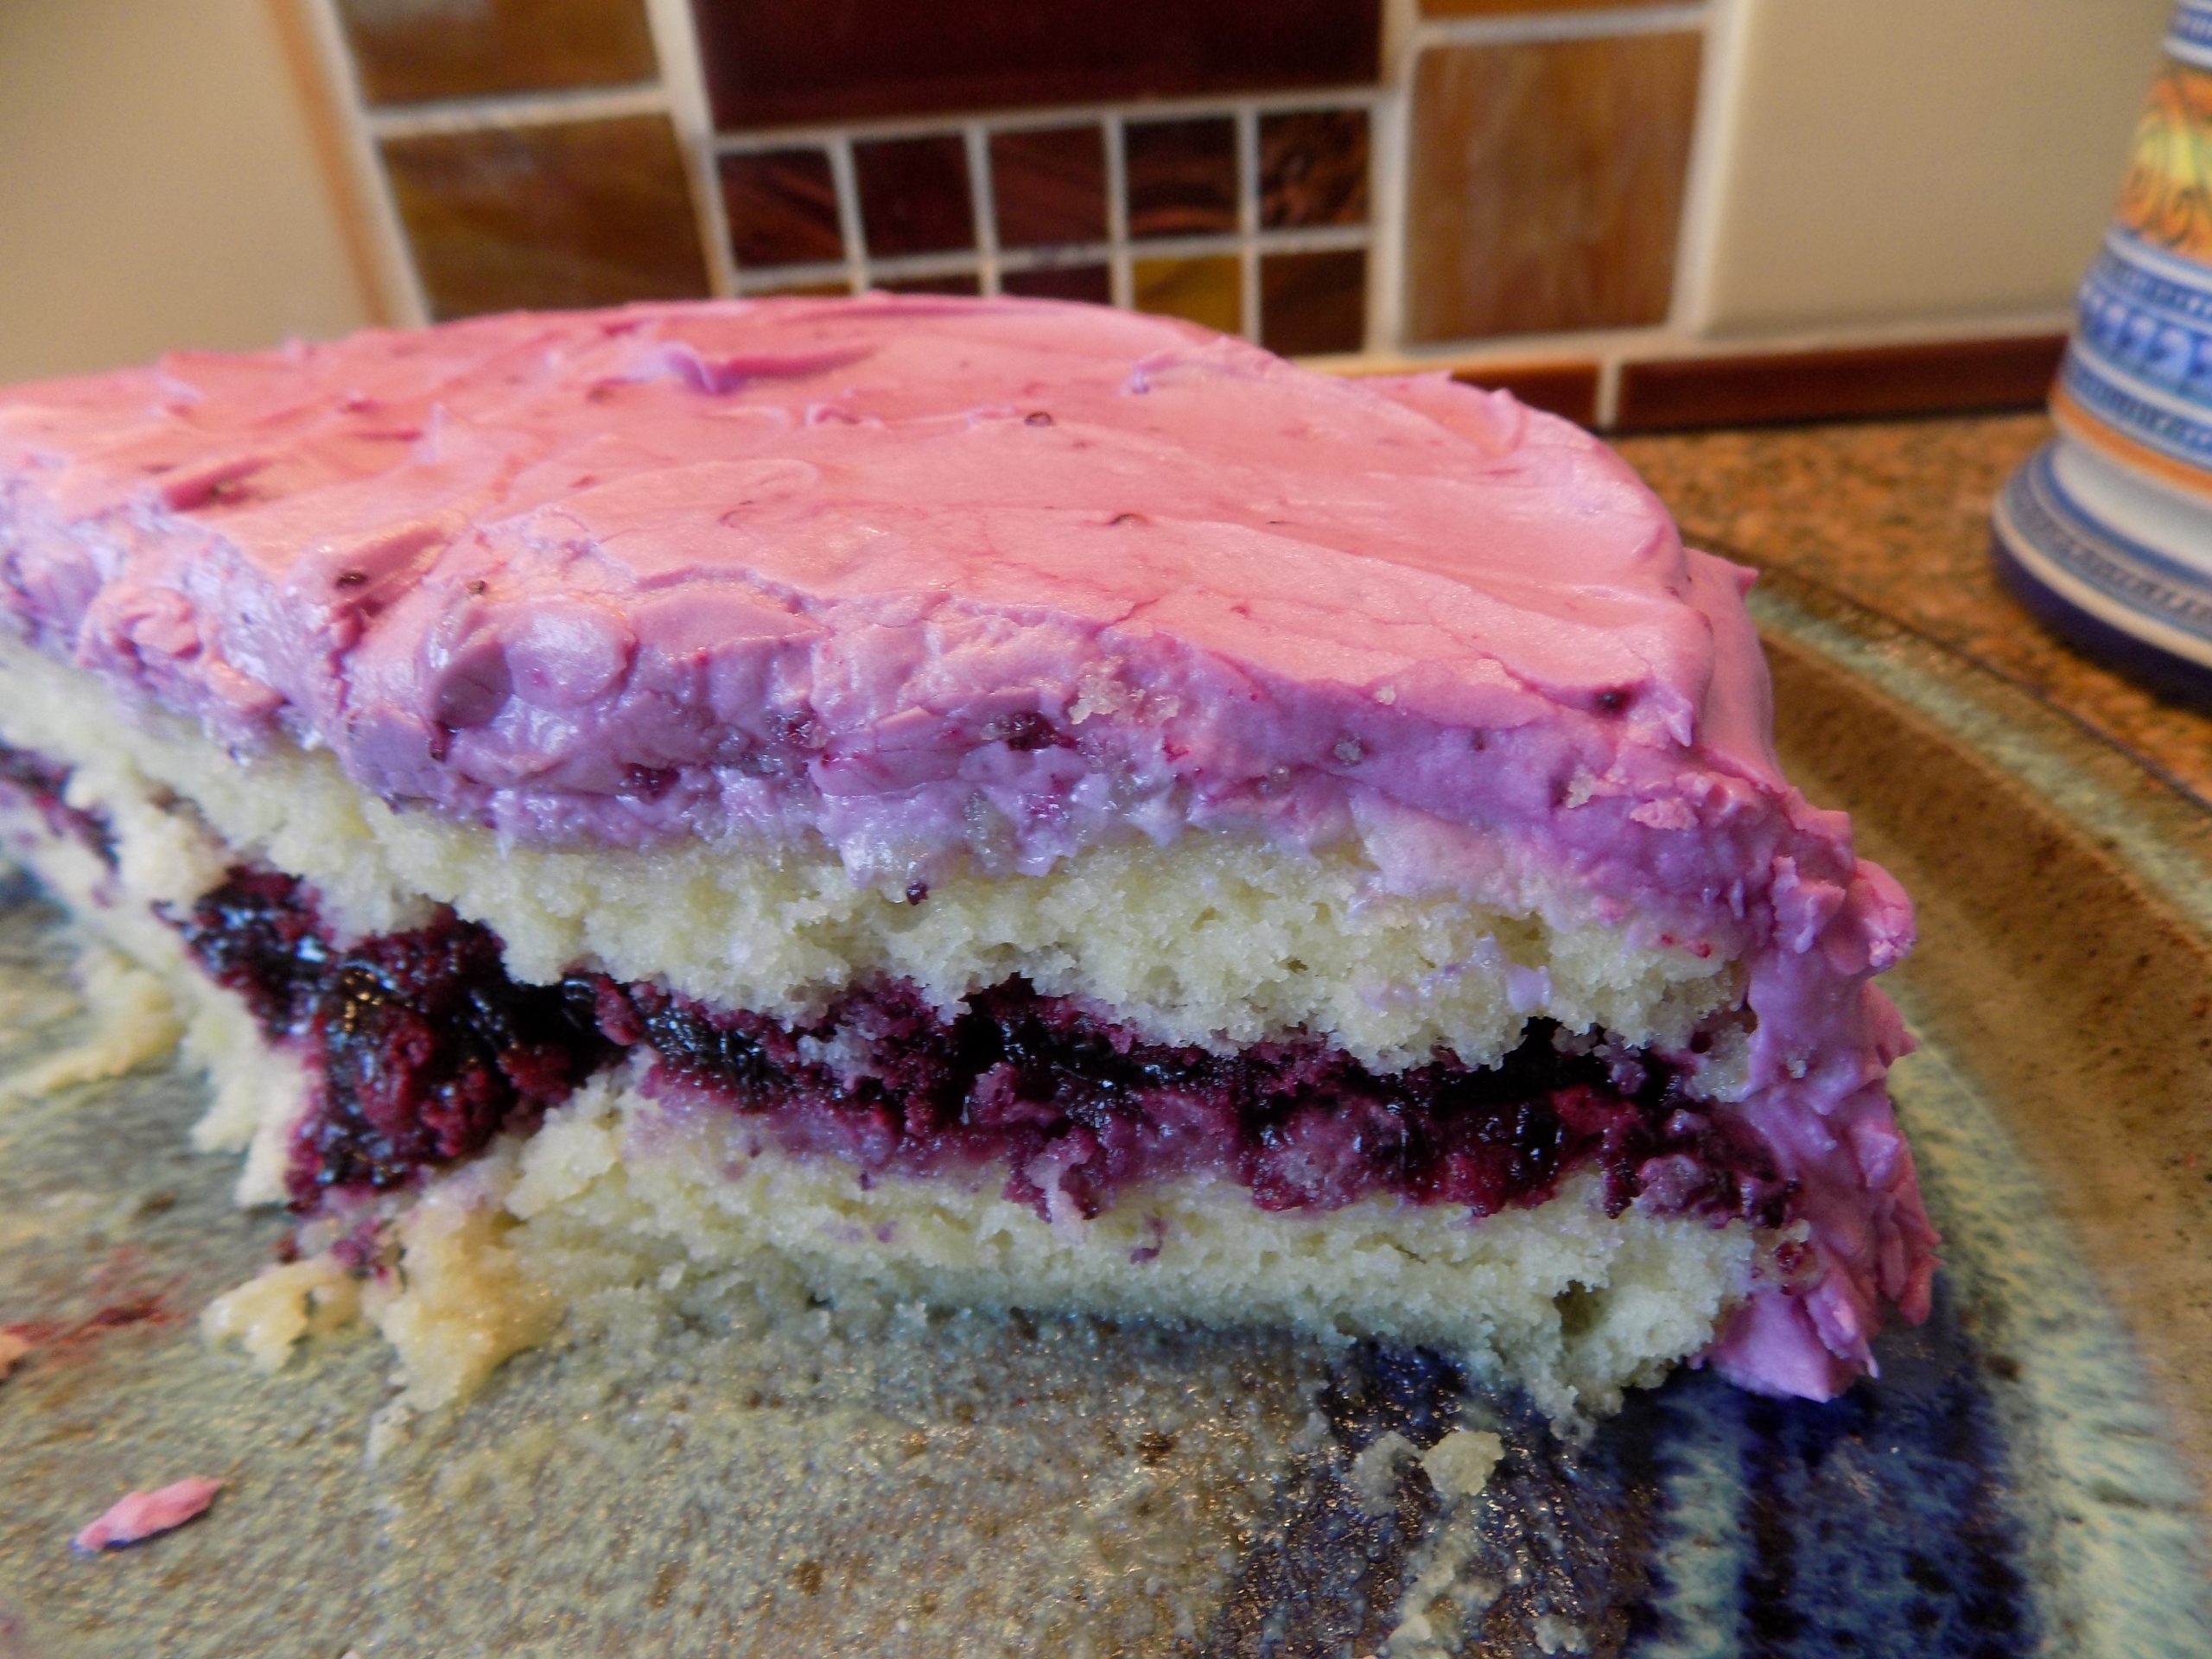
1 (21-oz.) can cherry pie filling

In a large mixing bowl whisk the flour, baking soda, salt, cocoa, and sugar together. Mix the eggs, melted butter, buttermilk, vanilla extract, almond extract, and cherry pie filling together in a separate mixing bowl. (I don’t use a mixer with this recipe.) Add the wet ingredients to the dry ingredients and mix just until all ingredients are wet. 

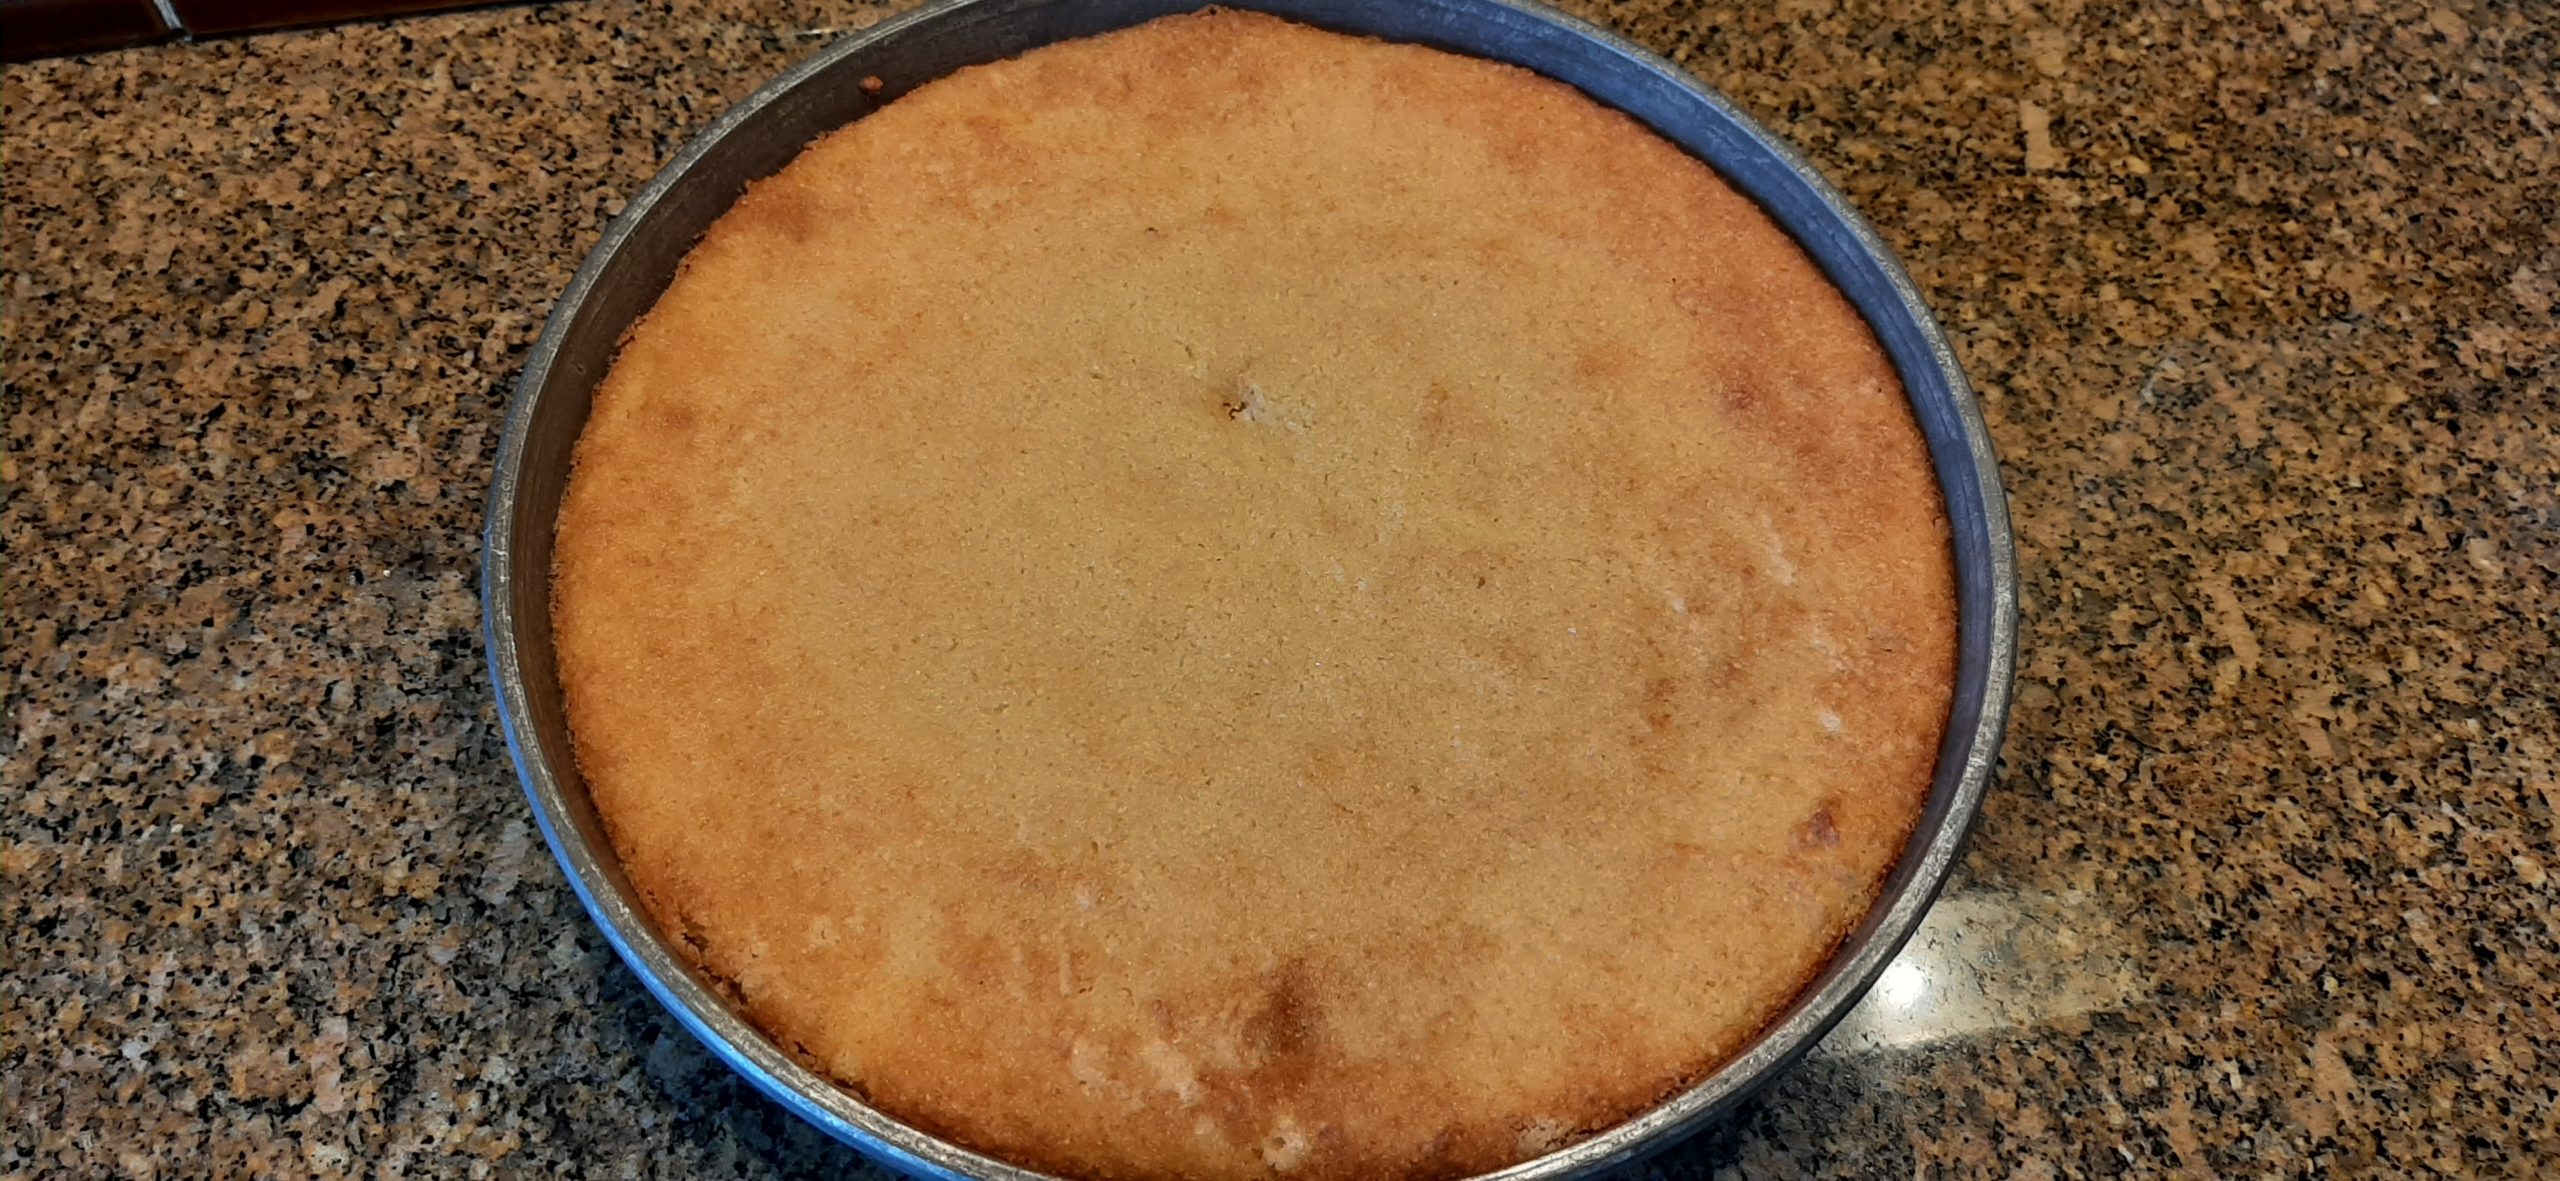
Pour into a lightly greased 9 x 13-inch cake pan. Or prepared bundt pan. Or two 8-inch pans.

Bake in a preheated 350-degree oven for 40-50 minutes or until a pick comes out clean. Don’t overbake.  

Remove from oven and let cake cool before frosting.

For the frosting:

¾ c. granulated sugar

¼ c. evaporated milk

3 T. unsalted butter

pinch salt

½ c. semi-sweet chocolate chips (or chocolate chips of choice)

1 tsp. vanilla extract

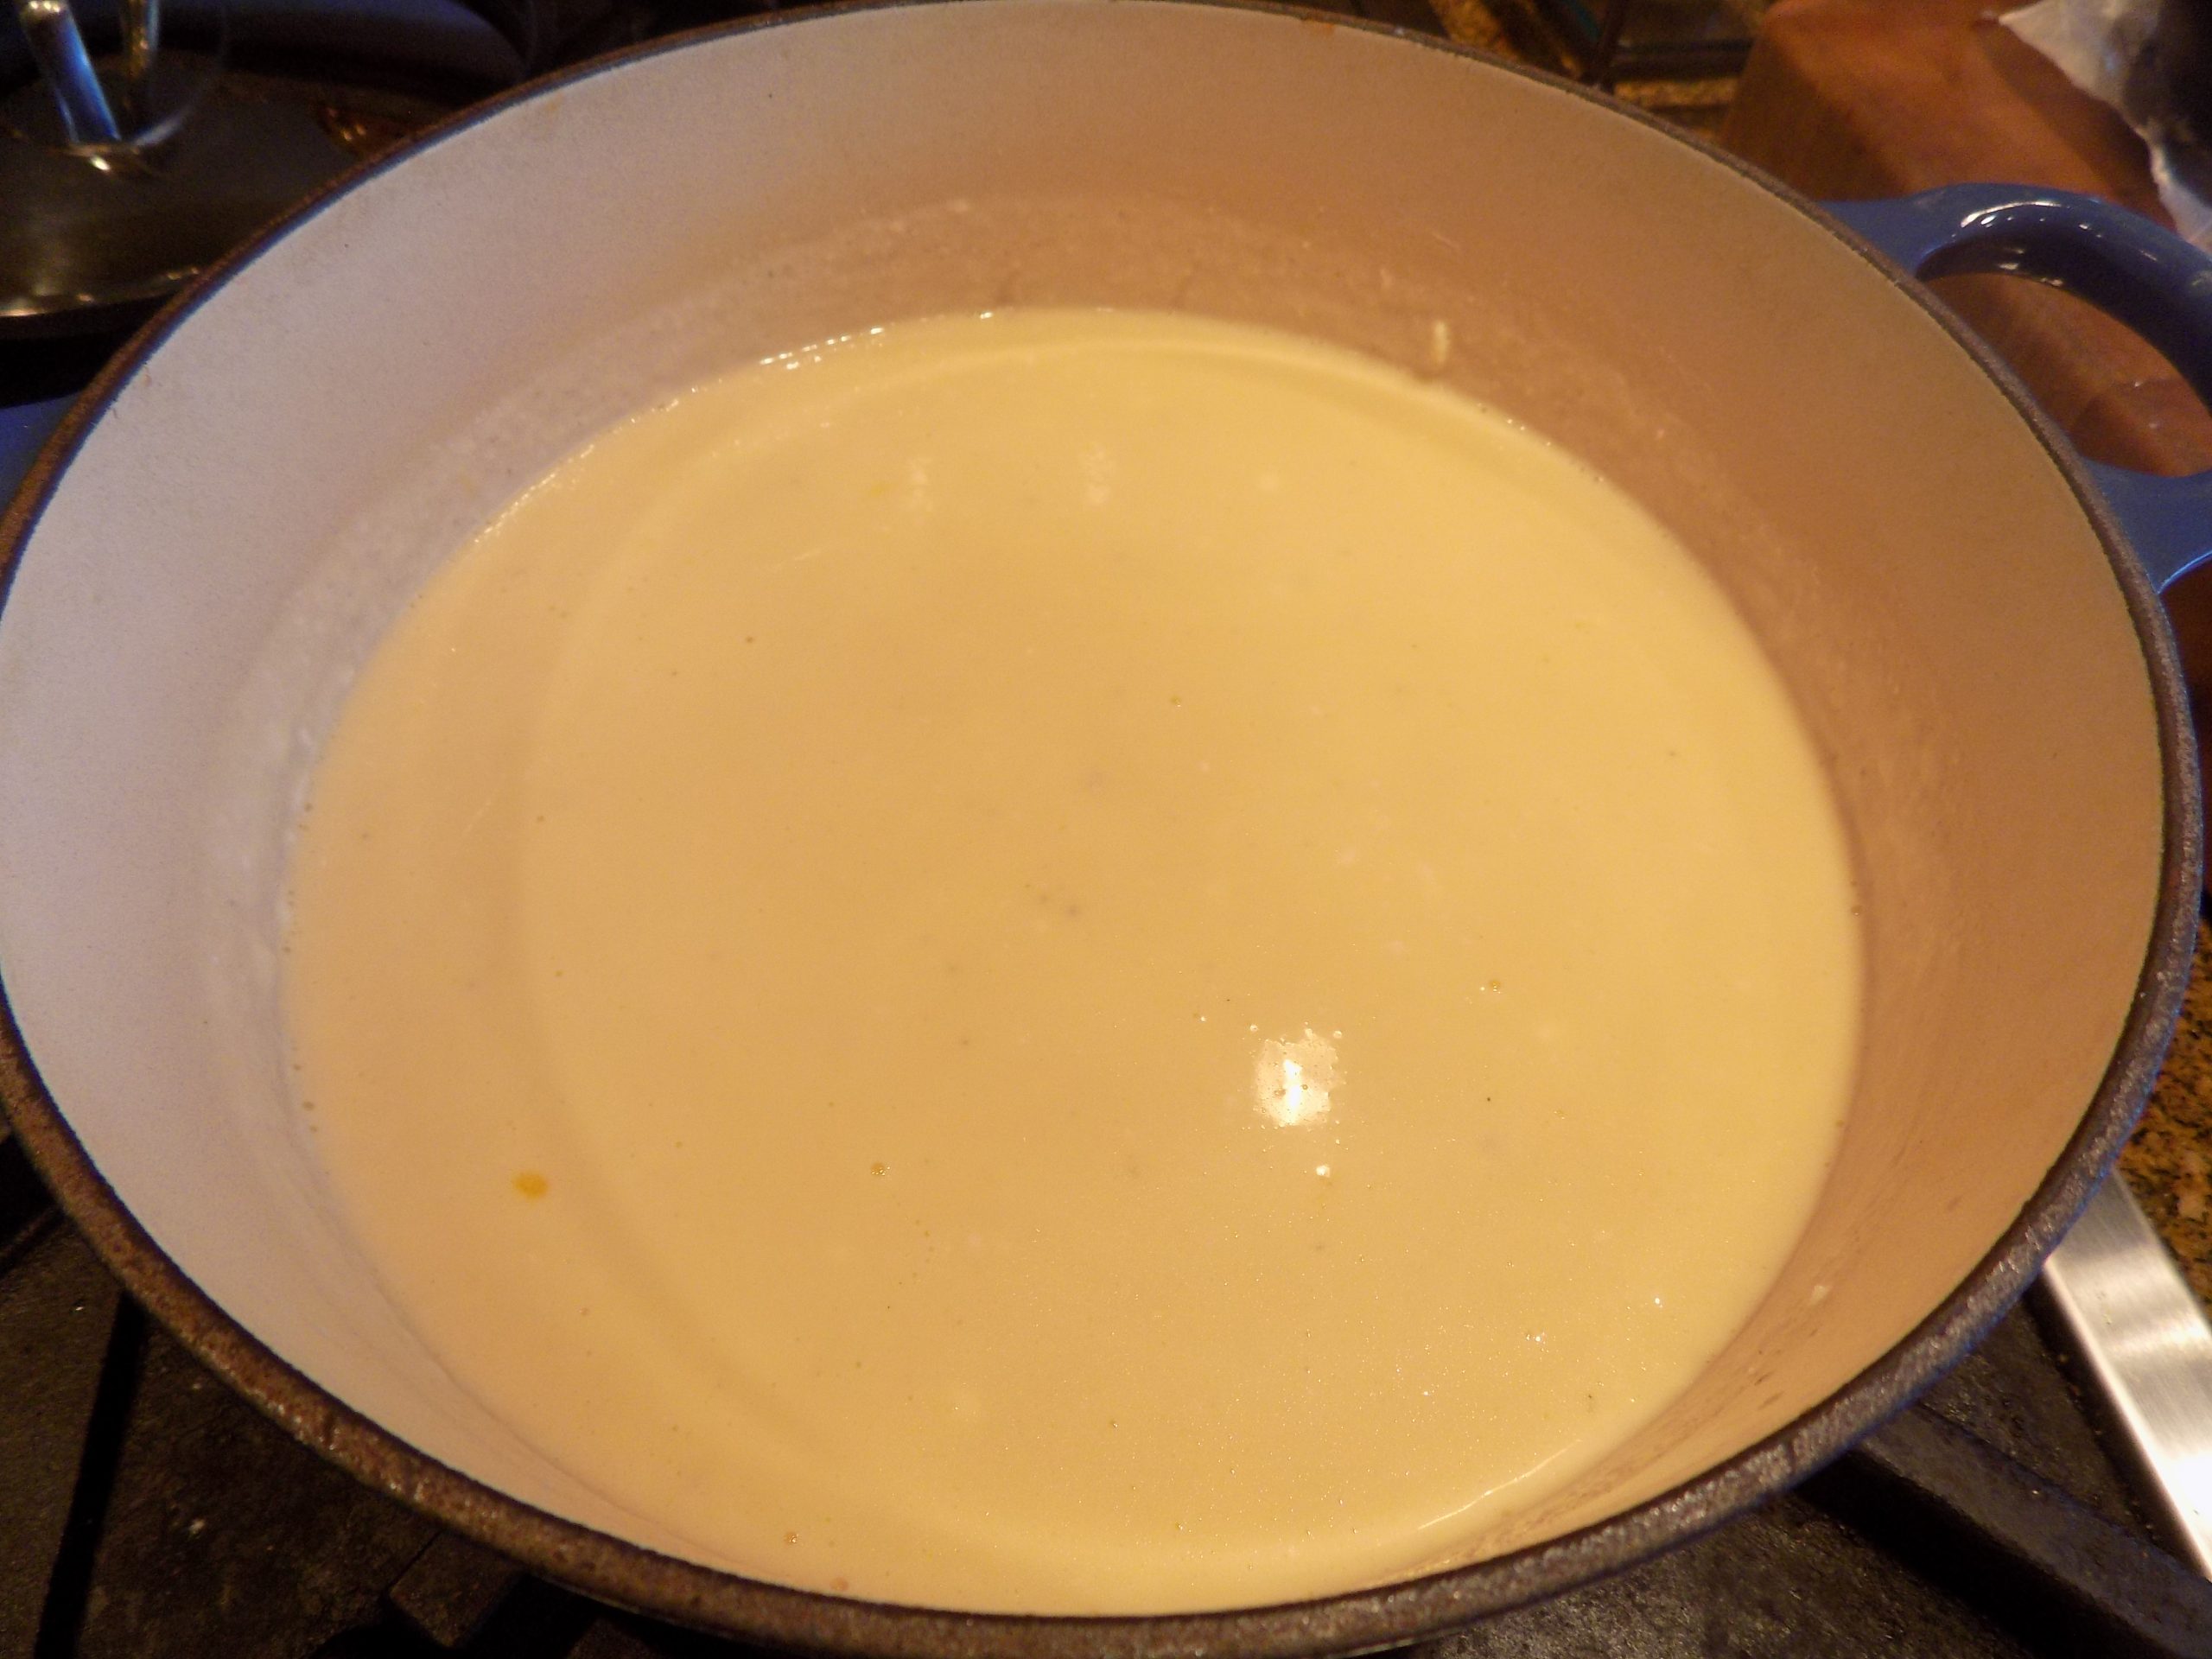
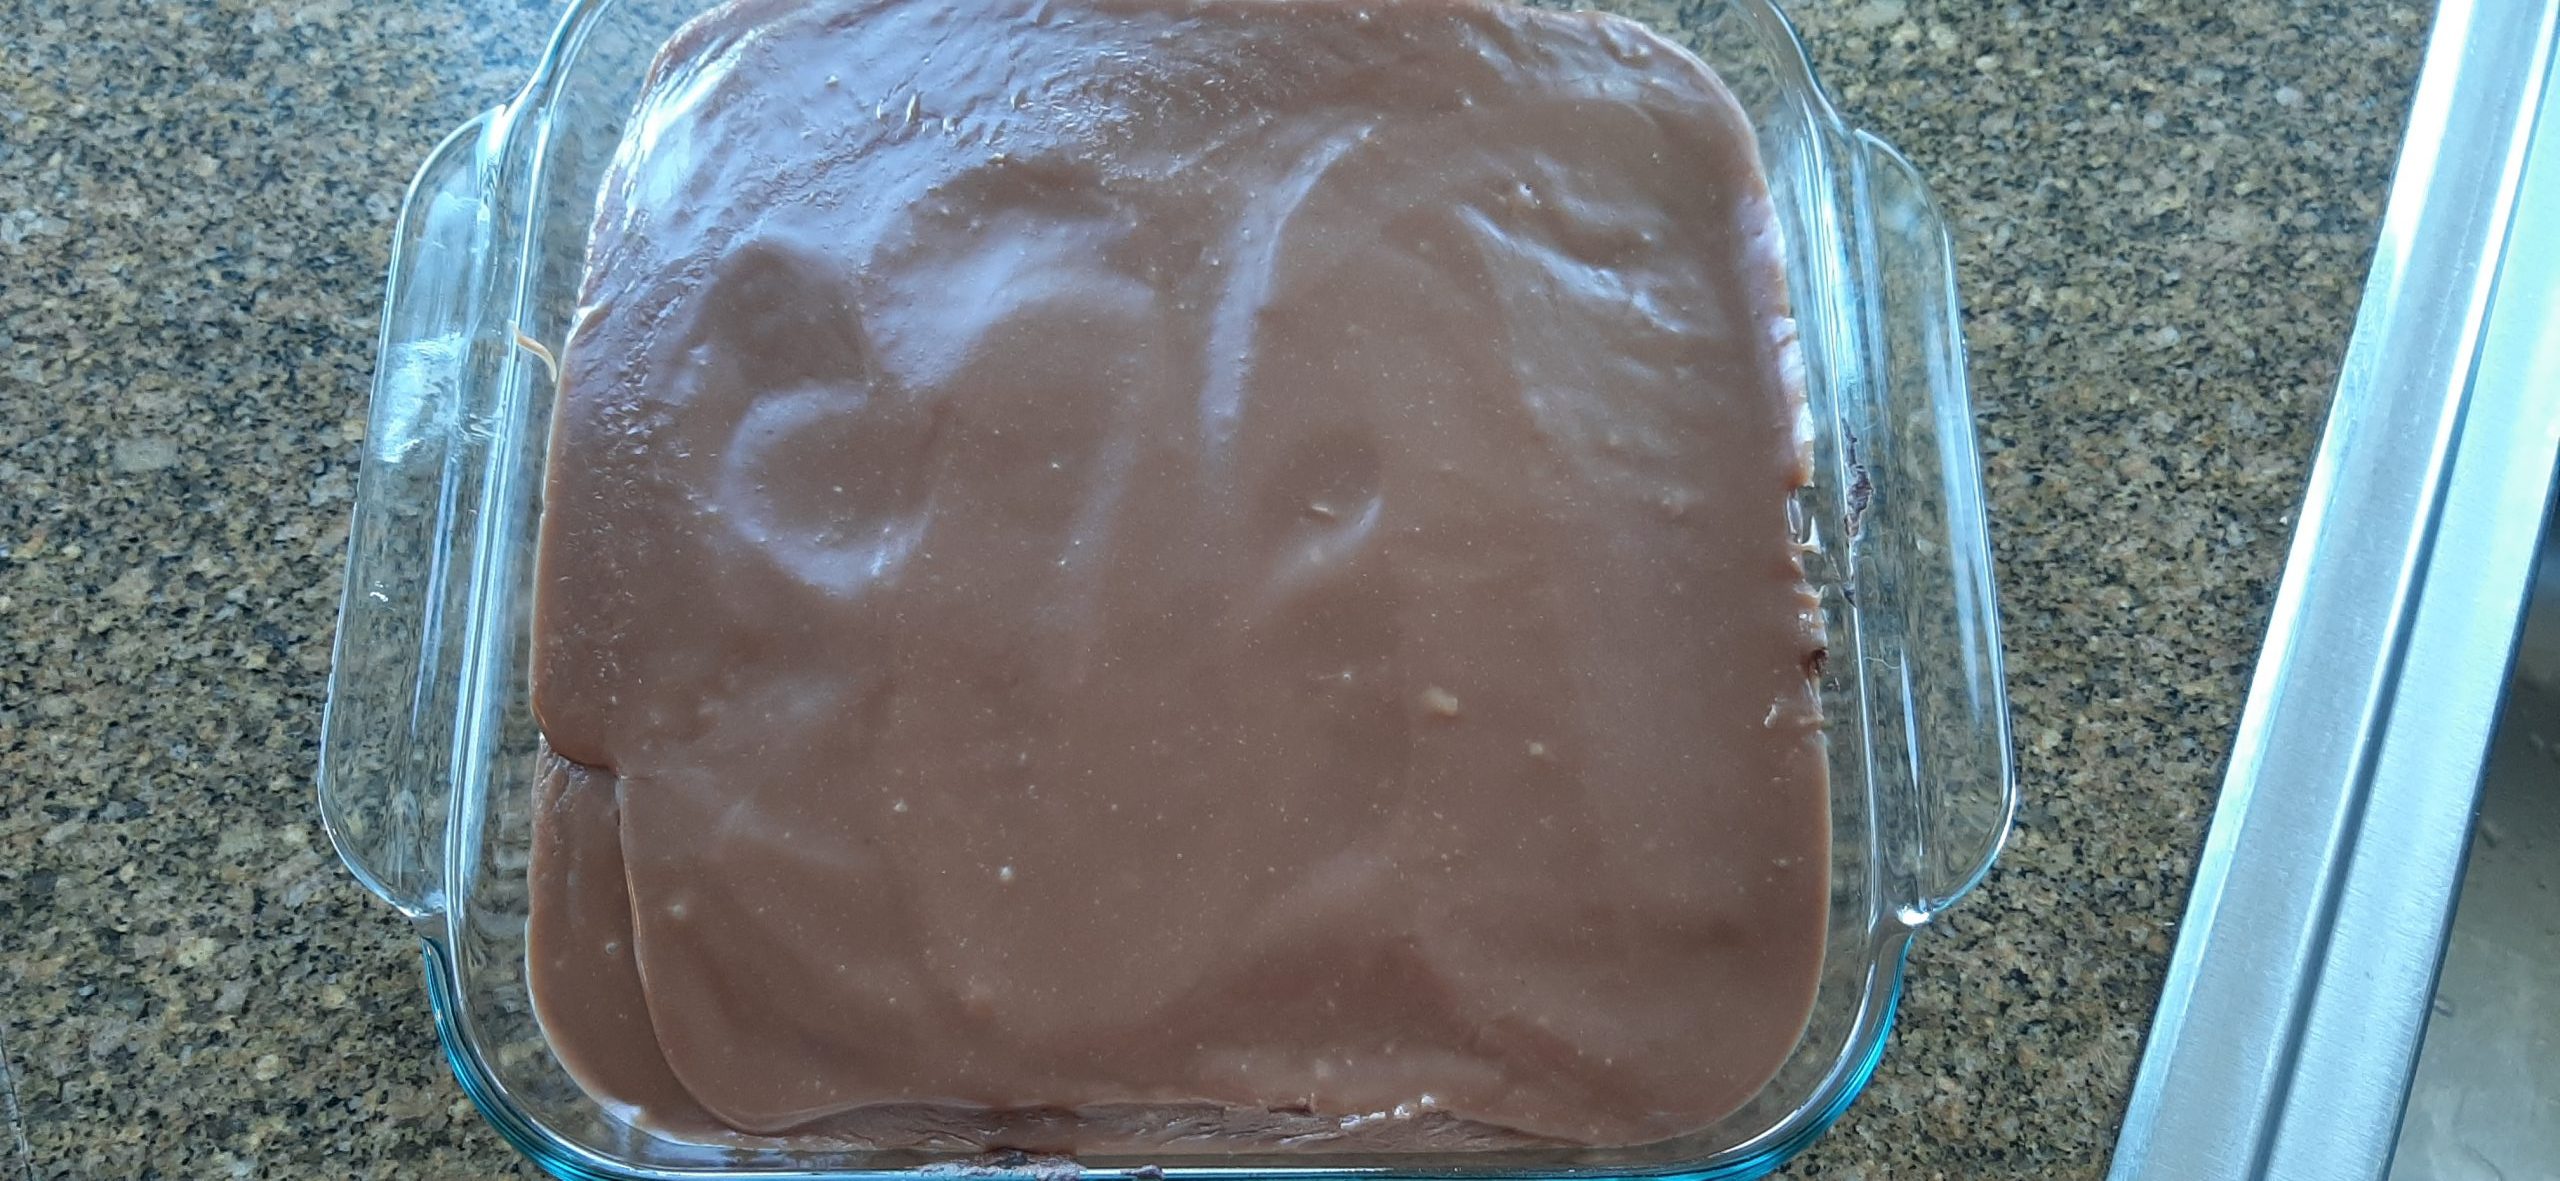
Combine sugar, milk, butter, and salt in pan on top of stove.  Bring to boil and cook for 1 minute.  Remove from heat and add chocolate chips and vanilla.  Stir with spoon or whisk until chips are melted. Spread with an offset spatula evenly over cooled cake. Don’t doddle. This frosting sets up quickly.


HOLIDAY FRUITCAKE (revisited)

Notice the 1-gallon container for macerating the dried fruit, candied fruit, and pecans. It’s actually a jar I saved about 40 years ago that originally contained dill pickles. Never throw a one-gallon jar away. They store cookies and other assorted items that you want to keep airtight or keep something like spare silverware clean.

The finished product.

Well, in keeping with my decision to post my list of personal favorite edibles (by category) and re-publish some of my favorite recipes, I offer my previously posted recipe for Holiday Fruitcake. I also have a wonderful recipe for Caribbean Black Fruitcake on site, but this year I decided to make this fruitcake for gifts and to set aside for the year to come. (I love to bring out a fruitcake on a trailer trip, for example, because for us and our friends, fruitcake is a favorite treat.)

I hadn’t decided to start with fruitcake with my re-posting project because I am well aware that there are those among us who think fruitcake is a dreary dry brick-like- cake containing icky tasting candied fruit and burnt raisins. (That would be me from my grandmother’s fruitcake.) And, that there are people who still believe that anyone who actually likes fruitcake has a mental deficiency. I get that, because I too felt that way until about three decades ago when someone gave us a fabulous fruitcake they had purchased at great expense. And OMG, it was the best thing I had ever tasted.

Well, you know me! I immediately went to work developing a fruitcake recipe that would result in a fruitcake that was as good or maybe even better than the one we had been gifted. And I came up with this recipe.

But the real reason I am posting this recipe today, is because yesterday I fulfilled the first requirement in preparing this recipe. I filled a one-gallon glass container (as witnessed by picture above) with dried fruit, candied fruit, pecans, and 3 cups of spiced rum. This delightful assembly of ingredients would then spend the next few days being periodically turned upside down so every single tasty morel could become good friends with Captain Morgan. (See picture of Captain Morgan above.)

After I finished this hour and a half of cutting and chopping fruit and nuts, I went back to my computer and decided to see what was happening on Facebook.

OK, I’m not a woo-woo kind of gal. But right there on “Your Memories on Facebook” was my post from December 1, 2009, containing only the following words on my post: “One gallon of fruit and nuts soaking in 3 cups of spiced rum on my counter. I wonder what it will be when it grows up? Fruitcake perhaps?”

Now if that’s not a less than subtle hint from the beyond to post this recipe today, I don’t know what else it could be. Coincidence? I think not!

But in all reality, this is the perfect time to remind people that a) fruitcake can be amazingly delicious, b) fruitcake makes a perfect Christmas gift (but only to those we truly love), and c) if you are going to make fruitcake, now is the time. Because fruitcake only gets better the longer it is allowed to “ripen”. In fact, I should have started this process about 2 months ago. But I have yet to even think about making fruitcake before the first of December. I do, after all, have a life outside the kitchen!

But starting this year, I’m adding one more step to my original recipe. After the baked fruitcakes have cooled, and before I package them, I am going to poke holes in the top with a toothpick, and slowly slather (using a pastry brush) on more of the Captain’s finest. Not too much rum to make a soggy mess. But I believe this will give the fruitcake even more flavor (ya think?) and help its taste and texture to better resemble a fruitcake that has been allowed to age longer. That’s the plan at least.

Well, that’s it for today. I hope you too have plans for the holidays that include some homemade gifts. Our dear friend Vicki has the whole Christmas giving thing down pat. She always includes homemade jams, curds, stollen, and various and sundry other edibles that make her packages a real treat to receive.

And for me, giving is the real secret to enjoying Christmas. It’s not about receiving. It’s about the joy you can bring someone else by thoughtful and from-the-heart gifts. So, please don’t feel you must provide expensive gifts to your loved ones. Or that homemade gifts would be less appreciated than something purchased. In my humble opinion, homemade gifts best exemplify the spirit of Christmas.

So, happy yummy fruitcake to everyone and to all – peace and love.

1 lb. chopped dried fruit combination (peaches, pears, apricots, apples, golden raisins, currents, etc.)

½ lb. dried Bing cherries

1 lb. chopped dates

1 lb. candied/glazed pineapple, coarsely chopped

1 lb. or more red and/or green candied/glazed cherries, coarsely chopped

3 c. spiced rum, plus more for soaking

1 c. unsalted butter, room temperature

2 c. brown sugar

2 tsp. cinnamon

1½ tsp. ground allspice

1½ tsp. ground nutmeg

5 lg. eggs

2 c. unbleached all-purpose flour

2 tsp. baking powder

½ tsp. salt

1 lb. coarsely chopped pecans (about 4 cups)

Combine dried fruit, dried Bing cherries, chopped dates, candied pineapple, candied cherries, and rum in a covered glass container for 3 to 7 days. 7 days is best.

Cream butter, sugar, and spices until light and fluffy. Add eggs one at a time.

In a separate bowl whisk the flour, baking powder, and salt together. Stir into butter mixture just until combined.    Stir in the macerated fruit and nuts, including any remaining liquid. 

Place a large shallow pan of water on the bottom rack of your oven to prevent the cakes from baking too dry. Pre-heat the oven to 275-degrees.

Line 3 (9×5-inch) loaf pans or 1 (9×5-inch) and 5 (7×4-inch) loaf pans with parchment paper and lightly grease paper. Divide the batter evenly between the pans and bake on the middle rack of the pre-heated oven for 2-2½ hours or until a toothpick inserted in the center comes out clean.

Remove from oven and cool on racks for one hour. Remove cakes from pans, and carefully peel off the parchment paper.

When completely cool, place on a rimmed baking sheet, poke lots of tiny holes in the top of each, and slowly slather with more spiced rum. Allow to sit for several hours while the cake absorbs the booze before tightly wrapping in plastic wrap and foil. Store for at least 1 month before serving. (Good luck with that!) (Haven’t had it happen yet!)


MY FAVORITE CAKES

In keeping with my current decision to provide all my readers with my personal favorites, I offer my list of my favorite cake recipes. My decision to post these lists by category is explained if you read my post entitled My Favorite Appetizers. So, I am not going to bore you with why I am providing these lists multiple times. Just read all about it as referenced above.

Now, the first thing you must know about this category is that I truly love homemade cakes. But I do understand why so many people don’t bother. Too many office and home birthday parties featuring Safeway’s finest. (And that is not a slur against Safeway. They actually do pretty well at cake baking.) But rather a statement that home baked cakes can truly be delicious. And are usually a far sight better than cakes that come from your local grocery store. Or even a bakery. There truly is a difference. And I feel the cakes listed below are all outstanding.

Some are easy to make. Some not so much. A couple use a cake mix. Most not. But all are worthy of your effort, and I promise they will be very well received by your adult family and friends.

But I must also say that I don’t feel any of these cakes would be appreciated by children. They are cakes for older folks with more well-developed palates. So, I would not recommend making any of these cakes for a 5-year-old’s birthday celebration. You would be wasting your time and money. (Except of course if you bake two cakes. One for the kidlets and the other for the unlucky adults attending the event. They always need all the reinforcement they can get!) (Remember, I raised four kids. With lots of birthday celebrations with birthday cake and kid appropriate food. But there was always grown-up food and adult beverages for the older folk brave enough or crazy enough to attend.) (Fair is fair!)  

But for a dessert for a group of adults – go for it!

Well, that’s it for today. The sun is shining but it is cold out there. Mt. Baker is visible in all her glory, and our granddaughter Rebecca is coming over for a visit, so we are going out for dinner. Mr. C. has a rehearsal, but we are hoping he gets done in time to join us. If not, there’s leftover turkey soup at home.

So, all in all, a wonderful way to spend a Sunday. May you too enjoy your day.

Peace and love to all.  

My favorite cakes:

Apple Cake with Cream Cheese Frosting

Caramel Cake with Salted Caramel Buttercream Frosting

Caribbean Black Fruit Cake (a Christmas favorite)

Carrot Cake with Cream Cheese Frosting

Chocolate Bourbon Cake

Chocolate Orange Cake with White Chocolate Cointreau Frosting

Cream Cheese Pound Cake

German Chocolate Sheet Cake

Ginger Cake with Bourbon Caramel Sauce and Bourbon Whipped Cream

Holiday Fruit Cake (My son-in-law Willie hides this fruitcake from the rest of the      

  family when I send one in their Christmas goody package.) (It’s just that good!)

Kahlúa Bundt Cake

Mocha Chocolate Cake with Sour Cream Frosting

Rhubarb Coffee Cake with Cointreau Flavored Whipped Cream

Sour Cream Poppy Seed Cake

Tres Leche (Three Milks) Cake

ALMOND CAKE WITH STRAWBERRY SAUCE AND VANILLA BEAN PASTE WHIPPED CREAM (GF STRAWBERRY SHORTCAKE)

Strawberry shortcake is one of my all-time favorite desserts. I know, terribly plebian of me, but never-the-less, it’s the truth. And when made with either this GF cake or my Cream Cheese Pound Cake (recipe on site), I defy anyone to come up with a finer dessert! Or to find an easier cake to prepare than this amazing almond cake recipe from bobsredmill.com. (My Cream Cheese Pound Cake, not as quick and easy to build. But absolutely scrumptious! And definitely worth the effort.)

Anyway, whether you are trying to eat less wheat flour or just have a desire to produce a moist, delicious cake that everyone in your family can enjoy (except those who are allergic to nuts, of course), this cake recipe is an absolute winner. Even if you choose to eat this cake without any type of topping, you are in for a treat. It absolutely melts in your mouth. And the flavor is amazing.

As far as the strawberry sauce and whipped cream are concerned, you have only my word that they are both delicious and easy to prepare. And of course, can be used with other wonderful culinary offerings. (Think Sunday morning waffles decorated with strawberry sauce and whipped cream.) Yum!

So, while fresh strawberries are just coming into season, plus almost always available year-round, I suggest you make this dessert for your family and friends any time a tasty treat would make life better. I promise you this strawberry shortcake will be very well received. And just imagine how much joy this delicious combination would bring in say, February, when it’s been raining buckets for 9 straight days. And the wind is howling like a pack of coyotes. And just walking from your car to the door of your grocery store is less desirable than cleaning toilets!

I can only speculate that this dessert might save your sanity. And that of your loved ones. I know it would definitely make me an easier person to live with under similar circumstances!   

Peace and love to all.  

Almond Cake:  

6 T. (¾ stick) unsalted butter, room temp.

½ c. granulated sugar

2 lg. eggs. room temp.

¼ c. whole milk

½ tsp. vanilla extract  

1/8 tsp. good almond extract

¾ c. almond flour

¼ c. organic coconut flour

1 tsp. baking powder  

1/8 tsp. fine sea salt

Grease an 8×8-inch baking pan with cooking spray. Set aside. (If you double this recipe, use 2 8×8-inch pans or 1 9×23-inch pan.) (And yes, next time I make this cake I will double the recipe. The cake is just so very, very good!)

Cream butter and sugar until very light and fluffy. Add the eggs and beat until completely blended. Add the milk and extracts and mix until combined.

In a separate bowl, whisk the almond flour, coconut flour, baking powder, and fine sea salt together. Add the flour mixture to the butter mixture and beat until creamy.

Pour batter into prepared cake pan and smooth top.

Bake in a pre-heated 350-degree oven for 27-30 minutes. Do not over-bake.

Remove from oven and allow to cool completely before serving with Strawberry Sauce and Vanilla Bean Paste Whipped Cream. See recipes below.

Strawberry Sauce

1 lb. strawberries, rinsed, hulled, and thickly sliced

⅓ c. granulated sugar

1 T. fresh lemon juice  

In a medium saucepan, combine the sliced strawberries, sugar, and lemon juice. Place over medium heat and bring to a boil, stirring occasionally.    

Reduce heat and simmer about 15 minutes or until sauce has thickened a bit, stirring occasionally. Remove from heat and cool to room temperature. Refrigerate until needed.

Vanilla Bean Paste Whipped Cream

1 c. heavy whipping cream

½ tsp. vanilla bean paste* or vanilla extract, or more to taste

2 T. powdered sugar

Whip the cream to hard peaks. Add the vanilla bean paste and powdered sugar. Whip until blended.

CARAMEL CAKE WITH SALTED CARAMEL BUTTERCREAM FROSTING

This is the extract I used. Very strong, so go lightly.

Mr. C. and I had the very great pleasure of spending Thanksgiving with his 2 sisters (Nancy and Katie), their spouses (Paul and Rick), and Paul and Nancy’s two daughters Erin and Dana and their husbands (Gideon and Jason) and Gideon and Erin’s delightful daughter Clara (almost 8). The event was held in Pullman, Washington at Dana and Jason’s home. Both Jason and Dana are on the WSU faculty.

Dana, with Veterinary Microbiology & Pathology, is a PhD scientist with cross disciplinary training in microbiology, immunology, and entomology. While Jason is a PhD research assistant professor in the College of Veterinary Medicine, investigating Anaplasma – a pathogen spread by ticks that infects humans and large mammals. As Jason so aptly put it “Dana and I will tell a brick wall about our research if it stands still for 15 minutes, and we are definitely each other’s constant advisors and critics. Our shared interests in microbiology was definitely something we connected over and continues to be a part of our shared life.”

So, as you can imagine, we had a wonderful time. And, we didn’t even have to pet any ticks! What we did get to do was converse, cook and eat together, laugh a great deal, and do all the normal things that families who get along very well do to entertain themselves. So, a most pleasant 5 day get-away for us. Of course, the first day’s travel over Snoqualmie pass was not at all enjoyable. But I won’t go into that because I am still a bit terrorized by the whole ordeal!

In preparation for leaving to spend Thanksgiving away from home, I decided to make this cake, and a couple other food items to take along. Especially for the first evening since I wouldn’t be around during the day to contribute to any of the meal preparation. I figured bringing some goodies was the least I could do. So, along with this cake I took along some breakfast bread, candied ginger shortbread cookies, and 2 appetizer spreads. But I must say, this cake was my star contribution.

I started with my favorite yellow cake recipe, swapped out a bit of granulated sugar with brown sugar, and added a wee bit of caramel extract. Then I prepared a simple buttercream frosting containing some of Mr. Cs caramel sauce that he always has on hand for caramel lattes to give the frosting a light caramel flavor. Yum! It worked. And the cake had been very easy to make, and the frosting was a piece of cake. You know what I mean! The frosting was also easy to build. And the best part. The cake did not have to be refrigerated. Which is a darn good thing since there was absolutely no refrigerator space available by the time we arrived on the scene. (Can you ever really have enough refrigerator space? I don’t think so either!)

Well, that’s it for today. Sorry I haven’t posted for a few days, but I have a very good excuse. I was having way too much fun! May you too be blessed with having way too much fun with family and friends during this holiday season.

Peace and love to all.  

For the cake:

1 c. (2 sticks) unsalted butter, room temperature  

⅓ c. vegetable oil

2 c. granulated sugar

½ c. light brown sugar, packed

6 lg. eggs, room temperature

2 lg. egg yolks, room temperature

5 tsp. pure vanilla extract

¼ tsp. caramel extract, opt. (I use Watkins brand)

3 c. fluffed or sifted cake flour

1 tsp. baking powder

½ tsp. salt

1 c. sour cream

In the bowl of your stand mixer, cream the butter, oil, and sugars on high until light and fluffy, about 5-6 minutes. (Do not skip this step. Very important.)

Add eggs and egg yolks one at a time until well incorporated. Scrape the bowl as needed. Add in the vanilla and caramel extracts and mix until well combined.

In a medium sized bowl whisk the cake flour, baking powder, and salt together.   

At low speed, alternate adding in the flour mixture and sour cream just until combined. Do not over mix.

Grease and flour 1 9×13-inch cake pan (glass is best) and 1 8-inch round cake pan or 3 8 or 9-inch round cake pans. (If you plan to remove the cakes from the pans before frosting them, then grease and flour the pans as directed above and line the pans with parchment paper sprayed very lightly with cooking spray.)

Scoop the batter evenly into the prepared pans. Even off the batter with an offset spatula. (See directions for frosting a three-layer cake below.)

Bake the 9×13-inch pan in a pre-heated 350-degree oven for 33-35 minutes or until a toothpick stuck into the middle of the pan comes out clean. Do not overbake.

Bake the 8 or 9-inch round pan or pans for 28-30 minutes or until a toothpick stuck into the middle of the pan comes out clean. Again, do not over bake.   

Allow cakes that you plan to remove from the baking pan or pans to cool for 10 minutes on a wire rack before gently removing the cake from the pan. If using parchment paper, gently peel it off and allow the cake to cool completely on a pretty cake plate before frosting.

For the 9×13-inch cake, just remove from oven and allow to cool completely on a rack before frosting. After frosting, keep covered at room temperature.

For the frosting:

1 c. unsalted butter, room temperature

1 tsp. vanilla extract

⅓ c. + 3 T. caramel topping, plus more to drizzle over cakes

pinch of kosher salt

4 c. powdered sugar

whole milk or heavy cream, if needed

flaky sea salt, for garnish

Beat the room temperature butter using a hand mixer or stand mixer with paddle attachment until soft and fluffy. Add the vanilla, caramel topping, and kosher salt, mixing until thoroughly combined.

Add the powdered sugar on low speed. Add milk or cream a few drops at a time until the frosting is light and fluffy and to your desired consistency.

Frost the cakes. When the frosted cake looks perfect to you, drizzle on as much caramel topping as you want. (If the caramel topping doesn’t drizzle easily, warm it up a bit in your microwave.) After the drizzle is in place, lightly sprinkle on a bit of flaky salt.

How to create a beautiful 3-layer cake:

Remove pans from oven and place on cooling racks for 10 minutes. Then gently remove cakes from pans and allow the cake to cool completely before icing.  

Place one of the cakes upside down on your cake plate. Spread frosting over layer. (Not too much.) Place the second layer on the first layer and spread frosting. (Again, not too much. Add the top layer and frost the top and if you would like, the sides of the cake too. Then drizzle on some caramel sauce and sprinkle with flaky salt.

Please note: if your cakes are rounded at the top, slice off a bit of the cake to make the top flat before frosting. If the cake layers start sliding around, stick a couple of long picks through the layers to keep the cake together. Store at room temperature.

MACARONI AND THREE CHEESE SOUP

Some days just call for a creamy soup. And yesterday was one of those days. We were being totally drenched by yet another “atmospheric river”, so a dish that was both delicious and comforting was definitely called for. The soup also had to be free of any ingredients that offered even the slightest bit of fiber. (A test is in the offing for one of us that requires a restrictive diet. If you are over 60, you probably know what test I am not going to specify out of a desire to exhibit a bit of decorum.) Anyway, this soup recipe that I found on the spendwithpennies.com site fit the bill to a tee. And because luck was with me, I happened to have all the ingredients.

Now I know what you are thinking. This is hardly a soup for someone who is professing to be only eating a healthy, low carbohydrate diet. But desperate times call for desperate measures. And you’ve got to know, that for me not to start a soup with a mirepoix (a mixture of sautéed chopped vegetables) goes against every sacred soup making technique I hold dear. But for the greater good, I had to make this one-time concession. And boy am I glad I did. This was truly a yummy and exceedingly easy soup to fix. And a soup that I’m positive everyone in your family would absolutely devour. I mean really, who doesn’t love mac and cheese? And that’s really all this is. Mac and cheese in a soup bowl.

Well, that’s it for today. The sun is shining here on Camano Island and our yard is calling to me. It’s been so darn wet lately that pruning and plantings that should have been done a month ago, remain unaccomplished. Of course, some of the problem is enervation. But I think sloth has a lot to do with it too. So, I have demanded my body to get up and get going outside. Wish me luck. Oh, and do make this soup. It’s fabulous!

Peace and love to all.

*For a bit of interesting information on “atmospheric rivers”, see below.  

4 c. chicken broth

1¼ c. elbow macaroni

2 T. unsalted butter

2 T. unbleached all-purpose flour

½ tsp. dry mustard

1 c. milk (I use whole milk)

½ tsp. granulated garlic

½ tsp. granulated onion

¼ tsp. kosher salt

freshly ground black pepper

4 oz. cream cheese

1½ c. grated sharp cheddar cheese, plus more for a garnish 

¾ c. grated Swiss cheese or additional cheddar cheese

paprika

In a medium pot, bring the chicken broth to a boil. Add the elbow macaroni and cook until al dente. Remove the al dente pasta from the pot and run it under cold water to prevent the pasta from continuing to cook. Set aside. Keep the broth.

Melt the butter in a separate saucepan and whisk in the flour and dry mustard. Cook for 1 minute.   

Slowly whisk in the milk a little at a time until smooth. Then whisk in the granulated garlic, granulated onion, salt, and pepper. Cook over medium heat while whisking until thick and bubbly. Let boil for about 1 minute.

Reduce the heat to medium-low and whisk in the cream cheese until all the cream cheese is melted and the sauce is smooth.  

Whisk the chicken broth into the cream cheese mixture. Cook until just starting to boil. Then remove from heat and stir in the cheddar and Swiss cheeses. Whisk until smooth. Taste and adjust seasoning. Stir in the al dente pasta and serve immediately.

Looks lovely when garnished with a bit more grated cheese and just a sprinkle of paprika.

*According to NOAA, “Atmospheric rivers are relatively long, narrow regions in the atmosphere – like rivers in the sky – that transport most of the water vapor outside of the tropics. These columns of vapor move with the weather, carrying an amount of water vapor roughly equivalent to the average flow of water at the mouth of the Mississippi River. When the atmospheric rivers make landfall, they often release this water vapor in the form of rain or snow.

Although atmospheric rivers come in many shapes and sizes, those that contain the largest amounts of water vapor and the strongest winds can create extreme rainfall and floods, often by stalling over watersheds vulnerable to flooding. These events can disrupt travel, induce mudslides and cause catastrophic damage to life and property. A well-known example is the “Pineapple Express,” a strong atmospheric river that is capable of bringing moisture from the tropics near Hawaii over to the U.S. West Coast.”   

MOCHA CHOCOLATE CAKE WITH CARAMEL CREAM CHEESE FROSTING

So, what kind of a cake do you build for someone’s birthday who loves both chocolate and caramel? Well, this conundrum took me all of 60 seconds to resolve. You build a chocolate cake, and slather it with caramel frosting. Done deal!

The chocolate cake part was easy, except I needed to bake a smaller cake than I usually produce. So, I halved my trusty, well tested recipe (Mocha Chocolate Cake), which BTW produces one of the tastiest and moist cakes you could ever hope to eat. That done, I needed to figure out how to build a rich caramel frosting worthy of being paired with this delicious chocolate cake. But still have a presence of its own. So, the first ingredient had to be cream cheese, and the second ingredient had to be butter. No brainer! Then of course a bit of vanilla, a pinch of salt, caramel sauce, and powdered sugar. And there you go – caramel frosting.

Now I was lucky. Mr. C. always has Dilettante Caramel Sauce and Dilettante Semisweet Chocolate Sauce on hand for doctoring his coffee. So, I asked permission to use a bit for the frosting and to decorate the cake and he was all over that. (The man has many more than just one sweet tooth!) So, I didn’t have to make my own caramel sauce. (I usually make Bourbon Caramel Sauce anyway, so that might not have been the best choice for this frosting.)

Anyway, the result was just fine. Nice tender cake with a lovely soft caramel frosting. And it had been quite easy to prepare. And not too much left over for us 4 older people to handle.

So, next time you want to celebrate a birthday, anniversary, or even that you made it through another week, this would be a good choice for a celebratory offering.

So, again, happy birthday Mark, and here’s to many more birthday cakes for the 4 of us to enjoy together.

Peace and love to all.

For the cake:

½ c. (1 stick) unsalted butter, room temperature

1½ c. packed brown sugar

2 eggs, room temperature

1½ tsp. vanilla extract

1½ c. unbleached all-purpose flour

6 T. good cocoa powder

1½ tsp. baking soda

¼ tsp. salt

1 tsp. instant espresso powder (I use Medaglia D’Oro Italian Roast Espresso Style Ground Coffee)

¾ c. water

½ c. + 3 T. sour cream

chocolate sauce, for drizzle, opt.

Cream the butter and brown sugar together until very soft. (This takes at least 5 minutes.) Add the eggs, one at a time, beating well after each addition. Beat in the vanilla. Whisk the flour, cocoa powder, baking soda, salt, and espresso powder together. Add to butter mixture alternately with water and sour cream, beating well after each addition. Pour into 2 9-inch parchment paper and greased round cake pans.

Bake in a pre-heated 350-degree oven for 25-27 minutes or until a toothpick inserted near the center comes out clean. (Don’t over-bake!) Remove from oven and let cool for 10 minutes before removing from pans to wire racks to cool completely before frosting. (I plopped one of the cakes directly on to my cake plate. The other got plopped on the cooling rack parchment paper side down.)

Cool completely before frosting. (I used half of the frosting to glue the 2 layers together. Then the rest was spread on top. To make things pretty, I drizzled a bit of caramel sauce and chocolate sauce on top. I didn’t frost the sides because I wanted to see the dark chocolate color of the cake in contrast to the light tan colored frosting.)    

For the frosting:

8 oz. (1 pkg.) cream cheese, room temperature

4 T. (½ stick) unsalted butter, room temperature

pinch kosher salt

generous ¼ c. caramel sauce, plus more for drizzle  

1 tsp. vanilla extract

1½ c. powdered sugar, or more as needed

In the bowl of your stand mixer, beat the cream cheese and butter together until smooth and creamy. Add the salt, caramel sauce, and vanilla. Beat until well blended.

YELLOW CAKE WITH FRESH HUCKLEBERRY FILLING AND CREAM CHEESE FROSTING

When Mr. C. arrived home recently after a day long jaunt up on Mt. Baker, he arrived not only with a smile on his face, but also with a small container of blue huckleberries. Now if you have never been hiking and picked wild huckleberries as you plodded along, then you have missed out on one of life’s most pleasant experiences. Because there is just nothin’ finer than hiking along nibbling on nature’s bounty. (Except of course if nature’s bounty comes to you!) (And nothing better to turn your fingers blue either, I might add!) So, with my gift of fresh huckleberries in hand, I set about thinking of ways to use the berries to full advantage.       

Unfortunately, there weren’t enough berries to build a pie. But being the cake lover that I am, I immediately thought about using the berries in a filling. But not a large cake, because it’s just the two of us. (Even though we did end up sharing some of the cake with our neighbors Mark and Vicki.)

So, the result of my plotting and planning is the recipe you find below. And thankfully, the lovely huckleberries with their “blueberries on steroids/sweet and tart at the same time” flavor came through very well in the filling. And the cake part itself was delicious and very simple to make. All in all, a very delectable dessert.

So, I hope you give this recipe a try. You and your family are sure to like it. And if you have never eaten a huckleberry, get yourself up into the mountains. Huckleberries grow best as an under crop in subalpine forests. They are generally found on moist, moderately deep, well-drained soils. But watch out for bears. They love huckleberries too.    

As always, have fun dreaming up new and delicious ways to provide great food for not only yourself, but for your entire family. Even if you live alone, you need to treat yourself to special dishes or “fancy food” occasionally too. One easy way to make sure this happens, is to invite a friend or friends over for dinner. Then do it up with style. Fix your favorite dishes, set a beautiful table, offer dessert, and don’t forget a few nibbles set out when your guest or guests first arrive. Sets the tone for the whole evening. And then, you will probably have wonderful leftovers. Yippee-skippy! And you will have had the pleasure of treating your friends to a wonderful evening. And nothing feels better than that!

Peace and love to all.

Huckleberry Filling: (plus flavoring for frosting)

 1 c. huckleberries, whole

3 T. granulated sugar

3 T. water, divided

2 tsp. fresh lemon juice (cuts the sweetness & brings out the berry flavor)

2 tsp. cornstarch

Combine the berries, sugar, 2 tablespoons of the water, and lemon juice in a small saucepan. Simmer until the berries start to burst. Mash the berries a bit, then add the remaining tablespoon of water mixed with the cornstarch. Simmer until thick and glossy. Remove from heat and allow to cool completely before using as filling for cake and flavoring for frosting.

Cake:

½ c. (1 stick) unsalted butter, room temp.

1 c. granulated sugar

2 med. eggs

2 tsp. vanilla

1 c. unbleached all-purpose flour, fluffed

1 tsp. baking powder

½ tsp. fine sea salt 

½ c. sour cream

Preheat the oven to 325-degrees. Grease, flour, and line 2 8-inch cake pans with parchment paper. Set aside. 

Beat the butter and sugar together with an electric mixer until smooth and creamy, about 7 minutes. Add eggs, 1 at a time, beating well after each addition. Beat in the vanilla.

In a separate bowl, whisk the flour, baking powder, and salt together. Add the flour mixture to the butter mixture in 3 batches, alternating with sour cream, beating batter briefly after each addition. Don’t over-mix. Scoop the batter evenly into the prepared pans.

Bake for 23-26 minutes or until a toothpick inserted into the center comes out clean. (Check after 23 minutes to be sure.) Don’t over-bake.

Remove from oven, turn one of the layers onto a cake plate. The other onto a wire rack. Slowly remove the parchment paper and allow to cool completely before assembling the cake.

Huckleberry Cream Cheese Frosting:

4 oz. (½ lg. pkg.) cream cheese, softened

¼ c. (½ stick unsalted butter, softened

¼ tsp. vanilla extract

pinch kosher salt

1 T. of the huckleberry filling

2 c. powdered sugar, or more to achieve desired thickness 

Using a stand mixer fitted with a paddle attachment or a hand mixer, beat the cream cheese and butter together on medium speed until smooth and no lumps remain, about 3 full minutes. Add the vanilla, salt, and tablespoon of the huckleberry filling.

Reduce the mixer speed to low, then add the powdered sugar. Once the sugar begins to incorporate, increase the mixer to high speed and beat until soft and creamy. Add additional powdered sugar as needed. Frost the cake as soon as it’s completely cooled.

To Assemble the Cake:

If you haven’t already prepared the frosting using a tablespoon of the filling, reserve 1 tablespoon of the filling to flavor the frosting at this time. Spread all the rest over the layer that is on the cake plate. Then carefully place the top cake layer over the filling. Spread the frosting over the entire cake.


MOIST AND TENDER LEMON SHEET CAKE WITH LEMON CREAM CHEESE FROSTING

OK, confession time. You see that picture above, that was my attempt at making a lemon Bundt cake with a lemon drizzle. And as experienced as I am at baking Bundt cakes, this one came apart on me.

My first thought was that the cake must have fallen in love with the Bundt pan while they were in the warm, intimate environment of my oven. Because a good 1/8th of the cake was still clinging to the bottom of the pan as the rest of the cake lay topless on my cake dish. And even then, as I went after the recalcitrant bits, I almost destroyed the pan in the process! But I got even. I drowned the remaining bits and sent them down to visit Gritsner (the name I have given to our garbage disposal), and by now they are drowning in (never mind)!

My more reasonable second thought about why my cake refused to cooperate was because I floured the pan with 7 or 8-year-old Wondra flour. I have subsequently learned that instead of using flour of any kind, I should have used finely ground nuts or granulated sugar. (You learn something new every day.) But I’m not taking any chances the next time I build this cake. (And believe me, there will be a lot more times I build this cake.) The batter is going into a 9×13-inch glass pan that I know I can use a heavy spatula if necessary to release pieces from their rectangular enclosure!

So, back to yesterday’s fiasco. You know what they always say about lemons: If life gives you lemons, make lemonade. Well, my version now goes like this: If a lemon glaze won’t cover up your Bundt cake disaster, make a thick creamy frosting instead. So, of course, that’s exactly what I did.

But even with all the trials and tribulations, the cake turned out to be very delicious. And with a perfect moist and tender crumb. And oh, so easy to prepare. And the frosting, well, I’d give myself 6 stars for this one.

As always, just when I started feeling a bit over pleased with myself, the God’s decided I needed a lesson in humility. And you know what? They must keep their eyes peeled on me all the time, because I get these lessons frequently. And for that I am extremely thankful. Because the last thing this world needs is another conceited (your word) taking up space. There are far too many (your word) already.

Peace and love to all. And please make this cake. It is really, really tasty.  

Lemon Cake:

1 c. (2 sticks) unsalted butter, room temp.

2 c. granulated sugar

3 lg. eggs

2 c. unbleached all-purpose flour , fluffed

2 tsp. baking powder

1 tsp. fine sea salt 

zest of 2 lg. lemons

1 c. sour cream

Preheat the oven to 325-degrees. Grease and flour a 9X13-inch baking pan. (Glass is best.) Set aside. 

Beat the butter and sugar together with an electric mixer until smooth and creamy, about 7 minutes. Add eggs, 1 at a time, beating well after each addition.

In a separate bowl, whisk the flour, baking powder, salt, and lemon zest together. Add the flour mixture to the butter mixture in 3 batches, alternating with sour cream, beating batter briefly after each addition. Don’t over-mix. Scoop batter into the prepared pan.

Bake for 25 to 35 minutes or until a toothpick inserted into the center comes out clean. (Check after 23 minutes to be sure.) Don’t over-bake.

Remove from oven and allow to cool on a wire rack before frosting.

Lemon Cream Cheese Frosting:

4 oz. (½ 8-oz. pkg.) cream cheese, softened

½ stick unsalted butter, softened

1 T. freshly squeezed lemon juice

½ – 1 tsp. lemon zest

½ tsp. vanilla extract

pinch kosher salt   

2 c. powdered sugar, or more to achieve desired thickness 

Using a stand mixer fitted with a paddle attachment or a hand mixer, beat the cream cheese and butter together on medium speed until smooth and no lumps remain, about 3 full minutes. Add the lemon juice, lemon zest, vanilla, and salt.

Reduce the mixer speed to low, then add the powdered sugar. Once the sugar begins to incorporate, increase the mixer to high speed and beat until soft and creamy. Add additional powdered sugar as needed. Frost the cake as soon as it’s completely cooled.


RASPBERRY (OR STRAWBERRY) DREAM CUPCAKES (or 8-inch layer cake)

First of all, you should know that this recipe produces the best yellow cake I have ever tasted. EVER! And through the years, I have baked a lot of cakes. But until my dear friend Vicki made her amazing Southern Caramel Cake for one of our JazzVox concerts, I had no idea a yellow cake could taste so good. And be so tender. And I should know, because I have tried many recipes for yellow cake that have left me wanting. Wanting everything this recipe delivers – in spades. So, the really good news is that now you too have a recipe for the perfect yellow cake. Because really and truly, where other cake recipes might be considered mandatory only as the excuse for eating frosting, this yellow cake can hold its own with pride.

And just because I chose to frost the cupcakes in this post with raspberry cream cheese frosting, doesn’t mean that other frostings wouldn’t be equally delicious. I just wanted a raspberry frosting this time.   

And luckily, both the cake part and the raspberry frosting are very easy to prepare. No fancy ingredients in the cake, but you need to plan-ahead and purchase some freeze-dried raspberry or strawberry powder for the frosting. (Trader Joe’s carries the powder at a reasonable price.)

So, as always, keep playing in your kitchen. And even if you think you don’t like yellow cake because you often find it dry and tasteless, you need to build these cupcakes or cake to realize how delightful a truly great piece of yellow cake can be!

Peace and love to all.  

Cake Batter:

½ c. (1 stick) unsalted butter, room temperature  

3 T. vegetable oil

1¼ c. granulated sugar

3 lg. eggs, room temperature

1 lg. egg yolk, room temperature

1 T. pure vanilla extract

1½ c. fluffed up or sifted cake flour

½ tsp. baking powder

¼ tsp. salt

½ c. sour cream

In the bowl of your stand mixer, cream the butter, oil, and granulated sugar on high until light and fluffy, about 5-6 minutes. (Do not skimp on the time for this step. Very important.)

Add eggs and egg yolk one at a time until well incorporated. Scrape the bowl as needed. Add in the vanilla extract and mix until well combined.

In a medium sized bowl whisk the cake flour, baking powder, and salt together.   

With mixer on low speed, alternate adding in flour mixture and sour cream. Do not over mix.

Cupcakes:

Using a #16 (¼ cup, 2-oz.) ice cream scoop, drop batter into cupcake lined muffin tins 7/8 full. (Makes about 16 cupcakes.)

Bake in a pre-heated 350-degree oven for about 18 minutes, or until a toothpick inserted in the center comes out clean and the internal temperature reaches 210-degrees. Don’t over-bake.

Remove from oven and let cupcakes cool in the pan for 5 minutes before transferring to a wire rack to cool completely before frosting each cupcake. Store in the refrigerator. Decorate with fresh berries just before serving. 

Layer Cake:

Grease and flour two 8-inch round cake pans. Pour the batter evenly into the pans. Shake to help even off the batter.

Bake in a pre-heated 350-degree oven for 18-20 minutes or until a toothpick stuck into the middle of the pan comes out clean and the internal temperature reaches 210-degrees. Do not overbake. Check after 17 minutes to be sure.   

Remove pans from oven and place on cooling racks for 10 minutes. Then gently remove cakes from pans and allow to cool completely before icing.

To frost the cake, place one of the cakes upside down on your cake plate.   Spread icing over layer. (Not too much.) Add the top layer and frost just the top. Store in refrigerator. When ready to serve, decorate with fresh berries.  

RASPBERRY (OR STRAWBERRY) CREAM CHEESE FROSTING

 ¼ c. (½ stick) unsalted butter, room temperature

4 oz. cream cheese, room temperature

3 T. freeze-dried raspberry or strawberry powder

pinch salt

1 tsp. Chambord (black raspberry liqueur), opt.

1¾ c. powdered sugar, plus more if required

fresh raspberries or strawberries, for decoration

Cream butter, powdered sugar, and freeze-dried raspberry powder together until light and fluffy. Add the salt, Chambord, and enough powdered sugar to make a firm but not stiff consistency. Beat until smooth and easy to spread. Spread as described above.