I never cease to be amazed at how many ways there are to build a green salad. And how many different ingredients can be used to entice every member of a family to look forward to the salad portion of their meal. I personally love good salads. Especially if someone else builds them. But alas, that is not the story of my life. I am the salad maker unless of course I am dining at a relative or friend’s home, or at a restaurant.
So, periodically I go online to see what other cooks are inventing. Well, I found this recipe on the gimmesomeoven.com site. And this recipe makes for one absolutely marvelous salad. I made a few very small changes, but the hard work was all Ali’s inspiration. BTW – gimmesomeoven.com is a great cooking site. Check it out!
It all started because I plan to feature Italian food at our next JazzVox concert. And because I don’t want our guests to get bored with my food, I try to mix things up as much as possible.
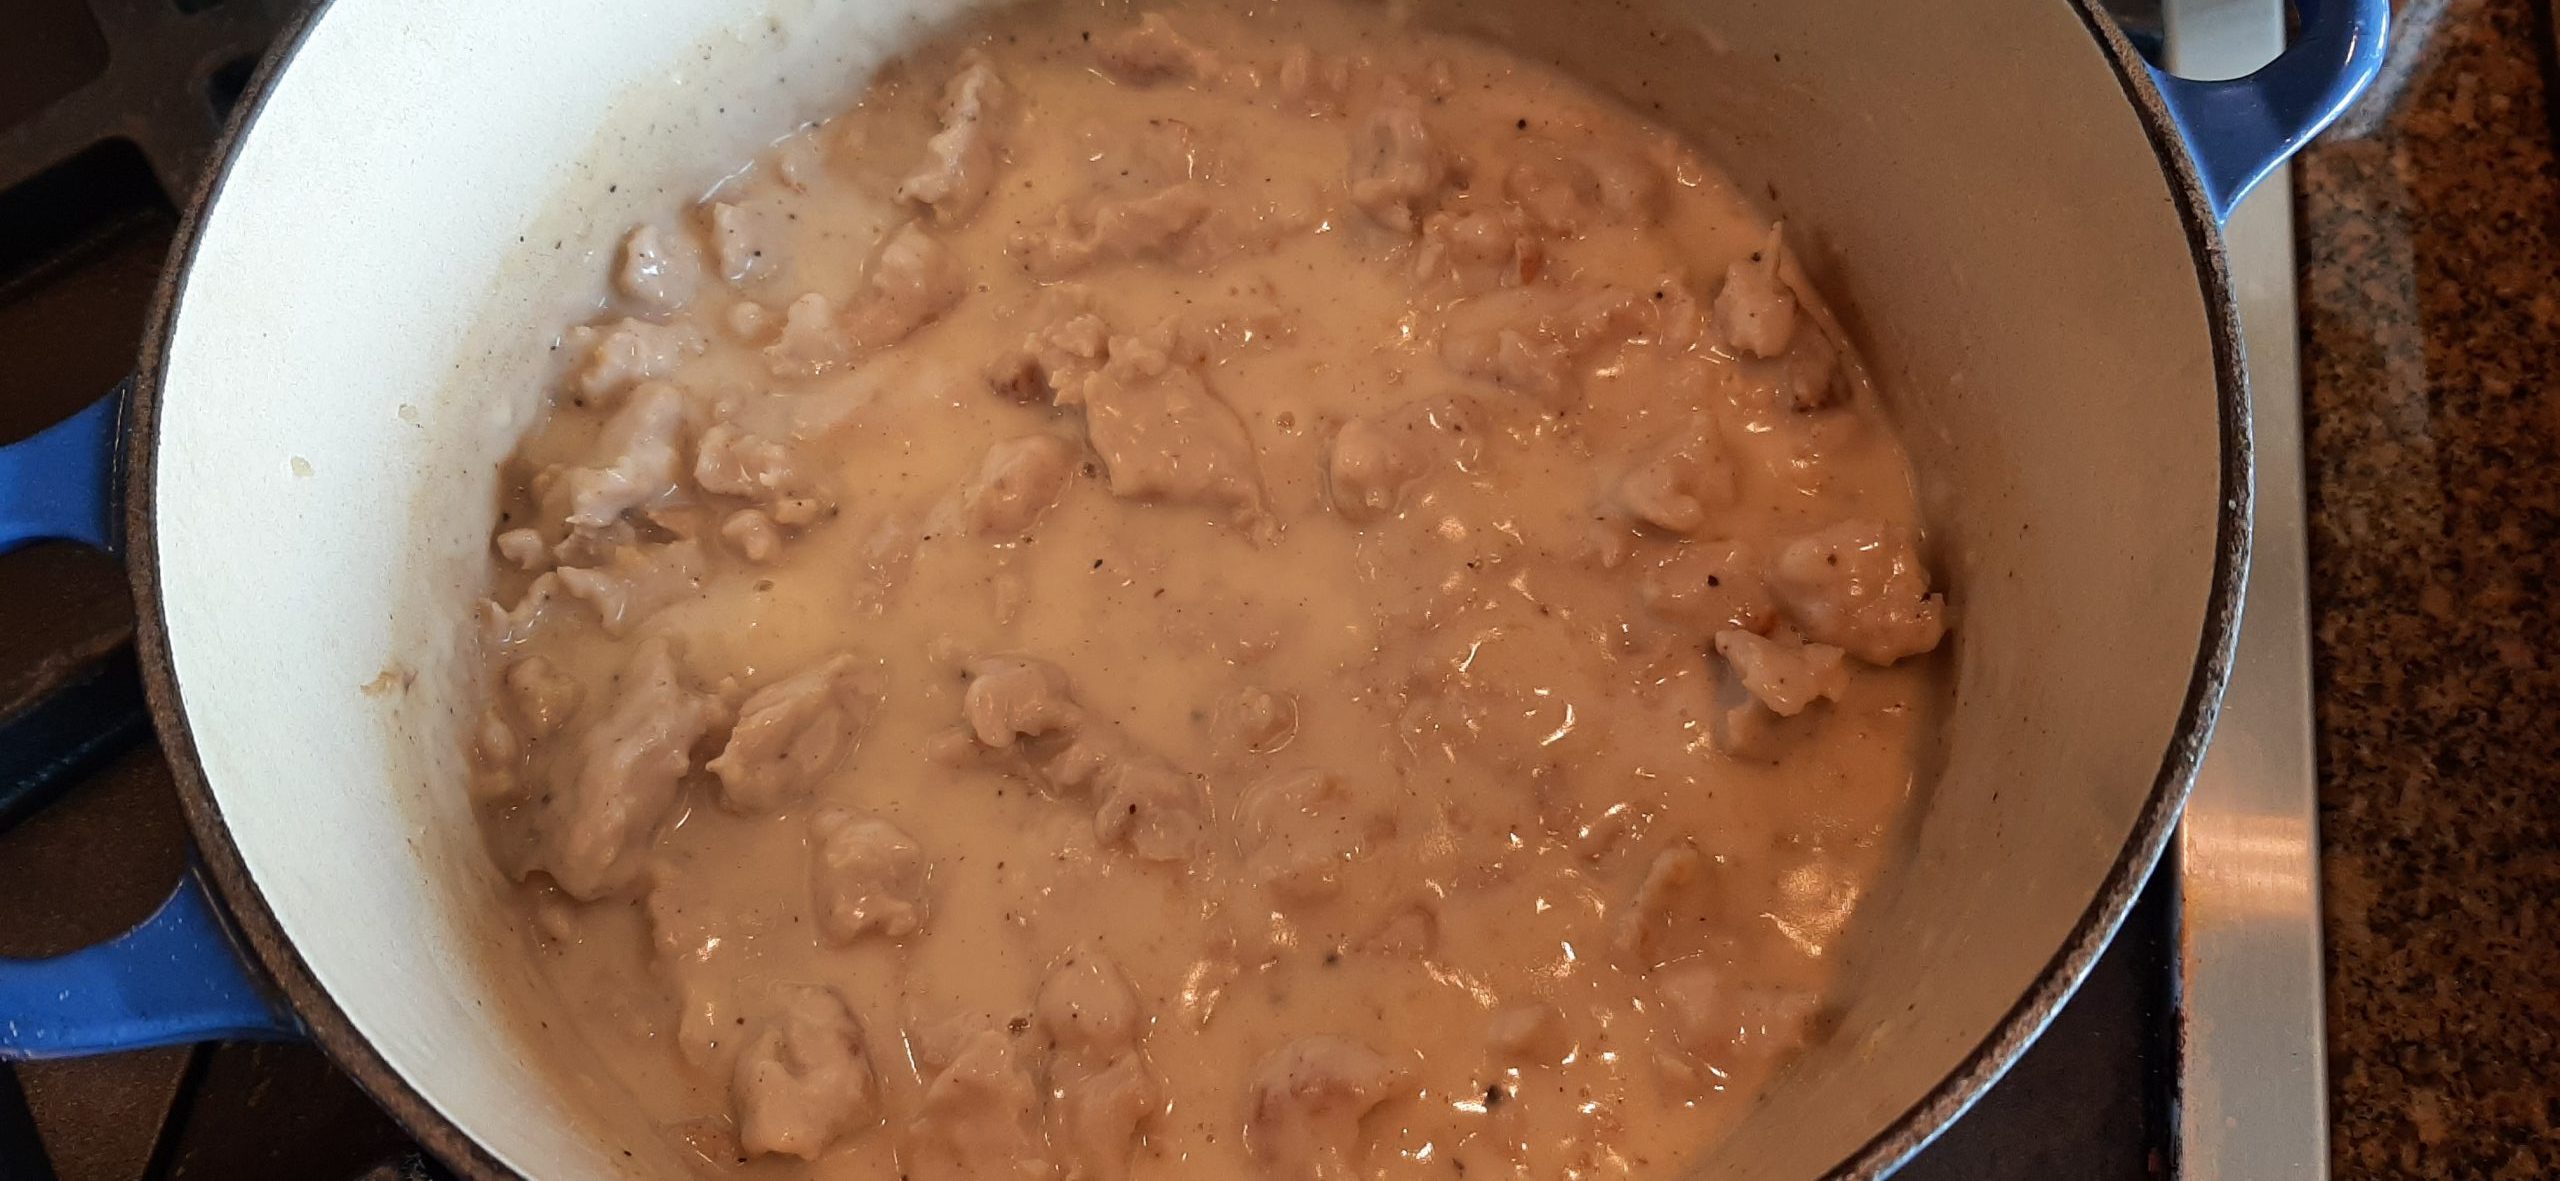
Unlike many times when my unsuspecting guests are forced to eat food that has not previously been prepared and tested in my kitchen, I couldn’t wait. So, I made this salad for dinner the other evening and Mr. C. and I were both thrilled with the result. As I’m sure you will be too when you prepare this salad for your family and friends.
So, if you too love a fabulous green salad, this is the recipe for you. And for all of you out there who love main course salads, I think adding any kind of cooked meat or seafood would work very well with all the other ingredients.
Now, would young children like this salad? Probably not. Would teenagers go for this salad? I believe they would. Because I’m sure my kids would have enjoyed eating this salad when they were in their teens. But then they had been exposed to curries, exotic soups, Chinese and Japanese dishes, etc. from a fairly young age.
By the time they were teenagers, they were conditioned to eat, or at least try, whatever was set in front of them. It was either that or starve! Just kidding. I was not one of those parents who forced their children to eat everything on their plate. They had to try everything. But they were not required to eat something they didn’t like. I mean really. Who do you know that loves every dish put in front of them? My kids were encouraged to develop a discerning palate. To know and recognize that some food preparations are just tastier than others. Or if a certain flavor just didn’t work for them, they didn’t have to partake. Like with me and cilantro. Yikes! Who washed this stuff in soap? And as with most of us, our tastes evolve over time. Why would I have expected my children to be any different than I was when I was young? Liver when I was young – yuck. Liver now – yum!
And I must say, my three daughters all learned on their own how to prepare great tasting food. My son too! But each in their own way. And not because I forced them to cook while they were still living at home. Or learn from me. I knew that at some point as adults they would get hungry. And figure out, as I did, that if I wanted to eat good food, I better jolly well learn how to make it myself! So, thank you again “Betty Crocker” and the people at Better Homes and Gardens for teaching me how to cook. I could not have done it without you!
Well, that’s it for today. And just because I need a break from politics as much as you do, I’m going to keep my very personal and private thoughts to myself. I’m simply not going to bore you with my daydreams about certain people in the public eye getting the comeuppance they so richly deserve.
But, for all the rest of you, peace and love from our home to yours.
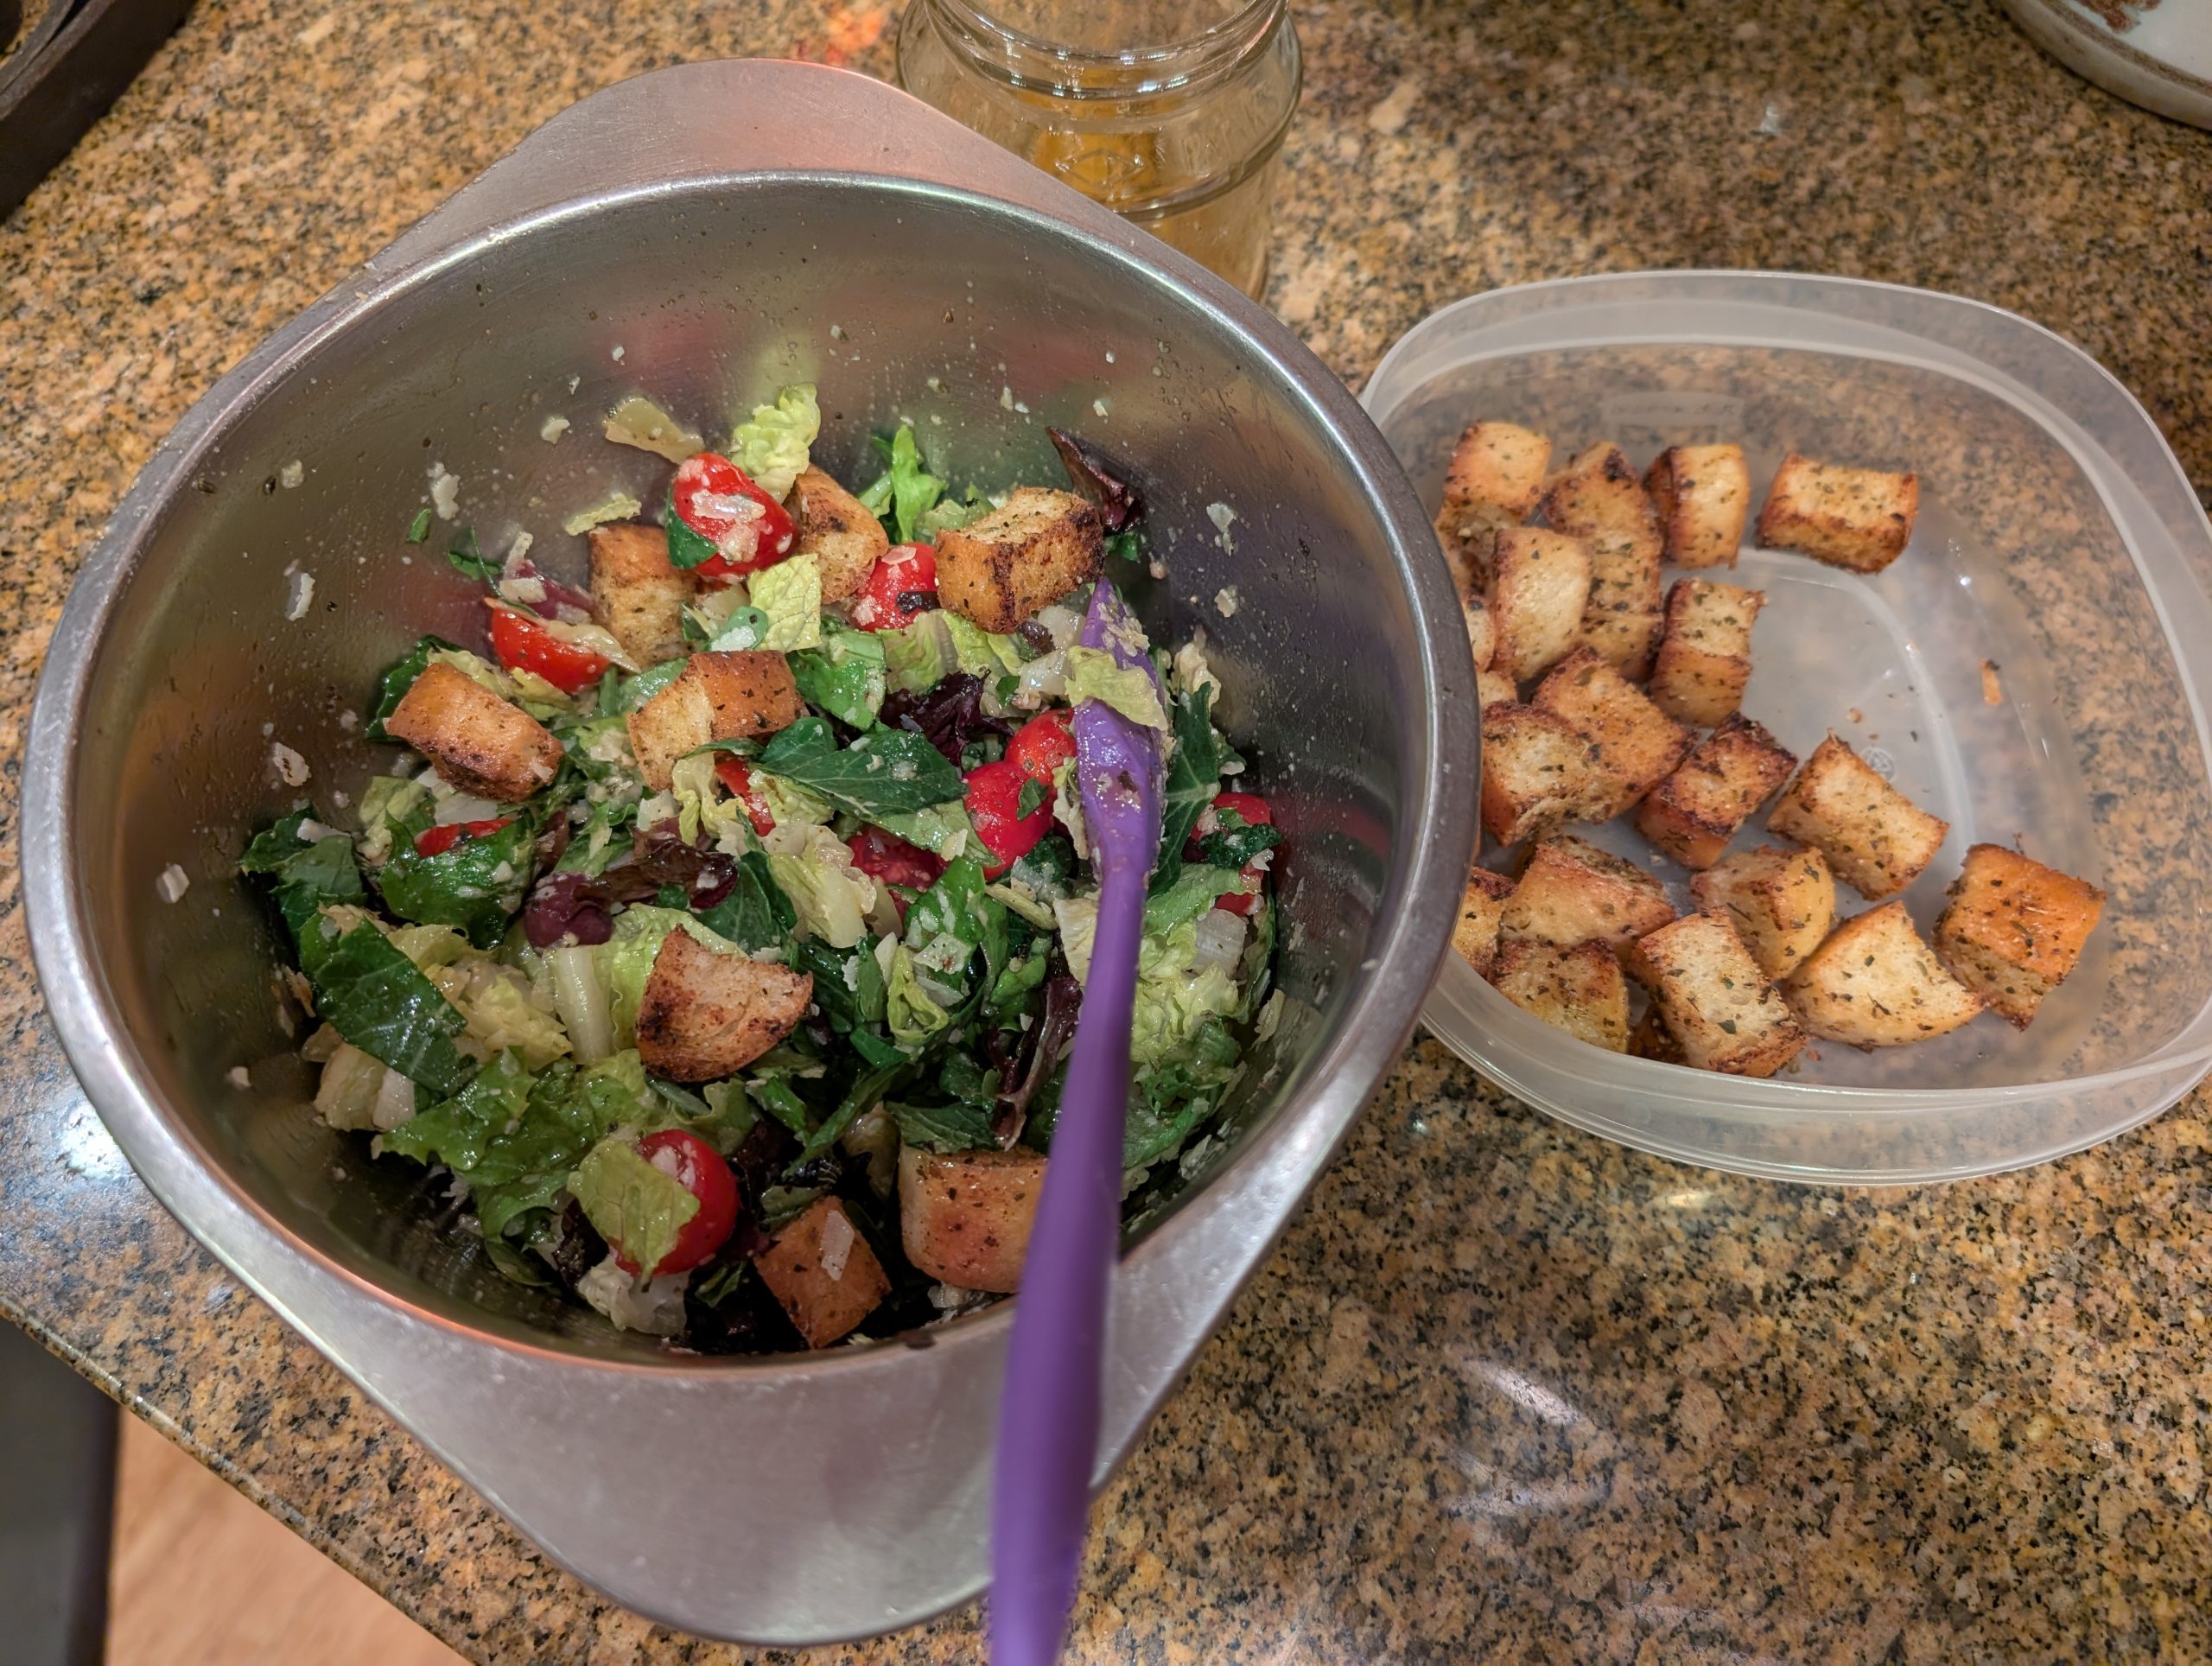
Italian Salad:
4 c. chopped romaine lettuce
4 c. mixed Spring greens
¼ red onion, thinly sliced, covered with ice water, and then drained after 10 minutes (this helps reduce the strong, pungent flavor of the onion)
2 c. cherry or grape tomatoes, halved
2 c. croutons, store-bought or homemade (see recipe below)
½ c. grated Parmesan cheese, plus extra for sprinkling
⅓ c. sliced pepperoncini peppers
½ c. sliced kalamata olives
Combine all ingredients in a large salad bowl, drizzle evenly with the Italian vinaigrette, add some croutons, and toss until evenly combined. Serve sprinkled with extra Parmesan cheese.
Italian Vinaigrette:
3 T. extra virgin olive oil
1 T. red wine vinegar
1 tsp. Dijon mustard
½ tsp. dried oregano
½ tsp. fine sea salt
freshly ground black pepper
1 sm. clove garlic, finely minced
Whisk all ingredients together in a bowl (or shake together in a jar) until combined. Taste and adjust seasoning if desired. Use immediately or refrigerate for up to 3 days.
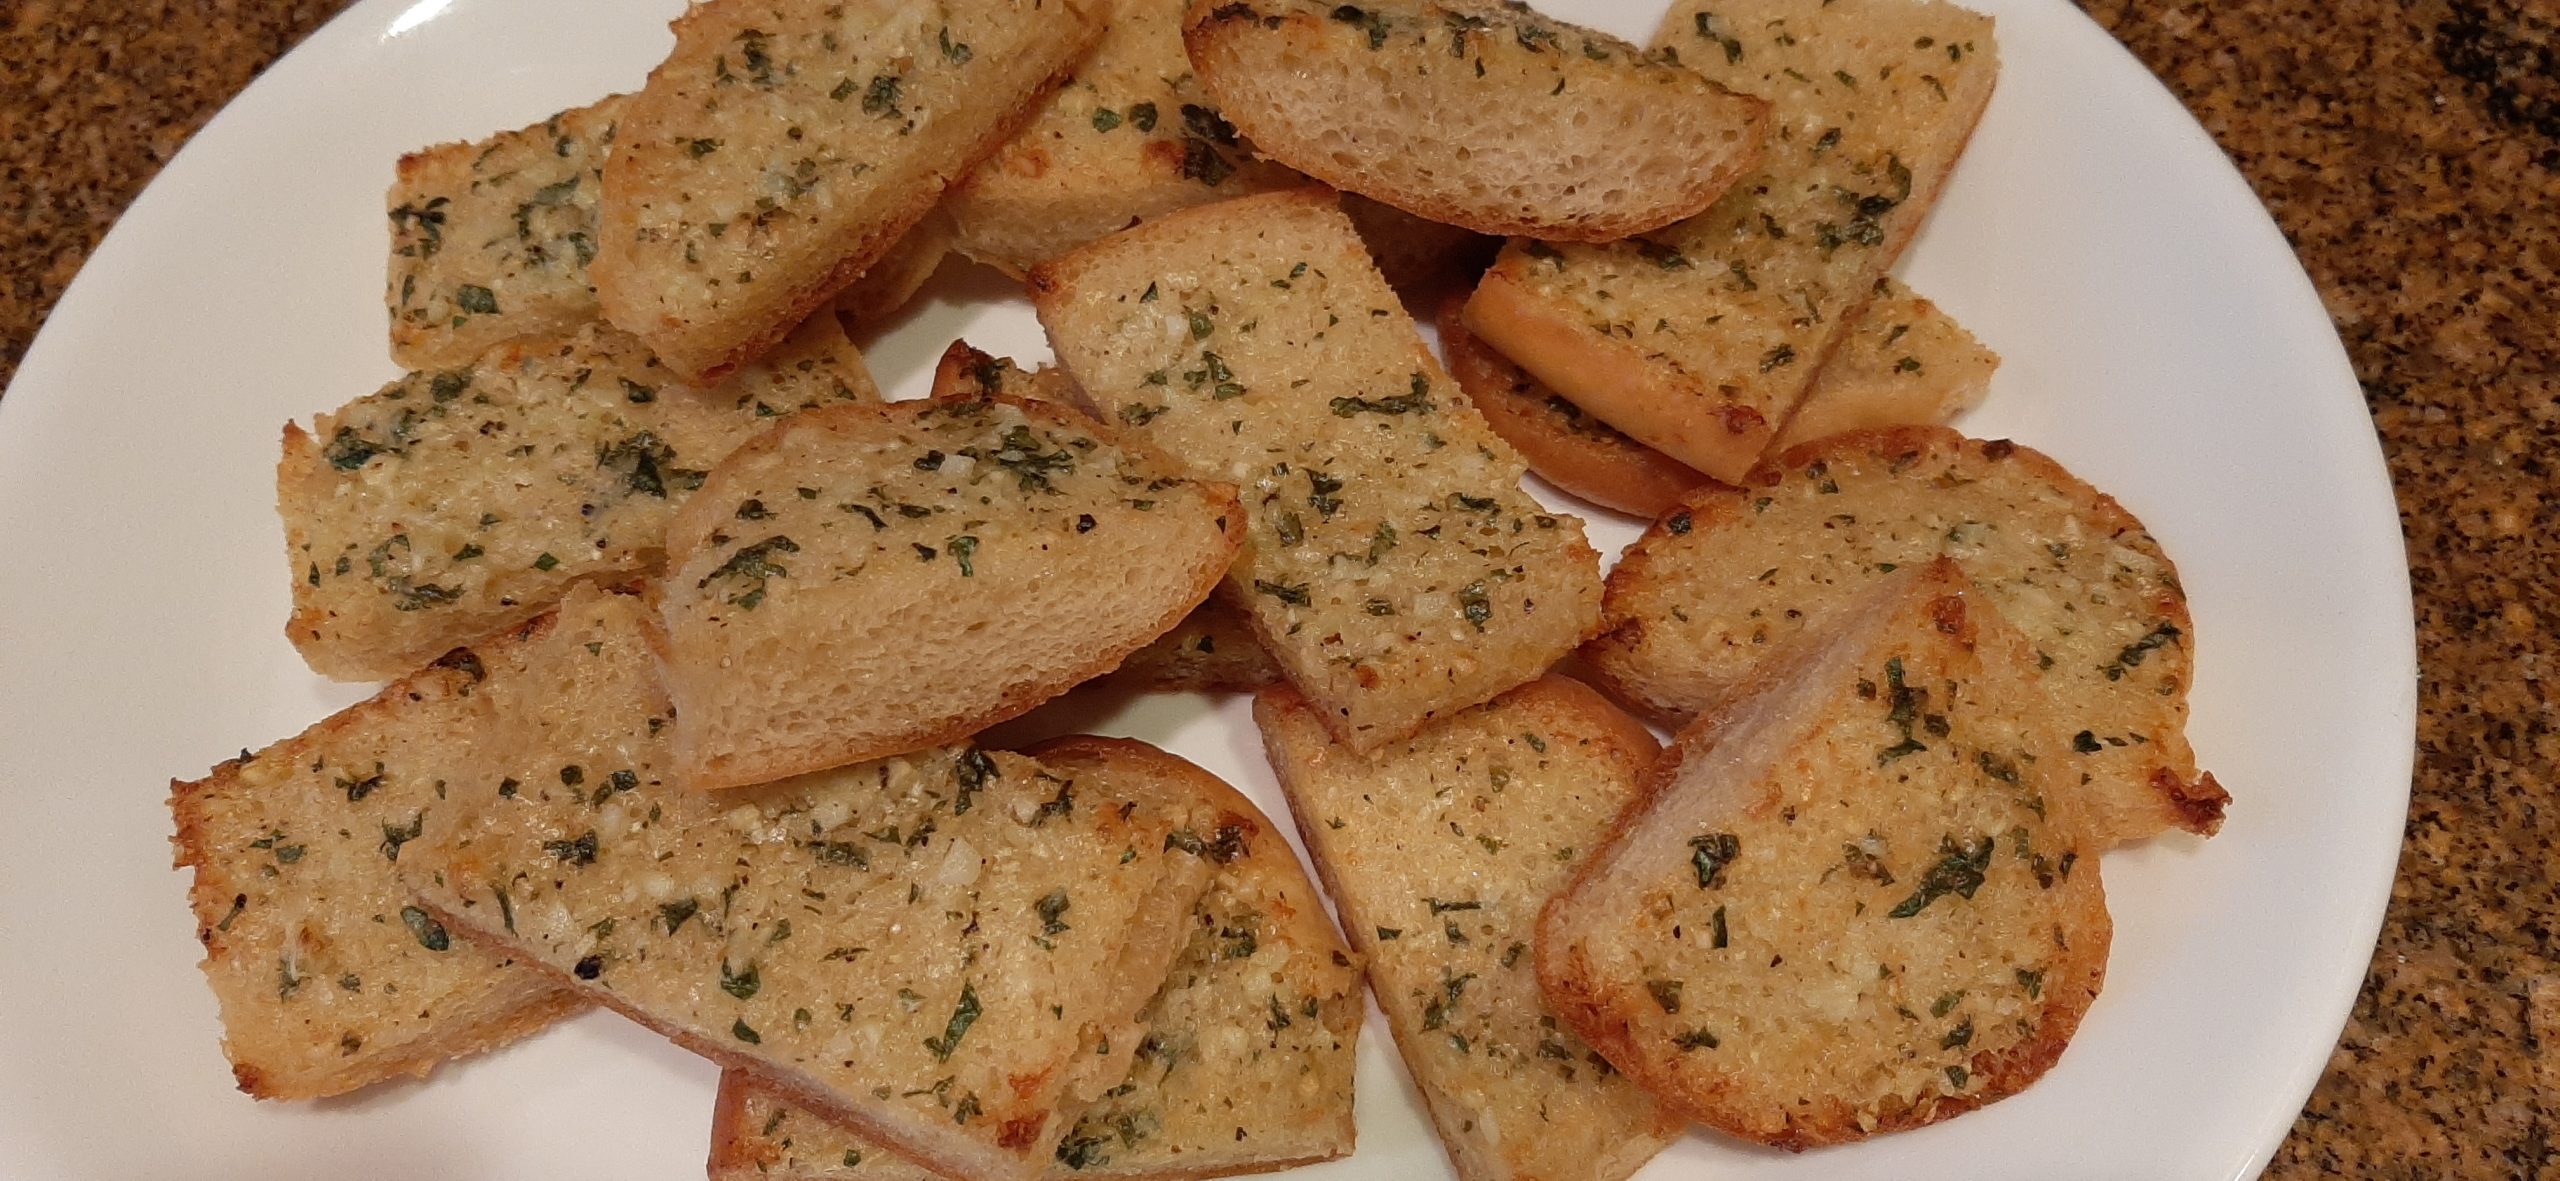
Homemade croutons:
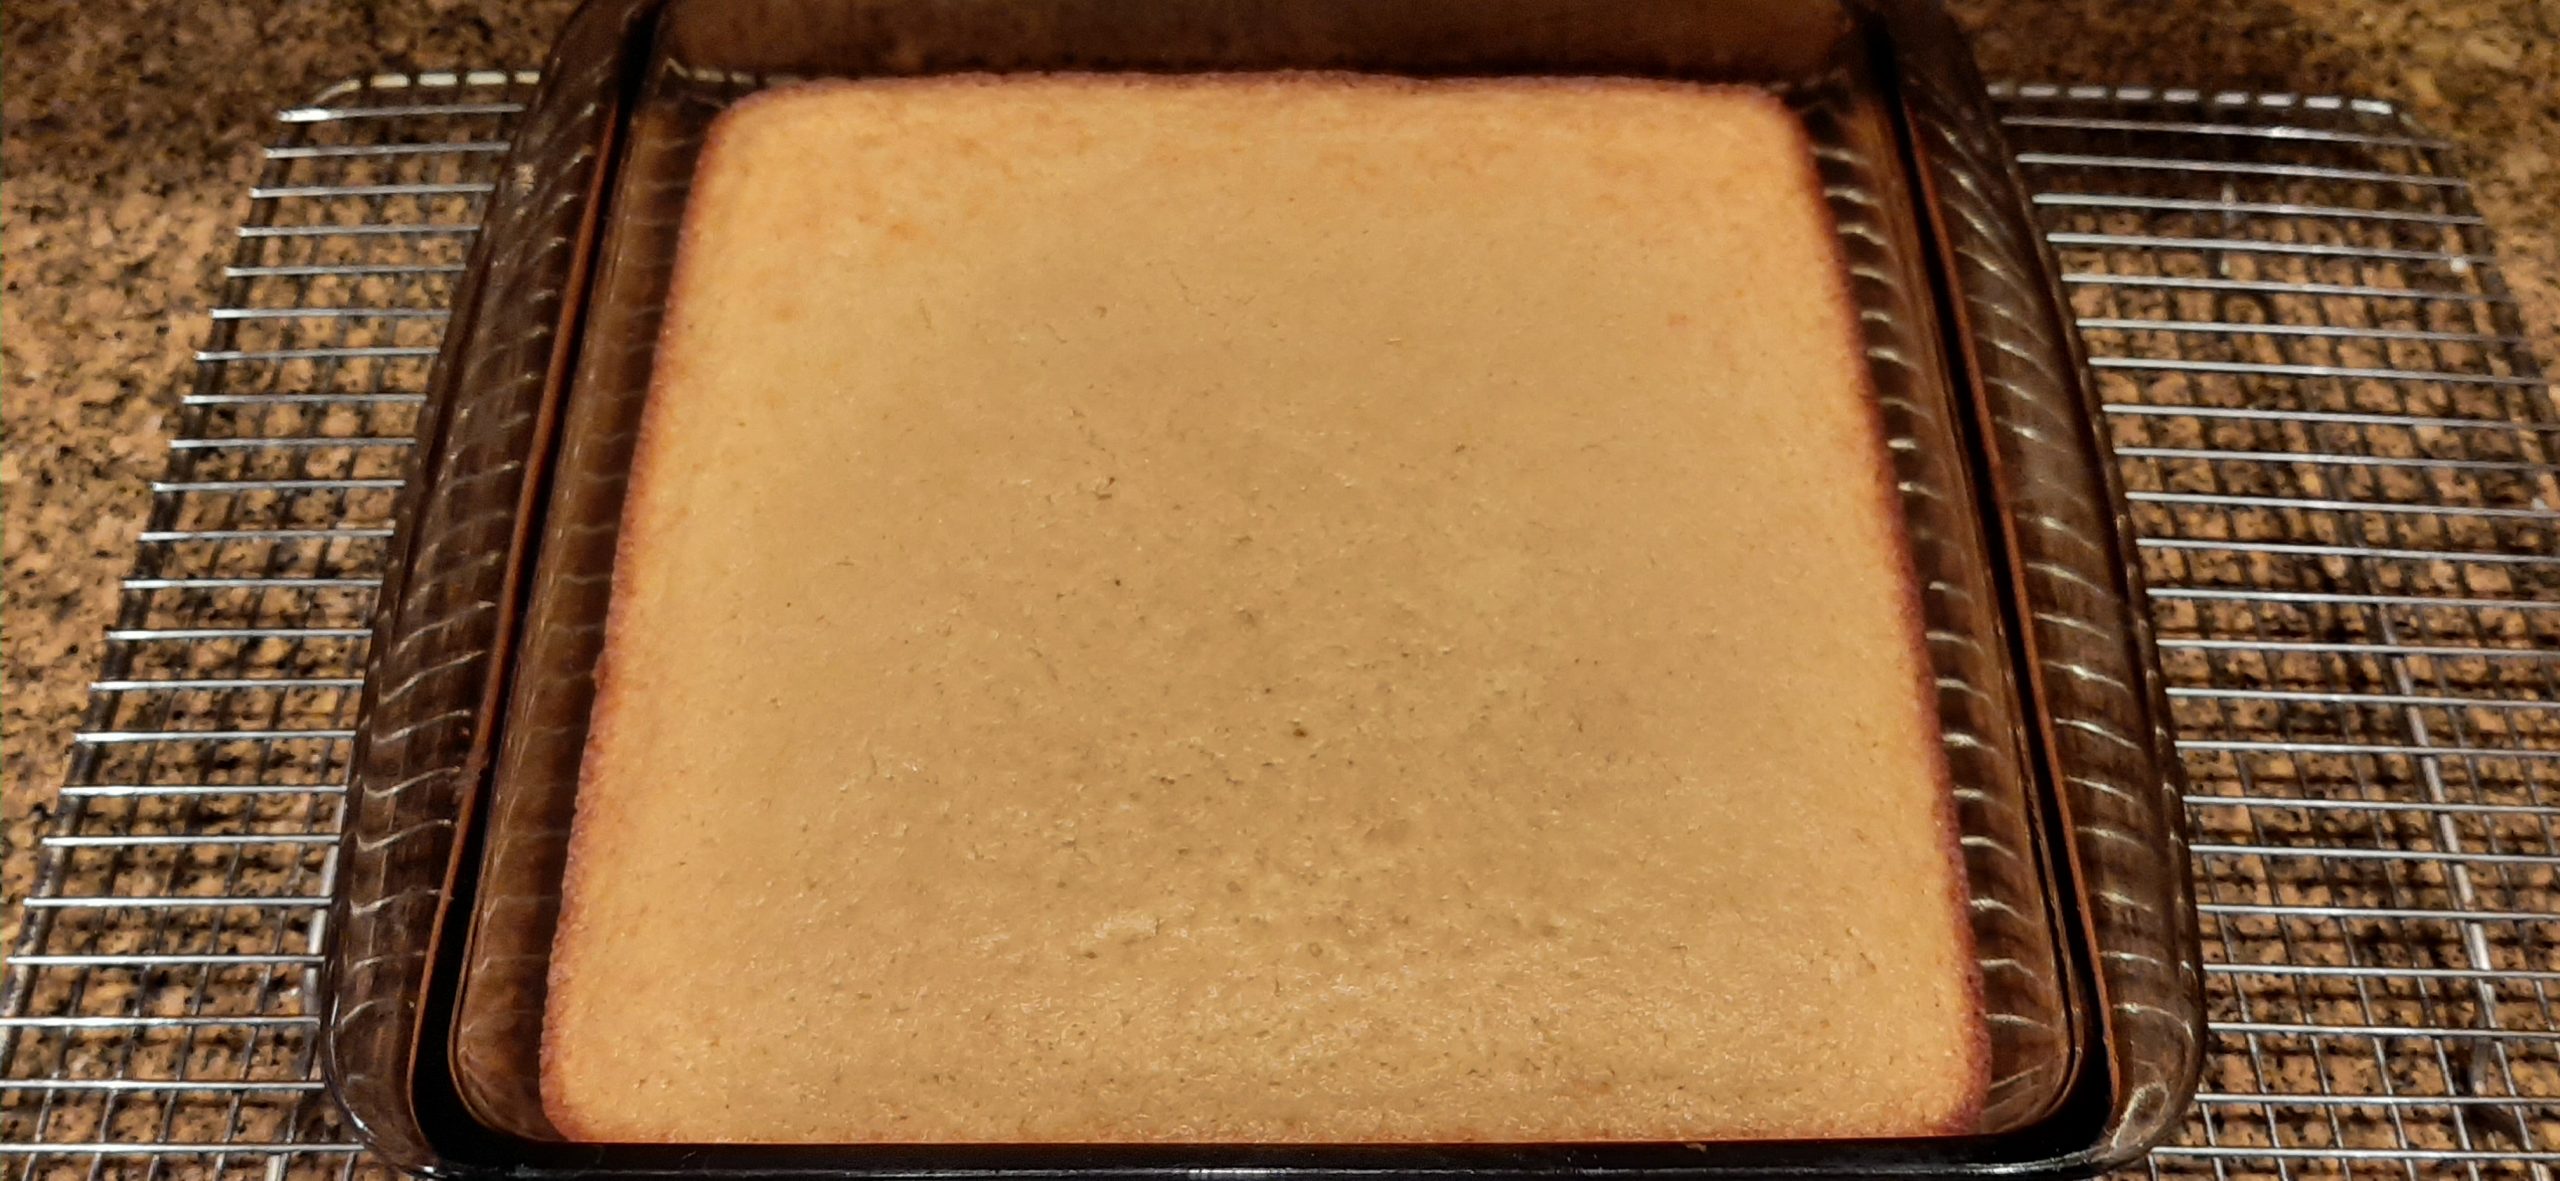
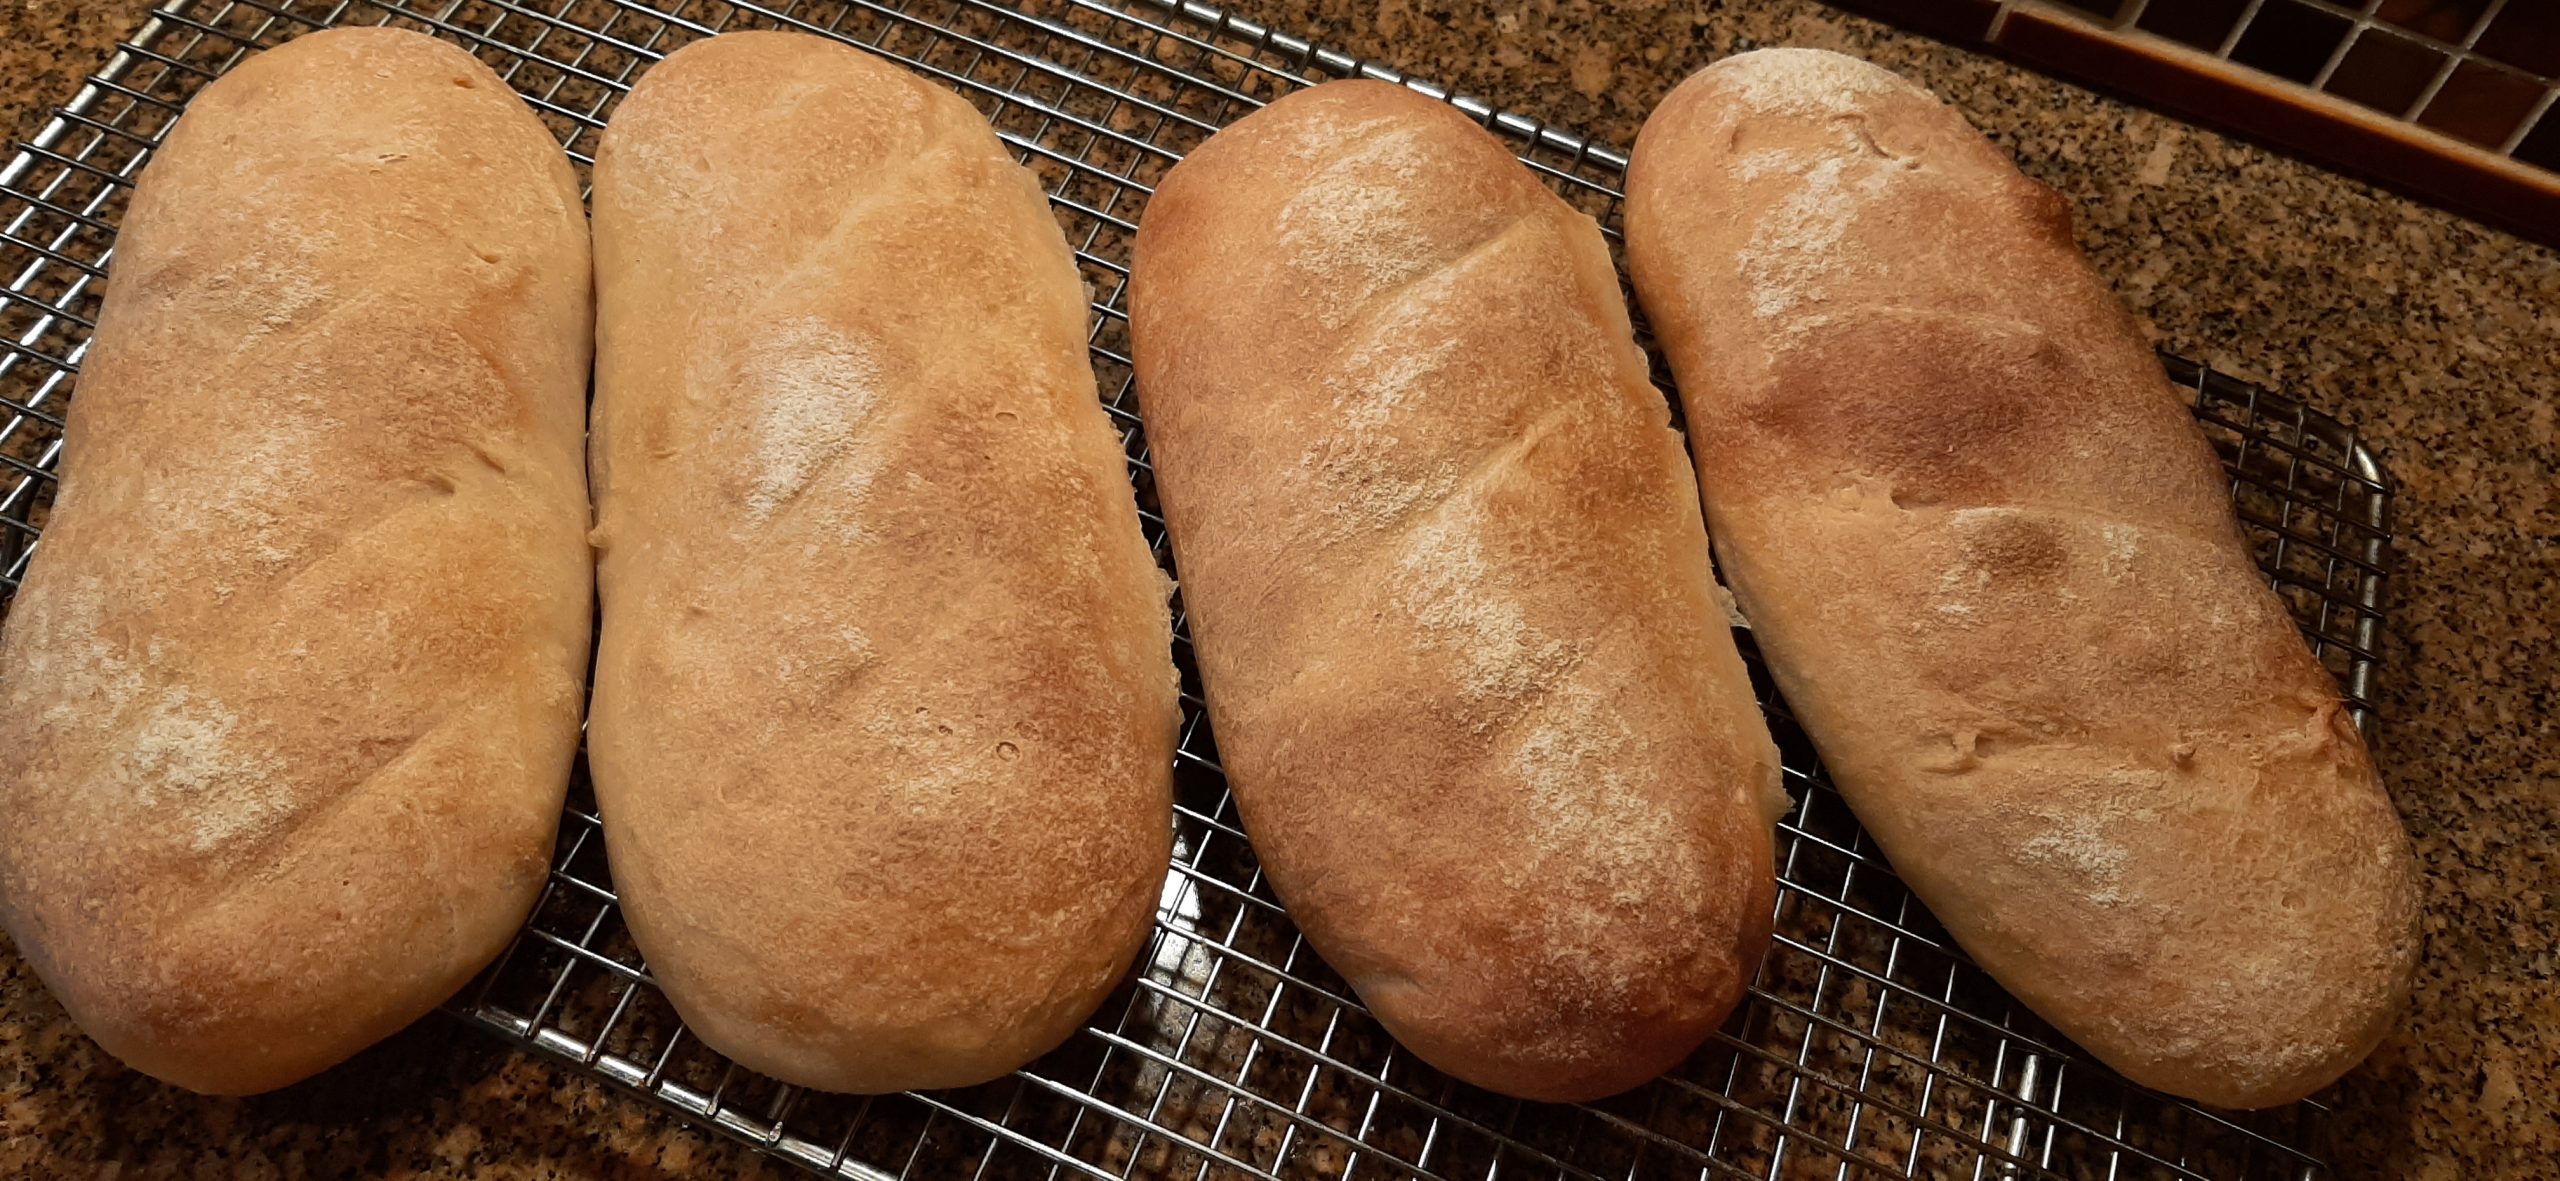
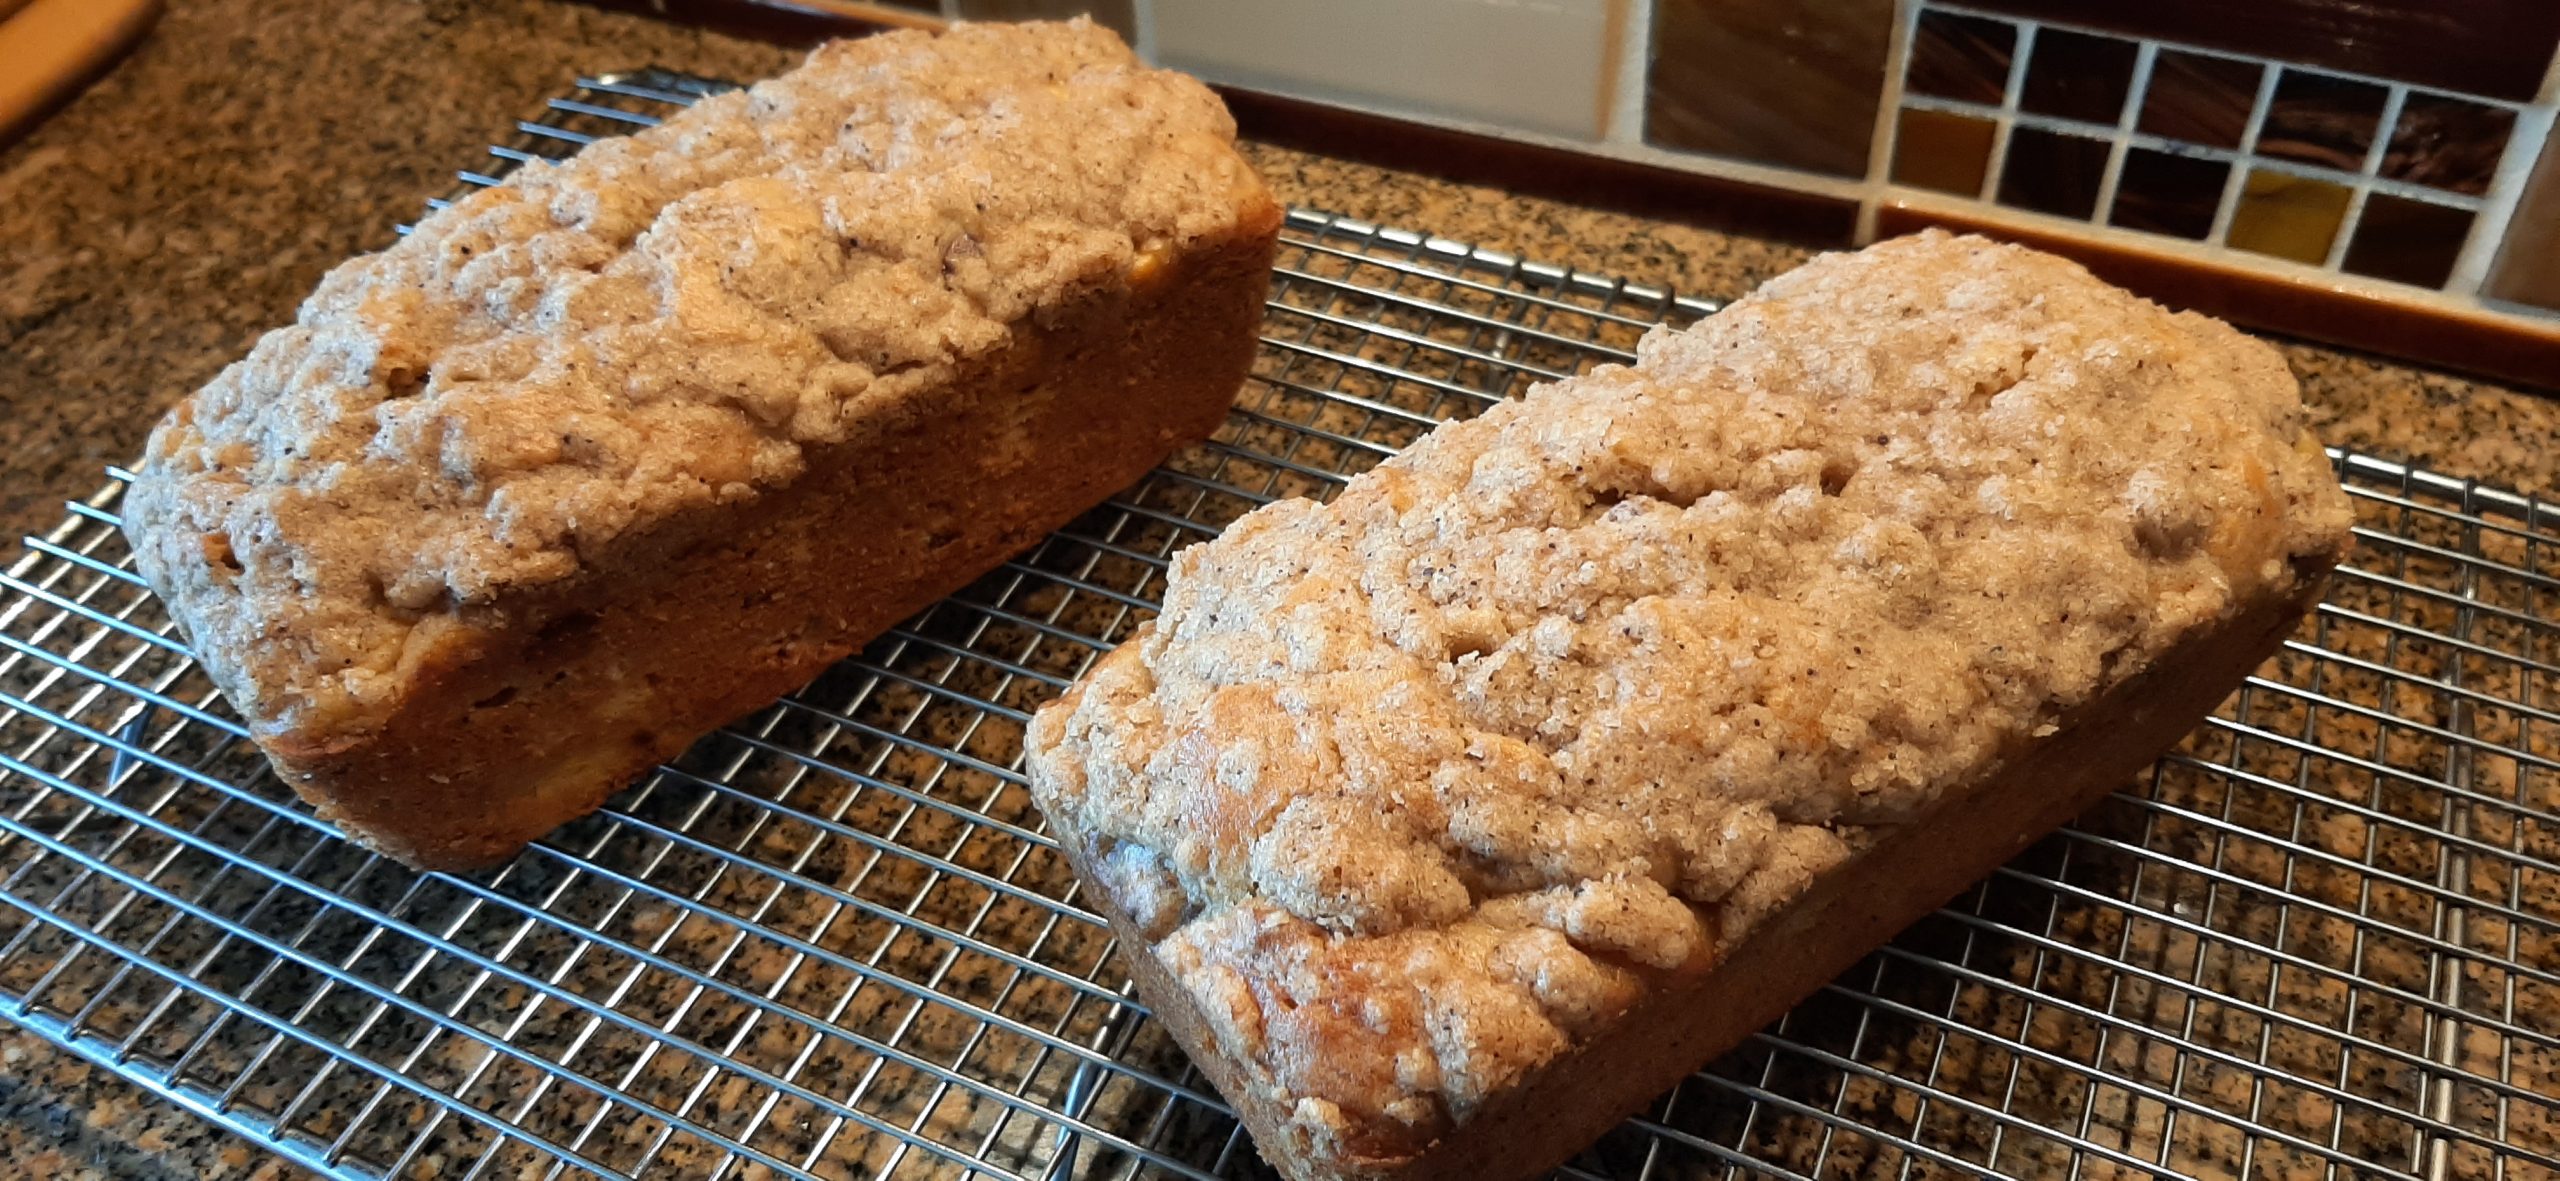
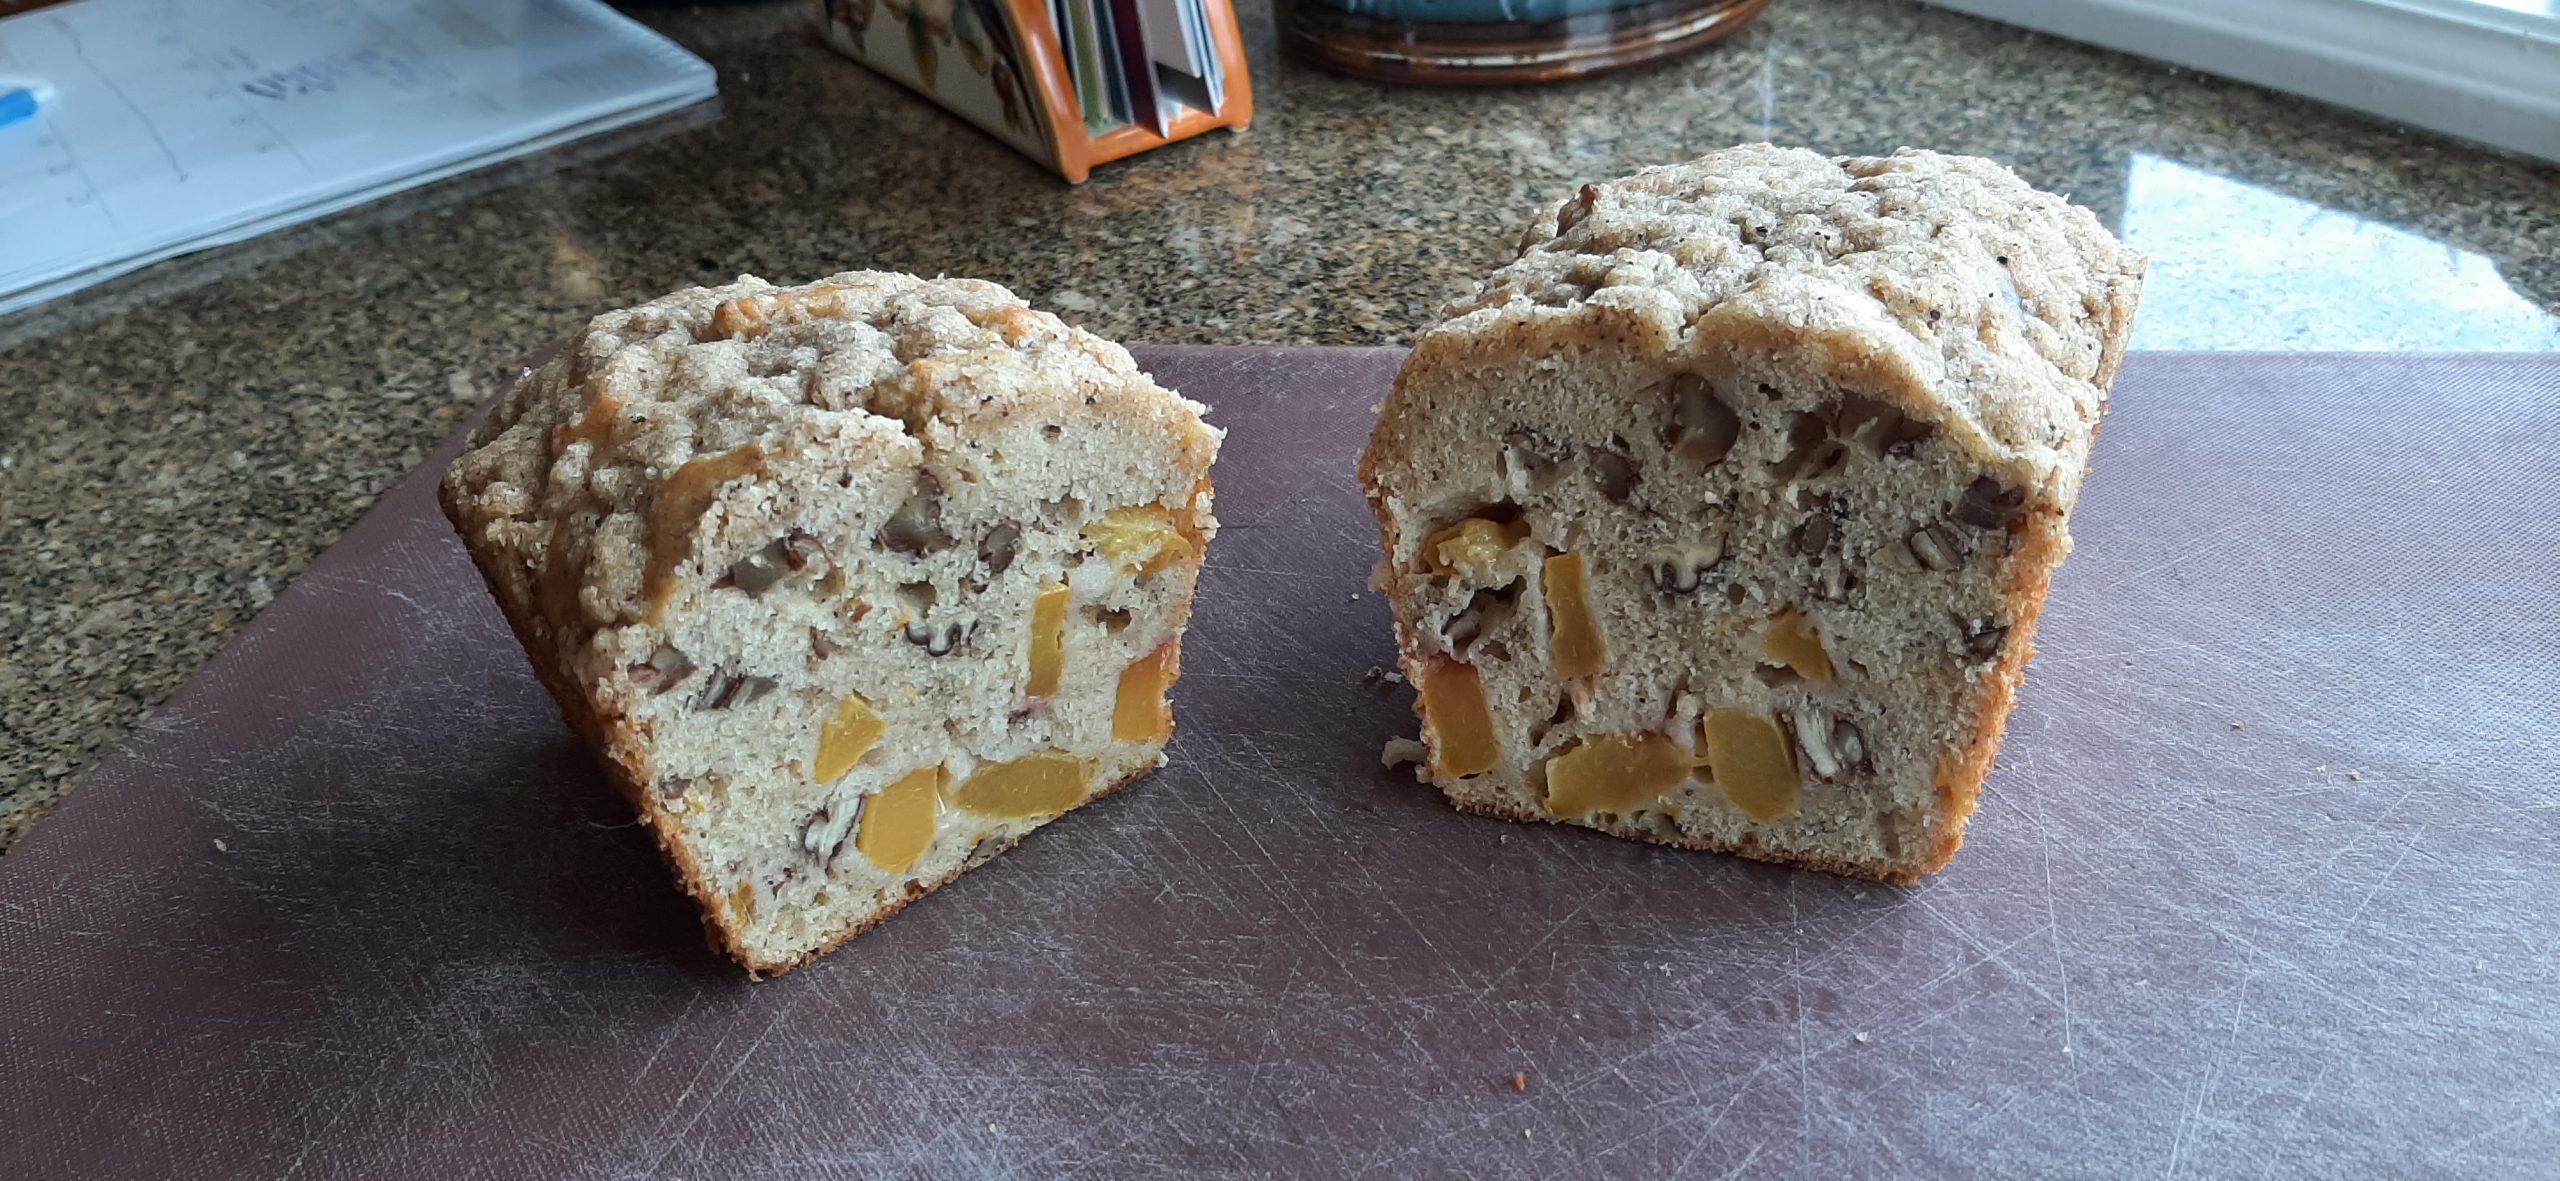
12 oz. crusty bread, cut into ¾-inch cubes (see my bread recipe below)
¼ c. extra virgin olive oil
1½ tsp. Italian seasoning
1 tsp. granulated garlic
¼ tsp. granulated onion
¼ tsp. fine sea salt, or more to taste
freshly ground black pepper
Line a large baking sheet with parchment paper; set aside.
In a large bowl, drizzle the olive oil over the bread chunks. Then sprinkle the Italian seasoning, granulated garlic, granulated onion, salt, and pepper over the bread. Toss gently until well-combined.
Spread the bread cubes out in a single layer on the prepared baking sheet.
Bake in a pre-heated 375-degree oven for 15 to 20 minutes or until golden brown, turning once halfway through.
Remove from oven and let cool completely.
Use immediately, or store in an air-tight container.
Note: And if you want to take the “homemade” one step further and bake your own bread for the croutons, allow me to recommend my recipe for Easy Same Day French Baguettes.