
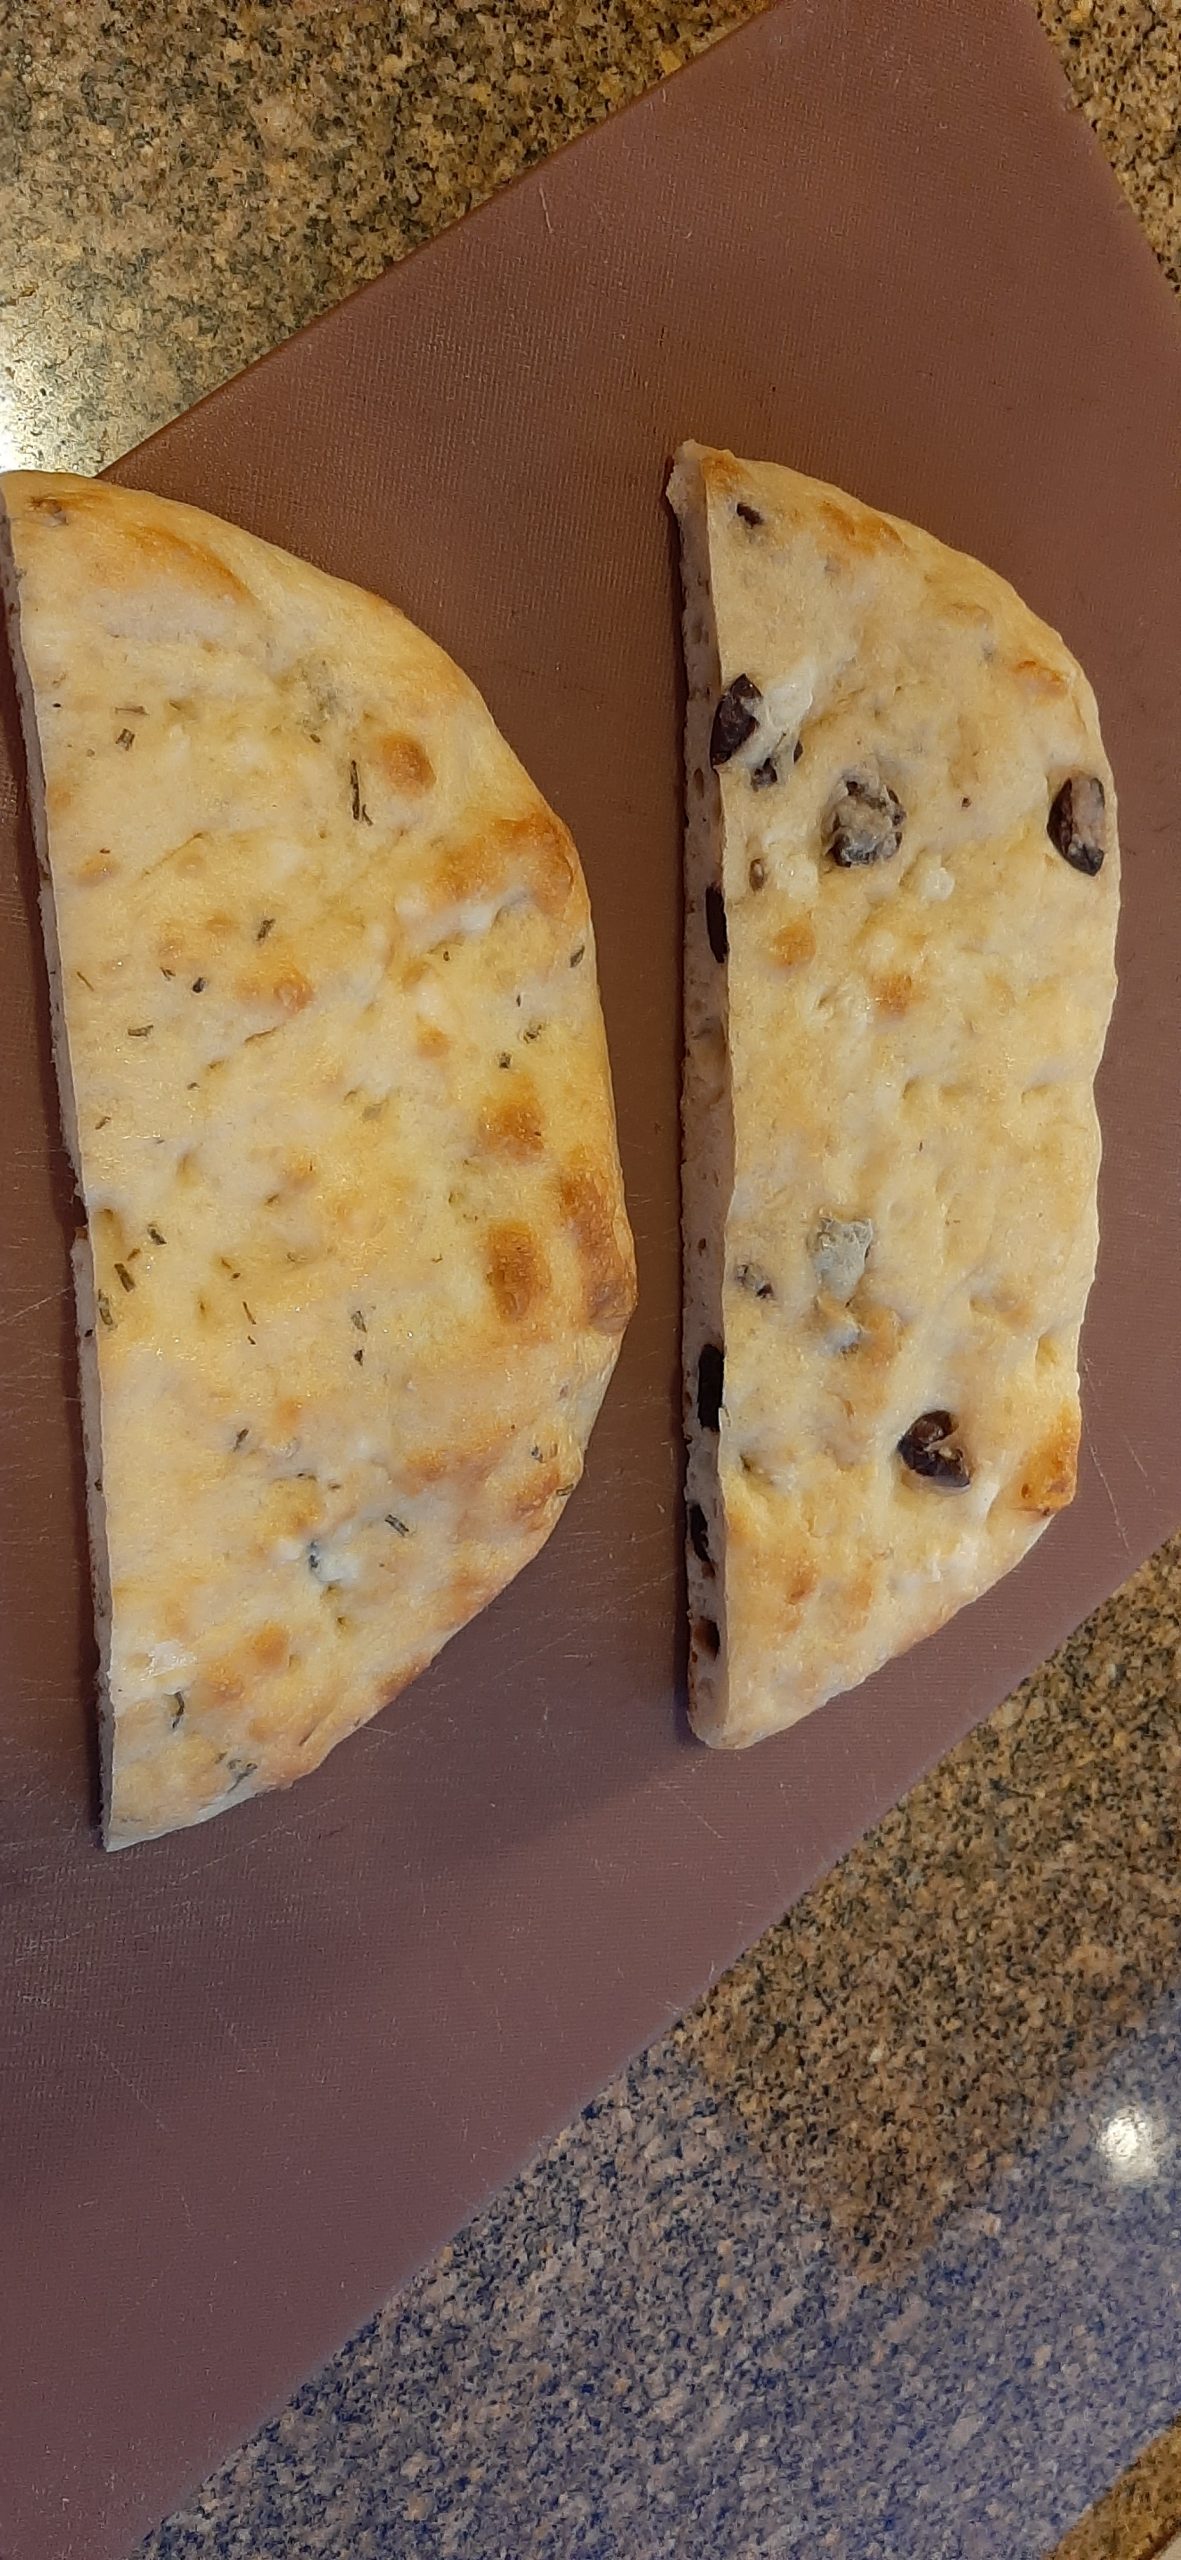
Rosemary Focaccia on the left. Kalamata and Roasted Garlic Focaccia on the right.
Well, this was easy bread to build. Almost too easy to be real. But guess what? This is the best focaccia imaginable. Chewy and UNBELIEVABLY delicious. And did I mention this focaccia is ever so easy to prepare. Yes, I did. But I feel duty bound to state it again. And we all have Ali of alexandracooks.com to thank for this amazing recipe.
But to be truthful, I don’t follow Ali’s instructions to a tee. Ali often adds flavorings on top of her focaccias, but I worry about ingredients either burning, or getting too well cooked her way. So, I put additions in the dough itself. Just a personal preference. So, feel free to go wild and do whatever you want when it comes to additives or toppings when you make your focaccia. But the one thing you must do, especially if you are new to baking bread, is just do it. Make – this – bread. It is marvelous. And fool proof. (Not that you’re a fool, I’m not saying that. Well, yes, I guess I might be saying that if you don’t make this focaccia!) Anyway, just make the darn bread and be done with it!
Well, this is my second post for today. Mr. C. is in Seattle making beautiful music with some other gifted musicians for an upcoming concert, so I don’t have him to bug. The house is clean. The laundry is done, and I don’t have to make dinner tonight. So, I think I’ll just post this recipe and get back to trying to help my poor protagonist in the book I’m reading figure out who done it. I actually can’t imagine a better way to spend a winter afternoon than by turning pages in a book.
May you too have afternoons spent doing anything you darn well please.
Peace and love to all.
ROSEMARY FOCACCIA
3 c. bread flour
1½ tsp. kosher salt
1½ tsp. instant yeast
1 T. finely minced fresh rosemary
1½ c. lukewarm water
extra virgin olive oil
flaky sea salt
In a medium sized bowl, whisk the flour, salt, instant yeast, and rosemary together. Add warm water. Using a rubber spatula, mix until the liquid is absorbed, and the ingredients form a sticky dough ball. Rub the surface of the dough with olive oil. (Use enough that the dough won’t dry out as it sits in the refrigerator.)
Cover the bowl with plastic wrap and place in the refrigerator immediately for at least 12 hours or for as long as three days.
Pour about 3 tablespoons of olive oil into a 9×13-inch baking pan. Remove the dough from fridge and using a stiff spatula, transfer the dough to the baking pan and form it into a rough ball. Roll the dough ball in the oil to coat it all over, again forming a rough ball.
Let the dough rest uncovered for 3 to 4 hours or until it looks about doubled in size.
Set a rack in the middle of the oven and preheat the oven to 425-degrees. Pour about 2 more tablespoons of olive oil over the dough. Rub your hands lightly in the oil to coat, then, using your fingers, press straight down to create deep dimples. The dough probably won’t fill the pan. No matter. Just press the dough as much as possible into an even thickness. Sprinkle with flaky sea salt all over. (Be generous.)
Transfer the pan to the middle rack of your pre-heated 425-degree oven and bake for about 25 minutes, or until the underside is golden and crisp and the internal temperature of the bread reaches at least 200-degrees.
Remove the pan from the oven and transfer the focaccia to a cooling rack. Let it cool before cutting into small squares.
KALAMATA OLIVE AND ROASTED GARLIC FOCACCIA
3 c. bread flour
1½ tsp. kosher salt
1½ tsp. instant yeast
8-10 cloves roasted garlic, smashed (see recipe for roasted garlic below)
½ c. chopped kalamata olives
1½ c. lukewarm water
extra virgin olive oil
flaky sea salt
In a medium sized bowl, mix the flour, salt, instant yeast, roasted garlic, and kalamata olives together. Add warm water. Using a rubber spatula, mix until the liquid is absorbed, and the ingredients form a sticky dough ball. Rub the surface of the dough with olive oil. (Use enough that the dough won’t dry out as it sits in the refrigerator.)
Cover the bowl with plastic wrap and place in the refrigerator immediately for at least 12 hours or for as long as three days.
Pour about 3 tablespoons of olive oil into a 9×13-inch baking pan. Remove the dough from fridge and using a stiff spatula, transfer the dough to the baking pan and form it into a rough ball. Roll the dough ball in the oil to coat it all over, again forming a rough ball.
Let the dough rest uncovered for 3 to 4 hours or until it looks about doubled in size.
Set a rack in the middle of the oven and preheat it to 425-degrees. Pour about 2 more tablespoons of olive oil over the dough. Rub your hands lightly in the oil to coat, then, using your fingers, press straight down to create deep dimples. The dough probably will not completely fill the pan. No matter. Just press the dough as much as possible into an even thickness. Sprinkle with flaky sea salt all over. (Be generous.)
Transfer the pan to the middle rack of your pre-heated 425-degree oven and bake for about 25 minutes, or until the underside is golden and crisp and the internal temperature of the bread reaches at least 200-degrees.
Remove the pan from the oven and transfer the focaccia to a cooling rack. Let it cool before cutting into small squares.
How to roast garlic
Using a sharp knife, slice ¼ to ⅓ -inch off the top of the garlic bulb exposing the individual cloves. Remove any loose papery skin.
Place the garlic cut side up in the center of a piece of foil large enough to envelope the bulb. Drizzle with 1 tablespoon olive oil and sprinkle with salt and pepper. Fold the foil around the garlic.
Place in a small baking dish or ramekin and bake in a pre-heated 400-degree oven until the cloves inside the packet are light brown and soft, 40 to 70 minutes. Check on the garlic after about 50 minutes. Continue baking if necessary. Remove from oven, carefully open the foil, and let the garlic cool until it’s easy to handle but still warm. Press on the uncut base of the bulb to squeeze the cloves out. Allow the cloves to cool completely before using in any of your favorite dishes.