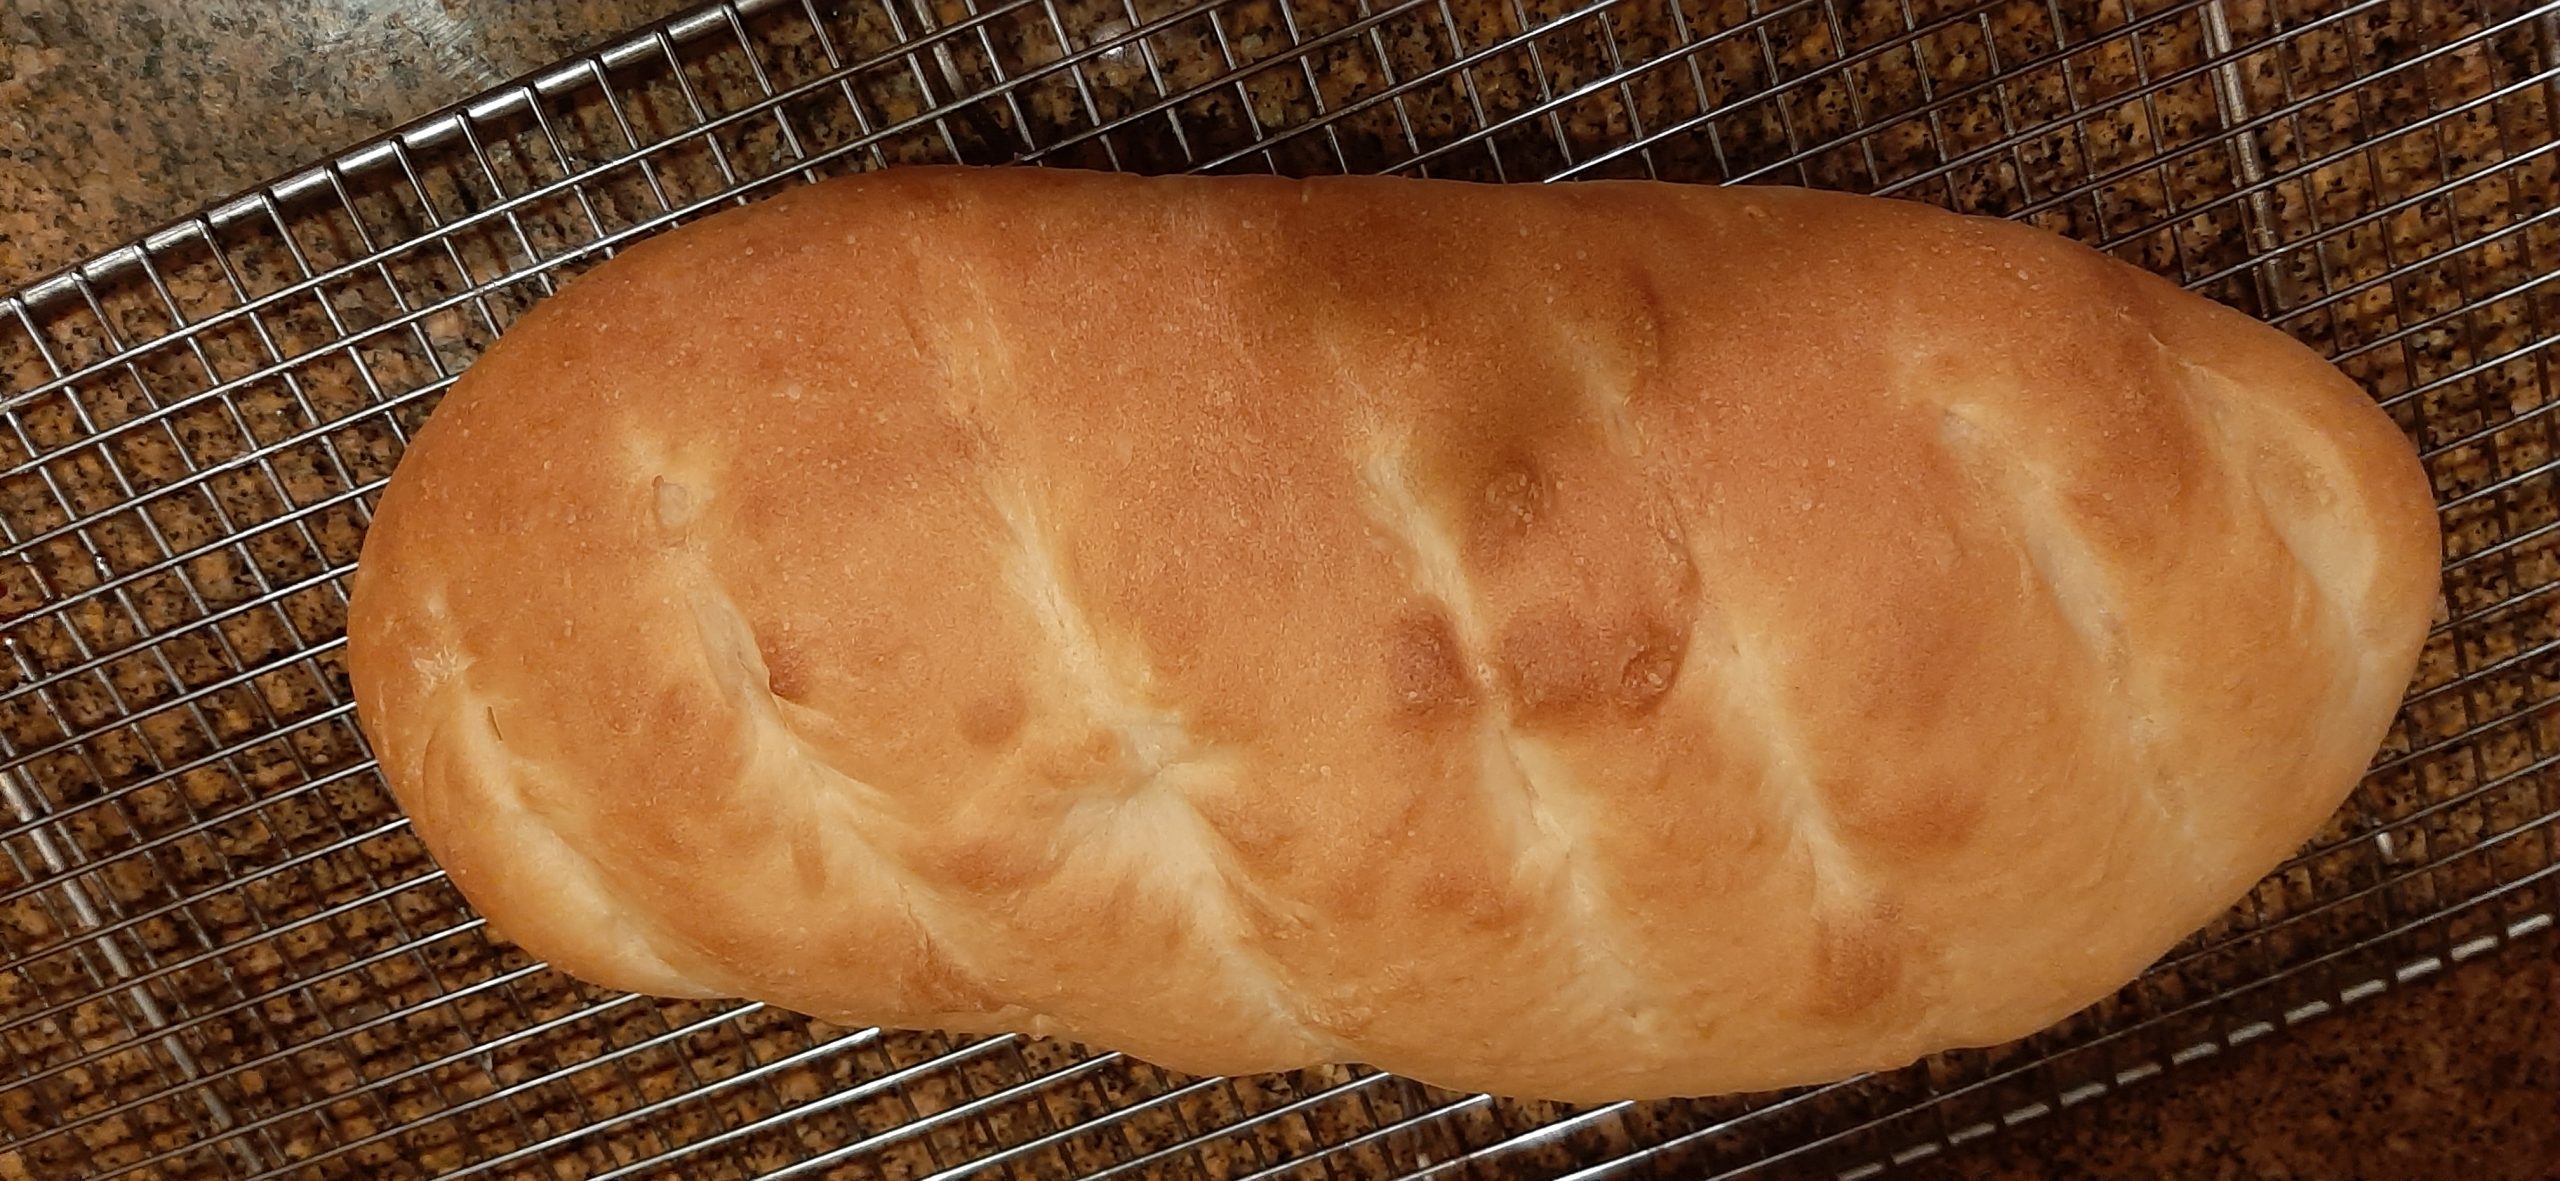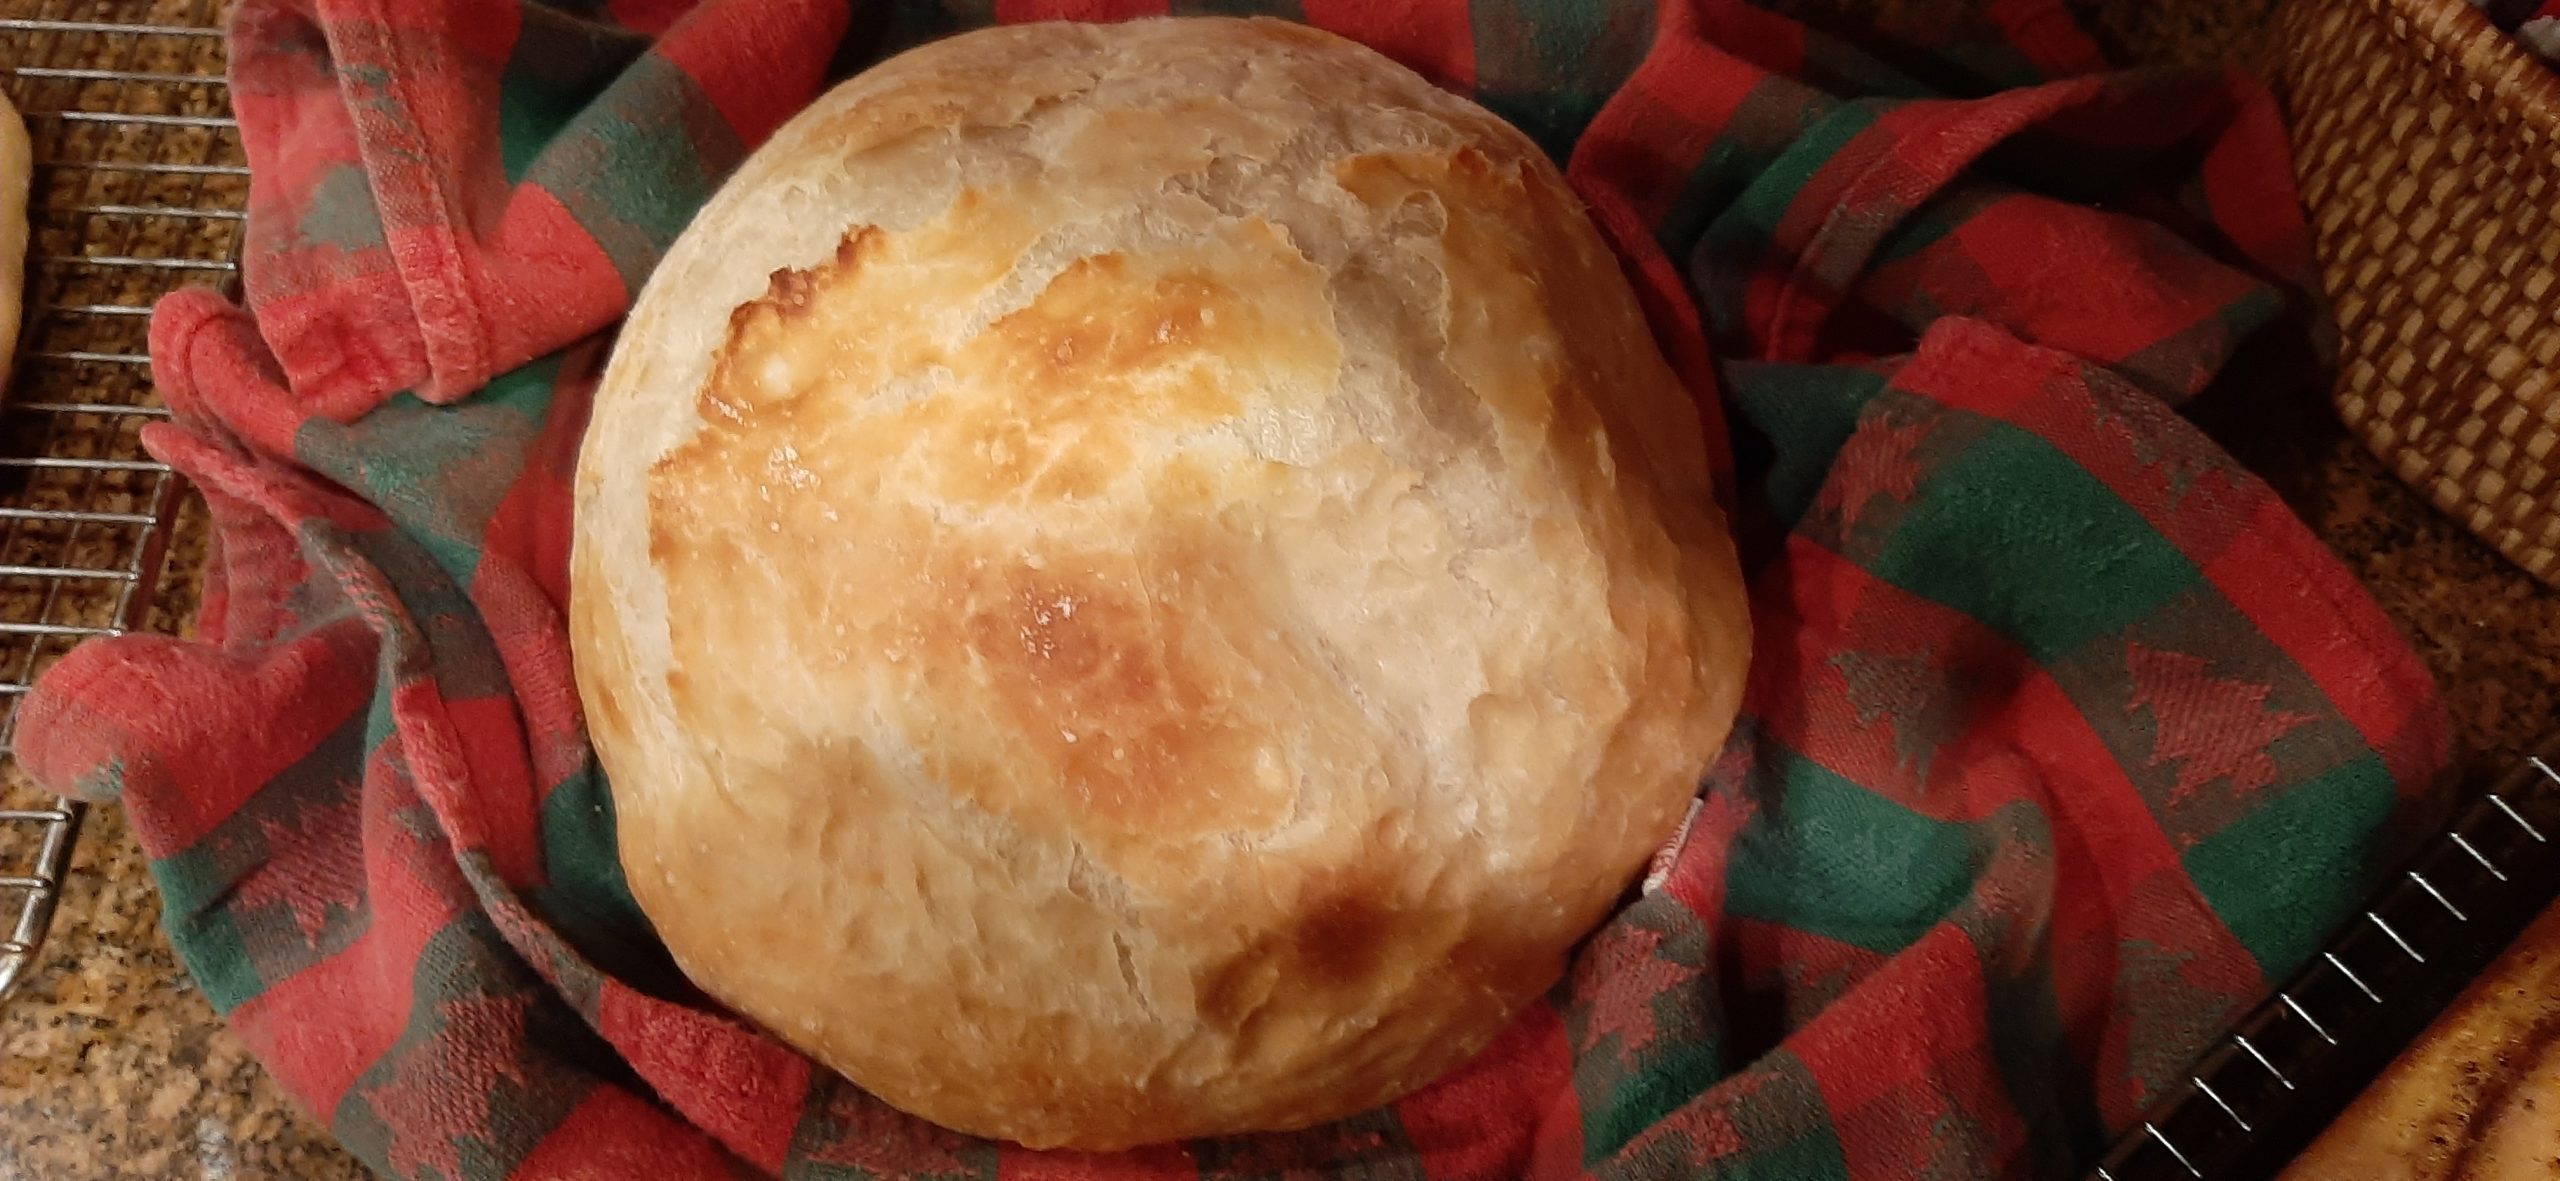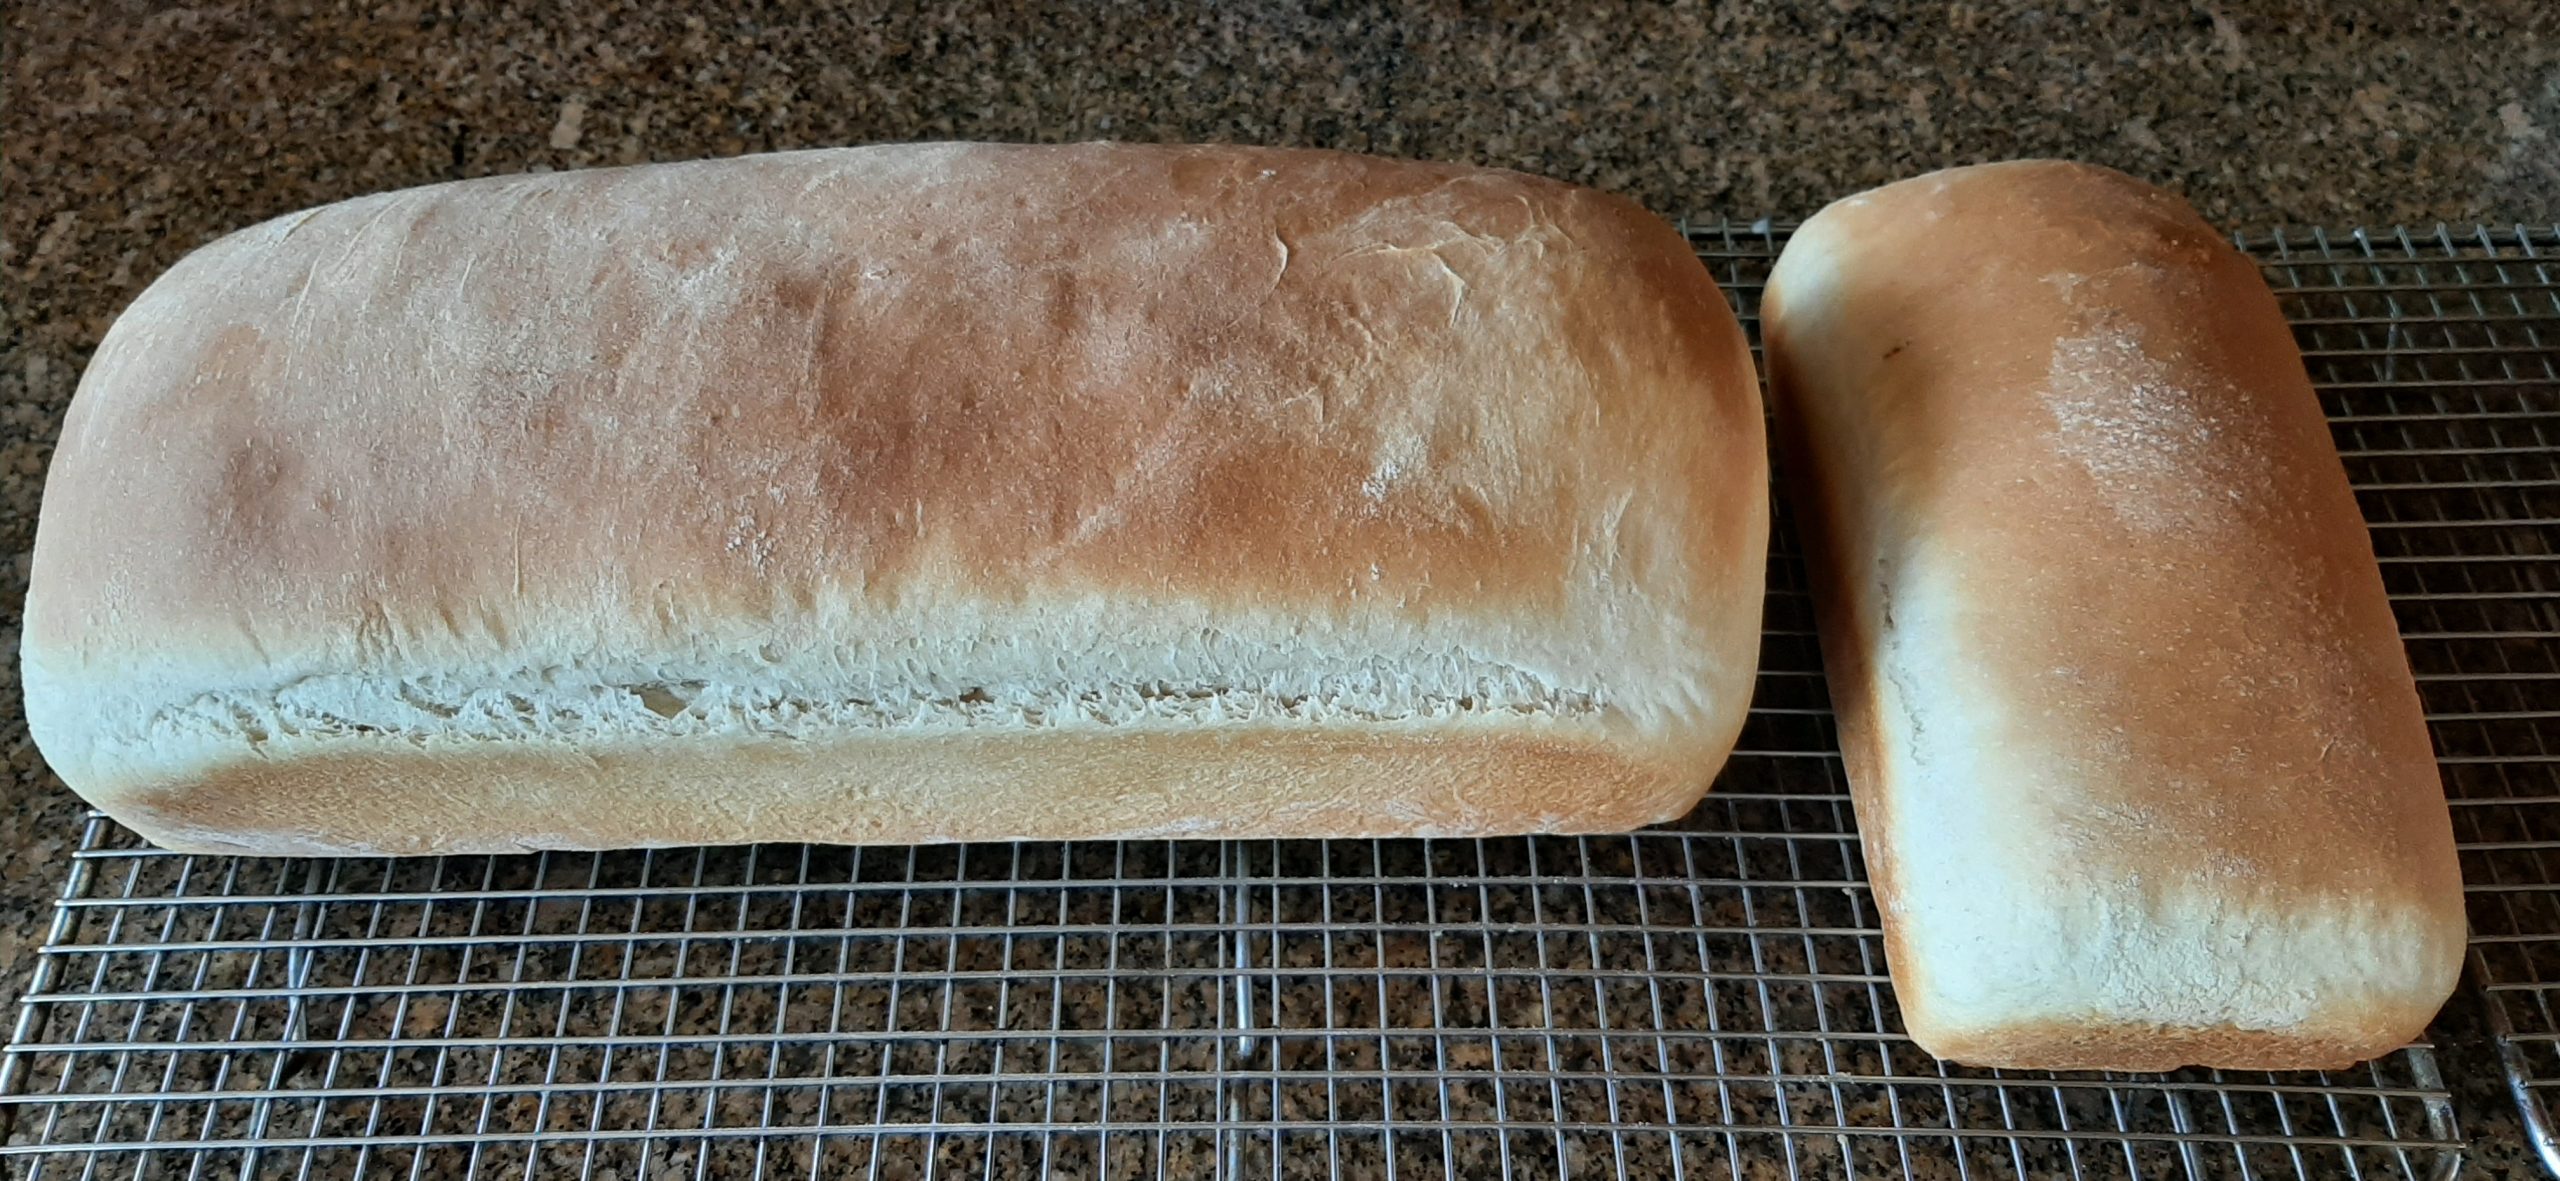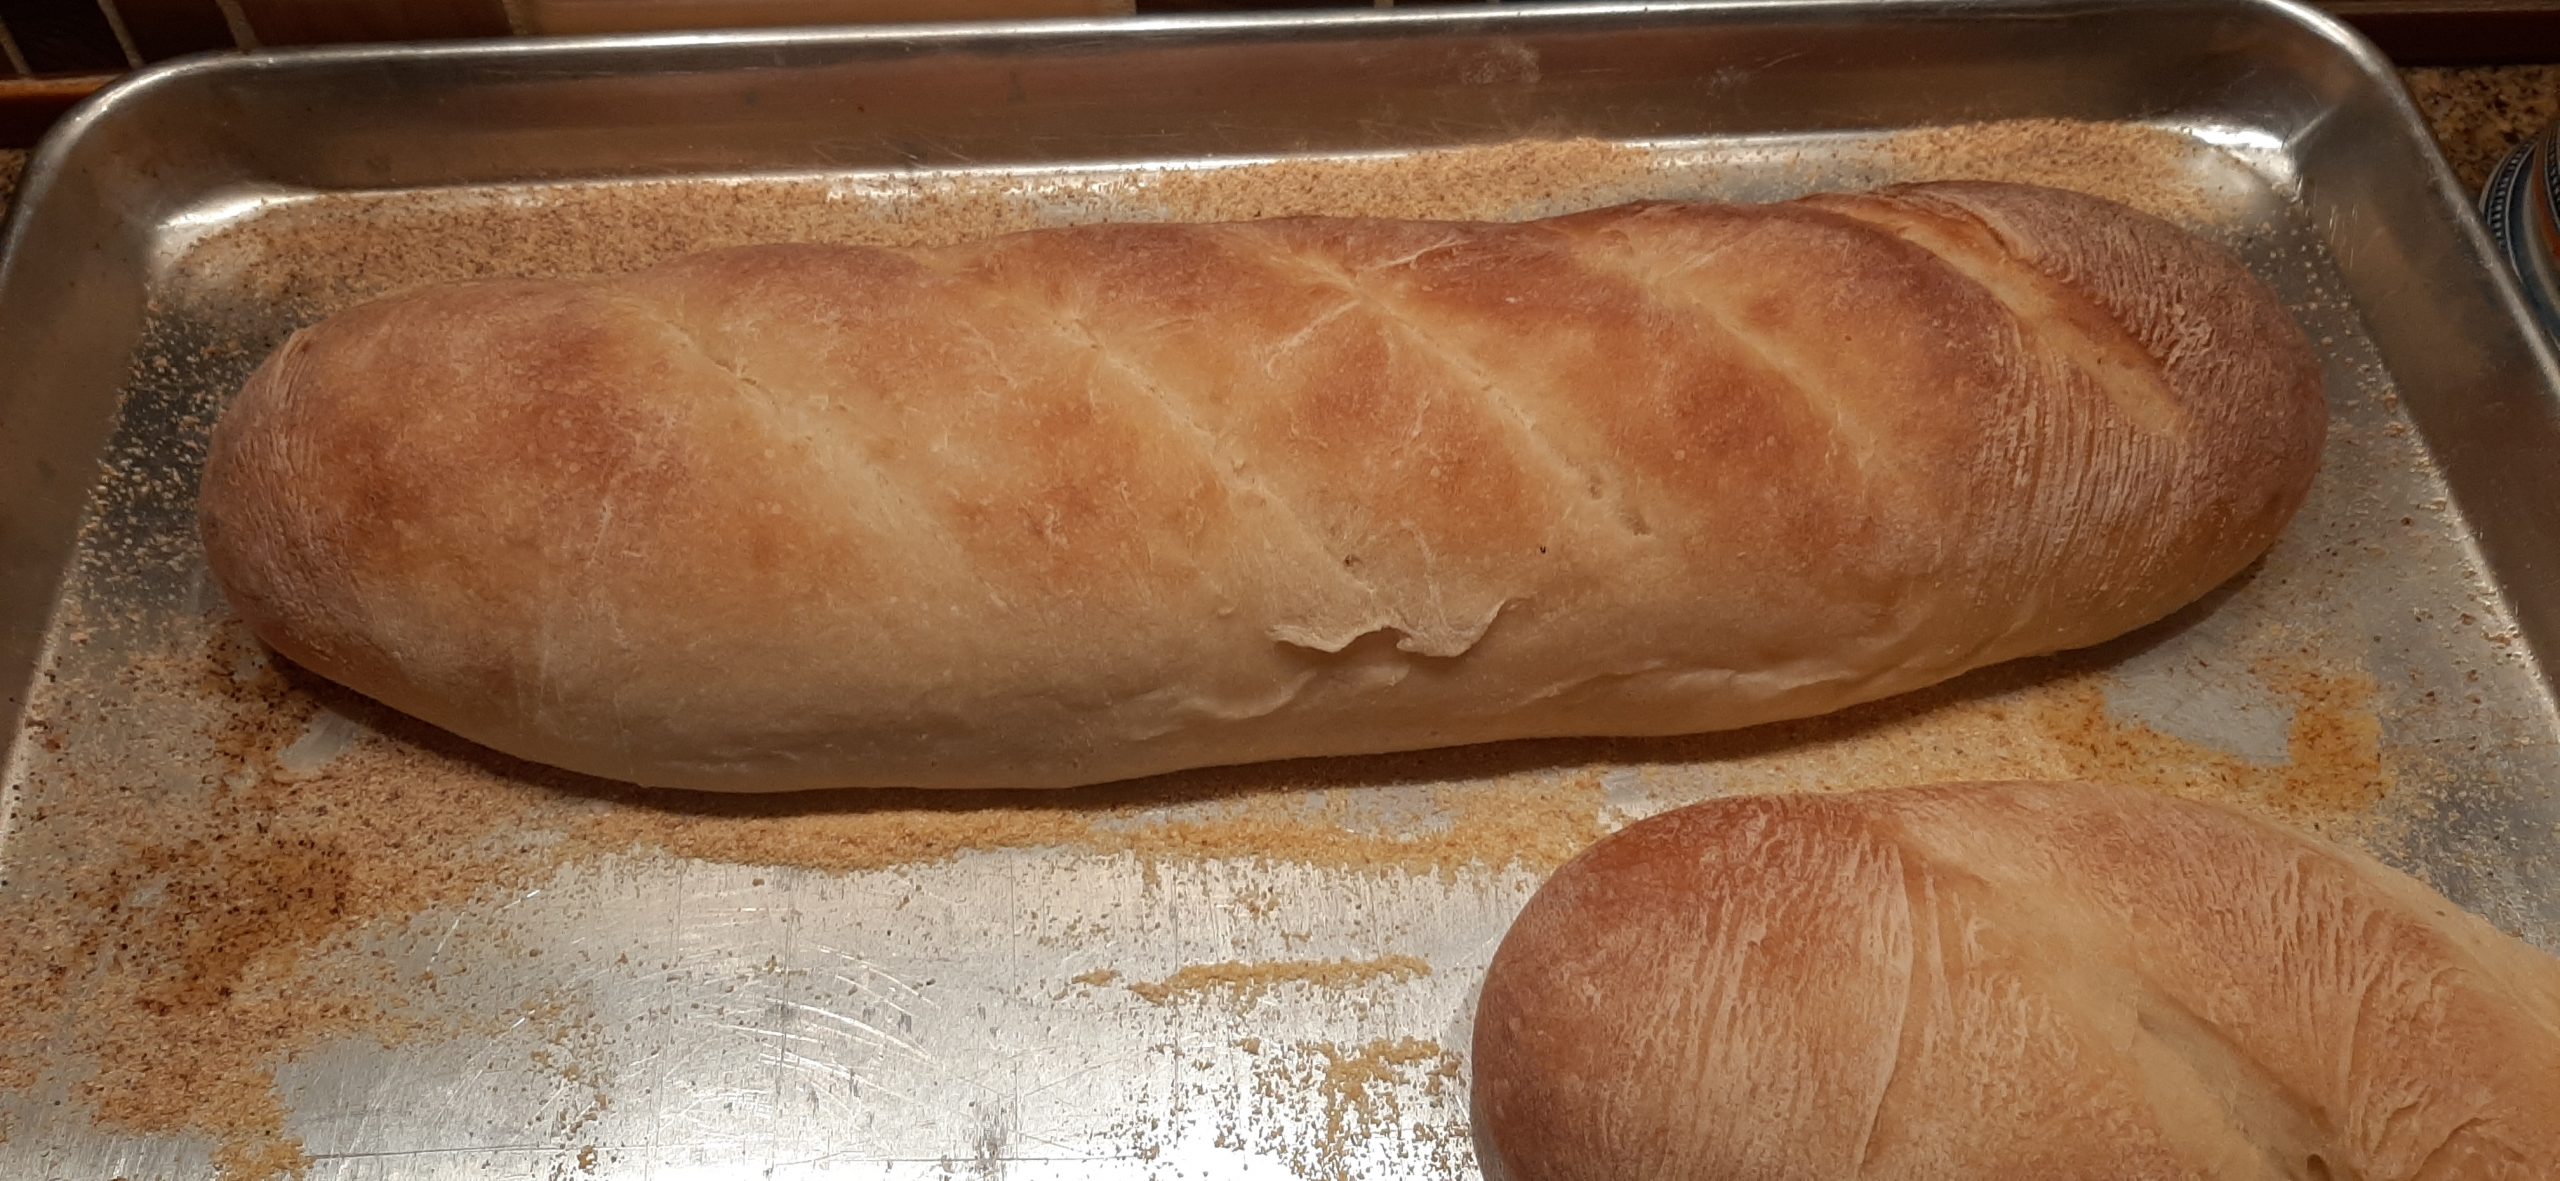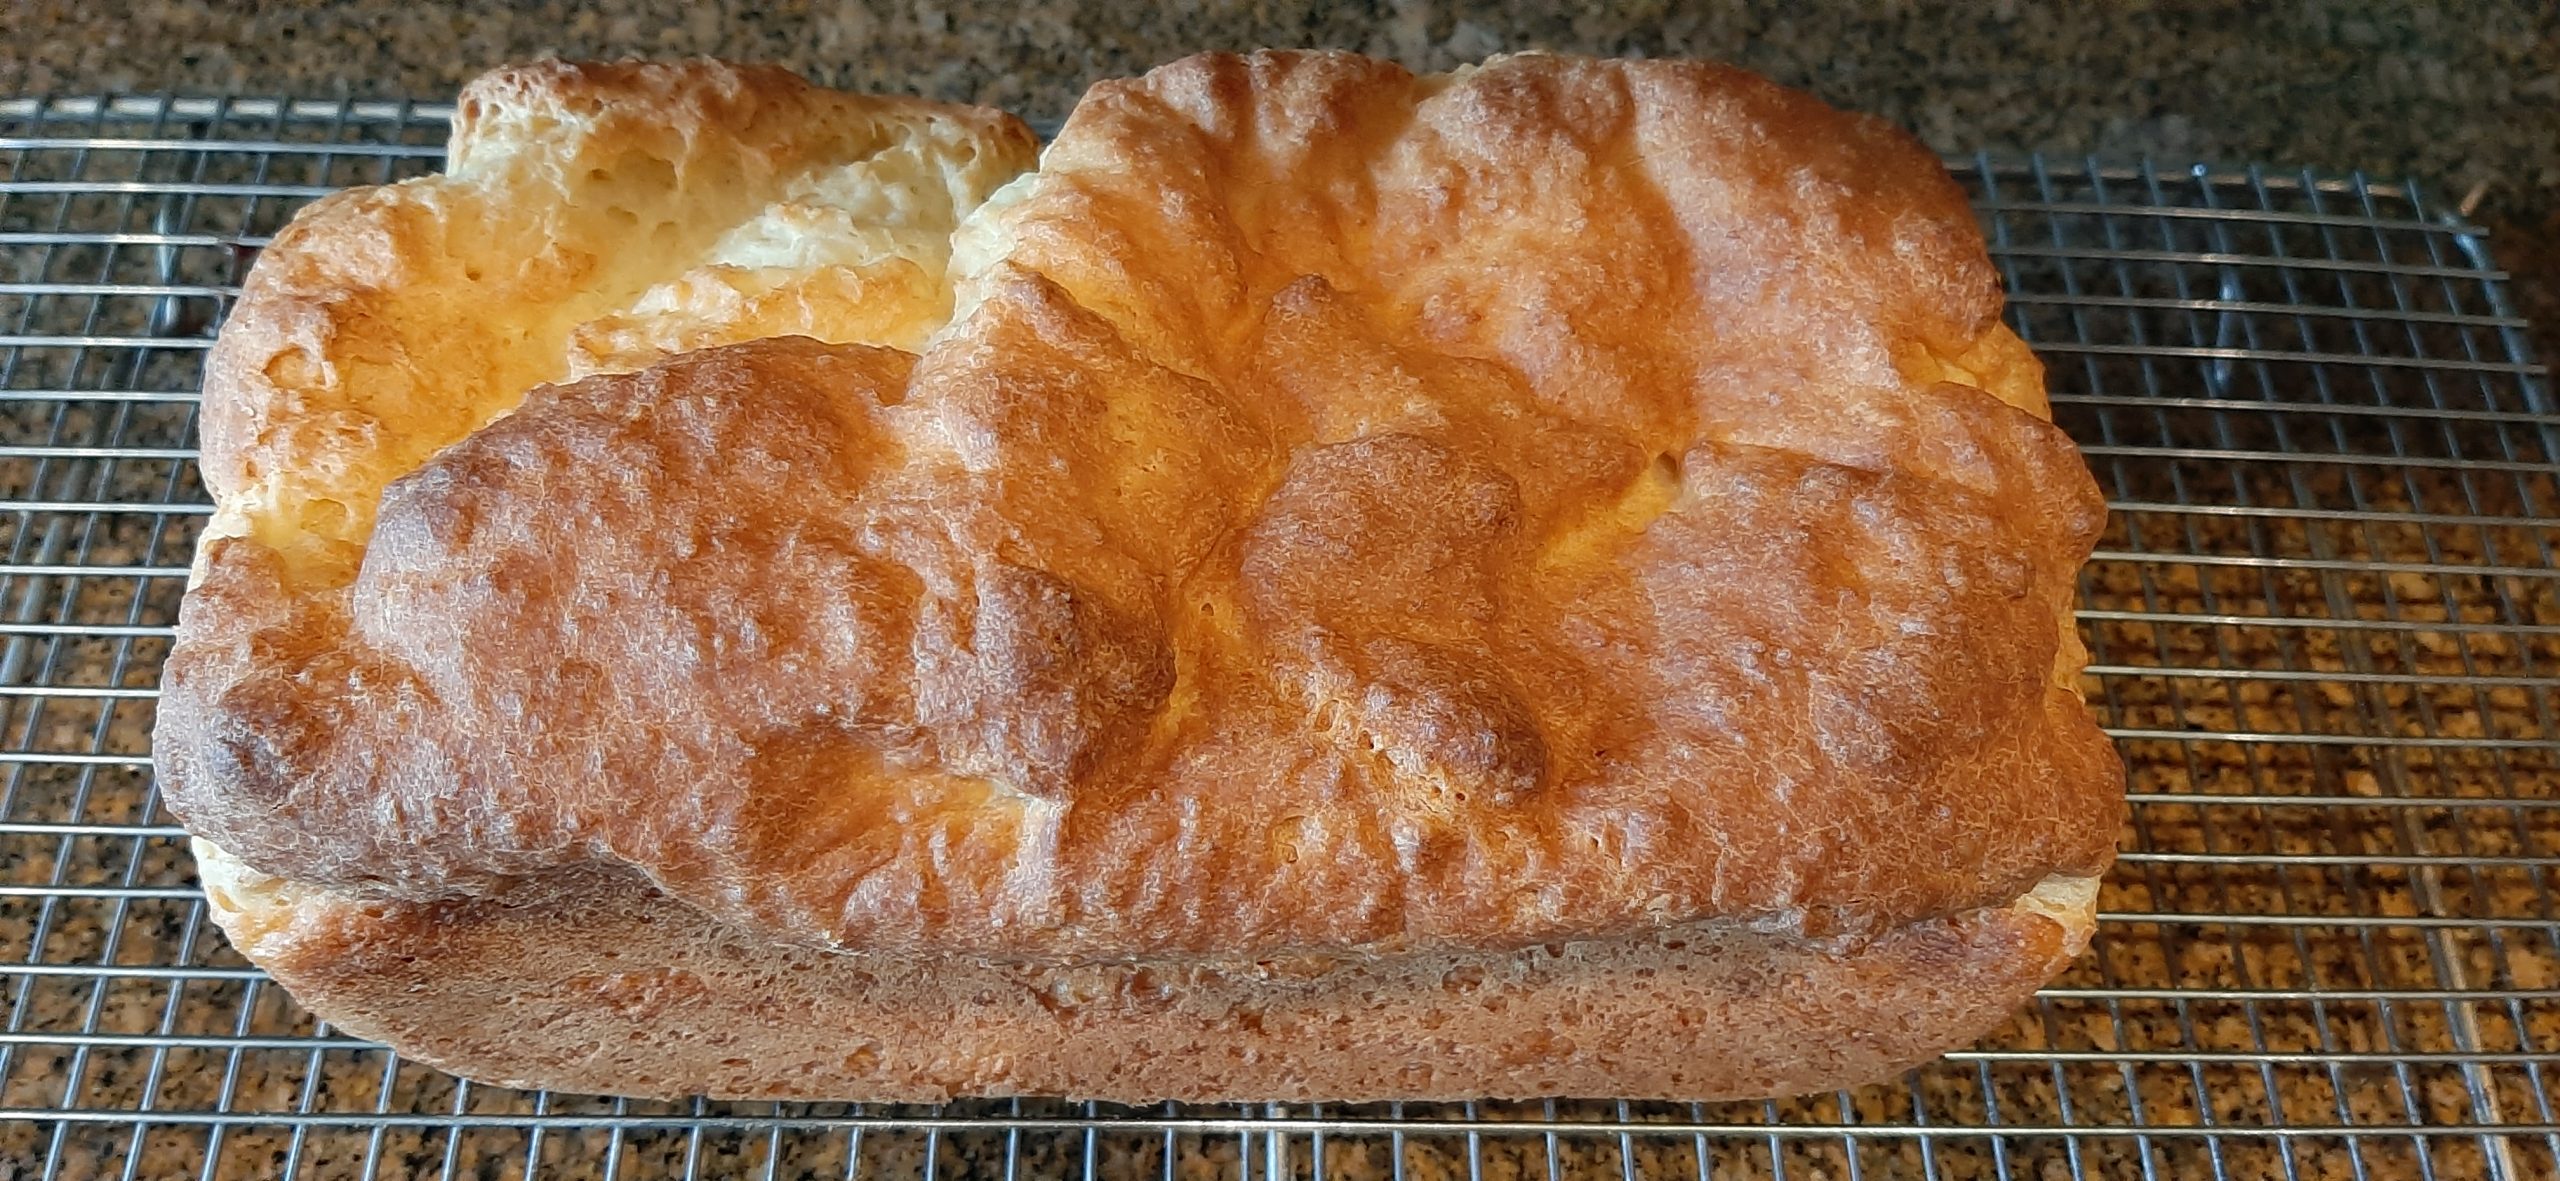
Kinda wonky looking, but tastes great
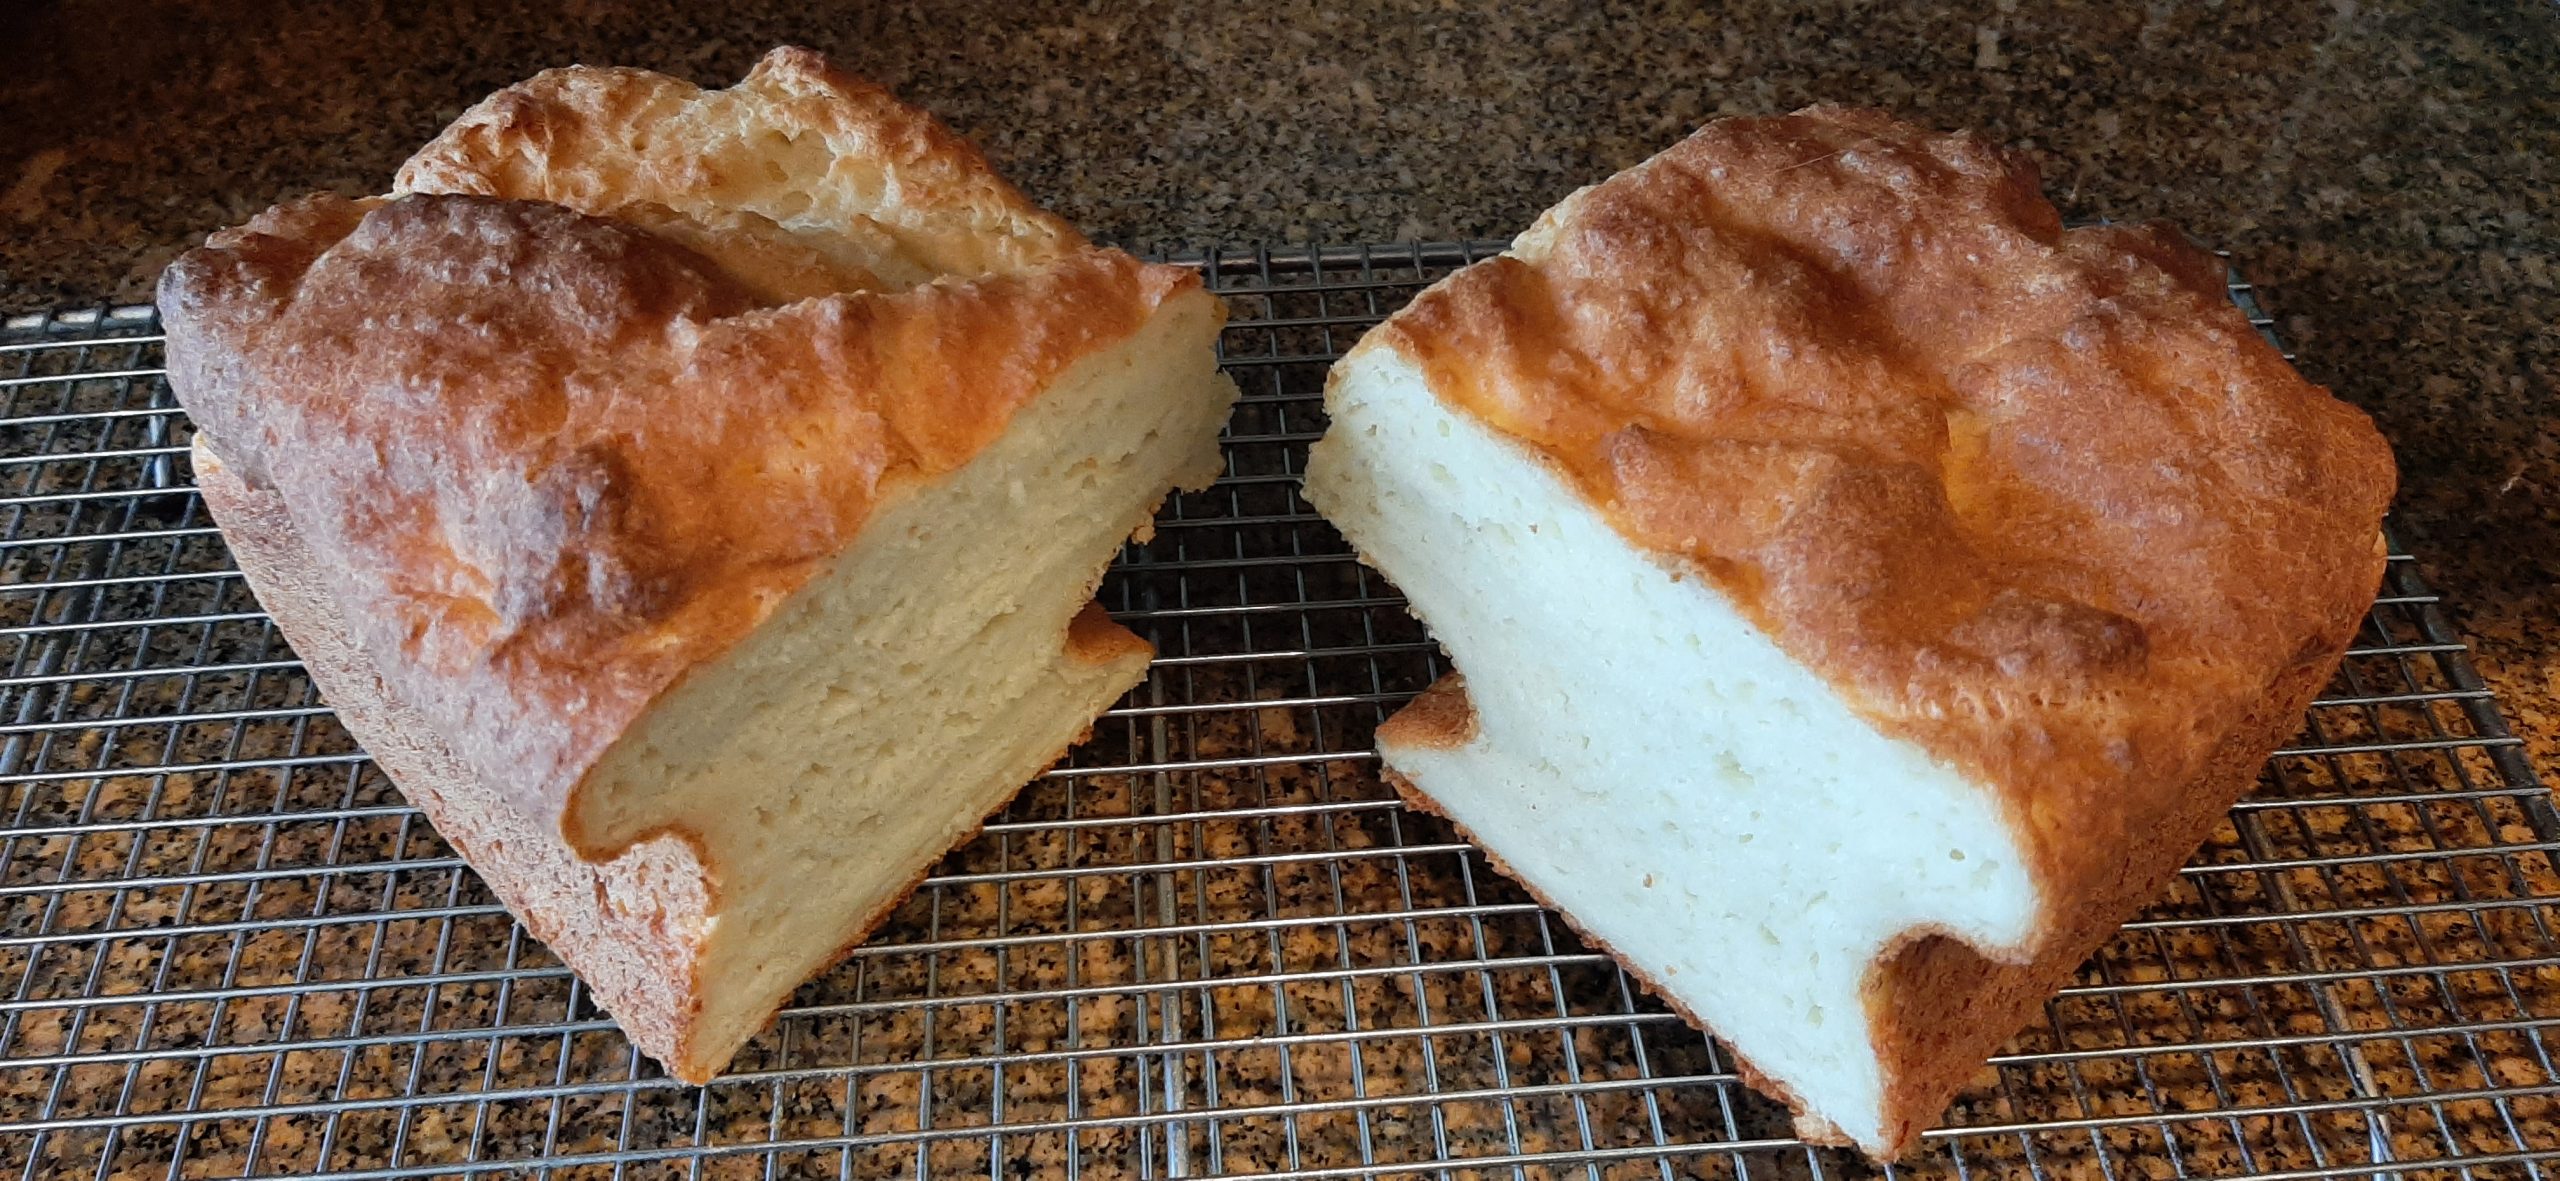
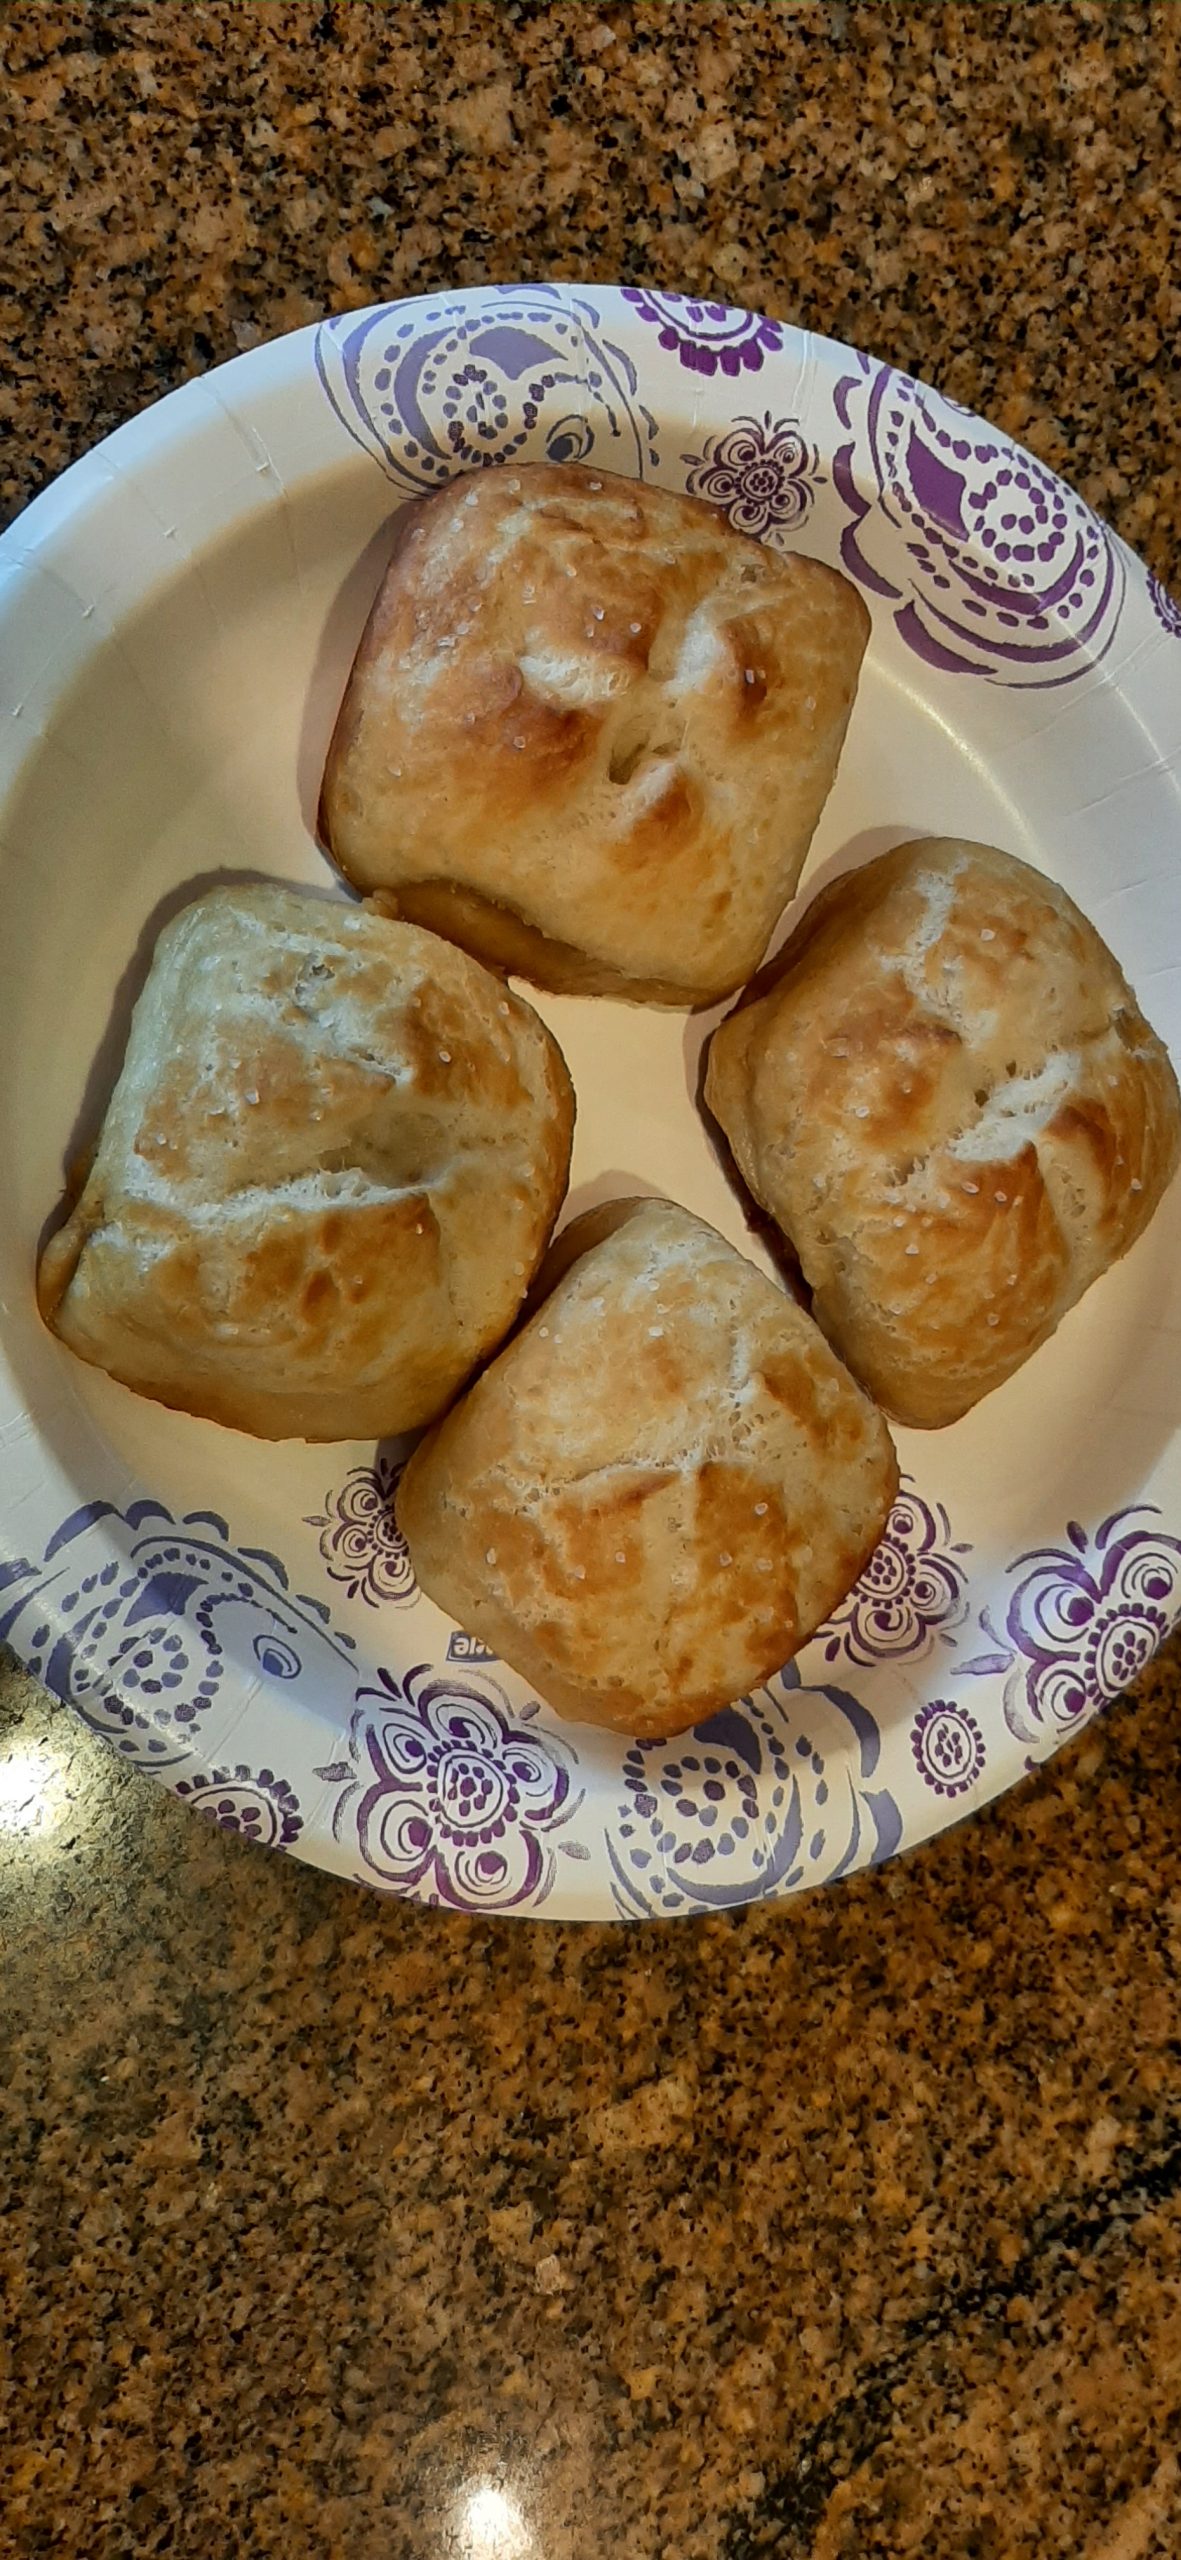
Loaf cut in half
I am not an expert on gluten-free anything. Except of course, if the dish is naturally gluten free like mashed potatoes. On these dishes I do OK. But I was recently put to a gluten-free test. I needed an Italian main dish containing meat that was not only gluten-free, but also dairy free and didn’t contain red meat. What first came to mind was chicken meatballs. No problem. I’ll just make chicken meatballs smothered in sauce. But then I looked at my recipe for Spaghetti with Turkey or Chicken Meatballs in Marinara Sauce. That would do, except the other main dish I had planned contained marinara sauce. So, the second dish needed to be “marinara free”. Plus, the meatballs for the recipe referenced above included either breadcrumbs or oats* and Parmesan cheese. So, that was not going to work. So, back to the drawing board to develop a more “Italian” flavored meatball that would be served in a gluten-free sauce. (Recipe to be posted soon.)
A few years ago, I tried my hand at gluten-free baking. So, recalling this adventurous time in my life, I went to my pantry and there on a back shelf I found a partial package of Cup 4 Cup gluten-free flour. Of course, the expiration date was some time in 2016, so I threw that package away and quickly ordered a new 3 lb. package from Amazon. Came the next day, made the bread, and the bread turned out just fine. Actually, it was better than just fine, it was delicious. (Thank you dishbydish.net for this recipe.)
What I failed to do was read the label on the package before ordering the flour or making both the bread to use in the meatballs and the sauce for the meatballs. Then, for whatever reason, I started to wonder what grains were used in the making of this gluten-free flour. And there in white on a blue background appeared an ingredient I would never have expected to see in a “flour” mix. MILK POWDER. What? Wait! That’s not fair! Because many people who can’t digest gluten also have problems with dairy products. At which point I threw my hands up in the air.
When it came time to serve our guests, I had to confess that although the meat ball dish was indeed gluten-free, it was not dairy free.
So, the moral of the story is – no good deed goes unpunished? No! Luckily in this case, the person I built the meatballs for was not allergic to dairy, but rather refrained from enjoying dairy products on a regular basis. It was by choice, not from an uncomfortable or allergic reaction to the corpse of milk, etc. Thank God.
But all kidding aside, the real moral of this story is that a cook should always read the label of any mix of ingredients used in cooking. Especially, if you are feeding someone who has trouble digesting, or is allergic to an ingredient or ingredients. And what someone’s system can gladly accept at one point in their life, can change dramatically with age or illness. That also must be a consideration. I know, with me, I used to be able to drink wine. I love wine. But now if I drink even a half glass, I suffer for the indulgence. I can still cook with wine, so that hasn’t changed. But sit down with a nice glass of wine. Absolutely not!
So, to all you wonderful people out there who build food for your family and friends, and occasionally have an experience like mine where I truly wanted to just walk out of the kitchen and never look back, hang in there. We all make mistakes. But we can also learn from our mistakes.
And one “oops” I plan to never make again is not reading the label on gluten-free flours. And even if it sounds like I am trashing the makers of Cup 4 Cup, I think they make a wonderful gluten-free baked goods product. But used for thickening sauces, not so much. Learn more about my trials and tribulations with sauce making in my upcoming post entitled Gluten-Free Chicken Meatballs in White Wine Sauce.
Well, that’s it for today. I am in “recovery mode”. Hosted a JazzVox concert here on Sunday. Yesterday (Monday) had two couples over for leftovers. Today I’m doing good to have cooked breakfast and found my way into our den to check e-mail, read the paper, and write up this post. So, that’s it for now.
But as always, peace and love to all.
2½ c. gluten-free all-purpose flour, fluffed (I use Cup 4 Cup)
1 tsp. xanthan gum (even though Cup 4 Cup includes xanthan gum)
1 tsp. baking powder (gluten-free)
2¼ tsp. instant yeast
2 T. granulated sugar
1 tsp. kosher salt
⅓ c. vegetable oil
1 tsp. apple cider vinegar
1½ c. warm water
2 lg. eggs, beaten, room temperature
Grease a 9×5-inch loaf pan with cooking spray. (Or use two smaller loaf pans.)
In the bowl of your stand mixer, using the paddle attachment, mix the gluten free flour, xanthan gum, baking powder, instant yeast, sugar, and salt together.
In a separate bowl, whisk the vegetable oil, apple cider vinegar, warm water, and eggs together. Pour into the bowl with the flour and mix until the dough resembles thick cake batter. (The dough will not look at all like bread dough made with wheat flour. It will look wet and sticky. That’s what you want.)
Transfer the dough to the prepared loaf pan and smooth the top as much as possible.
Cover the dough with a tea towel and let rise for 45-50 minutes or until it has roughly doubled in size.
Bake on the middle rack of a pre-heated 350-degree oven for about 40 minutes, or until the top is golden brown and the internal temperature reaches at least 205-degrees. Check after about 25 minutes. If the top is already brown, cover lightly with a piece of aluminum foil.
Remove from the oven and turn the loaf out on a wire rack to cool completely before slicing or using in any of your favorite gluten-free recipes.
*Oats to be considered “gluten-free” depends on the oats. The packaging must be labeled gluten-free before you can be certain. If there is no reference to “gluten-free” on the package, the oats may be processed in the same mill as flour or in some other way disqualify the product from being gluten-free.