
There is not one person I know who doesn’t enjoy a great bit of homemade bread with dinner. Not one! But because most of us don’t eat bread with dinner every evening, dinner rolls especially have become kind of a specialty item with nostalgic overtones.
Thick slices of homemade bread or dinner rolls were always served at dinner when I was a child, along with coffee for the adults and milk for us kids. I’m sure milk is still served to kids routinely, but as far as coffee and some type of bread product at each and every dinner, I think things have changed dramatically in that regard. At least coffee is never served with dinner here at Chez Carr, and bread only sparingly.
Personally, I would love to have bread with every meal. But realistically eating bread 3 times a day is not the best choice for continued good health. We almost always have some type of bread product with our easy over eggs for breakfast. But lunch and dinner we try to be good. Doesn’t always work out that way. Because what would I be thinking if I didn’t serve cornbread with chili, for example. (You see how this works? How I justify a bread product with dinner occasionally?)
So, I guess what I’m trying to say is that for me bread is a treat. And I love it when bread is served in a restaurant. Because it’s usually pretty darn good bread. So, realizing I’m not any different than most people, I love to serve homemade bread to dinner guests. The menu doesn’t always warrant a side of bread. But when it does, I try to make it happen.
So, if you too enjoy serving bread to your family and friends, I hope you enjoy this slightly altered recipe that I was lucky enough to find on the sallysbakingaddiction.com site. (Great site BTW!) Easy rolls to prepare. No special ingredients required. Just a perfect, soft, buttery, slightly herby flavored delight. And a great recipe for entertaining because the shaped rolls must spend some quality time in the refrigerator. So, making the dough and shaping the rolls the day before is a great way to free up some of your time when you are preparing a meal for guests.
This recipe is just a bit different than the Overnight Soft Herb Rolls recipe already on this site. So, now you have a choice. And who doesn’t appreciate choices? Unless of course, it’s a choice between a freshly baked plain croissant or a lovely pain au chocolat croissant. That my friends, is an awful choice to have to make!
Peace, love, and happy baking to all.
1 c. whole milk, warmed to about 110-degrees
2½ tsp. or 1 pkg. active dry yeast
2 T. granulated sugar
1 lg. egg, at room temperature
¼ c. (½ stick) unsalted butter, divided
1 tsp. kosher salt
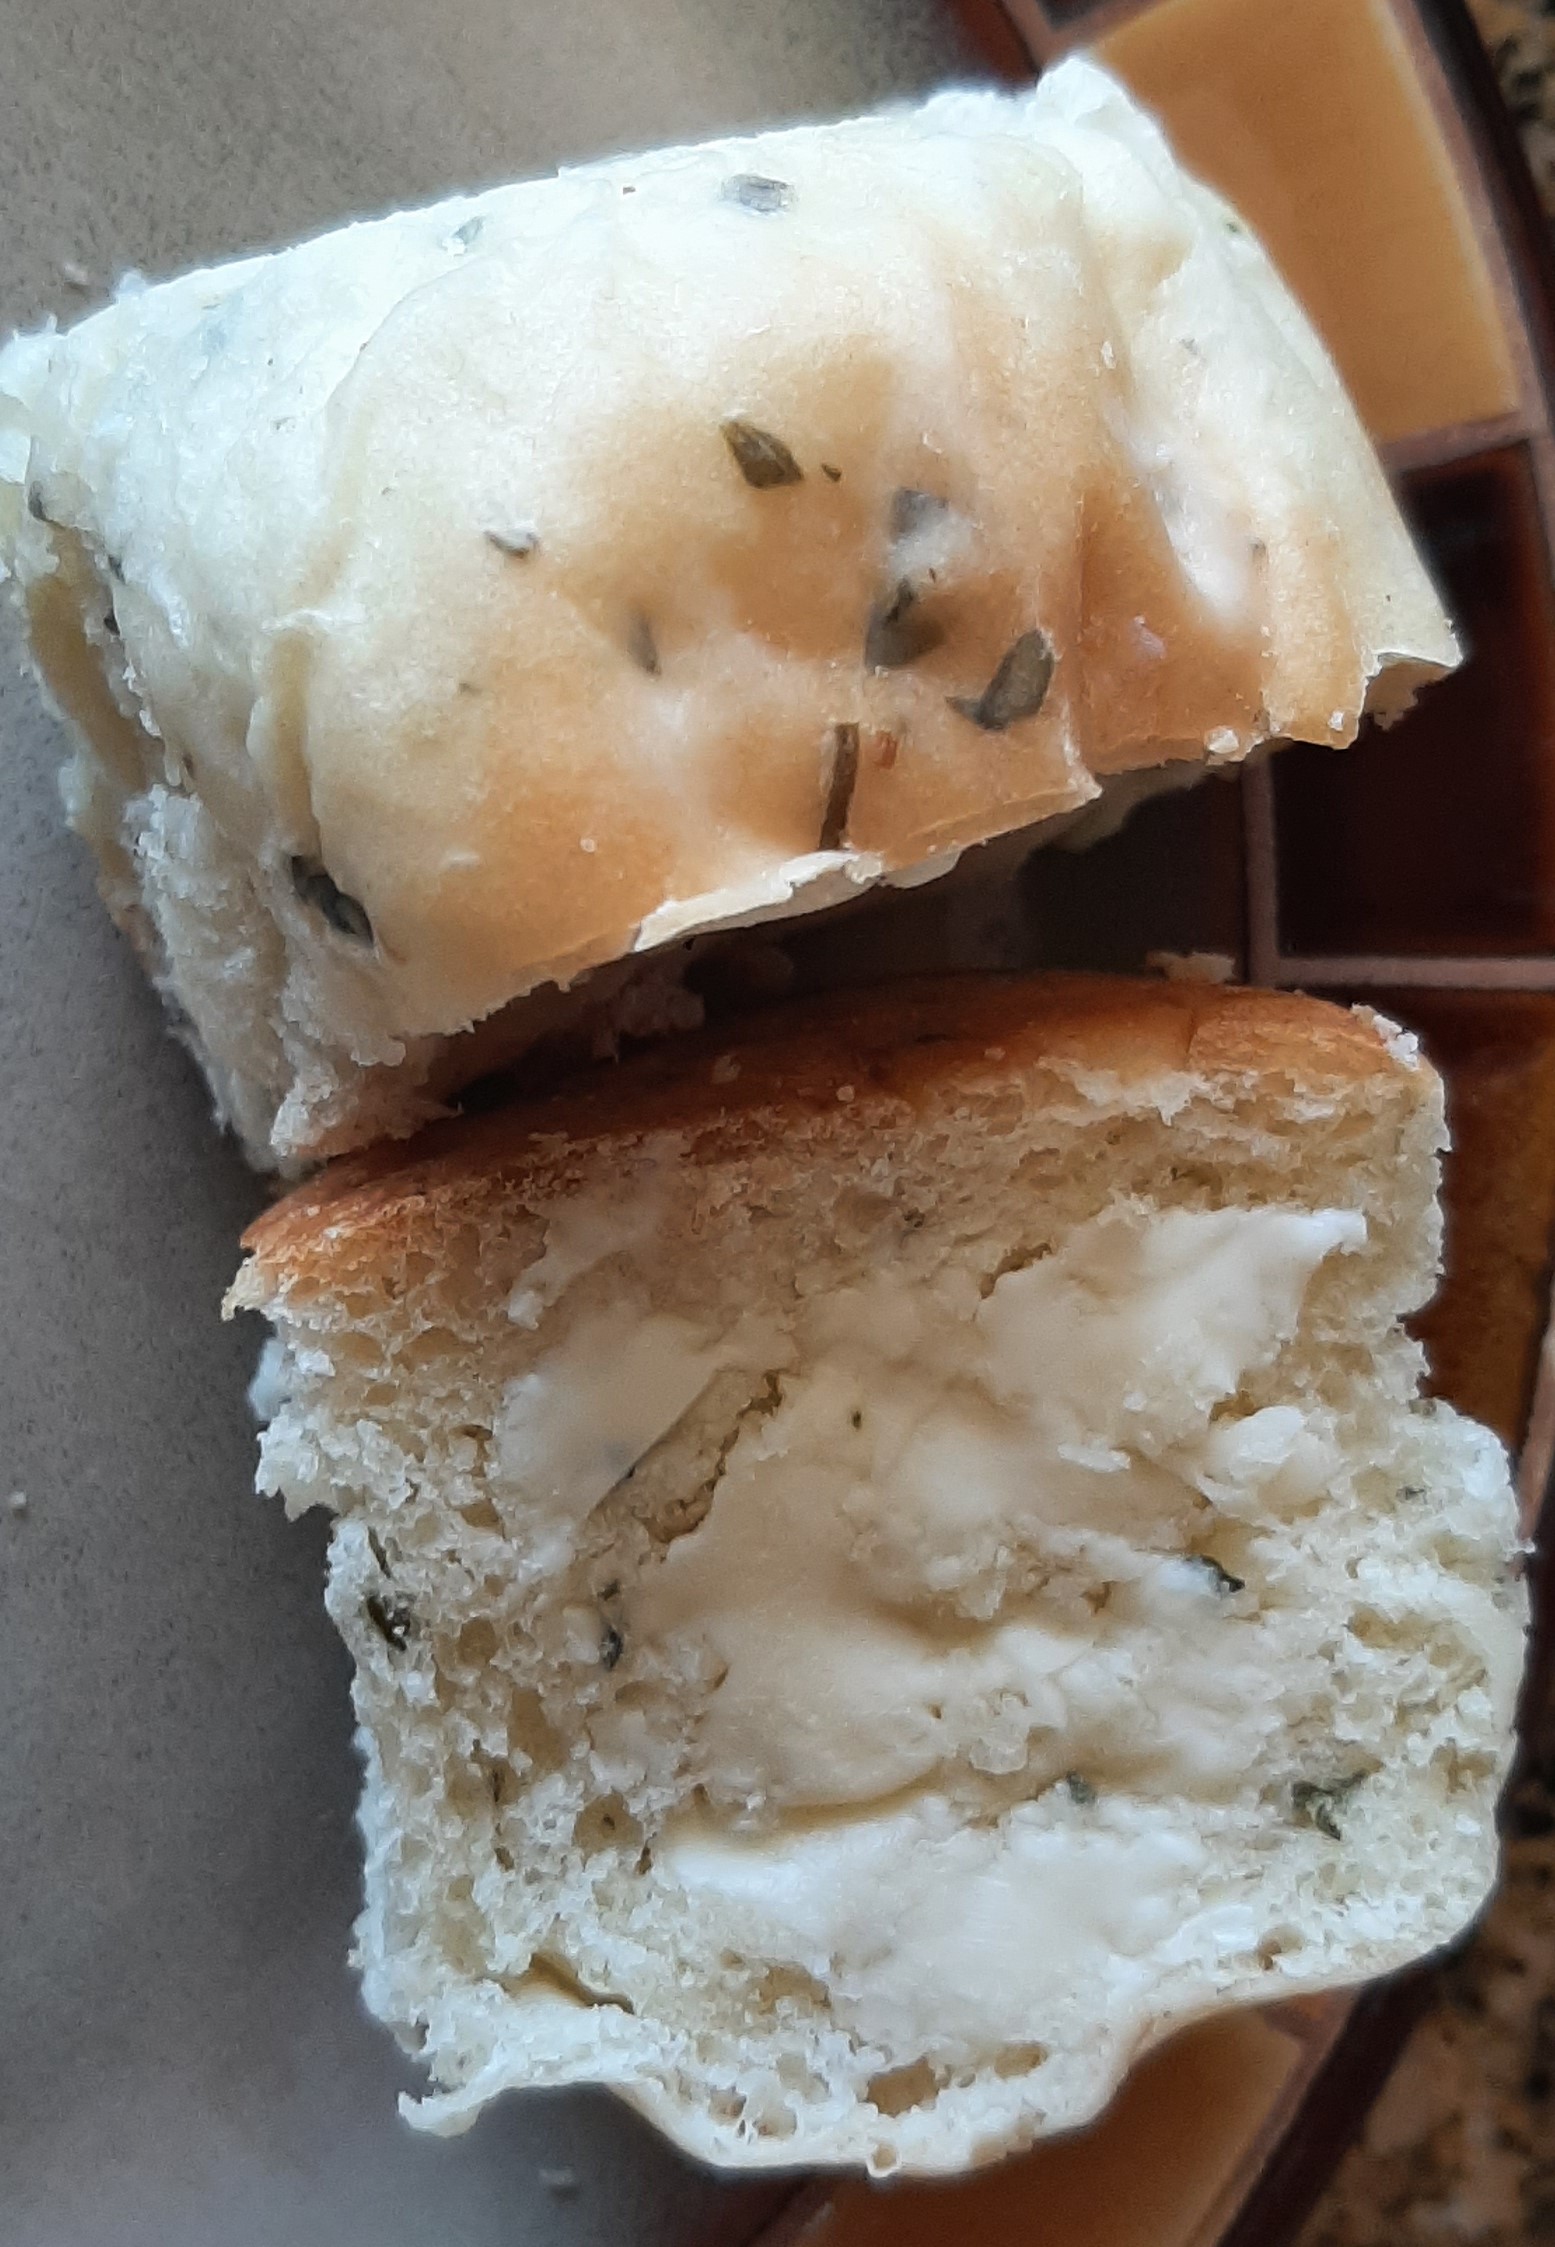
1 T. finely chopped rosemary
1 T. finely chopped fresh basil
1 T. finely chopped fresh parsley
1 T. minced fresh chives
2 tsp. minced garlic
3 c. bread flour, fluffed, plus more for work surface
veggie oil
coarse sea salt, for topping
Whisk the warm milk, yeast, and sugar together in the bowl of your stand mixer. Cover and allow to sit for 5 minutes.
Add the egg, 2 tablespoons of the butter that has been melted and cooled to lukewarm, salt, rosemary, basil, parsley, chives, garlic, and 1 cup of flour. Using your dough hook, mix on low speed for 30 seconds, scrape down the sides of the bowl with a rubber spatula, then add the remaining flour. Beat on medium speed until the dough comes together and pulls away from the sides of the bowl, about 2 minutes. If the dough seems too wet add more flour a little bit at a time. The dough should be soft and a little sticky. Knead the dough for an additional 3 full minutes with your mixer.
Pour a bit of oil into the mixing bowl. Using a stiff rubber spatula and your hands, shape the dough into a lightly greased ball.
Cover with plastic wrap or a clean tea towel. Allow the dough to rise on your counter for 1-2 hours or until double in size. (Takes about 2 hours for my dough to rise.)
Liberally butter a 9×13-inch baking pan.
When the dough is ready, punch it down to release the air. Shape the dough into 24 small balls. (Just eyeball it– doesn’t need to be perfect!) Arrange in prepared baking pan.
Cover the shaped rolls tightly with plastic wrap and refrigerate overnight. Remove the rolls from the refrigerator, keep covered, and allow to rise on the counter for about 2 hours before baking.
Bake in a pre-heated 350-degree oven on a rack towards the bottom for 23-27 minutes or until golden brown on top. If you notice the tops browning too quickly, loosely tent the pan with aluminum foil.
Melt the remaining 2 tablespoons of butter just before the rolls are due to come out of the oven. Remove the rolls from the oven when they are golden brown, and the internal temperature reaches at least 190-degrres on an instant read thermometer.
Immediately brush the hot rolls with the melted butter and lightly sprinkle the tops with sea salt.
Cover leftover rolls tightly and store at room temperature for 2-3 days or in the refrigerator for up to 1 week.