
Well, if I’m lucky, I learn something new that ups my baking game every month or so. It doesn’t always happen that often. Mores the pity. But every once in a while, a new baking revelation smacks me in the face. And not only do I feel blessed by my new bit of knowledge, more often than not, I also feel frustrated. Because it’s usually a very simple tip that I should have been made aware of years ago. Either I simply don’t pay close enough attention when I peruse recipes or cookbooks, or I think I know it all, and have all the answers. And I truly don’t want to be that much of a doofus!
But up to now, I thought I had it about covered when it came to baking cookies. Wrong! Because I just learned there is a simple technique for producing a better cookie. But now that I am blessed with this knowledge, I am ever so excited to pass it on to you. So, pay attention. (This is one of those do as I say, not as I do moments!) (And if you already were aware of this trick, I don’t want to know about it! I feel stupid enough thank you very much!)
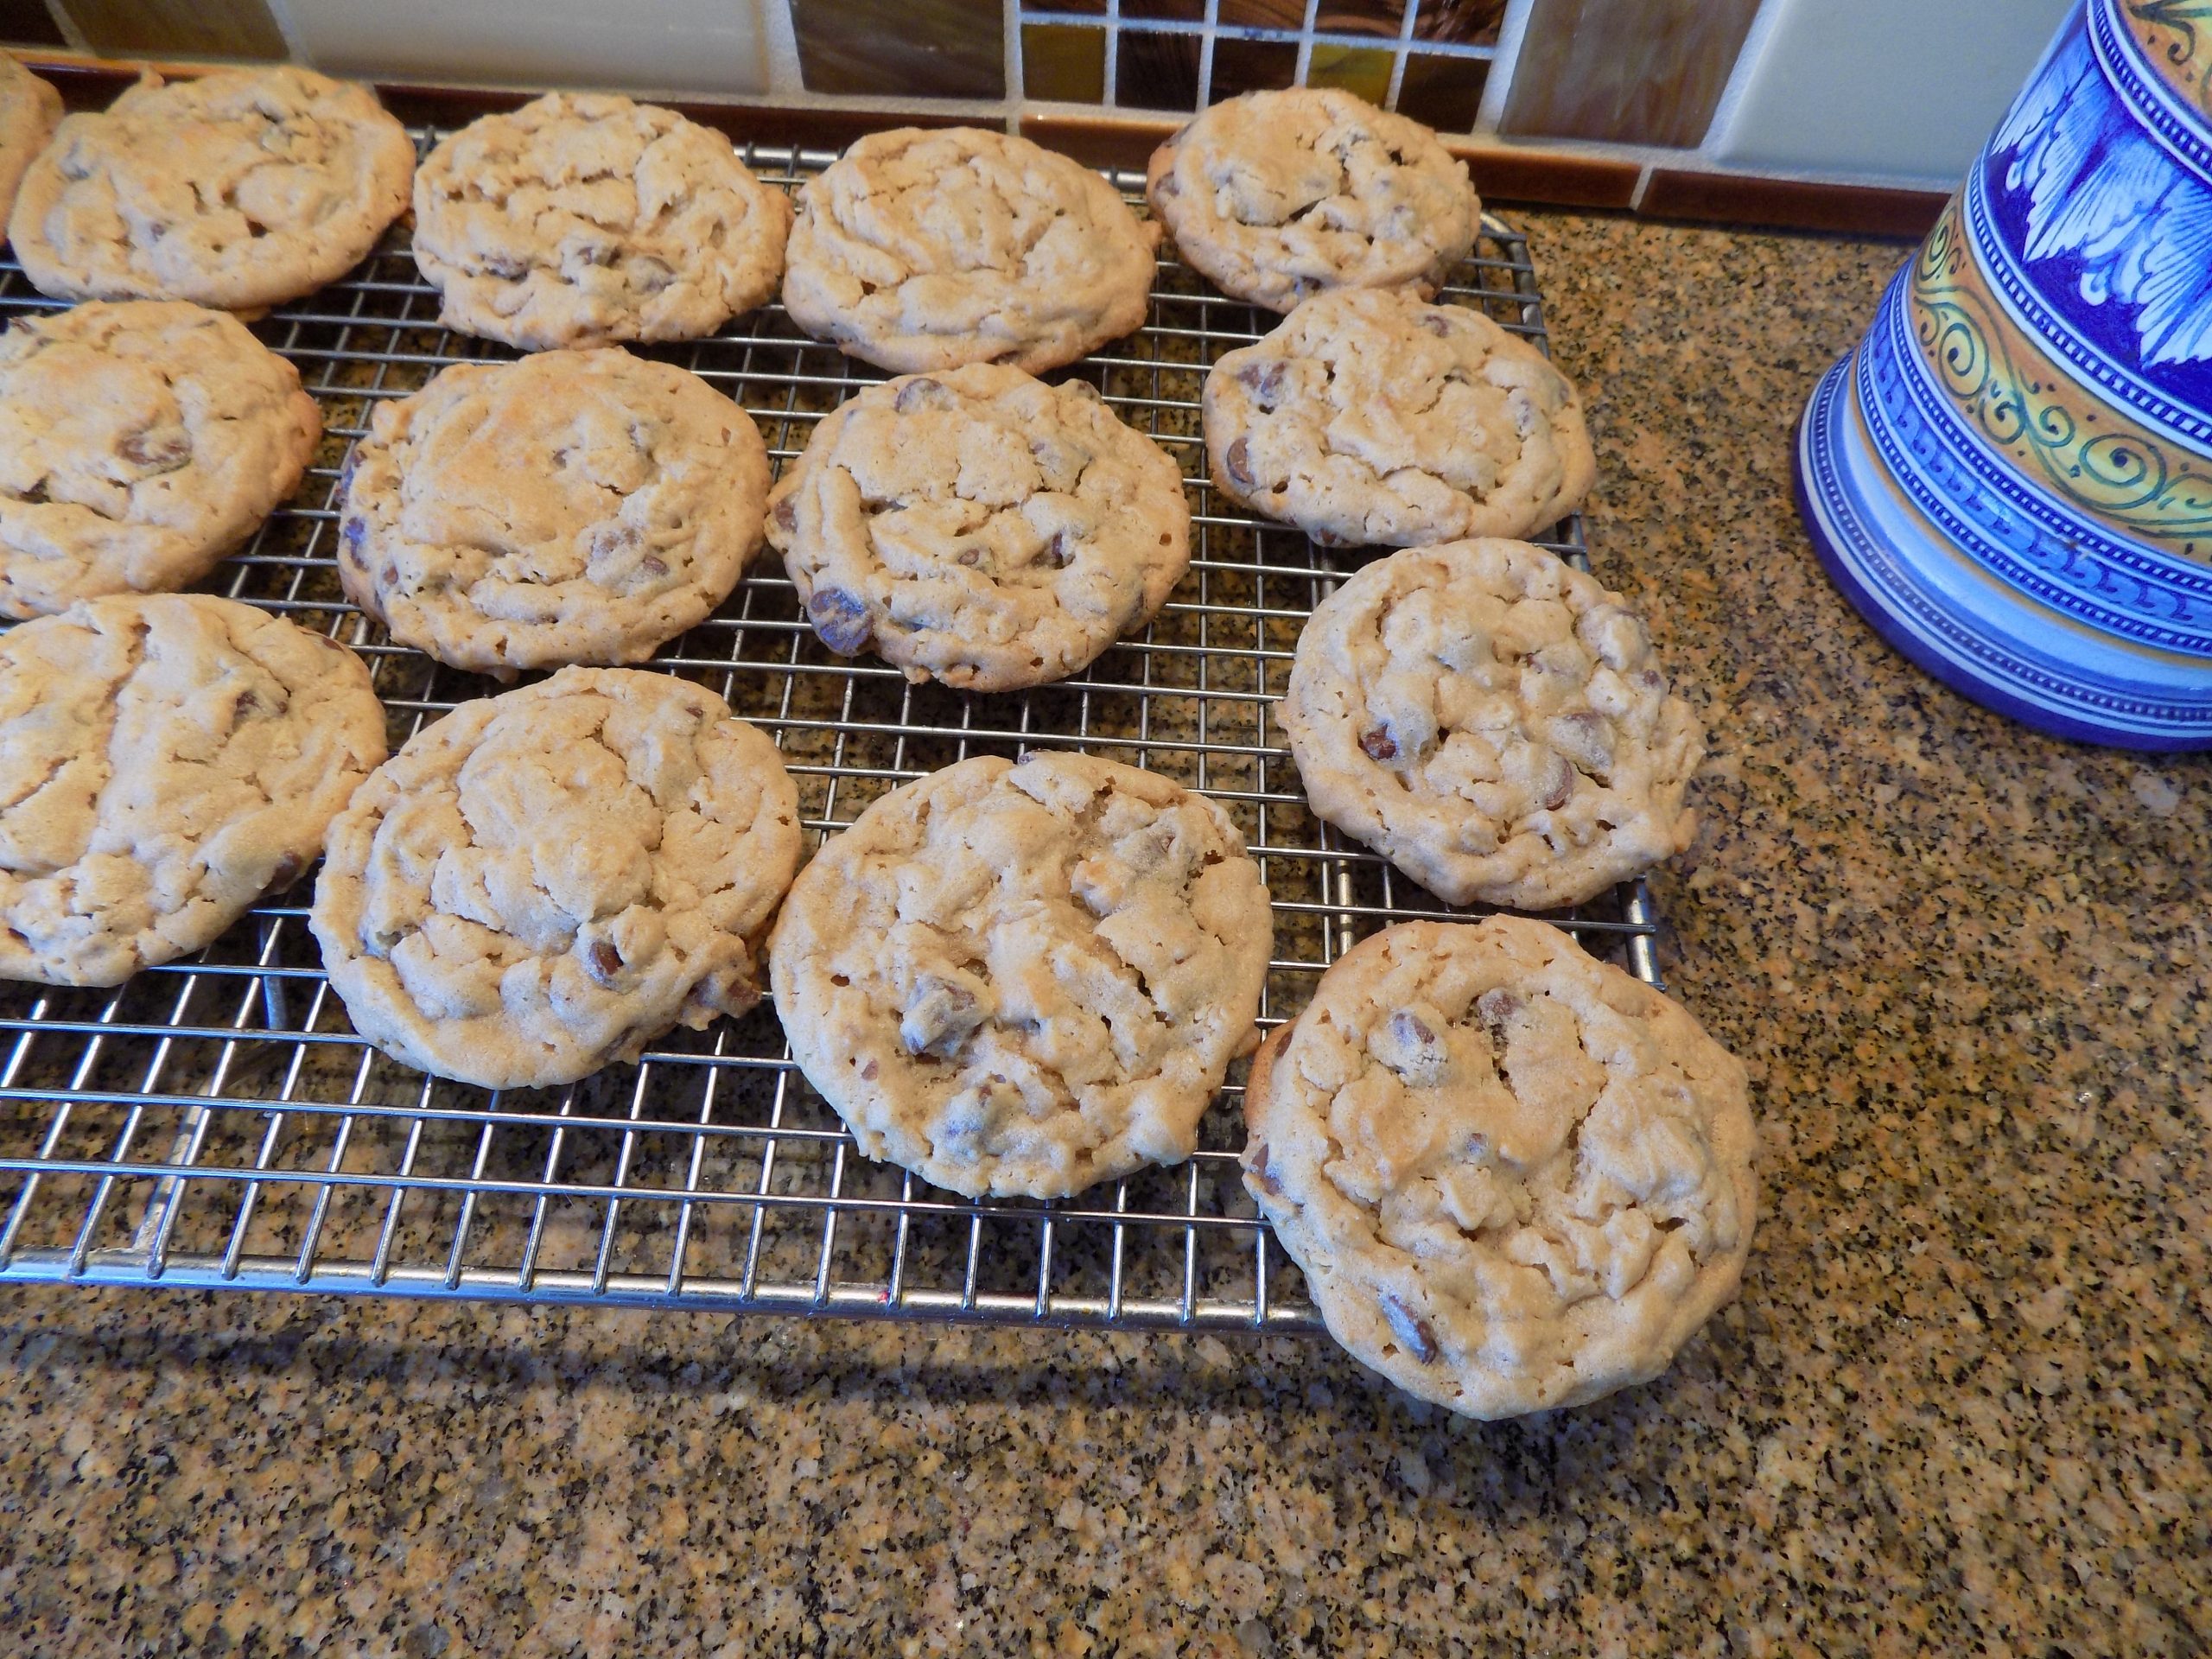
Anyway, the 2 secret ingredients required for making a better cookie are cold and time. Yup, a bit of quality time in your refrigerator can turn a good cookie into a fabulous cookie. (Read all about why that is at the bottom of this post.) So, the only thing left to say is that you should bake a batch of these cookies at your earliest convenience.
I came up with the idea of adding peanut butter to an oatmeal cookie a few days ago when Mr. C. was planning a band rehearsal to be held at our home. I always try to come up with some kind of sweet to keep the musician’s energy level in the red zone. So, I went on-line and found this recipe for the cookie I envisioned, on the bakingmischief.com site. I messed with Tracy’s recipe a tiny bit, but that’s what I almost always do. That’s why I get the big bucks! Yah, that’s it!
Anyway, you really do need to make these cookies. They are really, really delicious. And ever so easy to prepare.
As always, have fun in your kitchen. Keep learning, and never, ever think you know it all. That can only lead to a great big old fall on your face. And no one deserves that!
Peace and love to all.
1 c. (2 sticks) unsalted butter, room temperature
1 c. creamy peanut butter (not natural peanut butter)
1 c. brown sugar, packed
¾ c. granulated sugar
2 lg. eggs
1 tsp. vanilla extract
1½ c. unbleached all-purpose flour, fluffed
2 tsp. baking soda
½ tsp. fine sea salt
1½ c. old fashioned, rolled oats
2 c. semi-sweet chocolate chips (12-oz. package)
Line a large baking sheet with waxed paper. (The baking sheet will be going into you’re your refrigerator, so make sure it’s not too large. If so, use a second sheet.) Also, line a couple of large baking sheets with parchment paper. Set aside.
In a large bowl or the bowl of your stand mixer, beat butter, peanut butter, brown sugar, and granulated sugar until smooth and fluffy. Add eggs and vanilla. Beat until completely mixed.
Whisk the flour, baking soda, and salt together in a medium sized bowl. Stir in the oats. Add to the butter mixture and beat just until well blended. Stir in the chocolate chips.
Using a #40 (1½-inch diameter) ice cream scoop, plop balls of dough right next to each other on the smaller baking sheet(s) lined with waxed paper. If you don’t have an ice cream scoop, roll the dough into balls roughly the size of a golf ball. Place the pan(s) in your refrigerator and walk away for at least 2 hours or longer*.
After two hours, transfer the cold dough balls onto the prepared baking pan(s) at least 3-inches apart. (They will spread as they bake.)
Bake in a pre-heated 350-degree oven for 12 to 13 minutes, or just until cookies are browned around the edges and the tops look mostly set. (They will still feel squishy if you tough them. That’s what you want.) Do not overbake! (They will finish baking on the baking sheets as they cool.) Allow cookies to cool on the baking pans for at least 15 minutes before transferring to a wire rack to cool completely. Store in an airtight container.
*Why you need to chill your cookie dough
According to Camille Berry on the Taste of Home cooking site “For starters, chilling prevents cookies from spreading out too quickly once they’re in the oven. If you use a higher fat butter (like Kerrygold) chilling your dough is absolutely essential. Popping your dough in the fridge allows the fats to cool. As a result, the cookies will expand more slowly, holding onto their texture. If you skip the chilling step, you’re more likely to wind up with flat, sad disks instead of lovely, chewy cookies.
Cookies made from chilled dough are also much more flavorful. This is thanks to a few different factors. The dough becomes hydrated as the dry ingredients soak up moisture from the wet ingredients. This subtle hydration makes the dough less wet, concentrating the flavors. The result is cookies with a nice even bake and lovely golden-brown color.
While this hydration is taking place, the flour also breaks down into sugar, making the dough taste sweeter. After as little as half an hour, your dough transforms into a bowl of goodness with an additional kiss of sweetness. Is it worth the wait? You bet.
According to an in-depth video by TikTok user @bromabakery, how long and whether you chill your cookie dough can have a significant effect on your final product. As she says, not chilling the cookie and baking at 350-degrees can result in a more-crackly cookie, since the dough hasn’t had enough time to absorb the flour. Chilling it for half an hour, however, gives you thicker, chewier dough. Chilling for 2 hours, however, resulted in the best cookie—giving it a deep flavor, crispy edge, and the optimal amount of spread.”
My thoughts. In some of the better cookie recipes I have tried, I always wondered why the instructions usually called for some time for the dough to chill. But there was never a reason given. (Either that, or I failed to read that part.) And the recipes asked the reader to chill the dough before forming it into balls or whatever the shape was meant to be. But with my arthritic old hands, I find it much easier to shape the dough and then do the chilling. If, of course, you aren’t making 400 gingerbread men, for example. If that’s what you are making, chill the dough in one big ball. And God’s speed!