


For those of you for whom French is not your first, second, or even third language, a “bâtard” is essentially just an oval shaped loaf of bread. It just sounds so much more sophisticated to call it a bâtard rather than referring to it as just an oval loaf of bread. And you know, I am nothing if not the very essence of sophistication. Yah right?!?!
But when it comes to bread, I can get quite high on my horse about it. Especially good homemade bread. Because, frankly, there is nothing more delicious. And this bread is a perfect example of really good bread. Absolutely perfect for toast in the morning and especially fabulous when served as crostini. (See recipe below.)
It is however, a bit of a pain in the patootie to make. And probably not a good bread for a beginner to tackle. Unless of course, you are one of those people who overachieves at everything you have ever tried. On the first try! Then go for it. For the rest of us, I would say a bit of bread baking experience would be wise.
I found this recipe, much changed by me, on the King Arthur baking site. The instructions from the good folks at King Arthur would have me start the process with “fed” sourdough starter. For me, that would make it a three-day process. I simply don’t think that far in advance. As it is, even with my changes, it takes two-days to produce this lovely loaf. That much I can handle. And totally worth the effort.
But my way does require the addition of a small amount of active dry yeast. And even though not called for in the original recipe, I managed to slip in a bit of olive oil action too. (I love olive oil with this type of bread.)
So, in conclusion, if you have the time, discipline, and fortitude, please give this bread recipe a try.
As with everything, you will never achieve if you don’t first try. It always amazes me when people can’t believe I made the bread they are enjoying. When actually, homemade bread is one of the easiest and most forgiving baked good you can produce. But then, if you don’t try, you don’t know. So, try things folks. We are only on this planet for a very short time. Who knows, you might find that collecting the elusive chanterelle mushroom from its hiding place under a Douglas fir to be the best and most rewarding fun you ever had. Or learning to play the ukulele or the joys of down hill skiing in your mid 40’s. There are an infinite number of possibilities. But each require that first step. And with first steps, as in first steps taken by babies, you might fall on your face. Pick yourself up, dust yourself off, and start all over again. It’s called life. And life is meant to be lived! And cherished. Baby steps, successes, failures, and everything in between!
Peace and love to all.
1 c. sourdough starter discard, room temperature
1½ c. lukewarm water
½ tsp. active dry yeast
2½ tsp. kosher salt
5 c. unbleached all-purpose flour, plus more if needed
extra virgin olive oil
In the bowl of your stand mixer, stir together the starter, water, yeast, and 3 cups of the flour. Beat vigorously for 1 minute. (I use my paddle attachment for this rather than my dough hook.)
Cover and let rest at room temperature for 3 hours. Refrigerate overnight, or for at least 12 hours. (The dough will expand some during it’s time in your refrigerator.)
The next day, add the salt and enough flour to form, with your bread hook, a smooth firm dough. For me, this took the full 5 cups of flour, and then some. Just be sure to touch the dough. Because, when I first started adding additional flour, 5 cups looked like too much. But when I actually touched the dough after 4½ cups, I quickly realized that the look of this dough is deceiving. It looked like it had enough flour, pulled away from the bottom of the mixer bowl like it had enough flour, but when I poked the dough and actually felt its density, in no way would it have held its shape. Simply not enough flour. So, I added enough more flour to create the dough required to hold a shape.
When your dough is nicely kneaded and ready for the next rise, pour a bit of olive oil in the bowl, and using your hands and a stiff rubber spatula, work the dough into a ball entirely coated with the oil.
Cover the bowl with plastic wrap and allow the dough to rise until it’s light and airy, with visible gas bubbles. Depending on the starter you use and the temperature of your kitchen, this may take 4 to 5 hours. (Mine took 4 hours.) For best results, gently deflate the dough once an hour.
Cover a large baking sheet with parchment paper. Then pour a bit of olive oil in a small container and lightly grease your hands. (Take your rings off first. Don’t forget where you left them!) Gently pat the dough to deflate it slightly and remove any large bubbles. Divide the dough in half, right in the bowl. Form each half into a loose ball, then gently stretch the dough while tucking the dough under itself as you form an oval. (I know there are fancy ways to shape a Bâtard, but frankly, I don’t have time or the inclination for fancy-schmancy loaves of bread. I just shape the loaves as best I can in my hands, then plop the darn things on the prepared pan! If they look a little misshapen, I mess with them a bit more on the baking sheet.) (If you have any leftover olive oil gently smear it on the loaves.)
Cover and let rise until very puffy, about 2 hours. Don’t worry if the loaves spread more than they rise; they’ll pick up once they hit the oven’s heat. Toward the end of the rising time, preheat the oven to 425-degrees. While the oven heats, place a pan of water on the bottom rack. I use a 9-inch cake pan half full of water.
Spray the bâtards with lukewarm water; this will help them rise in the oven by initially keeping their crusts soft and pliable.
Slash the bâtards. Try one slash down the length of the loaf, two diagonal slashes, or another symmetrical pattern of your choice. Make the slashes fairly deep; a serrated bread knife or lame, wielded firmly, works very well.
Bake the bâtards for 25 to 30 minutes or until they are a nice golden brown and the internal temperature reaches 208-degrees. Remove from oven and cool on a rack before slicing.
Store bâtards, loosely wrapped, for several days at room temperature. Freeze for longer storage.
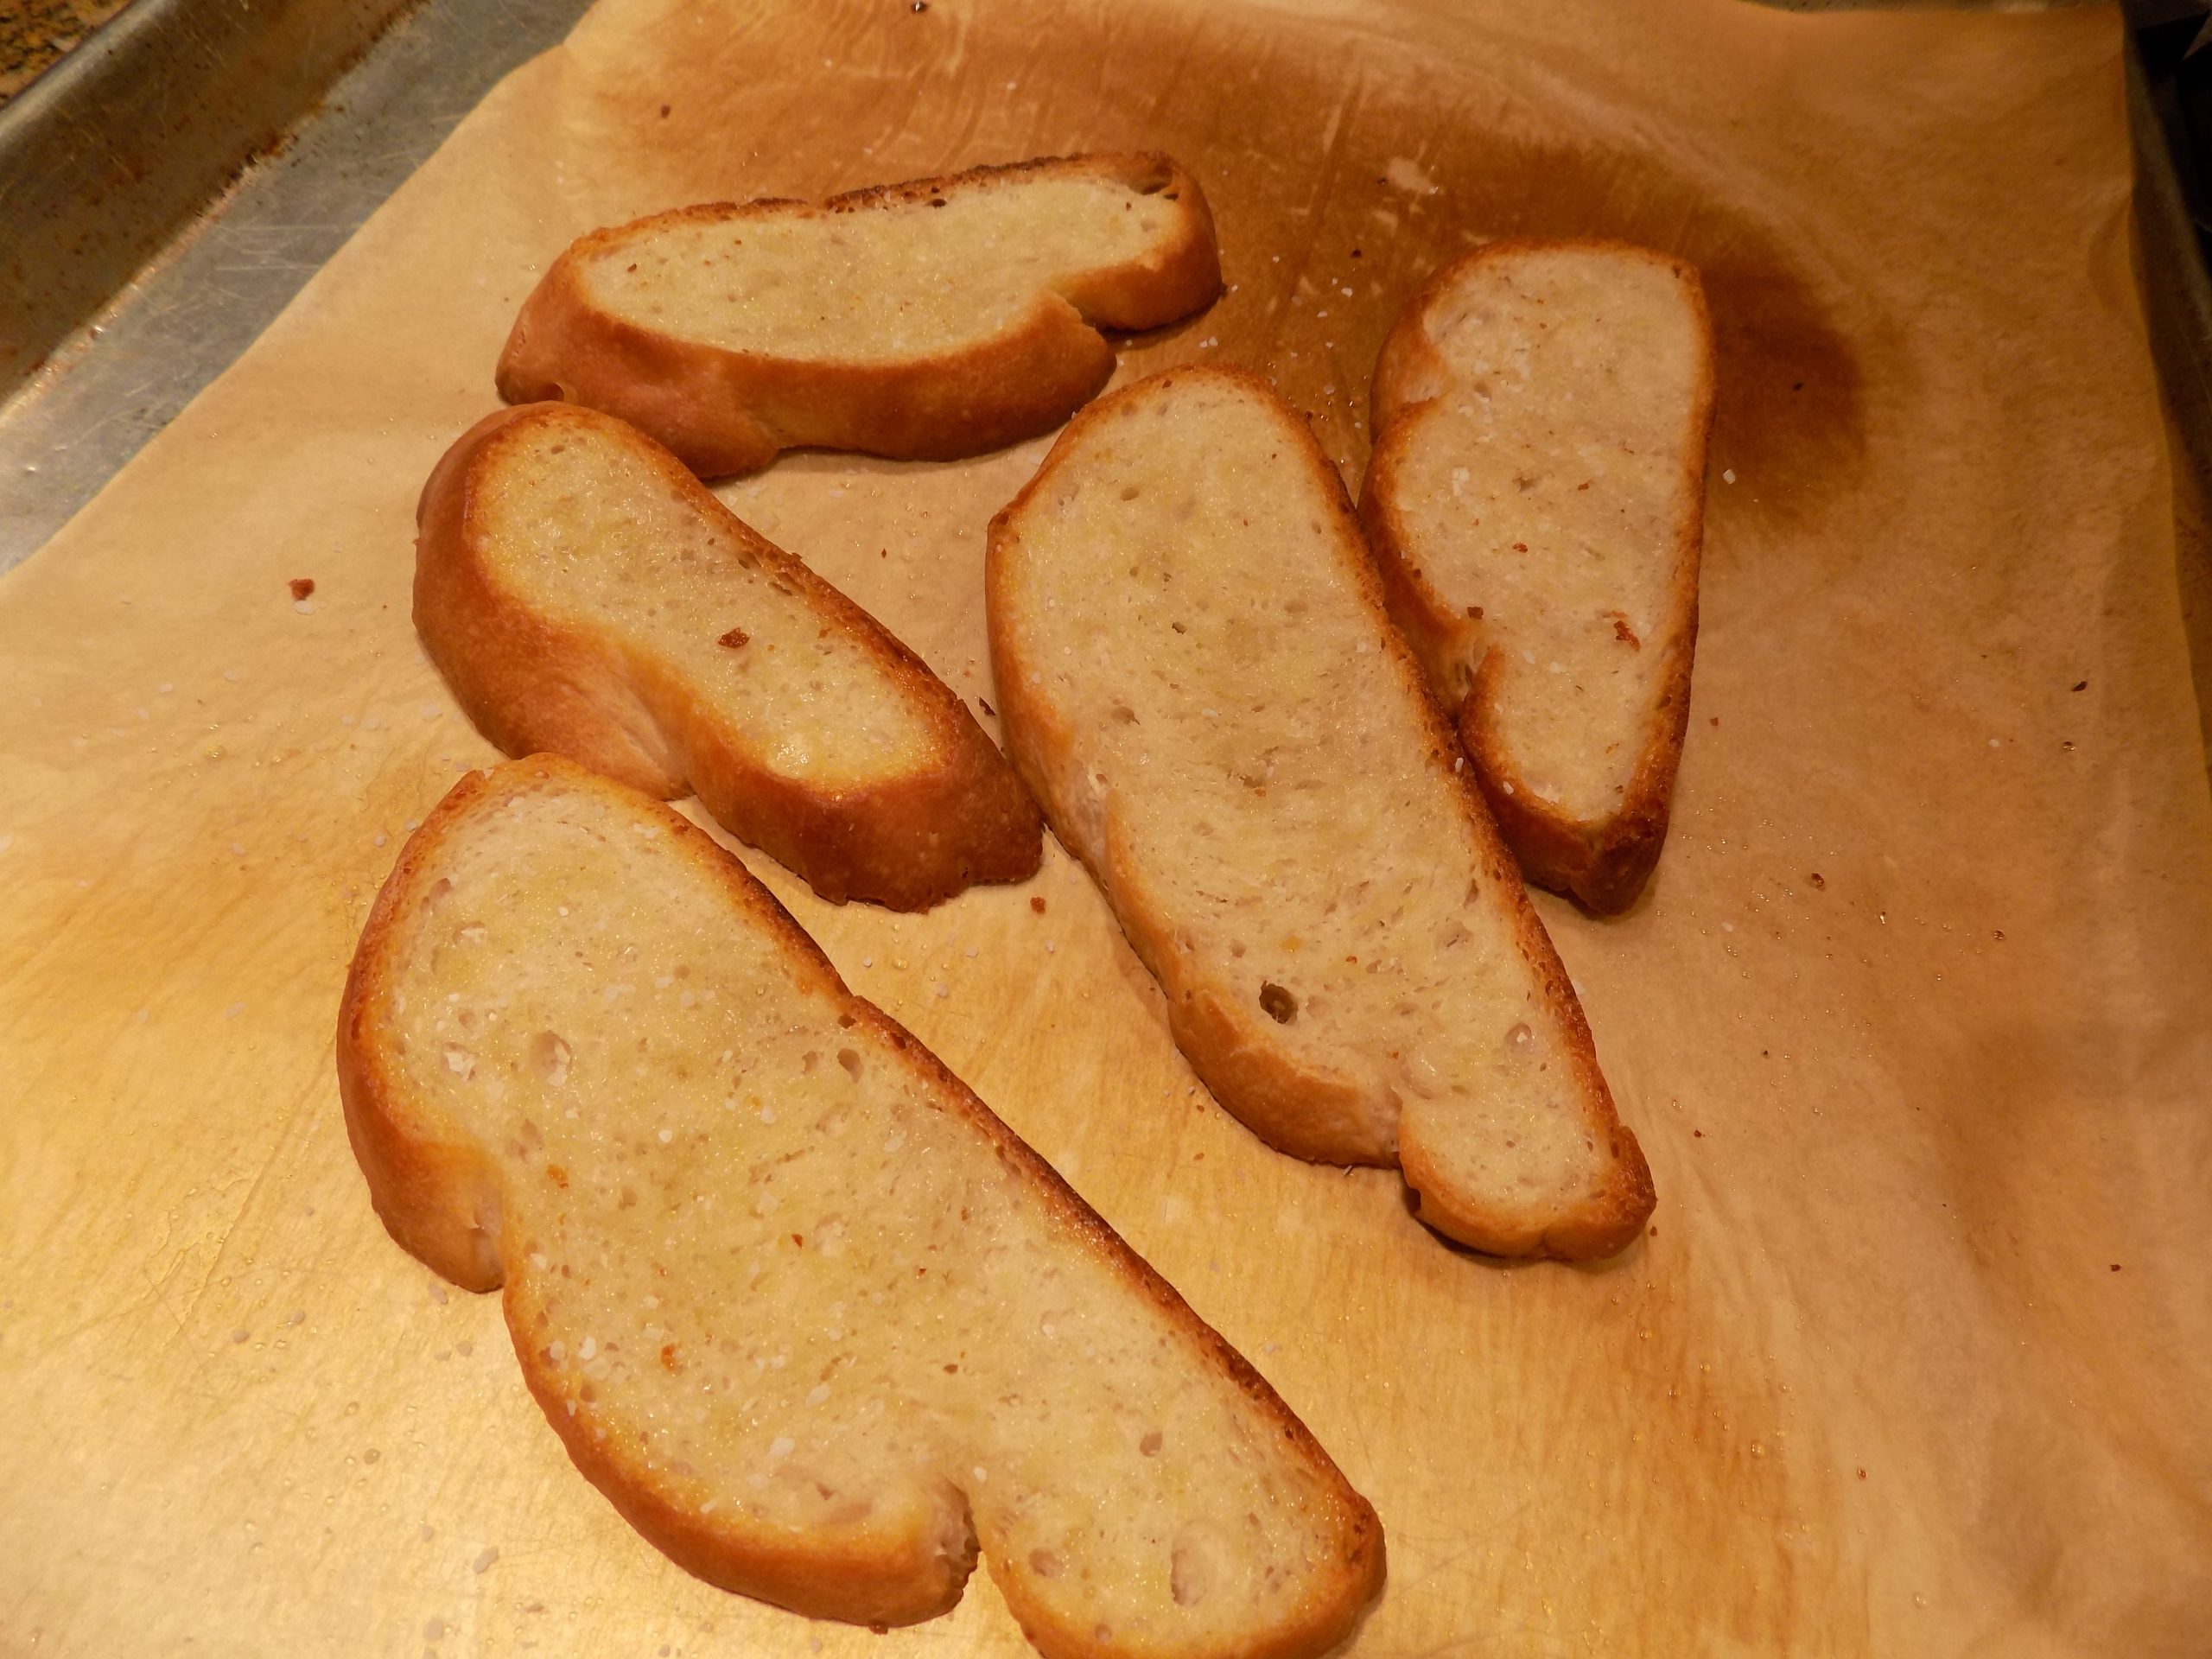
This bread makes great crostini. (See recipe below.)
CROSTINI
crusty bâtard (like this one) or a French baguette
extra-virgin olive oil
flaky or fine sea salt
Pre-heat oven to 450-degrees. Line a rimmed baking sheet with parchment paper.
Slice the bread on the diagonal into pieces no wider than ½-inch. Lightly brush both sides of each slice with olive oil.
Place the slices in a single layer on your prepared baking sheet and bake them on the middle rack for about 9-11 minutes, or until they are crisp and nicely golden on top. Remove from oven and sprinkle lightly with salt. Serve immediately.