
Early yesterday afternoon while deciding what to cook for dinner, I decided Savory Navy Bean Soup would be perfect. (Recipe to be published in the near future.) But ever the bread lover, I wanted a quick and easy roll to slather with butter, then dip into my soup. (Decadent and hardly healthy, but none the less, that’s what I wanted.) (And yes, I was stamping my foot at the time. Just like any other spoiled brat.) So, off I went in search of a recipe for a fast and easy roll to complete our meal. And with the most luck I’ve experienced in a long time, I found this recipe on the jennycancook.com site.
But frankly, I hesitated before making these rolls because they looked just too darn simple. But because I was in a bit of a time constraint, I decided to dive right in. And I shall forever be grateful that I prepared this recipe. Because these rolls are the bomb.
And for all you bread baking challenged folks out there, this recipe is absolutely perfect for you. No mixer required. No guess work as to exactly how much flour to use. Simple, simple, simple. And absolutely delicious.
So, do not pass GO. Do not collect $200. Just make these rolls and be done with it. And a huge thank you to Jenny Jones for this fantastic recipe. You are a treasure!
Well, that’s it for today. But I want to leave you with this quote from Henri Nouwen. “If there’s any concept worth restoring to its original depth and evocative potential, it is the concept of hospitality.” So, to all you cooks out there who provide your family and guests with good food and good drink, please know that you are making a difference. Because when it comes to feeding your family and friends, nothing should be too good for them. There is simply no better way that I know of to prove in how high a regard you hold your family and friends, than by serving well prepared food in an attractive manner.
Peace and love to all.
2½ c. bread flour, fluffed* (plus more flour for shaping the dough)
1½ tsp. instant or RapidRise yeast
1 tsp. kosher salt
1¼ c. very hot tap water (116 to 125-degrees)
Combine flour, yeast, and salt in a large bowl. Stir in the water until well combined. (This produces a very loose dough.)
Cover with plastic wrap and let stand at room temperature for 1¼ hour.
Transfer dough to a floured surface and sprinkle with a little flour. Using a dough/bench scraper, fold dough over 10-12 times, adding flour as needed and shape the whole mess into a rough ball.
Using the scraper, cut dough into 8 pieces. With floured hands, shape each into a ball by folding and tucking the dough under itself to produce a smooth surfaced top to the ball. (You may need to dip a bit of the dough into more flour while creating this smooth surfaced ball of dough.)
Place smooth side up on a parchment paper-lined baking sheet and cover with a clean tea towel. Let stand at room temperature for as long as it takes to pre-heat your oven to 450-degrees. (The dough balls will not double in size. Not to worry.)
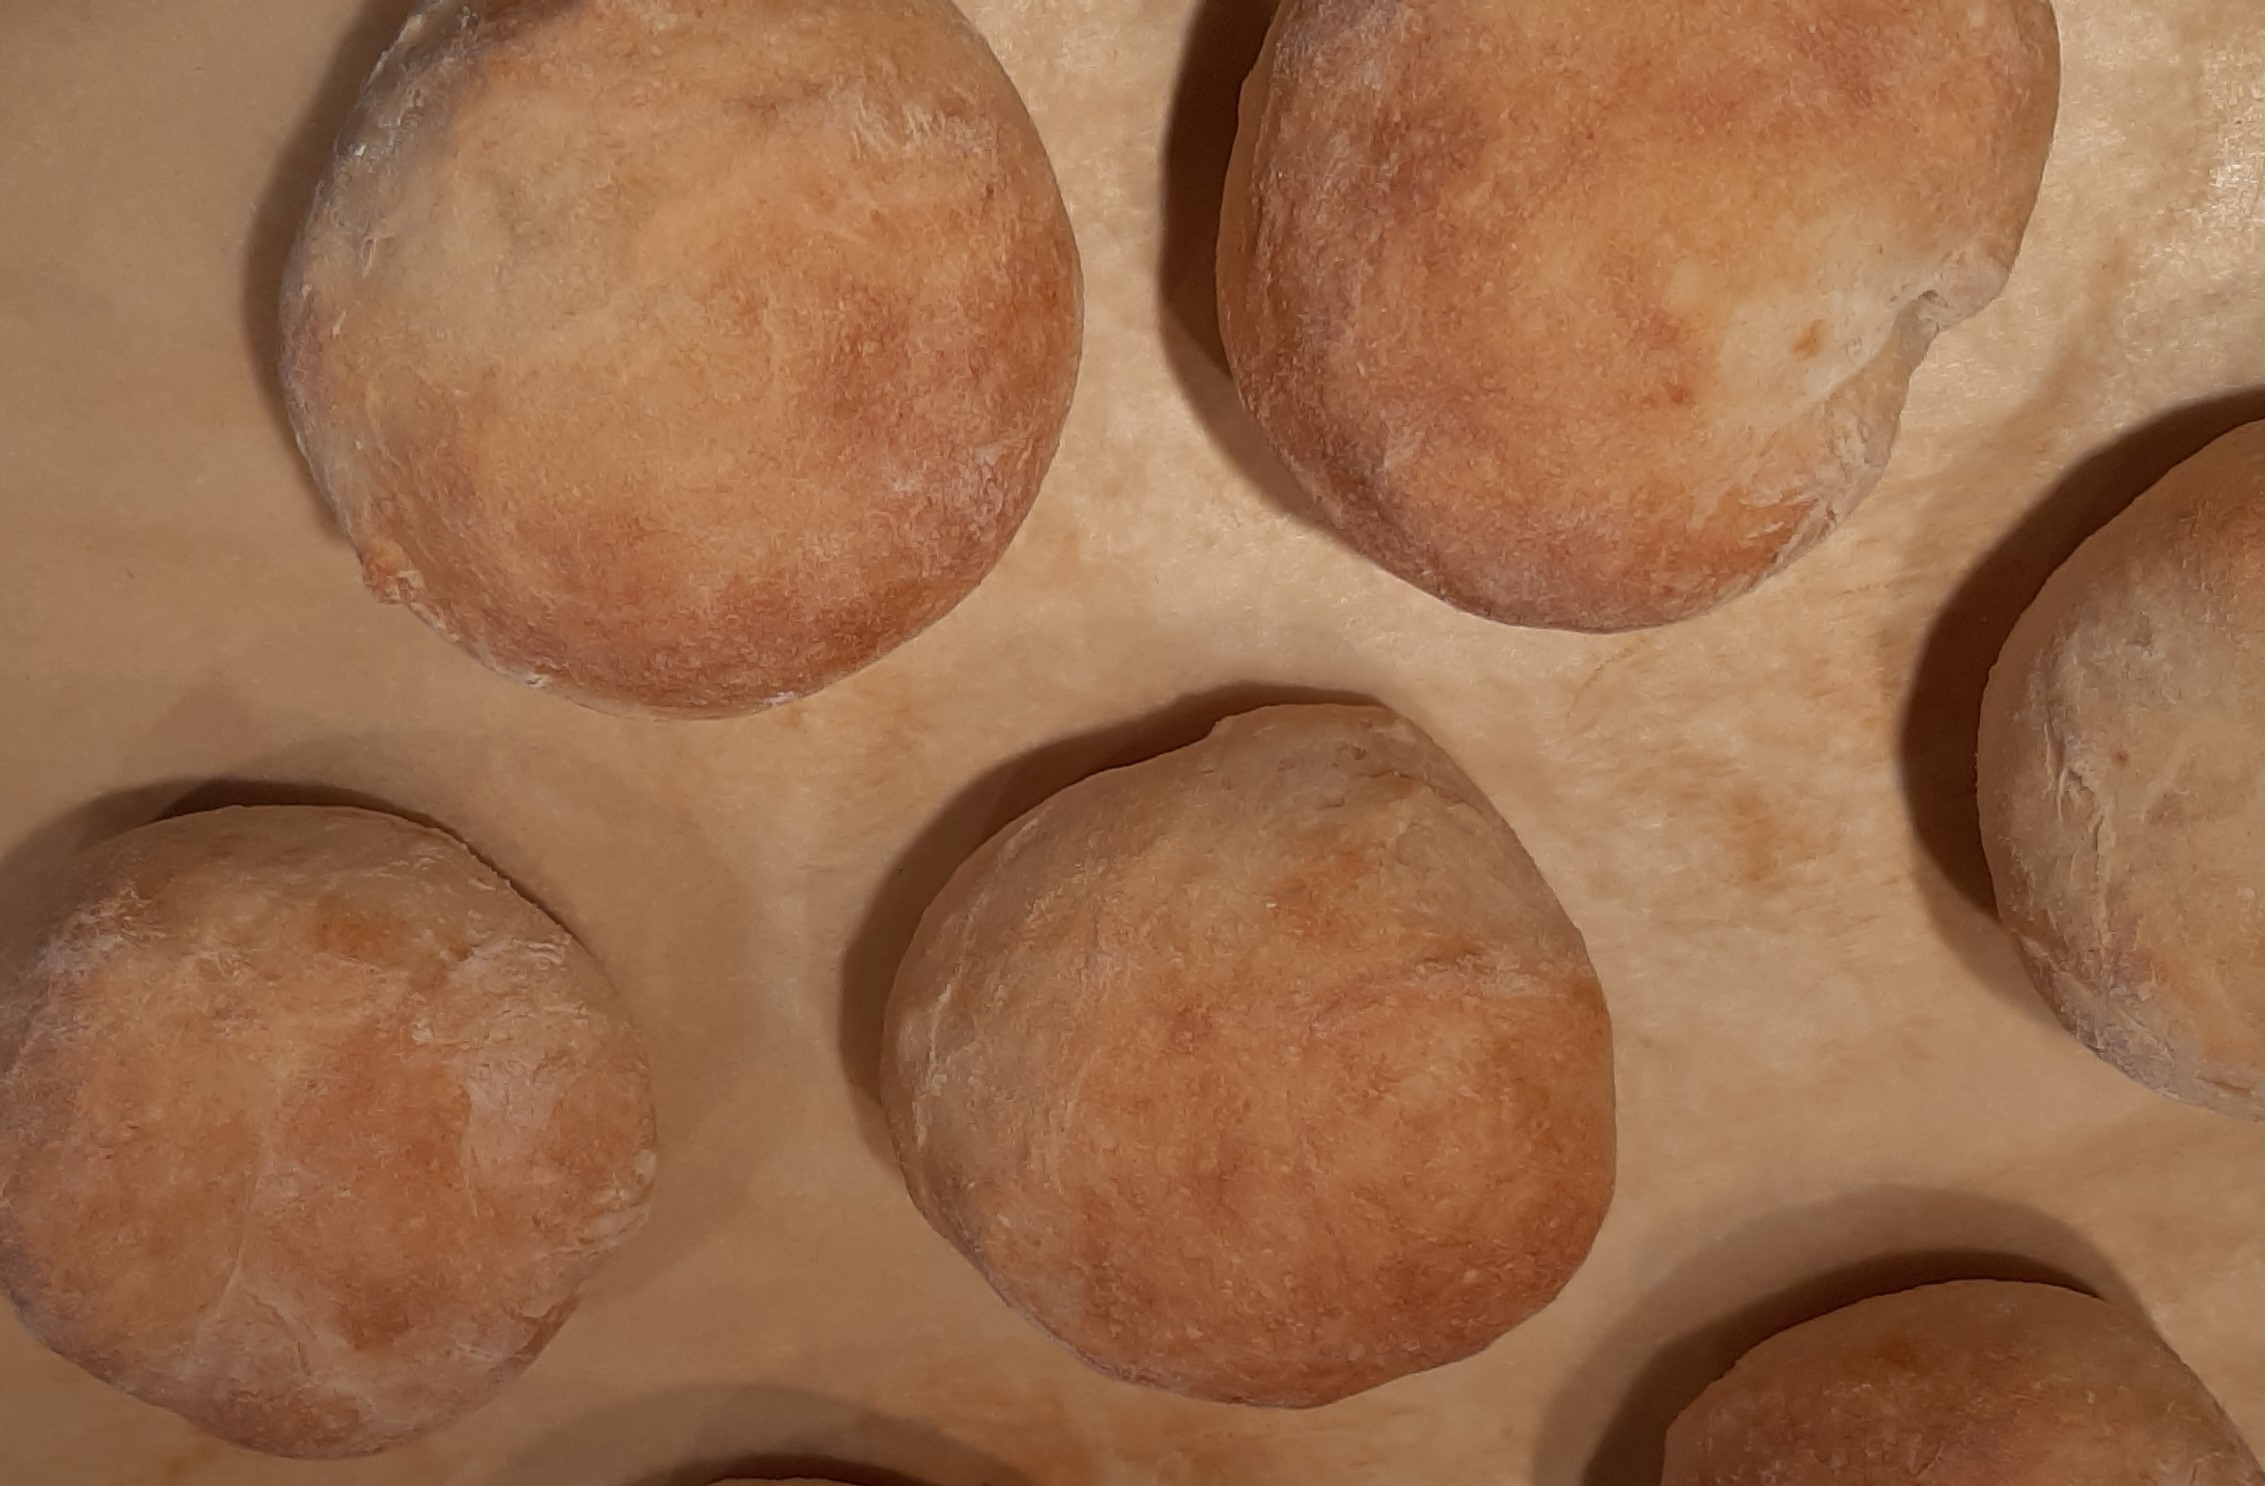
Bake for 22-23 minutes for a softer roll, or a bit longer for a crispier exterior. Either amount of time will result in a lovely, puffy golden-brown roll.
Remove from oven and let cool a bit before eating. To re-heat, pre-heat the oven to 325-degrees and place the rolls directly on the oven rack for 10-15 minutes.
*Fluffing the flour for this recipe is unusual. When baking most yeast breads, you are given an amount of flour in the recipe, but how much you actually use is at the discretion of the baker. And of course, the look of the dough provided in the instructions. (Soft and elastic, a bit of the dough clinging to the bottom of the mixing bowl, etc.)
So, if you are not familiar with ”fluffed” flour, this commentary should help you understand the concept. And BTW, for any baked goods (besides most breads), cake, cookies, pie crust, etc., I ALWAYS fluff the flour. ALWAYS!
Flour settles easily, becoming tightly packed inside a bag or jar. In order to make sure you’re not scooping up packed flour (too much flour), you should stir it with a spoon before lifting it with the spoon (kind of shaking it) as you place it into your measuring cup or cups. Then level off the top of the flour even with the rim of the measuring cup.