OK ladies and gentlemen, this could not be an easier or faster to prepare chicken dish. And one that everyone in your family will be wanting more, more, more! And did I mention it was absolutely delicious? No, well I’m telling you now! And easy to prepare, did I mention that? Well, yes, yes I did. And after a cursory glance at the list of ingredients and preparation instructions, you will be able to tell for yourself that I am not exaggerating the salient facts. Because THERE IS NO CHOPPING ANYTHING IN THIS RECIPE.
And you know me. I like to add fresh veggies and herbs whenever possible. But in this recipe that came together because I was endeavoring to stay within the guidelines of a no fiber requirement, use of fresh onion or minced fresh garlic was prohibited. I may have been stretching the rules by using dried thyme. But sometimes you must use your head and experience. And I determined that dried thyme should be just fine. And since the medical evaluation passed with flying colors, my decision to use dried thyme was exonerated. Yeah me! Anyway……….
Like I stated above, this is a chicken dish that everyone will adore. And when served over mashed potatoes, your family will be clamoring for seconds. Even thirds. So, my advice to you is to make enough. If that means doubling or tripling the recipe, so be it!
Well, I’m done writing for today. Two days ago, I beat myself up trimming plants and tidying up our courtyard. Yesterday I was fine. Today my back is reminding me that I am no longer a spring chicken. That I am now an old hen. And should therefore have realized that old hens may be tough, but they are no longer invincible. (No – – – – Sherlock!) So, I am taking it easy. Mr. C. fixed breakfast this morning and will be cooking dinner as well. I am simply going to enjoy life sitting as still as possible. (Like I have a choice!) Read my book, maybe take a nap, and then read some more. In between I will keep taking Tylenol and allowing Mr. C. to liberally apply Bio Freeze to the affected area. Let the fun continue.
Peace and love to all.
4 T. unbleached all-purpose flour, divided
1 tsp. granulated garlic, divided
¼ tsp. kosher salt
freshly ground black pepper
4 boneless, skinless chicken thighs
2 T. extra virgin olive oil
2 T. unsalted butter
½ c. dry white wine
1 c. chicken broth
½ tsp. dried thyme
¼ c. half & half
Whisk 2 tablespoons of the flour, ½ teaspoon of the granulated garlic, salt, and pepper together in a shallow pan. (I use an 8-inch cake pan.) Pat each chicken thigh dry with paper towels, then dredge each piece through the flour. Place on a plate.
Heat the olive oil in a large, ovenproof skillet or shallow braising pan over medium heat. Place the chicken in the hot oil and fry the first side until lightly browned. When the first side is nicely browned, flip and brown the other side. Do not be tempted to keep flipping the chicken. Just once will insure a nice crust. Remove and place on a plate.
Add the butter to the skillet. Add the remaining 2 tablespoons of flour and cook until the flour is mixed throughout.
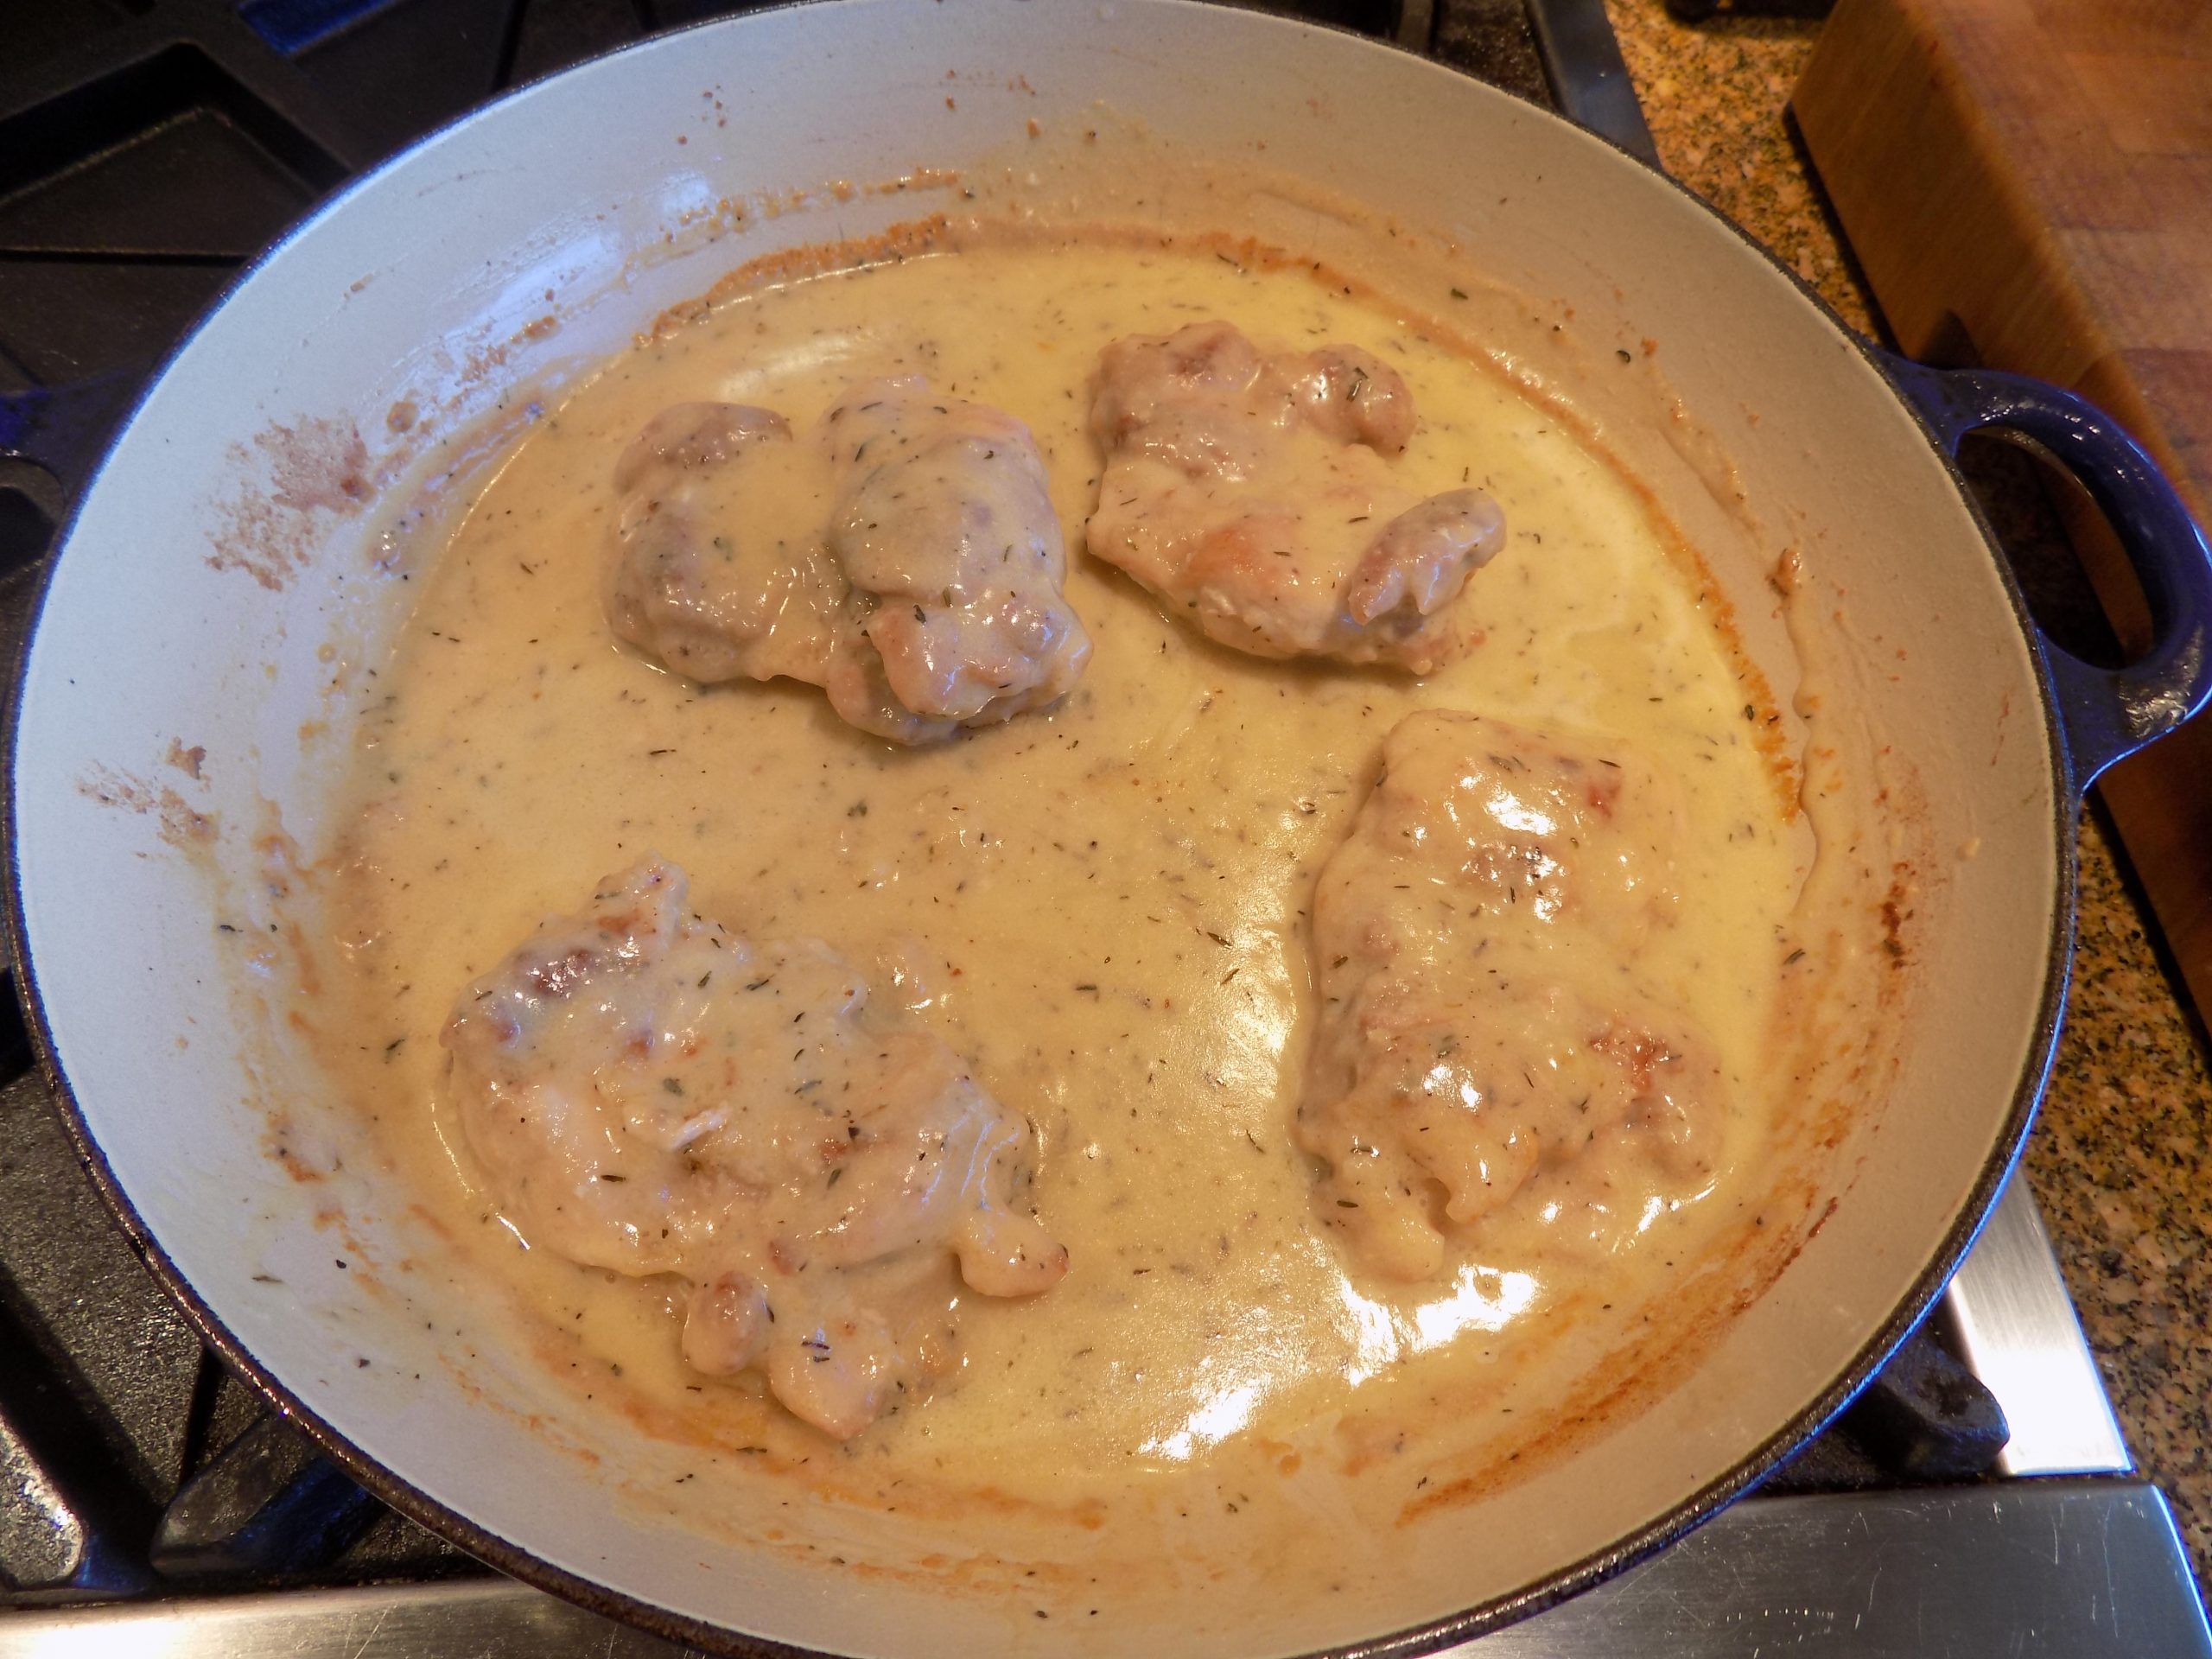
Stir in the wine and deglaze the pan by scraping all the brown bits off the bottom of the pan, making sure that the flour is thoroughly mixed in and contains no lumps. Slowly stir in the chicken broth, remaining ½ teaspoon granulated garlic, and dried thyme. Place the browned chicken thighs back into the pan
Bake uncovered in a pre-heated 375-degree oven for 30-35 minutes or until the chicken reaches at least 185-degrees on an instant read thermometer.
Remove the pan from the oven and stir the half and half into the sauce. Taste the sauce and add a bit of seasoned salt if added salt is necessary.
Serve over mashed potatoes, rice, or pasta.