So, the first thing you should ask yourself – what the heck is pastina? Well, pastina or pastini, or pastine (however you spell it), is a pasta that can be any shape as long as it is generally smaller than ¼-inch. Commonly called pastina in the United States, there is no standard “pastina” shape. Rather, it’s a general term for any small, shaped pasta. Pastina comes in the shape of little stars (stelline), tiny balls (Acini di Pepe), tubes, or even tiny macaroni noodles or shells. Orzo is also often classified as pastina. Now you know!
And the second thing that should jump out at you; why is Patti making soup in August? Well, that one is easy to answer. Yesterday when I was trying to decide what to make for dinner, the sky opened and dumped almost an inch of water on our happy little island. Plus, the heavens provided us with a delightful thunder and lightning show. And brooding dark grey clouds to set the stage. So, of course, soup was the perfect dish to serve for dinner. Along with some cornbread, we dined in style. And just because you would certainly want to know, the temperature never got above 61-degrees. Another reason to feature soup for dinner. (That’s my story and I’m sticking to it!)
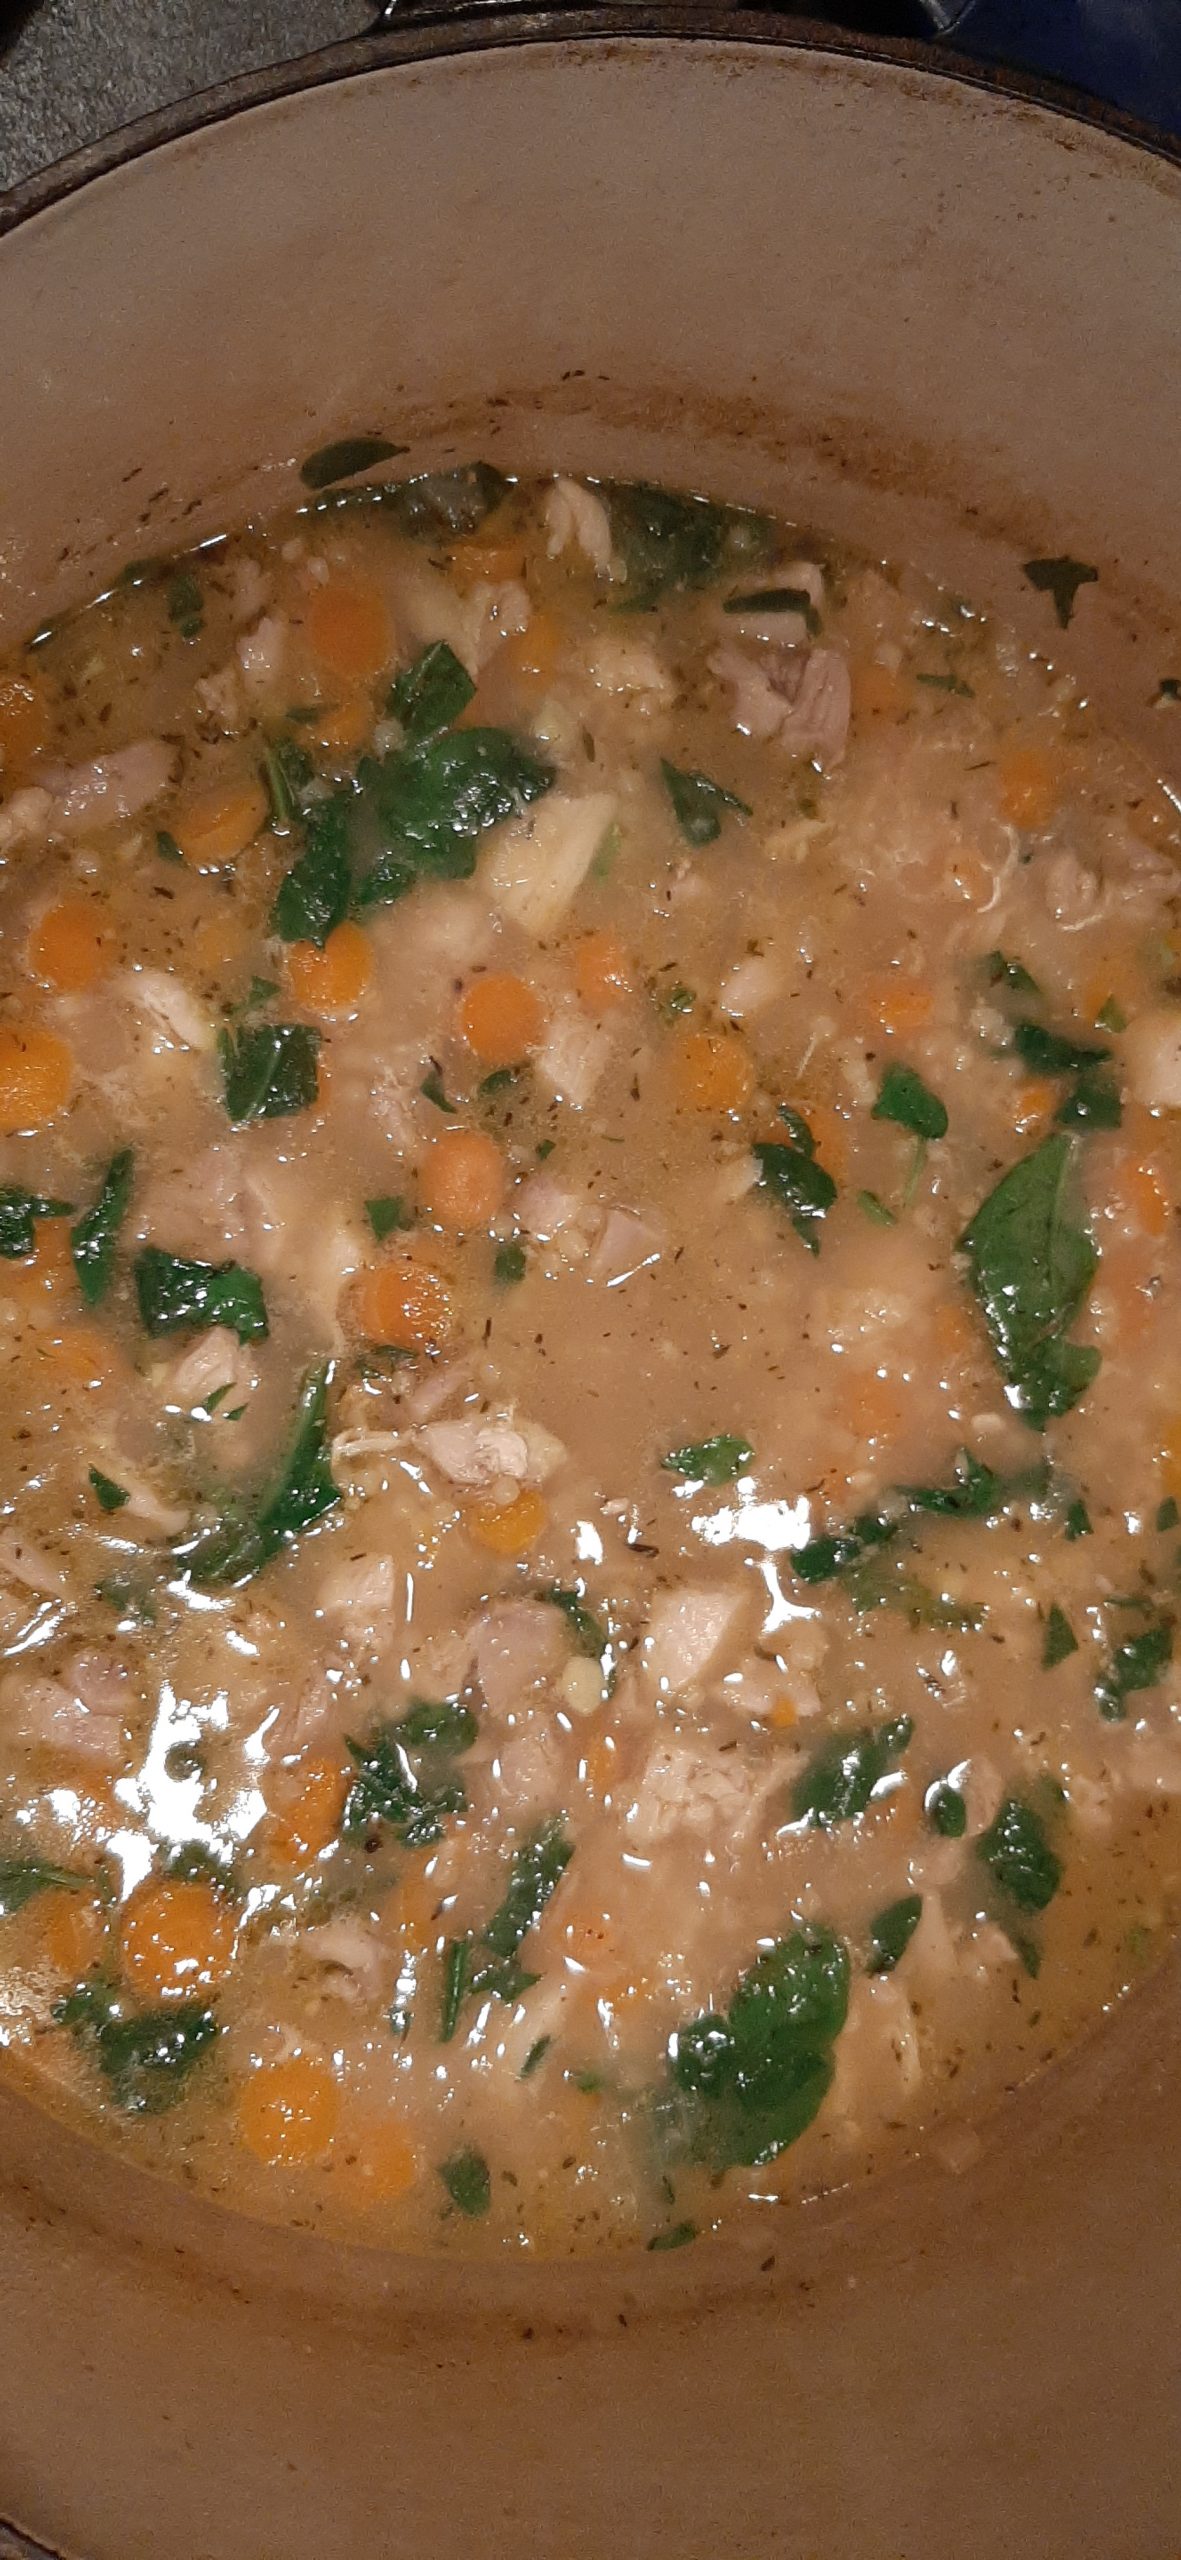
Now, as to why this soup, well that’s easy. I wanted to serve chicken soup, but one that was just a little bit different. So, I researched a few recipes, glommed this recipe together, and decided to give the soup a scintillating name. Because who isn’t captivated when a recipe title includes the word “Italian”. Add to that a word like “pastina”, and you have a hook that draws in even the most experienced and sophisticated researcher of all things culinary. And to prove my point, you’re reading about this recipe. I rest my case!
Anyway, this soup is very tasty and super easy to prepare. So, if you find yourself yearning for cooler nights, autumn leaves, back to school for your kidlets, (and what parent doesn’t yearn for that), and a break from BBQed this and that, go ahead and break all the rules and build yourself and your family a big old pot of soup. And if this recipe doesn’t rock your socks, I’ve got a lot of other soup recipes that you might find more to your taste. So, be brave. Be the trend setter in your neighborhood. Just don’t wear white shoes after Labor Day and you will be just fine. (Tennies are the one exception.) (It’s white leather shoes after Labor Day that is the societal no no!)
Peace and love to all.
2 T. extra virgin olive oil
1 med. onion, chopped
2 carrots, diced
2 garlic cloves, finely minced
6 c. water
2 T. chicken base
1 bay leaf
¼ tsp. dried thyme
½ tsp. celery salt, or more to taste
freshly ground black pepper
Parmesan cheese rinds* (whatever amount you like)
4 boneless, skinless chicken thighs
1 T. fresh lemon juice, or more to taste
½ c. pastina, cooked al dente (I use Acini di Pepe)
2 c. chopped baby spinach
¼ c. chopped fresh chives, opt.
grated Parmesan cheese, for the table
Heat the olive oil in a large, covered pan. (I use my large Le Creuset Dutch oven.) Add the onion and carrot. Sauté until the onion is tender. Add the garlic and cook for 1 minute.
Add the water, chicken base, bay leaf, dried thyme, celery salt, pepper, Parmesan rinds, and chicken. Bring to a boil, reduce heat, cover, and cook the chicken just until done. Remove cooked chicken from pot and allow it to cool before dicing into small pieces. Set aside.
Meanwhile, simmer the broth covered for a good 45 minutes.
Just before serving, remove and discard the Parmesan rinds and bay leaf. Bring the broth to a boil. Add the lemon juice, al dente pastina, diced chicken, and spinach to the pot. Cook only until everything is hot. (Not a minute longer.) Taste and adjust seasoning.
Pass the chives and Parmesan cheese at table.
*Parmesan rinds impart a delicious, slightly salty flavor. They also help thicken and add body to soups, giving thin and brothy soups a silky consistency. You can also use Parmesan rinds in red pasta sauce, ragù, risotto, and beans.