OK, once again I must eat a large helping of humble pie! Because I stated many years ago that I didn’t particularly like muffins. At least most store-bought or bakery made muffins, and even some homemade muffins just didn’t rock my socks. But over the years, things have changed regarding muffins. There are some homemade muffins now that I really like. These for example. And maybe I even like them a bit too much.
But for many years, I only truly liked my recipe for homemade bran muffins. And in writing up this preface I came to the realization that I had never posted that recipe. What? How could that be? I’ve been making bran muffins since my beloved sister-in-law Evelyn gave me the recipe in about 1973!
Her recipe is in my first self-published cookbook (1998), but I hadn’t written it up for my blog? Shame on me! Because the bran muffins I’ve been making now since God was a child are the tastiest and easiest bran muffins to ever come out of an oven.
The recipe used to be found under the catchy title of Six-Week Bran Muffins. Because apparently, the refrigerated batter would still be fine even if it was allowed to happily reside in your refrigerator for up to 6 weeks. Never happened in my household, so I’m not going to make that statement. But I will state unequivocally that the recipe you find below makes for absolutely wonderful bran muffins. So, if you too love bran muffins, please find the recipe below. But back to orange raisin nut muffins. (That’s really why you’re here right? I do get so carried away!)
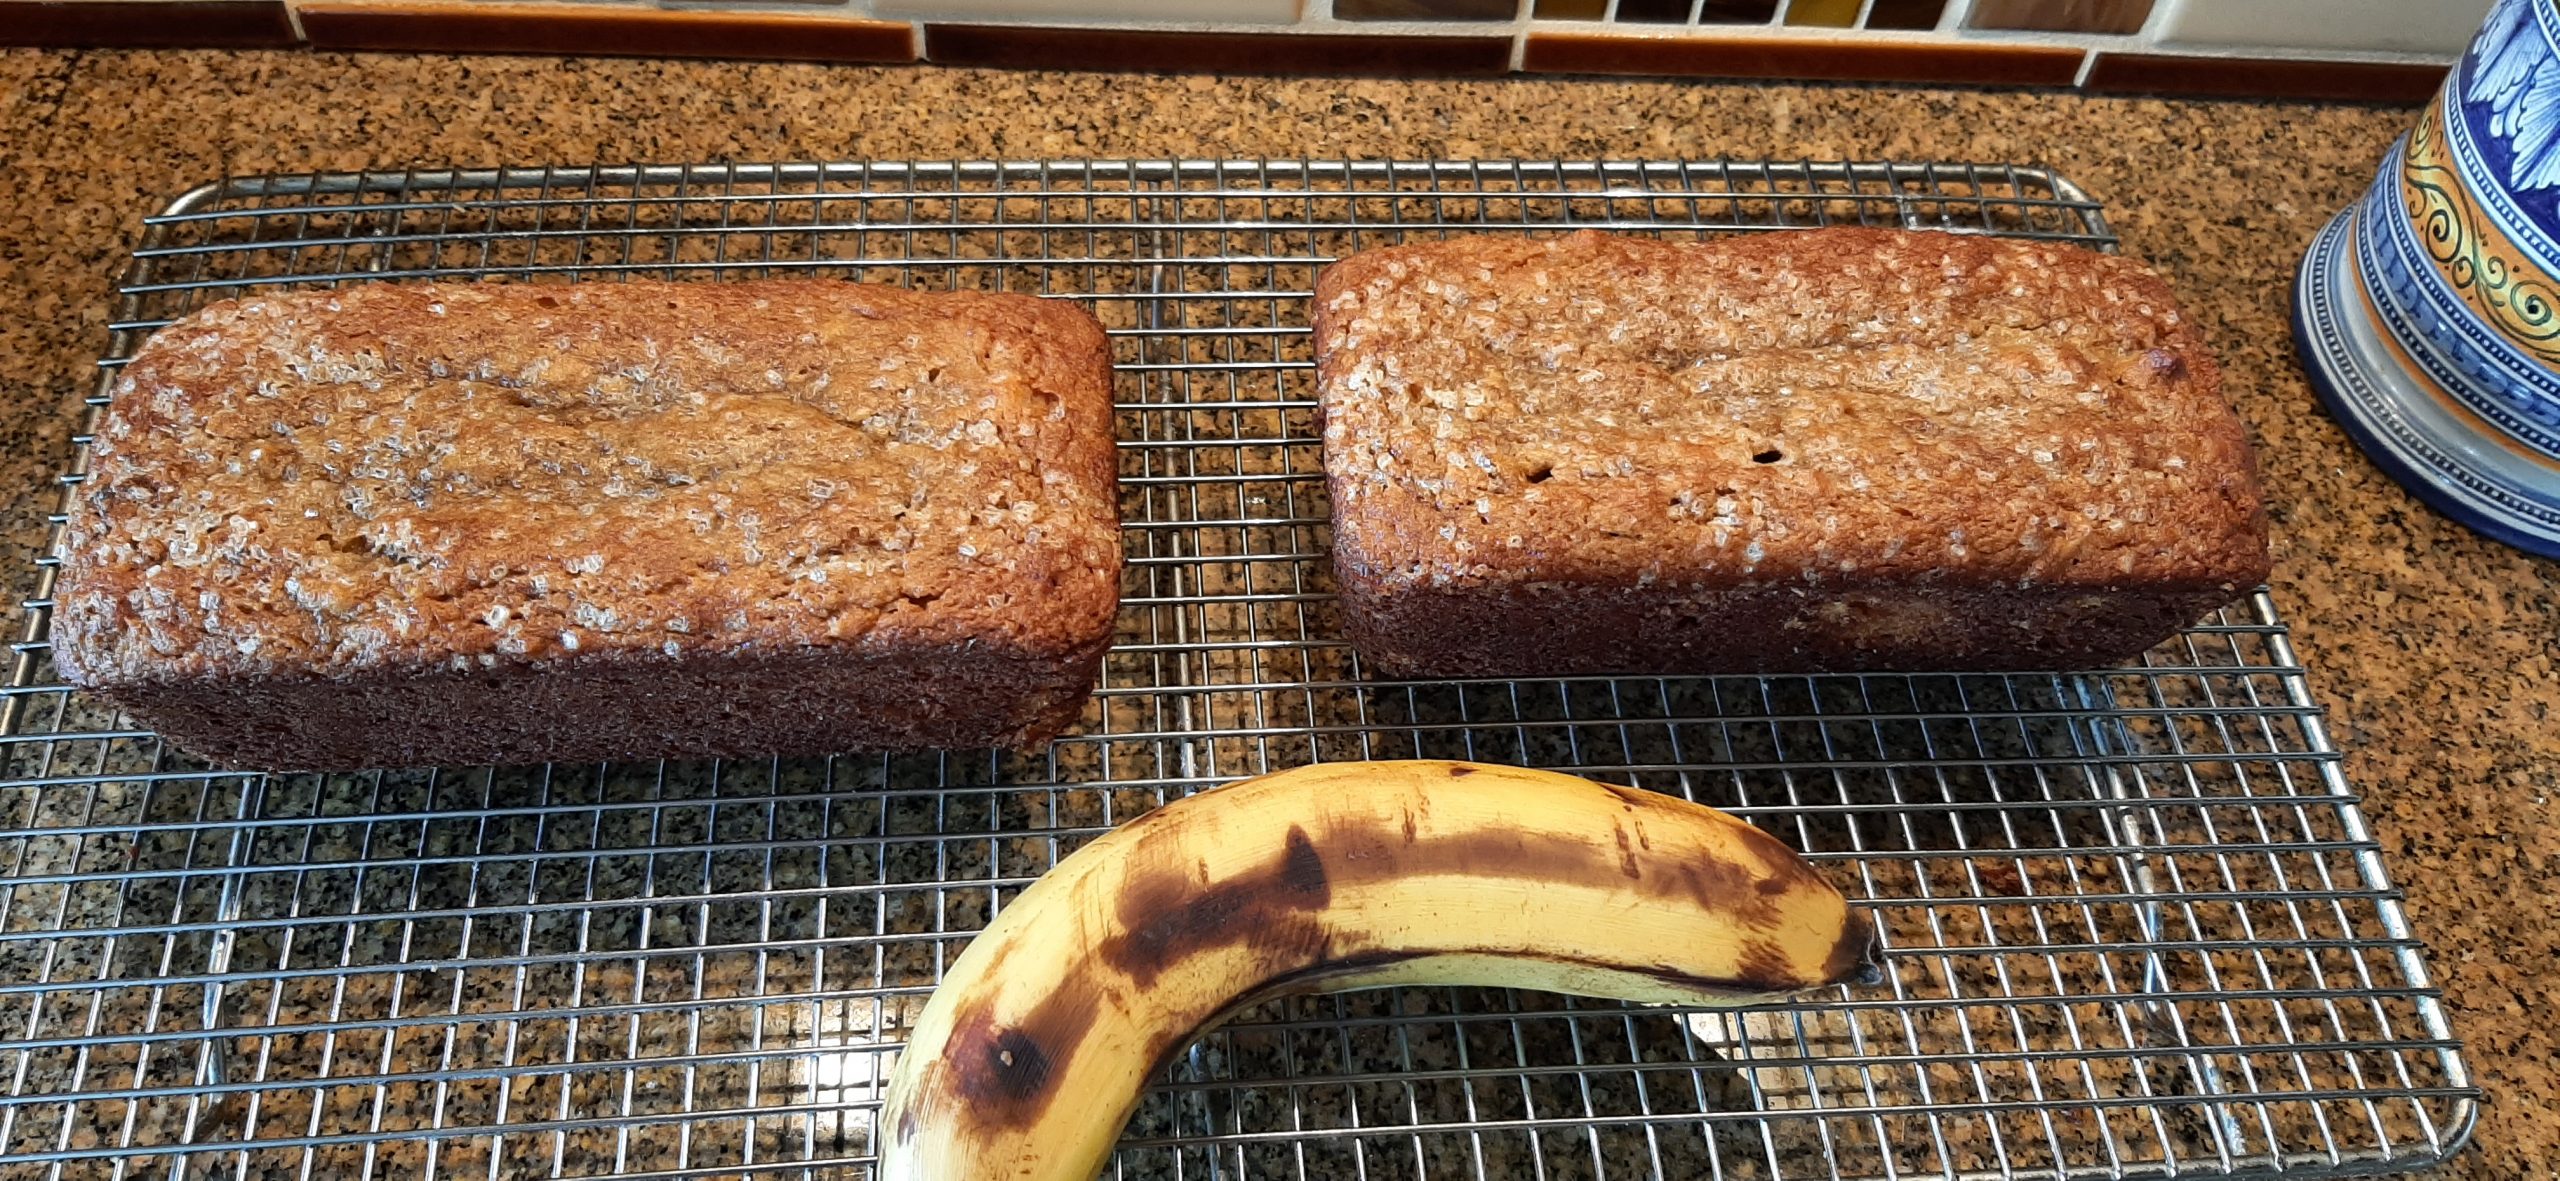
So, in getting ready for an upcoming trailer trip, I decided muffins for breakfast would be lovely. But for years now, I have been trying to duplicate my grandmother’s orange raisin cake. With poor results I must confess. So, why not an orange raisin muffin? So based on a recipe by Wescott Sharples on the relish.com site, I came up with this version.
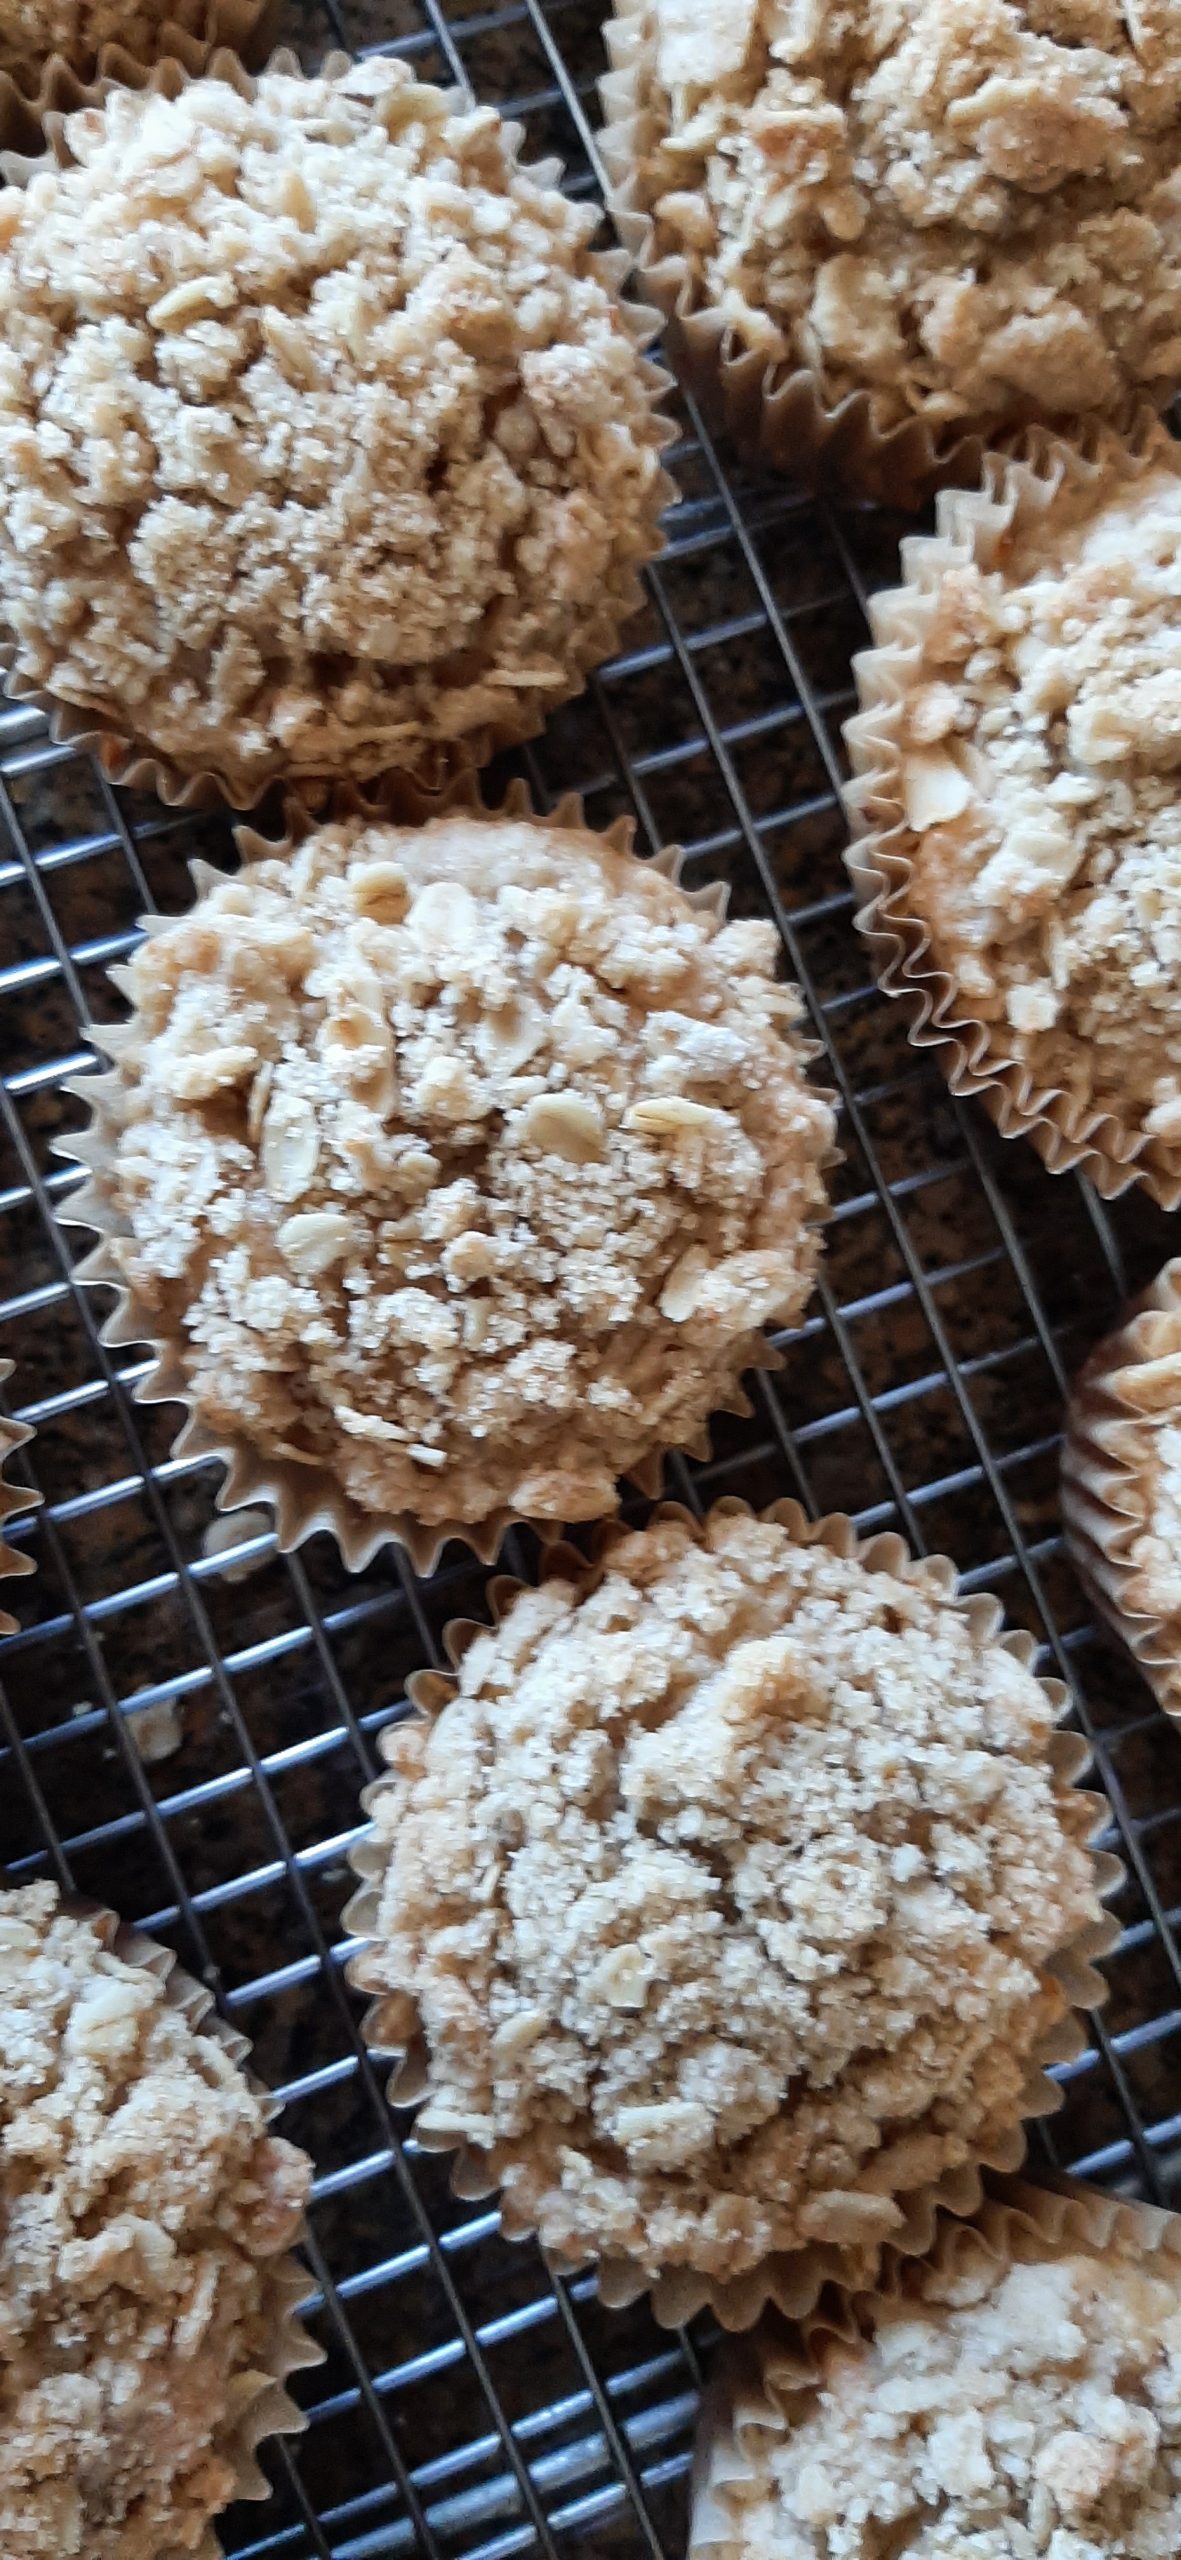
And boy oh boy are these muffins tasty. Not too sweet, and semi moist and chewy from the oats, chopped golden raisins, and walnuts. And the simple crumble topping gives these muffins just the boost of flavor and crunch that I feel is needed. All in all, a truly great muffin. And just a super breakfast treat.
Since I am getting ready for a trip with buddies, I am going to keep this preface short. Lucky you! And of course, lucky me too. (For the trip of course.)
We are so blessed to live in this beautiful part of the world. And to have a trailer and wonderful friends with whom we can share amazing adventures. As I said, we are well and truly blessed. So, here’s to Craig and Marsha – old friends, great friends, musical friends, intelligent friends, and every possible type of friend in between. Let the fun continue.
And as always, dear readers and friends, peace and love and lovely muffins to all.
Crumble Topping:
½ c. unbleached all-purpose flour
¼ c. brown sugar, packed
¼ c. old-fashioned oats
1/8 tsp. salt
4 T. (½ stick) unsalted butter, at firm room temperature
Whisk together the flour, sugar, oats, and salt. Work in the butter, mixing until coarse crumbs form. Refrigerate until needed.
Orange Raisin Walnut Muffins:
¾ c. whole wheat flour, fluffed
¾ c. whole wheat pastry flour, fluffed (or unbleached all-purpose flour if you must)
1 c. uncooked old-fashioned oats
2½ tsp. baking powder
¼ c. granulated sugar
¼ c. brown sugar
½ tsp. fine sea salt
1 T. orange zest
1 lg. egg
1 c. (8-oz.) sour cream
2 T. vegetable oil
¾ c. orange juice (does not have to be fresh squeezed orange juice)
¾ c. chopped golden raisins (I almost always use golden raisins because I like them best)
½ c. chopped walnuts (but pecans would also work)
Line 18 muffin cups with paper baking liners. Set aside.
Whisk the whole wheat flour, whole wheat pastry flour, oats, baking powder, granulated sugar, brown sugar, salt, and orange zest together in a large bowl.
Whisk the egg, sour cream, vegetable oil, and orange juice together in another bowl. Add the wet ingredients to the flour mixture mixing only until blended. Gently stir in the chopped raisins and nuts.
Using a #16 ice cream scoop (scant ¼ cup – 2-oz.) plop batter into prepared muffin cups filling until almost full.
Sprinkle the crumble topping over the muffins, dividing evenly, and patting gently.
Bake in a pre-heated 400-degree oven for about 20 minutes, or until wooden pick inserted in center comes out clean. Do not overbake.
Remove from oven and let cool completely before storing in an airtight container. Best warmed a bit before serving.
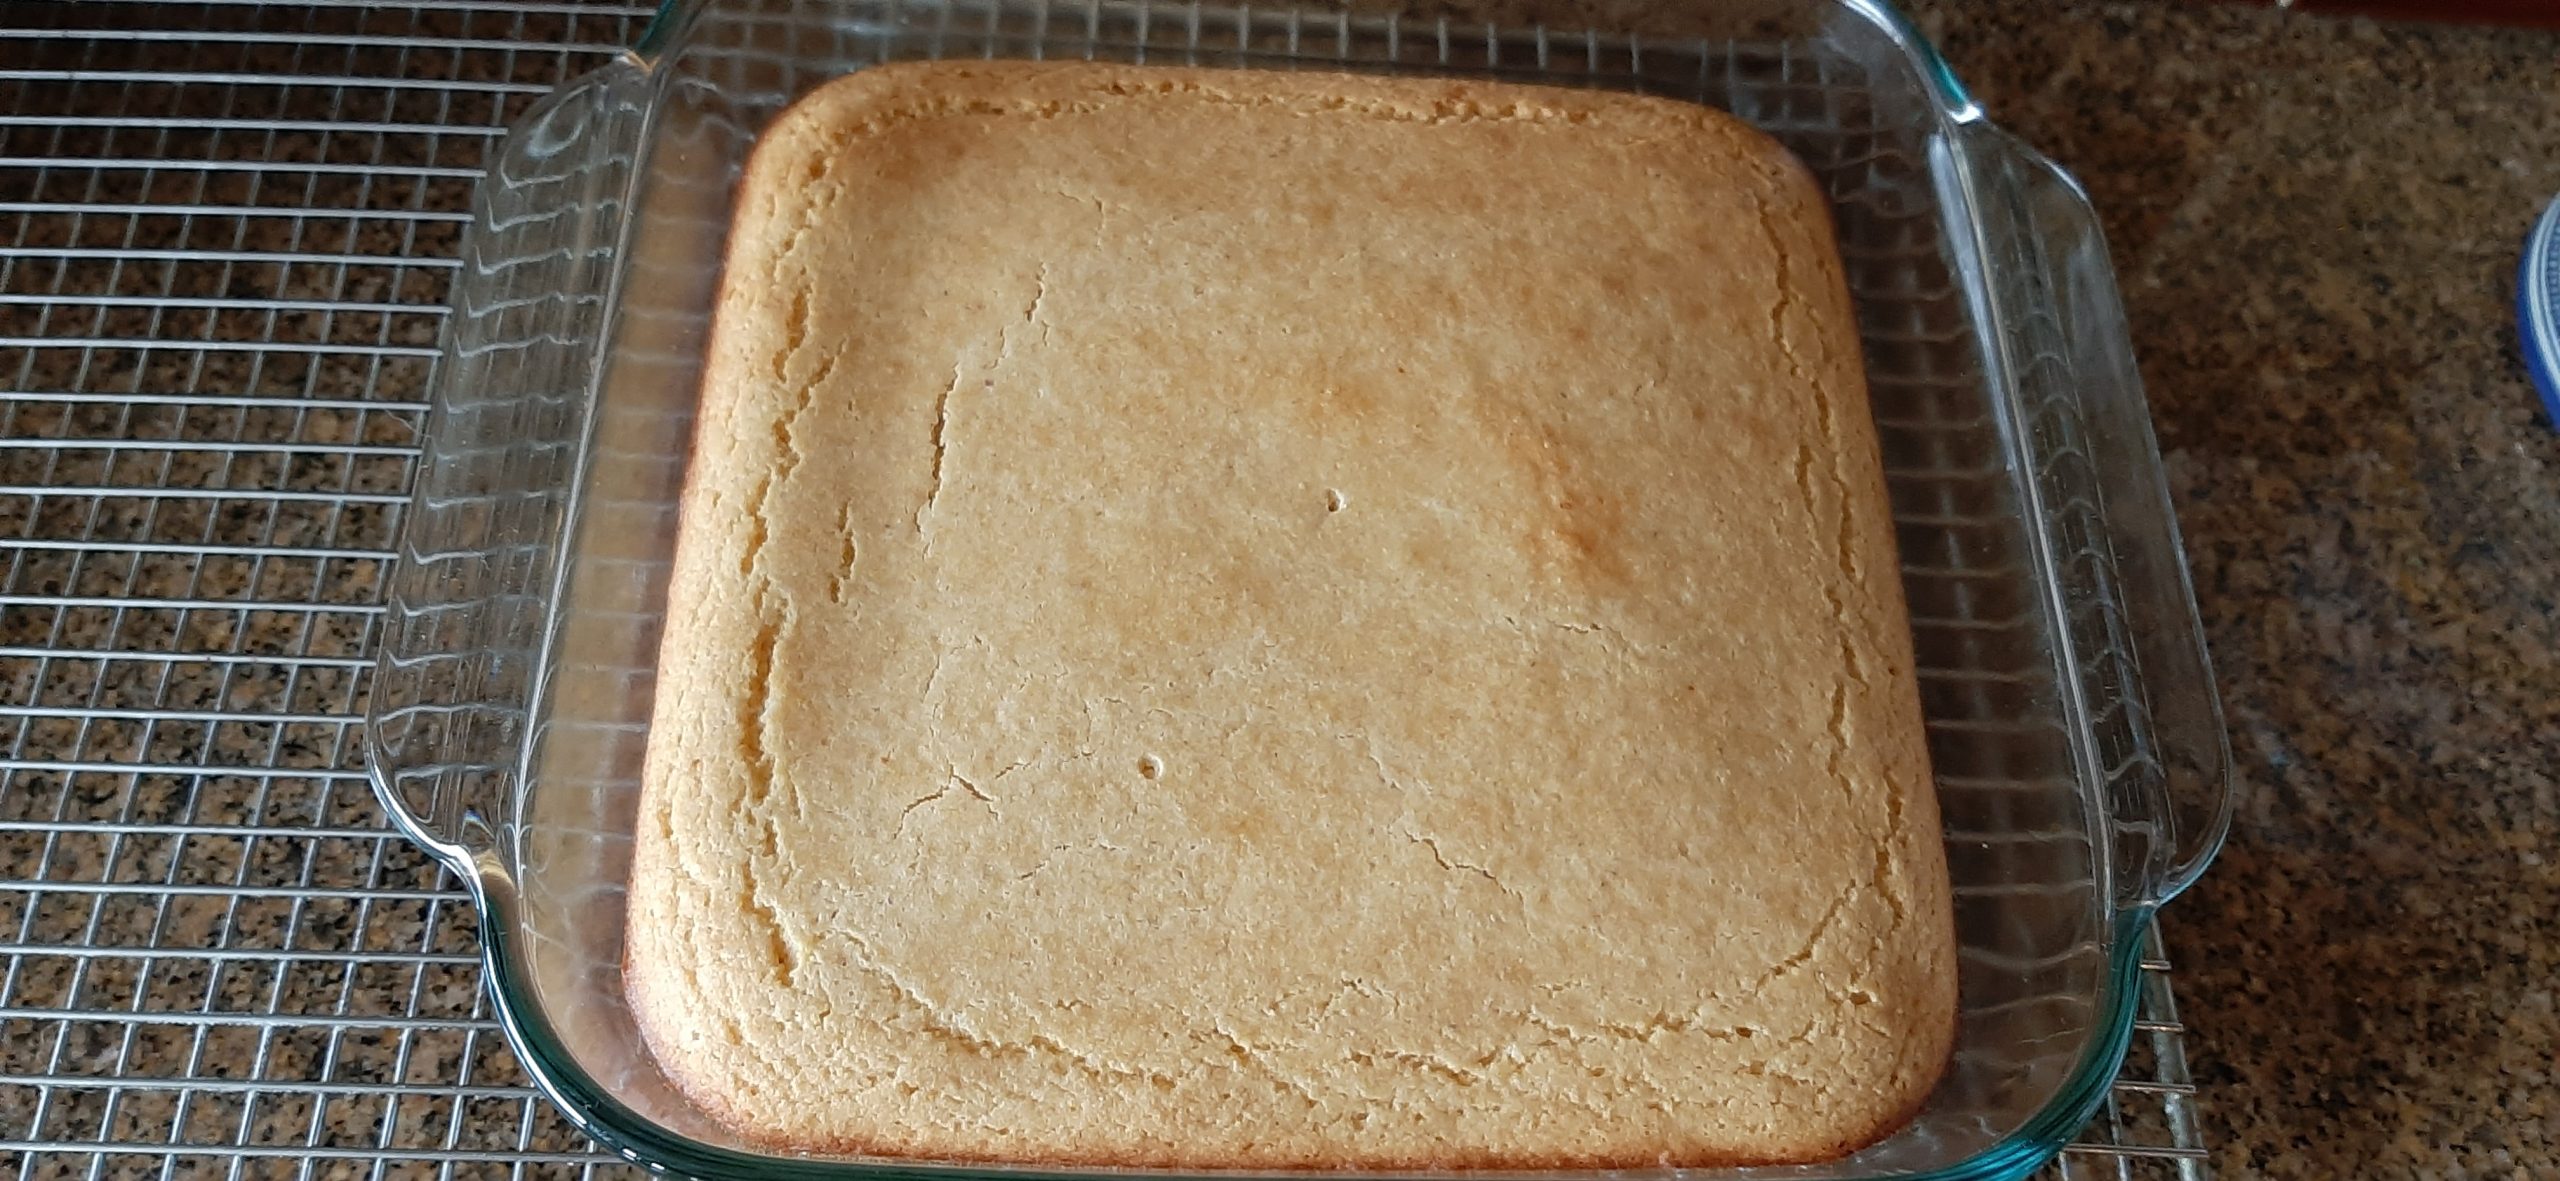
BRAN MUFFINS (½ recipe from the original) (the best bran muffins imaginable)
3 c. bran cereal (I use Kellogg’s All-Bran cereal)
1 c. boiling water
½ c. veggie or canola oil
1½ c. granulated sugar
2 eggs
2 c. buttermilk
2½ c. unbleached all-purpose flour, fluffed
2 T. wheat germ
2½ tsp. baking soda
1 tsp. fine sea salt
Line 24 (or more as needed) muffin cups with paper baking liners. Set aside.
Combine the cereal and boiling water in a large mixing bowl. Let sit for 5 minutes or more. Combine the remaining ingredients with the softened bran.
Using a #30 ice cream scoop (scant ¼ cup – 2-oz.) plop batter into prepared muffin cups filling until almost full.
Bake in a pre-heated 400-degree oven for about 20 minutes, or until wooden pick inserted in center comes out clean. Do not overbake.
Remove from oven and let cool completely before storing in an airtight container. Best warmed a bit before serving.