
Why in the wide world of sports did I ever put off making English muffins? OK, I know you don’t have the answer. But I don’t have a good explanation either. Because English muffins are so easy to build. And when I think of how much they cost in the grocery store, I’m shocked. Shocked, I tell you. Shocked! And yah, yah. I know that I’m not just paying for the ingredients. I get that. (I was a banker after all.) In fact, the ingredients themselves are practically inconsequential in the grand scheme of things. It’s the labor, preparation space, transportation, marketing, yadda yadda yadda, that really racks up the dollars. But I’m a reasonably smart gal. I should have figured it out years ago!
And of course, while I was still working, I didn’t have the time (or frankly the energy) to make English muffins. But what’s my excuse for the last 15 years? And why did it take a pandemic to open my eyes? OK, I will never have an adequate explanation. But going forward, I won’t have a good excuse either for buying English muffins! So, in order to keep me on track, let me elaborate on how darned simple these muffins are to prepare.
First of all, you don’t have to be a gluten guru to make English muffins. You don’t even have to spend hours in the kitchen. You must, however, own a large frying pan or a griddle. Because English muffins are not baked in an oven like most “muffins”. They are “baked” on your stove top like pancakes. (Of course, most “cakes” are baked in a pan and in the oven too. So, you must grant some verbal leeway to the name “muffin”, knowing full well that the English language is often difficult to fathom and arbitrary at best!)
Now, about the “everything seasoning” part of this recipe. If you don’t appreciate “everything seasoning”, leave it out. Simple. Or, if you have your own homemade version or a store-bought version that you admire, use it instead. I just wanted an English muffin that had a bit of savory flavor. And I got what I was after. But if you don’t hold “everything seasoning” in as high a regard as I do, like I said above – leave it out. The muffin will still be delicious.
So, for all you bread bakers out there, be you new to bread building or simply blessed with an adventurous culinary streak, please give this recipe a try. You will be so delighted when you experience how easy it is to build your own English muffins. And your family will love toasting these babies in the morning. Just a slather of butter or cream cheese, a bit of breakfast meat, an egg or two, and they are off to a great start to their day.
As always, keep thrilling and delighting your family with great food. Keep challenging yourself with new recipes that even a year ago would have scared the pickles out of you. And keep smiling. It’s not easy always being Mrs. or Mr. sunshine. But it’s a heck of a lot more pleasant for your family if you at least give it a try. Peace and love to all.
2 T. poppy seeds
2 T. sesame seeds
1 T. dried finely minced onion (I crush the dehydrated onion in my mortar and pestle before adding it to the other ingredients)
1 tsp. granulated garlic
1 tsp. kosher salt
1¾ c. buttermilk
1 pkg. or 2½ tsp. active dry yeast
1 tsp. granulated sugar
1 lg. egg
¼ c. (½ stick) unsalted butter, room temperature
4½ c. bread flour
extra virgin olive oil
corn meal for sprinkling on pan
Combine the poppy seeds, sesame seeds, minced onion, granulated garlic, and kosher salt together in a small bowl. Set aside.
Warm the buttermilk to about 120 degrees in your microwave. (Use your instant read thermometer to take the buttermilk’s temperature.) The buttermilk might separate and look curdled. Not to worry. Pour into the bowl of your stand mixer.
Add the yeast, sugar, egg, and 2 cups of the flour and mix until combined using your dough hook. Add the poppy seed mixture and 2 more cups of flour. Mix/knead the dough using more flour as needed to produce a smooth and elastic dough. (The main part of the dough will form a ball around the dough hook. But in a perfect world, there should still be a bit of dough that clings to the bottom of the bowl.)
Pour a little olive oil around the dough, and using you hands and a stiff rubber spatula, form the dough into a ball well greased with the oil. Cover with plastic wrap and let rise until the dough has doubled in size, about 60 minutes.
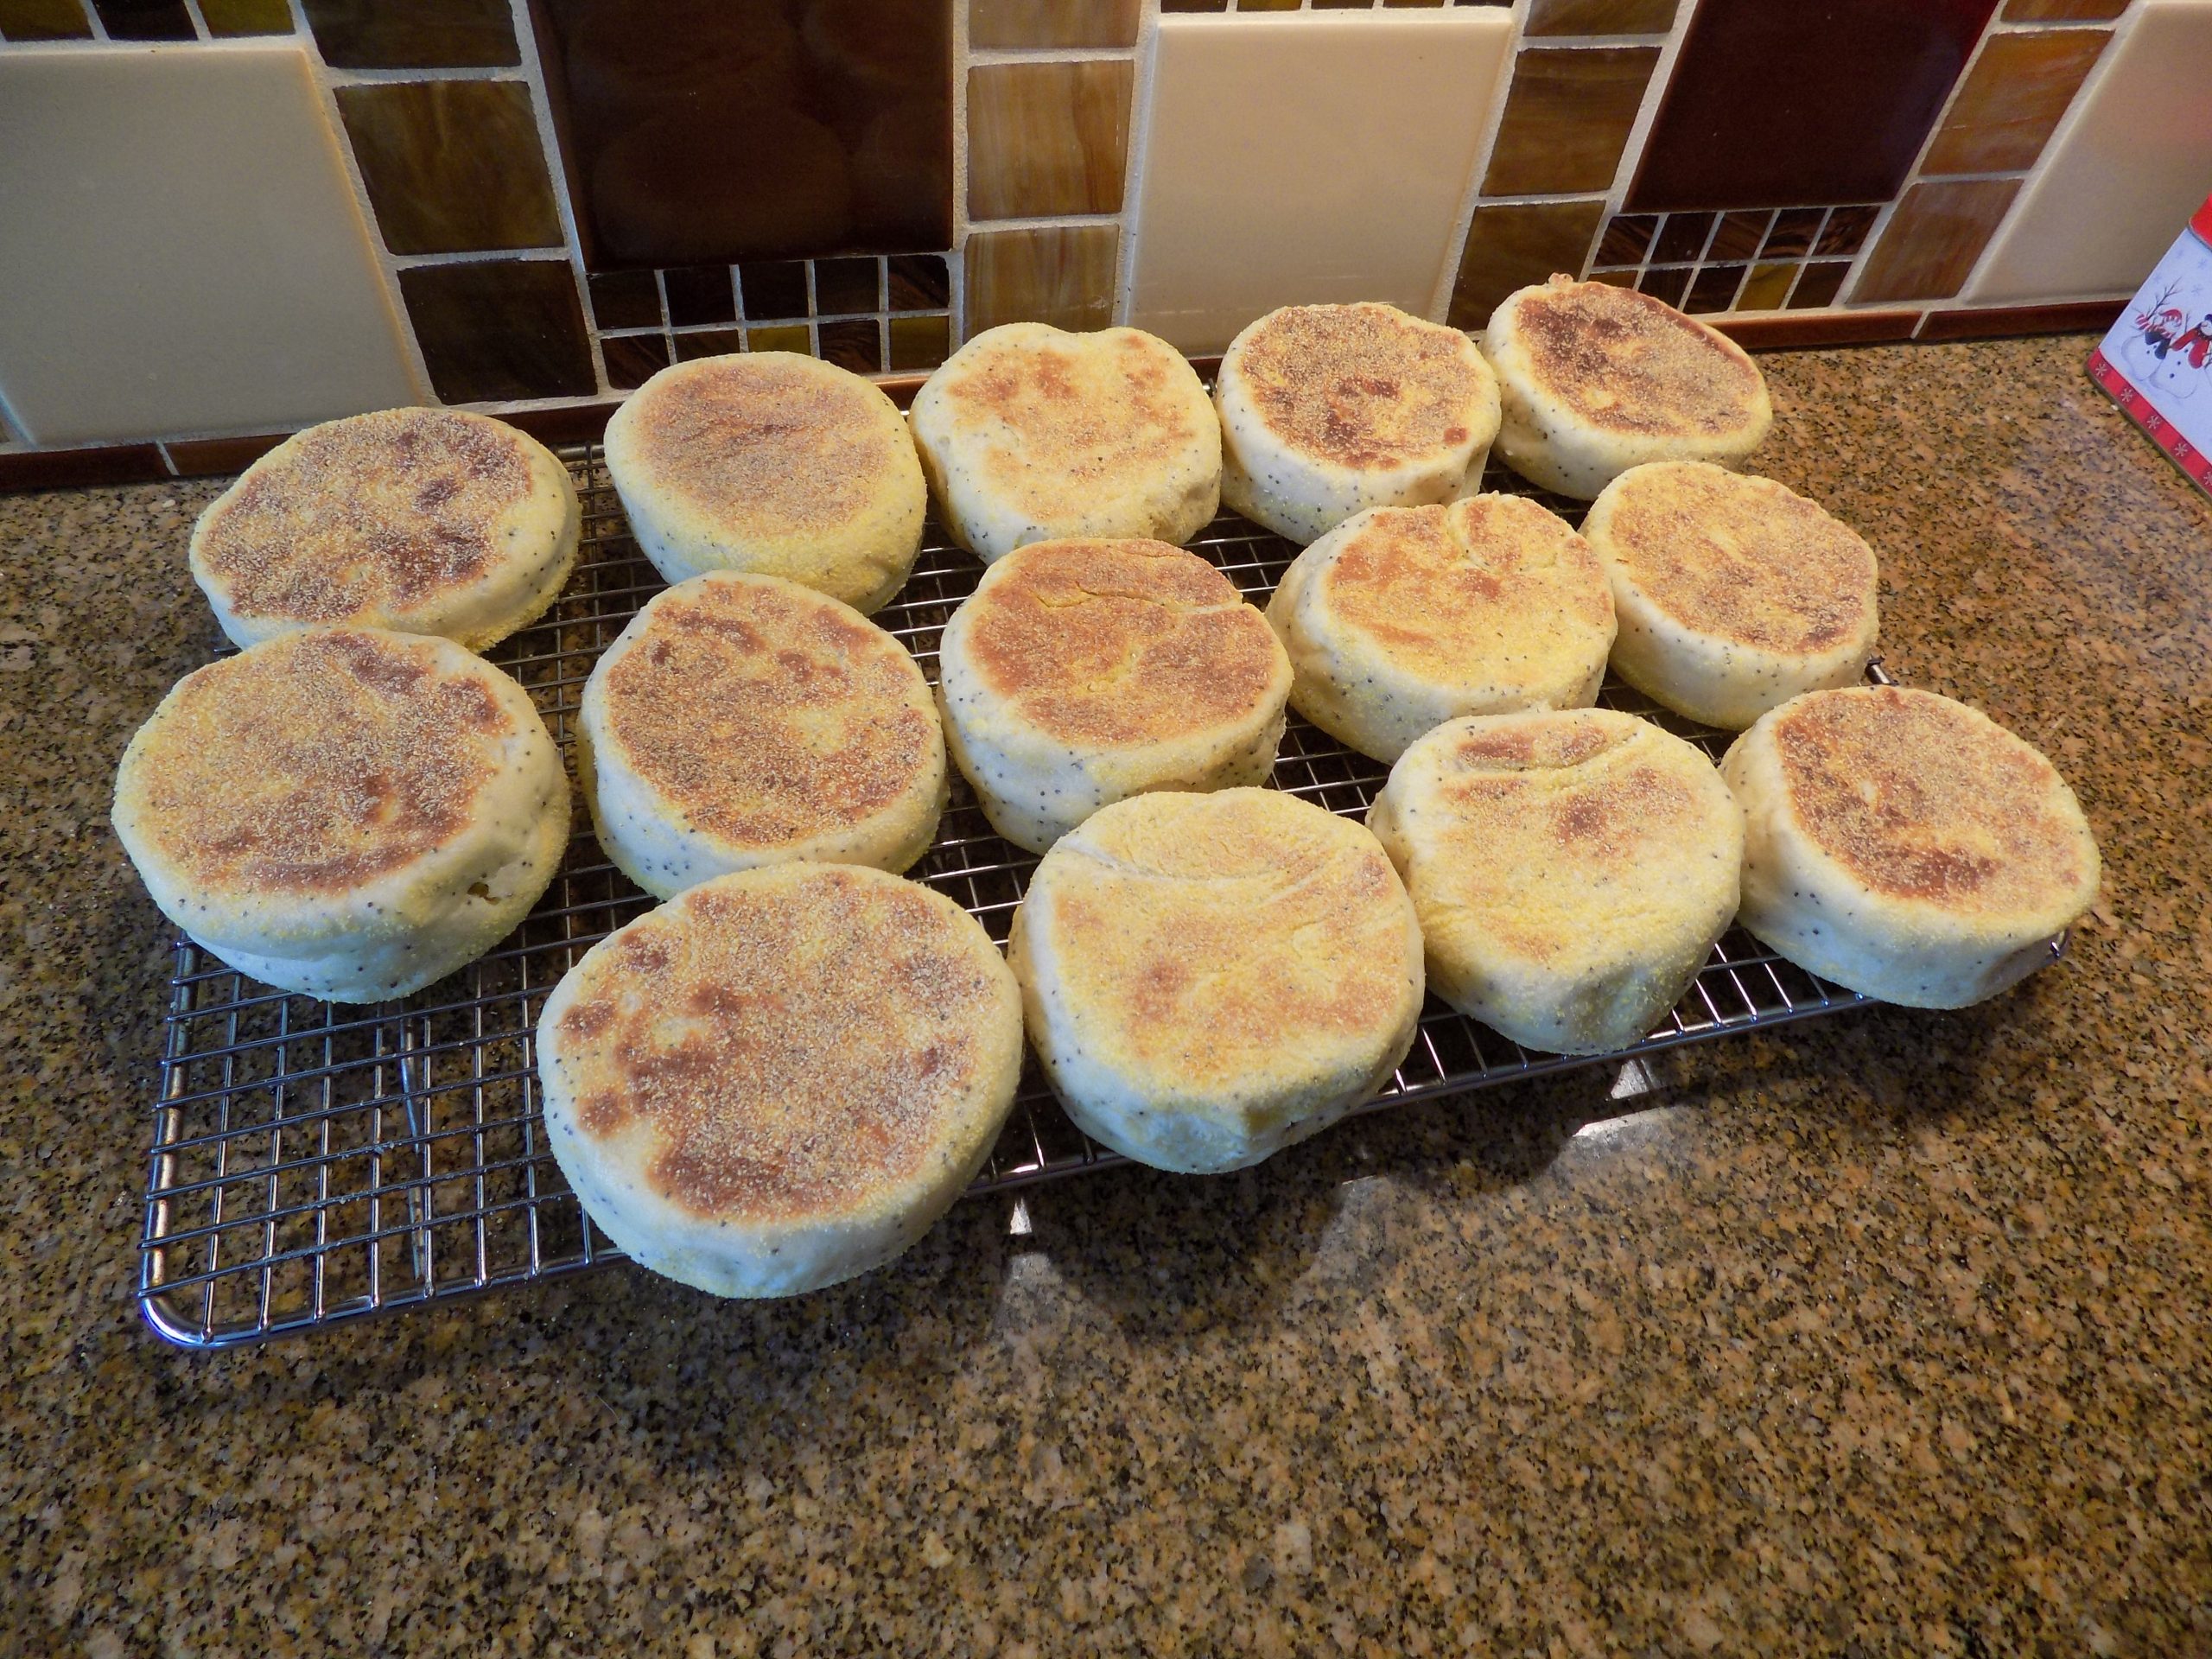
When the dough has risen sufficiently, sprinkle cornmeal on a clean surface and pat dough to somewhere between a ⅓ to ½-inch thickness. (I use a large-rimmed baking pan as my “clean surface”. The pan sides prevent the cornmeal from going everywhere!) Cut into 13-14 circles 3½ – 4 inches in diameter. And don’t waste the dough that is left after you cut out the first set of circles. Just moosh the remaining dough back together, pat it out, and cut out more muffins. Believe me, re-patting out the dough will make no difference to the tenderness of the final product. You might end up with a bit of corn meal in the interior of the muffins cut after the 2nd or 3rd pat-out. But who cares? The muffins will still be delicious.
After each muffin is formed, flip it over to also coat the topside with cornmeal. Place on a lightly greased cookie sheet at least 1½-inches apart. Cover the pan with a lightweight tea towel and let the dough rest for 20 minutes.
Carefully place the muffins on a lightly greased (if your griddle is not non-stick), or dry griddle (if yours is non-stick) over medium low heat. (You will just have to figure out the best level of heat on your stove as you go. Not too hot or the muffins will burn before the inside is done. Not too low or you’ll be at it all day!) (On my BlueStar range, which has high BTU burners, straight up “low” works perfectly.)
Bake for 4-5 minutes on each side or until bottoms are a deep golden brown. (The internal temperature should be just under 200 degrees when the muffins are done). Place cooked muffins on a wire rack to cool. Store in an airtight container or freeze for longer storage. Lovely toasted and slathered with either butter or cream cheese. Or for a real treat, make eggs Benedict. Yum
Buttermilk Substitute:
1 c. whole milk
1 T. plain white vinegar or lemon juice
Whisk the milk and vinegar together. Let sit at room temperature until it curdles, about 10 minutes. Stir and you’re ready to go.