Sometimes inspiration comes from just looking out a window.
While I was dusting the window sill in my guest bedroom a few weeks ago, I looked down on a half wine barrel filled with dirt and rhubarb leaves. Couldn’t see the rhubarb stalks yet, but just the greenery alone was promise enough that better things were about to happen – like SPRING AND SUMMER! And rhubarb stalks. And strawberries. And picnics. And, and, and…..well the list just goes on and on!
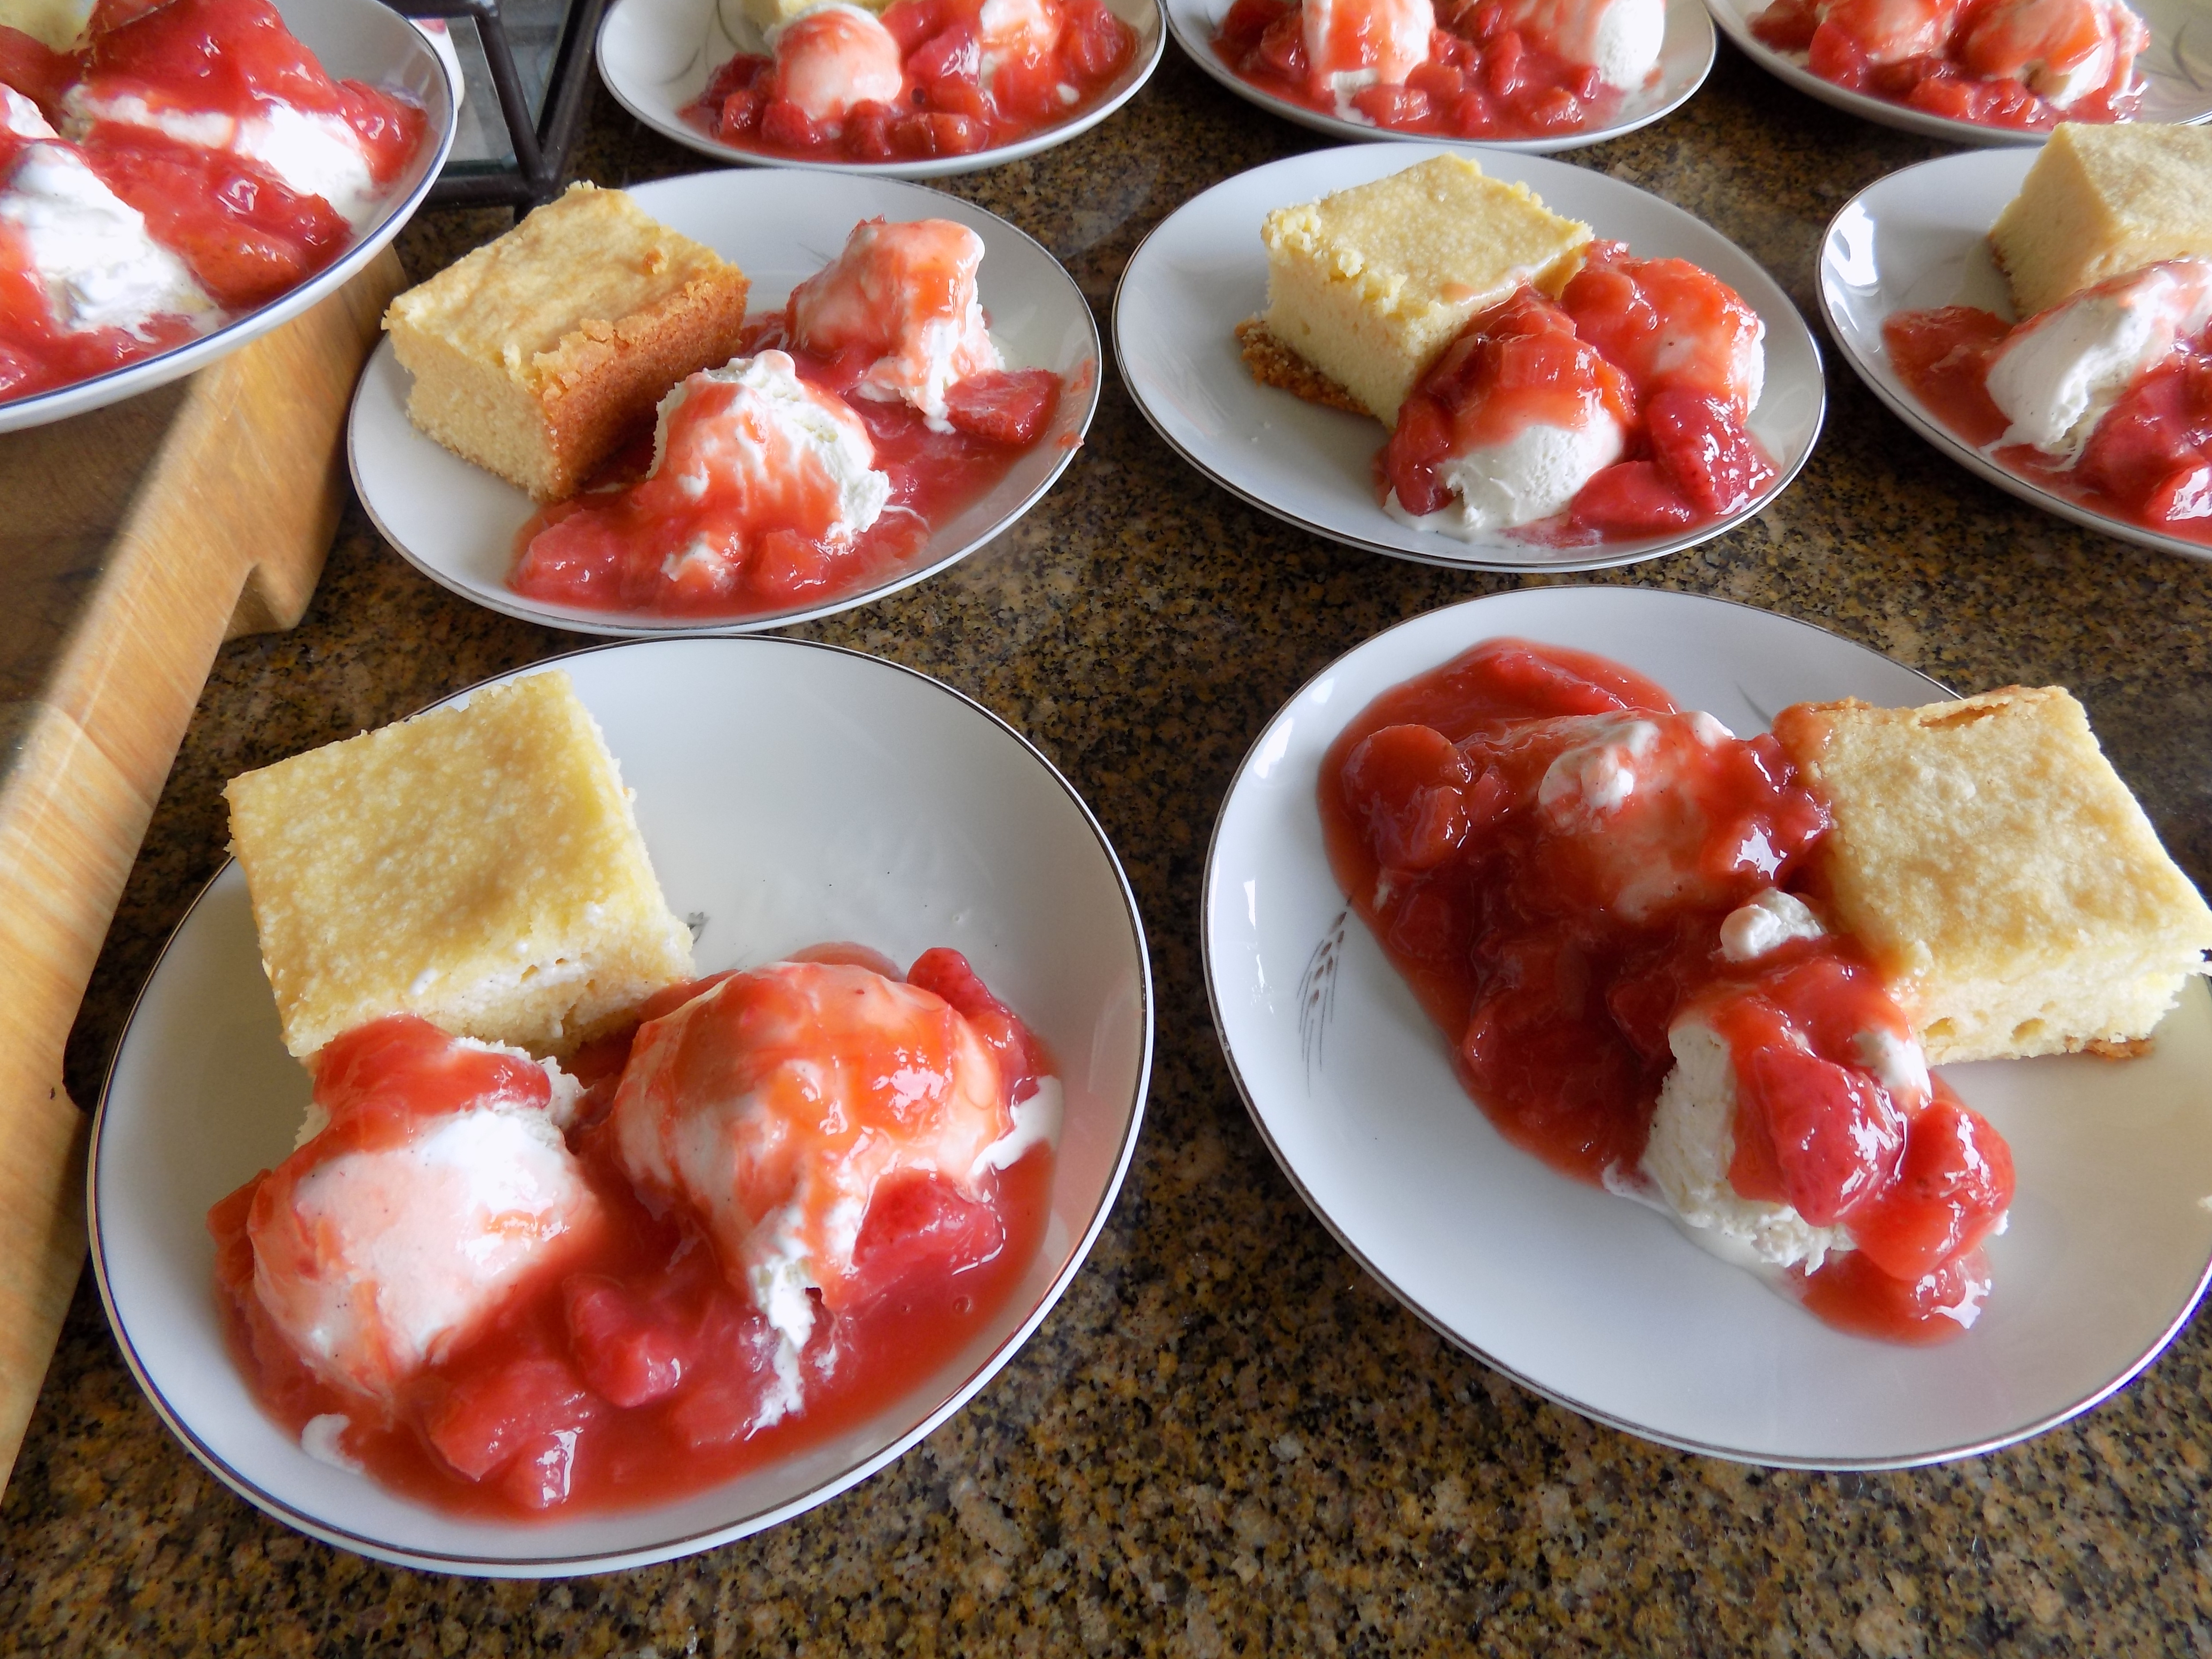
And if ever there was a combination that positively smacked of summer being just around the corner, it’s rhubarb, and shortly thereafter – strawberries. So I decided to feature that mighty duo for our next pre-concert (JazzVox) dessert.
I already had the perfect pound cake recipe (Monica Parcell via Bon Appétit magazine) so that part was easy. But I knew that the sauce had to be special since it was featuring two of the crowning glories of the edible plant kingdom. But I wanted a new twist on a strawberry-rhubarb sauce.
Now everyone who knows me is aware of my passion for adding liqueur to my desserts. Not more than a wee dram of liqueur mind you (unless you forget about my Christmas fruitcake recipes), but just enough to add a depth of flavor that would be missed if it weren’t there!
So in doing research on rhubarb and strawberry sauces, I found a lot of recipes that contained a bit of lemon. Ah – citrus! That sounded good, but it wasn’t quite what I had in mind. Then I stumbled onto a couple of recipes that referenced orange juice or Cointreau in the sauce. Now you’re talkin’! So I decided instead of using a small amount of straight water to make the sauce, I would use some powerful orange juice. Then just to add that little “something”, I threw in some vanilla and Cointreau at the end. (I wanted to remind the strawberries and rhubarb how beloved they were to this cook.) And the result: pretty darn palatable.
So if you want a dessert for a crowd that can be prepared well ahead of time, search no further. Both the cake and the sauce only improve with a little bit of age. The ice cream, well, I wouldn’t say it improves with time, but it doesn’t seem to suffer much either from a short stay in a sub-zero environment. BTW – I love ice cream.
Things I’ve learned from ice cream. 1) Stay out of direct sunlight 2) Don’t be scared of getting cold or being in the dark 3) Hang out with nuts 4) Go bananas once in a while 5) Stay true to yourself, even when surrounded by enjoyable distractions.
- 1 c. un-salted butter, room temperature
- 8-oz. cream cheese, room temperature
- 3 c. sugar
- 1 tsp. salt
- 6 lg. eggs, room temperature
- 4 tsp. vanilla
- 3 c. unbleached all-purpose flour
- good quality vanilla ice cream
- Strawberry Rhubarb Orange Sauce (see recipe below)
Cream butter and cream cheese together in a large mixing bowl. Add sugar and salt and whip until mixtures is light and fluffy, about 5 minutes. Add eggs one at a time. Beat in vanilla. Add flour at low speed until well incorporated, but do not overbeat. Transfer batter to a lightly buttered glass 10×16-inch baking dish. (I use my glass Pyrex pan.) Level the top with an offset spatula.
Place the dish in a cold oven. Set the temperature to 200 degrees; bake for 20 minutes. Increase the temperature to 250 degrees; bake for 20 minutes. Increase temperature to 275; bake for 10 minutes. Increase temperature to 300 degrees and bake for about 20-30 minutes or until a toothpick inserted near the middle of the cake comes out clean. Remove from oven and cool on a rack. Can be made 2-3 days ahead of time.
To store, cover the top of the baking dish with plastic wrap and keep at room temperature. Do not refrigerate.
When ready to serve, cut the cake into desired size pieces. Plate with a scoop (or two) of ice cream on the side dolloped with some of the sauce.
STRAWBERRY RHUBARB ORANGE SAUCE
- ¾-1 c. granulated sugar (depends on how sweet you like your sauce)
- 2 T. orange juice concentrate
- scant ½ c. water
- 5 tsp. cornstarch
- 3 c. diced rhubarb
- 3 c. chopped fresh strawberries
- 1 tsp. vanilla
- 1 T. Cointreau (or any other orange flavored liqueur)
Combine sugar, orange concentrate, water, and cornstarch in a large sauce pan. Bring to a boil over medium heat. Add the rhubarb; reduce heat and cook, stirring occasionally, until the rhubarb is tender, 5 to 8 minutes. Add the strawberries, cook for 30 seconds and remove from heat. Stir in the vanilla and Cointreau.
Serve warm or at room temperature.