I love shortbread cookies for oh so many reasons. They are stinkin’ easy to build, their taste is unrivalled, and they are super crunchy. Now I’ve always understood the part about how easy they are to prepare (so few ingredients), and why they taste so great (has something to do with the butter), but I’ve never completely understood why they are so wonderfully crunchy, and remain so even after several days. I reasoned that storing them in an airtight container was part of the equation, but I knew instinctively that there had to be another reason. So I went in search of an answer.
According to several sources, the tender, crumbly texture of shortbread is the result of the high ratio of flour to liquid. In this case the liquid contained within the butter and the extracts. Transversely brownies, for example, contain a lower proportion of flour to the amount of liquid or egg resulting in a cakey or chewy texture. Furthermore, even the type of sugar you use can have an impact on the final result. Brown sugar contains more moisture than granulated sugar. So if you use brown sugar, your brownies are going to be even more moist and chewy. Cool, huh! Anyway, back to this recipe.
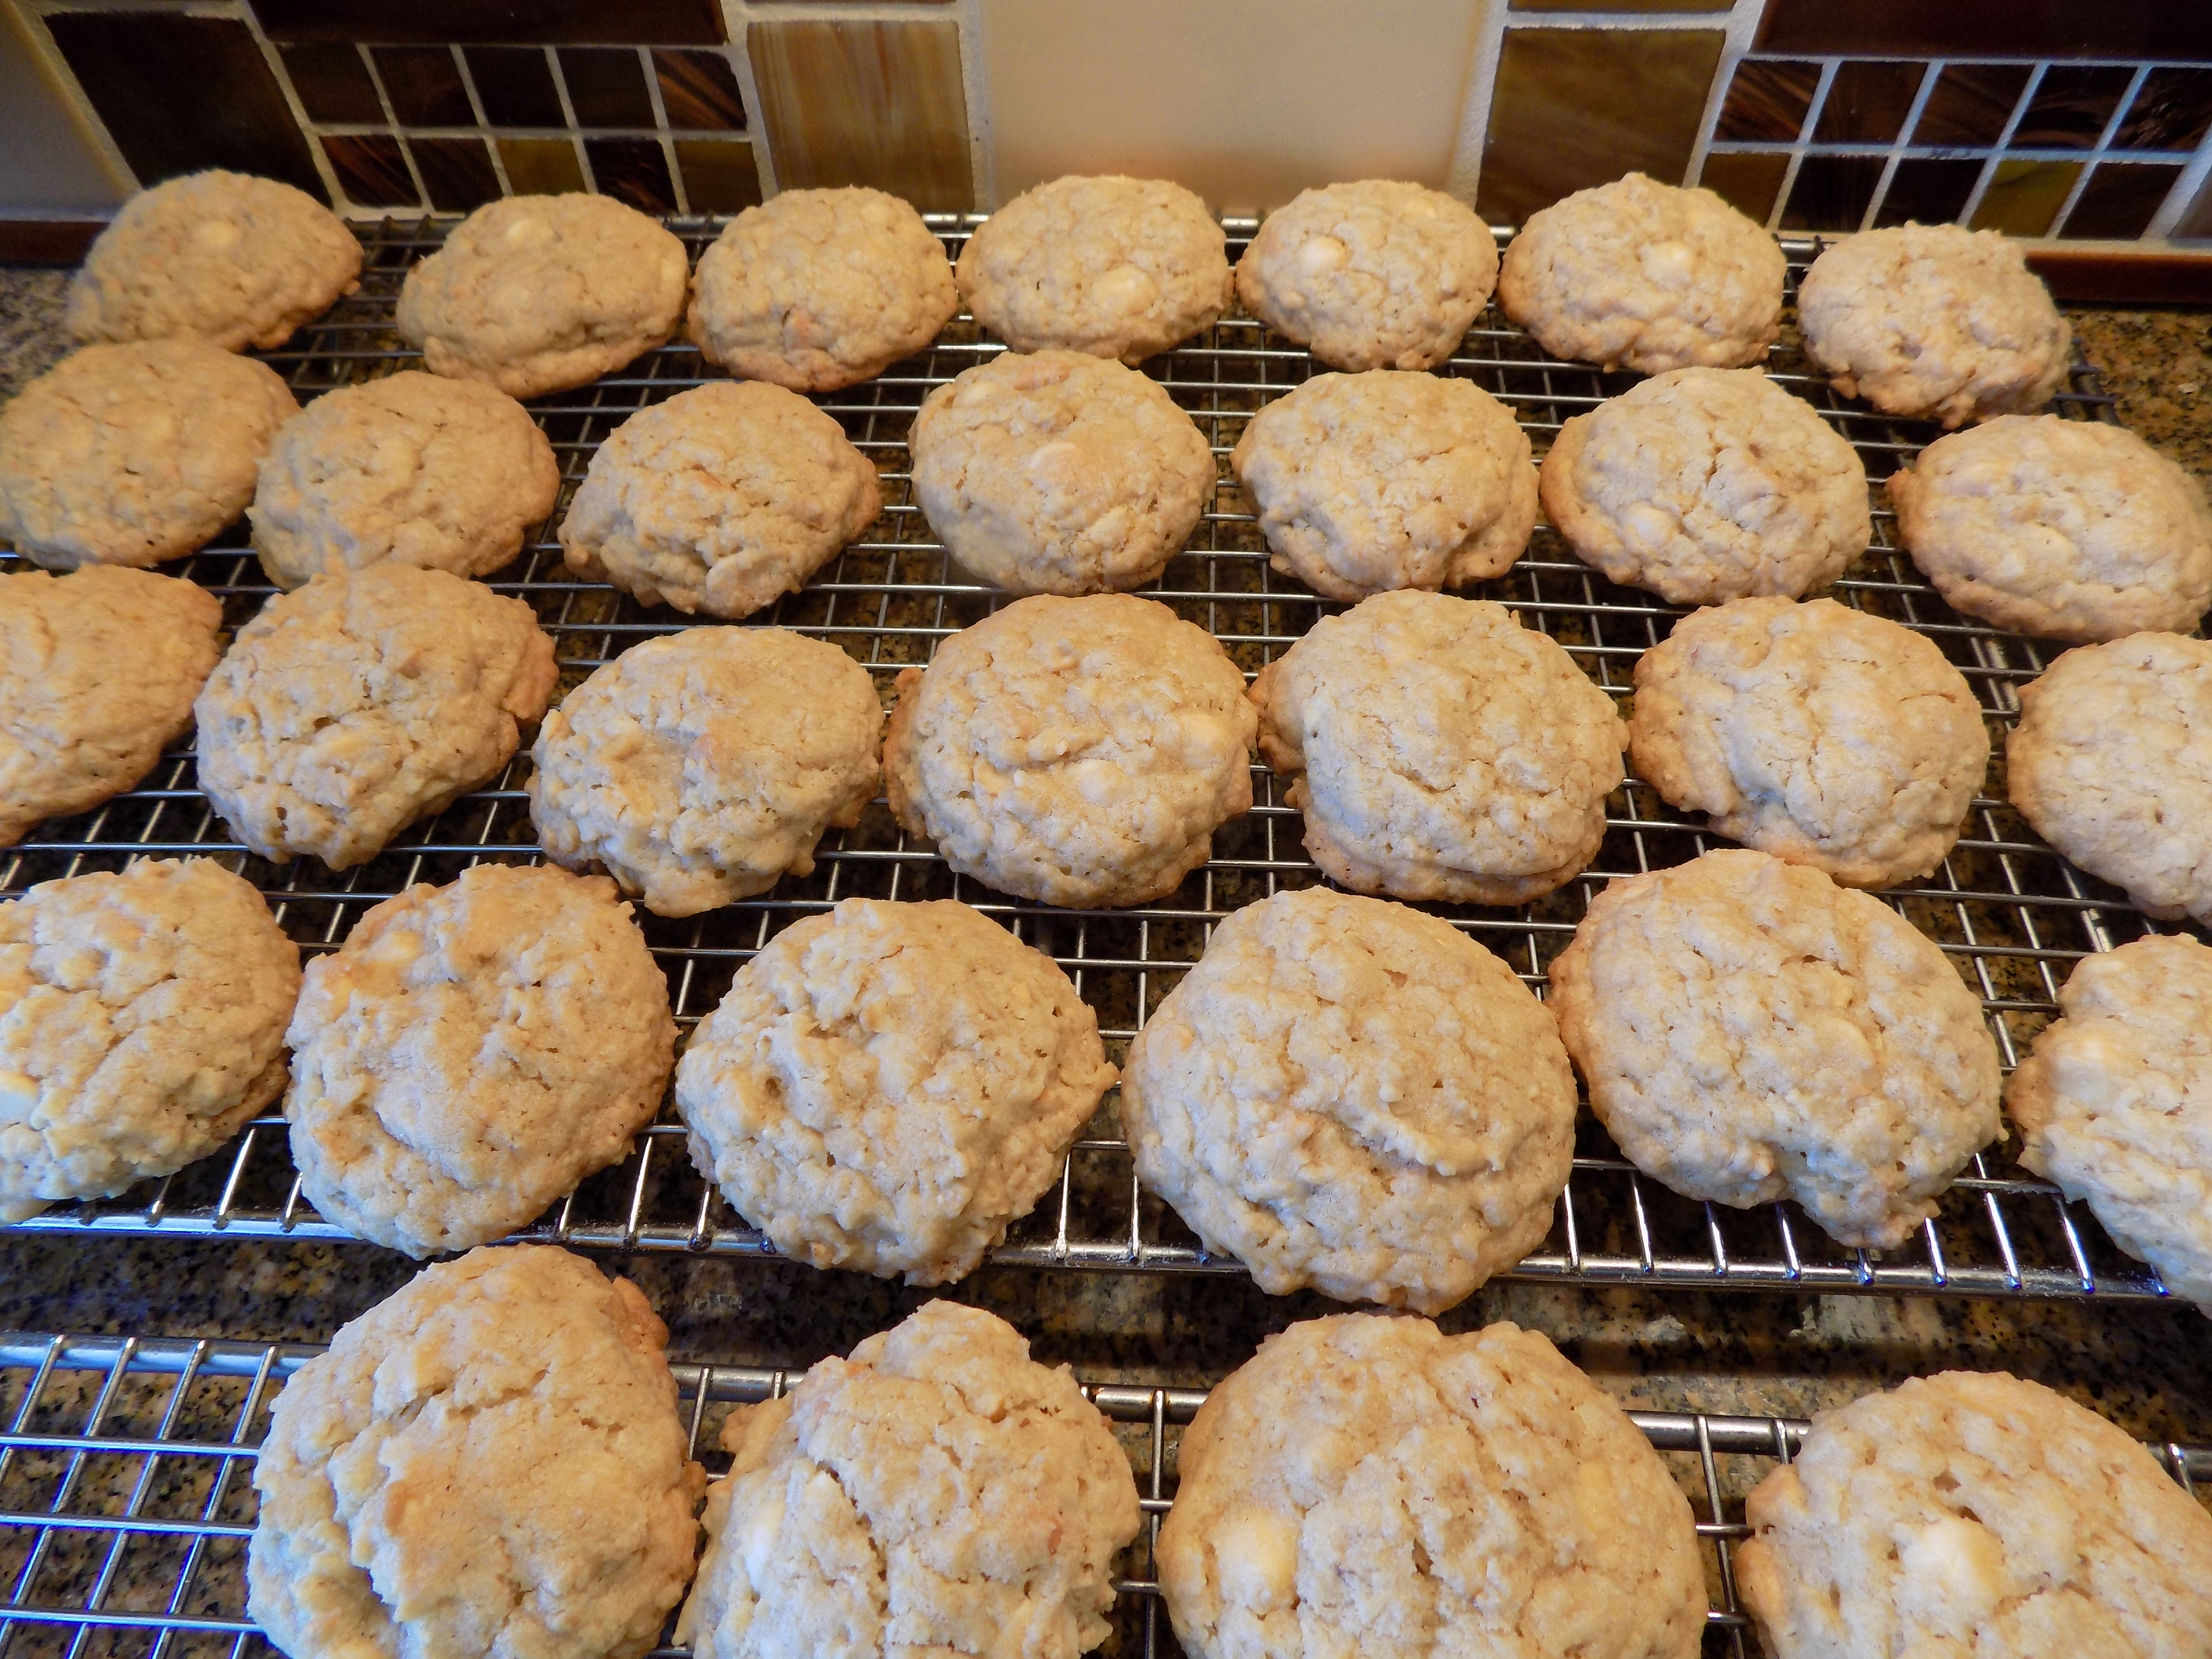
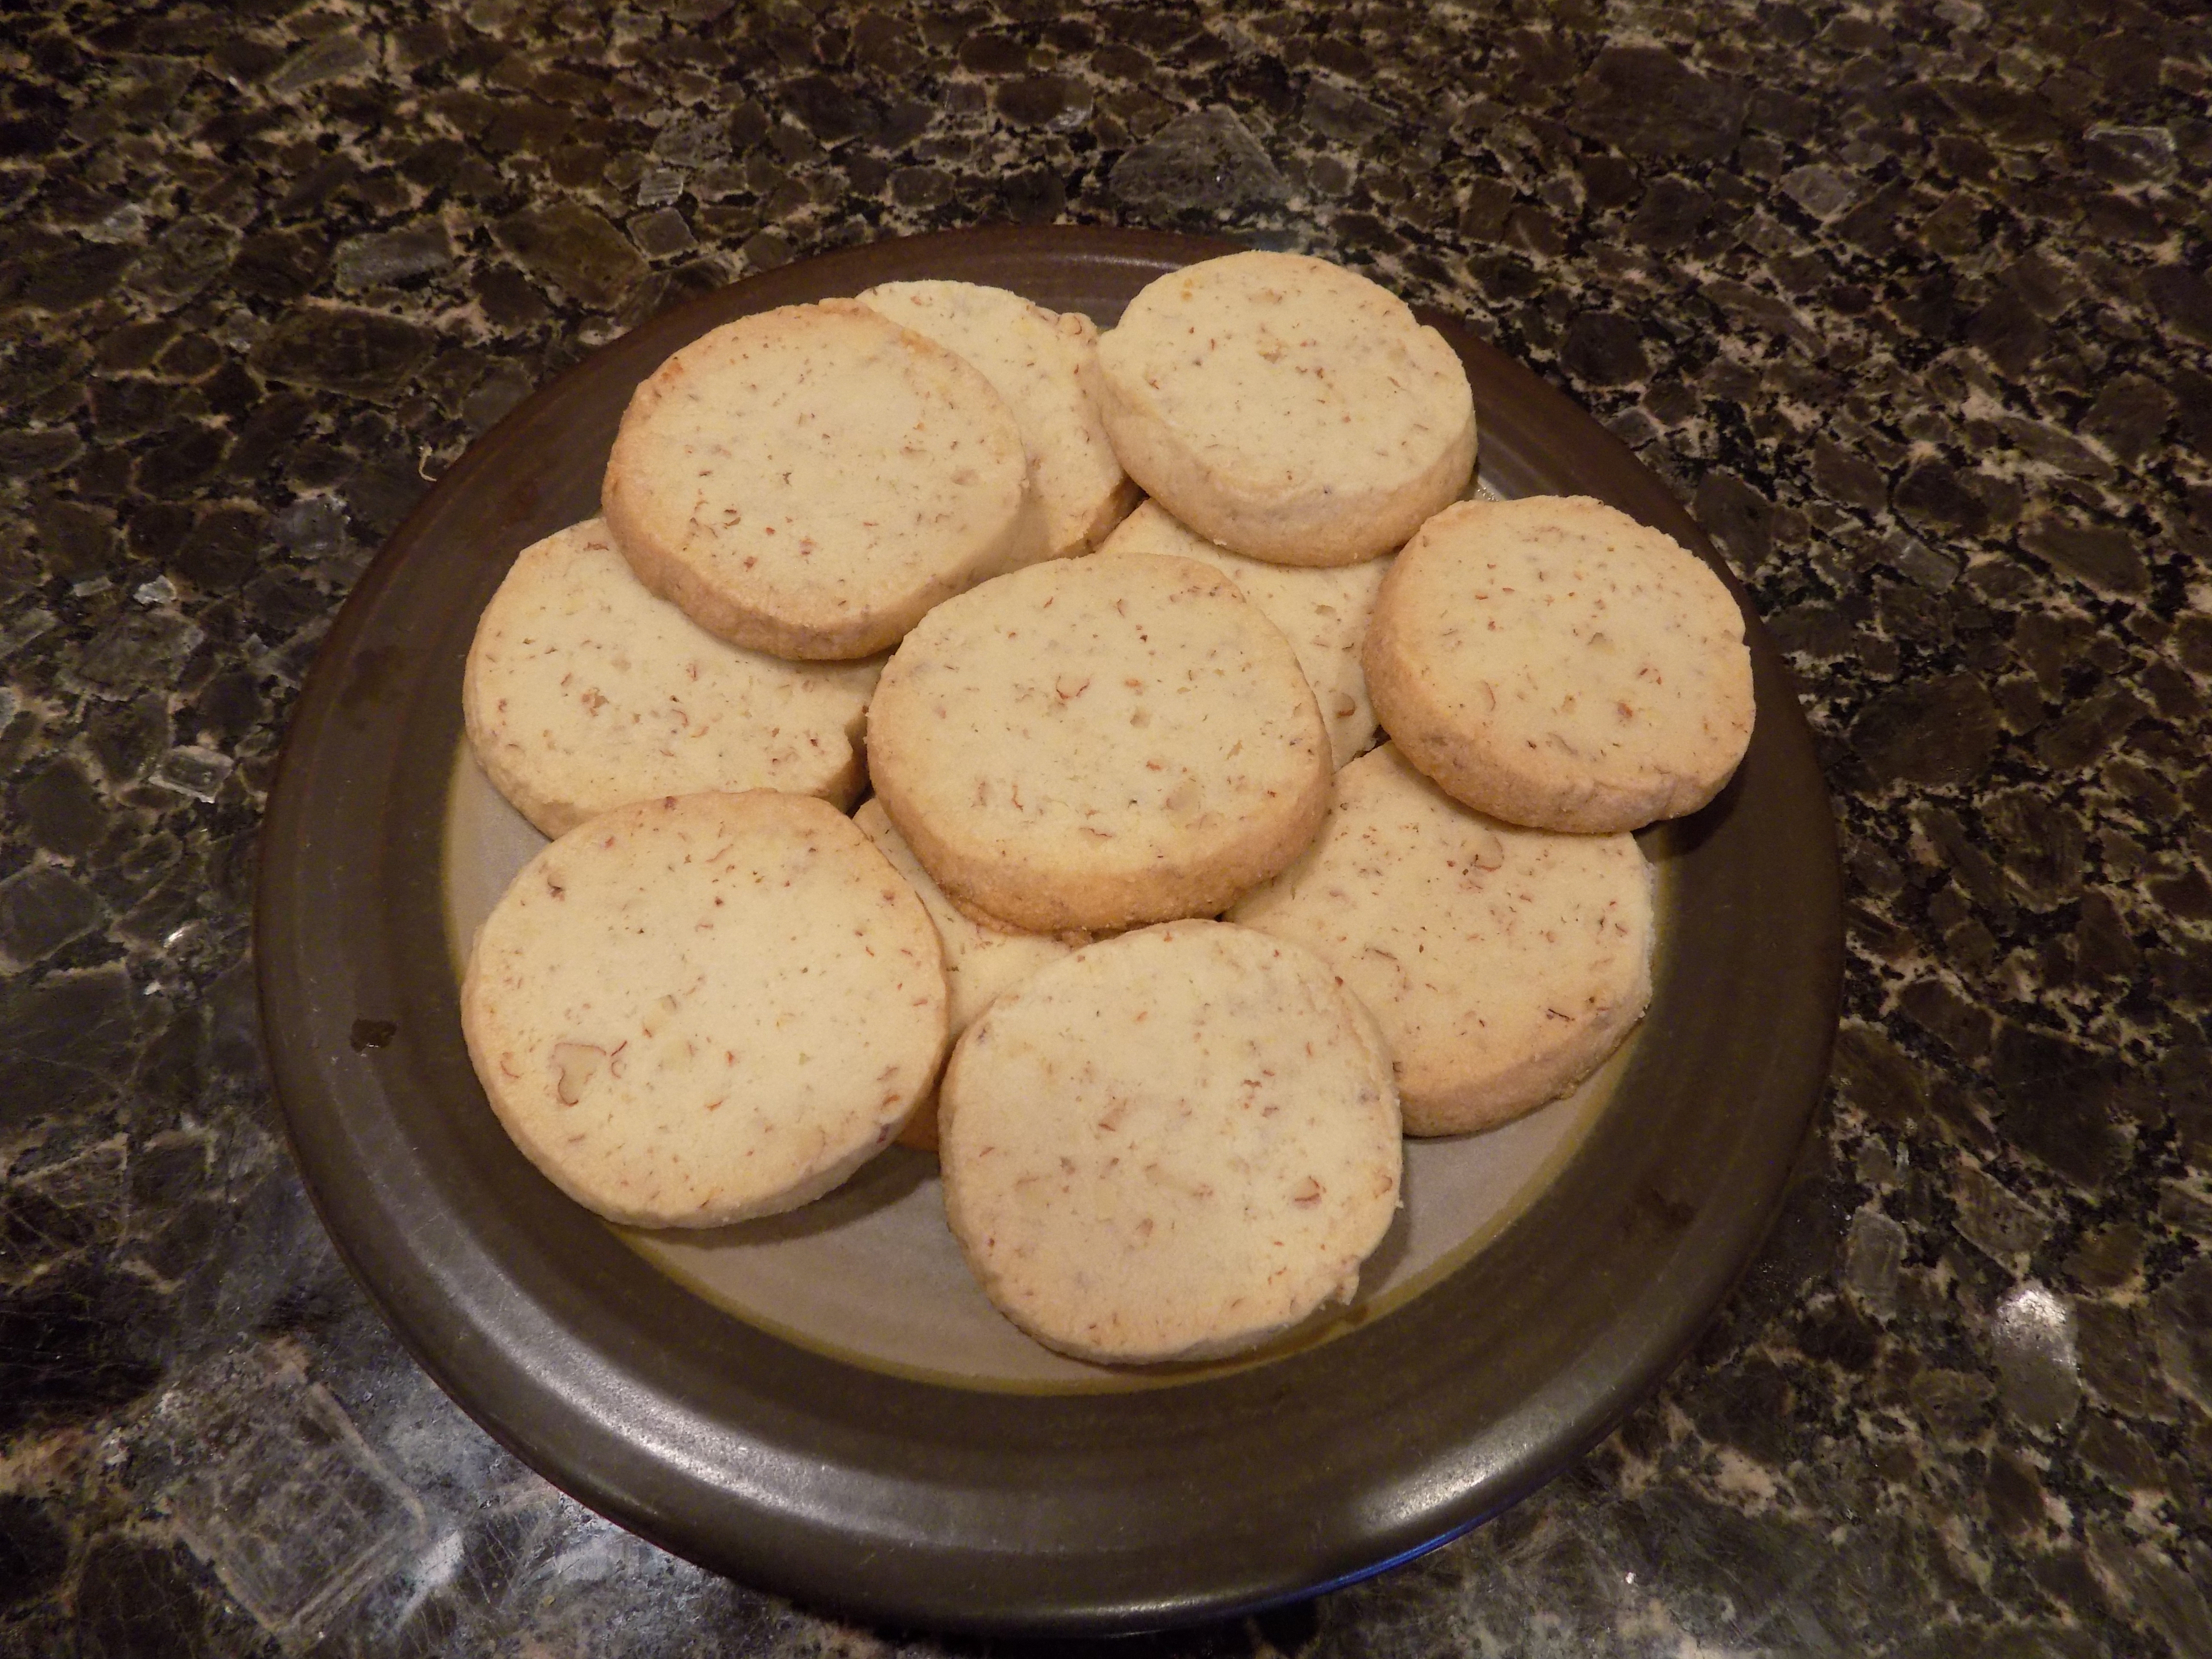
Maple flavoring and pecans just seem to be meant for each other. So when I got a wild hair to prepare shortbread to take along to Winthrop for a visit with Mr. Cs sister Katie and husband Rick (and not coincidentally attend a couple of chamber music concerts), I decided to try out this fabulous combination in cookie form. And it worked! Lovely maple flavor, and delicious additional crunch and taste from the finely chopped pecans. A great, all around the clock cookie. Equally delectable served first thing in the morning with a cup of coffee, or last thing in the evening with a wee dram of Scotch. This is a husband, sister-in-law, brother-in law, and baker approved recipe. Enjoy!
- 1 c. (2 sticks) unsalted butter, room temp.
- 1 c. powdered sugar
- ½ tsp. vanilla extract
- ½ tsp. maple extract (I use Cook’s Choice)
- ½ tsp. salt
- 2 c. unbleached all-purpose flour
- ¾ c. finally chopped pecans
With an electric mixer, beat butter, powdered sugar, vanilla extract, maple extract, and salt until smooth and creamy. In a separate bowl combine the flour and chopped pecans. With mixer on low speed, add flour mixture, mixing just until a dough forms. With your hands, shape the dough into a long, thick, rope shape. Place on a long piece of plastic wrap. Again using your hands, wrap the dough into the plastic wrap gently shaping it into a round log with a 1½-inch circumference. Refrigerate for 1 hour.
Unwrap log and using a thin serrated knife, slice dough a generous 3/8-inch thick. (If dough feels really hard, leave at room temperature for 5 to 10 minutes before slicing). Arrange about 1-inch apart on baking sheets. (No need to grease the baking pan.)
Bake in a pre-heated 350 degree oven until lightly golden around the edges, 15 to 20 minutes. (Do not under-bake.)
Transfer to a wire rack to cool completely. Store at room temperature in an airtight container.