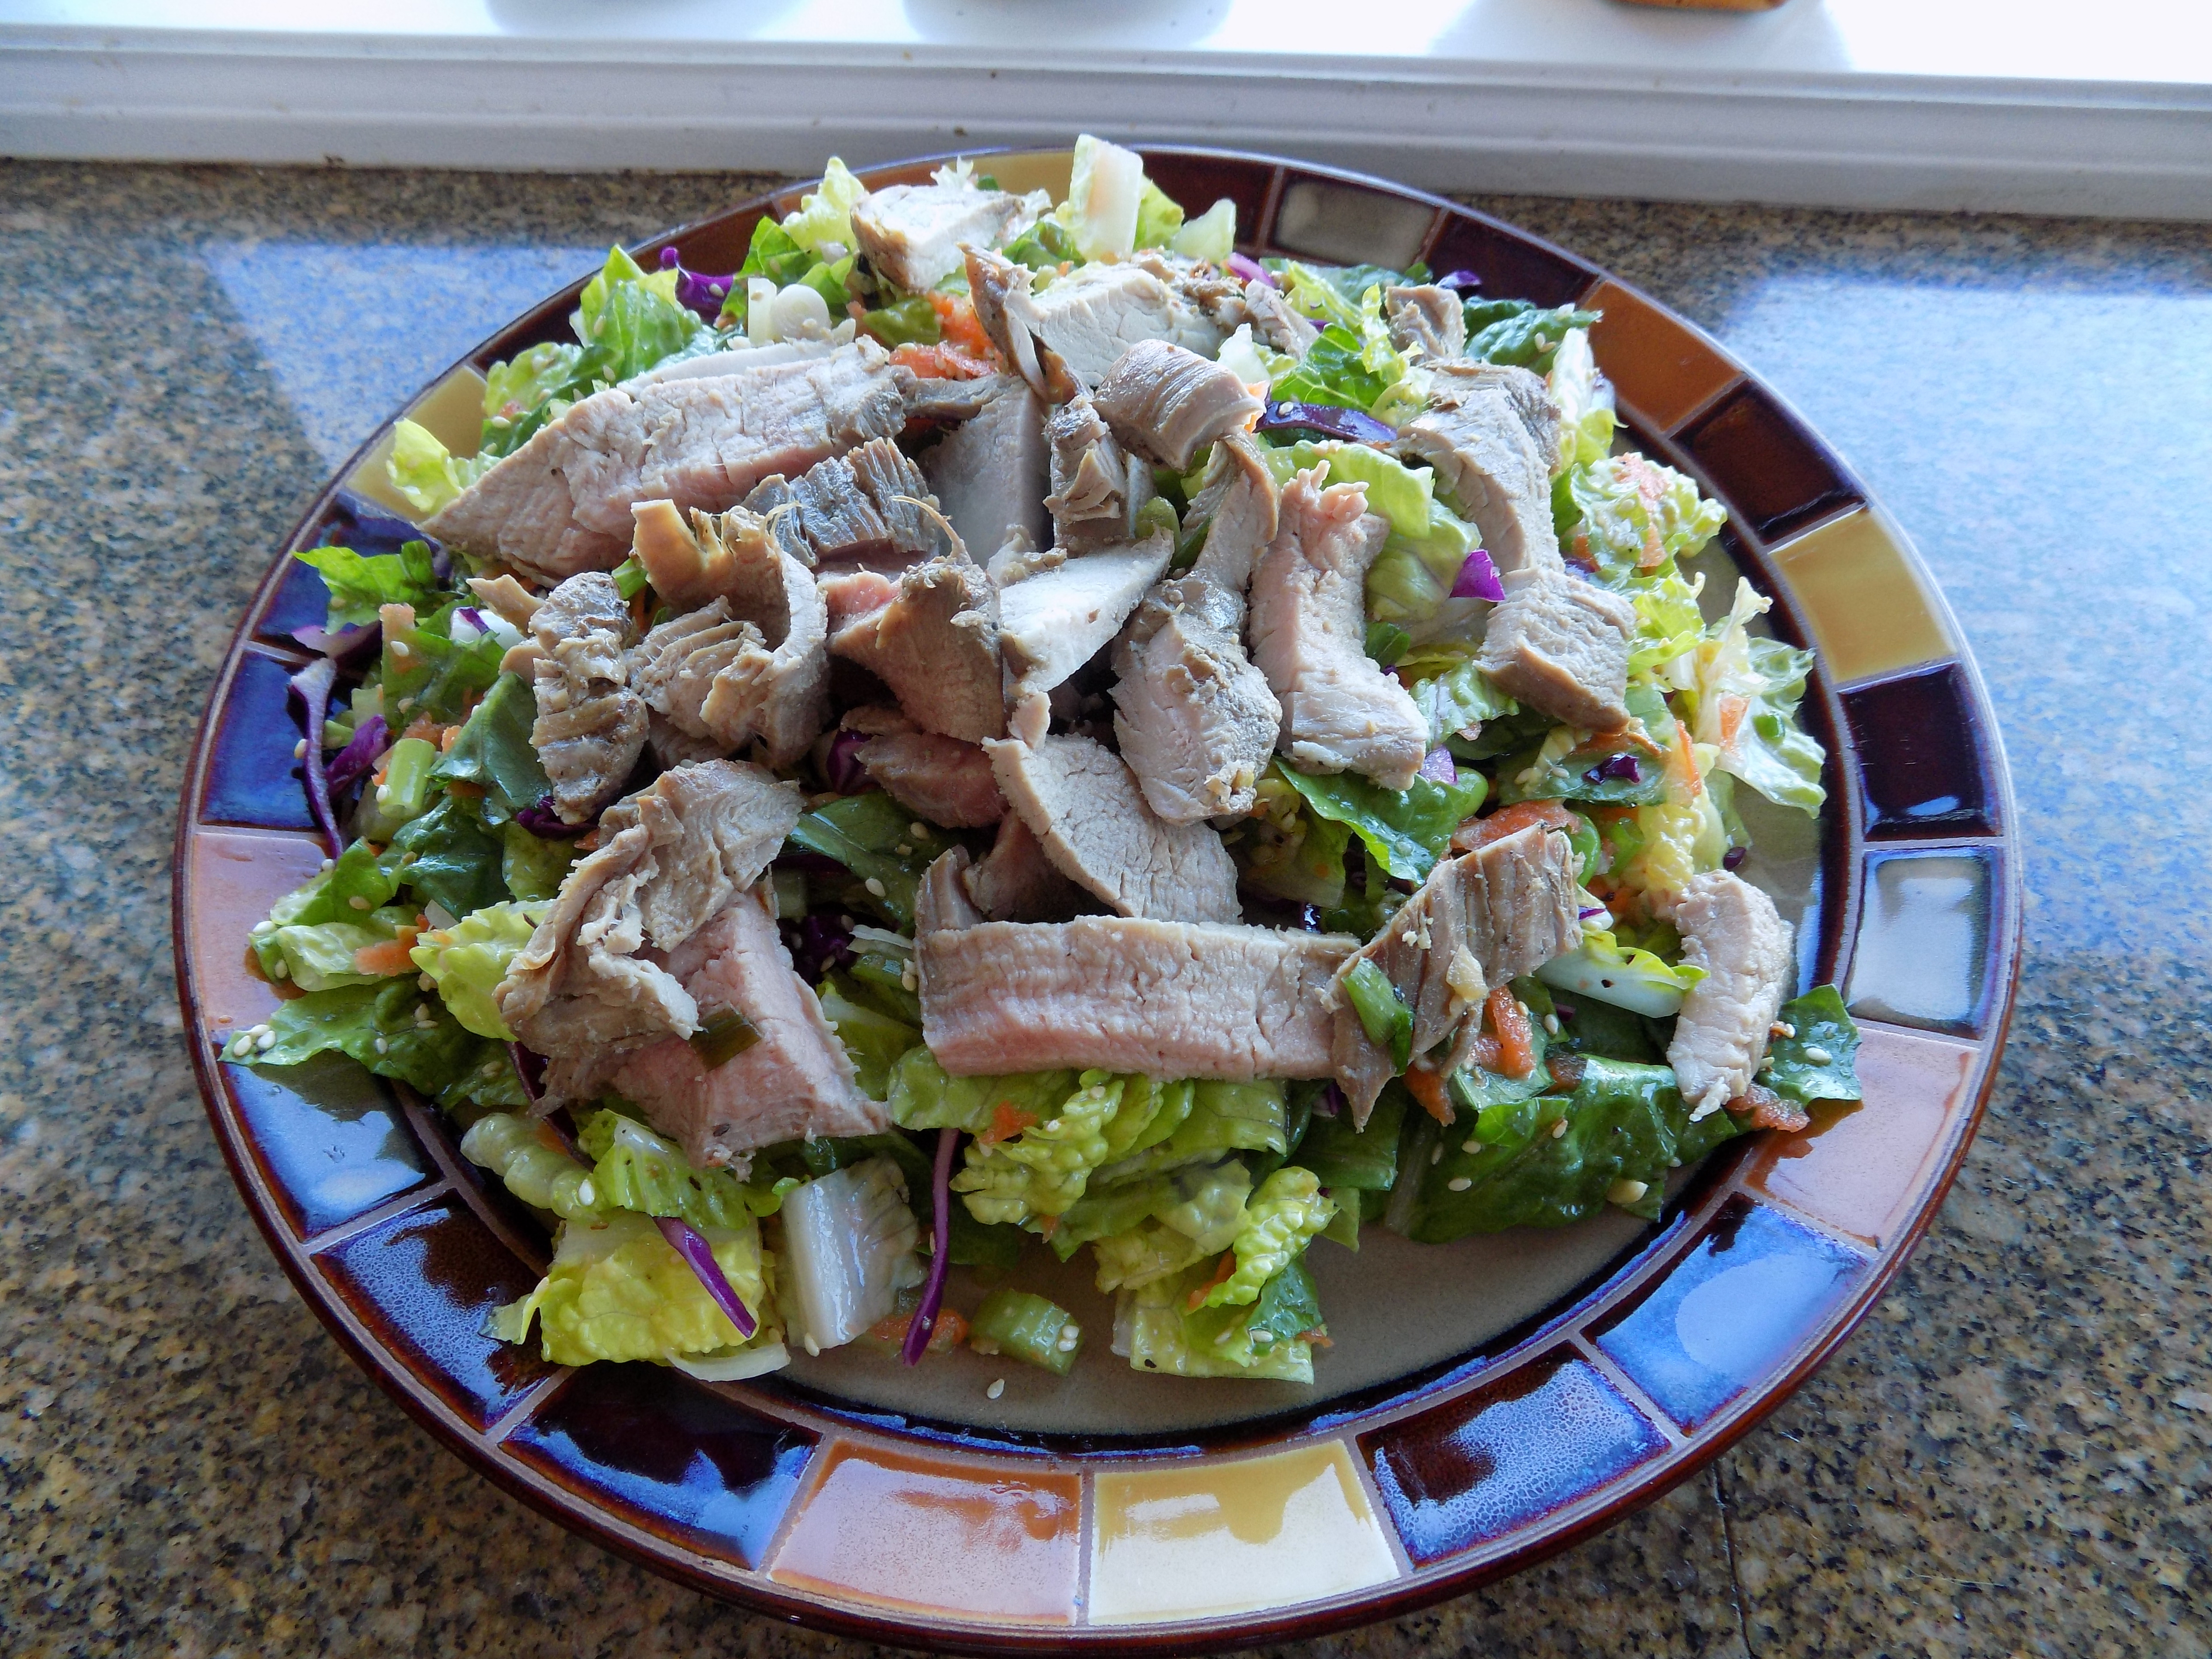
I know there are thousands of recipes for cooking salmon in cookbooks and out there in internet land. But this recipe from the American Test Kitchen is truly outstanding, especially since you cook your piece of salmon in the privacy of your own kitchen. No standing out in the cold to BBQ it, no marinating action required, no special poaching ingredients to mess with, and no fancy equipment involved. So for the tiny amount of effort it takes, you will have created a perfectly tender, moist, delicious, and healthy treat for yourself and your family.
Of course if you serve the salmon with Lemon Basil Aioli or any of the other three condiment recipes given below, the healthy meter on this salmon recipe takes a dip towards the not-as-healthy end of the scale. But for some people I know, and not just you Mr. C., simply prepared fish of any kind is just not complete without an aioli or sauce on the side. And the recipes below are our favorites. All are easy to prepare, and just lovely with simply prepared seafood.
So get yourself to your local purveyor of fresh fish and give this roasting method a try. You will thank me just the way I am taking this opportunity to thank our dear friends Mark and Vicki for introducing us to this wonderful and simple method for cooking salmon.
p.s. I’ve included the condiment recipes below just for those of you for whom aioli or tartar sauce with fish is as necessary as chocolate sauce over vanilla ice cream is to others. You’re welcome.
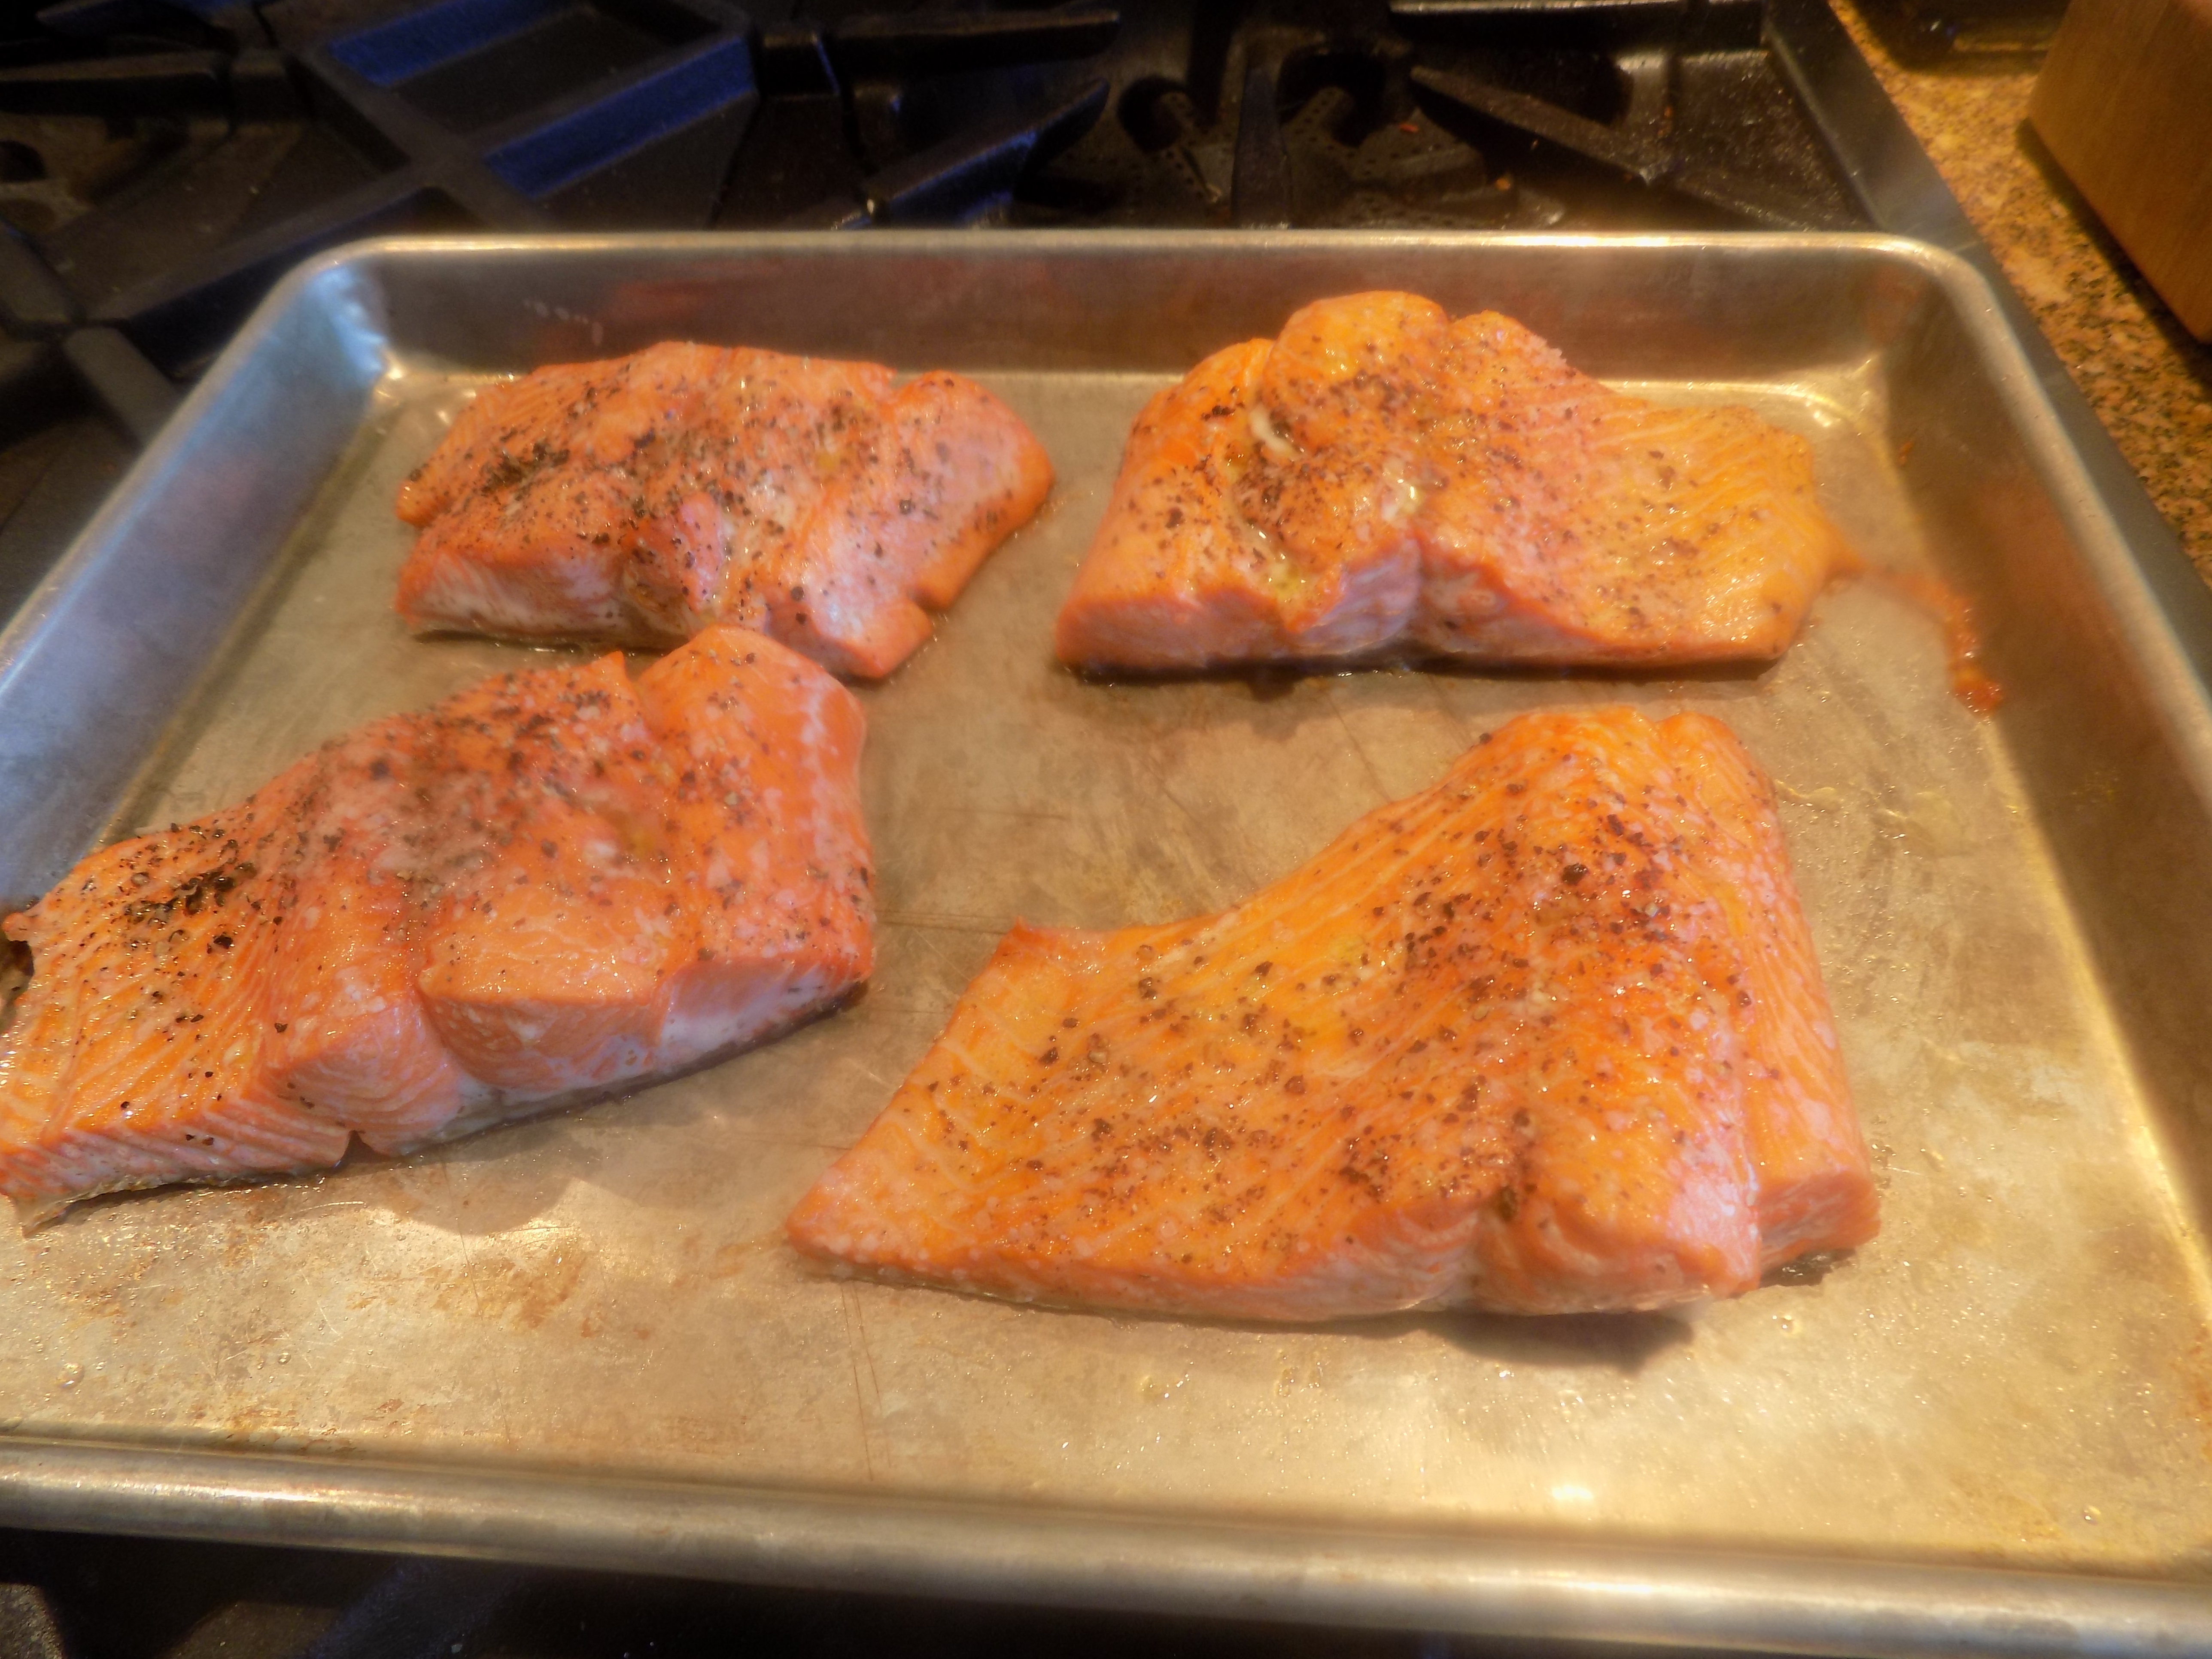
- 1 lb. salmon fillet, skin still on one side (the thickest piece you can find)
- 2 tsp. extra virgin olive oil
- freshly ground sea salt
- freshly ground black pepper
Cut off any whitish, fatty portion along the edges of the salmon. Pull out any bones. (I use a pair of tweezers for this purpose.) Cut the salmon fillet into four pieces of equal size.
Make four or five shallow slashes along the skin side of each piece of fish, being careful not to cut into the flesh.
Adjust oven rack to lowest position, place rimmed baking sheet on rack, and heat oven to 500 degrees.
Pat salmon dry with paper towels. Rub the top of each fillet evenly with olive oil and season liberally with salt and pepper. Reduce oven temperature to 275 degrees and remove baking sheet. Carefully and quickly place salmon skin-side down on the baking sheet. Place in oven and roast until centers of thickest part of fillets register 125 degrees when inserted with an instant-read thermometer, about 9 to 13 minutes. (Check after 7 minutes if the salmon pieces are thin.)
Serve immediately. Pass the aioli or tartar sauce.
LEMON BASIL AIOLI
- ¾ c. light mayonnaise
- 1/3 c. finely chopped fresh basil
- 2 small garlic cloves, finely minced
- 1 tsp. finely grated lemon peel
- 4 tsp. fresh lemon juice
- ¼ tsp. kosher salt
- freshly ground black pepper
Combine all ingredients. Serve with the salmon, other types of seafood, crab cakes, or as a terrific sandwich spread.
PIQUANT TARTAR SAUCE
- ½ c. light mayonnaise
- ½ c. sour cream
- 1 T. drained capers
- 2 T. rough chopped dill pickle
- 1 small shallot, peeled and rough chopped
- 2 tsp. chopped flat leaf parsley
- 1 T. fresh lemon juice, or to taste
- 1/8 tsp. Old Bay seasoning
- ½ tsp. course grained mustard
- ¼ tsp. kosher salt
- freshly ground black pepper
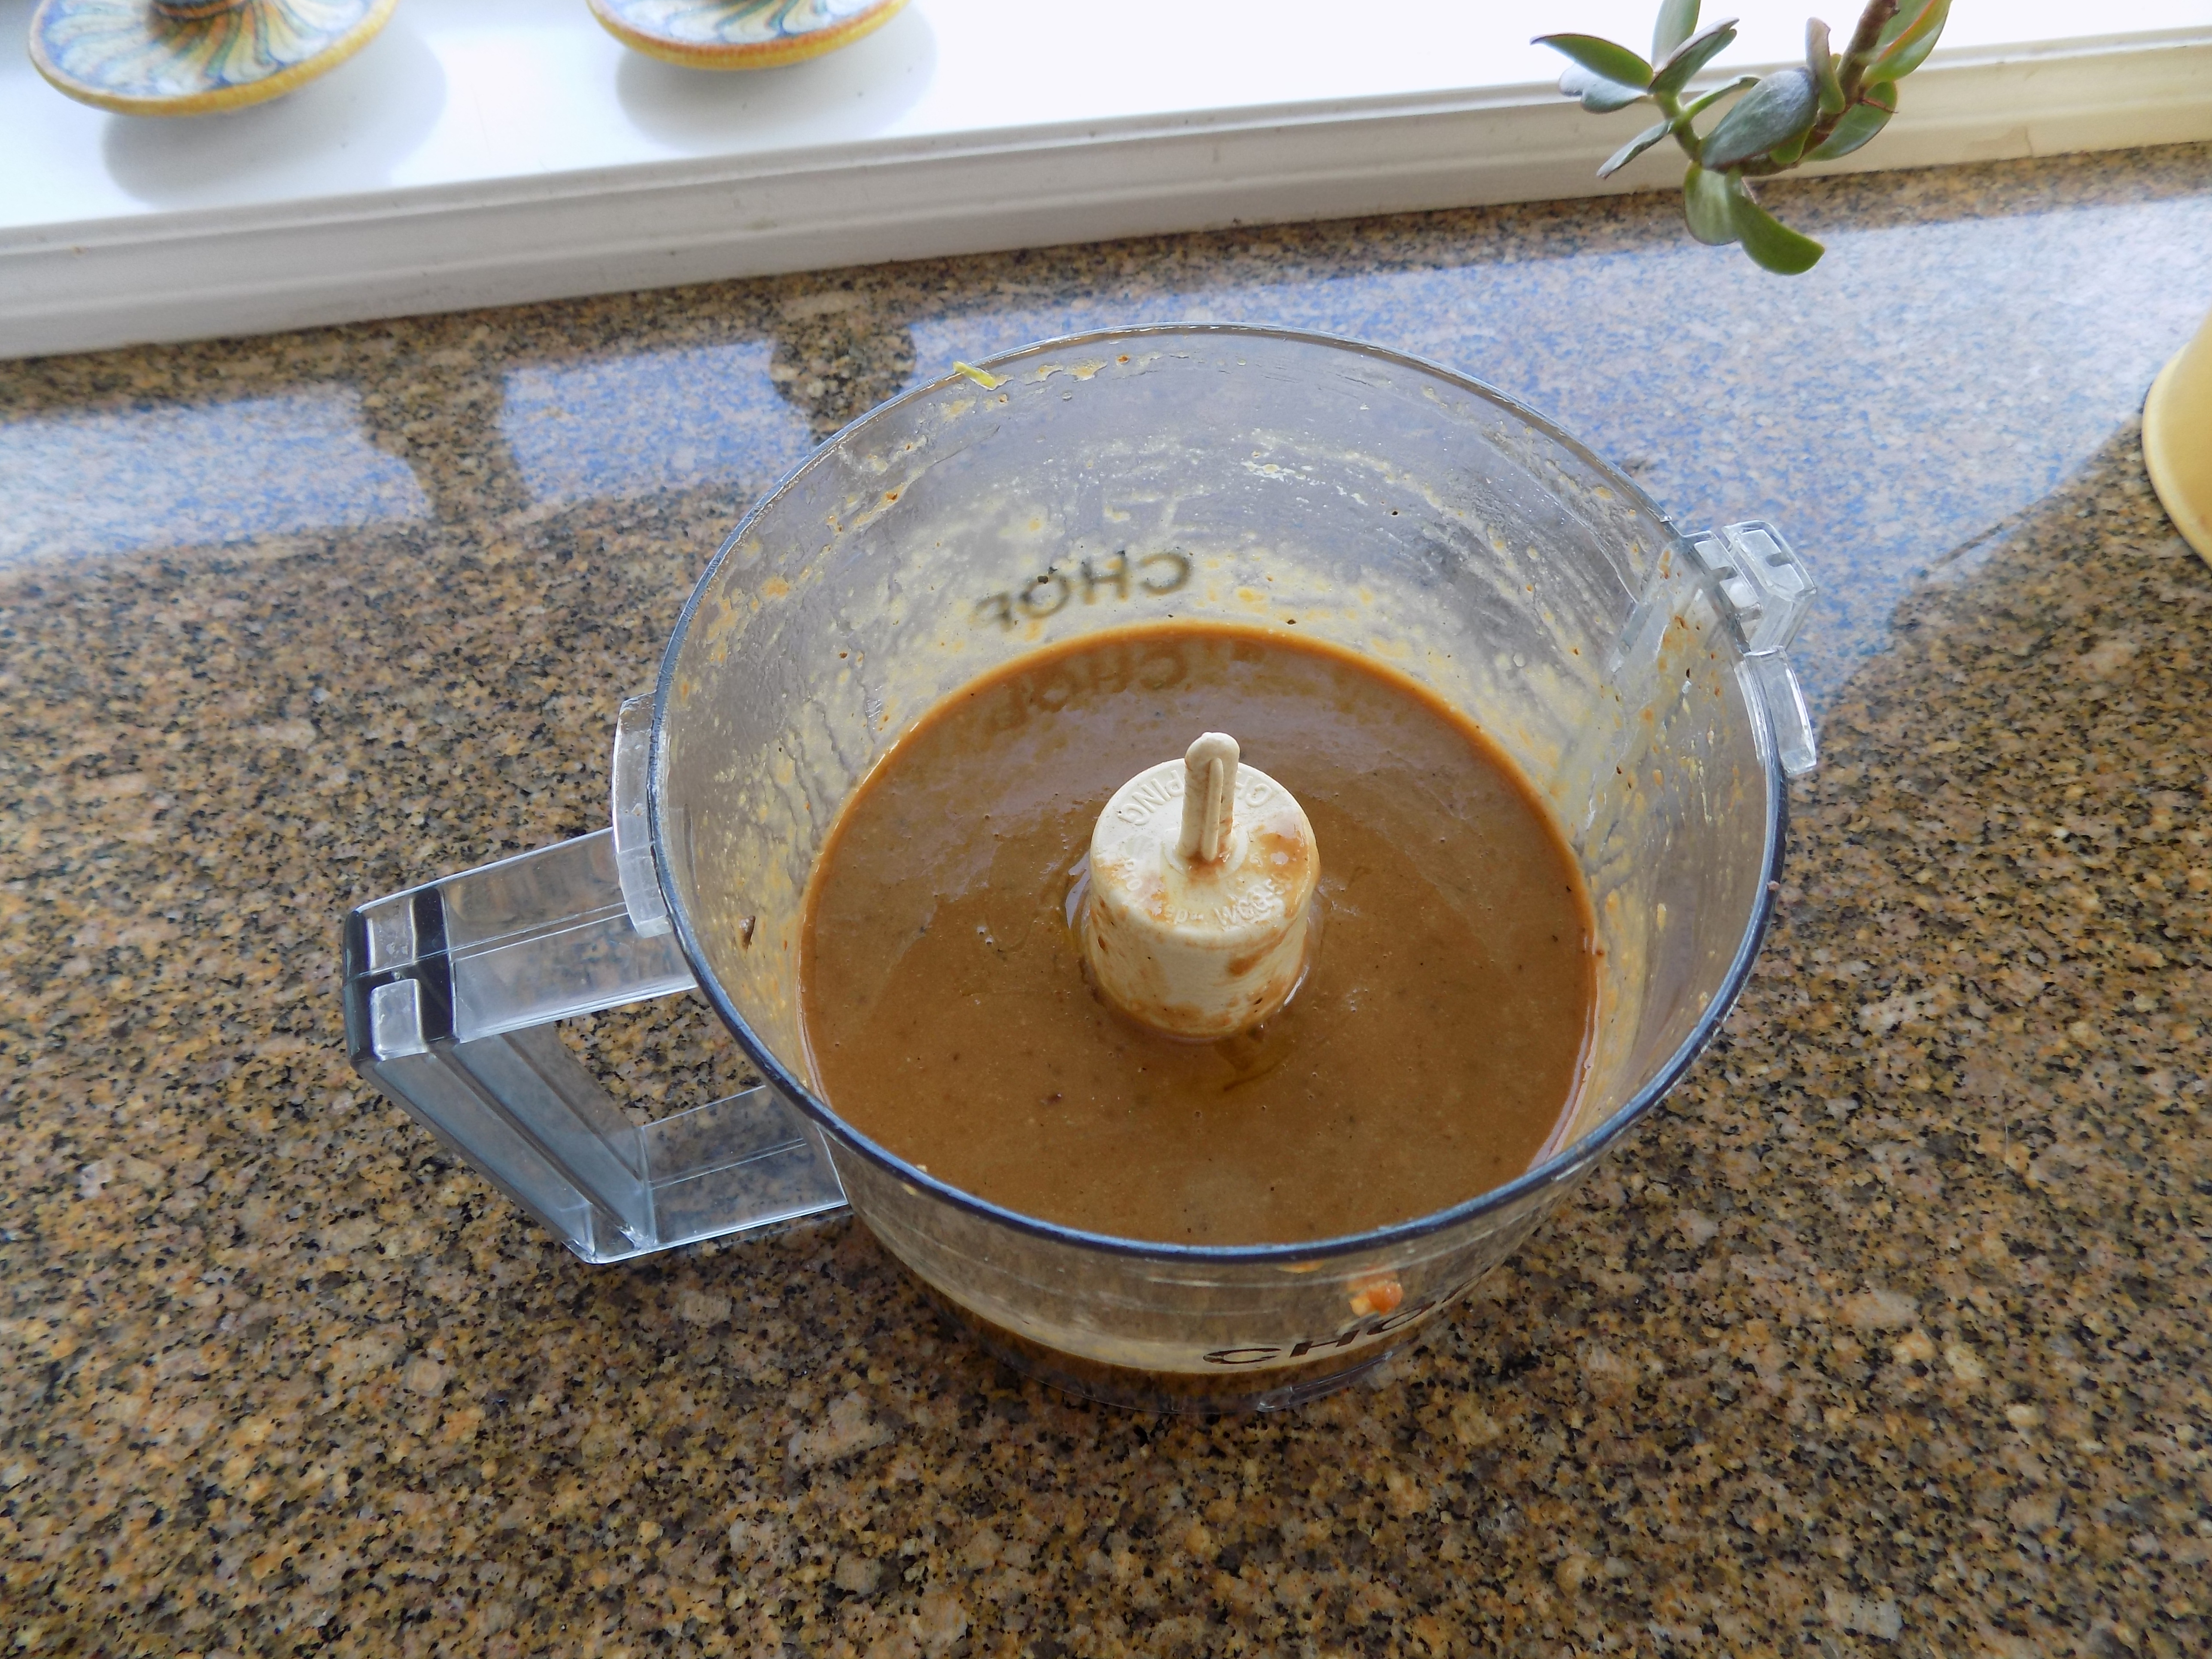
In a food processor, combine all the ingredients and pulse several times until the pickle is finely chopped and all of the ingredients are well mixed but not pureed. Adjust seasonings and refrigerate several hours before serving.
OLD BAY AIOLI
- ½ c. light mayonnaise (I use Best Foods Light Mayonnaise)
- 2 tsp. Dijon mustard
- ½ tsp. granulated garlic
- ¼ tsp. sriracha
- 4 tsp. fresh lemon juice
- ½ tsp. Old Bay Seasoning
- freshly ground black pepper to taste
- kosher salt to taste
In a small bowl, whisk together the mayonnaise, mustard, granulated garlic, sriracha, lemon juice, Old Bay Seasoning, and pepper. Add salt if needed.
IVAR’S FAMOUS TARTAR SAUCE
- 2 T. chopped yellow onion
- 1 T. chopped green bell pepper
- 1 ½ tsp. plain old fashioned white vinegar
- ¾ tsp. sugar
- ¼ tsp. kosher salt
- 1 T. dill pickle relish
- 1 c. mayonnaise
Combine the onions, bell pepper, vinegar, sugar, and salt in a food processor; process for 10 seconds. Add the relish and mayonnaise and process for an additional 10 seconds. Serve chilled. Best made at least a day ahead.