OK, so it’s confession time. Dear daughter Paula gave me an Instant Pot last Christmas. And frankly, the sheer thought of a pressure cooker in my very own kitchen scared the heck out of me. But late yesterday afternoon, I decided I wanted to serve chili for dinner.
Now, I’m not one of those people who can’t abide beans in my chili. After all, beans are really, really healthy, plus they taste good, and they’re cheap. But low and behold when I looked in my pantry, there was nary a can of beans. (Please forgive me Mr. Bush.) So I decided to bite the bullet and use my Instant Pot to cook the dry kidney beans that were in my pantry just waiting to be appreciated.
At just about the same time, Paula called me. (That girl’s sense of timing can sometimes be just a bit supernormal.) So I asked her how much water to use for 2 cups of dried beans, plus the length of time needed to produce a tender bean. Now, I actually had used the Instant Pot once in January to cook dried beans, but the result had not been sterling. So with Paula’s timely assistance, I once again decided to risk my life and the well-being of our kitchen.
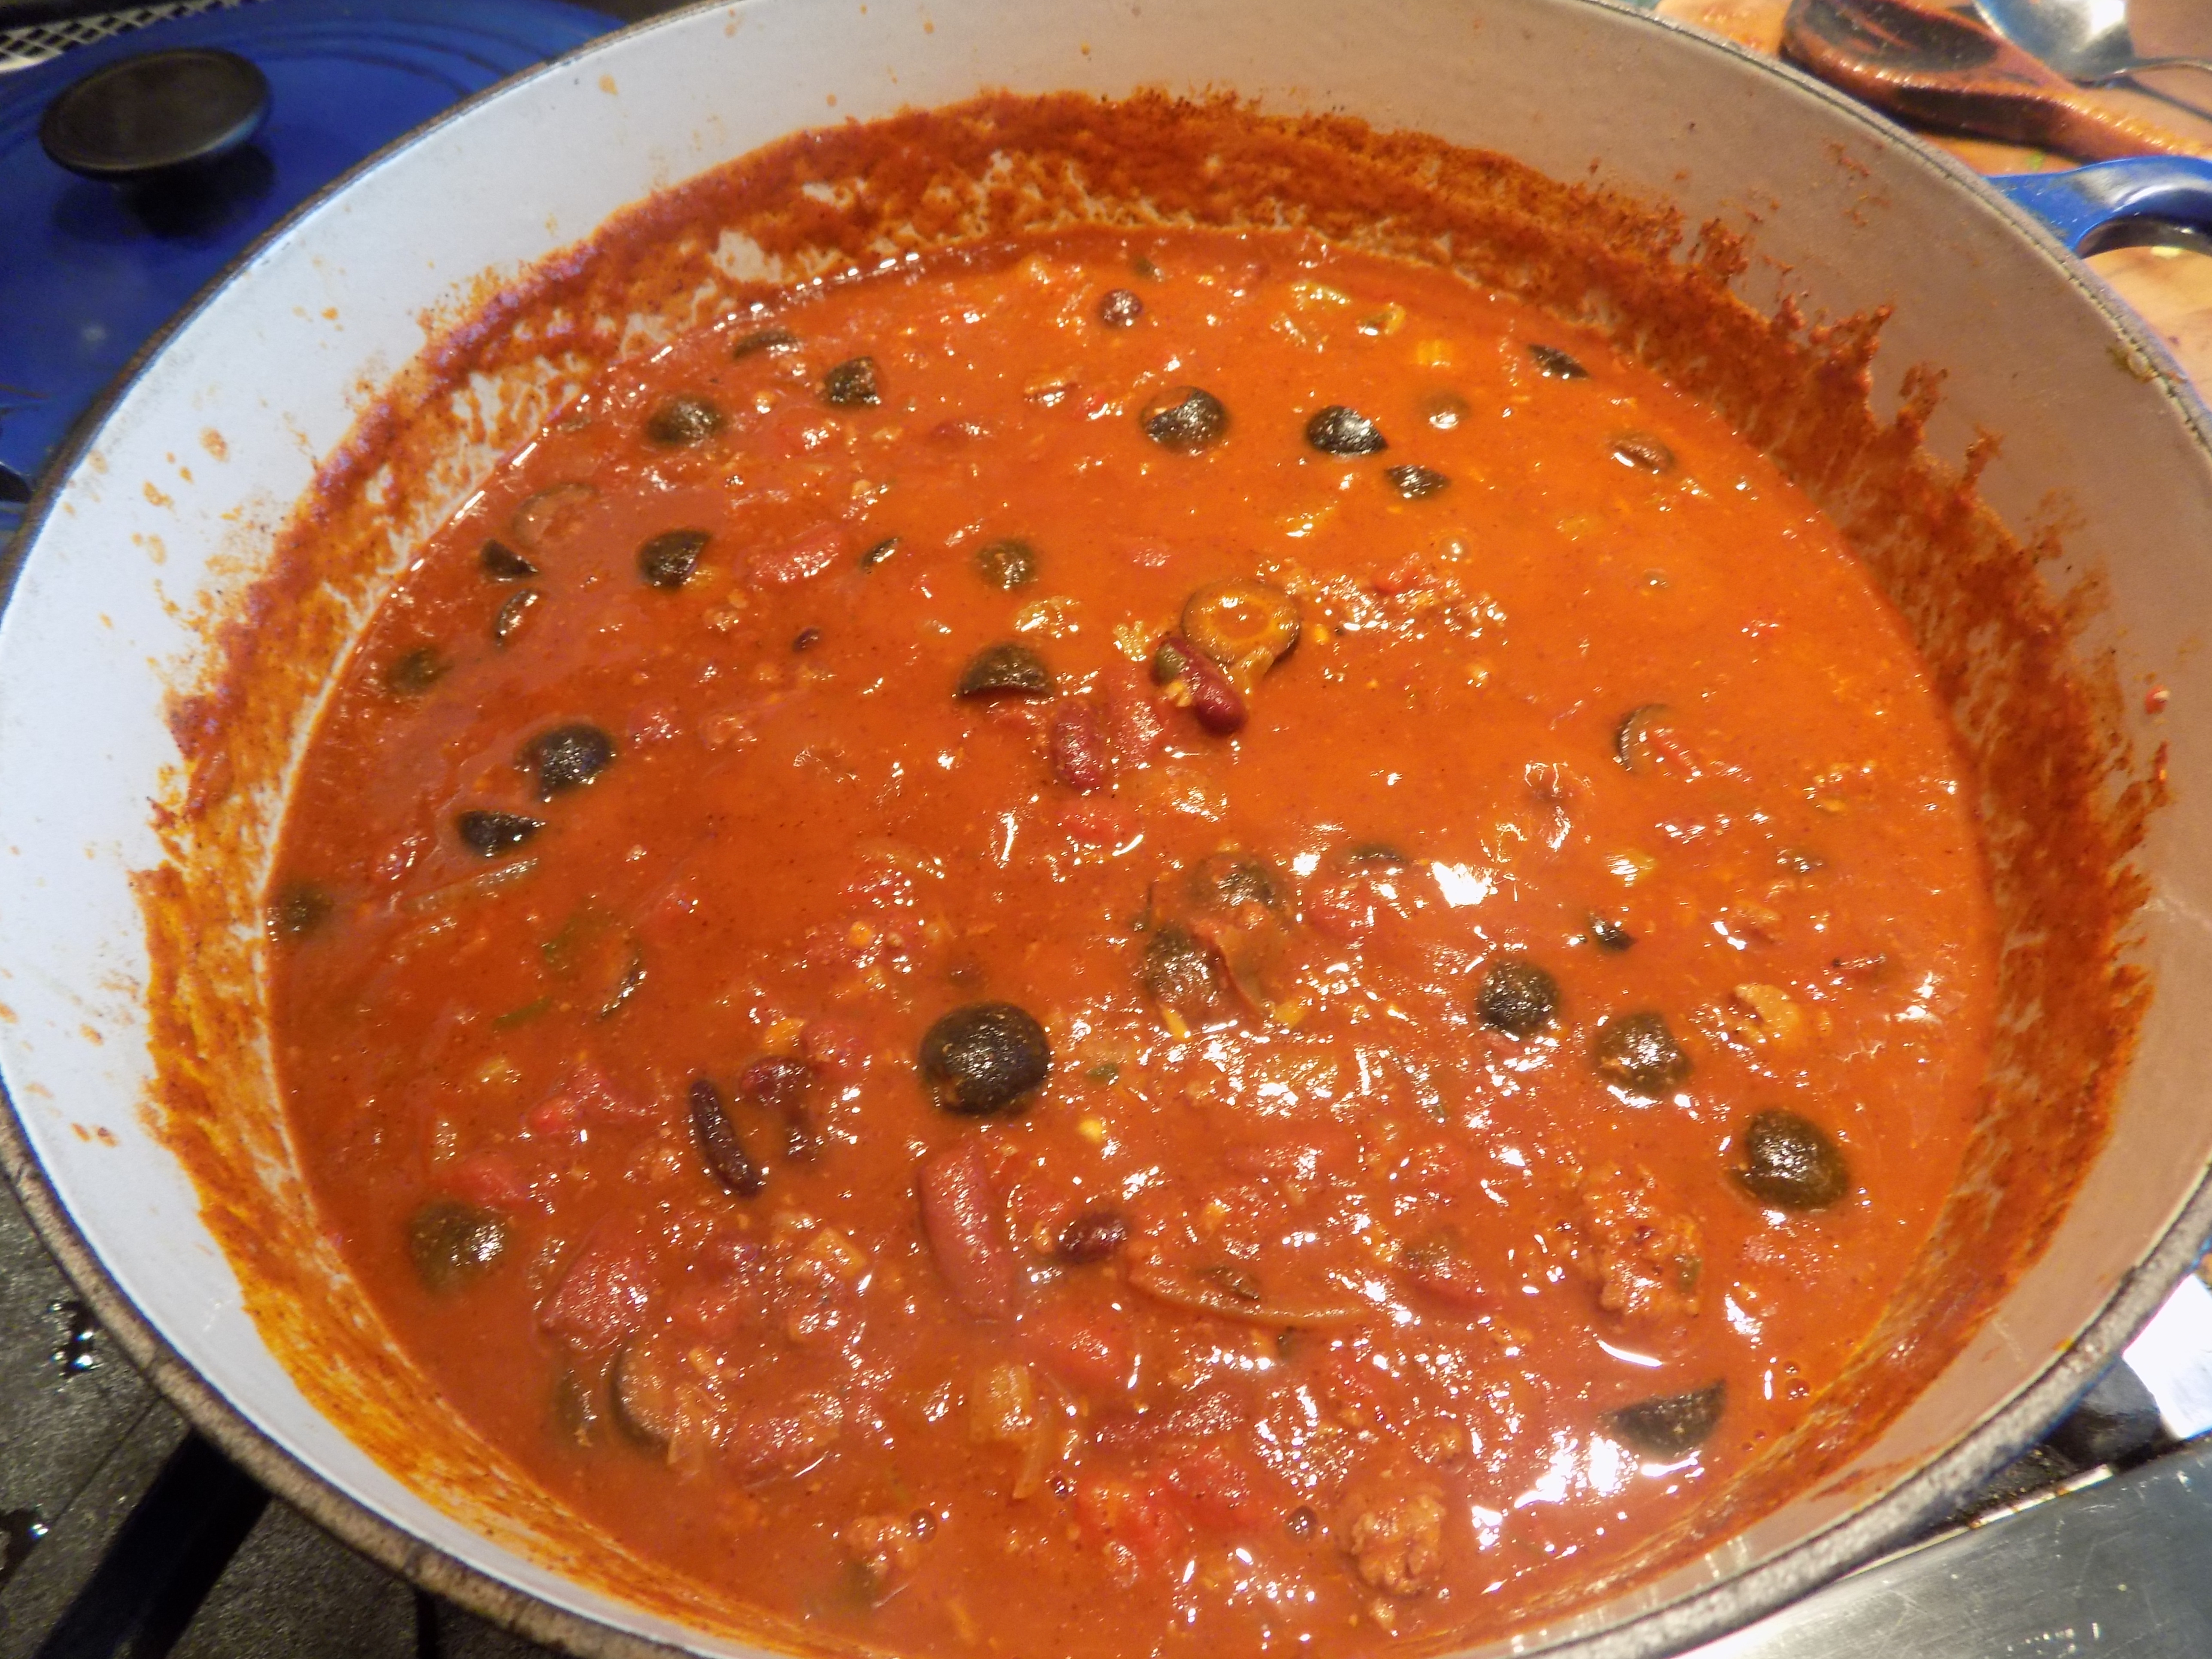
I am here to tell you, the beans came out perfect! And I didn’t once have to leave the kitchen in fear for my life. The Instant Pot performed just like its instructions said it would. Good Instant Pot!
The rest of the chili I made in my largest Le Creuset pot, because I really like to mess with my food. (I guess I really should have entitled this recipe – Semi Instant Pot Chili, but I think I’ll just let that one pass!) Back to the beans. Adding the perfectly cooked beans when the time came, and in such fast order was really quite nice. As a result, I have decided to try making soup in my Instant Pot. I will let you know how that works out.
In the meantime, give this recipe a try. It’s really very tasty and it comes together with not too much effort. Of course working up the courage to use an Instant Pot takes some effort too. But if this 74 year old pressure cooker phobic lady can do it, you can too. The pressure is now on you!
- 2 c. dry red kidney beans, or dried beans of choice
- 4 c. water
- 4 T. chili powder, divided
- 1 T. dehydrated onion
- 1 tsp. granulated garlic
- 1 T. extra virgin olive oil
- 1 lb. lean ground beef
- 1 med. onion, chopped
- 1 c. chopped celery, including leaves
- 3 large cloves garlic, minced
- ¼ c. roughly chopped fresh parsley
- 1 (28-oz.) can chopped tomatoes (Italian if possible)
- 1 (6-oz.) can tomato paste (Italian, but of course!)
- 1 T. dried oregano (I use Mexican oregano)
- 1 tsp. ground cumin
- generous dash of ground cloves
- 1 tsp. paprika
- 1 tsp. kosher salt
- freshly ground black pepper
- 1 tsp. beef base (I use Better Than Bouillon Beef Base)
- 3 roasted mild Hatch chiles* seeded and chopped or 1 (4-oz.) can diced green chiles
- 1 can black olives, drained and halved
Combine the dried beans, water, 1 tablespoon of the chili powder, dehydrated onion, and granulated garlic in the Instant Pot insert. Cook the beans for 35 minutes on the bean/chili setting. (If no bean/chili setting on your instant pot, cook on high heat.)
Meanwhile heat the olive oil in a large, heavy covered pan. Add the ground beef and fry until most of the red is gone. Add the chopped onion, celery, garlic, and parsley. Cook until the onion is tender and the contents of the pan are starting to stick. Stir in the canned tomatoes, plus a half can of water, the tomato paste, plus a full can of water (using the cans to measure and transport the added water helps remove any remaining tomato from the sides and bottom of the cans), remaining 3 tablespoons of chili powder, oregano, cumin, cloves, paprika, salt, pepper, and beef base to the pot.
Bring chili to a boil, reduce heat, cover, and let burble for about 20 minutes, stirring periodically.
When the beans have cooked and the pressure has been released, either by waiting for it to do its own thing, or by manually releasing the pressure, carefully add the beans and any remaining liquid to the rest of the ingredients. Finally stir in the chopped chilies and the black olives.
Put the cover back on and cook for another 10 minutes or so. Adjust seasoning and serve hot. I like to serve the chili with shredded sharp cheddar cheese, sour cream, and cornbread.
*I buy fresh Hatch chilies (the mild variety) when they appear in our local farmers market or this last time I bought them at our local Haggen’s grocery store. Then I simply grill them on my BBQ and freeze them individually on a large baking pan. Once they are frozen, I place them in a freezer bag. When I need them for a recipe, I remove the amount needed, run cold water over them, peel off the skin, and chop off the stem head which contains most of the seeds. Then I chop the rest and use as needed.