SOUTHERN PIMENTO CHEESE SPREAD

So, not really having spent much time or in most cases not visited many of the states in the South (Alabama, Arkansas, Florida, Georgia, Kentucky, Louisiana, Maryland*, Mississippi, North Carolina*, Oklahoma, South Carolina, Tennessee, Texas, Virginia, and West Virginia), you would think that I would have no interest in Southern food. There my friends, you would be dead wrong. I love Southern cuisine!

My passion for Southern food really started with our 2001 trip to New Orleans for Mardi Gras with our dear friends Dick and Eloise. We didn’t eat in one restaurant that I wouldn’t want to visit again. Of course we were guided to only amazing restaurants by our hosts John and Carol (son and daughter-in-law of our traveling companions) with whom we stayed for 10 full days. I’m telling you true. If you want to visit New Orleans for Mardi Gras, and for Mr. C and me once was enough, the best way to do it is to have good friends who live there and have a guest room with your name on the reservation! (The only thing that actually saved our sanity, is that we knew we could always escape the Mardi Gras chaos by returning to John and Carol’s home. Had we been staying in a hotel, I fear that the noise and commotion would have led to a serious drinking problem!)

But I will always be grateful for our visit to New Orleans. Not just because of the Mardi Gras experience itself, but more importantly for the time we spent with our dear friends. That stay and the fabulous food we experienced actually served as the catalyst for my passion for Southern cuisine. I absolutely loved the food and I vowed then and there, to learn more about the food that dominated that region of the USA and the other “Southern states”. And I have been studying Cajun, creole, and Southern cooking ever since.

In fact, for one of our recent before concert meals for JazzVox, I made this Southern recipe for the appetizer, along with several other regional favorites. And my guests loved it. They were as entranced with the food as much as I was.

So the next time you need a quick and easy appetizer spread, give this recipe a try. For another great pimento cheese recipe, also give my friend Vicki’s recipe a try. Just another version, but even easier to prepare and just as delicious. Search under Cheese & Pimento Spread on this site. Enjoy all y’all.

And if you would like to know what the furry members of our family do while Mr. C and I are busily working or playing around the house, please see the photos at the bottom of this post.

  • 3 c. grated extra-sharp cheddar cheese
  • 1 pkg. (8-oz.) cream cheese, room temperature
  • ½ c. mayonnaise
  • freshly ground black pepper (not very much)
  • ¼ tsp. granulated garlic
  • ¼ tsp. onion powder 
  • 1/8 tsp. cayenne pepper (optional)
  • ¼ tsp. Worcestershire sauce
  • ¼ tsp. dry mustard
  • 6 oz. diced pimentos, drained (save a small amount for garnish)   

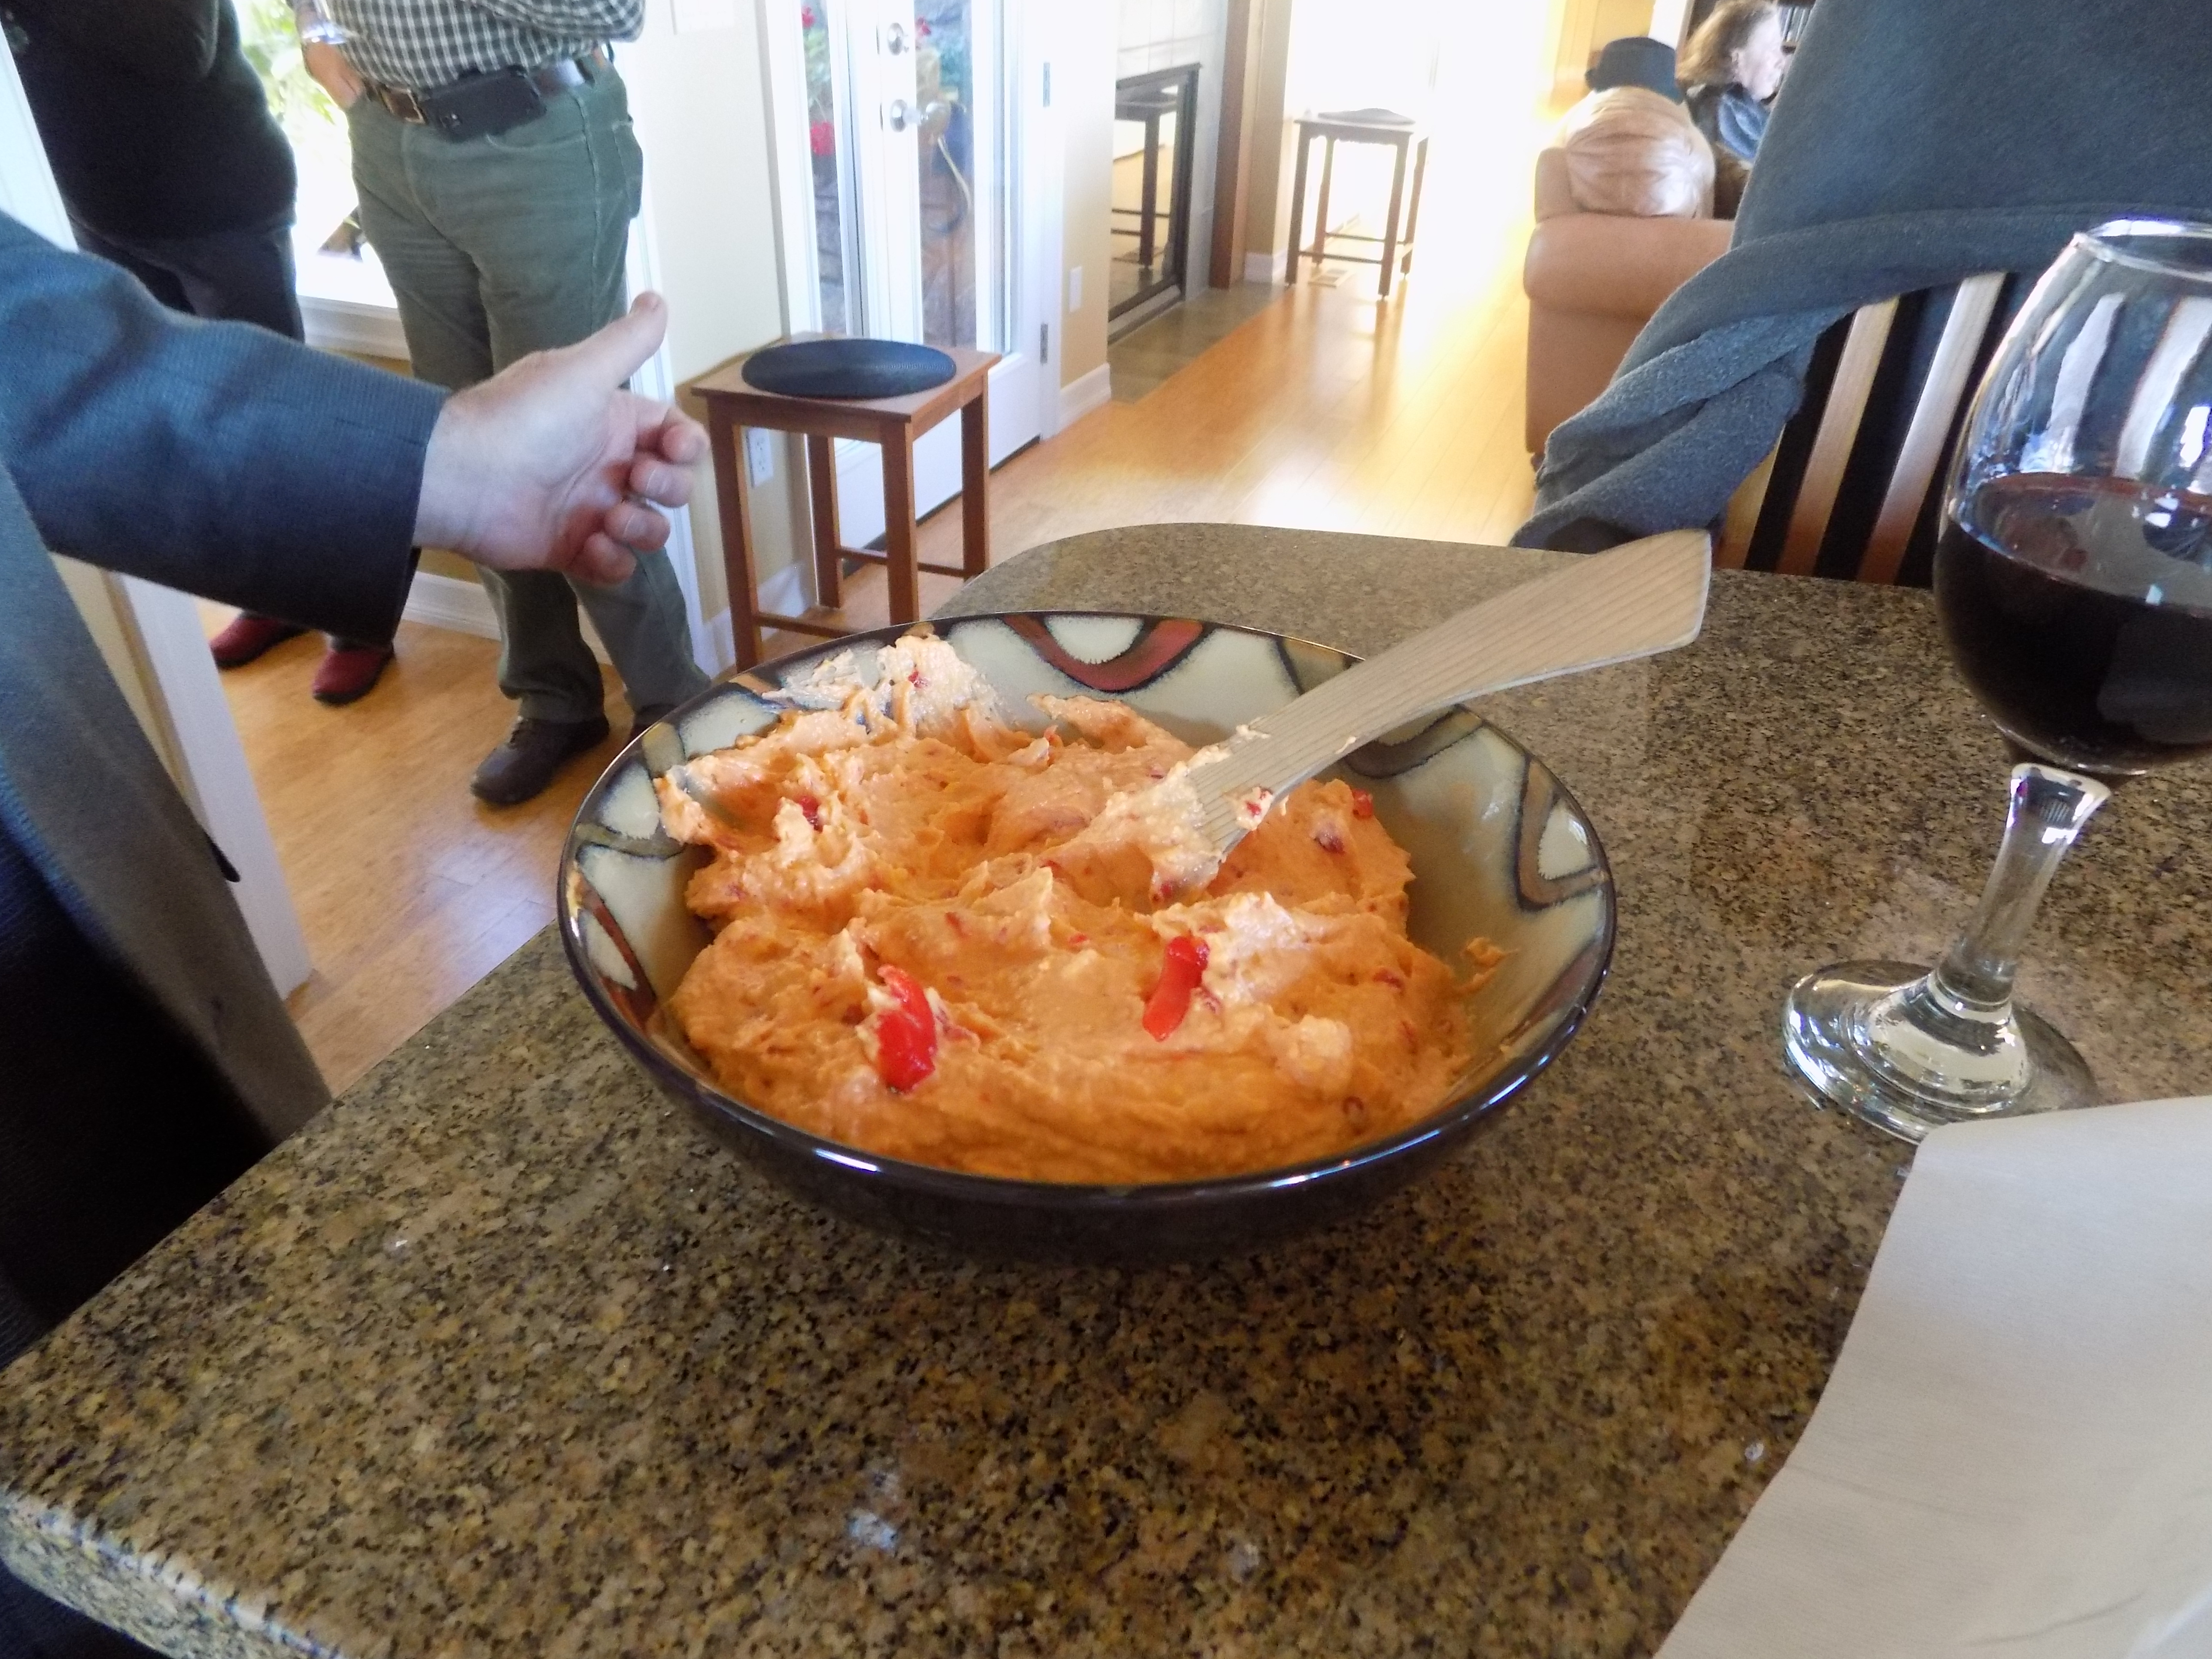
Place the cheddar cheese, cream cheese, mayonnaise, pepper, granulated garlic, onion powder, cayenne pepper, Worcestershire sauce, and dry mustard in the bowl of your food processor. Pulse until not quite smooth. (You want some texture, so don’t over process.) Add the pimento and give it one or 2 quick pulses. (You don’t want the pimento too finely chopped or blended either. Little pieces of pimento are desired.) Adjust seasoning.

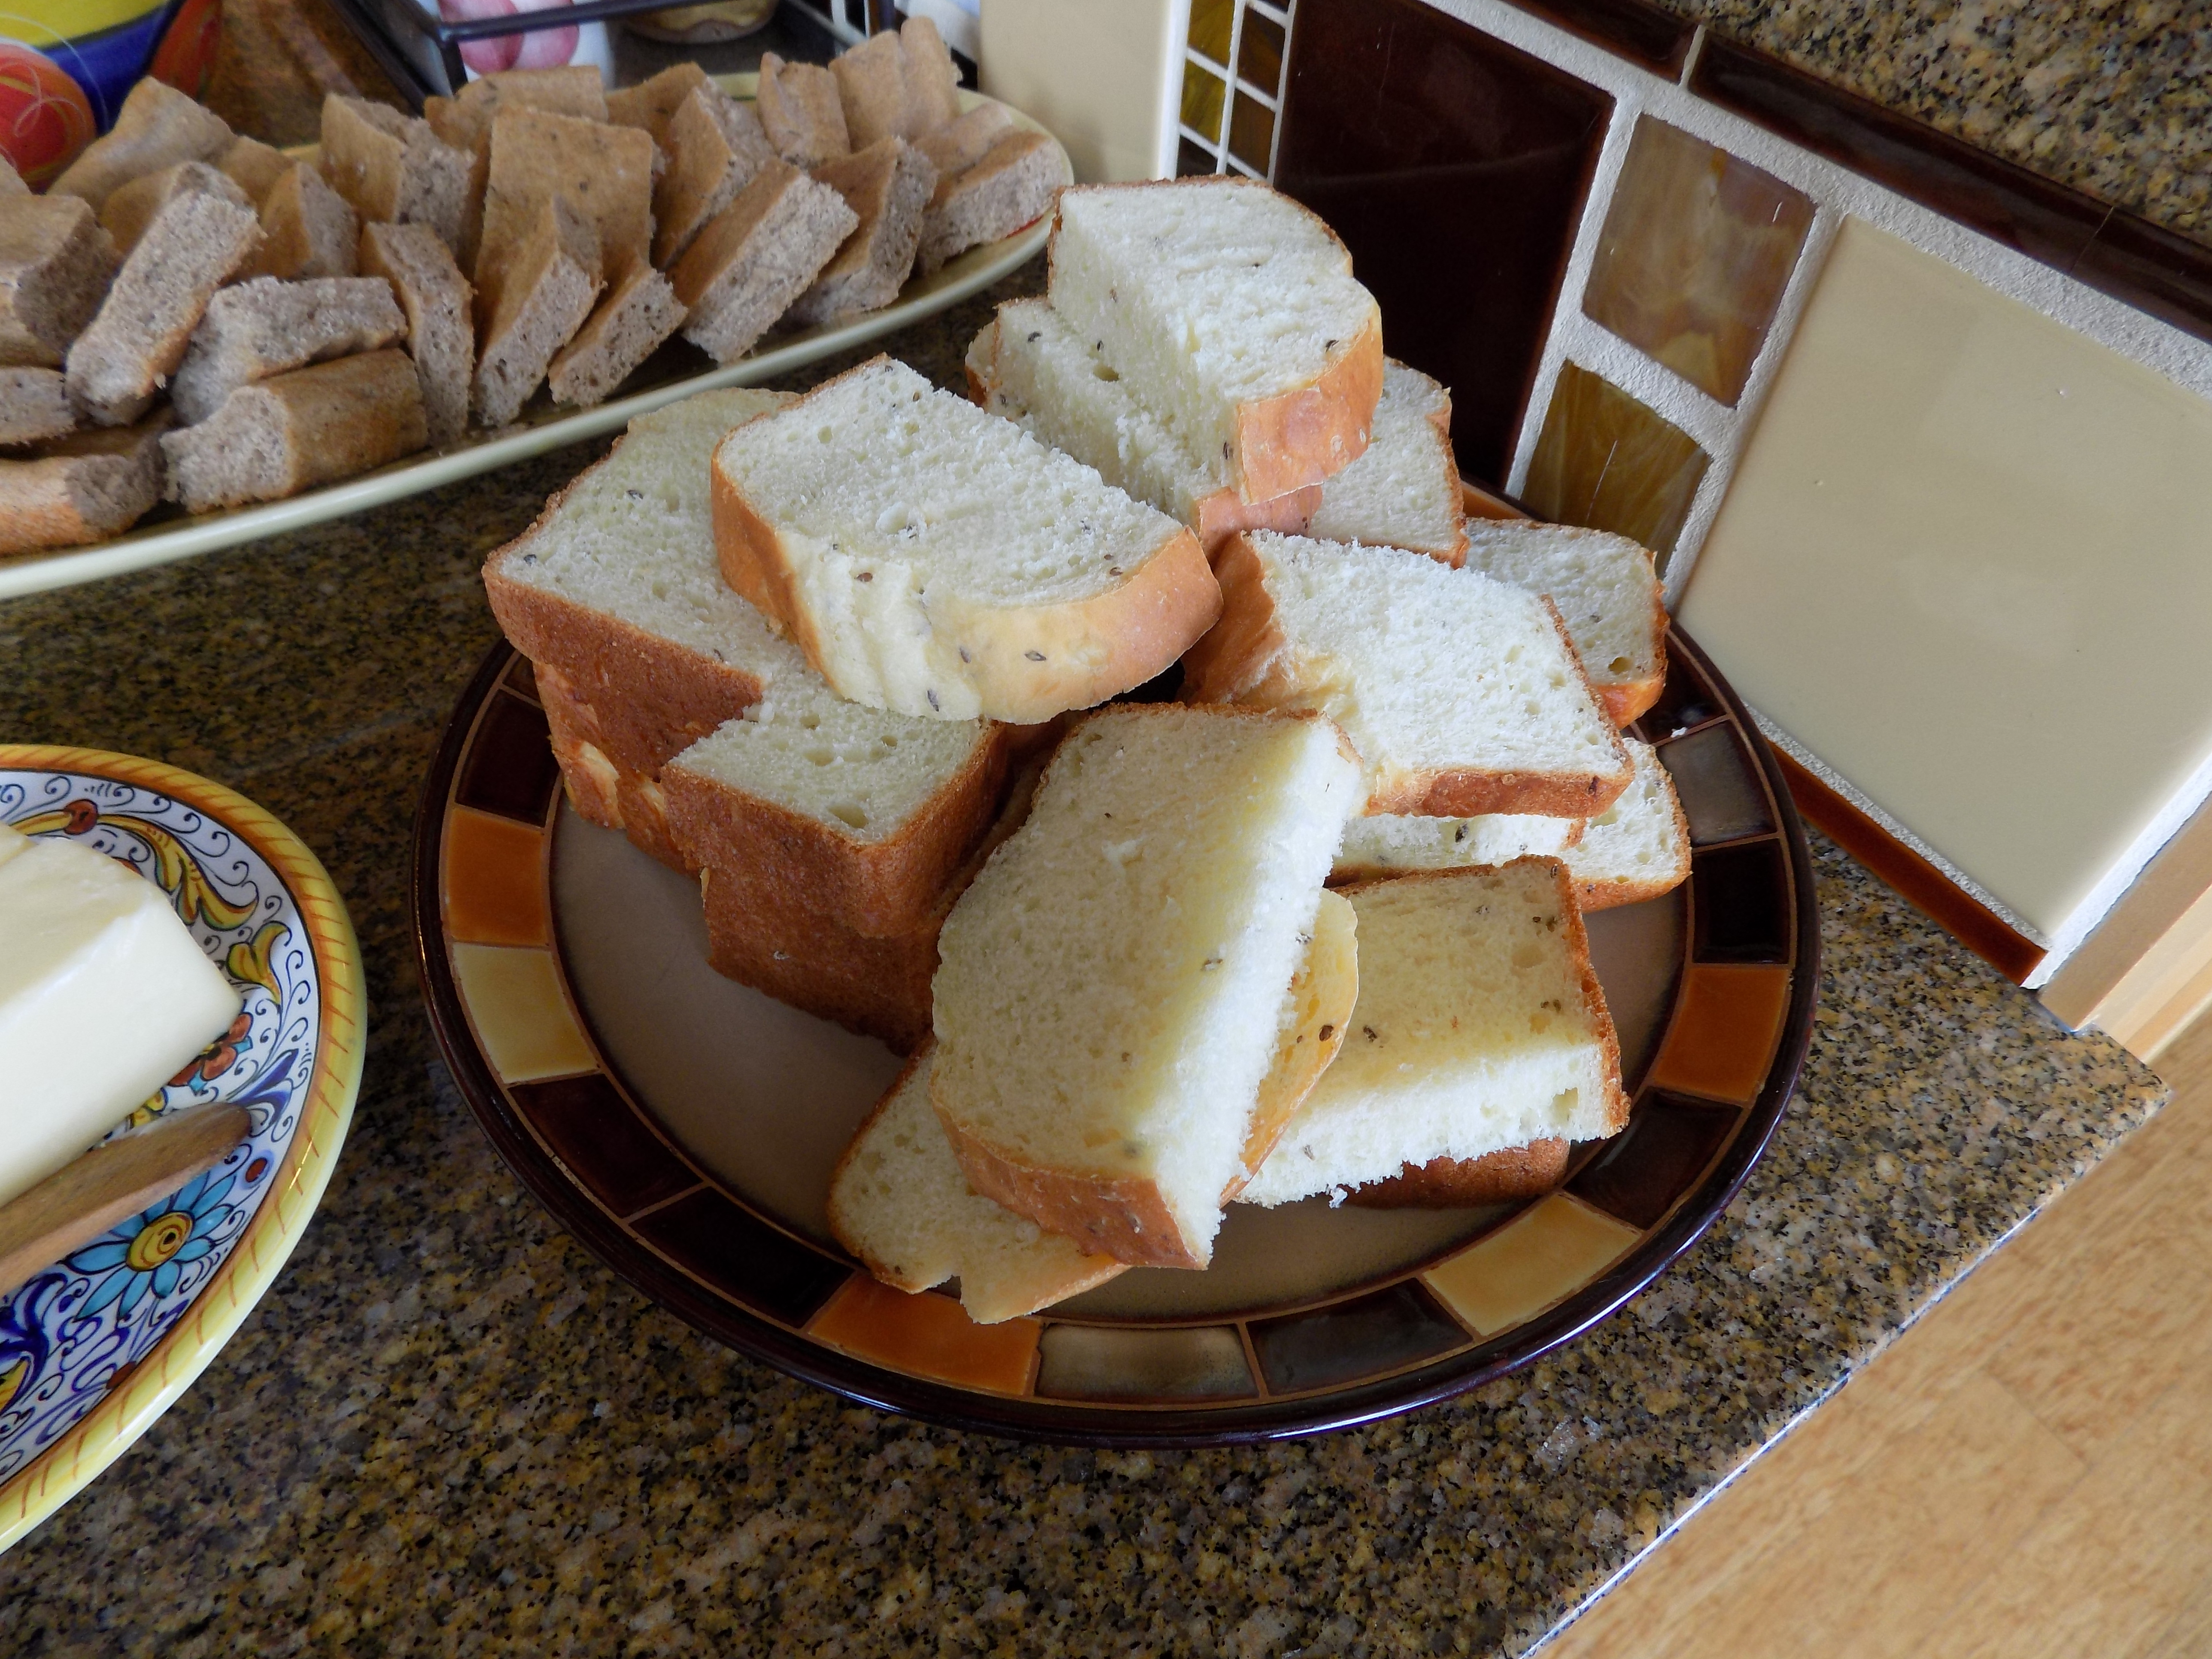
Scoop into a serving bowl, garnish with the last little bits of pimento, cover with plastic wrap, and allow to rest in your refrigerator for a couple days. Serve at room temperature with buttery crackers.

*I attended son Sven’s graduation from Davidson College in Davidson, NC. Spent only 4 days in the area. No wonderful food to speak of!

And I lived in Newark, Delaware for 2 years while my former husband went to graduate school at the University of Delaware. We drove around Maryland on many occasions, mainly to view the countryside, observe the Amish people, and eat picnic lunches at the many incredible cemeteries that dotted the countryside. (And you thought you knew me well!) But as poor college students, we did not avail ourselves of the local cuisine as much as we would have liked. Just a rare treat of blue crabs straight out of the Chesapeake Bay and the best crab cakes I’ve ever tasted.

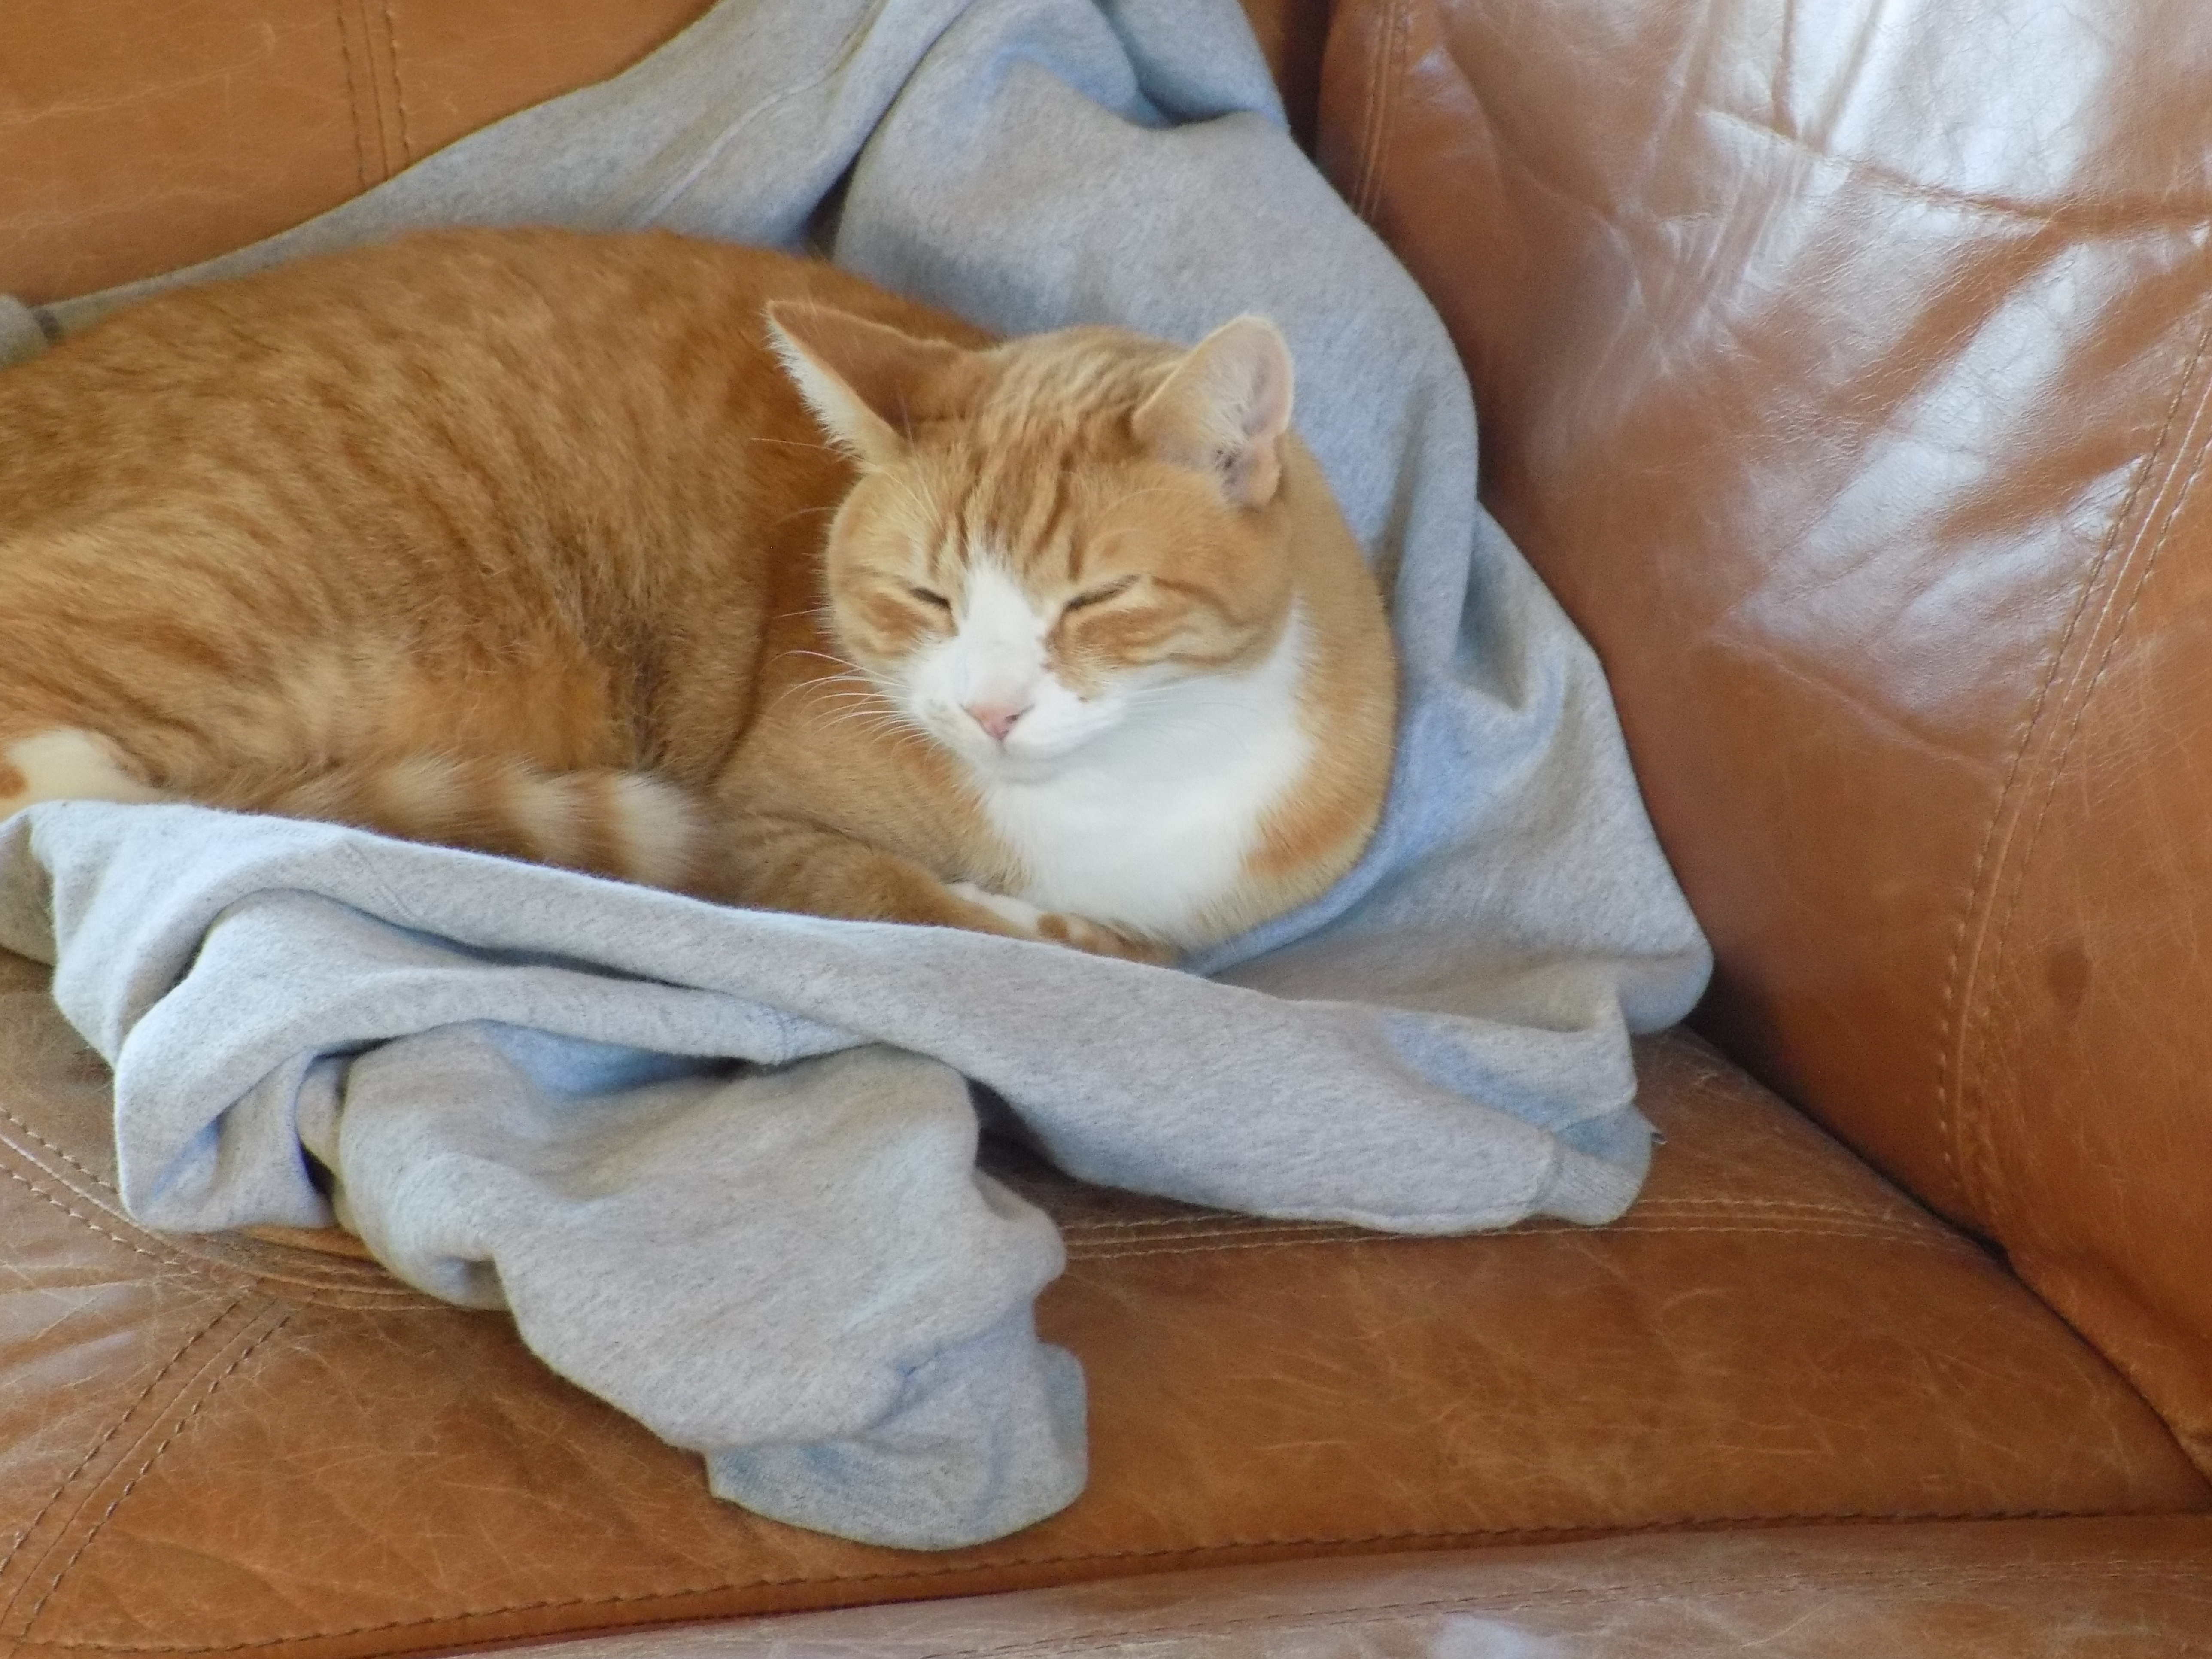
Max – one of the twins on daddy’s  sweatshirt

Miles – the other twin on his favorite “nest” by the door to the courtyard

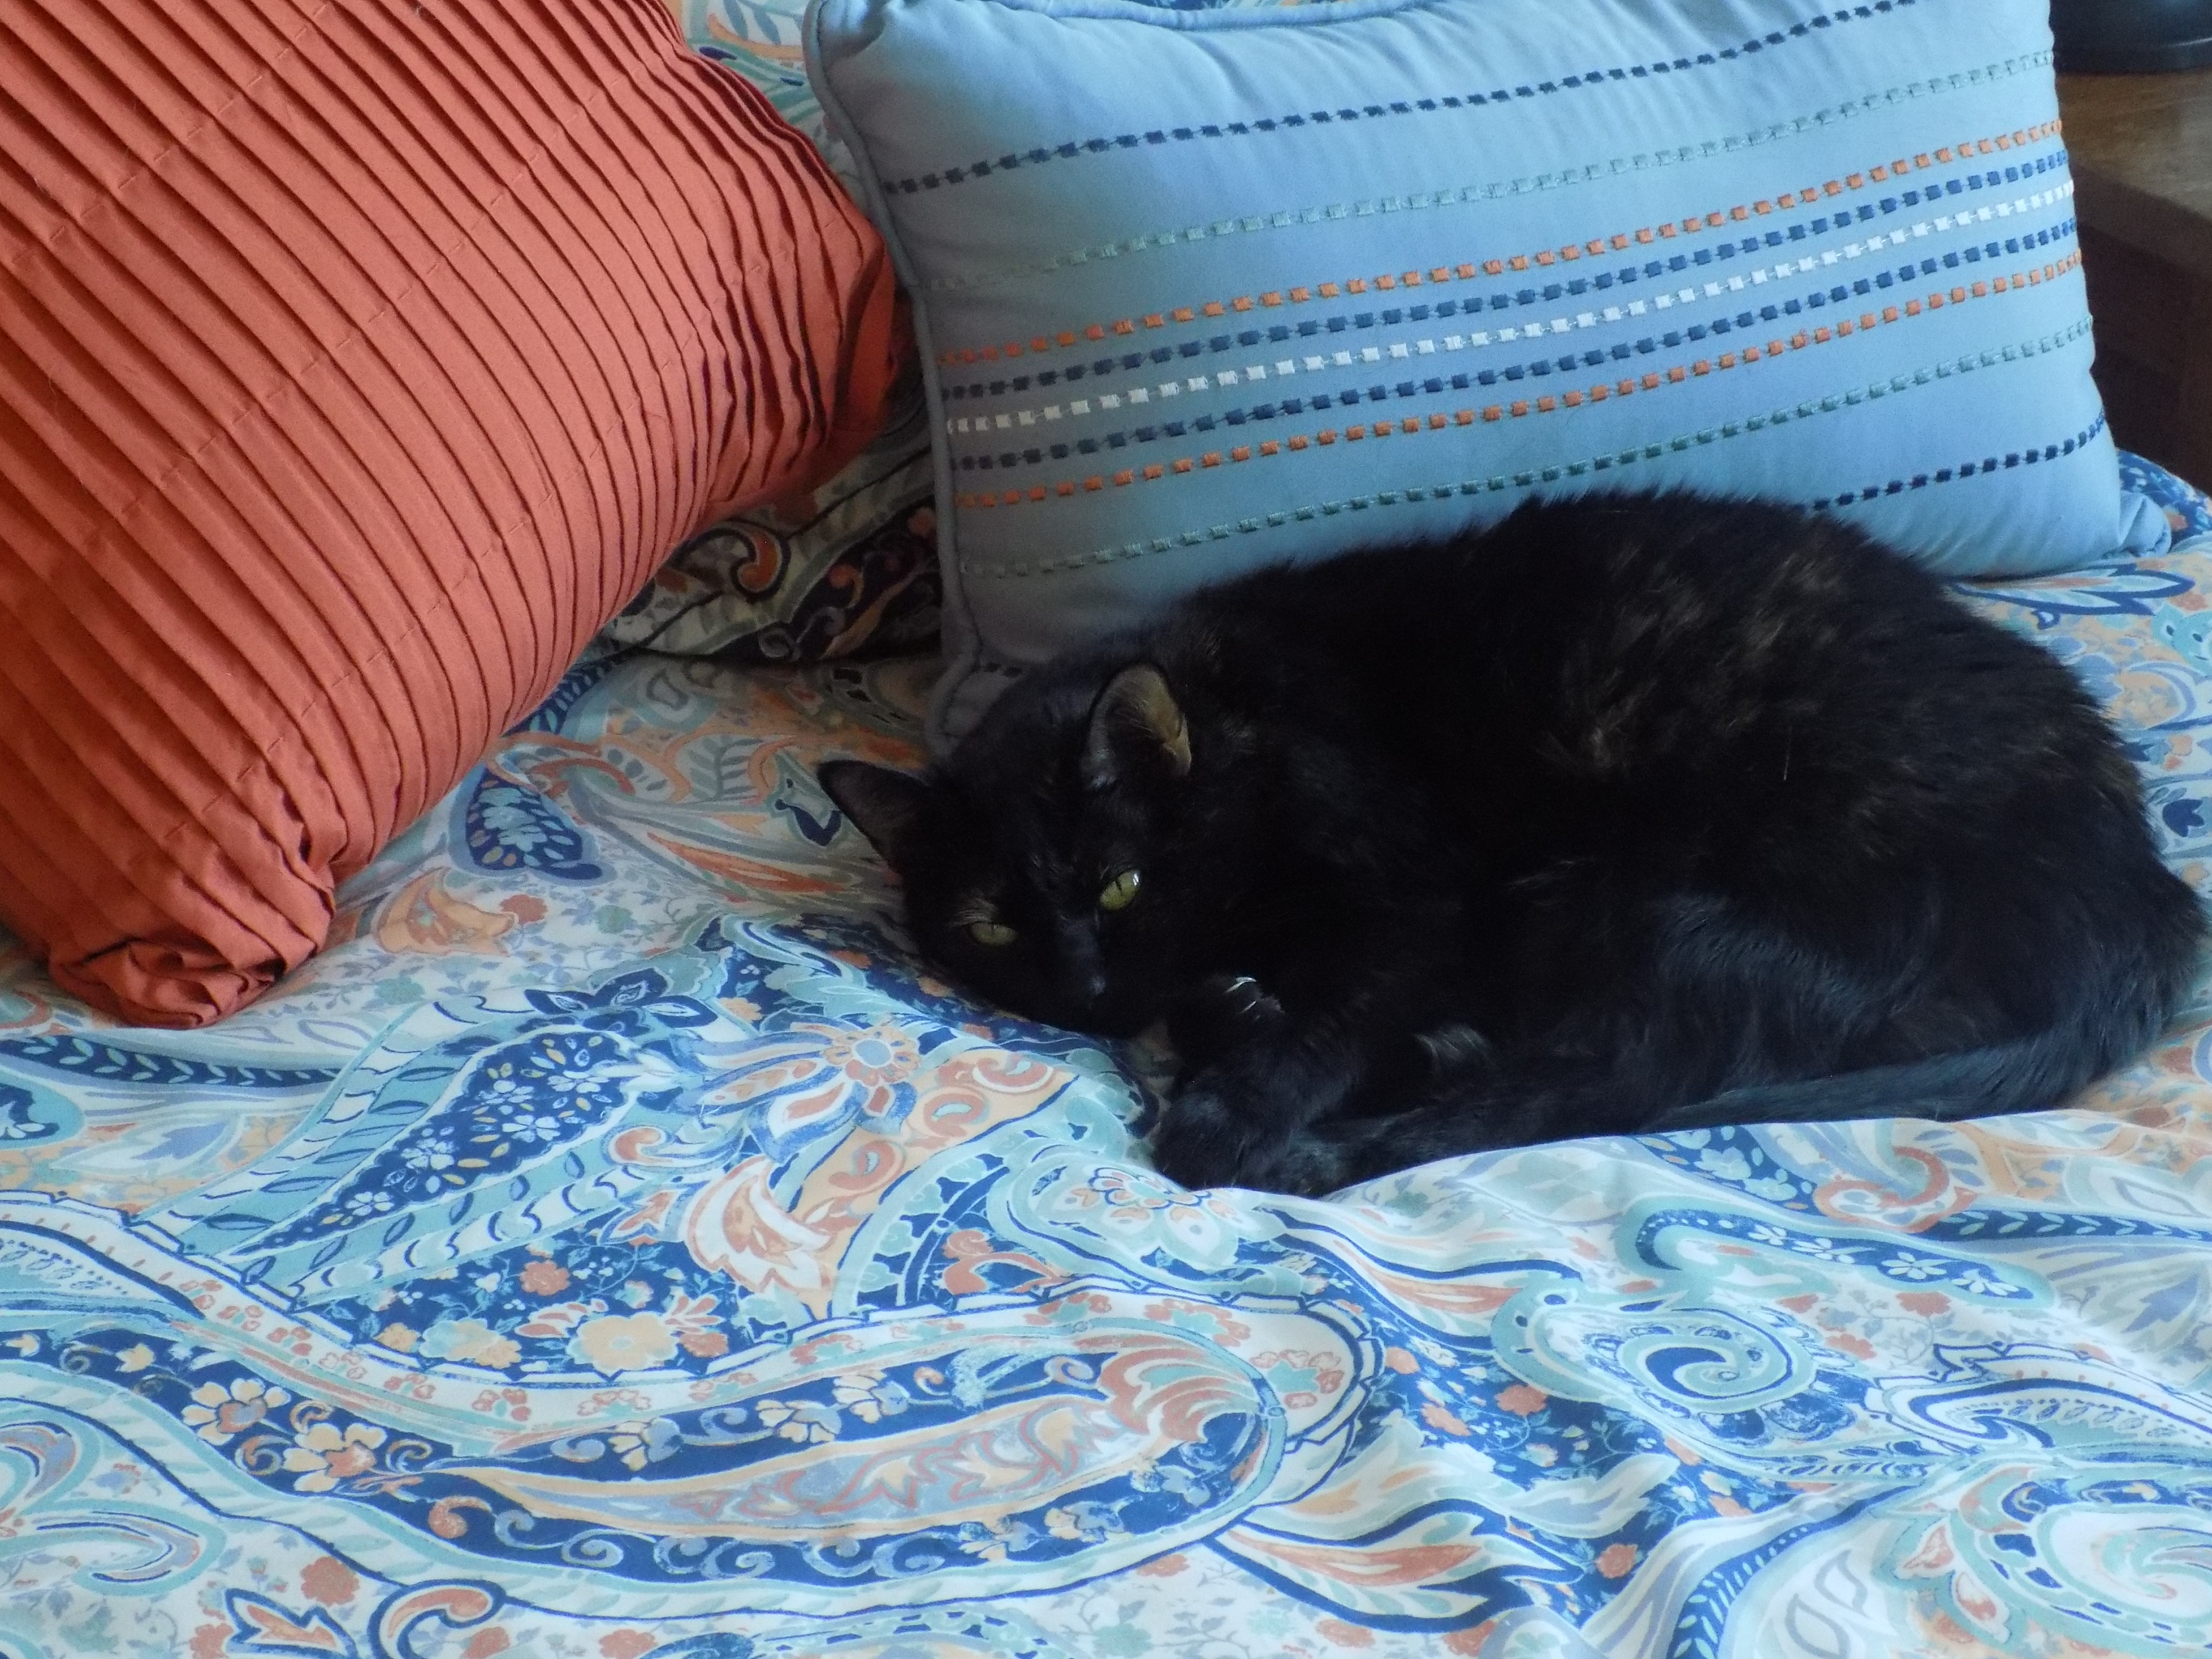
Georgia – the family princess on my side of our bed. And why my side of the bed? She barely tolerates me and totally loves her papa. So again I ask. Why my side of the bed? 

ASIAN PAN FRIED CARROTS

So, for Thanksgiving this year, I decided to cook carrots instead of sweet potatoes. They’re both orange, so I figured no one would notice the difference. And since we were having lots of other dishes, I only prepared a single recipe. Boy was that a mistake! There were 13 at table, and by the time Mr. C. and I got to the buffet line, all but a single little piece of carrot was left! I got it, but it wasn’t even enough to decide if the carrots were tasty or not. So I had to email our good friends Jim and Margo to see if this new recipe was worthy of my blog.

I was immediately assured that yes the carrots were good, and yes they should be posted posthaste, so to speak.  

The recipe you find below is ever so easy to prepare, and ever so delicious, or so I’m told. Perfect for the holidays, but totally fine any time an interesting and different veggie side dish is required. Fairly inexpensive to prepare too. I like that! And don’t worry that because of its Asian persuasion, it won’t fit with non-Asian dishes. Truly, not to worry. If it worked with turkey, dressing, and all the usual Thanksgiving suspects offerings, it will go with anything.

So give this recipe a try. After all, anything tastes wonderful if it is bathed in soy sauce, fresh ginger, garlic, and brown sugar. And carrots, which are sweet to begin with, absolutely shine when they keep company with the like.

So give this recipe a try. I have been told it is pretty darn delectable. Happy holidays everyone.  

  • 2 T. butter
  • 1½ lb. carrots, peeled, and cut into 1/3-inch thick diagonal slices    
  • ¼ c. honey
  • 2 T. extra virgin olive oil
  • 2 tsp. finely minced ginger, or more to taste
  • 2 cloves garlic, minced
  • 1 T. soy sauce
  • ¼ tsp. Sriracha
  • 1 T. brown sugar
  • 1 tsp. kosher salt
  • freshly ground black pepper
  • sesame seeds, for garnish, opt.

Melt the butter in a large frypan. Add the carrots and slowly cook until crisp tender. Don’t over-cook.

Meanwhile, in a small bowl, whisk together the honey, olive oil, ginger, garlic, soy sauce, Sriracha, brown sugar, salt, and pepper. Add to the carrots and continue to cook over medium-low heat until the carrots are glazed. (Watch carefully or they could burn.) Remove from heat, and sprinkle with sesame seeds before serving hot out of the pan.


SWEET POTATO CASSEROLE WITH BUTTER PECAN CRUMBLE TOPPING

So basically this is the same recipe for the sweet potato part of this amazing dish as the one that is already posted on this site. Basically just a third way to top this scrumptious side. (You might want to check out the topping options on my other recipe just for the heck of it. Search under Sweet Potato Casserole. Original recipe from Southern Living magazine.)

Anyway, this is the same recipe until you get to the topping. And why the same recipe you might ask? Well, basically it’s a well-known fact that you simply can’t improve on perfection. And the sweet potato mixture on this recipe is truly the best use of sweet potatoes I have ever experienced.

But enough about this recipe and how glorious it tastes. It also happens to be easy to prepare. And it can be made the day before. So for the quintessential dish to serve over the holidays, this dish could not be more ideal. But don’t take my word for it. Ask your family and friends what they think about this sweet potato delectable after you serve it at your next feast. I bet you get nothing but positive responses. If not, consider finding a new set of friends or adopting new family members. Because this recipe is just that delicious and worthy only of adoration and praise.

Thank you again Southern Living for the sweet potato portion of this recipe. The topping, well you have only me to blame! Happy holidays everyone.

  • 4½-5 lbs. ruby or garnet sweet potatoes (sometimes labeled incorrectly as yams)
  • ¾ c. + ½ c. brown sugar, divided
  • ¼ c. whole milk
  • ¾ c. (1½ sticks) butter, room temperature, divided
  • 2 lg. eggs, room temperature
  • 1 tsp. vanilla
  • ½ tsp. kosher salt, divided
  • ½ c. unbleached all-purpose flour
  • ¾ c. chopped pecans

Bake sweet potatoes in a pre-heated 400 degree oven for about 1 hour or until tender. Reduce heat to 350 degrees. Let sweet potatoes cool to touch; peel and mash with an electric mixer. Add the ¾ cup brown sugar, milk, ½ cup of the soft butter, eggs, vanilla, and ¼ teaspoon of the salt. Beat until smooth. Pour mixture into a buttered 9×13-inch baking dish or casserole dish.

Combine the flour, remaining ½ cup brown sugar, remaining ¼ cup butter (melted) and remaining ¼ teaspoon salt in a medium bowl until moist and the mixture clumps together. (Your fingers or a serving fork work well for this step.) Mix in the pecans and spread over the top of the sweet potatoes in an even layer. Bake at 350 degrees until mostly set in the center and golden on top, 25 to 30 minutes. Allow to sit for 10 minutes or so before serving.

Note: If preparing casserole ahead of time, cover and refrigerate before adding any topping. About 90 minutes before serving, pull the casserole out of the refrigerator. Just before placing casserole in your pre-heated 350 degree oven, add the topping, and bake for 30 minutes or until filling is mostly set and topping nicely browned. Let sit for 10 minutes or so before serving.

CHICKEN WITH PROSCIUTTO AND PEPPER JACK CHEESE

After two weeks of painters having their way with our living room, kitchen, butler’s pantry, entry way, hall, stairway to the lower level, downstairs hall, and our master bath, I was just about ready to go crazy. (They aren’t quite done yet, but at least I can see my floors and the counters in my kitchen.) So, this past Friday, after they had removed most of the protective paper and tape from the kitchen, I was finally able to cook a real dinner for the first time in 13 days. 13 DAYS!

Now, I don’t know whether this chicken dish tasted amazing because I was totally tired of restaurant food, or because it truly was flat out delicious, but I’m going to lean towards the latter. Plus it was easy to prepare. That’s always a plus in my book!

I found this recipe on the Genius Kitchen site, but of course I made a few changes. I often do a search under ingredients that I really need to use up before they go bad. And sometimes the list is very unusual. But I never fail to find a recipe, even if the ingredients appear at first site to be totally incompatible. Not these ingredients which were obviously made for each other. But you know what I mean. Ingredients like brie and mango chutney. (See my recipe under Two Brie or Not two Brie. Or bacon, onions, garlic, and brown sugar under Bacon Jam.)

So when I searched under chicken, prosciutto, and Pepper Jack cheese, there were a fair number of recipes that included this combination. But the basis for this recipe really caught my eye. And I am so glad it did! This recipe is so scrumptious it should be in its own category – Perfect for Company!

So next time you need an easy and stress less main dish for a family and/or friends gathering, I recommend this lovely recipe. It can easily be doubled, tripled, etc. It can even be made ahead and refrigerated until needed. If you do make it ahead, be sure to bring it to room temperature before you place it in your oven. You really don’t want to overcook the chicken by having it in the oven for any longer than necessary.

  • ¼ c. unbleached all-purpose flour 
  • ½ tsp. kosher salt
  • freshly ground black pepper
  • 2 boneless, skinless chicken breasts, cut in half lengthwise
  • 4 T. unsalted butter, divided
  • 4 slices thinly cut prosciutto, roughly chopped into pieces
  • 1 c. shredded Pepper Jack cheese 
  • 2 T. finely chopped shallot  
  • 8-10 button mushrooms, thinly sliced
  • 2 small garlic cloves, minced
  • ¼ tsp. dried thyme
  • ¼ c. dry white wine
  • ¼ c. chicken broth
  • ¼ c. dry sherry
  • ¼ c. half & half, whole milk, or whipping cream

Place the flour, salt, and pepper in a bag. Shake the bag to blend the ingredients. Add the chicken and shake until the chicken pieces are totally coated. (Save any remaining flour in the bag for the sauce.)

Melt 3 tablespoons of the butter in a large frying pan over medium heat. Cook the chicken until it is a nice golden brown on both sides. Remove from frying pan (set aside the pan) and place the chicken in a lightly buttered 9×13-inch Pyrex baking dish or casserole in a single layer.

Top each piece with a quarter of the cut prosciutto and a quarter of the shredded cheese. Set aside.

Return the frying pan to the stove, add the remaining 1 tablespoon of butter, and cook the shallots and mushrooms until the shallots are soft. Add the garlic and cook for one minute.

Add about a rounded teaspoon of the coating flour to the pan; cook for one minute. Stir in the thyme, white wine, and broth. Let burble over low heat for about 5 minutes. Add the sherry and heavy cream. Adjust seasoning. Cook for another minute or two.

Pour the sauce over the chicken. Bake in a pre-heated 375 degree oven for about 20 minutes or until bubbly.


DILLY CASSEROLE BREAD

As I sit at my desk writing this preface, I see grey skies, grey water, and leaves on deciduous trees in shades anywhere from rusty red to a lovely golden yellow. The leaves are beautiful, the grey – not so much! All of which however serve to remind me that it is fall, with winter just around the corner. But the one redeeming feature that makes enduring these upcoming soggy and dark months semi passable for me, is that I get to prepare soups and stews. Because I truly love to both cook and eat these hot and savory dishes. Especially when accompanied by a lovely piece or two of homemade bread. So knowing that everyone seems to love comfort food especially during the dreary months, I decided to share with you one of my favorite bread recipes. This recipe is both easy to prepare and absolutely delicious.

I have been making this bread since my children were very young. In fact, when I made this bread, or any kind of bread for that matter for an extended family dinner gathering, my son Sven would fill up on the bread, generously spread with soft butter I might add, and totally ignore the rest of the dishes I was serving. (Except dessert, of course!) But those were wonderful times, and an occasional dinner of just bread didn’t seem to hurt my son or anyone else in the least.

This recipe is straight out of my then new Stone-Buhr Kitchens 1971 cookbook entitled Cooking with Gourmet Grains. Still one of my favorite cookbooks BTW. (OK, I did reduce the amount of sugar, but that is the only change I made.)

So next time you decide to serve soup or stew, give this incredibly delicious bread a try. After all, most soups and stews take a fairly long time to cook. So while your soup or stew is happily burbling away on the stove, you could be making a loaf or two of this bread!  Now wouldn’t that thrill your family and friends?  After all, “Nothing says lovin’ like something from the oven”! Quote from the Pillsbury Doughboy (aka Poppin’ Fresh).  Actually, at 42 years old, the Pillsbury Doughboy should now be referred to as the Pillsbury Doughman. But I’ll never win that argument with the makers of advertisements, so I might as well leave that subject unassailed! Enjoy the bread.

  • ¼ c. barely warm water
  • 1 pkg. or 1 T. active dry yeast
  • 1 T. sugar
  • 1 c. lg. curd cottage cheese
  • 1 T. dehydrated onion
  • 1 T. unsalted butter
  • 1 tsp. kosher salt
  • ¼ tsp. baking soda
  • 2 tsp. dill seed
  • 1 lg. egg
  • 2¼ – 2½ c. unbleached all-purpose flour

Pour water into the mixing bowl of your stand mixer. Sprinkle with yeast and sugar. Allow to sit for 10 minutes.

Meanwhile, heat the cottage cheese to lukewarm and stir in the onion, butter, salt, baking soda, and dill seed. When the mixture is cool to the touch, add the egg. Add the cottage cheeses mixture to the yeast mixture; blend with your dough hook.

Add enough flour to make a stiff batter. Knead for a couple of minutes. Cover the bowl with plastic wrap and let rise until doubled, 50-60 minutes. Punch down and turn into a well-greased 1½ qt. casserole dish or loaf pan. (When making a double batch, I divide the batter between 3 loaf pans. Makes for nice sized loaves.) Cover and let rise in a warm place for 30-40 minutes or until almost doubled.

Bake in a pre-heated 350 degree oven for 35-45 minutes or until the internal temperature reaches about 200 degrees. (You may need to place a piece of aluminum foil over the bread for the last 10-15 minutes to prevent the top crust from getting too brown.)

Remove bread from casserole or loaf pan; cool on a wire rack. Serve at room temperature with lots of soft butter.


SPICED AND SPIKED CREAM CHEESE FROSTING

As you well know, I love to mess with already perfectly wonderful recipes just for the heck of it. And one of my favorite things to do is experiment with adding liquor or liqueur to dessert items such as cake batter, pie filling, frosting, glaze, whipped cream, etc. etc.

So while contemplating how to kick my cream cheese frosting recipe for Apple Cake (on this site) up a notch, I decided to add some cinnamon, because there’s cinnamon in the cake batter, and some Calvados (apple flavored brandy) because there are apples in the batter. (I’ve always excelled at stating the obvious!)

Anyway, that’s exactly what I did when I prepared the frosting for the apple cake I made for last weekend’s JazzVox pre-concert meal. And our guests told me they thought the frosting was pretty darn OK.

Note: When I use alcohol in a dessert, I usually cut down on the amount of vanilla. (If vanilla is called for, that is!)

So next time you make a cake, try enhancing the flavor of the batter and/or the frosting  with a bit of spice and/or a wee dram of something from the adult beverage category. And please don’t worry about the alcohol content. Adding a tiny bit of liquor or liqueur to your frosting recipe is about the same as adding pure vanilla extract. Pure vanilla extract legally has to contain at least 35% alcohol, which is basically the same proof as vodka or rum. So don’t fret about adding alcohol to your favorite frosting even if your children are going to be the primary consumers. You have undoubtedly been “spiking” their frosting since the first time they smeared it all over their face, your clothes, and the tray of their high chair! Have a great day.

  • ½ c. (1 stick) unsalted butter, room temperature
  • 1 (8-oz.) pkg. cream cheese, room temperature
  • pinch salt
  • 2 T. brown sugar
  • ¼ tsp. ground cinnamon
  • ½ tsp. vanilla
  • 1½ T. liqueur – Calvados, brandy, bourbon, spiced rum, etc. (whatever flavor goes best with the ingredients in your baked goodie)
  • 1 lb. powdered sugar, more or less

Beat the butter, cream cheese, salt, and brown sugar together until creamy. Mix in the cinnamon, vanilla, and liqueur. Add powdered sugar until you reach your desired consistency.

FYI: For more information about pure vanilla extract, read the January 21, 2015 article entitled Why Don’t You buy Vanilla Extract in a Liquor Store by Michael Y. Park (via Bon Appétit magazine). It’s a really well written, informative, and scary article!


CAULIFLOWER “RICE” CASSEROLE WITH GROUND BEEF, SOUR CREAM, BLACK OLIVES, AND PEPPER JACK CHEESE

So, if you are culinarily savvy, you probably already know about, and have even used cauliflower rice. However, if you are like me, still basically cooking like I did 30 years ago, you may be thinking to yourself – cauliflower what? Well welcome to my world pilgrim. Until my daughter Paula introduced me to this healthy, delicious, versatile, and low carb substitute for rice, I was completely oblivious to how this humble Brassica oleracea can help people cut back on carbs while at the same time adding more vegetable matter to their diet.

Now of course I have been serving cauliflower to my family and friends since the beginning of my awareness that the room my mother should have spent more time in had a purpose other than to contain a cookie jar! (In other words, since my early 20s.) But I have always lagged behind other cooks when it came to trying new ingredients and using modern cooking techniques, tools, and appliances. I even fought against getting a microwave back when they were the hottest new appliance since the electric fry pan! (I tend to be kind of oblivious when it comes to new gadgets and trendy new food preparations. Maybe if I routinely watched television and therefore commercials, I would know more about what’s new and exciting in the kitchen. But alas – just not going to happen! I will simply have to rely on family and friends for information on innovative new taste treats, products, and appliances. Thanks again for the Instant Pot Paula.)  

But the older I get, the more I love it when people introduce me to wonderful new cooking concepts or as in this case, a brilliant and tasty use for a readily available, inexpensive, and healthy vegetable. Who knew just by chopping a head of cauliflower into rice sized pieces, that many of my favorite recipes could easily be adapted to a healthier version? Not me, that’s for darn sure. So thank you again darling daughter for the cauliflower rice “heads” up.

And while I’m on the subject of cauliflower, I should mention that this casserole is delicious and Mr. C absolutely loves it. (Whoa! Mr. C in the same sentence with cauliflower and love. That’s not a sentence I can write every day and may never have the opportunity to write again. I should mark my calendar. Maybe go buy a lottery ticket? Have a second martini tonight to celebrate the occasion? Not to worry, I’ll think of something memorable.)

  • 1 T. extra virgin olive oil
  • 2-3 c. cauliflower rice (packaged or chopped in your food processor) 
  • 2 tsp. steak seasoning, divided (I use Montreal Steak Seasoning)
  • freshly ground black pepper
  • 1 lb. lean ground beef
  • ½ c. chopped onion
  • 2 garlic cloves
  • ½ tsp. beef base (I use Better Than Bouillon Beef Base)
  • 1 egg
  • 1 c. sour cream (Mexican crema agria is best for this dish)
  • 2 c. grated Pepper Jack cheese, divided (you can substitute sharp cheddar cheese if you prefer)
  • 1 can (2.25 oz.) sliced black olives, drained
  • 3-4 green onions, thinly sliced

Heat the olive oil in a large frying pan. Add the cauliflower rice, 1 teaspoon of the steak seasoning, and pepper. Sauté the cauliflower until crisp tender, about 4-5 minutes. Remove from pan and set aside.

Add the ground beef to the pan and cook until just brown. Add the onions and cook until tender. Add the garlic and cook for 1 minute.

Meanwhile whisk together the remaining 1 teaspoon steak seasoning, beef base, egg, and sour cream. Pour over the meat mixture, along with the sautéed cauliflower rice; stir until well combined. Remove pan from heat. Stir in 1½ cups of the cheese and the black olives. Adjust seasoning.

Scoop into a lightly greased casserole or Pyrex dish. Sprinkle with remaining ½ cup cheese and green onions.

Bake in a pre-heated 350 degree oven for about 30 minutes or until the top is starting to brown and the casserole is bubbly. Remove from heat and let sit for 5-8 minutes to set up before serving.


B-52 HOT COFFEE AND COLD COCKTAIL SHOT

Last evening Mr. C wanted a warm drink before dinner. Having enjoyed B-52 coffee drinks in the past, but not having had one in months, he decided that sipping one of these delicious concoctions was long overdue. So off he went to the espresso machine.

As soon as the words B-52 were out of his mouth, (and yes I know the letter B is not a word, and 5 and 2 are numbers) I realized that I had yet to post our B-52 recipes on this site.

So after he made his drink, I took the above picture. As you can see from the ingredients displayed, Mr. C made his drink last evening with canned whipped cream. Not the best option, but I didn’t happen to have any heavy cream in the refrigerator. (Believe it or not, heavy cream is not a staple in our home.) But even using canned cream, his drink was absolutely wonderful. I know, because he was good enough to let me have a sip. It was sweet, but not too sweet. Best described as perfect!

So next time you want a fabulous hot coffee drink, or an absolutely delicious after dinner digestif, give these recipes a try. But be warned, they contain a lot of alcohol. So a word to the wise.

B-52 WITH HOMEMADE WHIPPED CREAM (The best!)

  • ½ c. heavy whipping cream
  • 1½ tsp. powdered sugar
  • 1 tsp. Cointreau
  • 1 oz. Bailey’s Irish Cream
  • 1 oz. Kahlúa or other coffee flavored liqueur
  • 1 oz. Cointreau or other orange flavor liqueur
  • 6 oz. fresh coffee (An Americano is best!)
  • chocolate sprinkles or shavings, opt.

Whip cream to stiff peaks. When stiff, add powdered sugar and 1 teaspoon Cointreau. Set aside.

Pour the Irish cream, Kahlúa, and Cointreau into a coffee mug. (Glass if you have one.) Top with fresh coffee, and garnish with whipped cream and chocolate sprinkles.

Note: you will have extra whipped cream, unless of course you like a little coffee and liqueur with your whipped cream. Most people will refrigerate the rest of the whipped cream and dollop some on their coffee the next morning. Fabulous!

B-52 WITH CANNED WHIPPED CREAM (Actually, pretty darned acceptable!)  

  • 1 oz. Bailey’s Irish Cream
  • 1 oz. Kahlúa or other coffee flavored liqueur
  • 1 oz. Cointreau or other orange flavor liqueur
  • 6 oz. fresh coffee (An Americano is best!)
  • whipped cream
  • chocolate sprinkles, garnish, opt.

Pour the Irish cream, Kahlúa, and the additional 1 ounce of Cointreau into a coffee mug. (Glass if you have one.) Top with fresh coffee, and garnish with canned whipped cream and chocolate shavings.

B-52 COCKTAIL SHOT (Oh, baby!)

  • 1/3 of a shot glass Kahlúa or other coffee flavored liqueur
  • 1/3 of a shot glass Bailey’s Irish Cream
  • 1/3 of a shot glass Cointreau or other orange flavor liqueur

Ok, this drink is all about layering as opposed to mixing. Preparing this drink is a matter of delicacy. So treat the construction of a perfect B52 shot like your grandma’s favorite vase! Recipe secret lies in the density of the liquids. Grab a chilled shot glass or glass of choice.  Start with Kahlúa, then layer with Irish Cream, and finish with Cointreau.

Tip: Pour the booze on the back of a spoon for perfect layering.

ZUCCHINI SEED AND NUT BREAD

And yes, this is yet another zucchini recipe! (I’m on a roll, and at this point, there’s no stopping me. At least until friends stop gifting me with home grown zucchini!) But even if I didn’t have zucchini in both my refrigerators, and a couple of cupboards in my unheated garage, I would want you to have this recipe. This zucchini bread is simply that good. And very easy to prepare.

The back story: A few years ago at a Labor Day family campout, daughter Ursala brought several loaves of this zucchini bread to share with her dear mother, Mr. C, her siblings and family, and the rest of our extended community. Well (and I’m still not proud of myself for this), it got time to pack up and leave, and one of the things that “left” was an absconded loaf of this delicious bread. I just walked over to her camp site and “lifted” one of the loaves. (What kind of mother does that?)

Now anyone who has the good fortune of being acquainted with my darling Ursala, knows that she would have gladly given me a loaf, had I but asked. But I was desperate! I absolutely had to have a loaf of this bread to take home.

Well the upshot is that, a) she knew immediately who had taken the bread, b) she was happy that I liked her bread so much, and c) SHE SENT ME THE RECIPE!

So dear readers, if someone gives you home grown zucchini, or you have to drive to your local grocery store to procure a zucchini or two, please make this delicious bread at your earliest convenience. It is just lovely.

Thanks again for the recipe my dearest Ursala. I love you to the moon!  

  • 2 c. unbleached all-purpose flour
  • 1 c. whole wheat flour
  • 1 tsp. salt
  • 1 tsp. soda
  • ¼ tsp. baking powder
  • 2 tsp. ground cinnamon
  • ¼ c. sesame seeds
  • ¼ c. sunflower seeds
  • ¾ c. chopped walnuts
  • 3 eggs
  • 1 c. vegetable oil
  • 1½ c. granulated sugar
  • ½ c. brown sugar
  • 2 c. packed grated zucchini (skin on)
  • 2 tsp. vanilla

In a medium sized bowl, whisk together the flours, salt, soda, baking powder, and ground cinnamon. Stir in the sesame seeds, sunflower seeds, and walnuts.

In a large mixing bowl, whisk together the eggs, oil, and sugars. Stir in the grated zucchini and vanilla. Add the flour mixture and stir until just combined.

Pour into 2 or 3 lightly greased loaf pans. Bake in a pre-heated 350 degree oven for 45-60 minutes (depending on how many pans you use) until a pick comes out clean when inserted into the middle of each loaf.

Remove from oven and let rest for 10 minutes before carefully removing from pans onto a wire rack. Cool completely before cutting.

Note: Believe it or not, this bread is best after it’s been frozen for a couple of days or longer. Of course you can eat it the same day it’s baked, but I’m tellin’ you true, it’s better after its spent some quality time with your ice cream!  

ZUCCHINI, CARAMELIZED ONION, AND PEPPER JACK CHEESE GRATIN

I believe I have mentioned before that I love zucchini. And this gratin, based on a recipe I found on the I Breathe I’m Hungry site, is just one more reason why I cherish the fruit of the zucchini plant. And yes, botanically speaking, zucchini is a fruit. A type of botanical berry called a “pepo”, being the swollen ovary of the zucchini flower. (I bet that’s more than you ever wanted to know about a zucchini, right? But I remain adamant about keeping you riveted by information that you most likely would never learn by watching a cooking show on the Food Network. Beneficial “how to” shows like Cupcake Wars or World’s Worst Cooks, for example.) Leaving sarcasm behind, I shall now get back to the real topic of this recipe preface. (Sometimes I just can’t stop myself. I really should have made political analysis my career. But in retrospect, I’m very glad I did not. At least everyone is still speaking to me today, rather than only half the population. What a world we find ourselves in now !!)   

As I was saying, before I was so rudely interrupted by the recently revealed caustic side of my psyche, this gratin recipe perfectly displays the humble zucchini as a star ingredient. OK, the Pepper Jack cheese, caramelized onion, butter, and heavy cream help. But the zucchini is still the team leader.

So if you want a truly delicious, easy to prepare, and perfect vegetarian main dish or side dish, this is the recipe for you. Enjoy 

  • 2 tsp. extra virgin olive oil
  • 1 small yellow onion, finely chopped
  • 2 – 6 or 7-inch zucchini
  • 2 T. unsalted butter
  • ½ tsp. granulated garlic
  • ½ c. heavy whipping cream
  • ¼ tsp. xanthan gum*
  • kosher salt
  • freshly ground black pepper
  • 1½ c. grated Pepper Jack cheese or cheese of choice
  • 1/3 c. grated Parmesan cheese, or more to taste

Heat the olive oil in a fry pan. Add the chopped onion and cook (stirring frequently) over low heat until the onion is nicely caramelized (a light golden brown). Remove from heat and set aside.

Meanwhile, slice the zucchini on the diagonal about ¼-inch thick. Lay the pieces on paper towels. Cover with more paper towels until needed. (This step helps eliminate the cut zucchini from releasing moisture (weeping) while other recipe preparations are being performed.) 

Combine the butter, granulated garlic, heavy cream, and xanthan gum in a small sauce pan. Over low heat, whisk until the butter has melted and the sauce is smooth. Set aside. 

Butter a 7×11 or 9×9-inch casserole, Pyrex pan, or metal baking pan.

Layer 1/3 of the sliced zucchini then 1/3 of the caramelized onion in the greased pan. Season lightly with salt and pepper, then sprinkle with half of the grated Pepper Jack cheese.

Repeat two more times until you have three layers and have used up all of the zucchini, onions, and grated cheese. (There will only be two layers of the Pepper Jack cheese.)

Gently pour the butter and cream mixture evenly over the top. Sprinkle with Parmesan cheese.

Bake in a pre-heated 400 degree oven for about 30 minutes. Turn off the oven and allow the gratin to sit in the cooling oven for 15 minutes. Remove pan from oven and allow gratin to rest for another 10 minutes or longer. (Allowing the casserole to “rest” helps the gratin set up.) Serve warm.

*From the Bob’s Red Mill flour people: “Xanthan Gum is a plant-based thickening and stabilizing agent. It is named for the bacteria, Xanthomonas campestris, which plays a crucial role in this description. Technically speaking, xanthan gum is a polysaccharide, which is just a fancy way to say “a string of multiple sugars.” To create xanthan gum, the Xanthomonas campestris bacterium is allowed to ferment on a sugar. The result is a gel that is then dried and milled to create the powder substance.

Xanthan gum has a number of powerful properties. First, it works as an emulsifier, encouraging liquids that normally don’t like one another to mix together. Second, it works as thickener, increasing the viscosity of liquids and batters. Third, it can create a creamy texture.

In the world of gluten-free baking, xanthan gum plays the crucial role of imitating gluten. In baking, gluten is what makes dough “doughy.” It gives the dough elasticity, as well as viscosity. Those properties help to hold a cookie together while it bakes on a sheet in the oven, and they enable cakes and breads to hold onto the gas bubbles that form inside them – this allows them to rise and take shape. Xanthan gum helps replicate these properties in recipes that do not contain gluten. Shop online today to buy xanthan gum for all your gluten free baking adventures.”