Yesterday morning when I asked Mr. C. what he would like for dinner his immediate response was pasta. Big surprise! And since it was Valentine’s Day and I was receptive to the idea, I decided to honor my dear husbands request and a pasta dish would be on our dinner table that evening. But what kind of pasta? Then I remembered that I had a package of smoked salmon in the refrigerator. So then – smoked salmon pasta seemed the likely choice with some grilled or baked asparagus on the side. But wait! How about adding asparagus to the pasta and serving a nice green salad on the side? So to the internet I proceeded.
And what do you know! I was not the first person to think of adding asparagus to a pasta dish. So taking hints from several posted recipes, and borrowing ingredient ideas from a smoked salmon tortellini recipe I had on file, I came up with this dish.
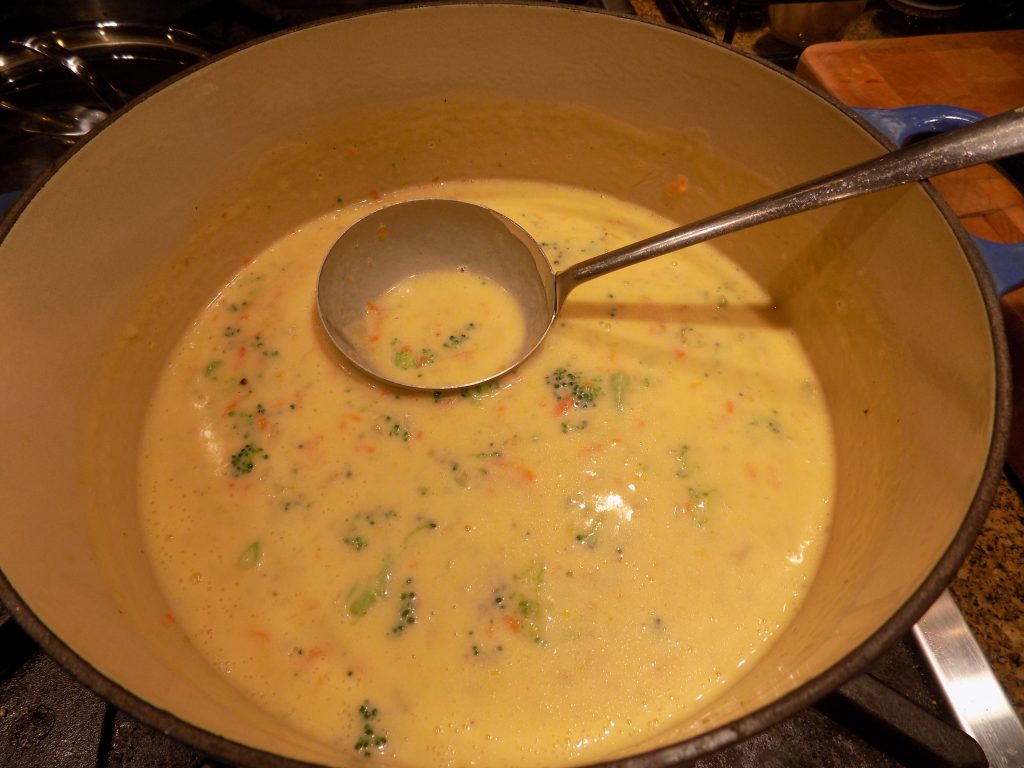
Now, the first thing I liked about this dish when I dug into it last evening was the creaminess. Then the little bit of tang from the lemon zest, lemon juice, white wine, and capers hit my palate. And finally, the smoky and savory flavor of the salmon caught up. The result was a quite complex and satisfying blend of yumminess.
So if you too love smoked salmon and like to feature it as an ingredient, I recommend that you give this recipe a try. It’s very easy to prepare and can easily be assembled even on a work night. And good enough for company? You bet. Serve it with a crunchy green salad and Garlic Toast (recipe on site) and your guests will forever thank you for all the effort you went to on their behalf. (You need not tell them the ease of preparation on this dish. That can just be our little secret.) Cheers!
2 T. olive oil
1 lg. shallot, finely chopped
10 asparagus spears, bottom ends trimmed off; top ends cut on the diagonal into 1-inch pieces
2 lg. cloves garlic, minced
¼ c. dry white wine
1 small lemon, zested and juiced
¼ tsp. kosher salt
freshly ground black pepper
1 c. whole milk
8 oz. (lg. pkg.) cream cheese, room temp., cut into large chunks
2 T. drained capers
2 T. minced fresh parsley
8 oz. smoked salmon, roughly chopped or torn into bite sized pieces
8 oz. linguini, fettucine, or spaghetti cooked al dente (save some of the cooking water)
2 T. chopped fresh chives, opt.
Heat the olive oil in a large frying pan over medium heat. Add the shallot and asparagus; sauté until tender, about 5-7 minutes. Add the garlic and cook for 1 minute. Pour in the wine and cook until all the moisture is evaporated. Add the lemon zest and juice, salt, and pepper.
Stir in the milk and bring to a simmer. Add the cream cheese and stir until melted. Add the capers, parsley, and salmon. Bring to just under a boil. Add the cooked pasta and some of the pasta water if needed to reach desired consistency. (I used about a cup last evening.) Serve sprinkled with chives.