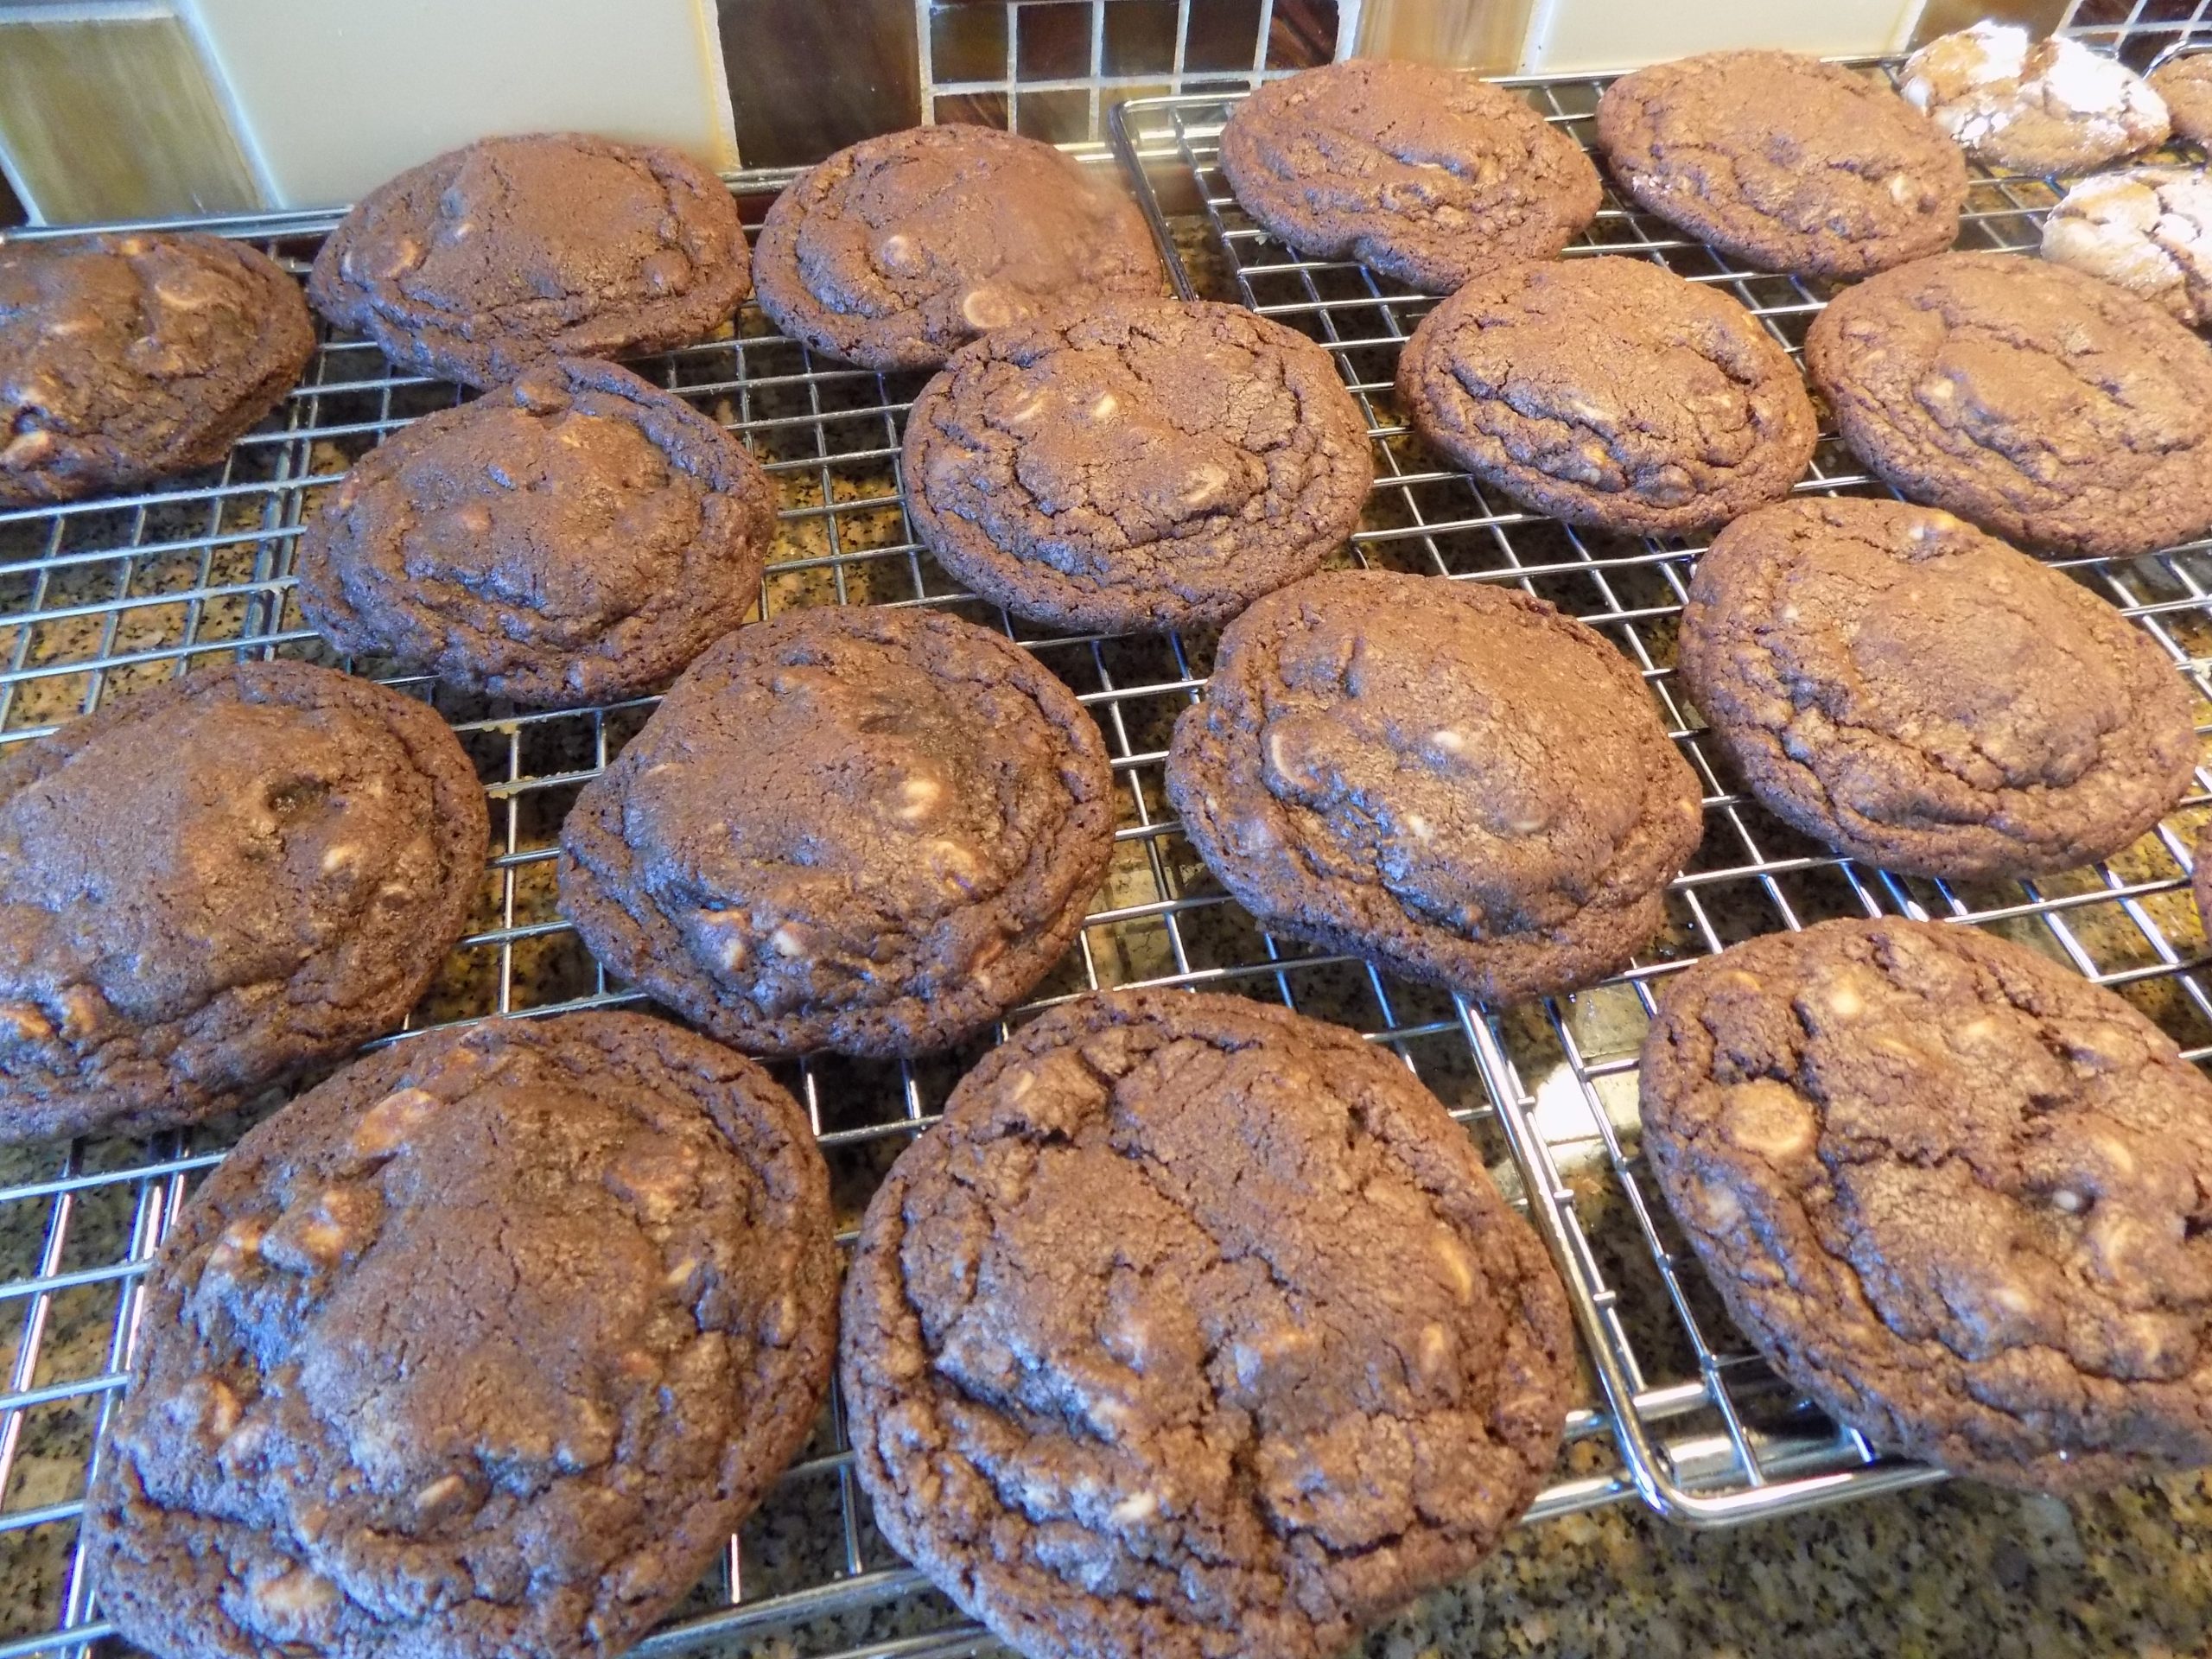
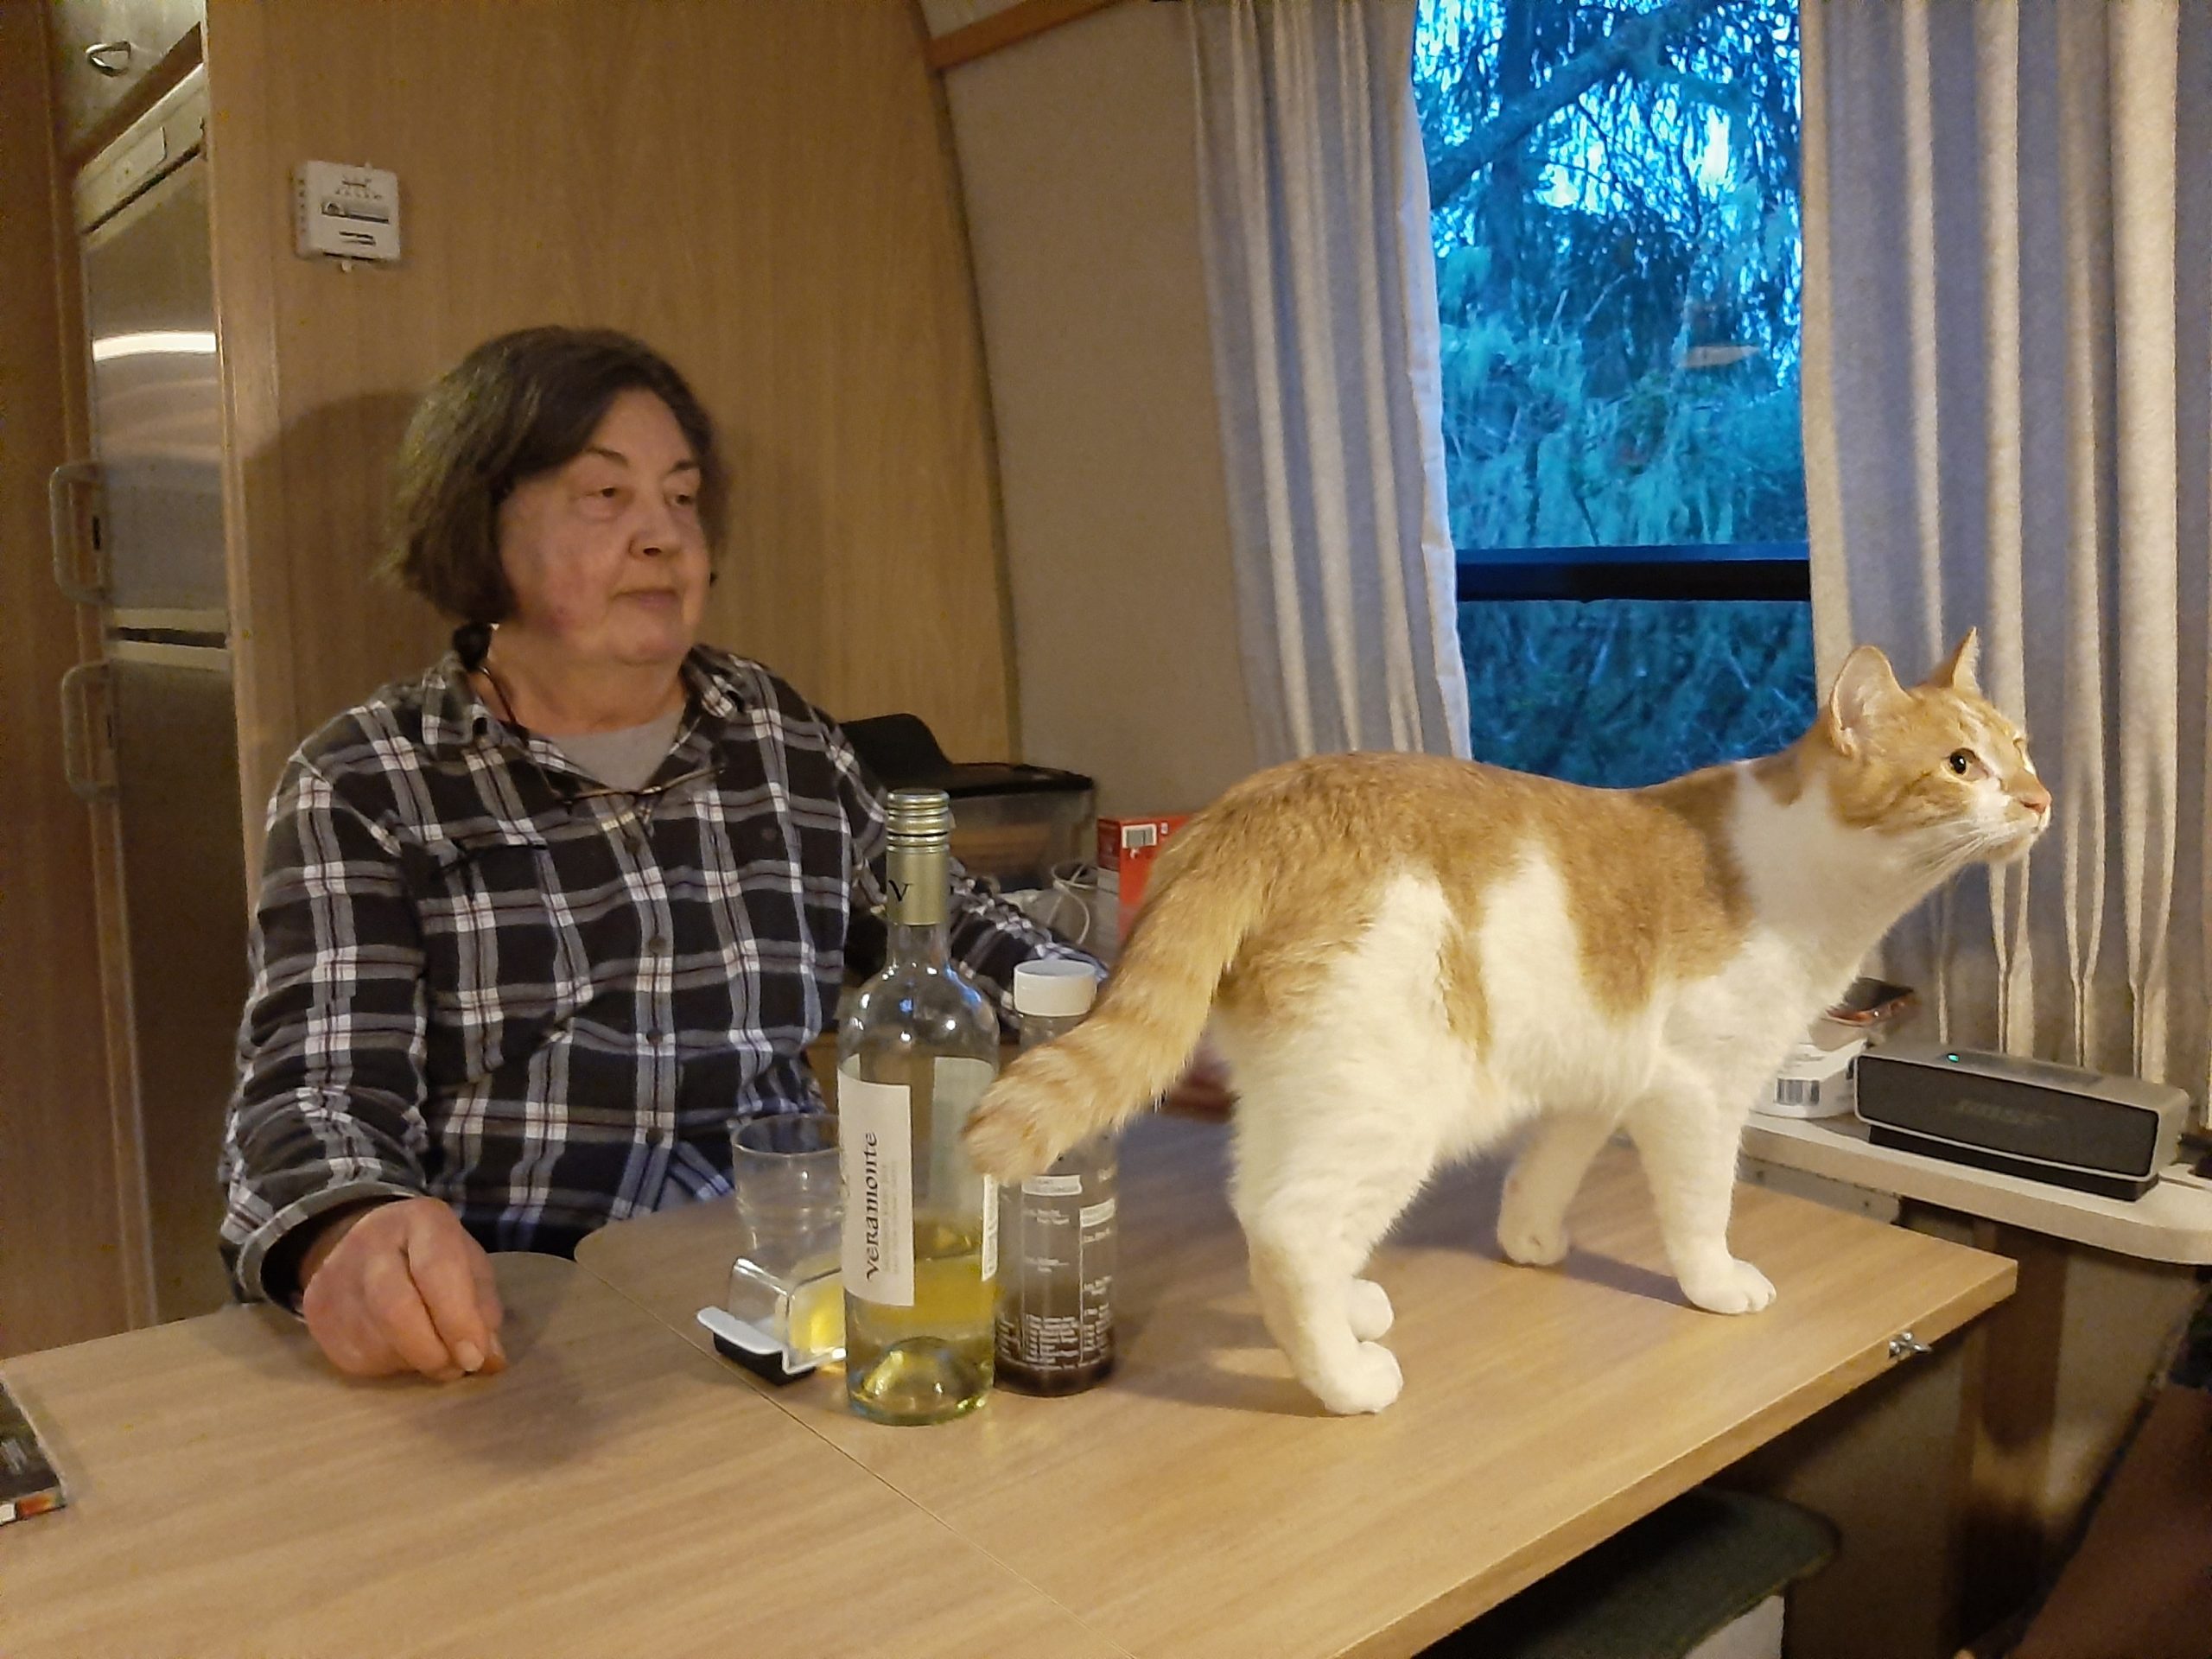
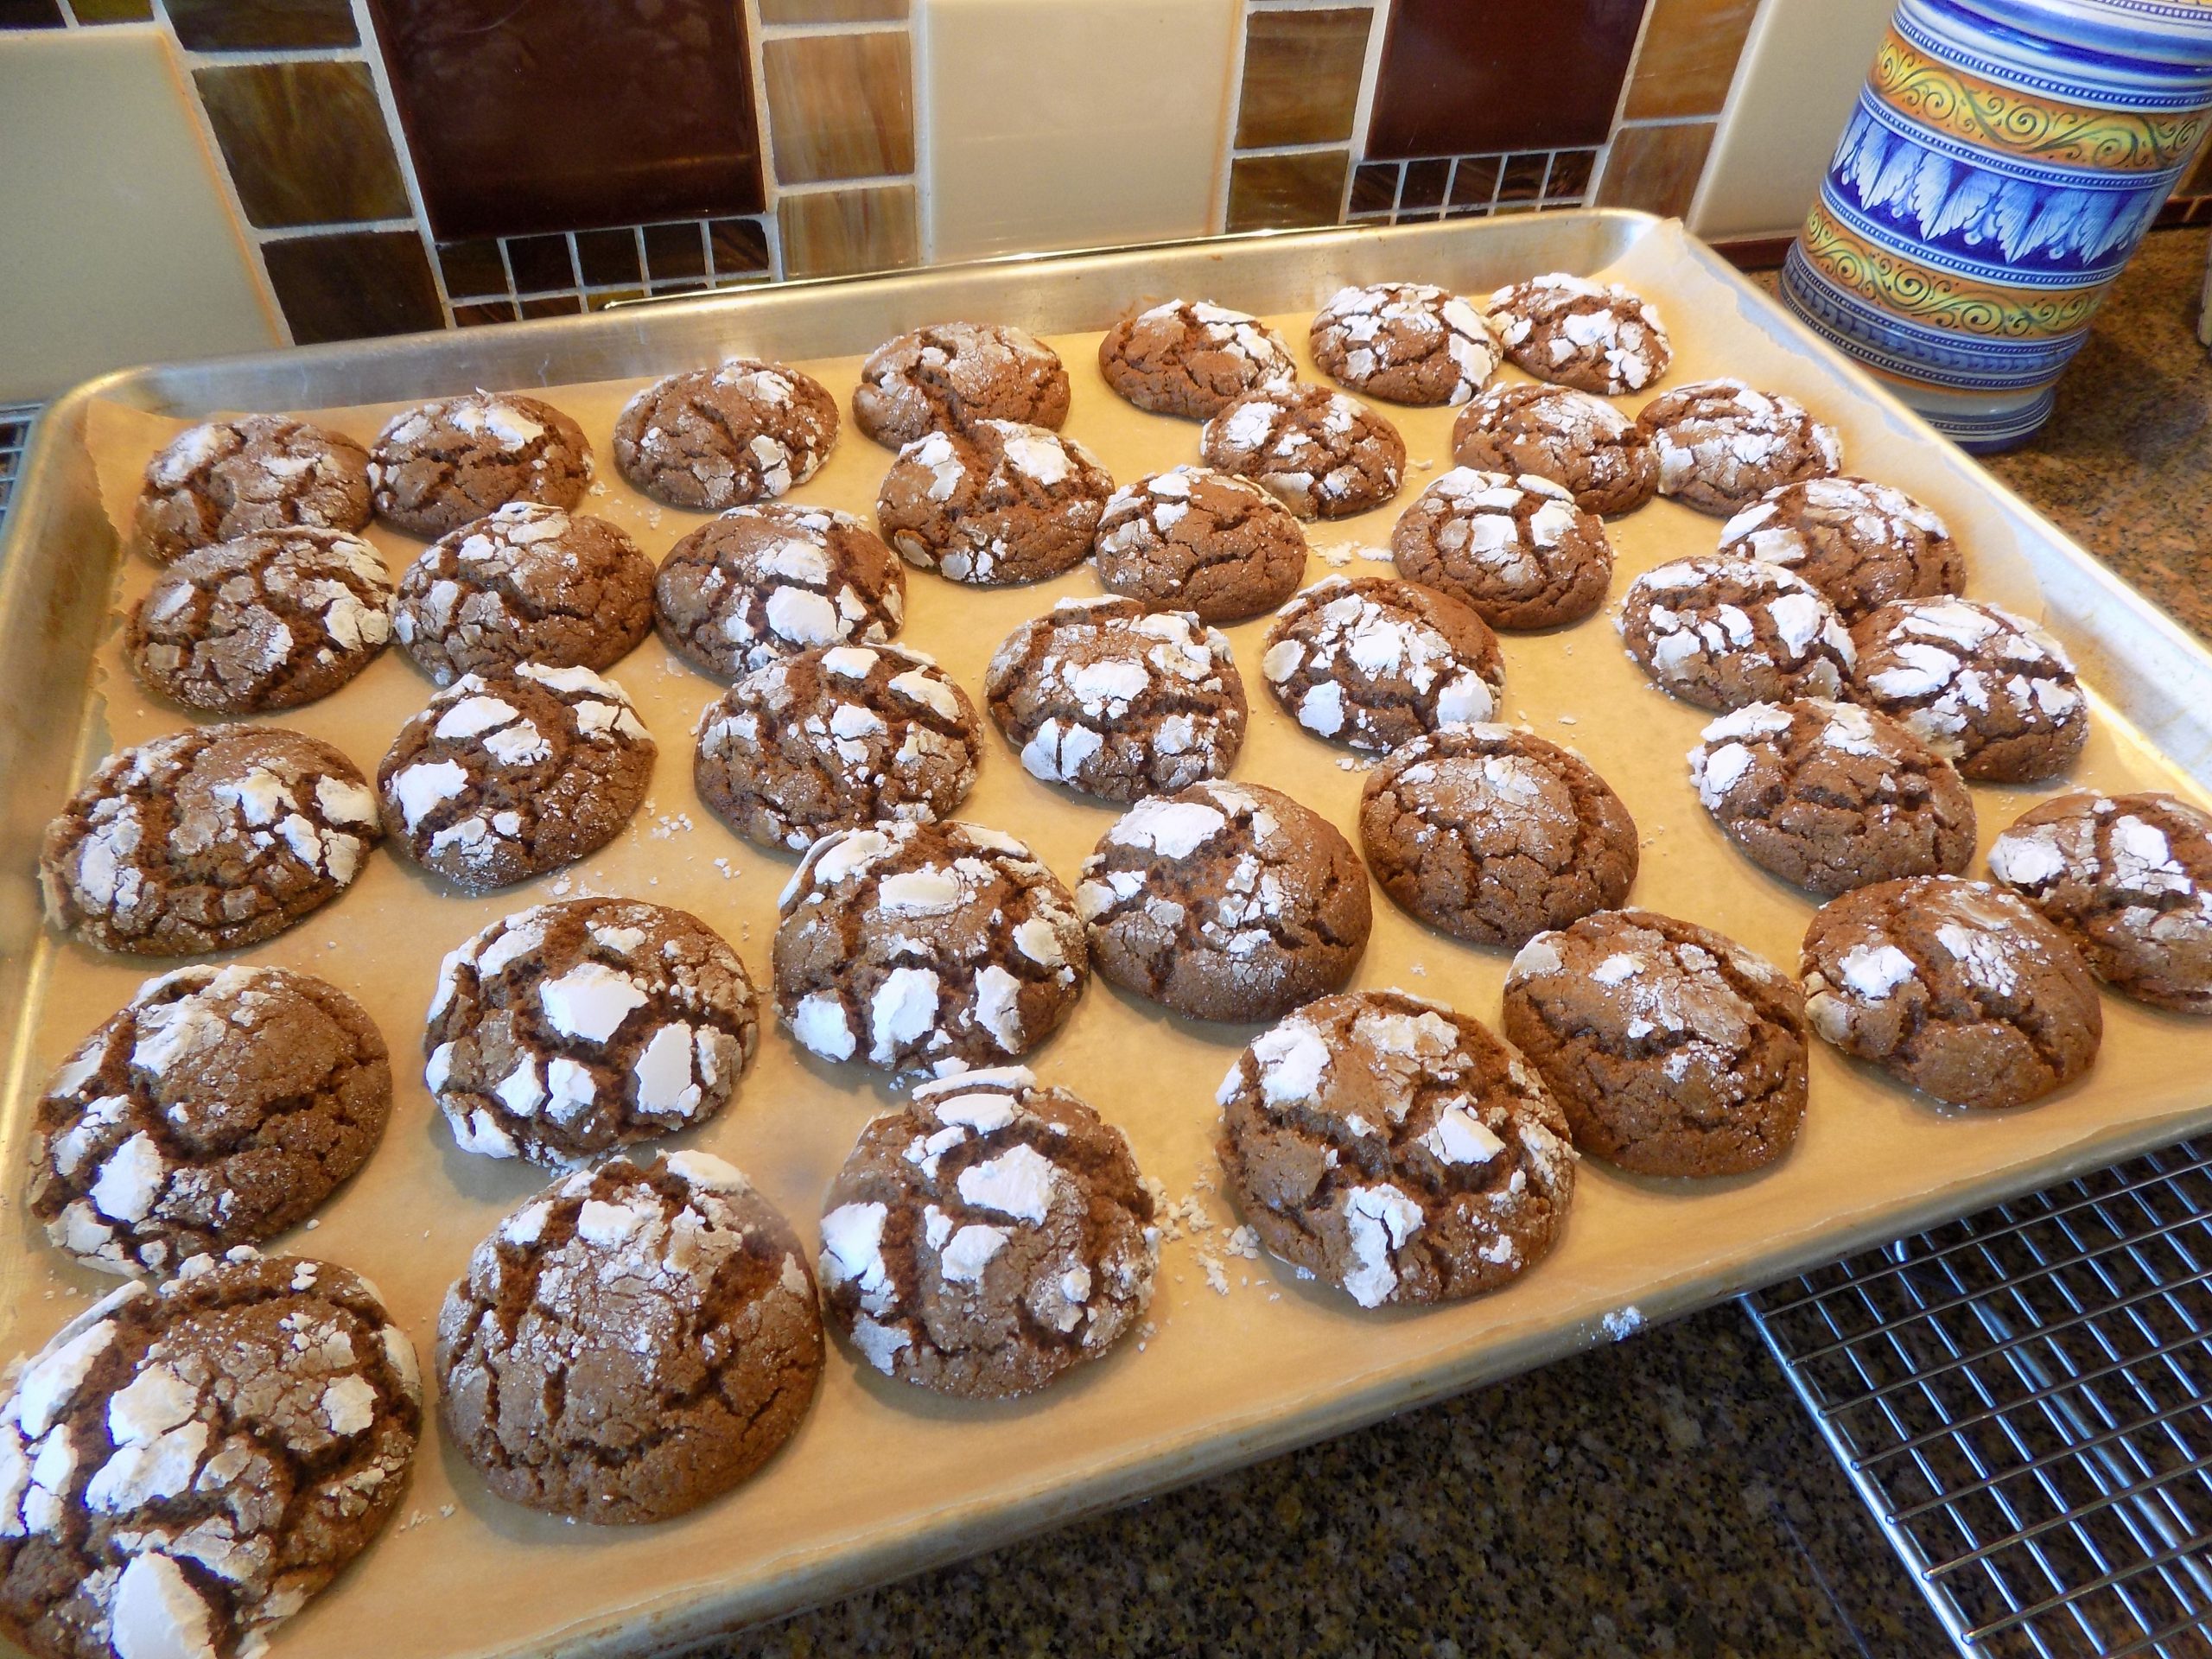
KNOCKOFF LEVAIN BAKERY DARK CHOCOLATE PEANUT BUTTER CHIP COOKIES
And yes, I am a copy-cat. But the Levain Bakery knockoff cookies I have made so far are all the best in class as far as I’m concerned. (And isn’t it really just all about me?) Of course, it is! (Believe me, excluding various recipes for adult beverages which Mr. C. happens to like that I wouldn’t drink even if I could replace some of the jerks in Washington DC with intelligent, well informed, capable people of my choice, I would never consider posting recipes for dishes I don’t like myself and hope to enjoy again in the future!) So, yes absolutely – it’s really just all about me! And these cookies are the best chocolate peanut butter cookies I have ever tasted!
Anyway, just trust me. These cookies are amazing, and very easy to build. Of course, you must love chocolate and peanut butter. And in combination. But then if you didn’t like this terrific duo, you wouldn’t be reading this recipe to begin with. So, never mind. The only thing left to say is – make these ASAP.
I made a batch for the trailer trip we just completed, and they were a smashing success. The smashing primarily happening because, for the trip, I stored them in a gallon freezer bag. Not my best idea. So, I certainly would not recommend that you store them the same way. A nice sturdy box like airtight container would have been such a better choice. In the bag they became a bit crumbled while riding in the microwave. (One of the areas in our trailer used for storage until such time as the original purpose is required.) But Mr. C. assures me the crumbs were wonderful on ice cream. (I wasn’t offered a taste, so I only have his word on the subject. Ahem. But I trust his judgement, so I’ll take his word for it. This time!)
Anyway – make these cookies, you will be glad you did.
As always, take joy in whatever you are doing. We have such a short time on earth, and then, well who knows? If there is a heaven, and I sincerely hope there is, I plan to bake and eat cookies every day. (I’ve heard you can’t gain weight in heaven.) So, I figure I had better have a few great recipes, like this one, memorized for all eternity. Because my plan is to make and eat these babies on a regular basis. (My idea of heaven!)
Peace and love to all.
1 c. (2 sticks) cold unsalted butter, cut into small cubes
1 c. brown sugar
½ c. granulated sugar
2 lg. eggs
1 tsp. vanilla
½ c. good dark cocoa powder
1 c. cake flour, fluffed
1½ c. unbleached all-purpose flour, fluffed
1 tsp. cornstarch
¾ tsp. baking soda
1 tsp. coarse sea salt
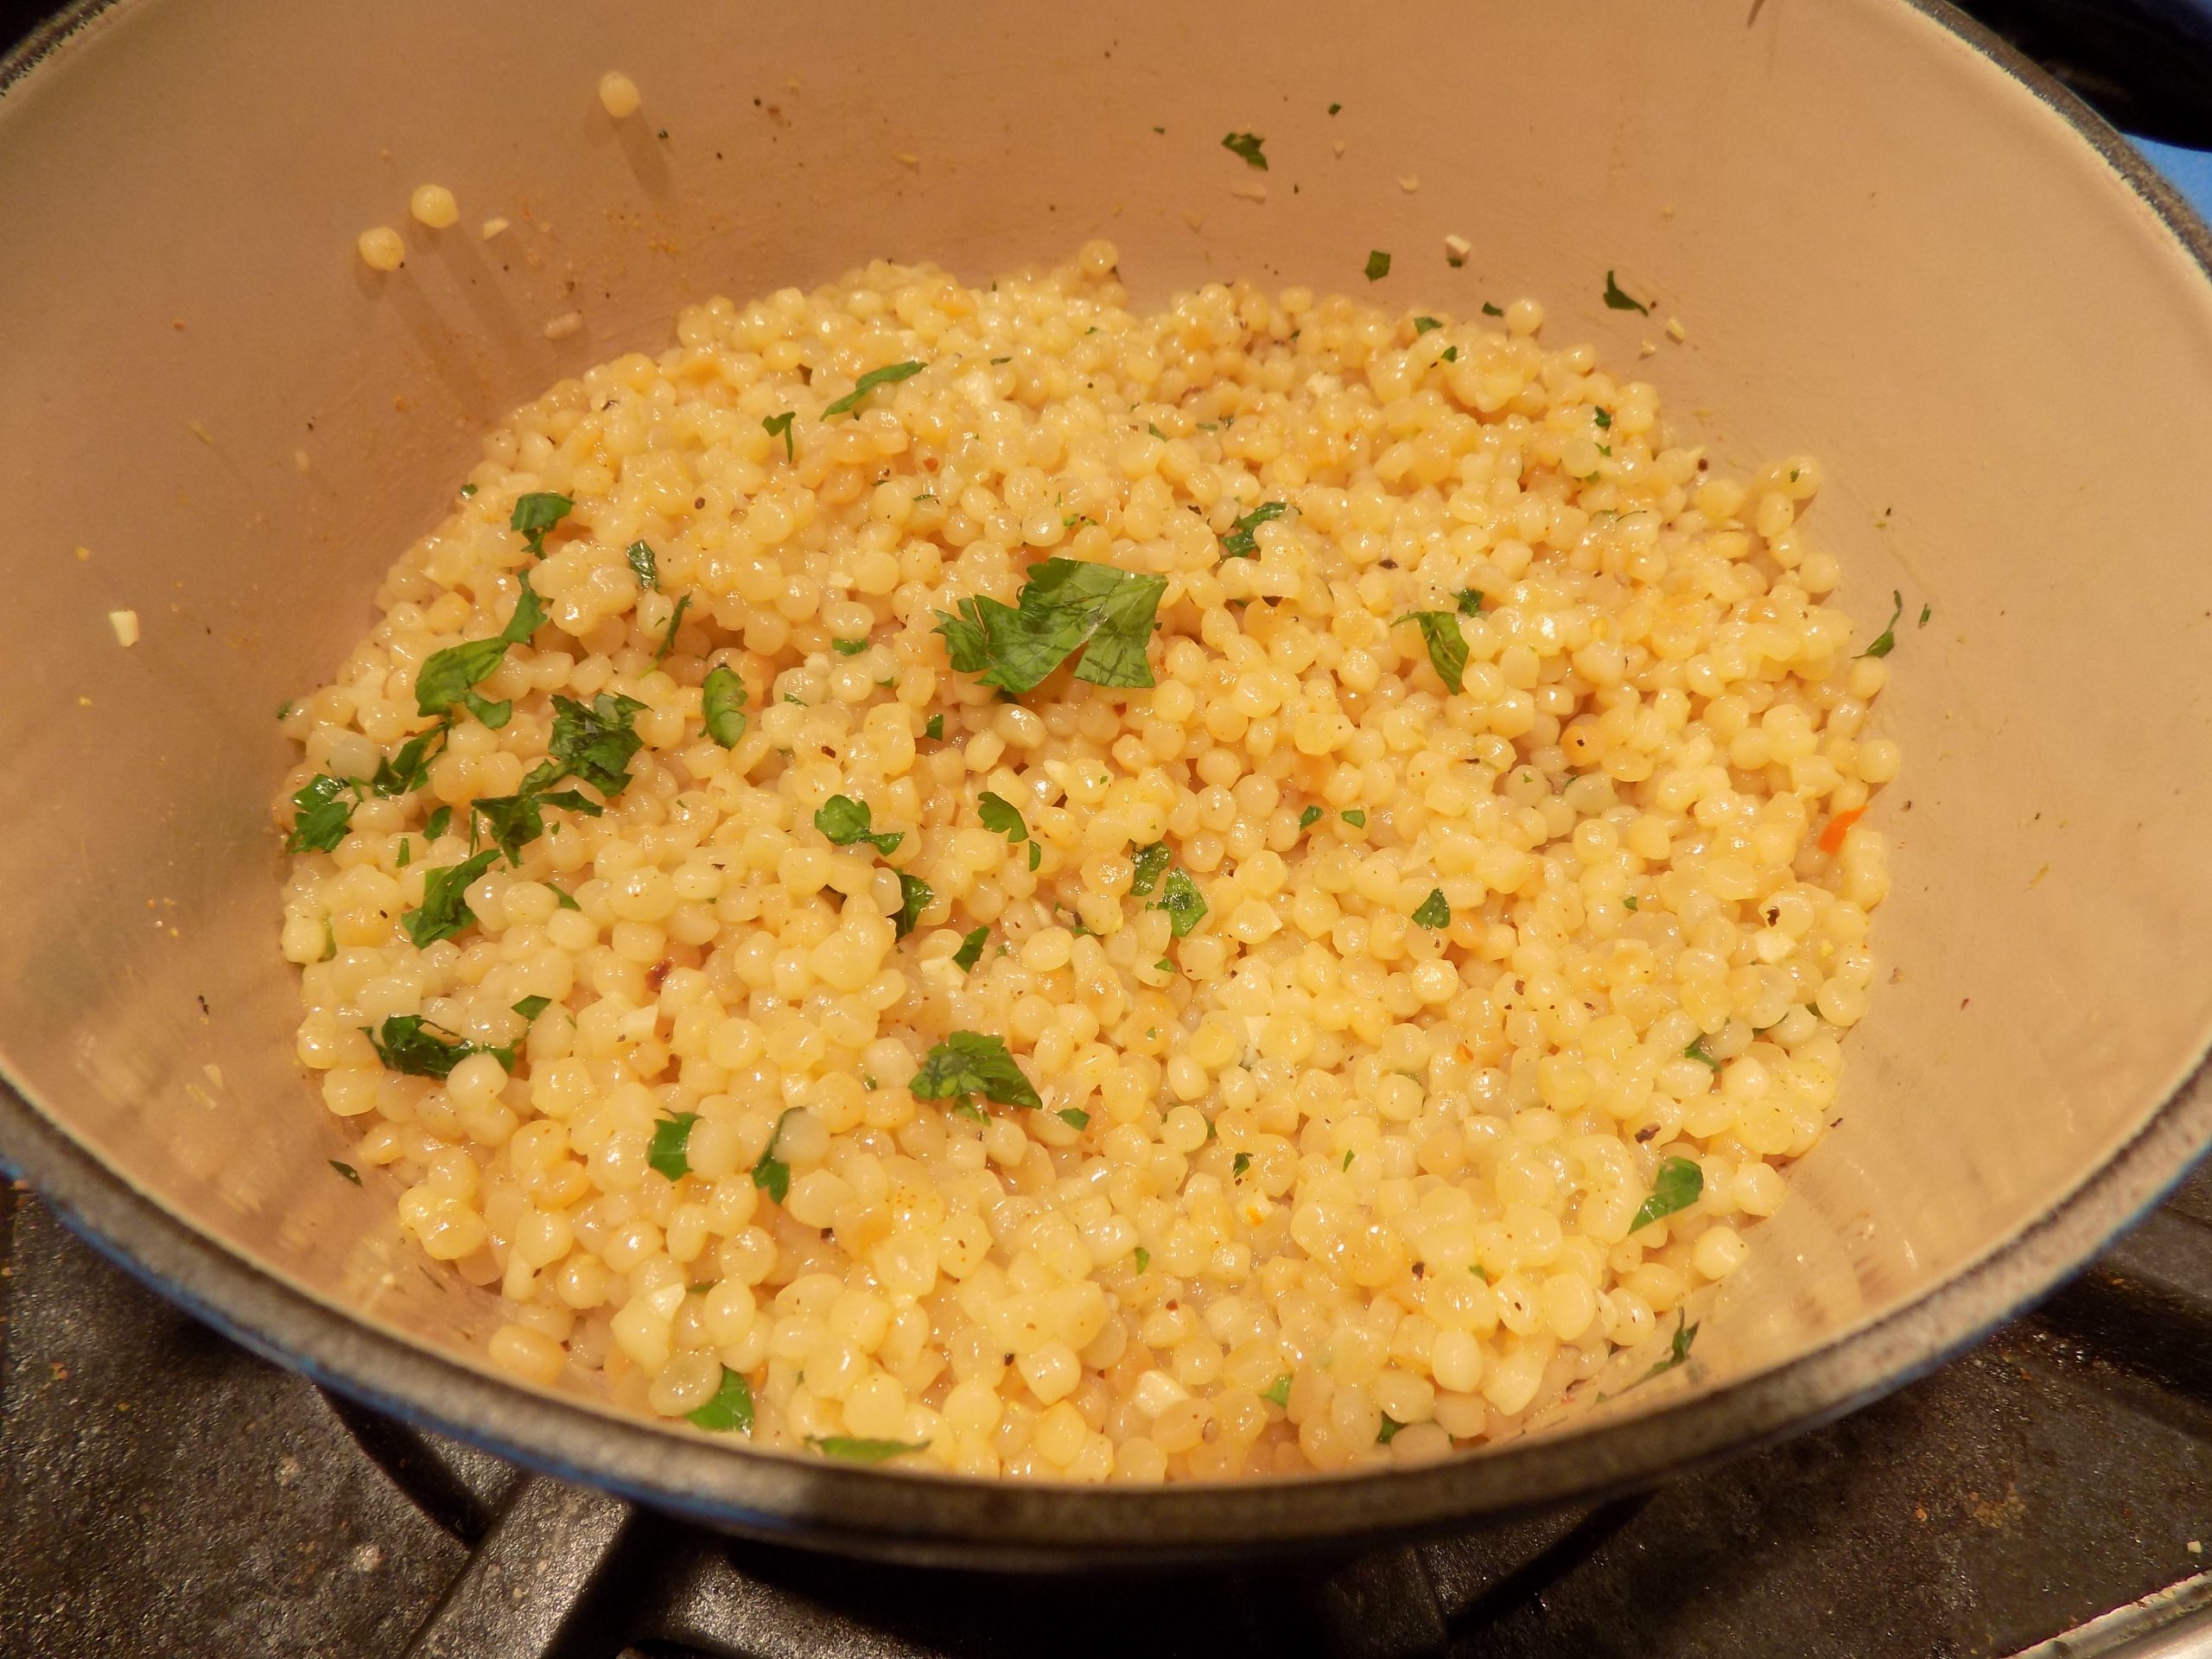
1½ c. peanut butter chips (I use a 10-oz. pkg. Reese’s Peanut Butter Chips)
Place the butter, brown sugar, and granulated sugar in the bowl of your stand mixer. Using the paddle attachment, beat the butter and sugars on medium low speed until smooth and completely blended, about 4 minutes. Add the eggs and vanilla. Beat just until the eggs are incorporated with the butter/sugar mixture.
In a small mixing bowl, whisk the cocoa powder, cake flour, all-purpose flour, cornstarch, baking soda, and salt together. Add to the wet ingredients and mix only until combined. Add the peanut butter chips, and again, mix only until combined. Chill the dough for 10 minutes.
Divide the dough into 16 equal parts, about 3-ounces each, or as equally portioned as possible. I cheat. I slightly round the dough in my #16 (¼ cup) ice cream scoop. (My scoop has a green handle.)
Drop dough onto parchment paper or silicone mat lined baking pans about 3 inches apart. (I use three half sheet (roughly 18 x 13-inch) baking pans. Six cookies on sheets 1 & 2. Four cookies on sheet number 3.) Refrigerate for about an hour. (To make life easier on myself, and because I don’t have room in my refrigerator for 3 sheet pans, I plop the balls of dough close together on one of the parchment paper lined pans. Then I refrigerate the whole mess. When I’m ready to bake the little darlings, I take 6 from the fridge and place on another of the parchment paper lined baking sheets. The others dough balls I just leave in the fridge until I am ready to bake them off.)
Press down ever so gently on the top of each cookie before baking in a pre-heated 400-degree oven for 9-11 minutes or until the top looks set. The inside will still feel quite soft or under-baked. That’s exactly what you want.
Remove from oven and let the cookies rest for at least 10 minutes before transferring to a wire rack to cool completely.
Store in an airtight container at room temperature.
This is basically a trip log so that Andy and I can remember the fun times we shared when we get to the point where we can’t even remember each other’s name. If you choose to read this, please remember it was written primarily for our own benefit and the benefit of our family and friends. It is definitely not a travel guide, but there are some interesting facts about the places we visited documented along the way. Well, at least of interest to us. And lots of pictures.
So, pour yourself a nice cool drink, put your feet up, and come along for the ride.
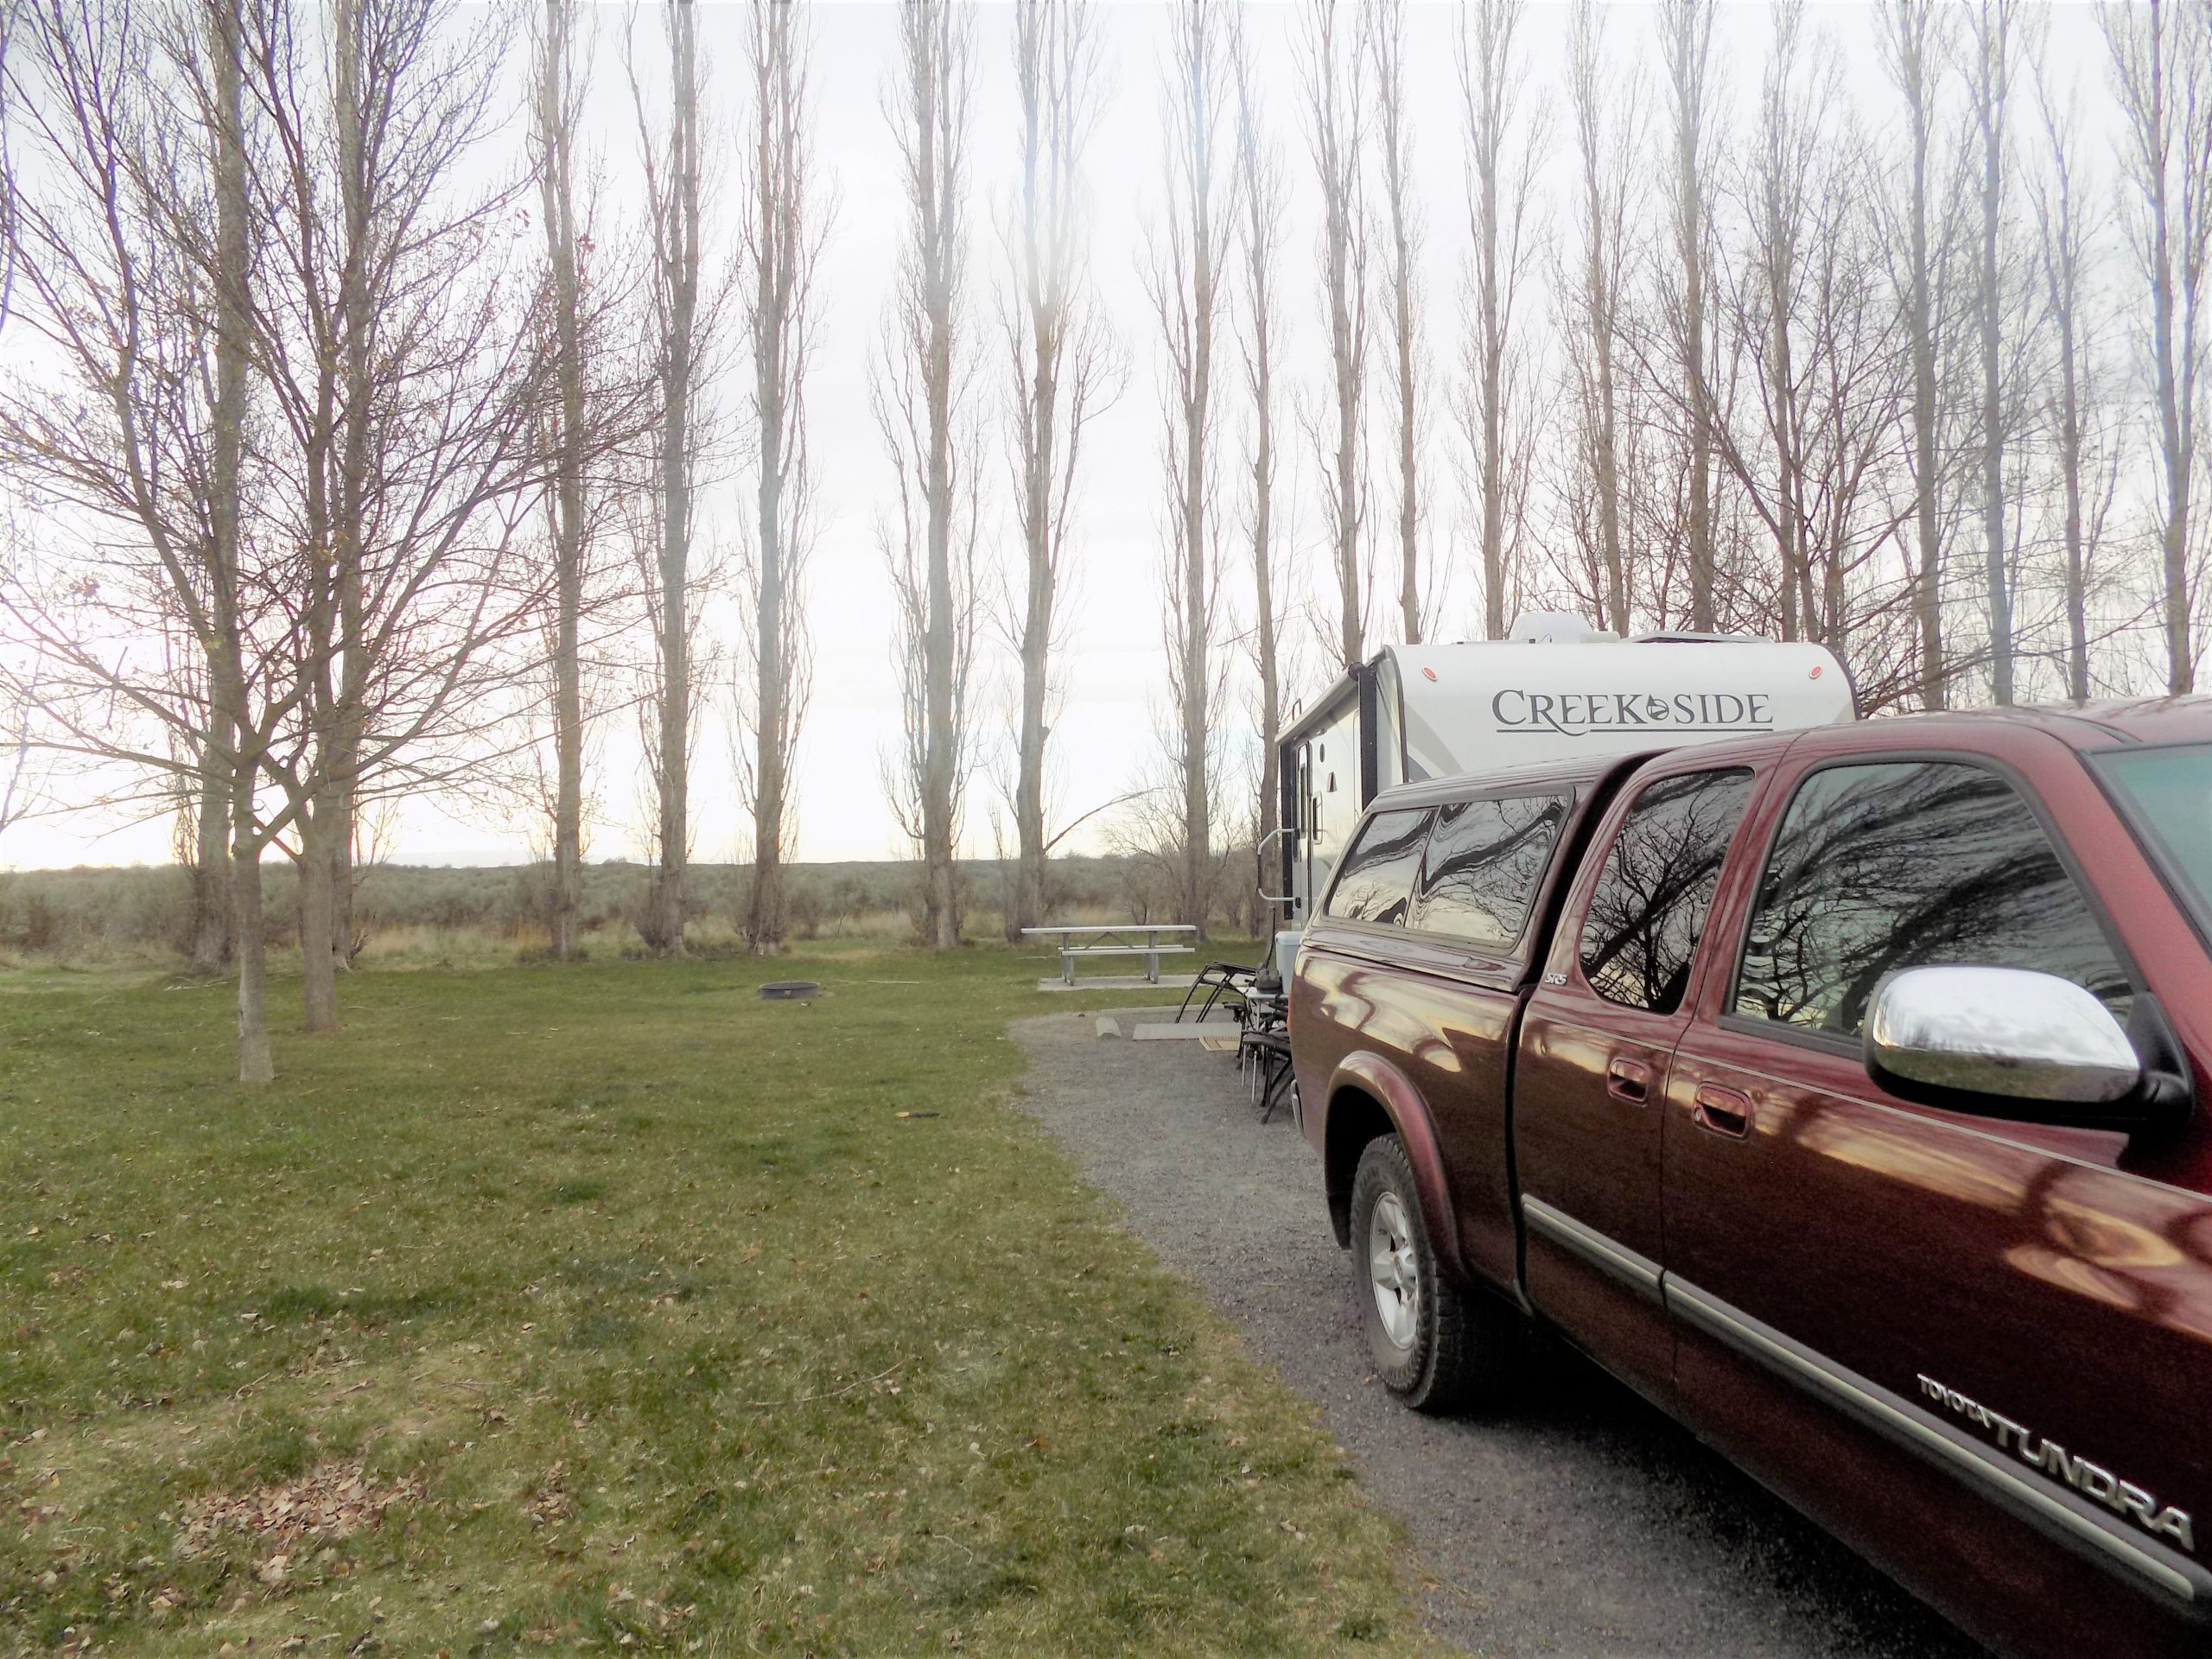
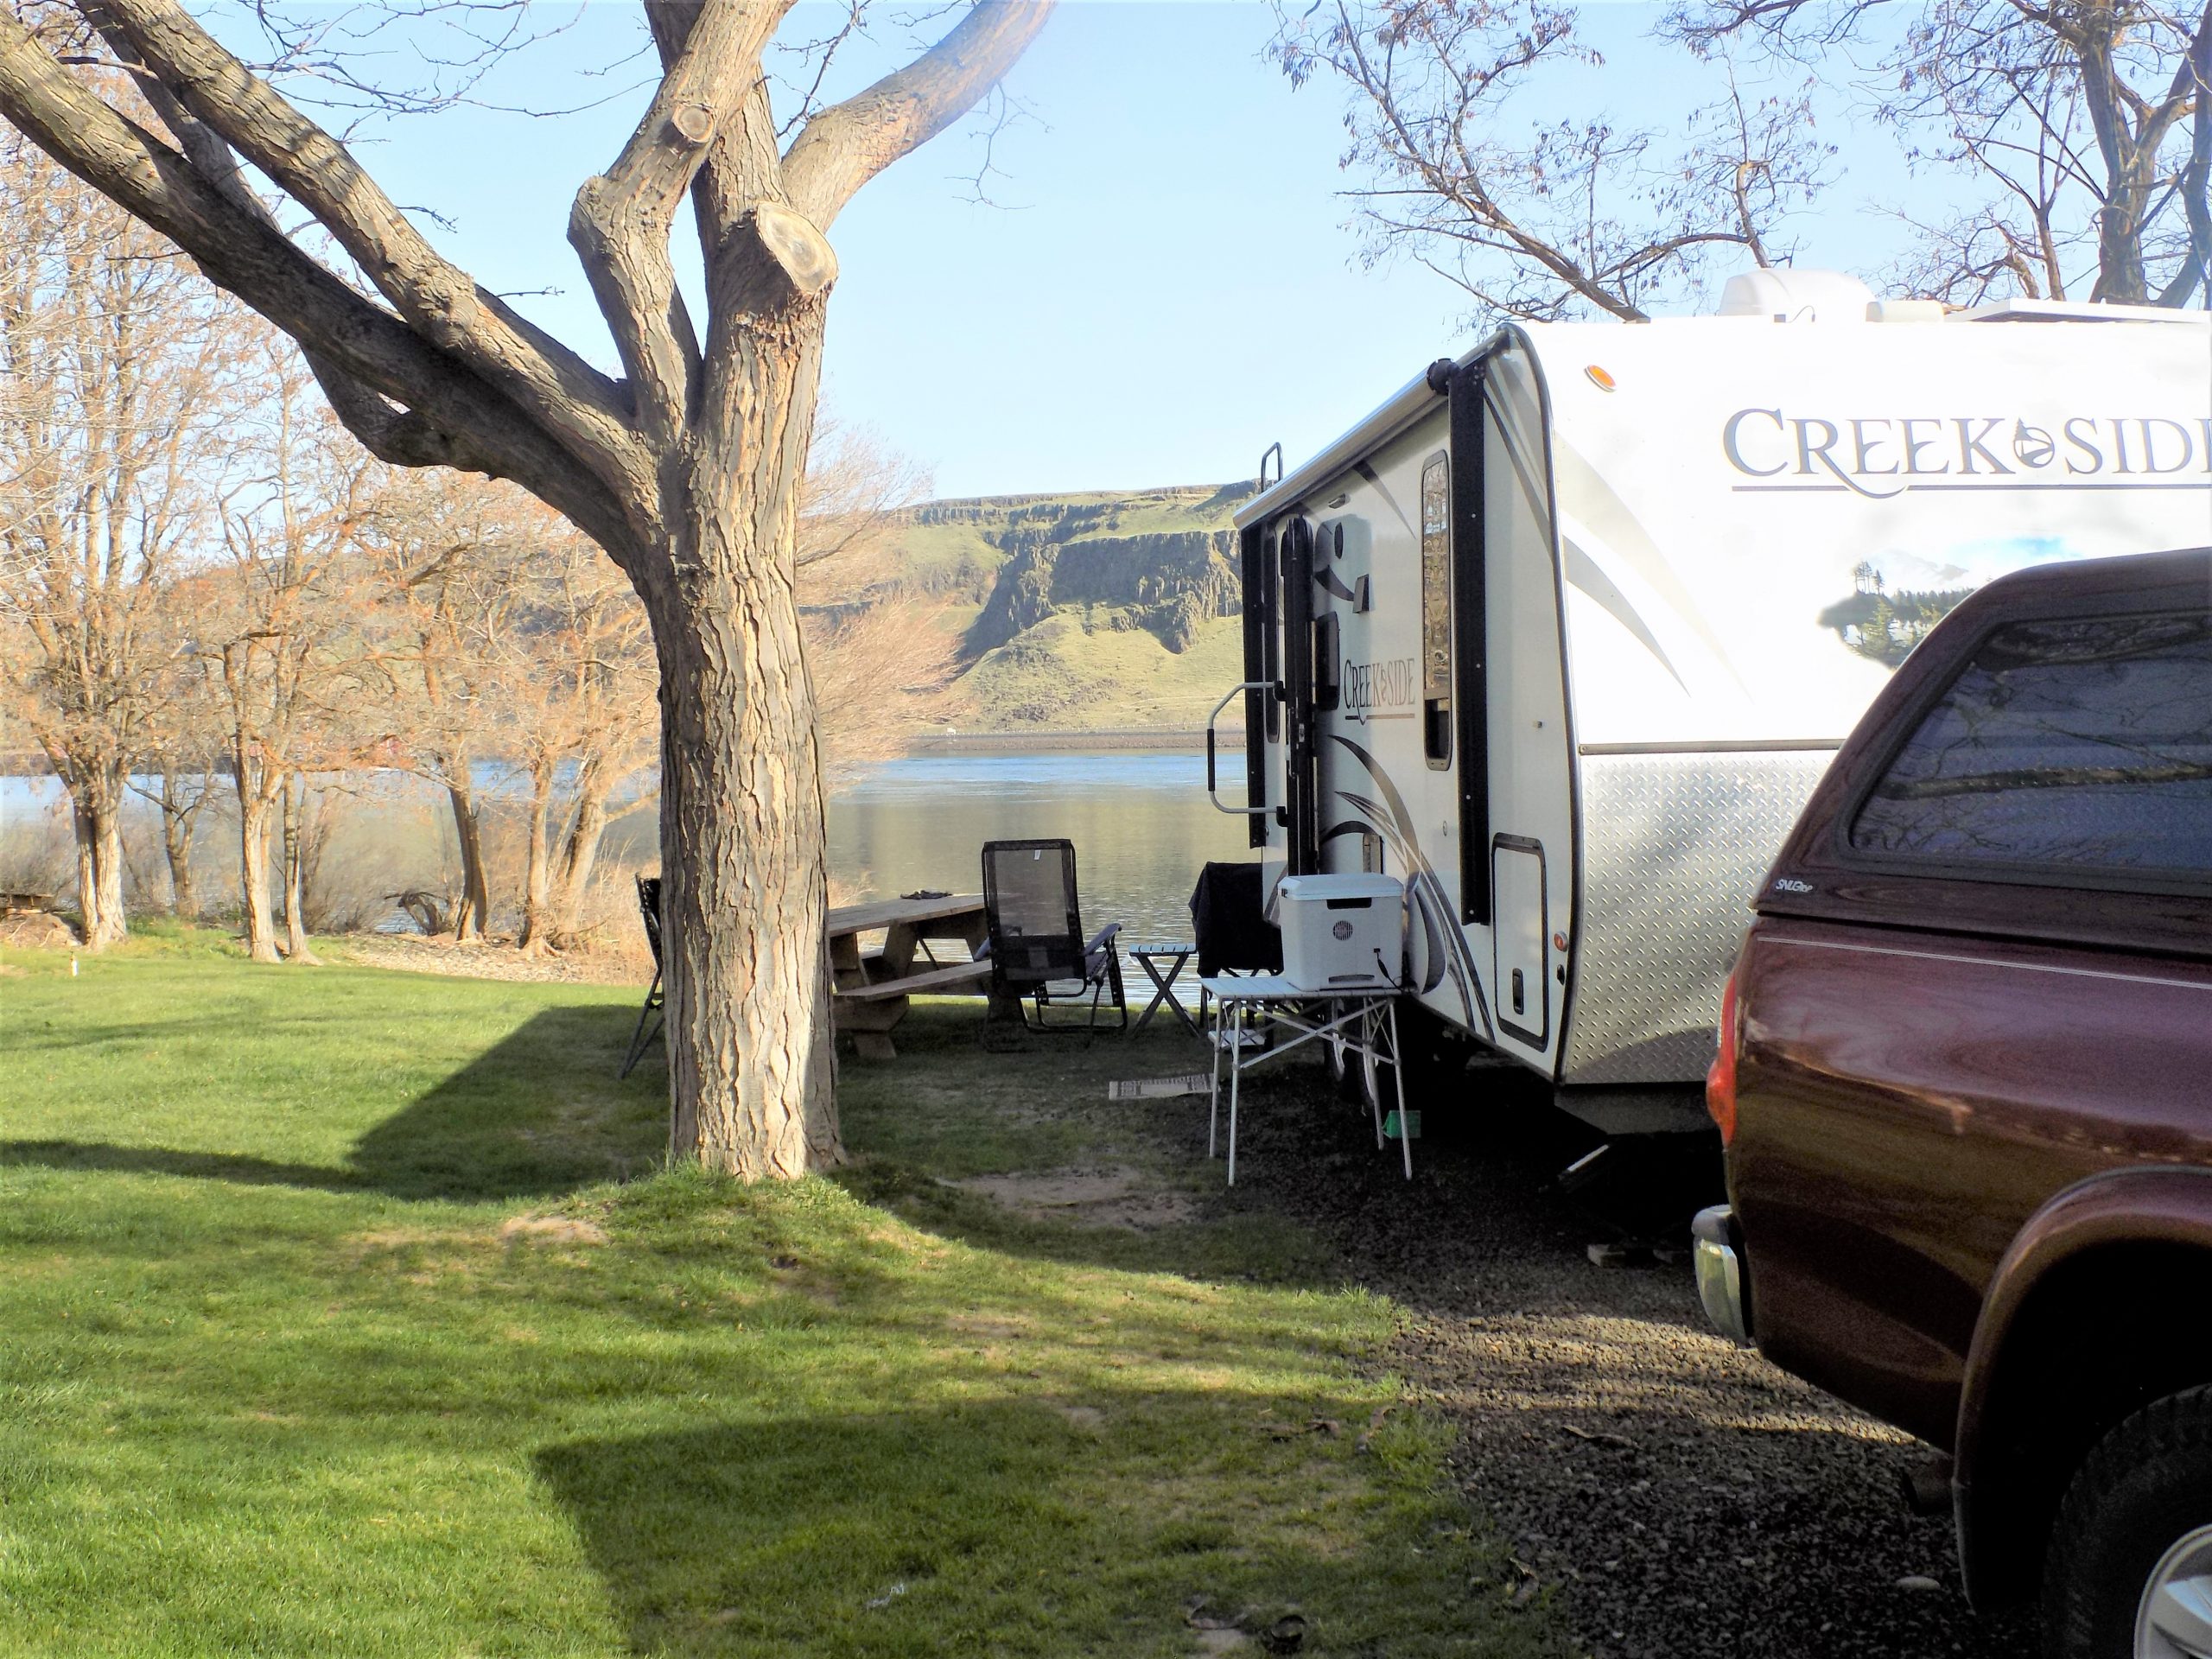
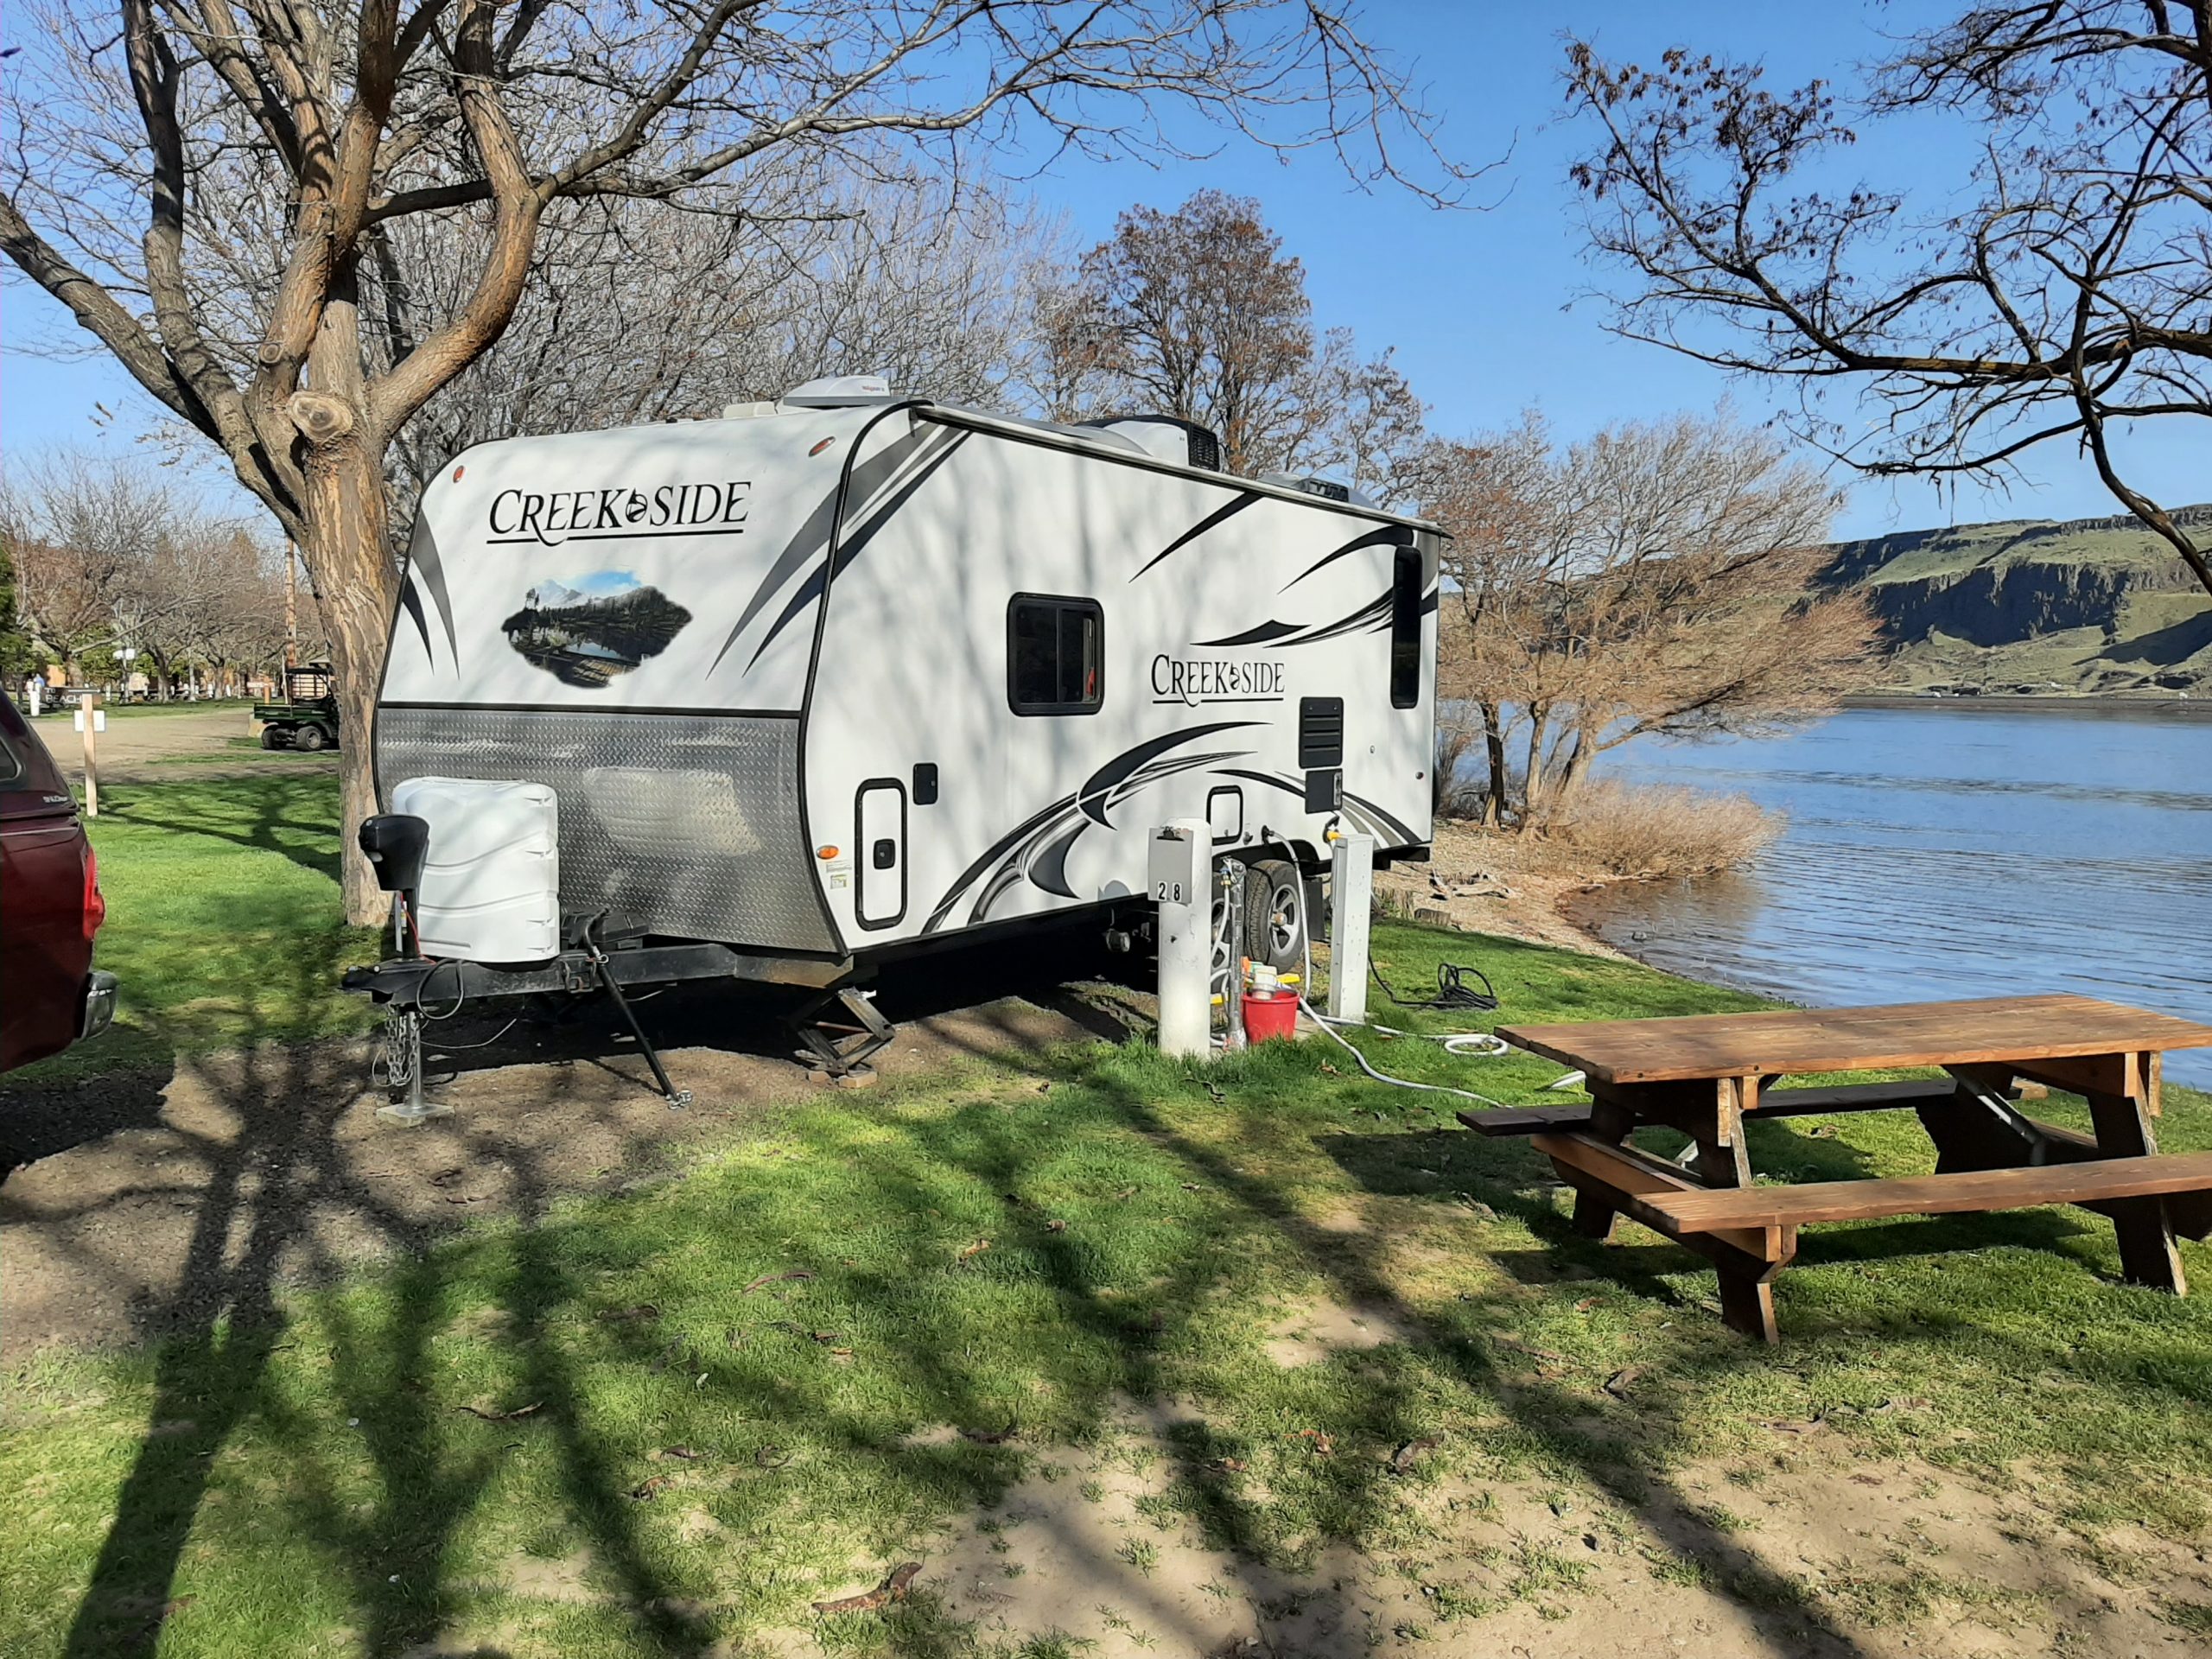
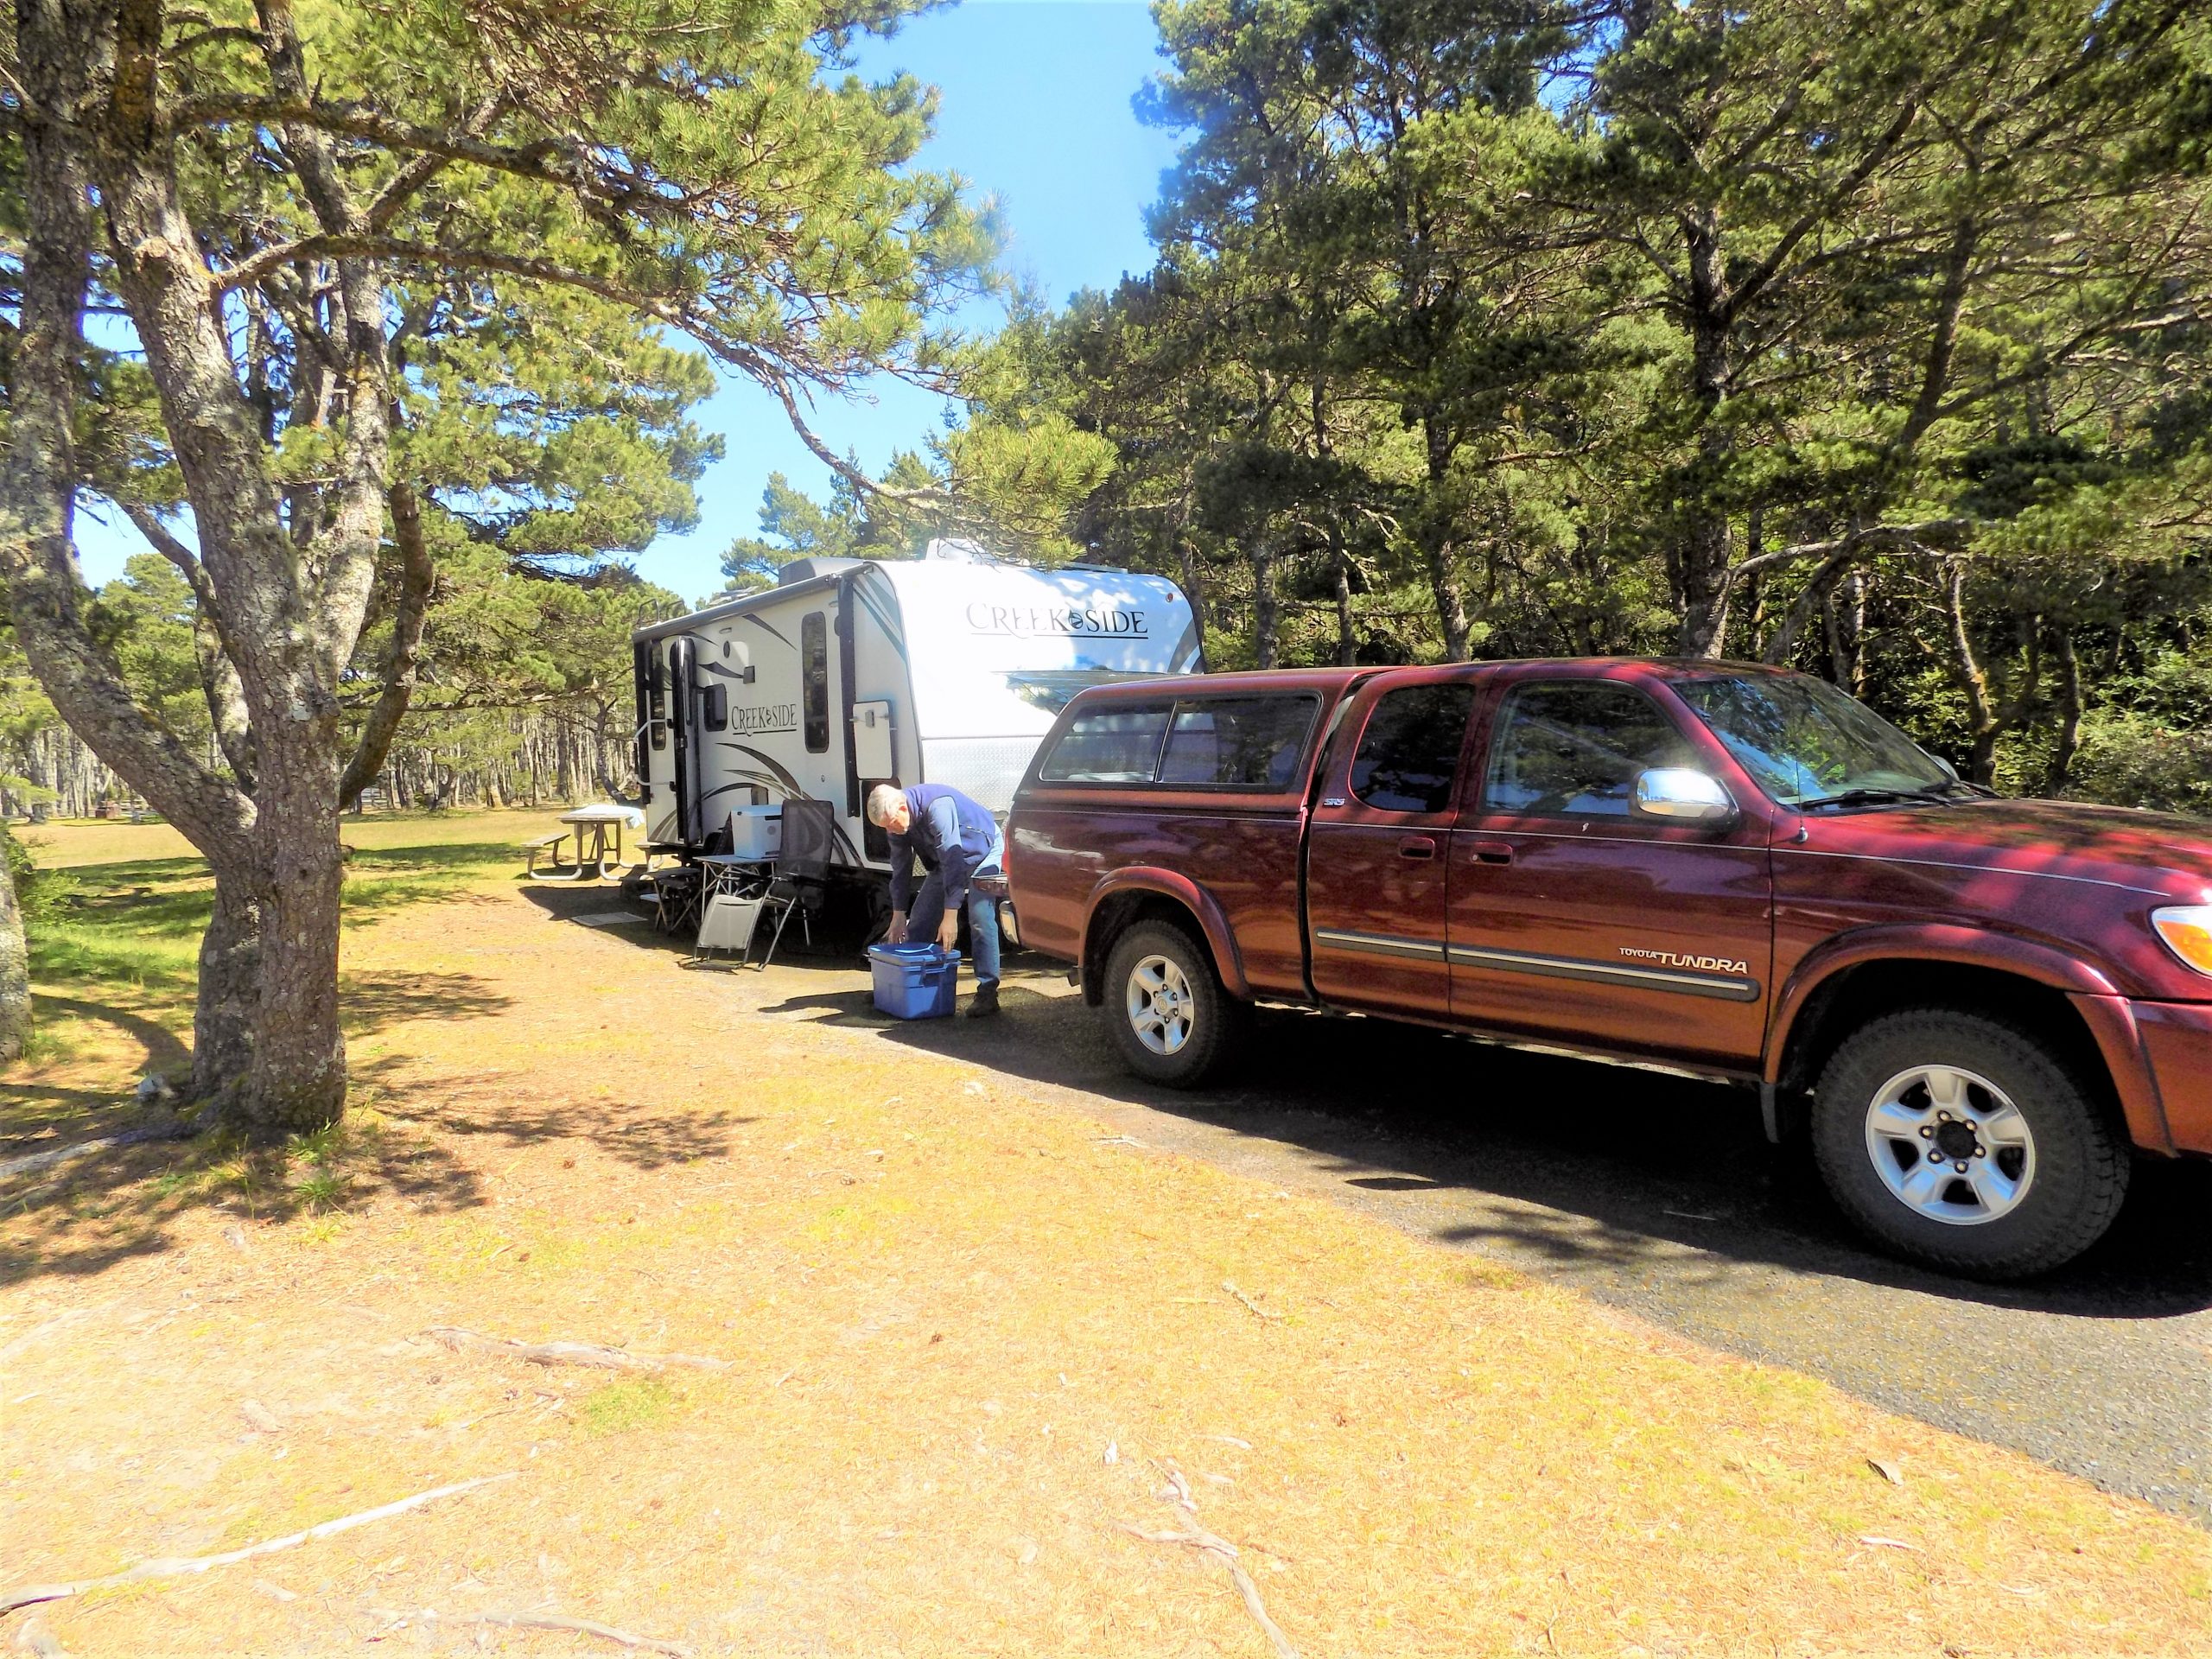
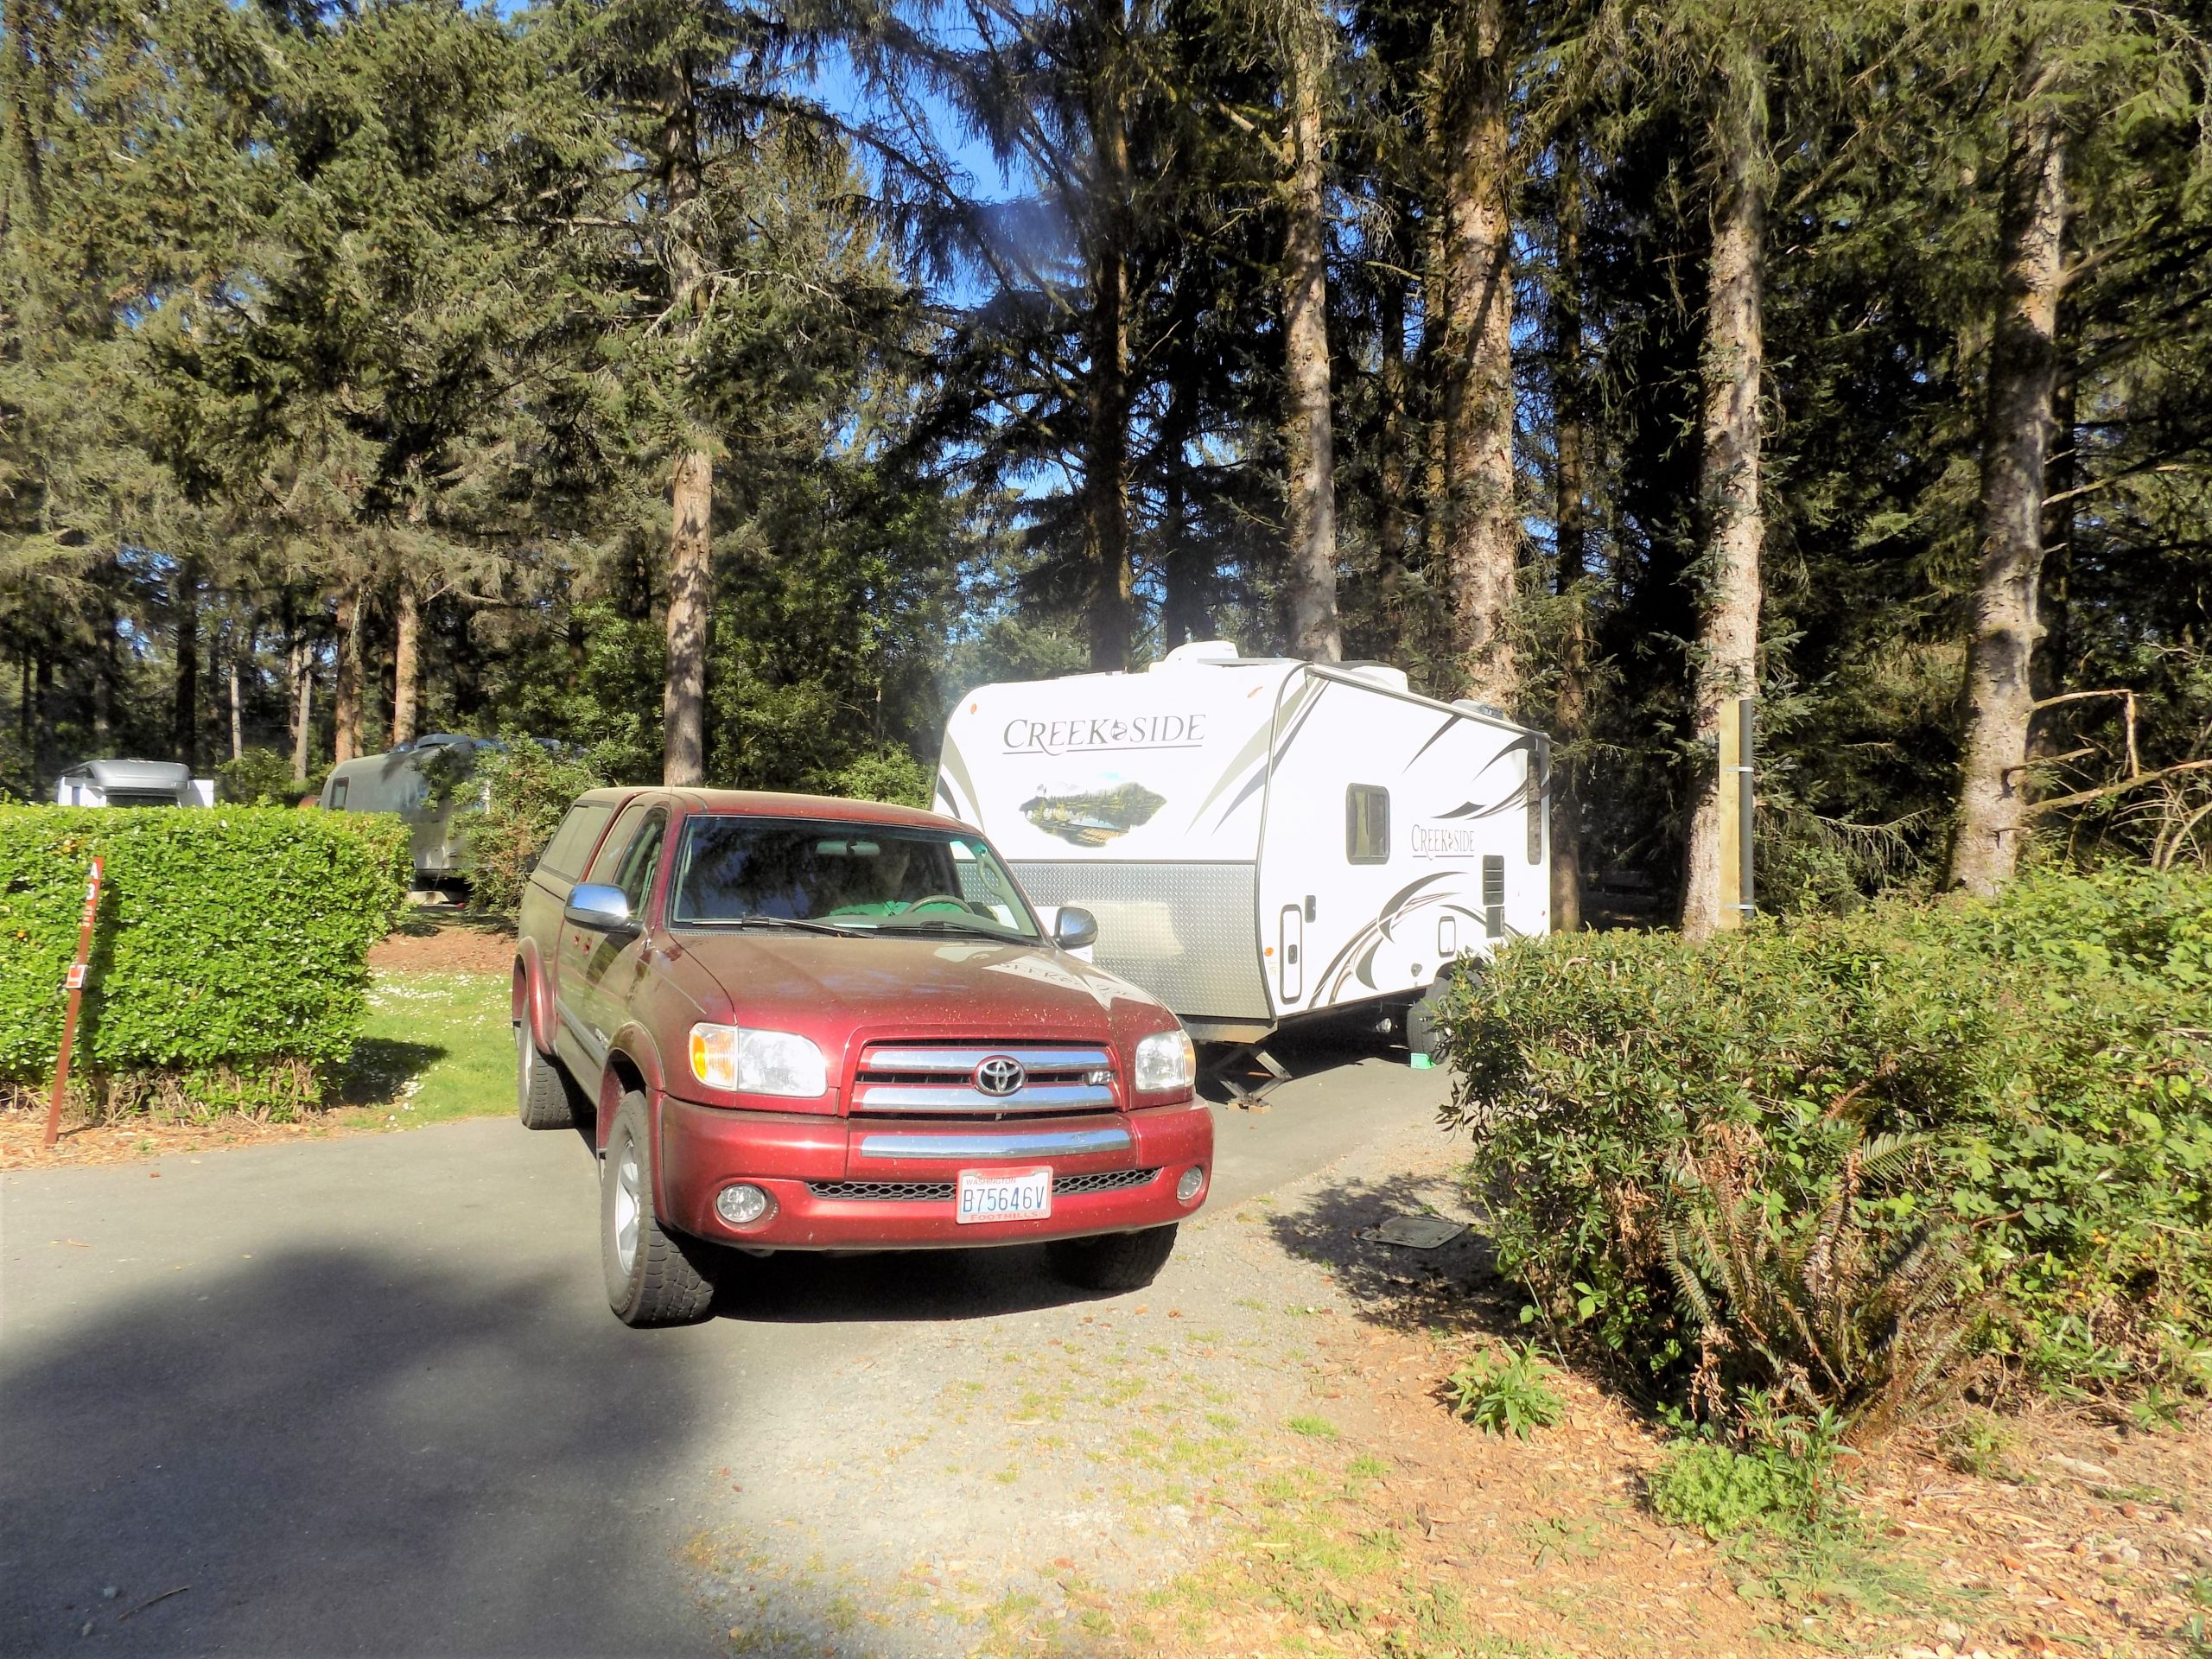
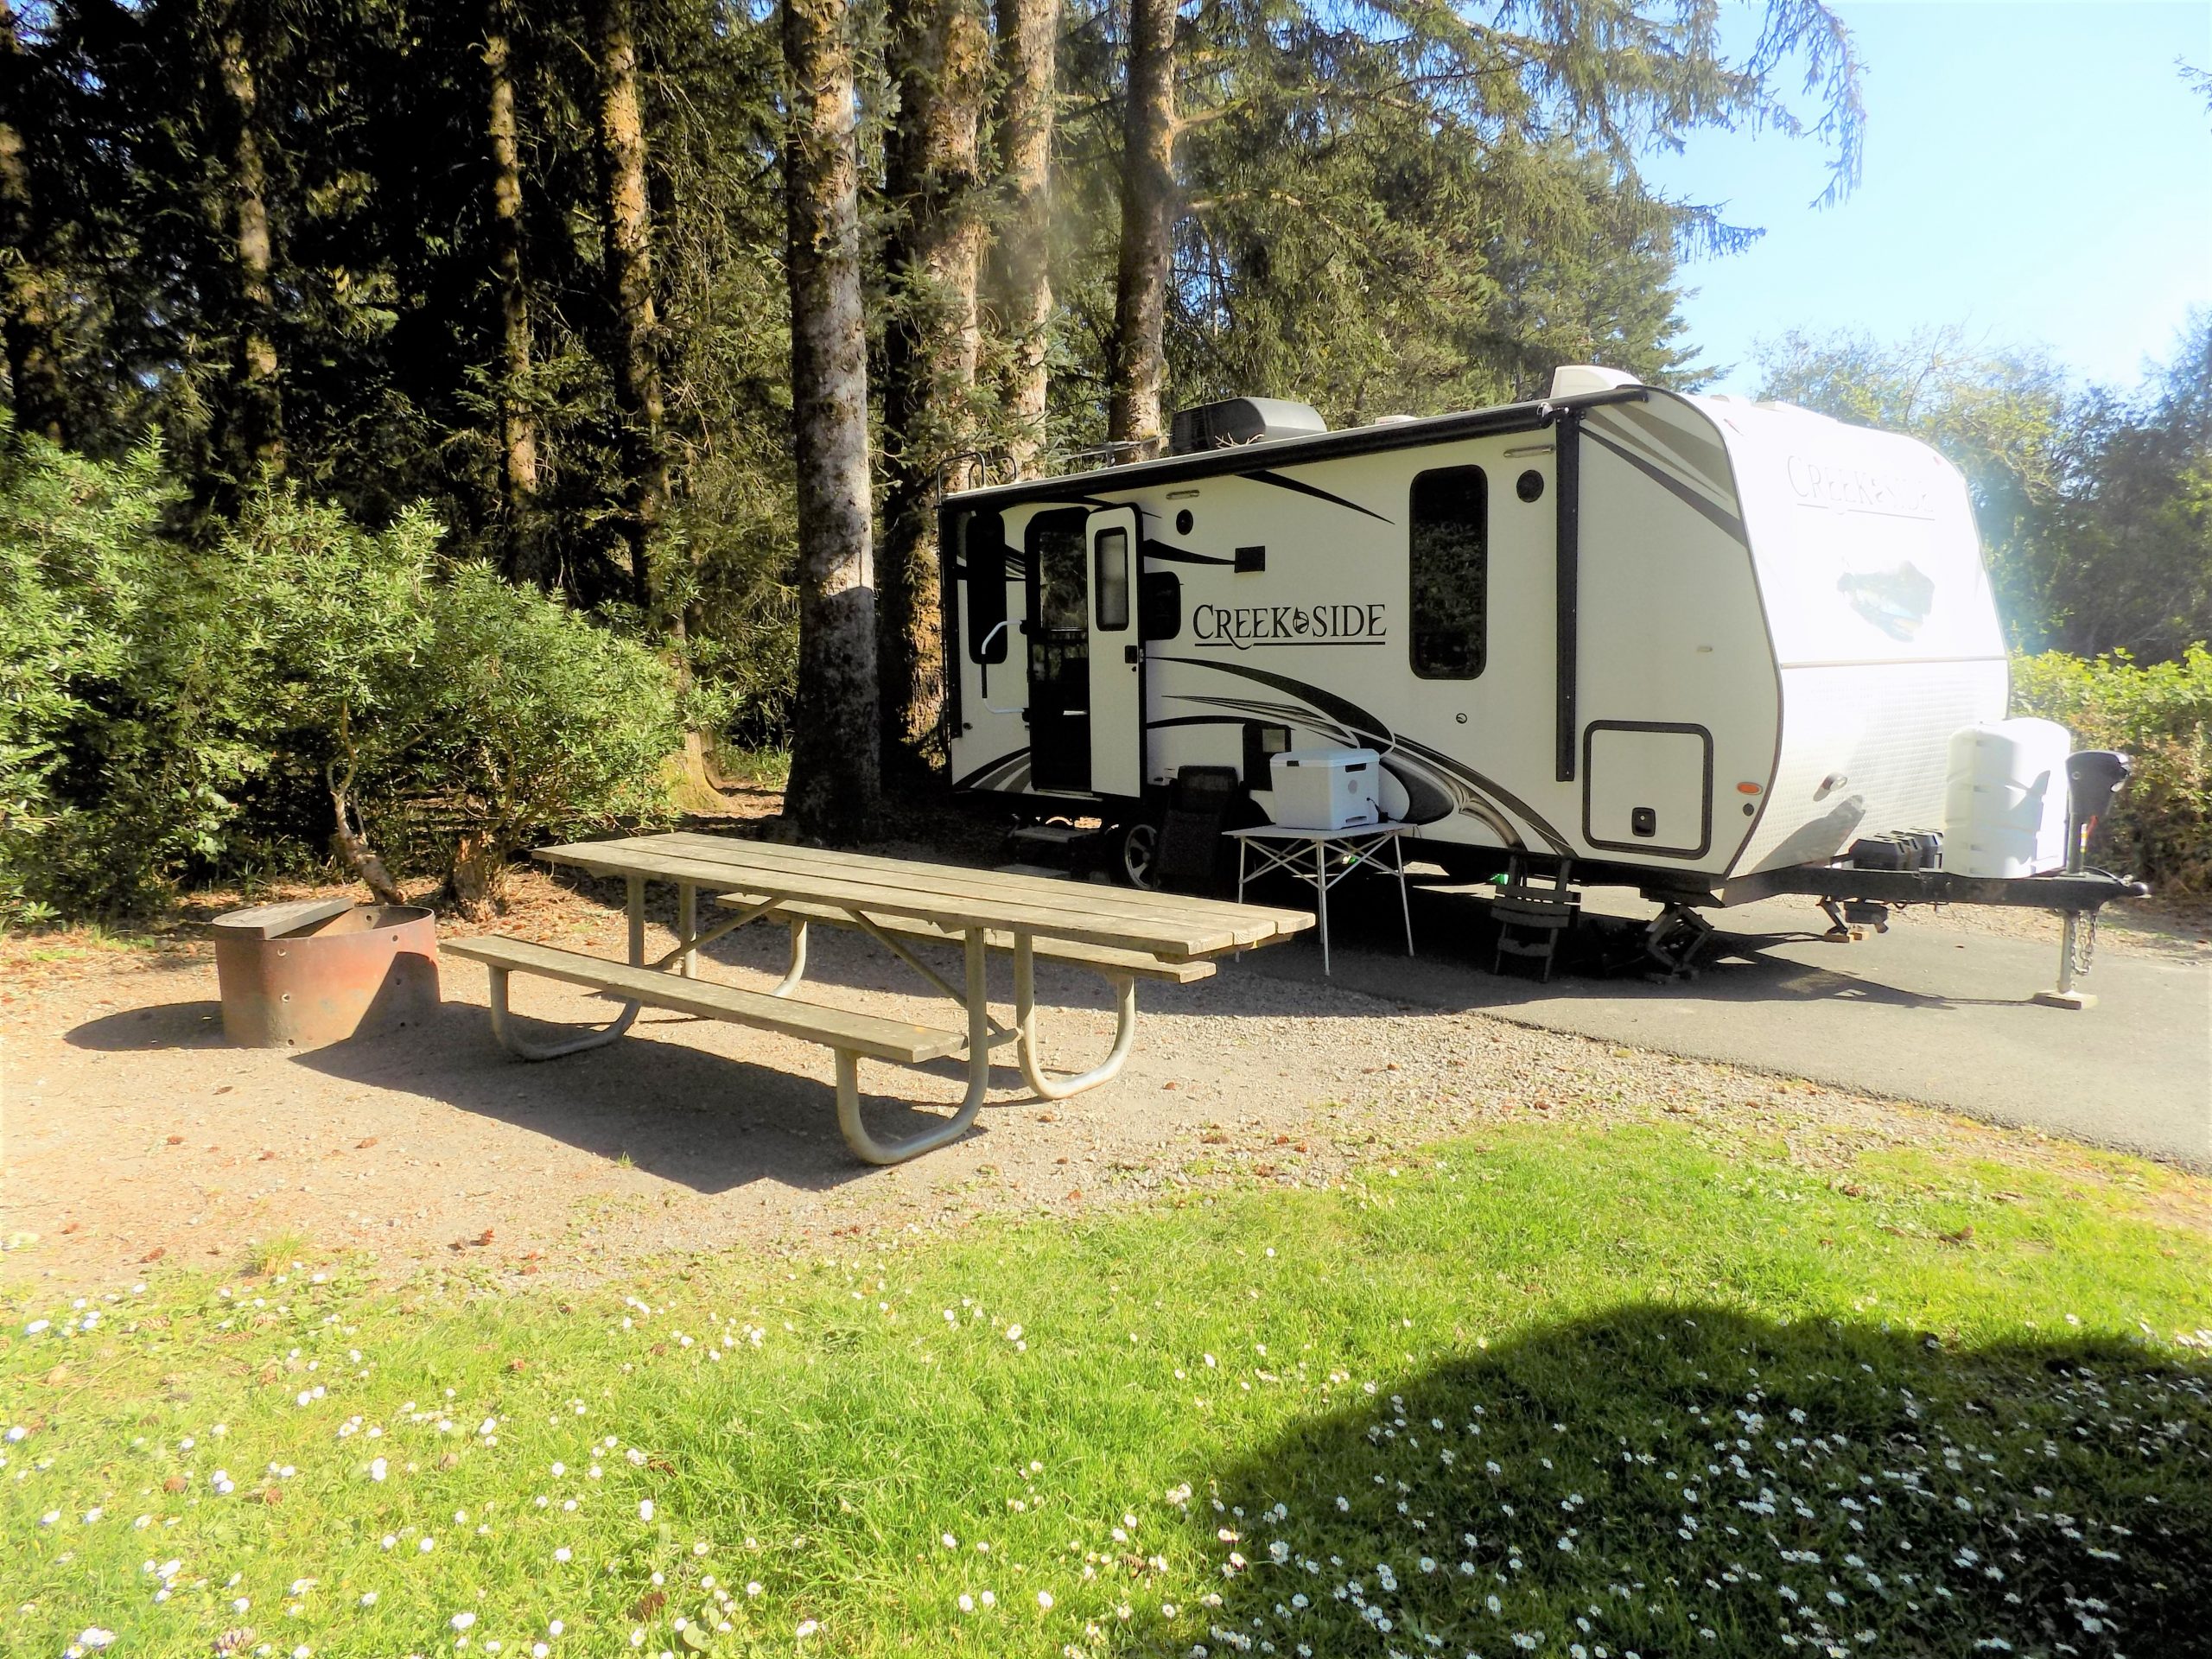
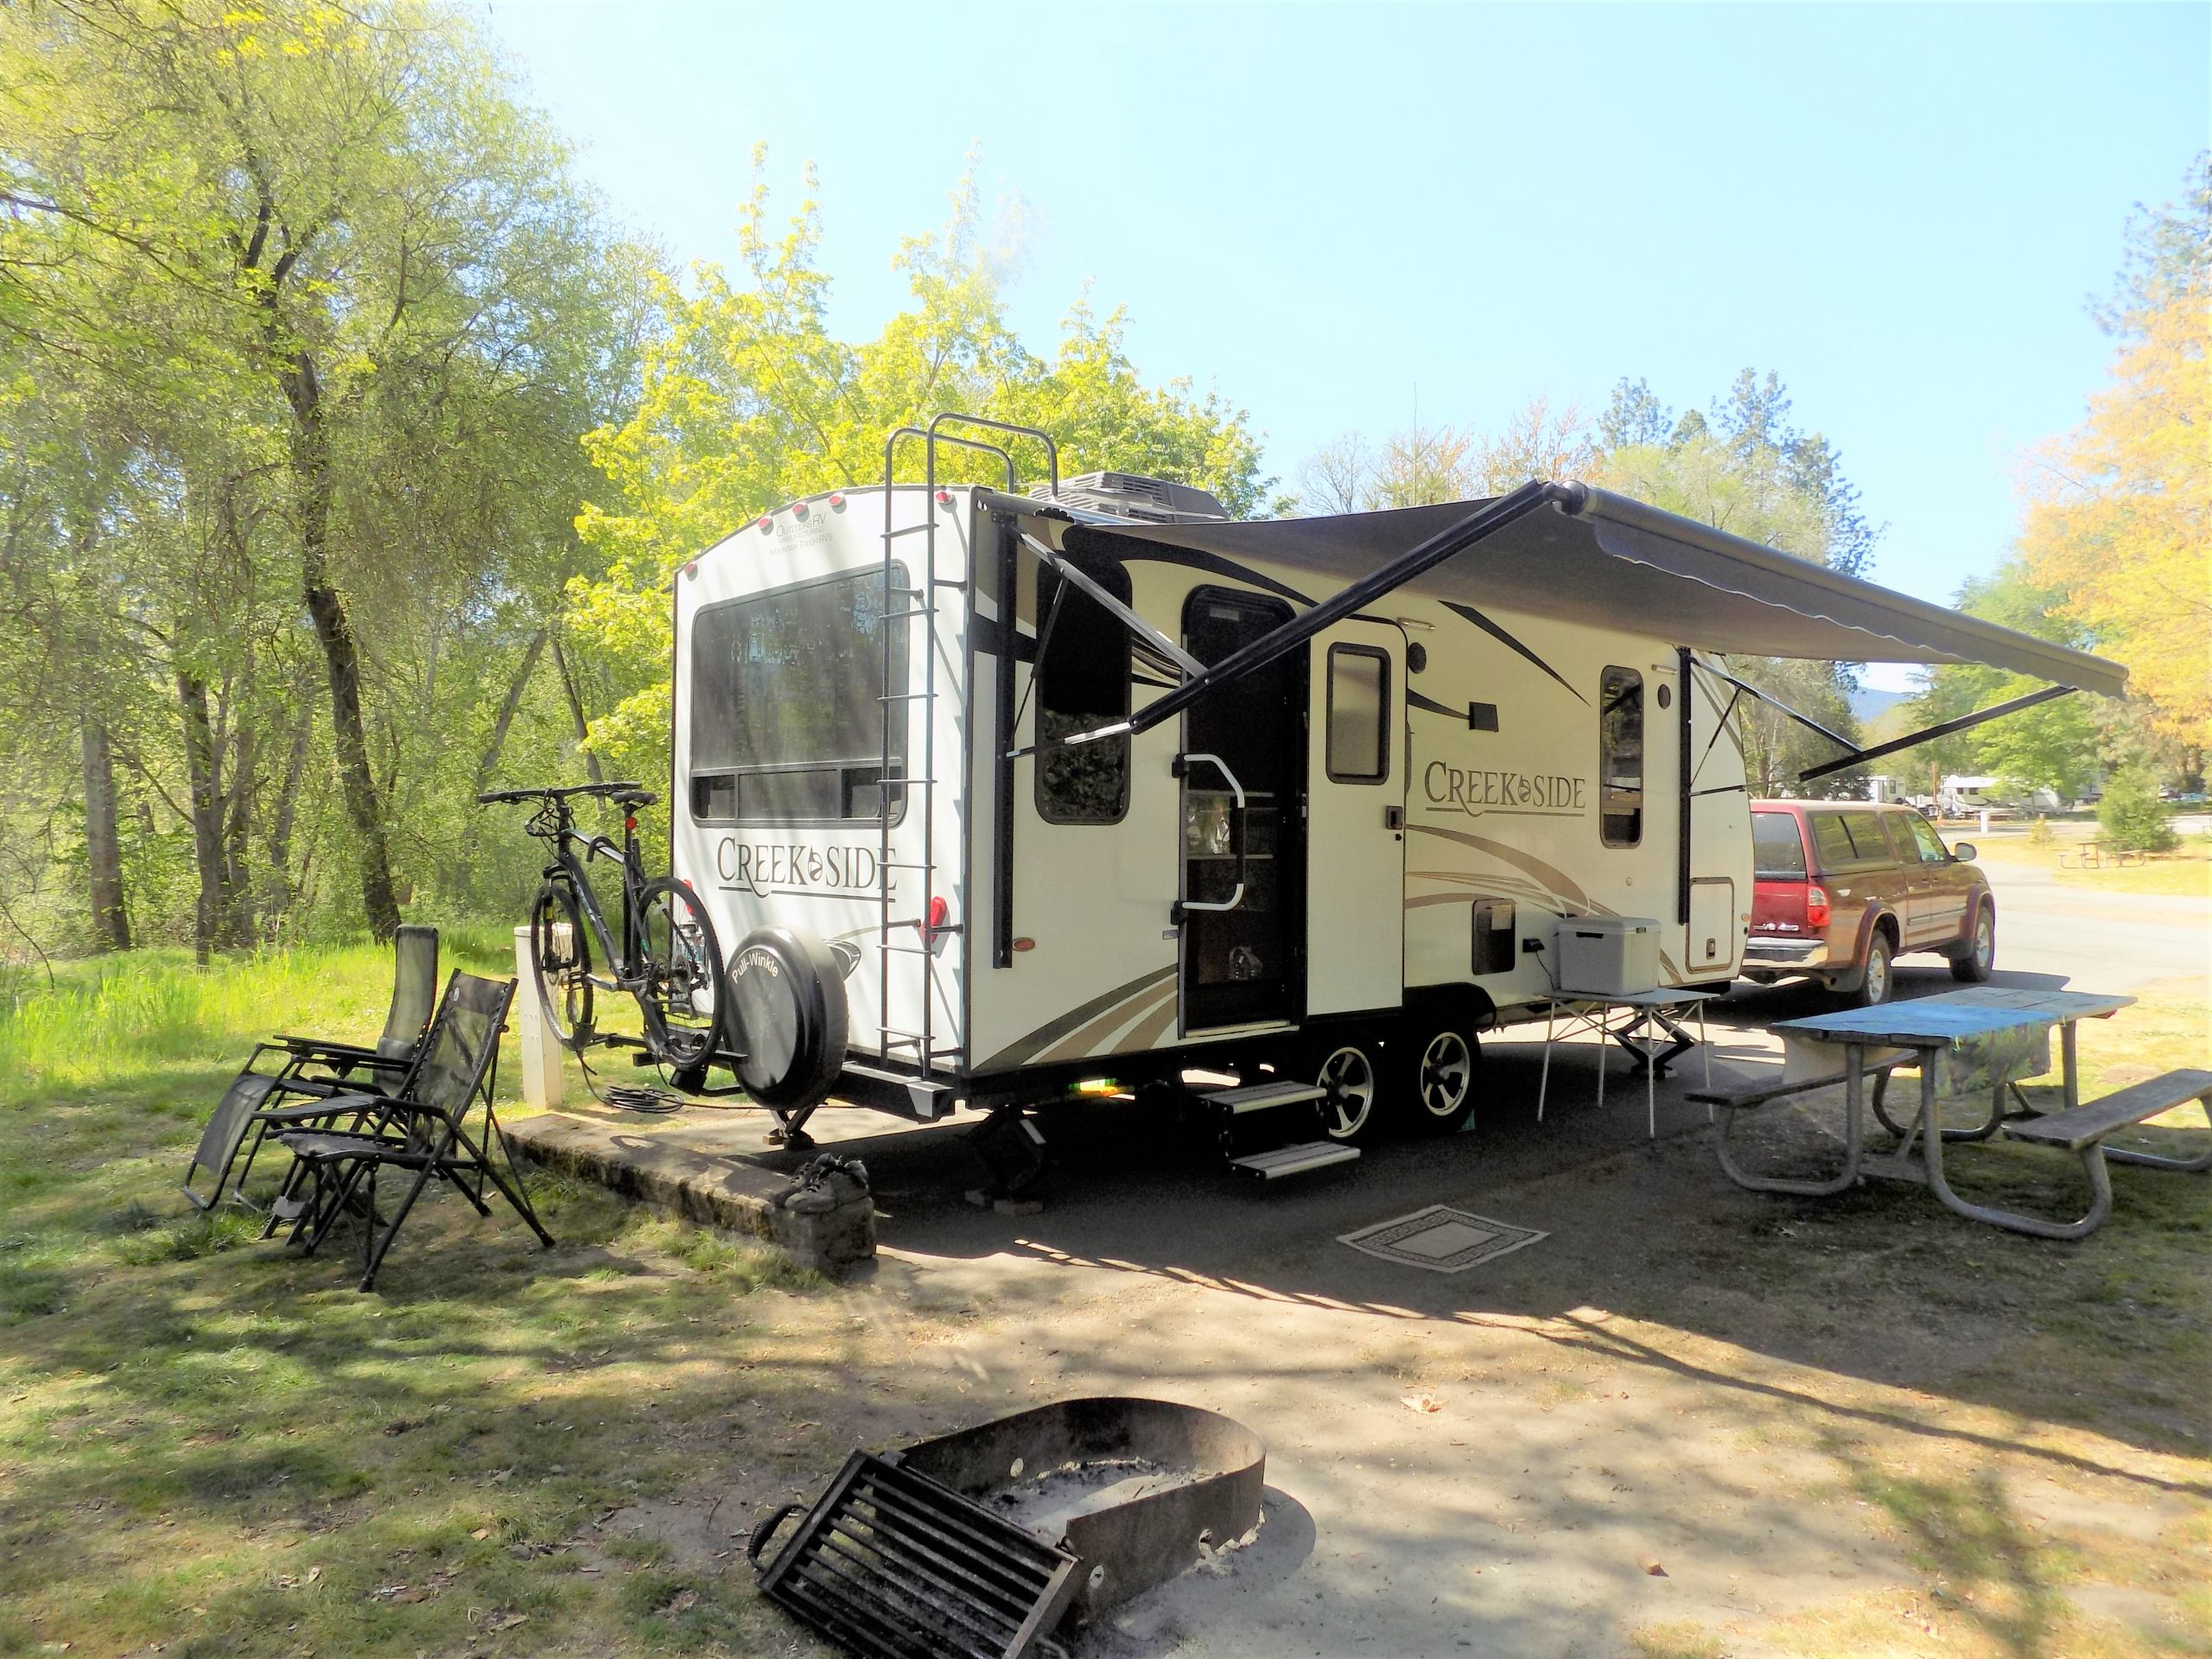
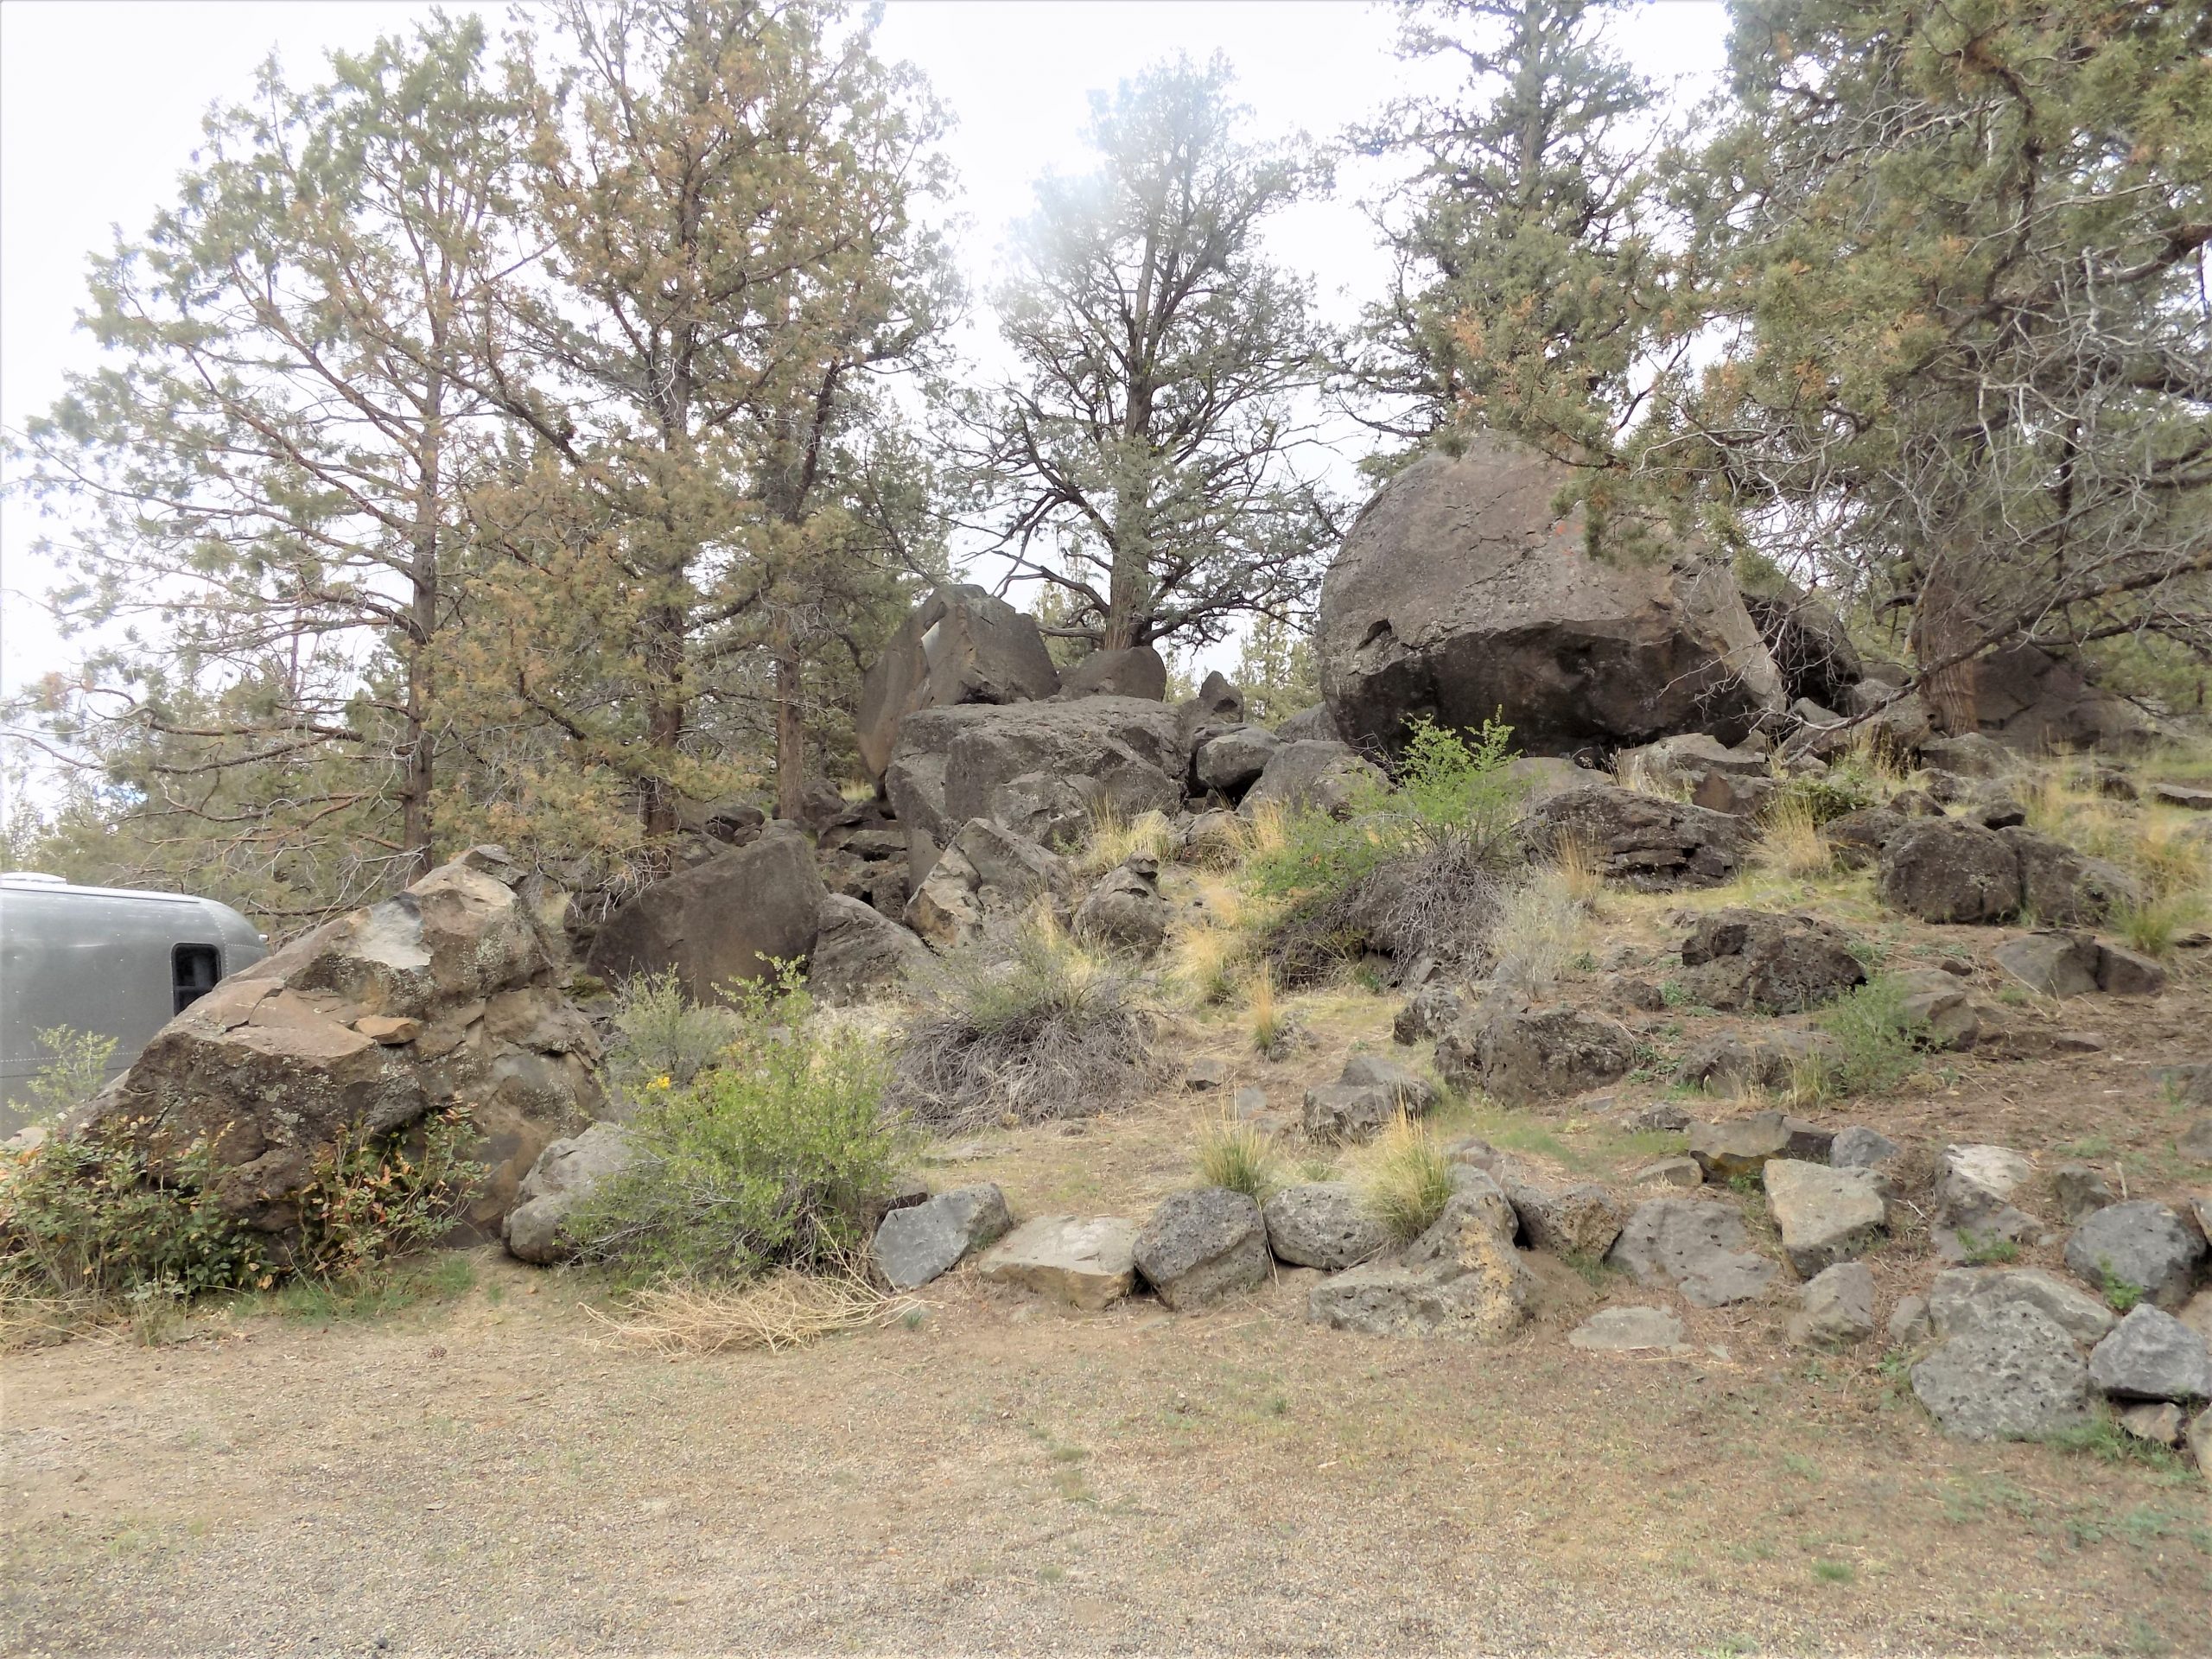
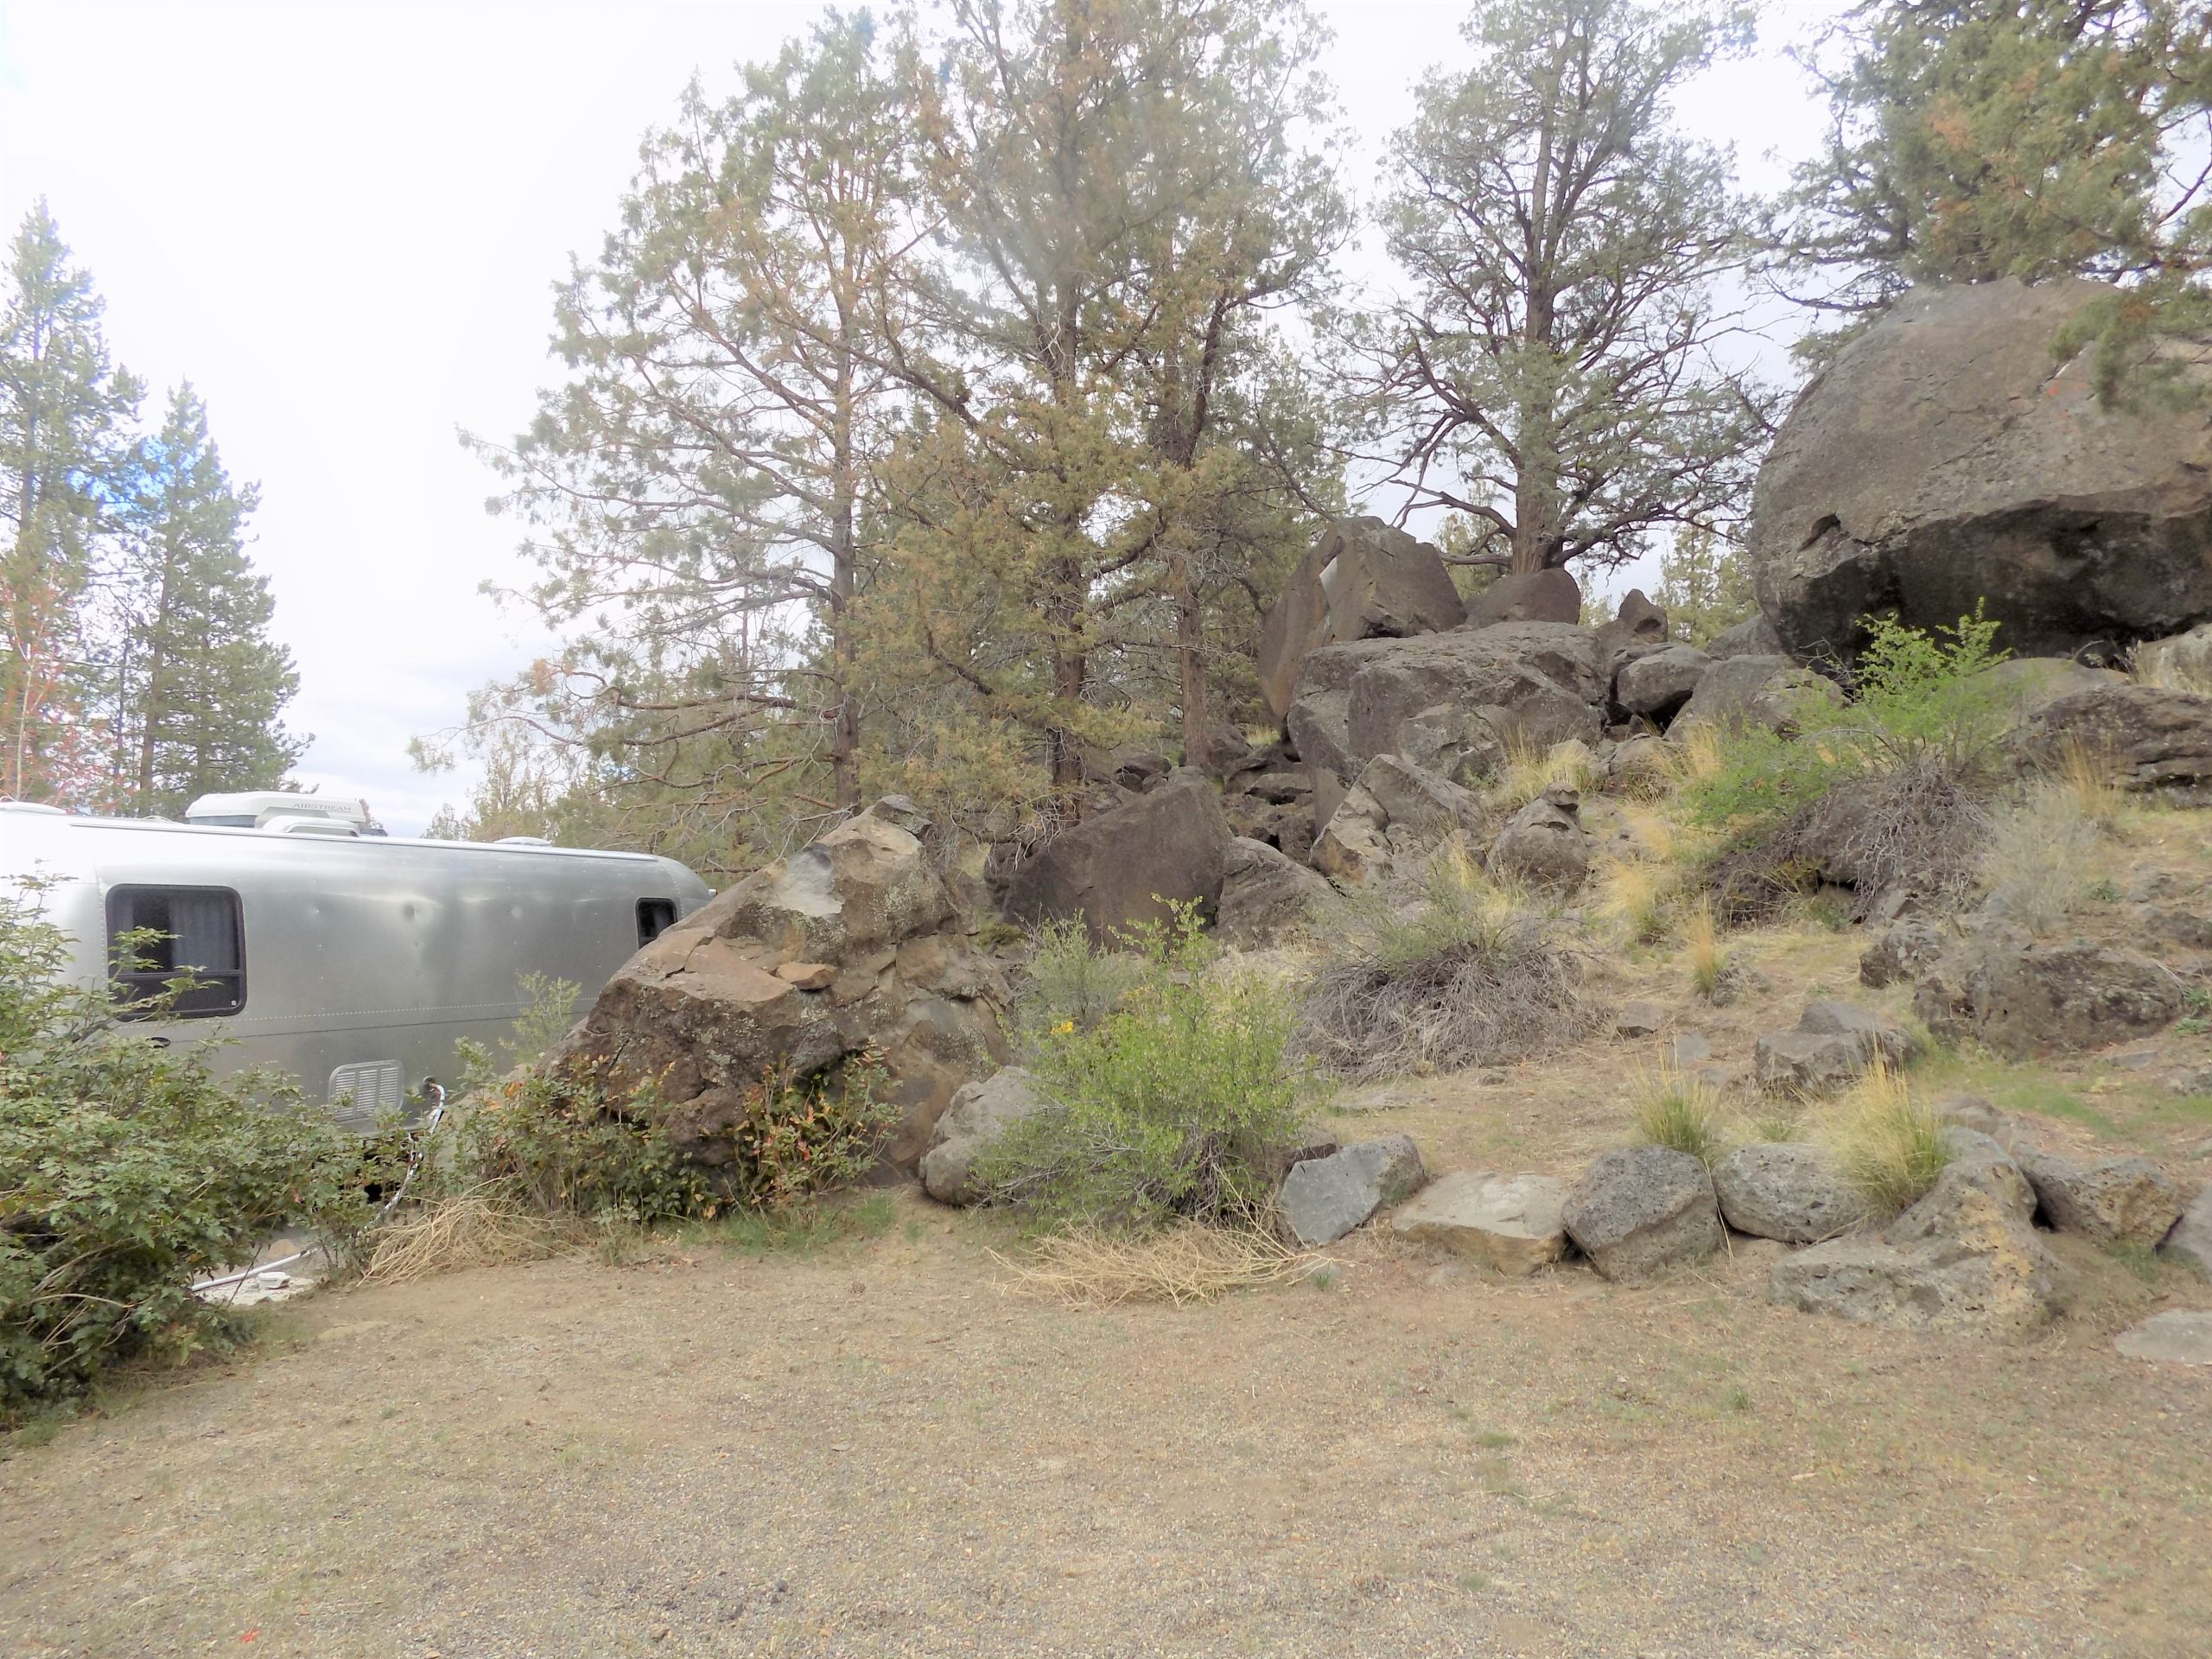
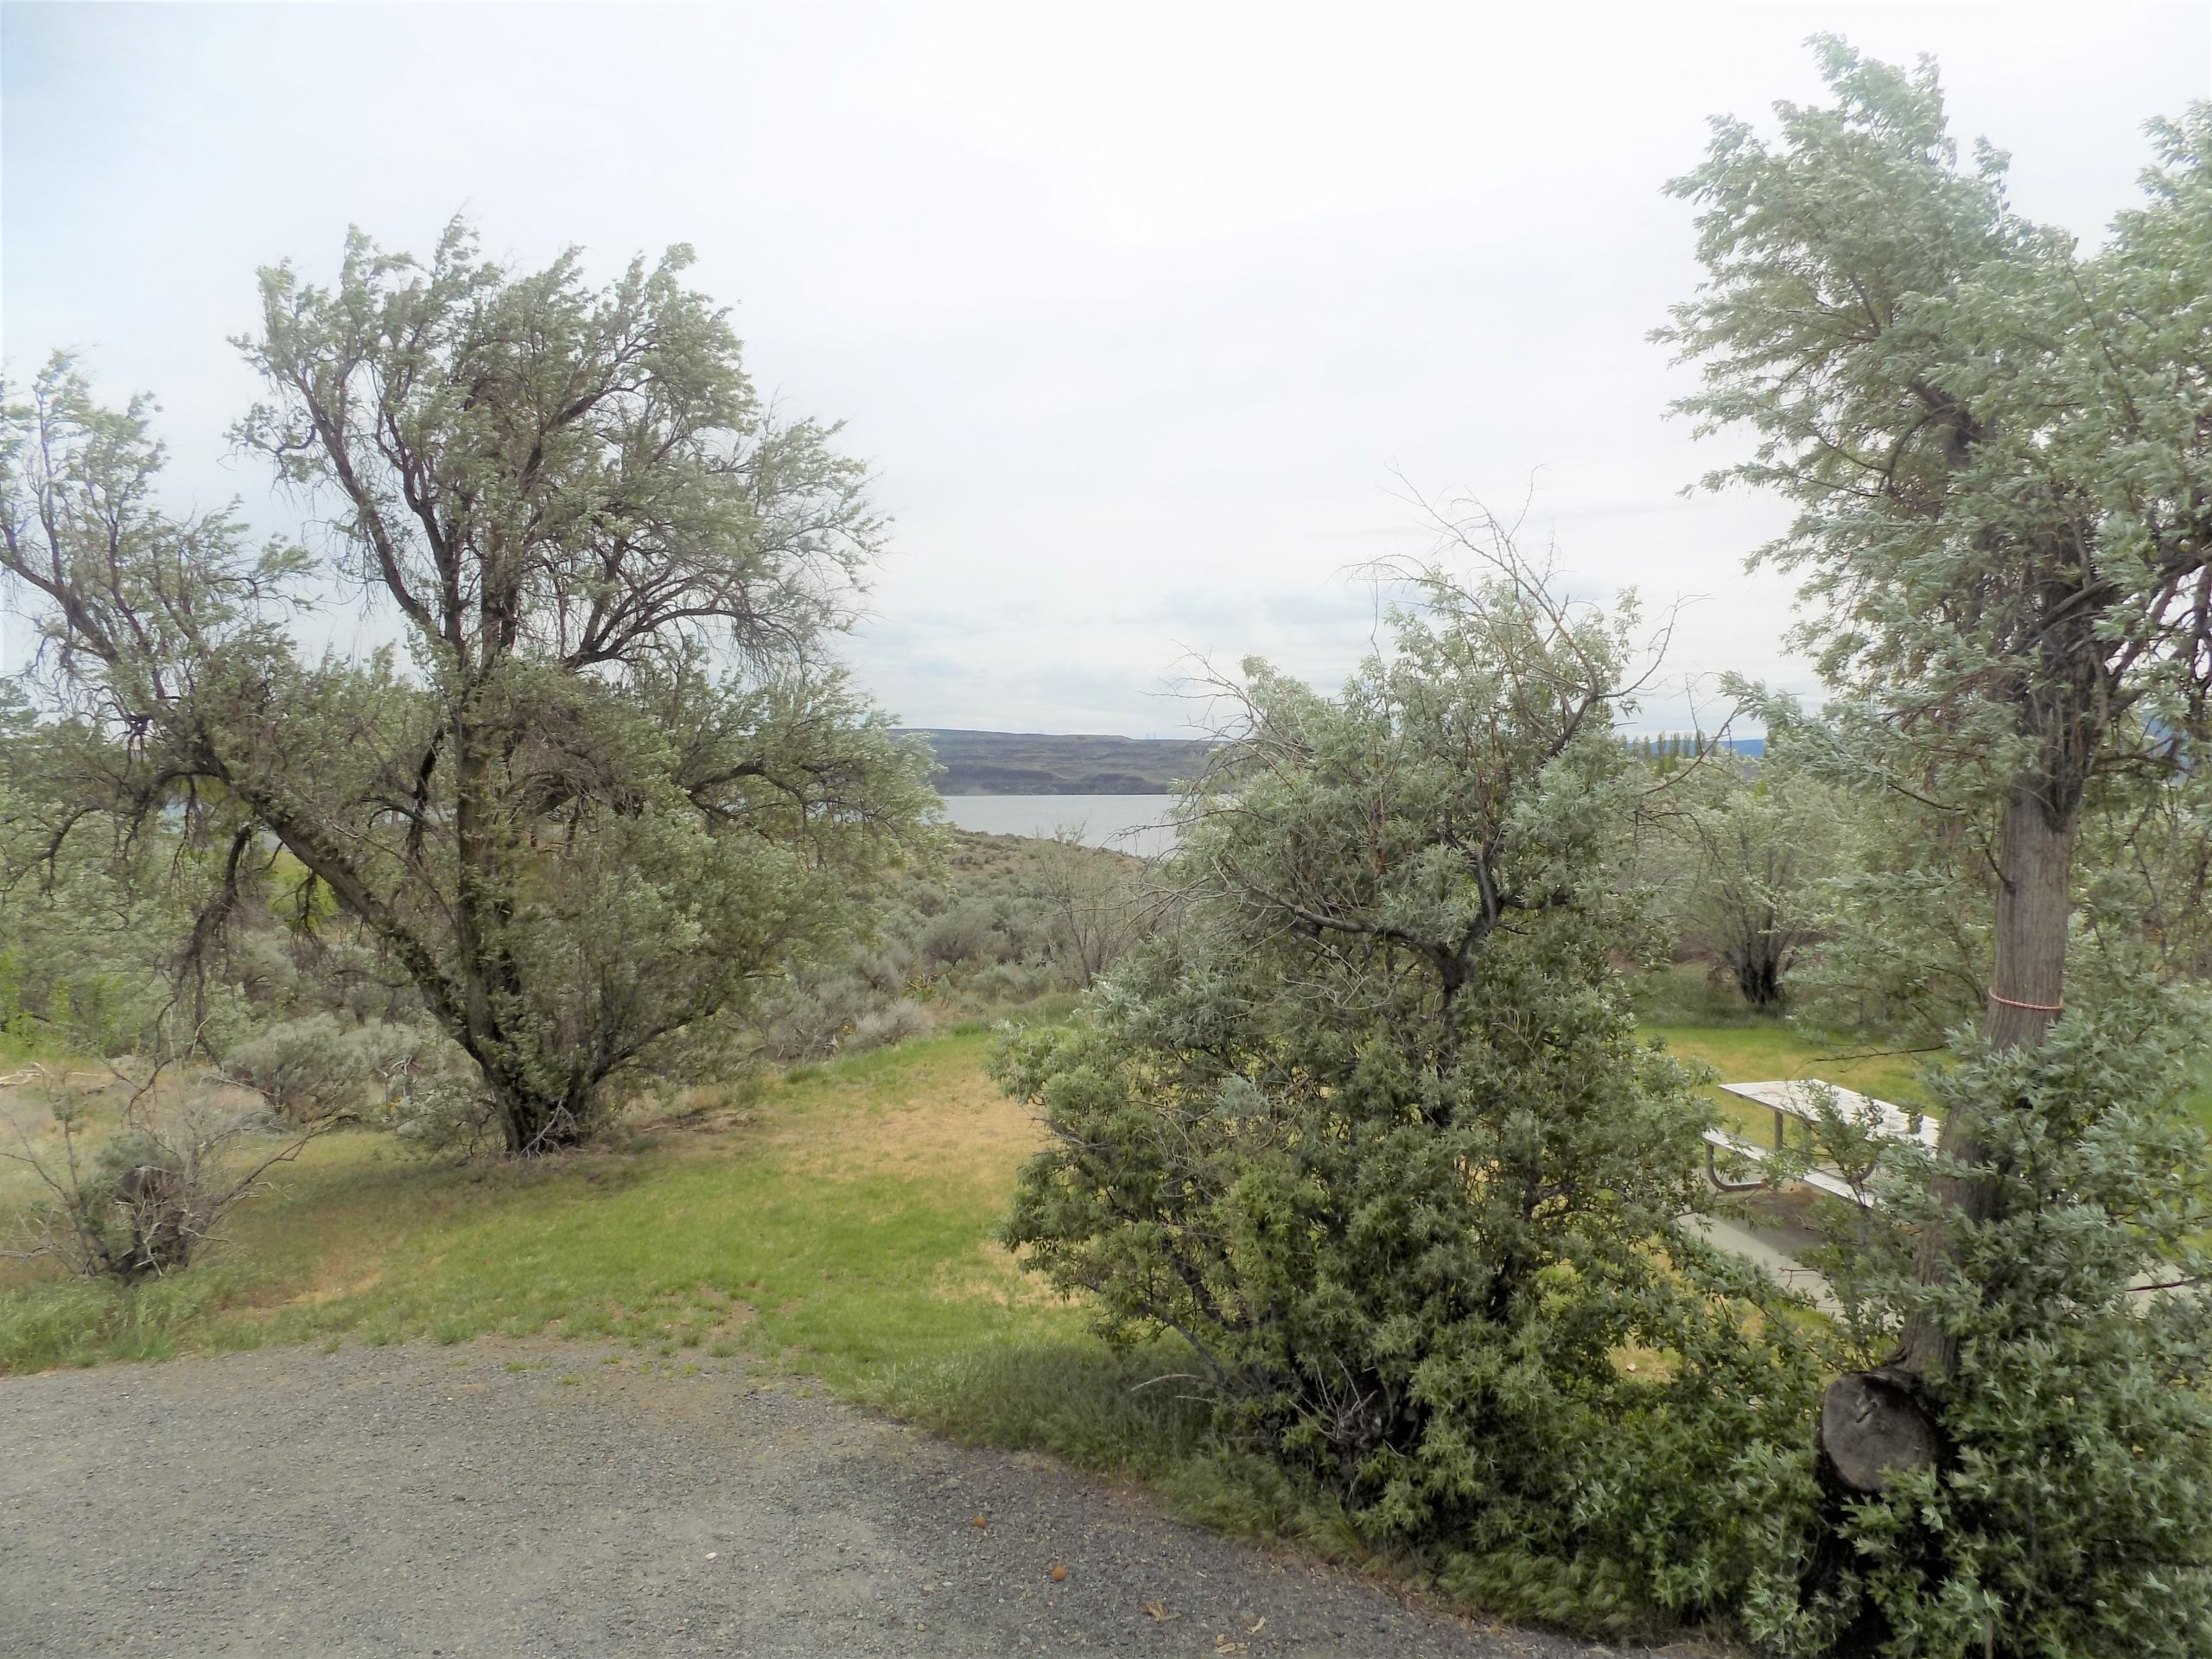
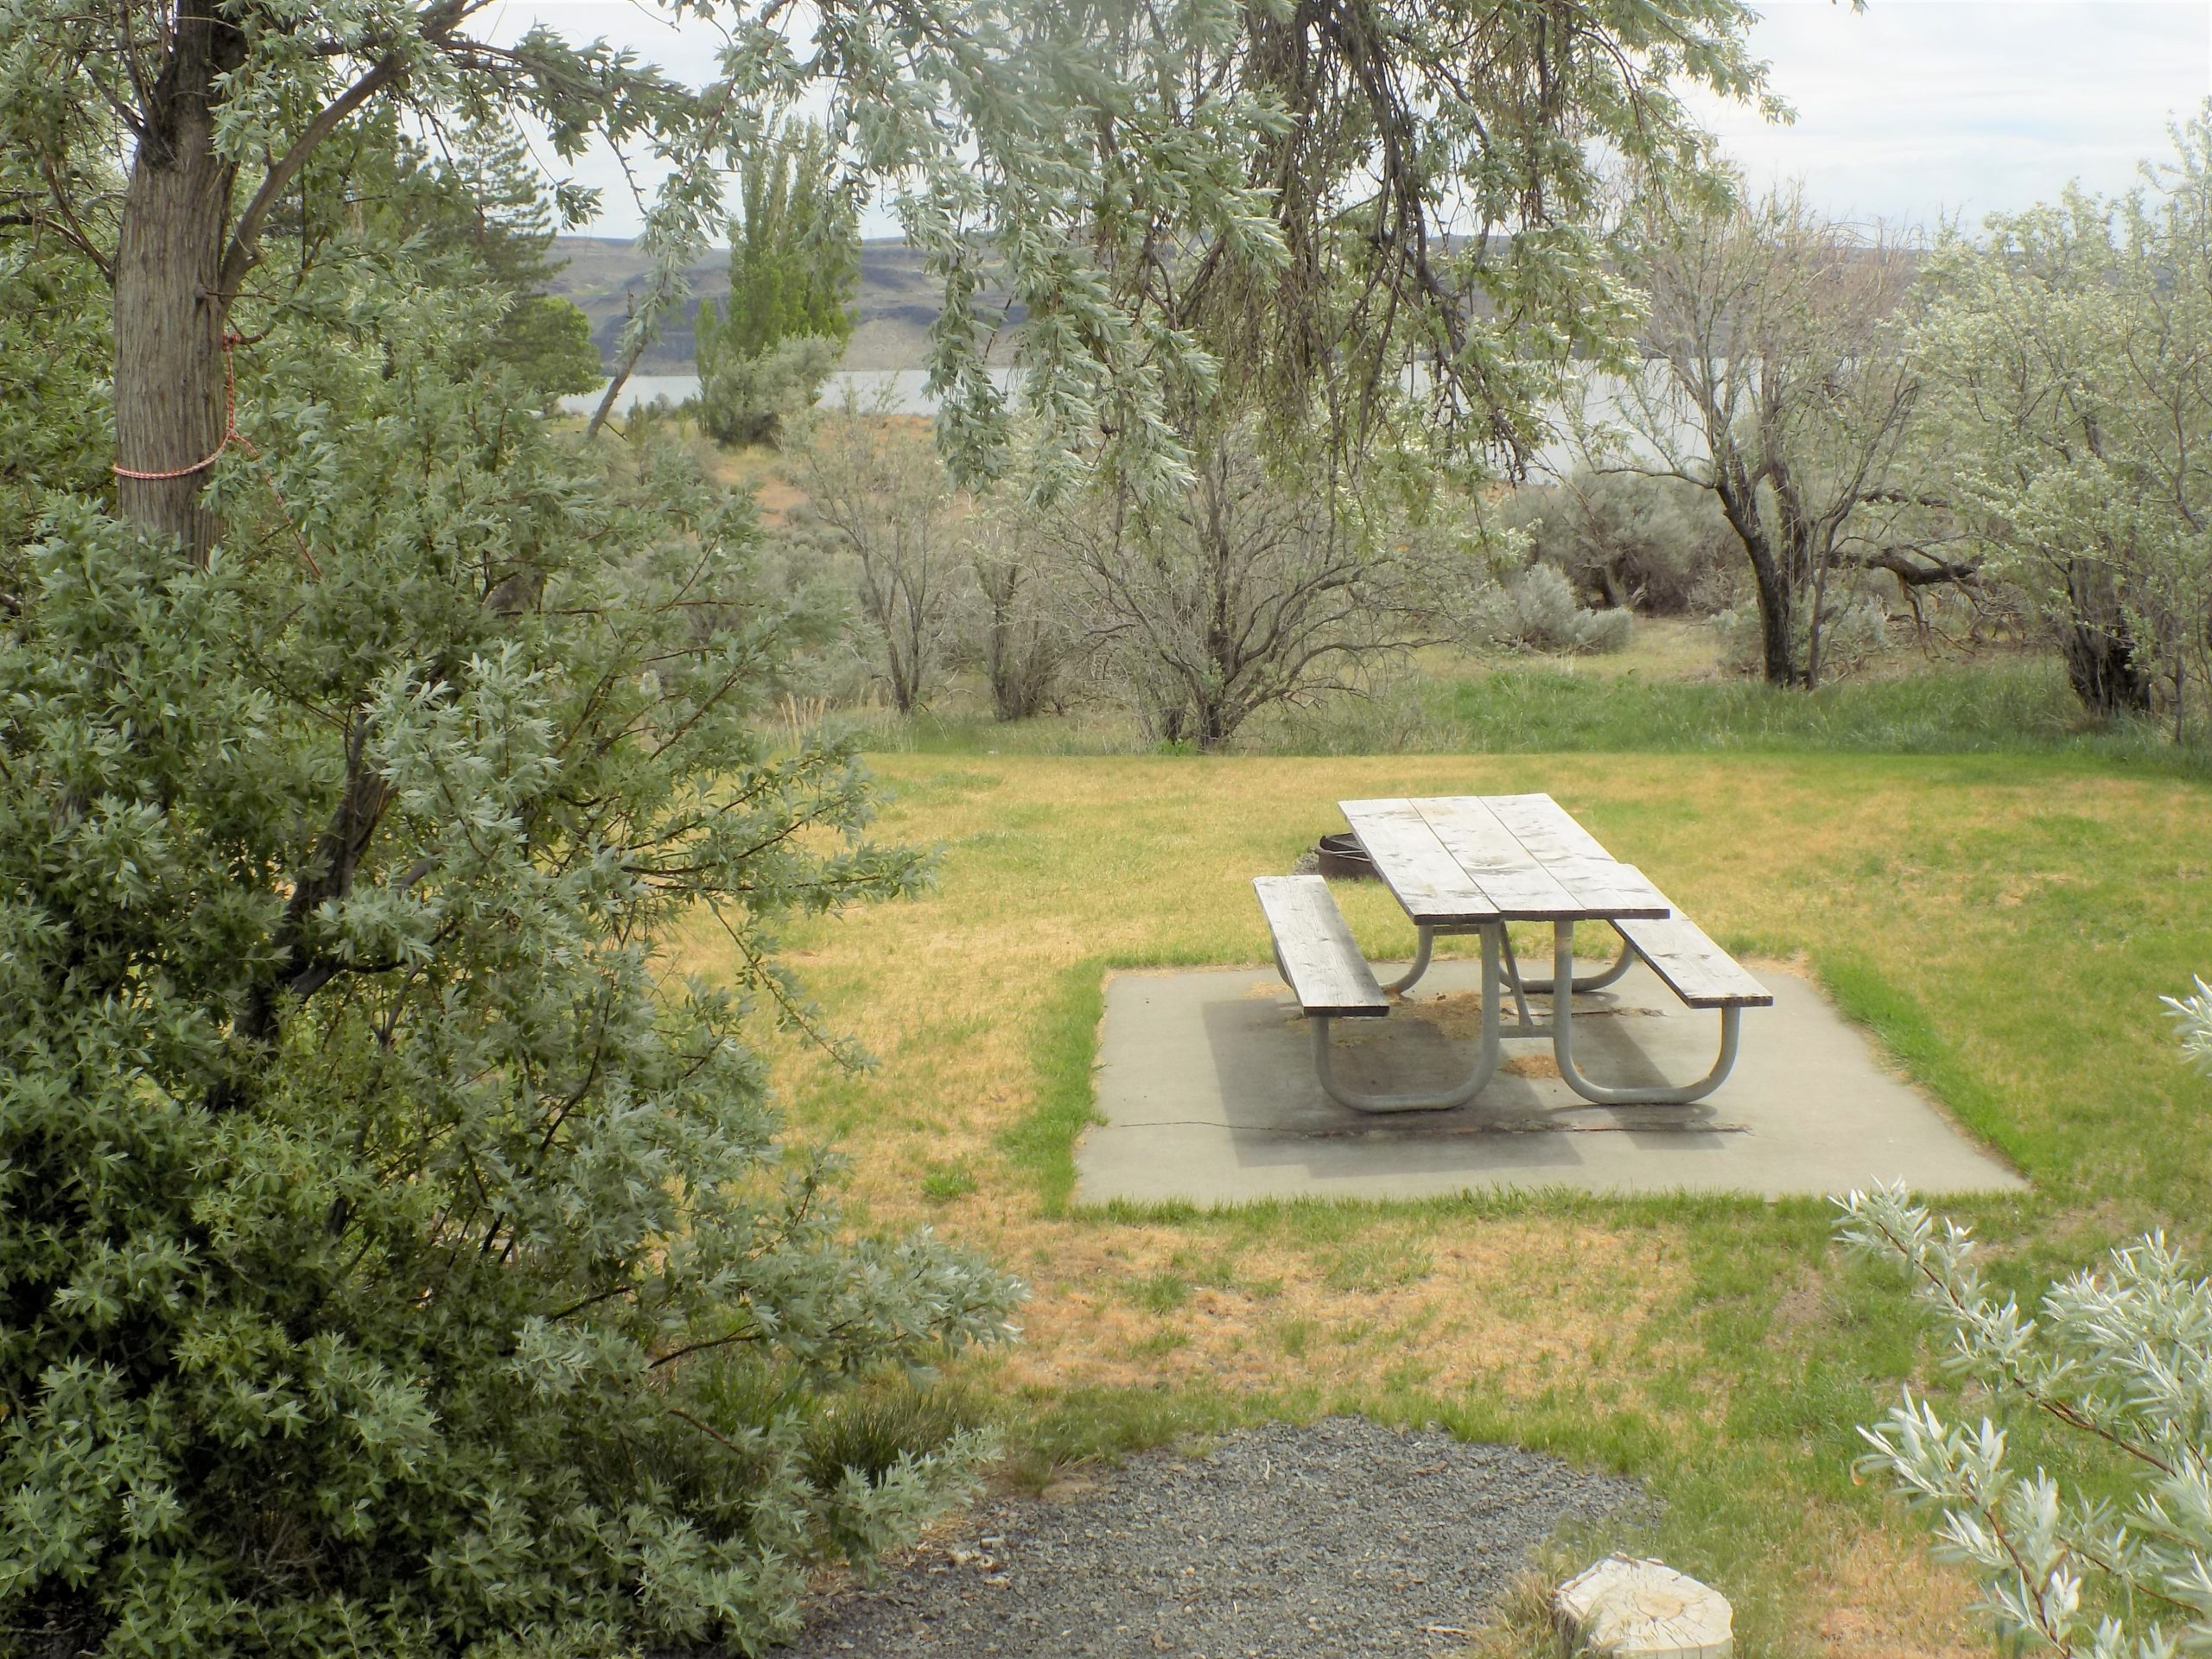
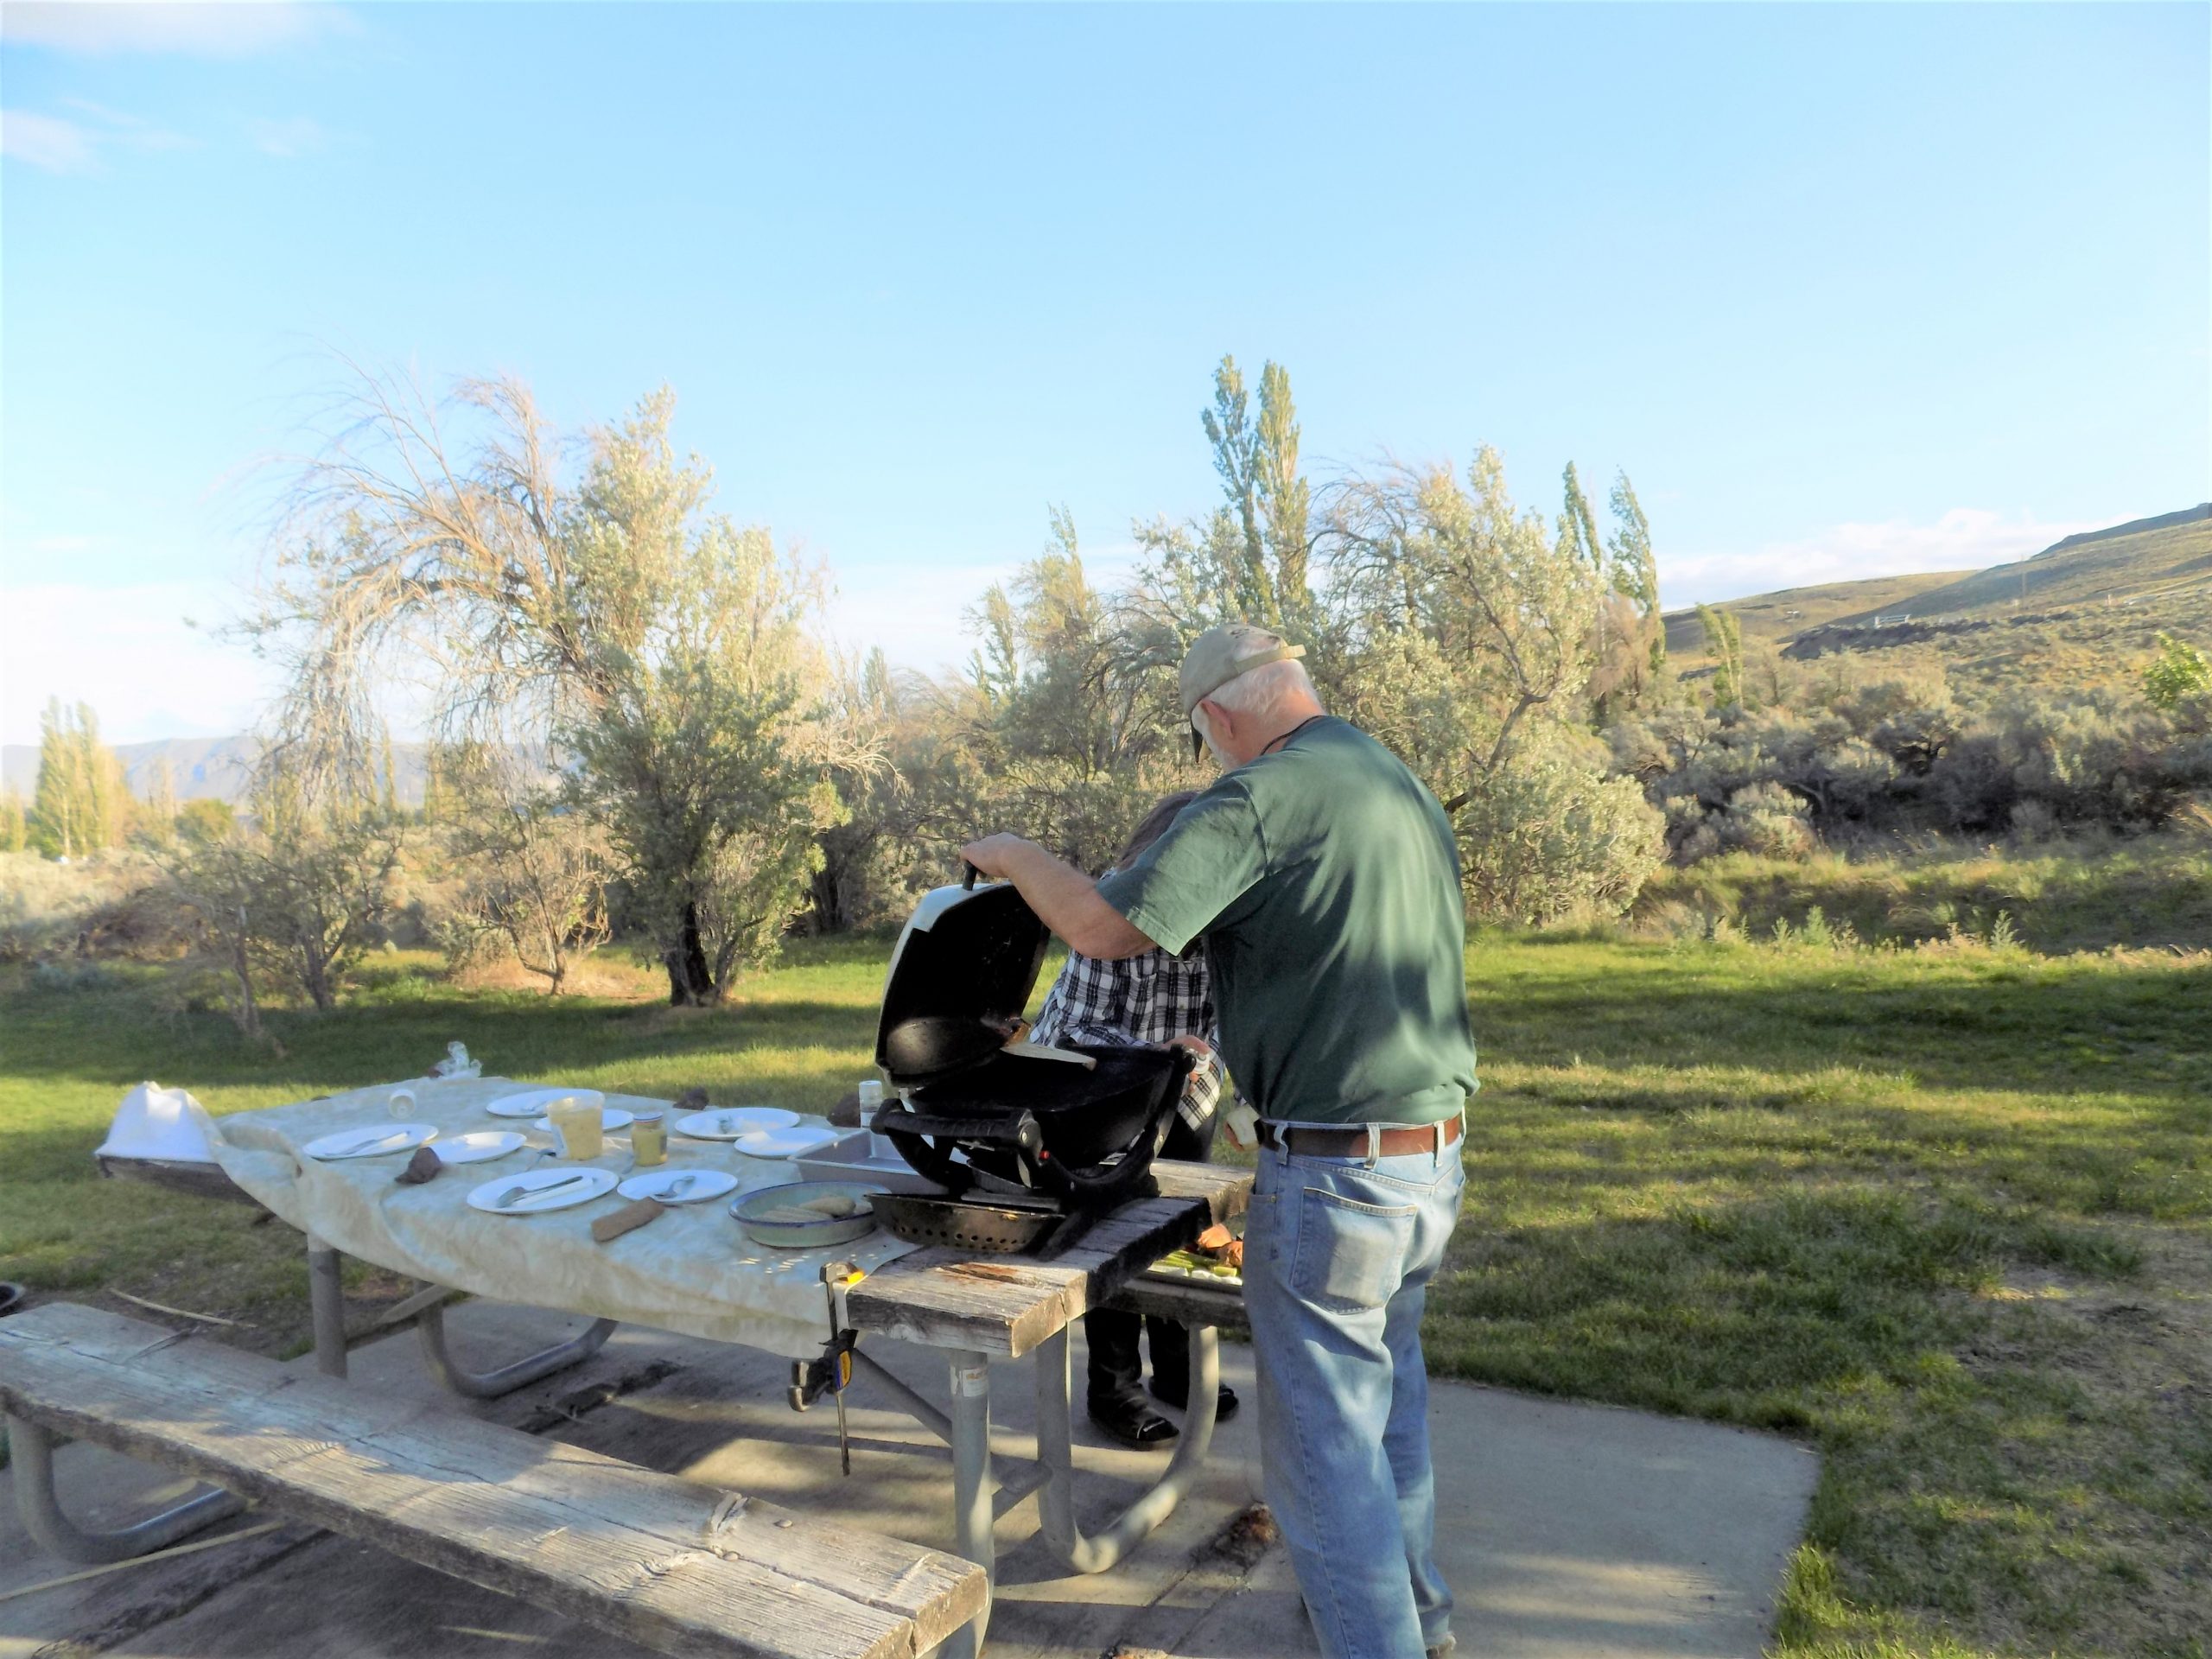
Potholes State Park (SP) – site A-17
April 3rd – Potholes State Park (SP), Othello, WA – site 17
We always plan to get an early start on the day we start a new adventure. This time we were striving to leave our house at or before 9:00 am. Well, we came close. We backed down our driveway at 9:30, which really isn’t too bad for us! Then to the storage facility which happily is only a couple of miles from our home. No problem hitching up the trailer, and we were on the road at 10:20.
After an easy drive through Everett and Bellevue, we existed 405 onto I-90 heading East. Stopped for lunch at Mountain High Burgers in Easton and then back on the road. Arrived at Potholes SP around 4:00 pm. And then the fun began.
For those of you who don’t know us, Andy and I are two of the most mechanically challenged people you could ever hope never to meet. We are fairly clever in other ways, but put a mechanical problem in front of us, and our brains immediately shut down. They can be re-booted thankfully (with time) but only by pursuing the predicament with pure logic. But it takes a while to get to that point.
So, every spring when we arrive in our first camp, we must first clear the winterization from the water lines and then fill the tank of the hot water heater. And every stinkin’ year, we spend at least an hour agonizing over which way to turn the handle so that water will lovingly flow into the tank. (When the trailer is winterized, there is a handle that is (theoretically) turned to the bi-pass position. This prevents any water containing antifreeze from entering the tank and forever leaving it’s indelible mark.) And in case you are thinking to yourself, why don’t these non-mechanical people just take a picture or write down notes on how this process should work? Then next time, no brainer. And you would be so very correct! But the problem is, I did have notes written down. Copious notes, in fact. But they contradicted themselves. And I’m the one who wrote them, including of course, the contradictions! But you need not worry that this situation will happen again. My original notes are now somewhere in a waste-paper facility in Othello. And I wrote out new notes, that if we’re especially lucky, will make perfect sense next year at this time.
But once again, with the help of the guardian angel of non-mechanically inclined folks, we got lucky and the water heater actually had water in its tank when we switched on the button to place the system on GO.
After a simple dinner of dinner sausages, cheezy grits, and salad, it was reading and an early to bed.
April 4th – Potholes SP
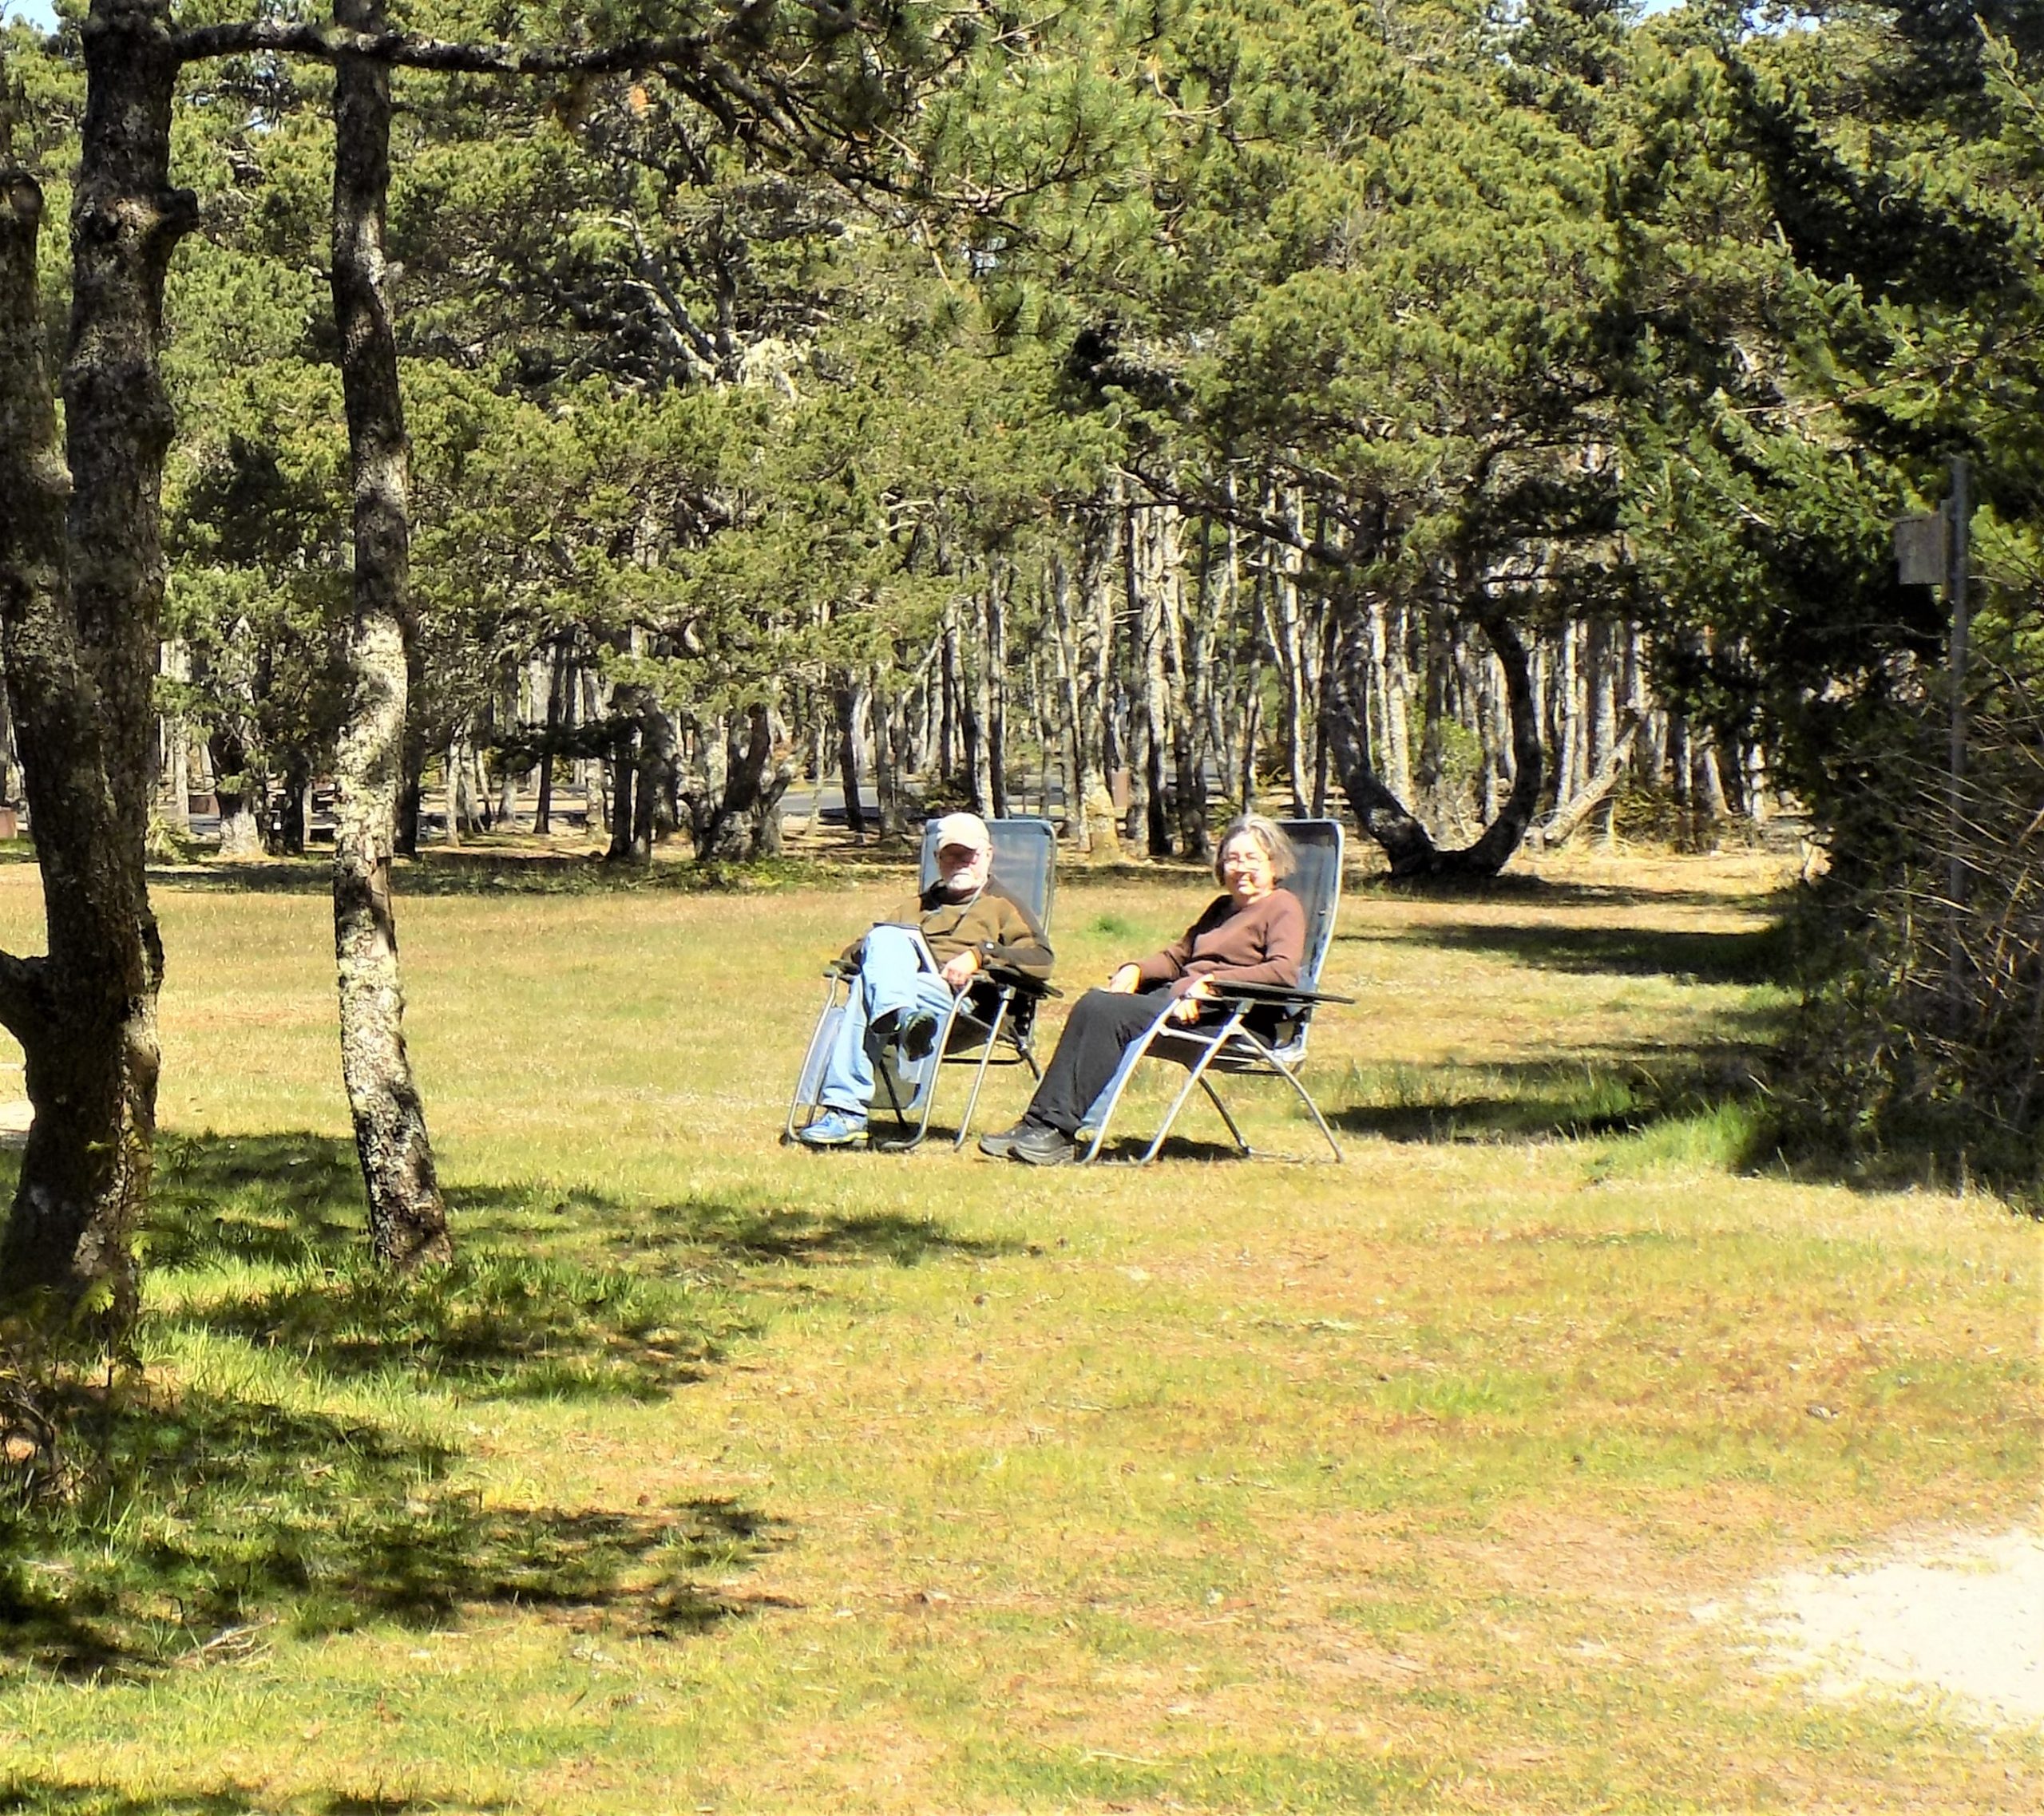
I first met my dear friend Caroline (Nabber) when I transferred from the Bellevue branch of Seattle First National Bank to a downtown Seattle department in 1985. We worked together for several years until I transferred to a different assignment within the bank. But we continued to see each other through the Seafirst Chorale which Caroline sang in, I directed, and Andy accompanied. So, we have been good friends for a very long time. Caroline lives close to Potholes SP, so she paid us a visit. And it was like we had never spent time apart.
That’s what is so wonderful about having good friends. You may not see each other very often, but the underlying respect and love never goes away. It can be rekindled with just a simple hello, I’ve missed you. And that’s how it was with Caroline. As if we had just been together the day before. We spent a lovely three hours just reminiscing and catching up on our families. After Caroline left at about 2:00 pm to have Easter brunch with her family, we decided to go exploring.
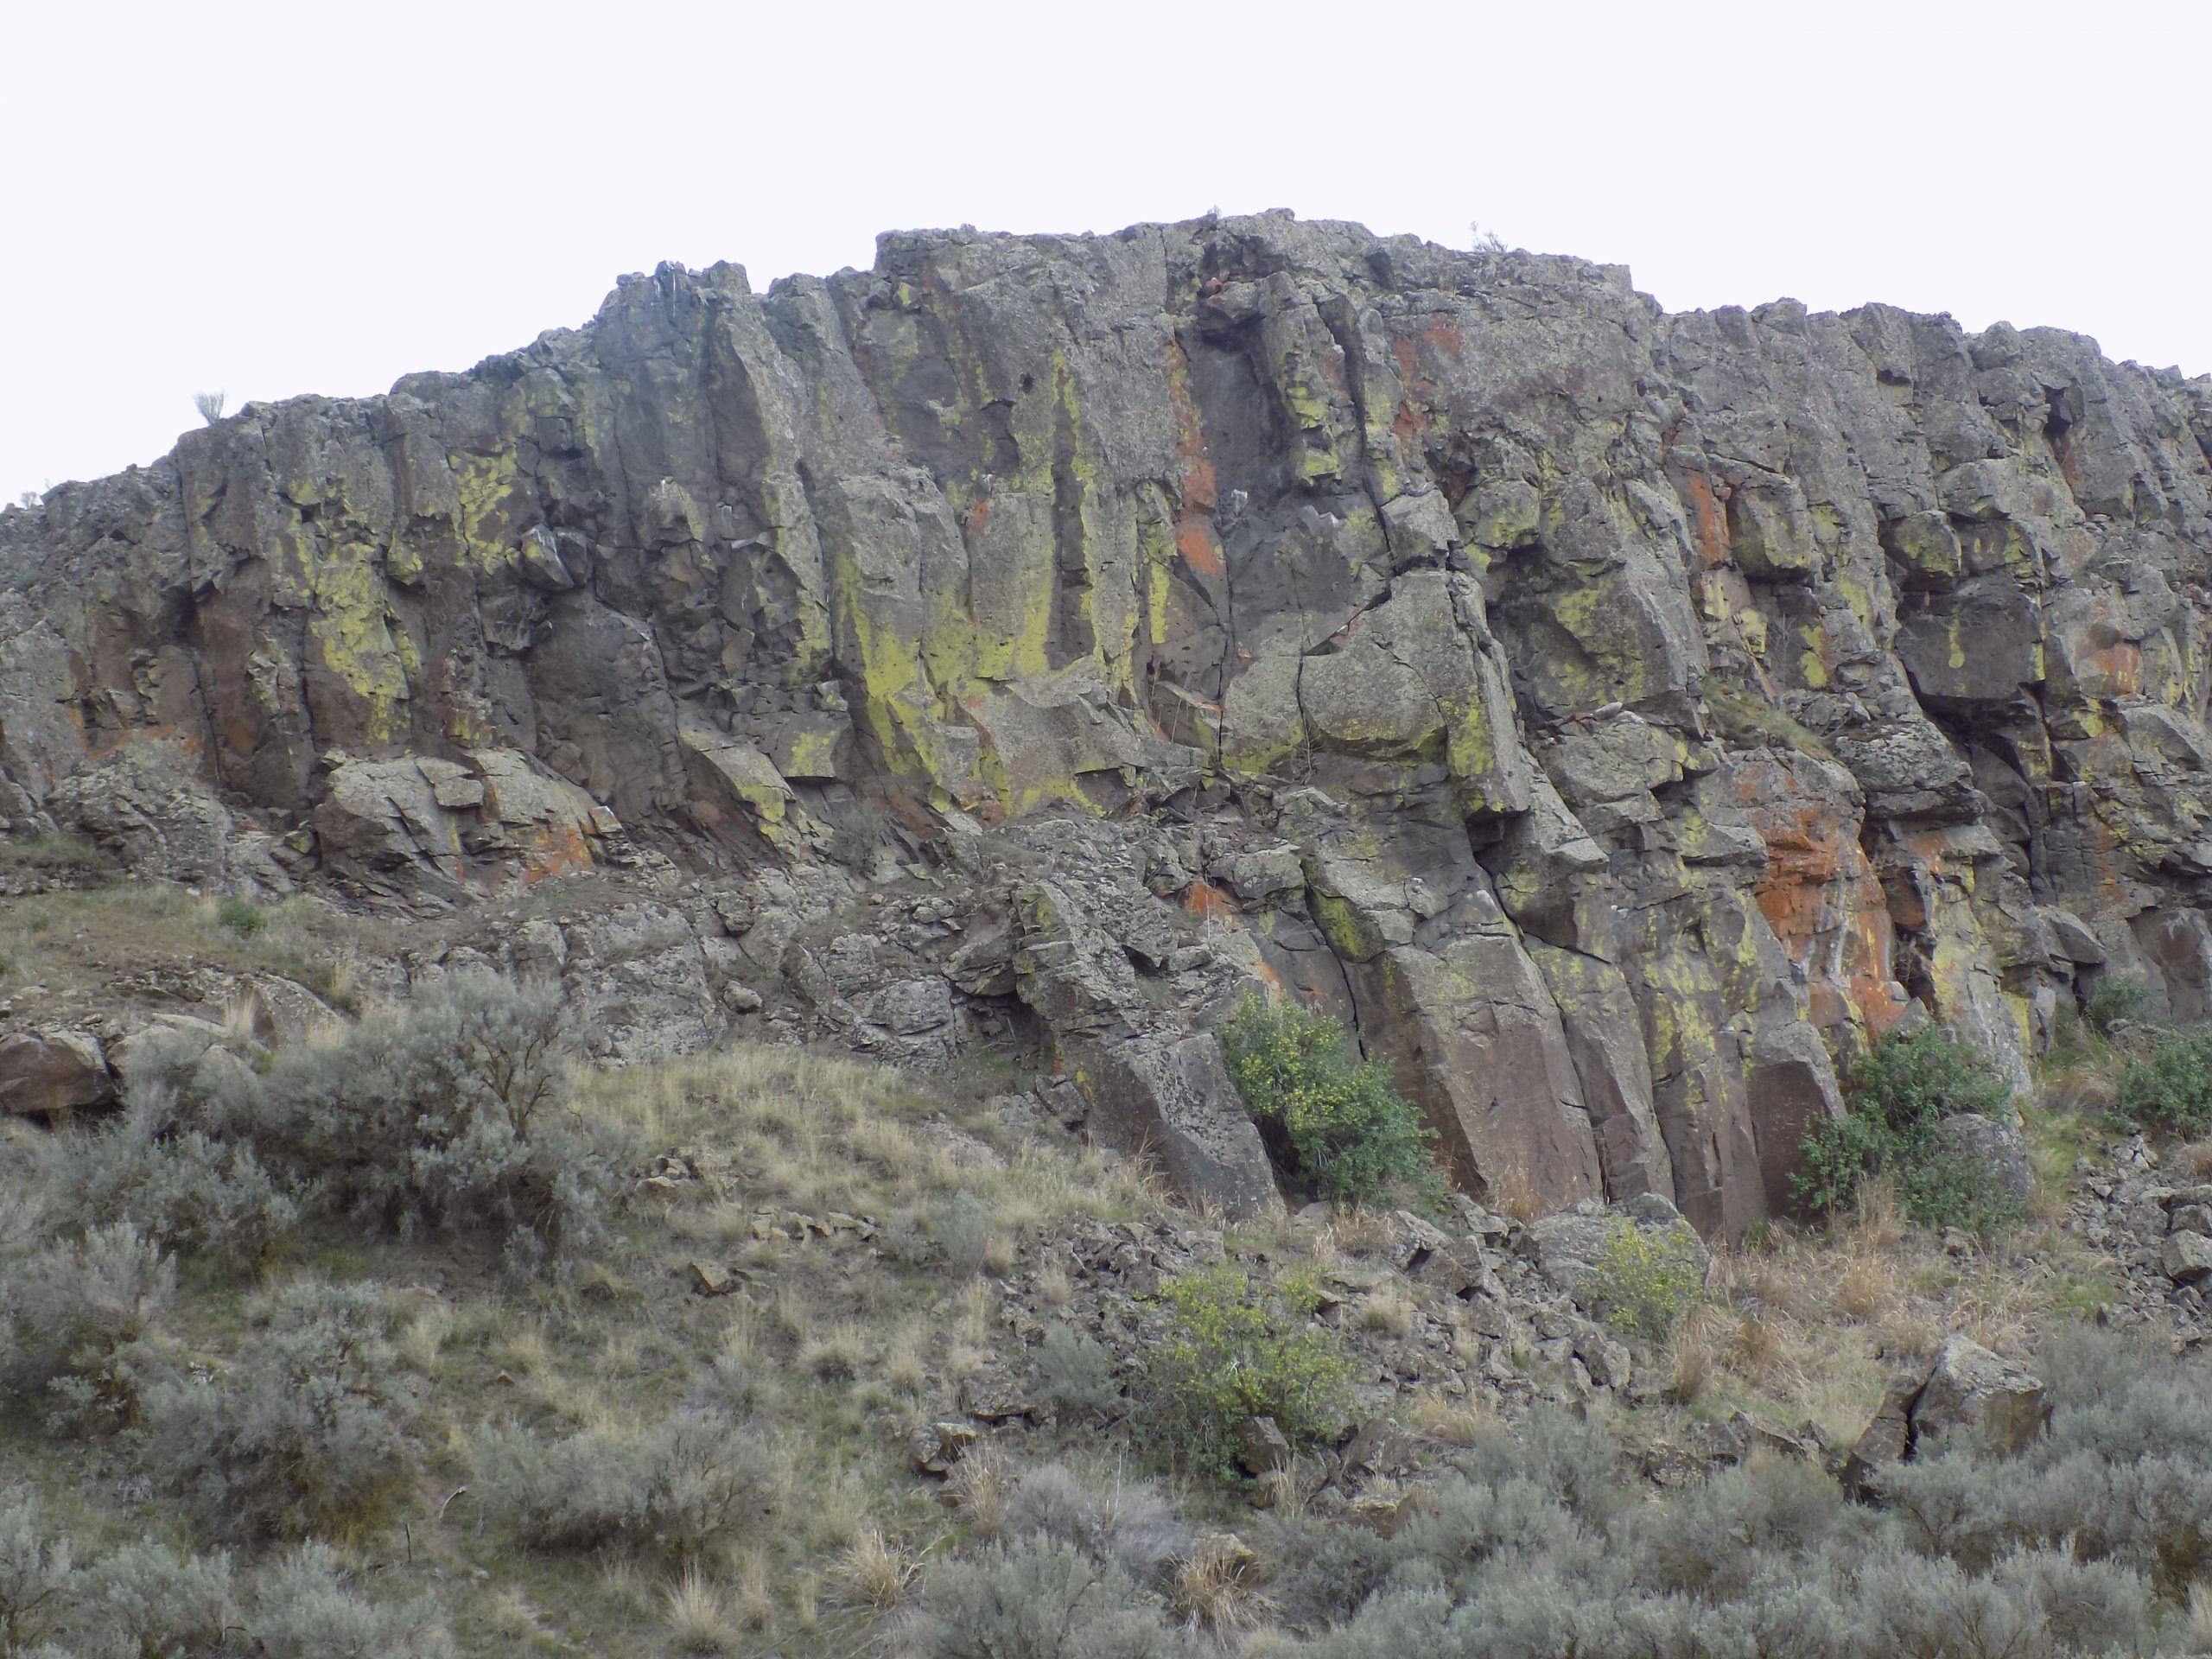
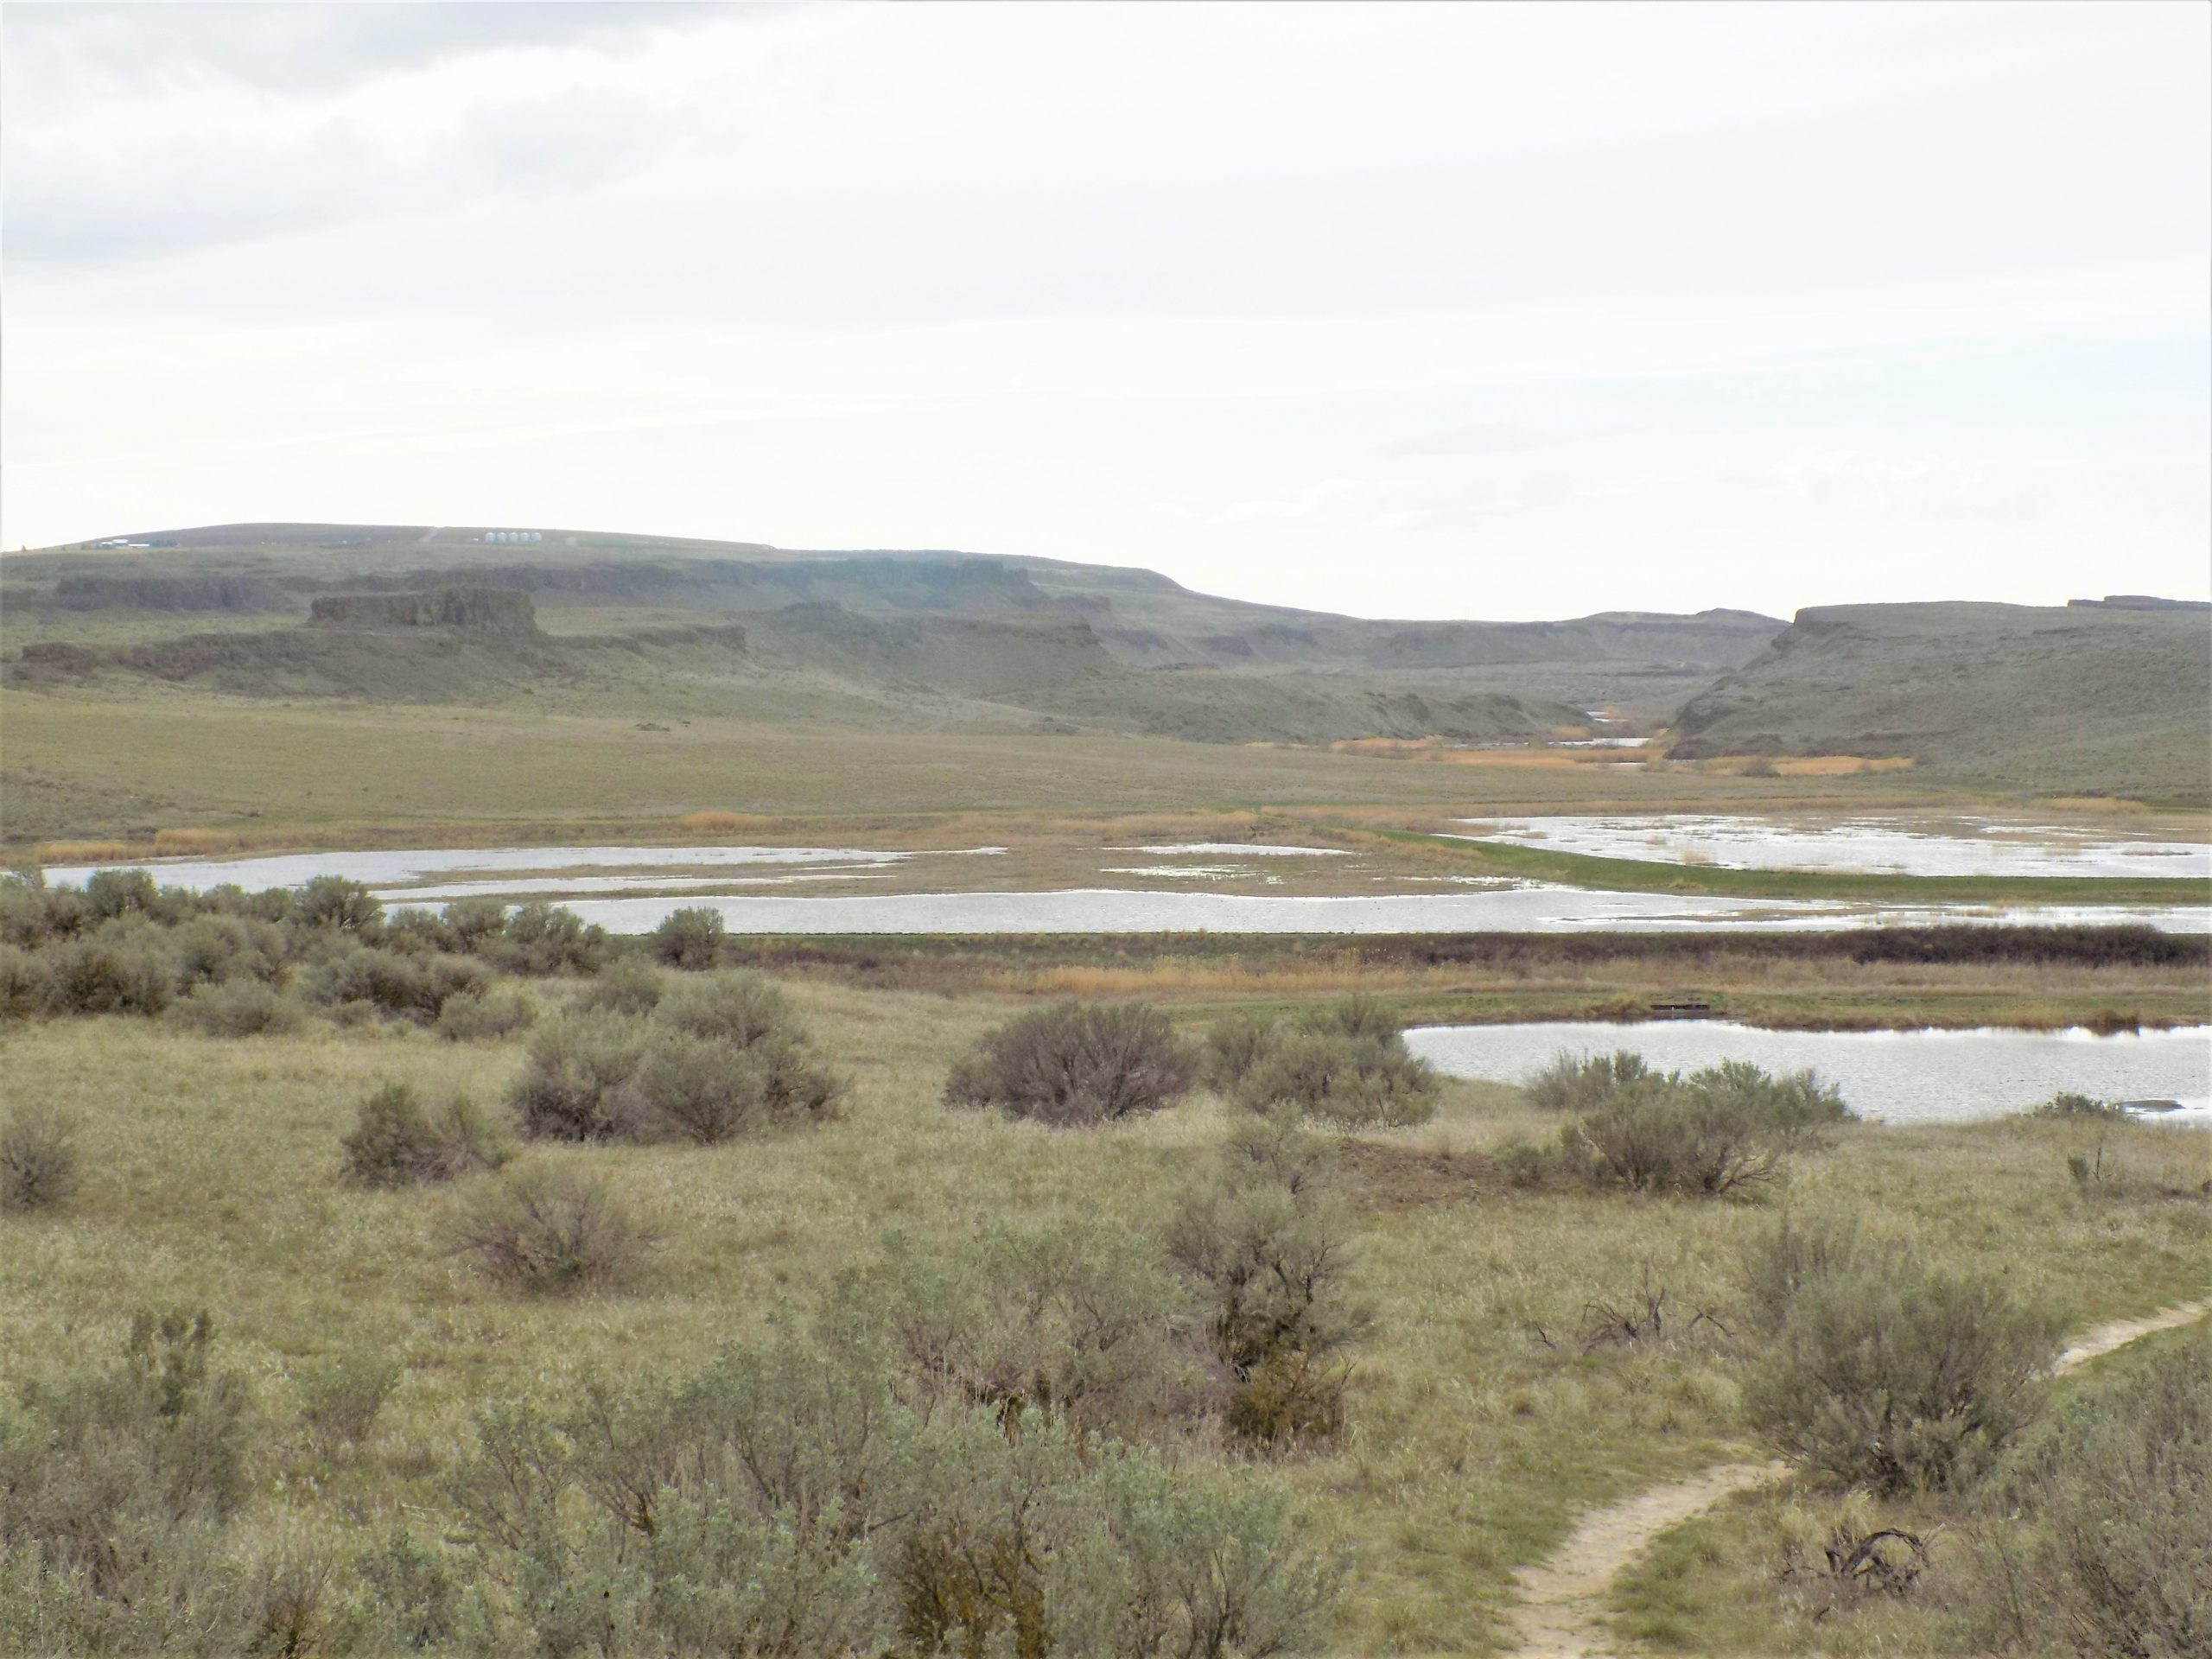
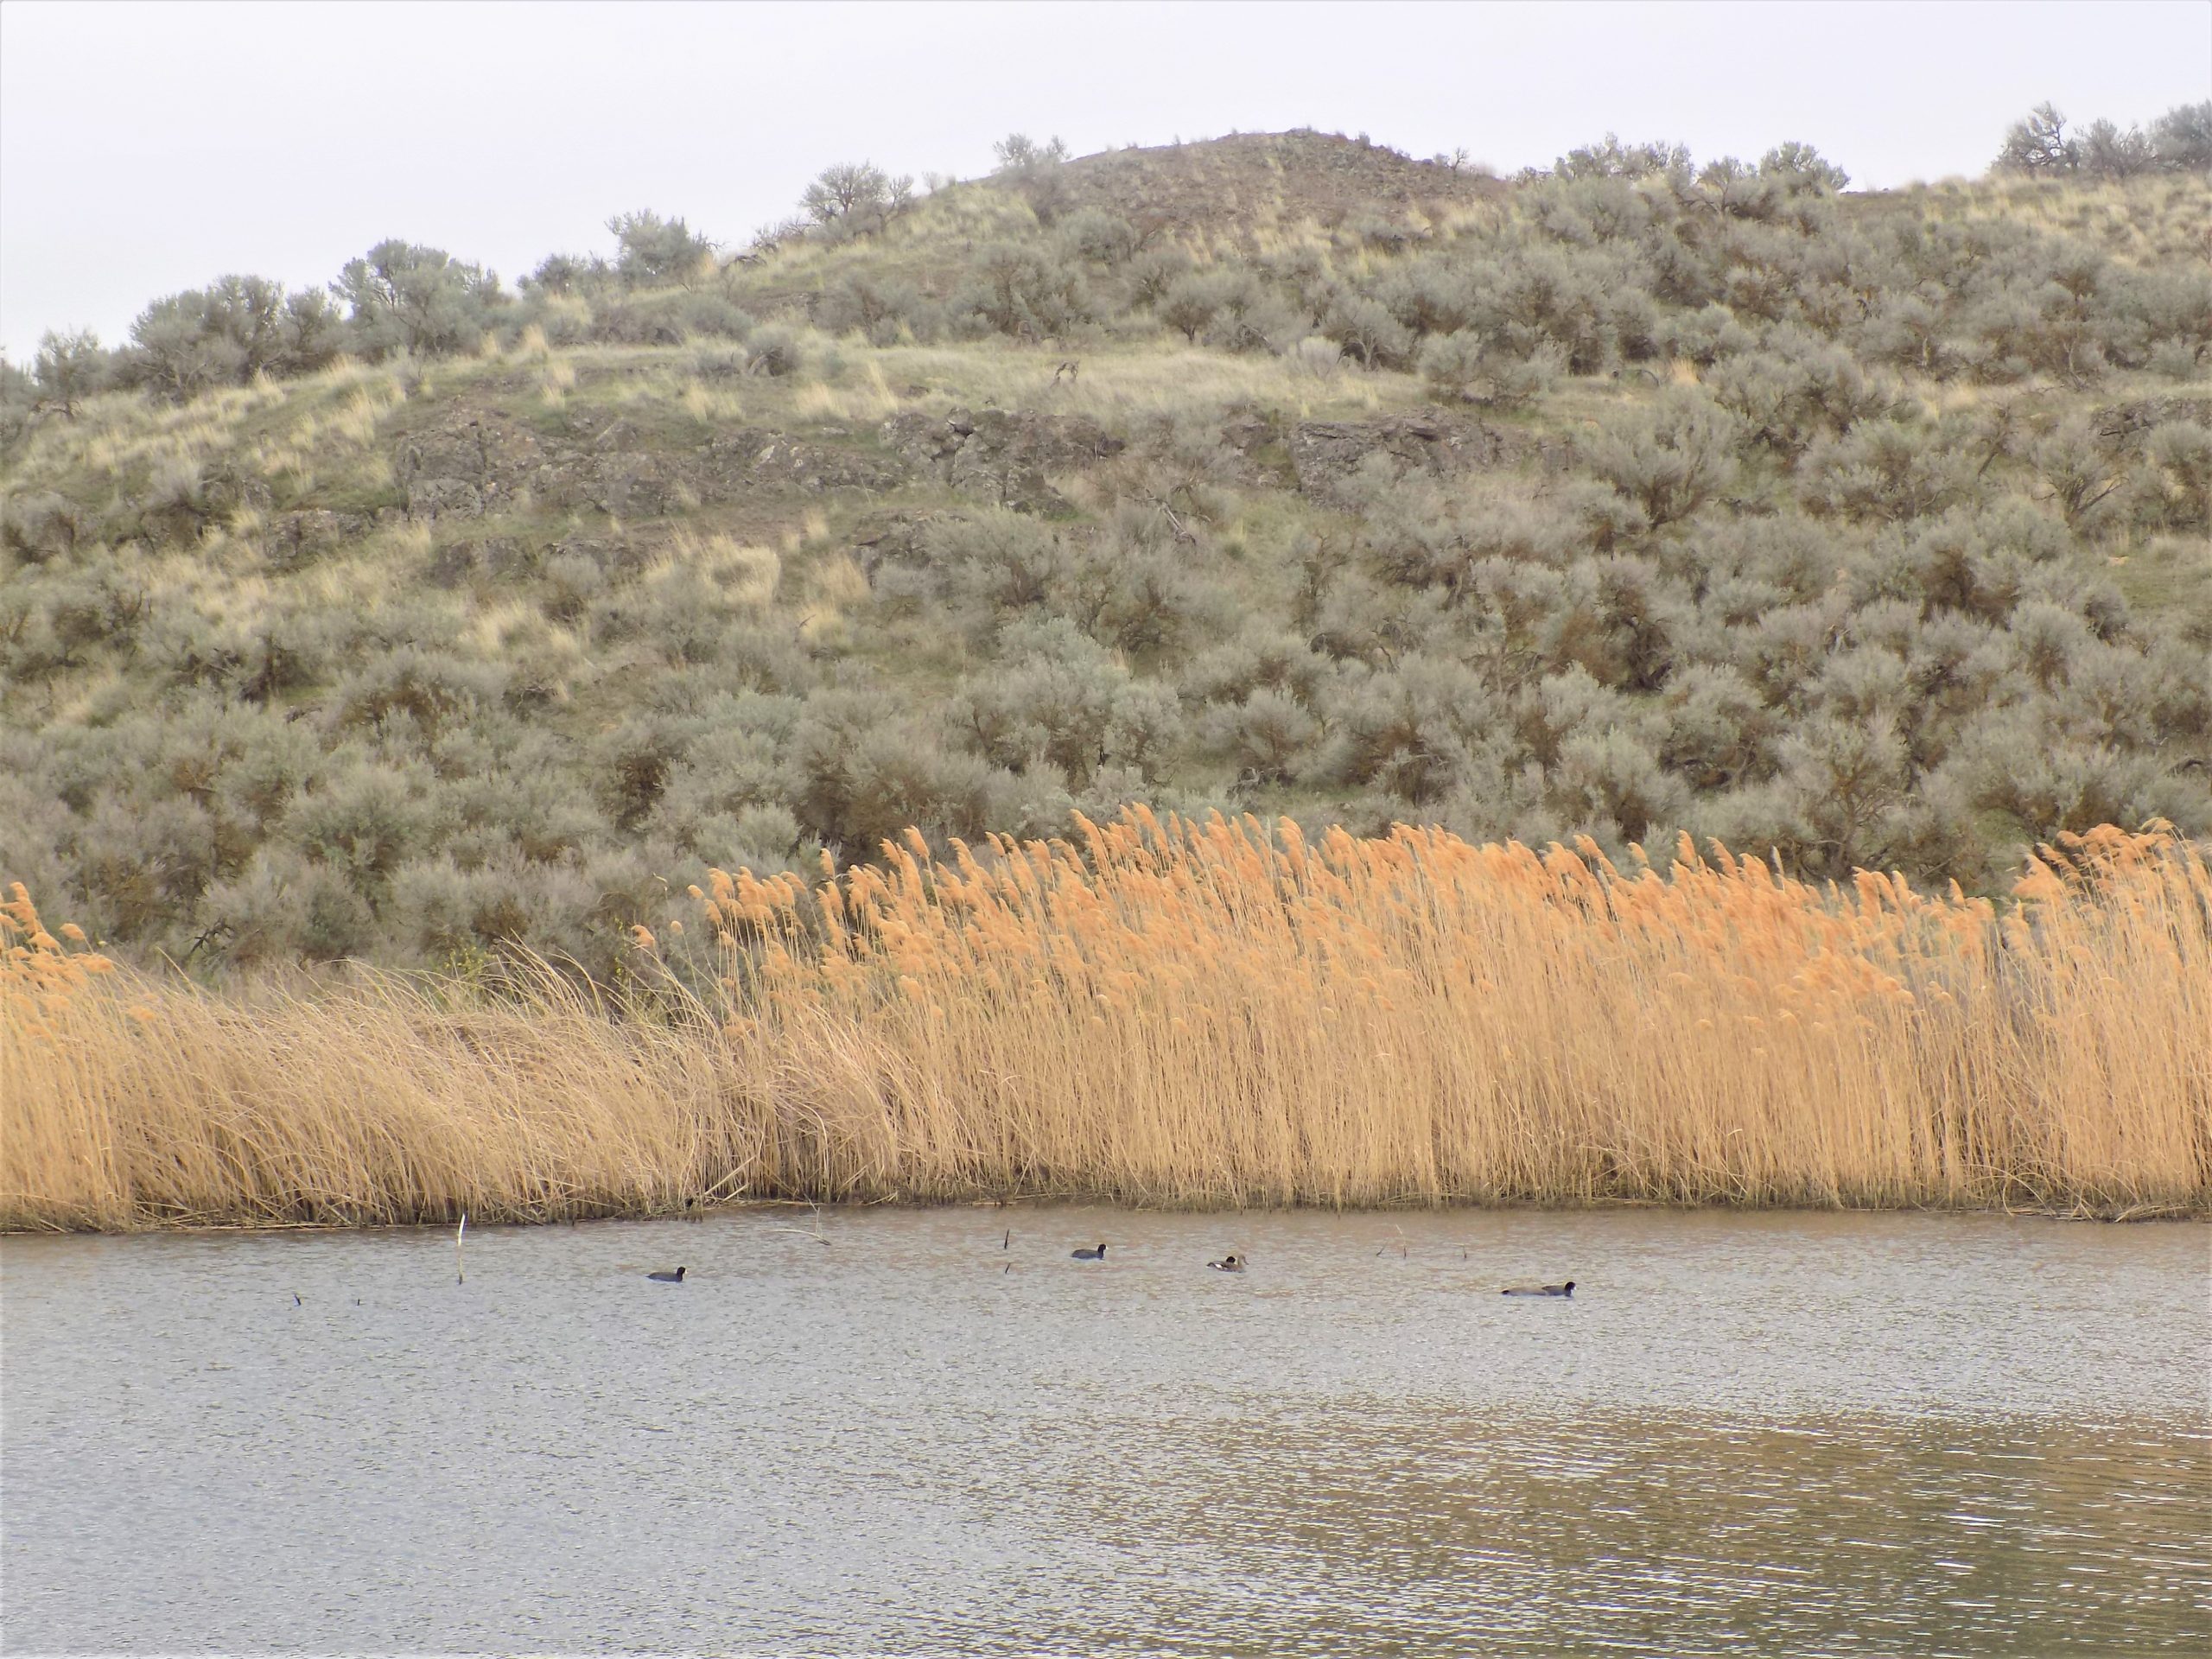
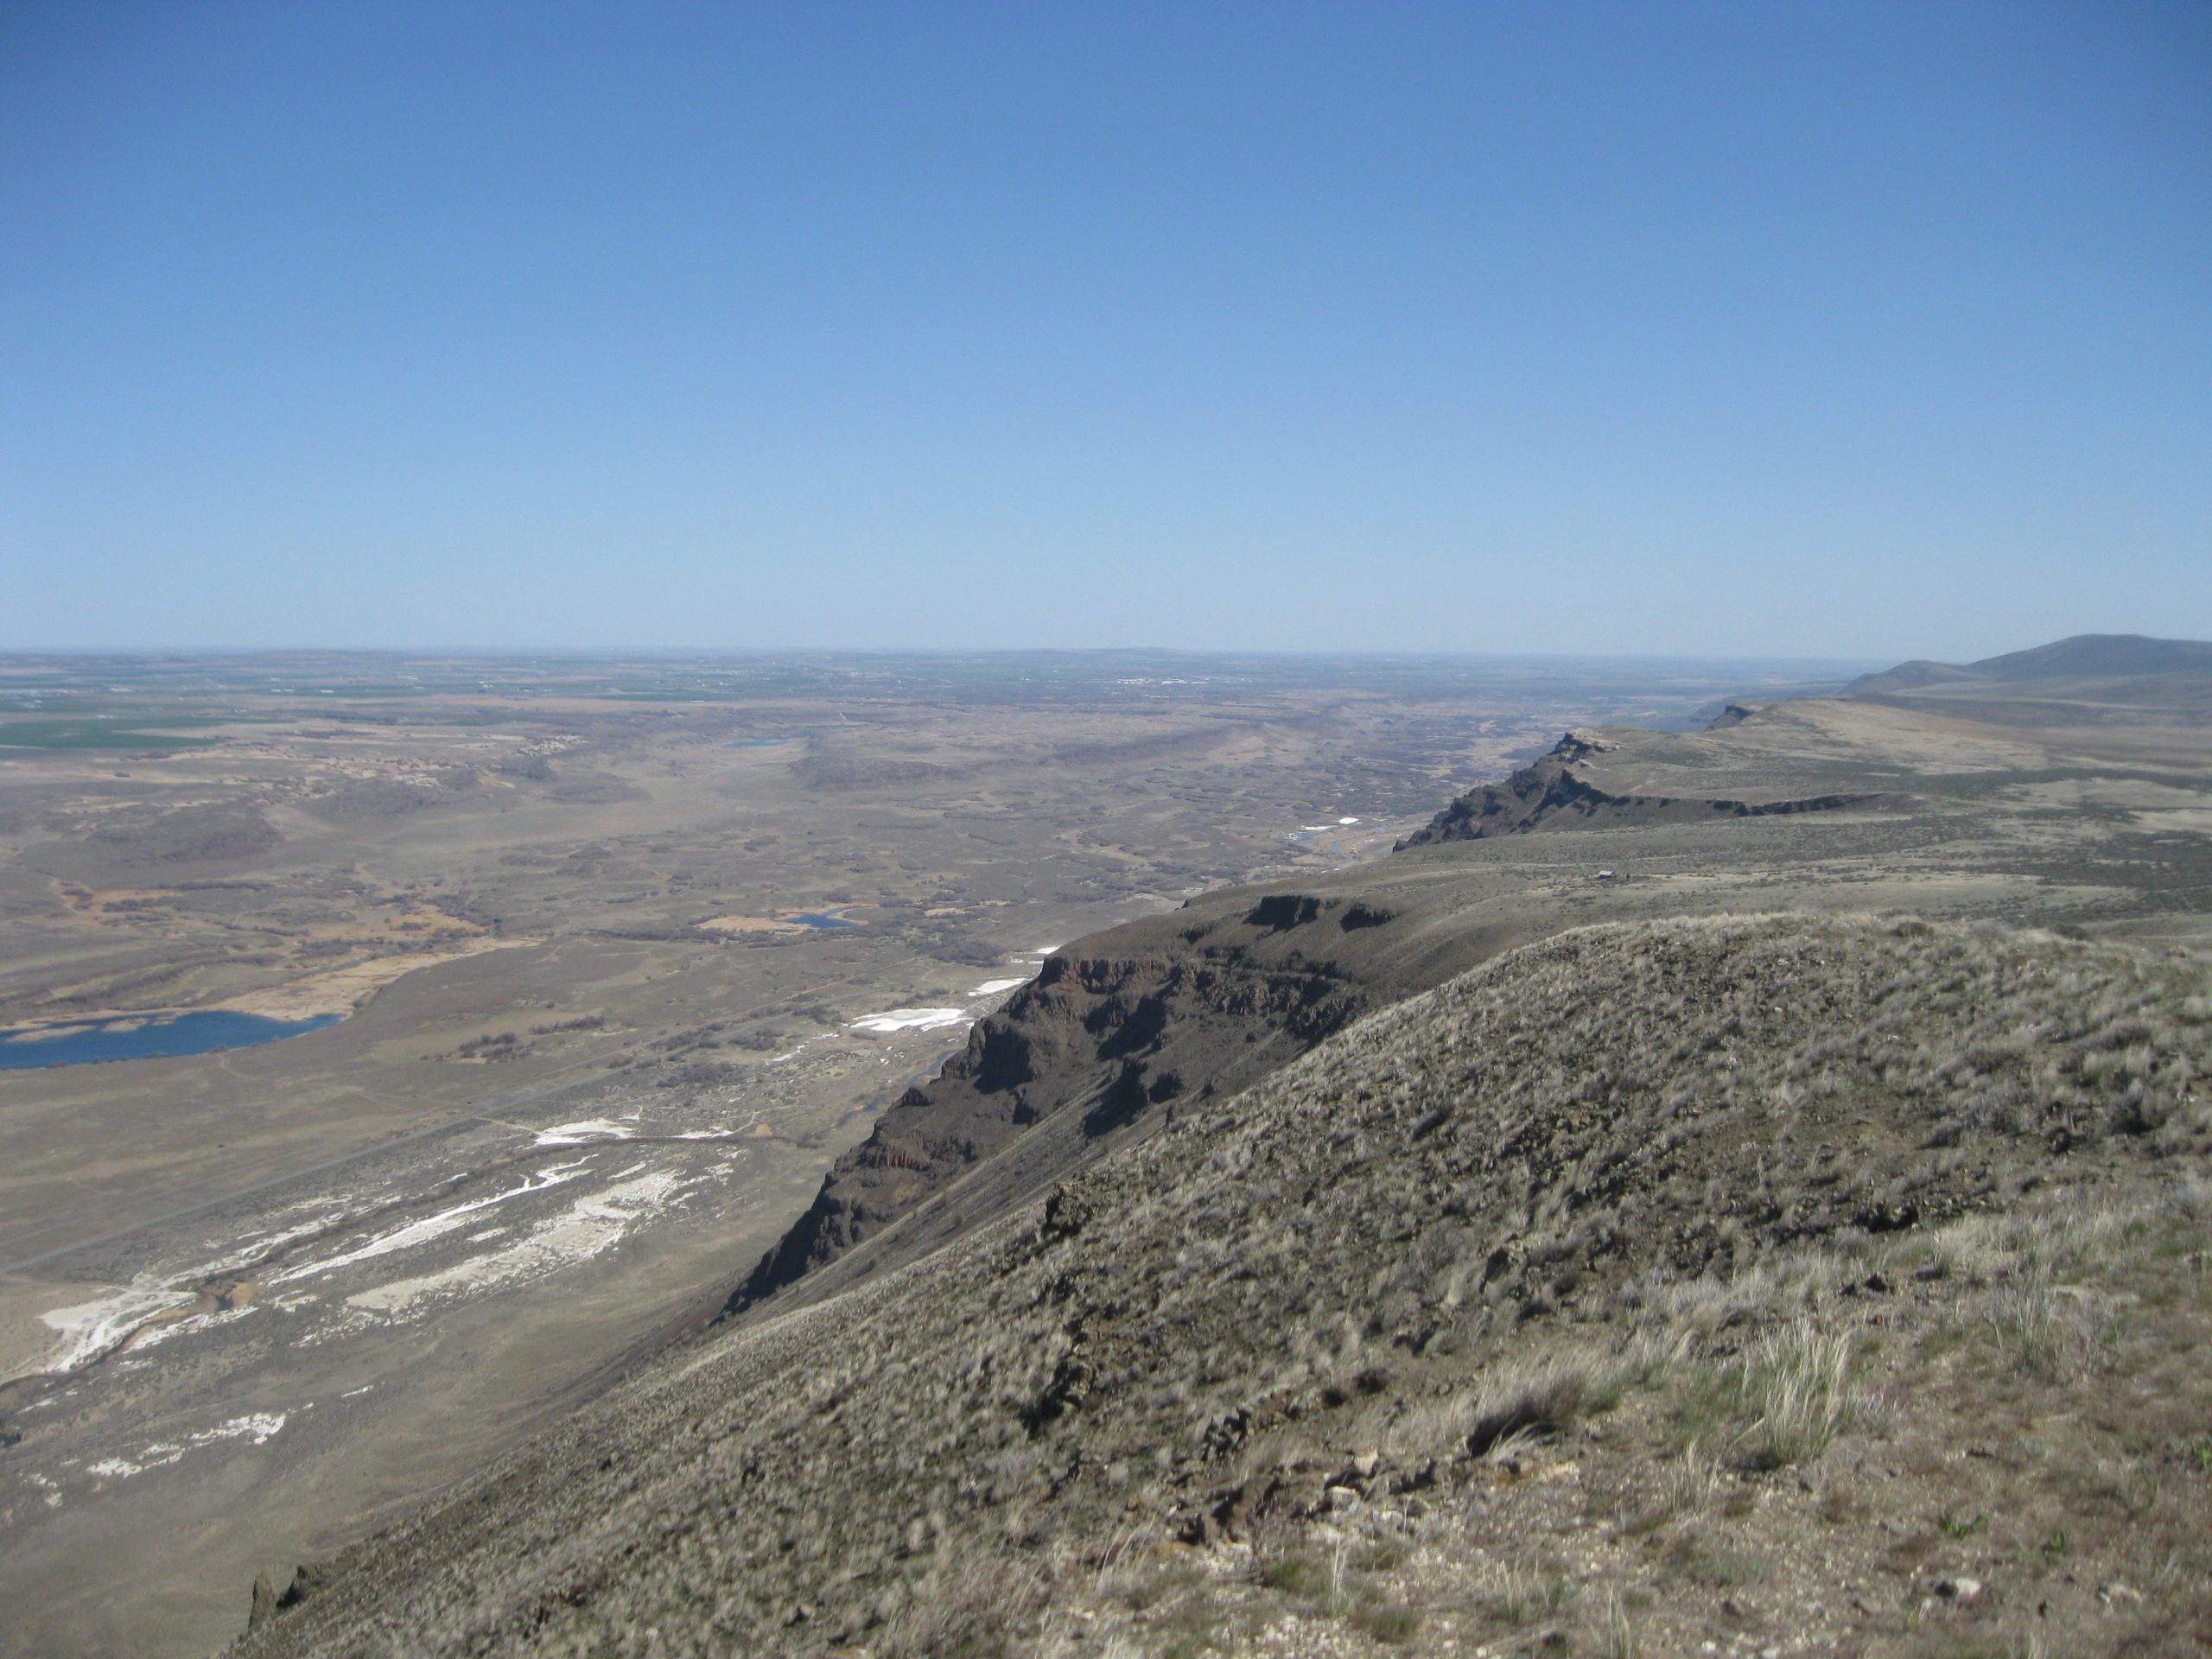
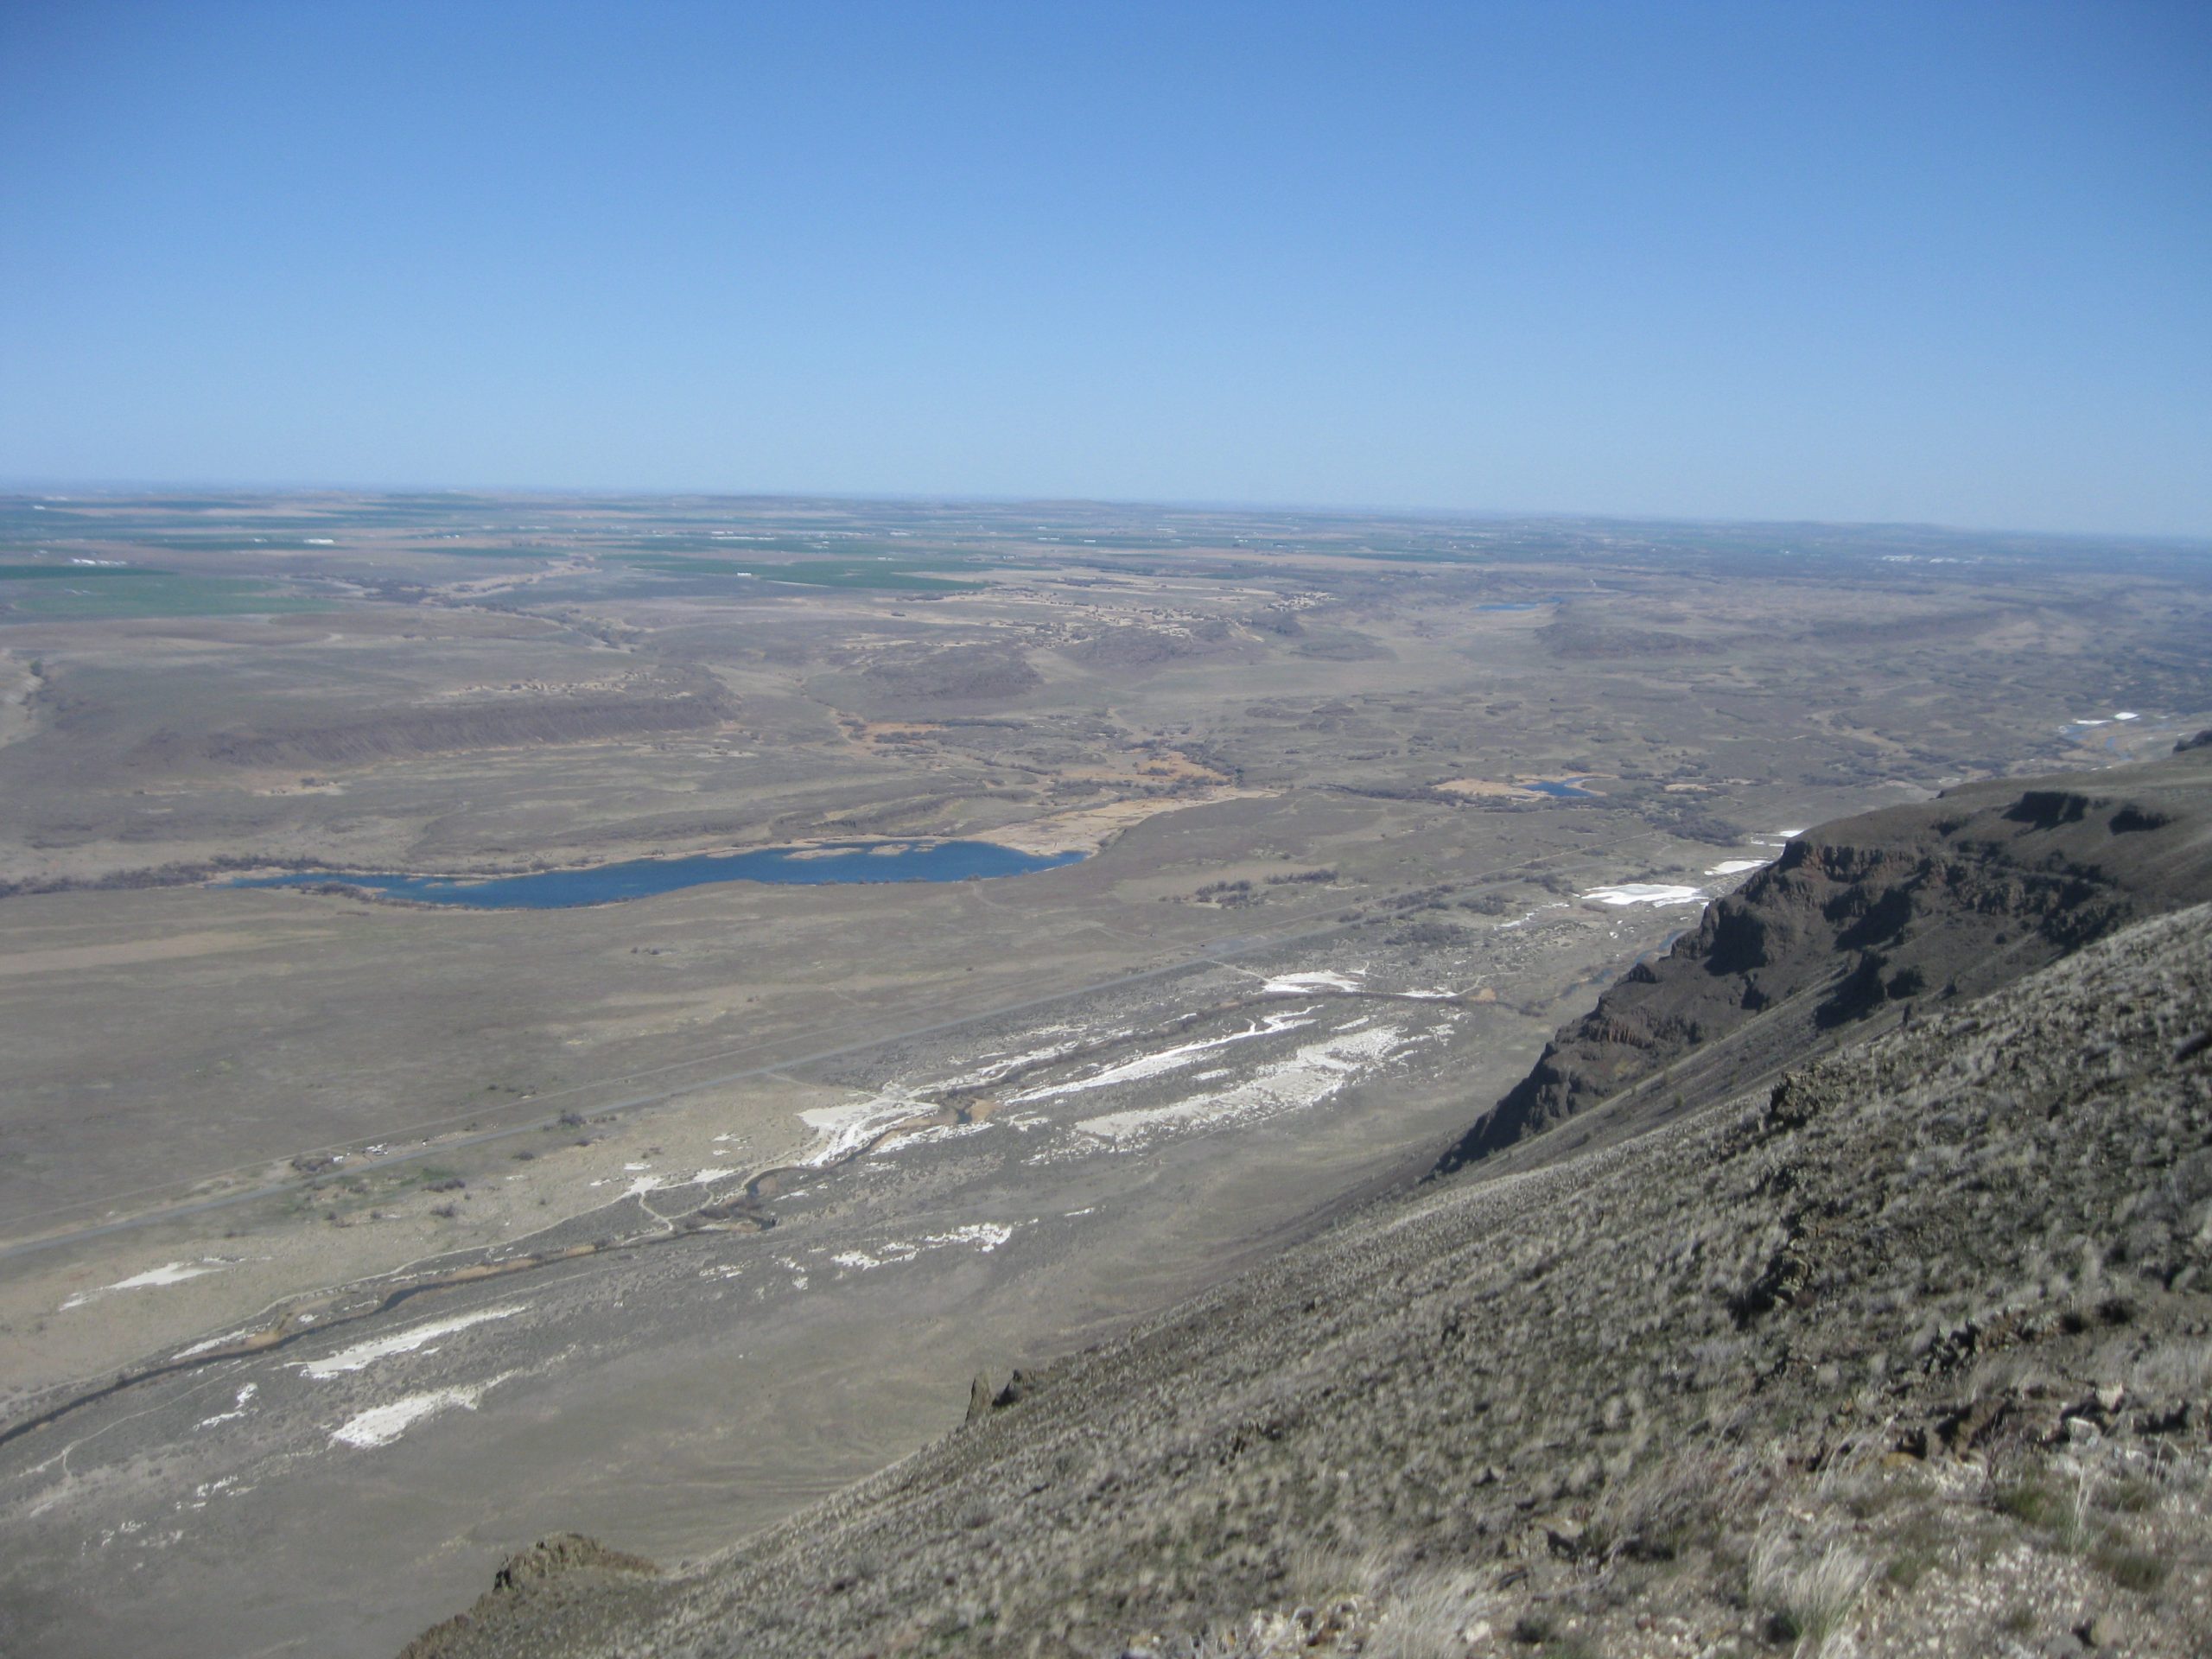
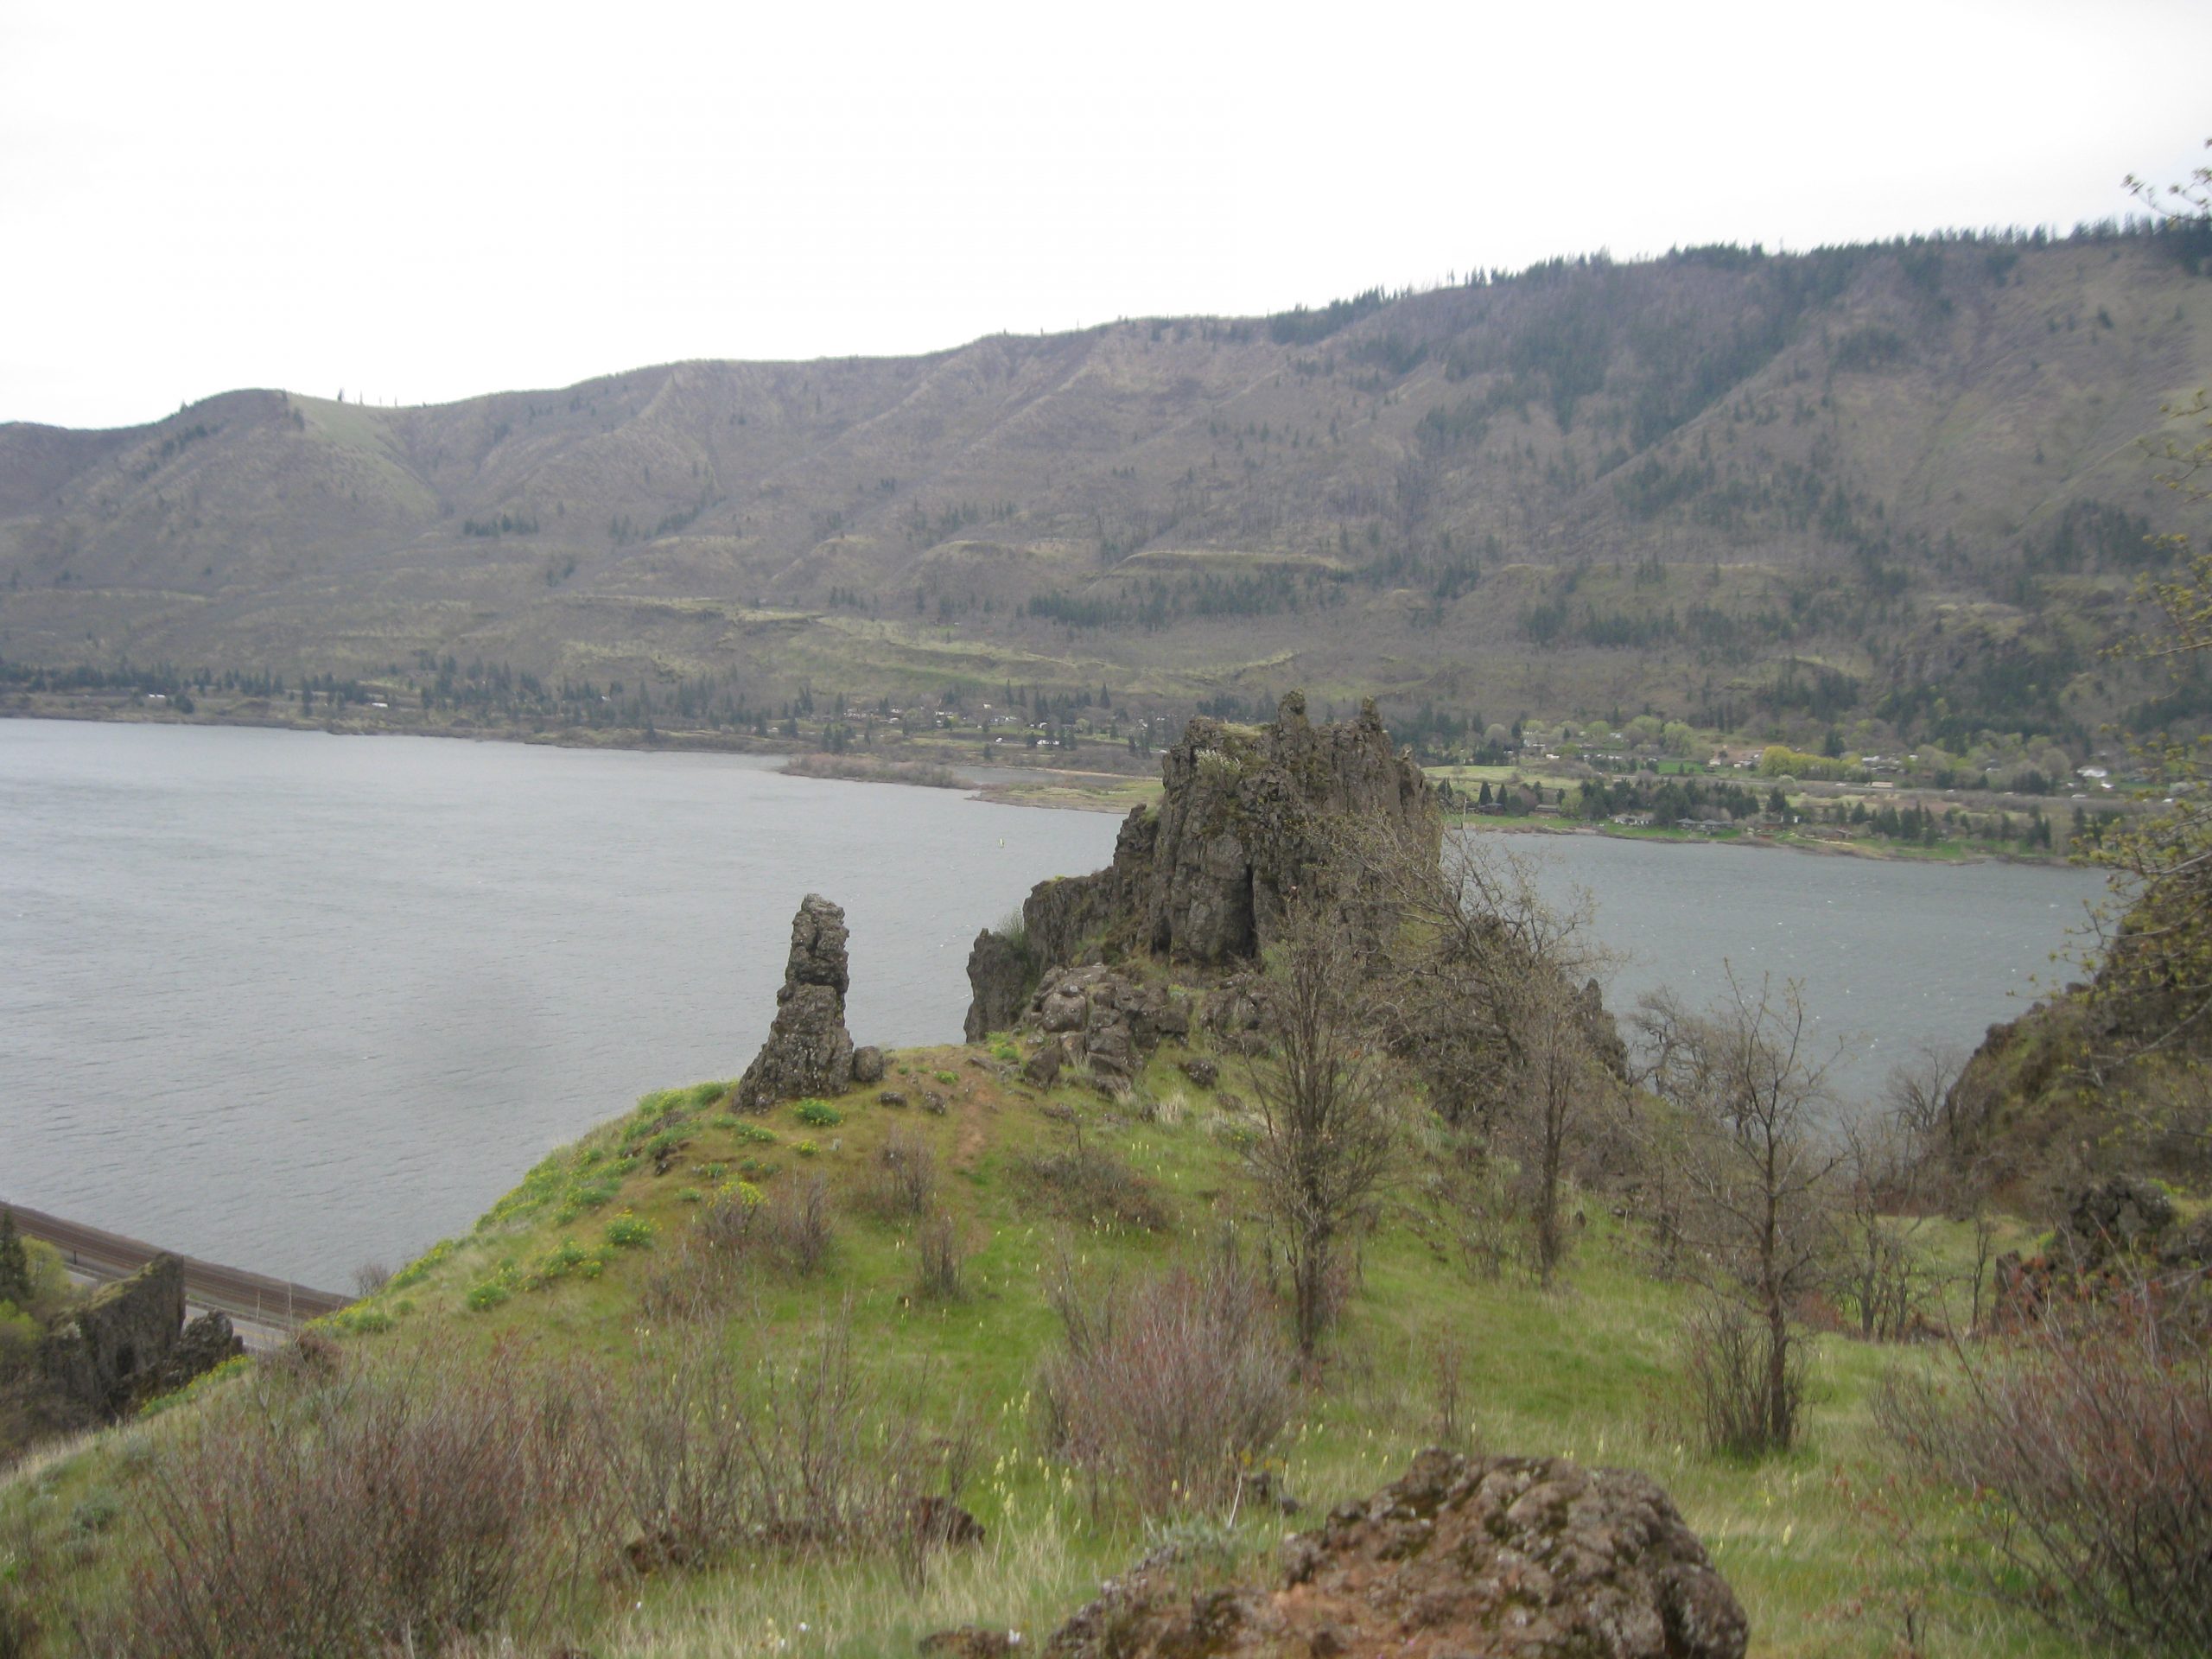
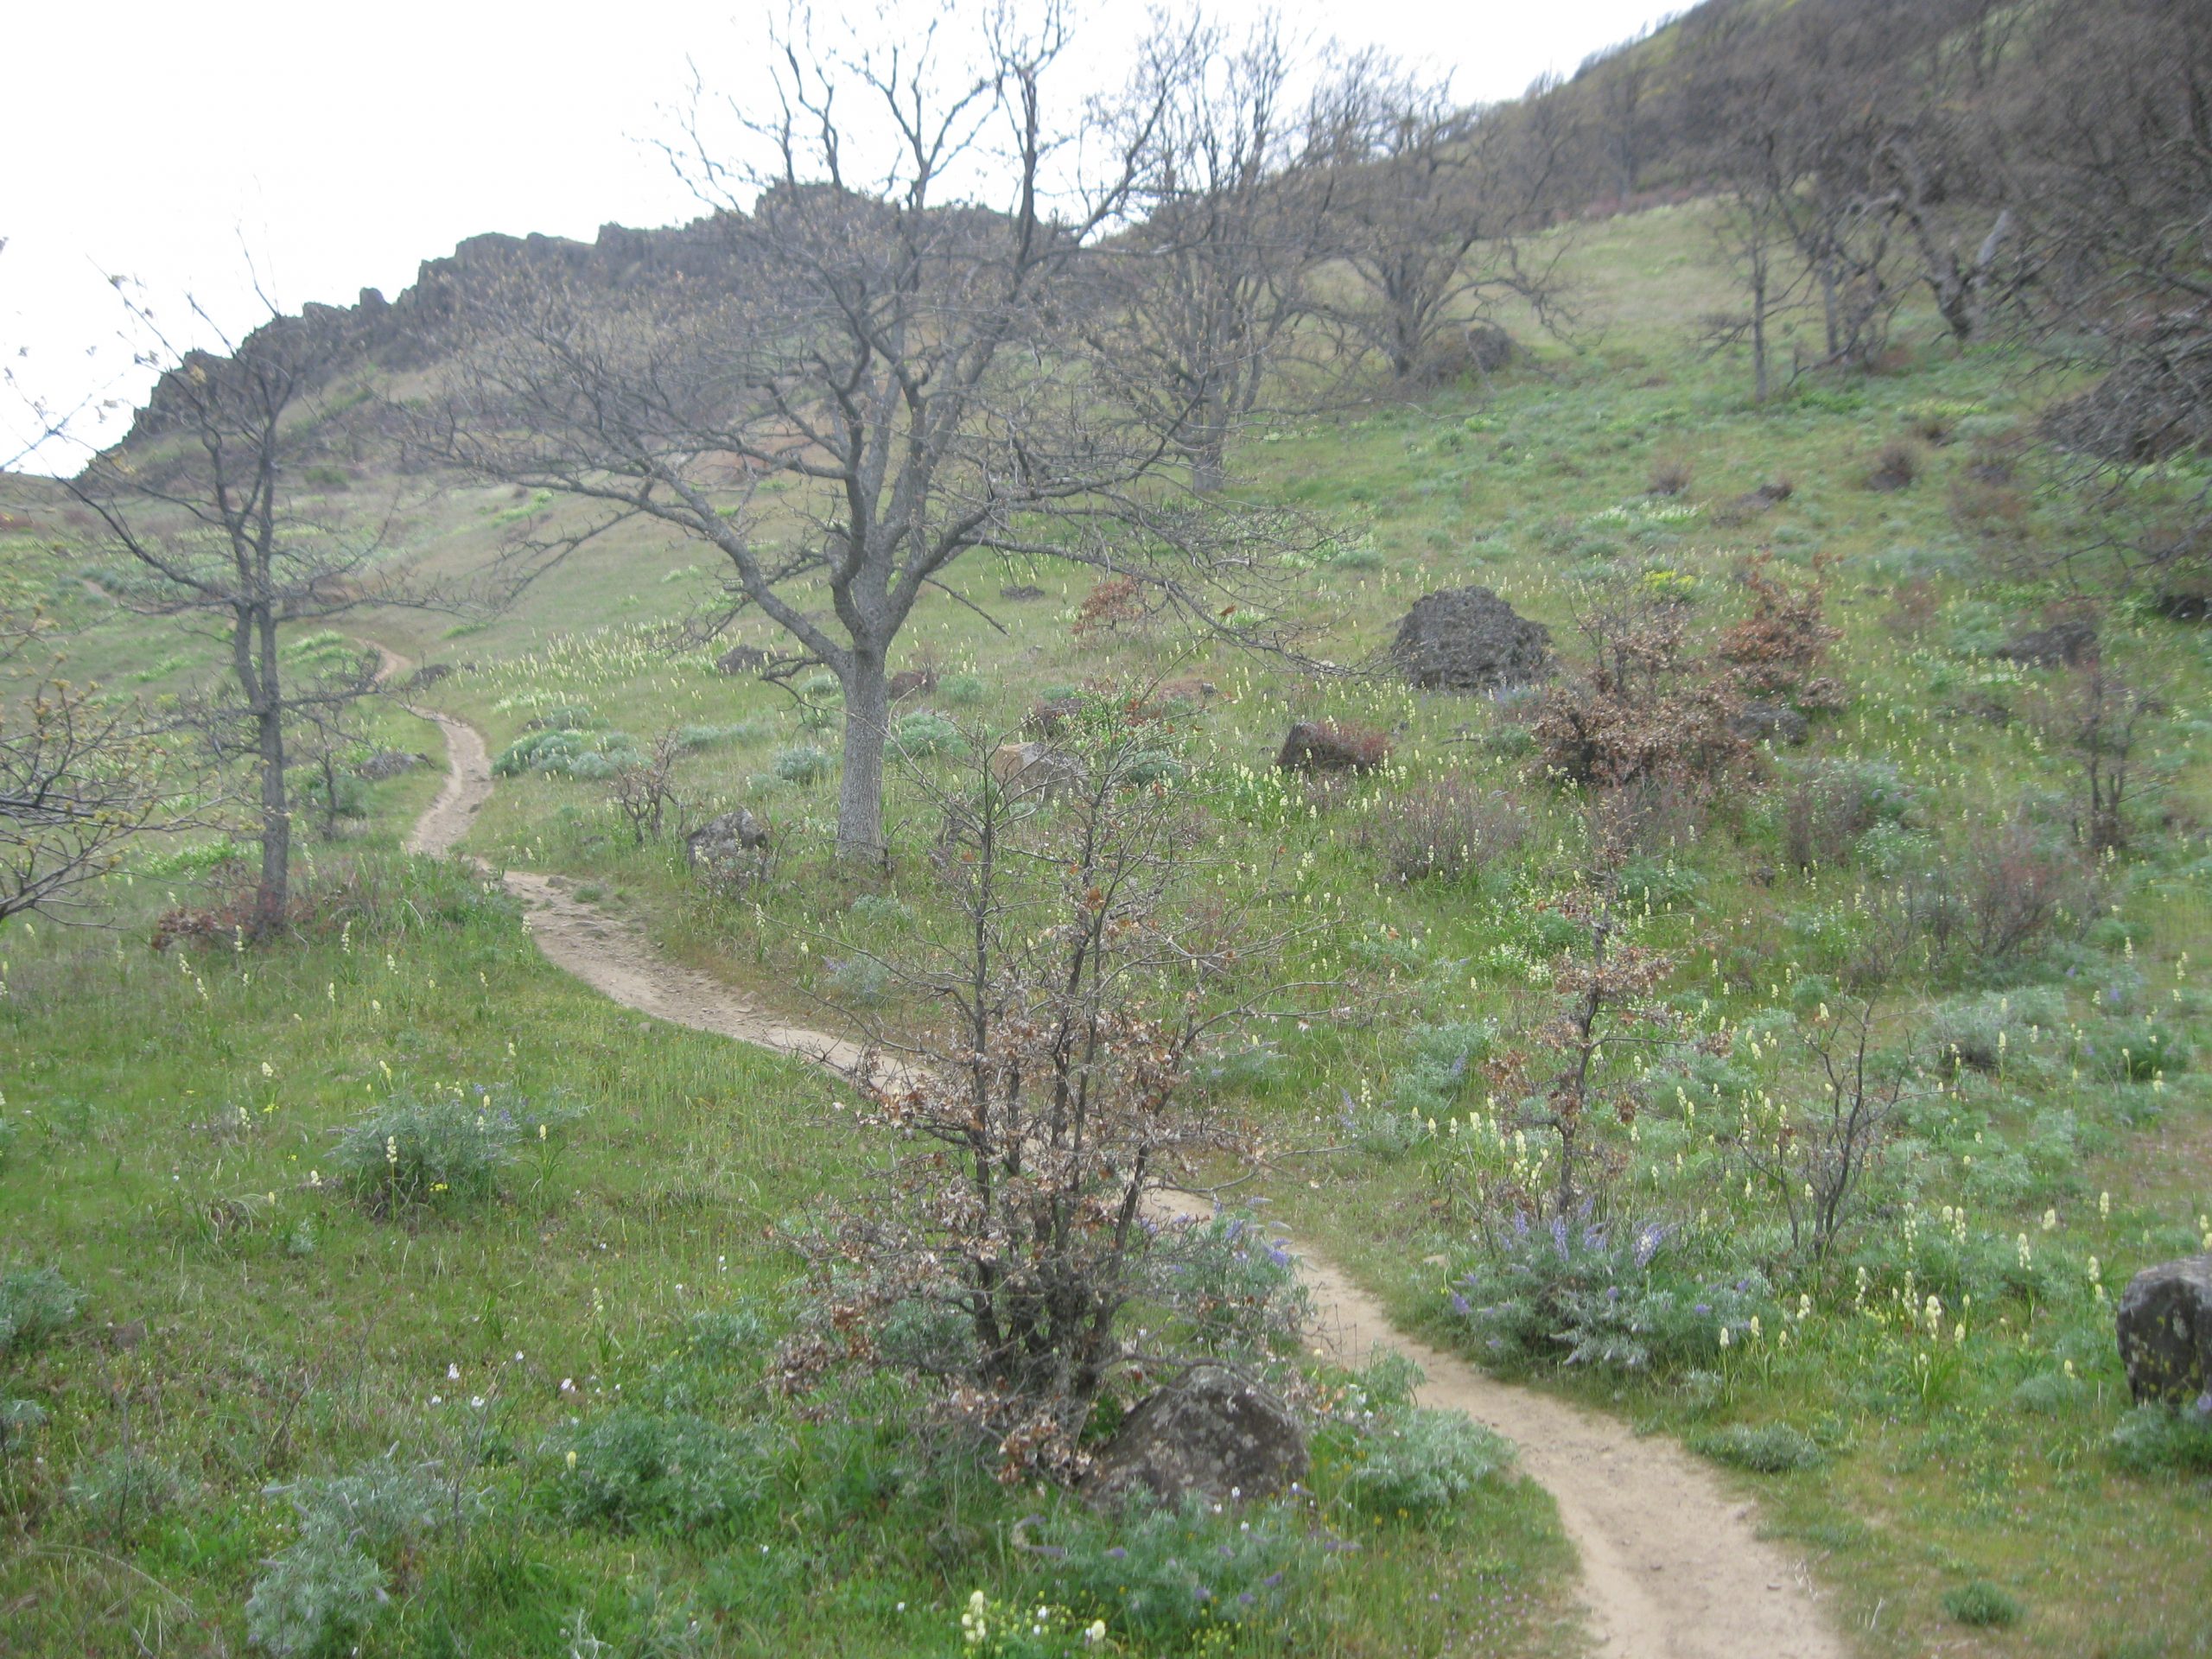
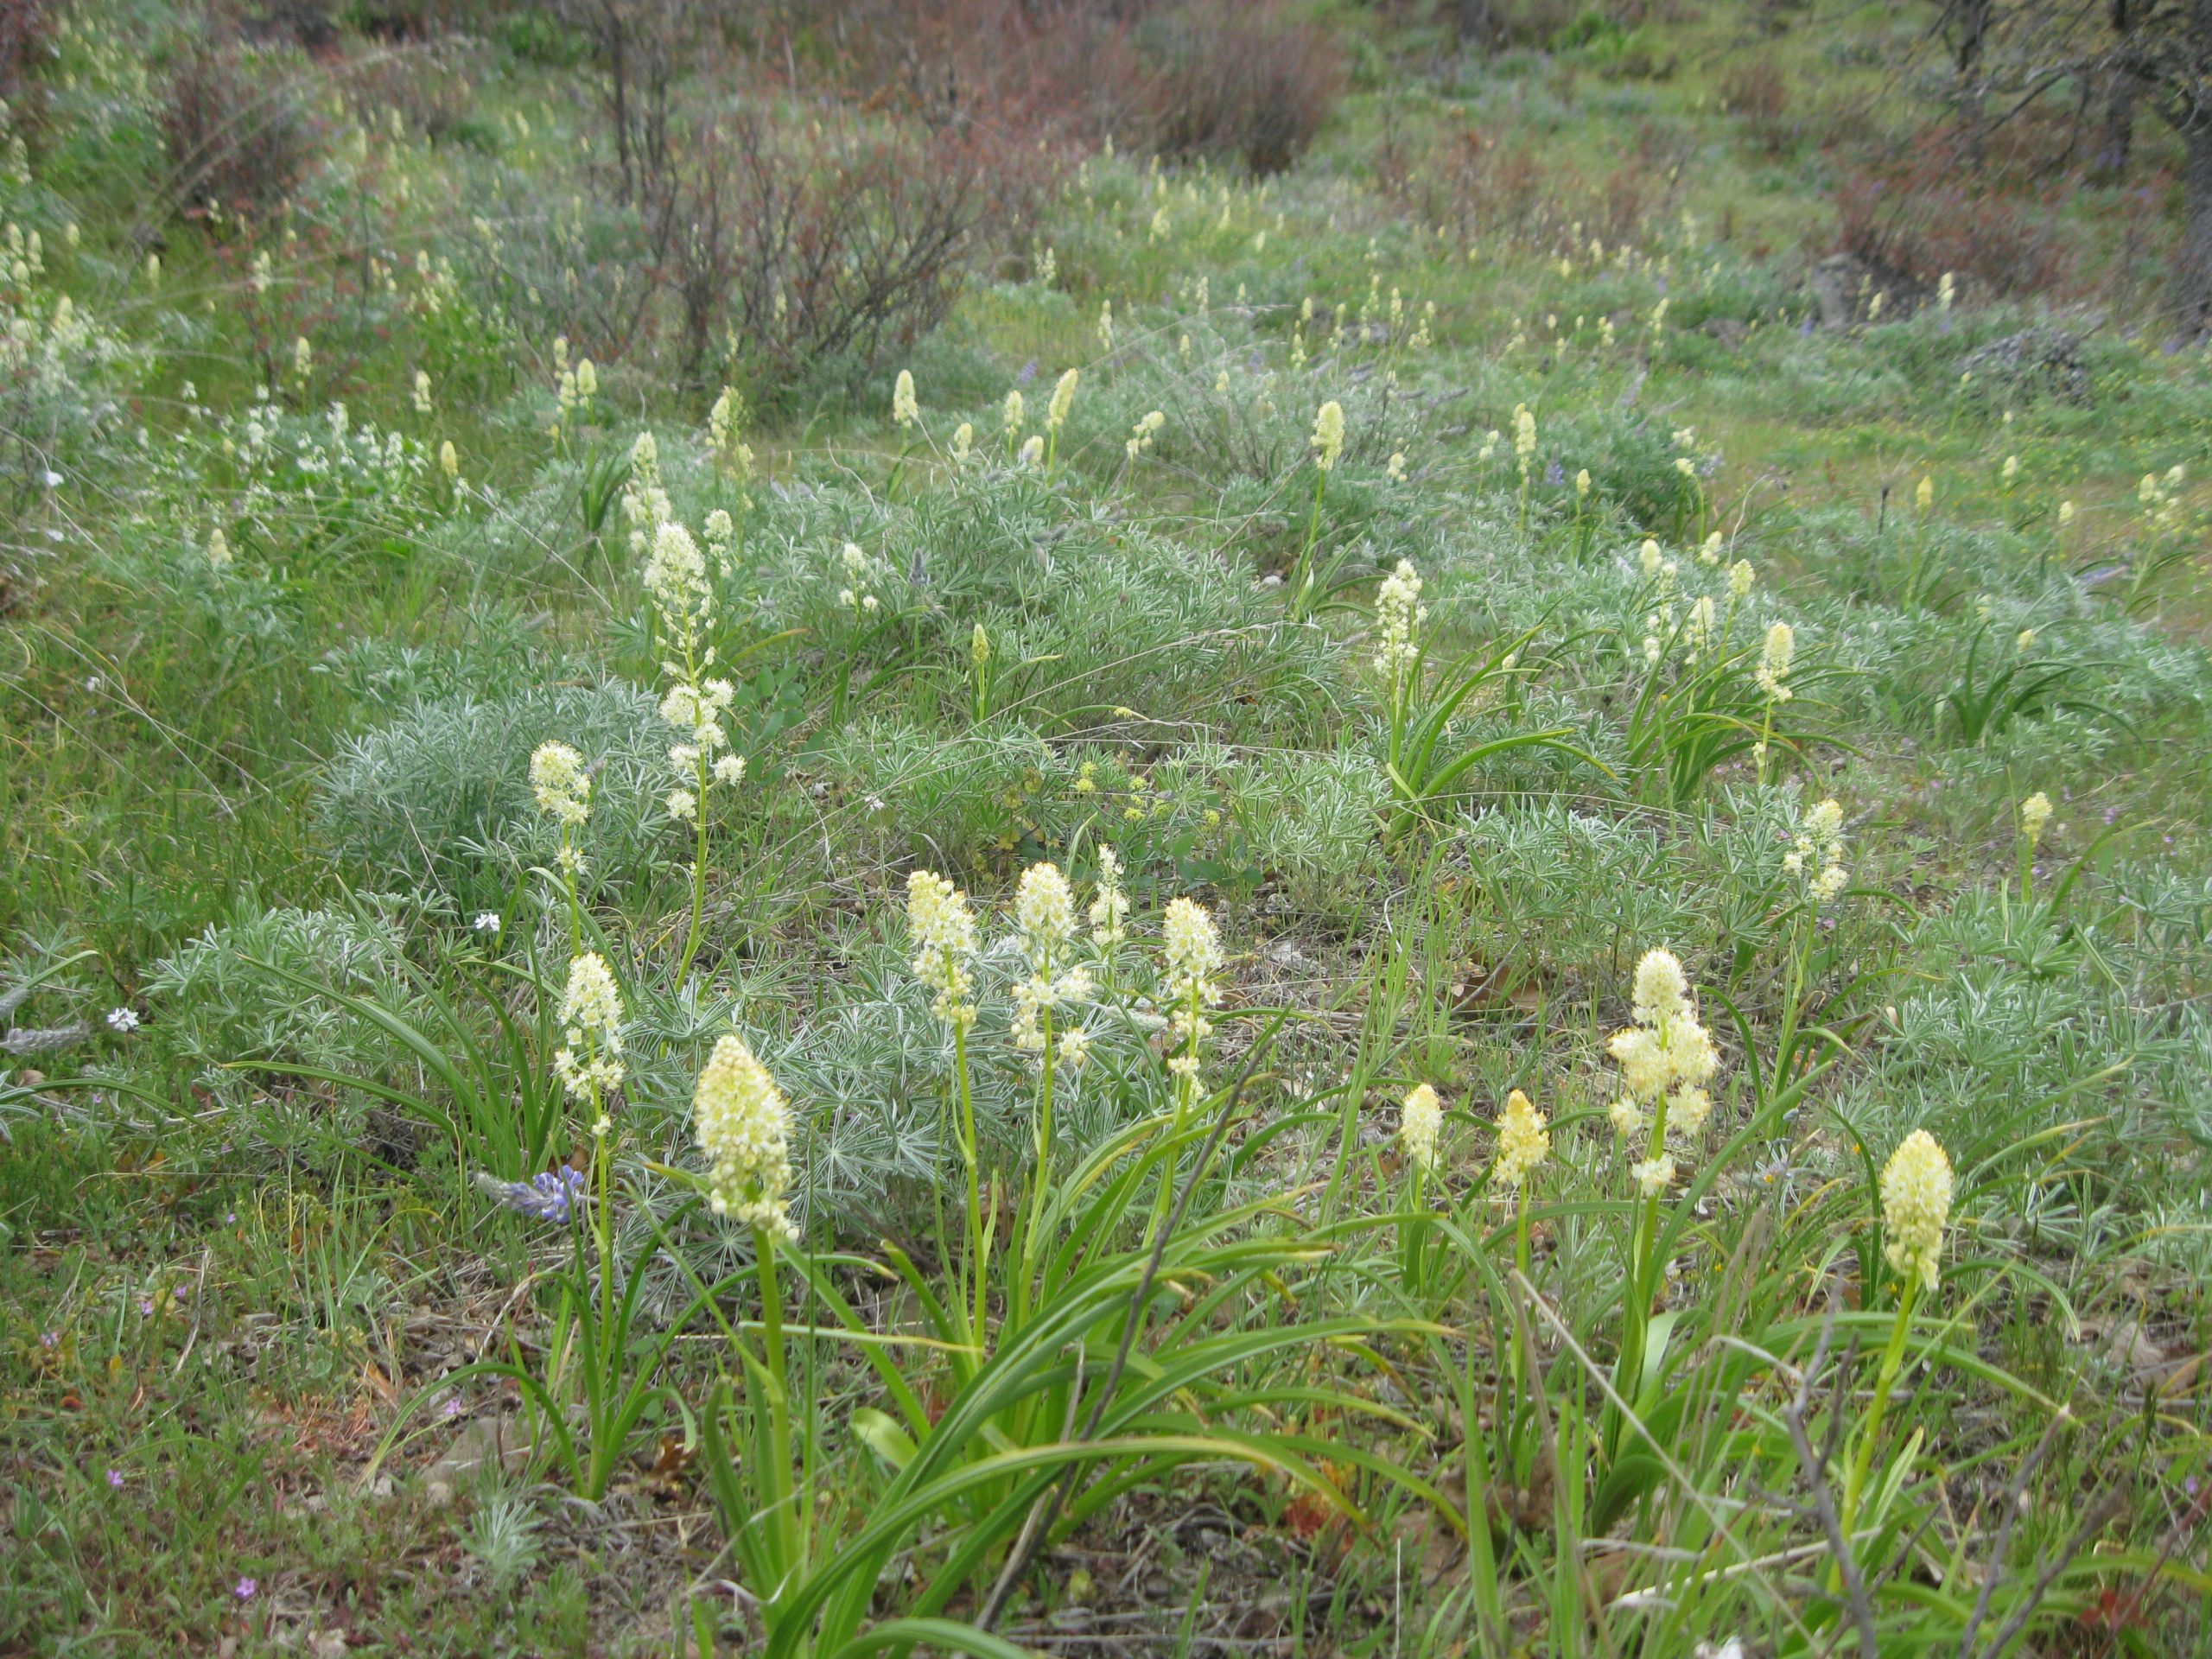
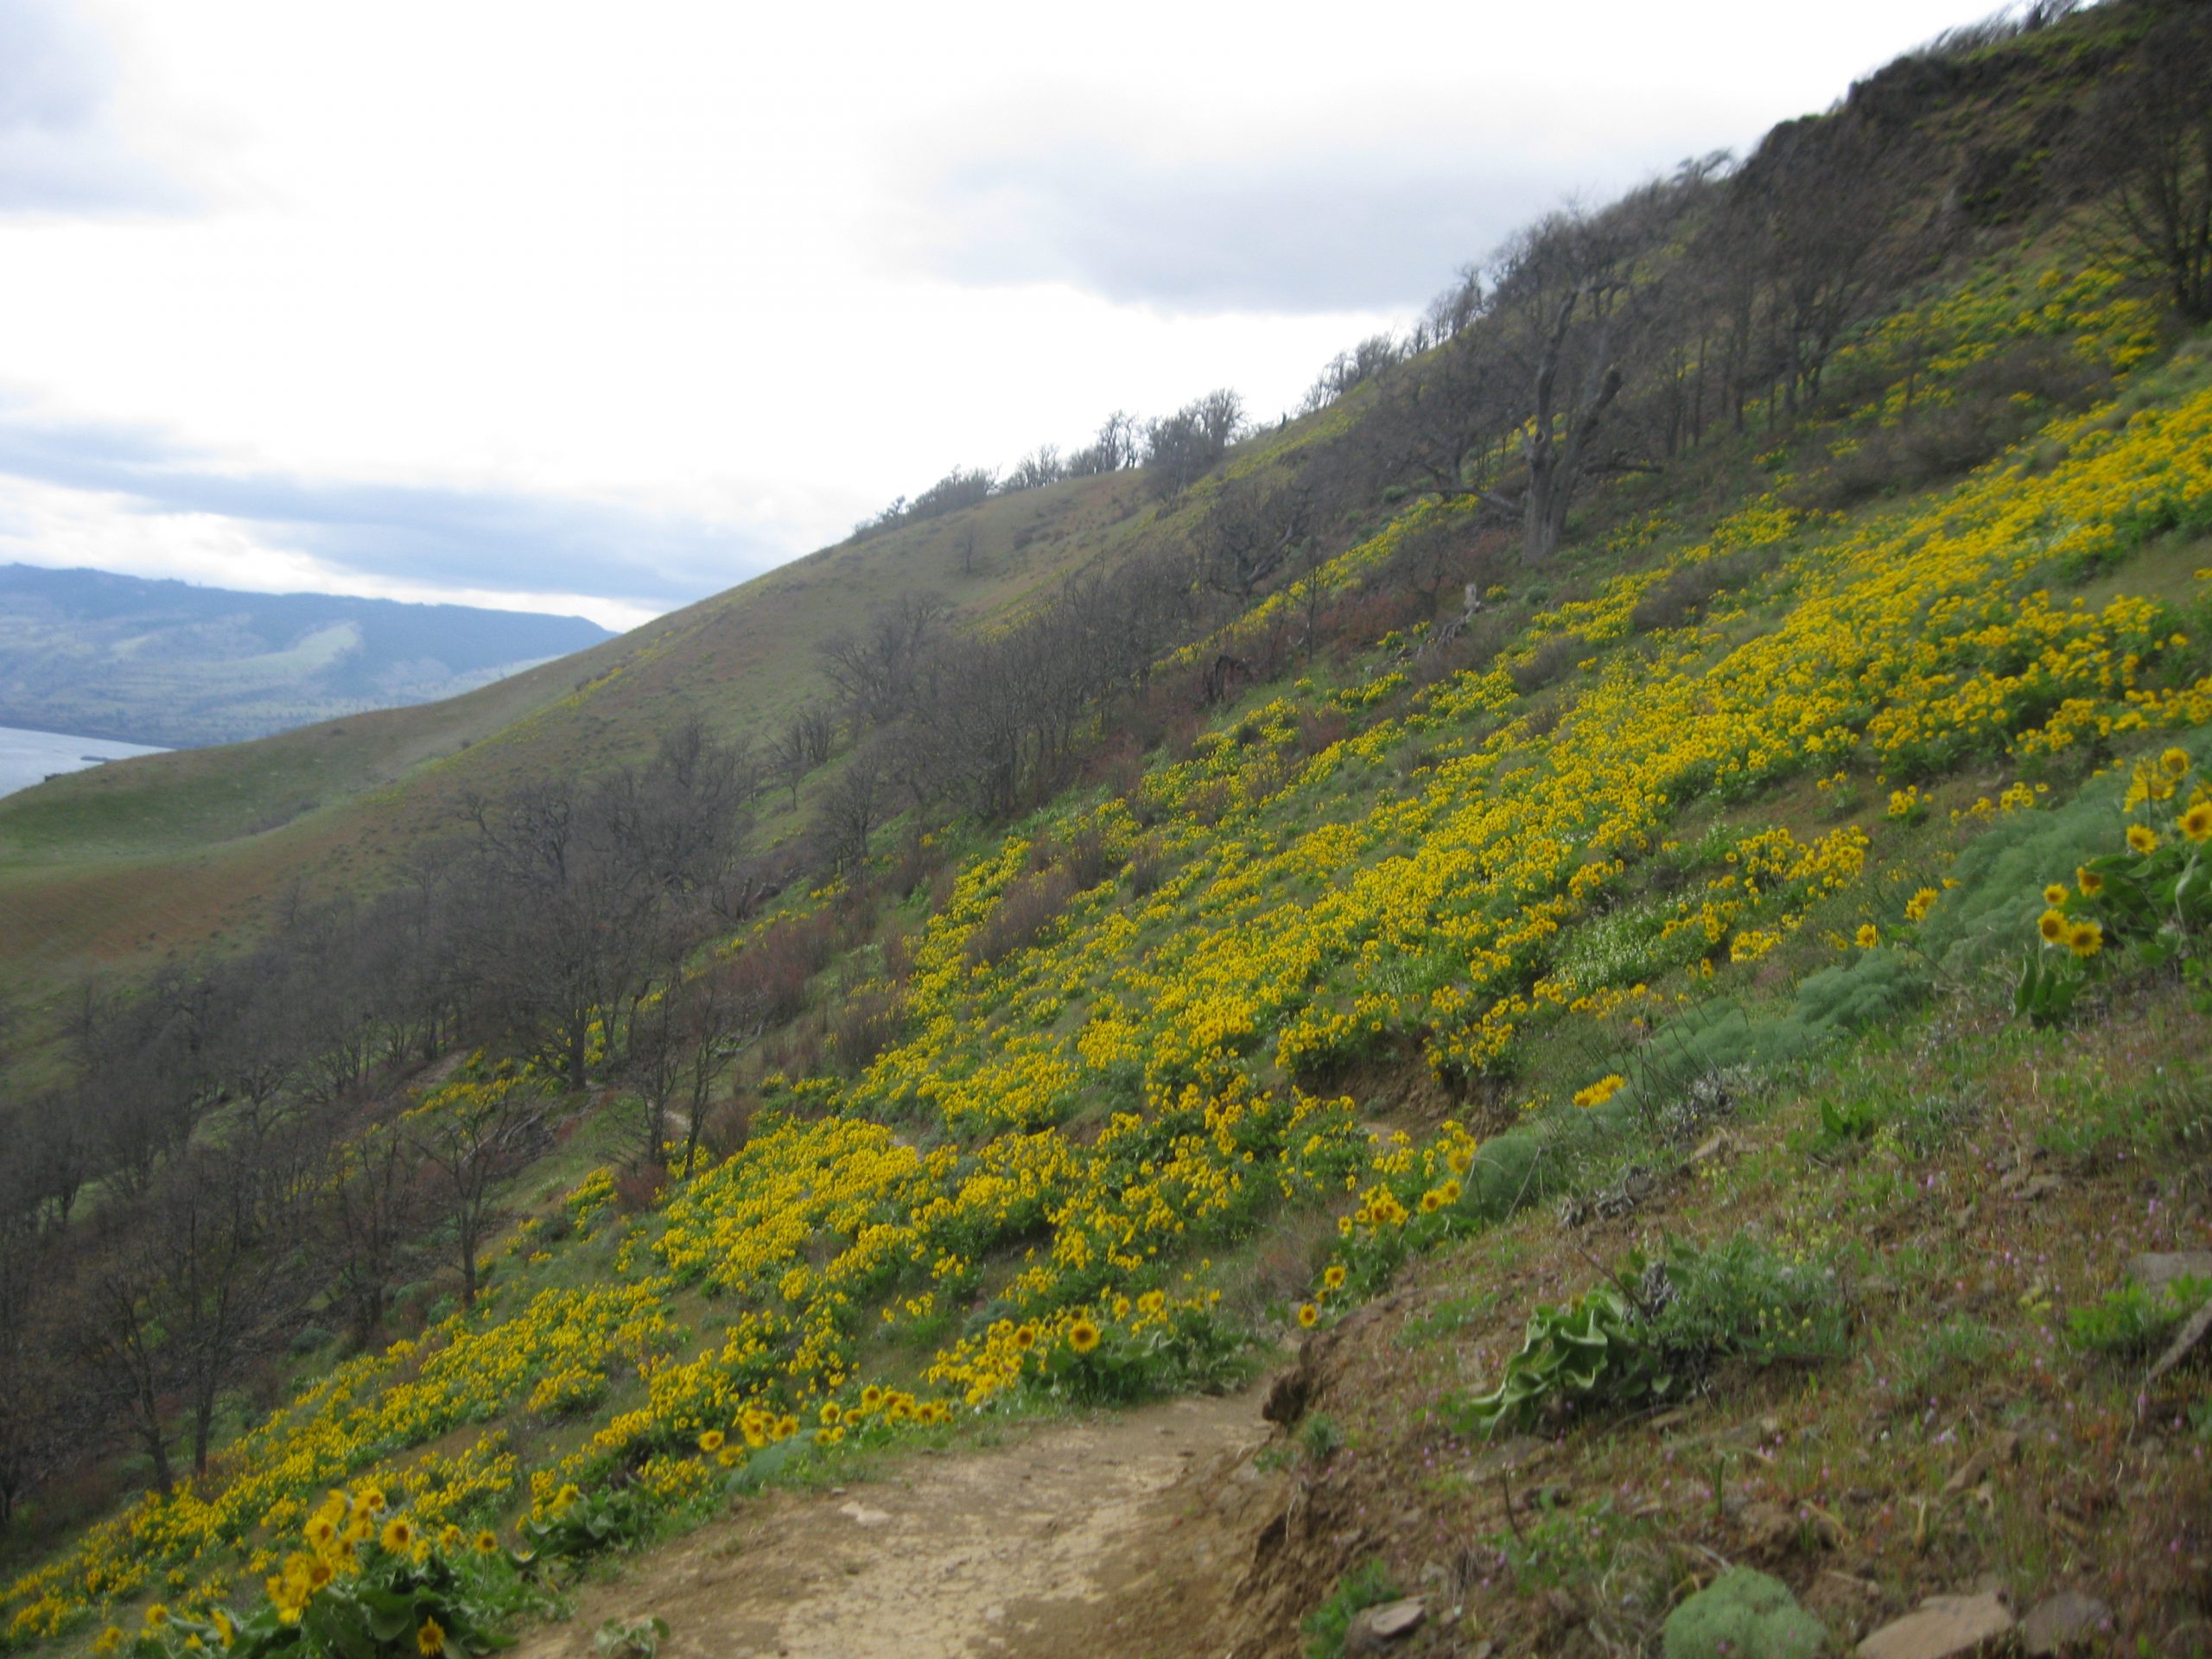
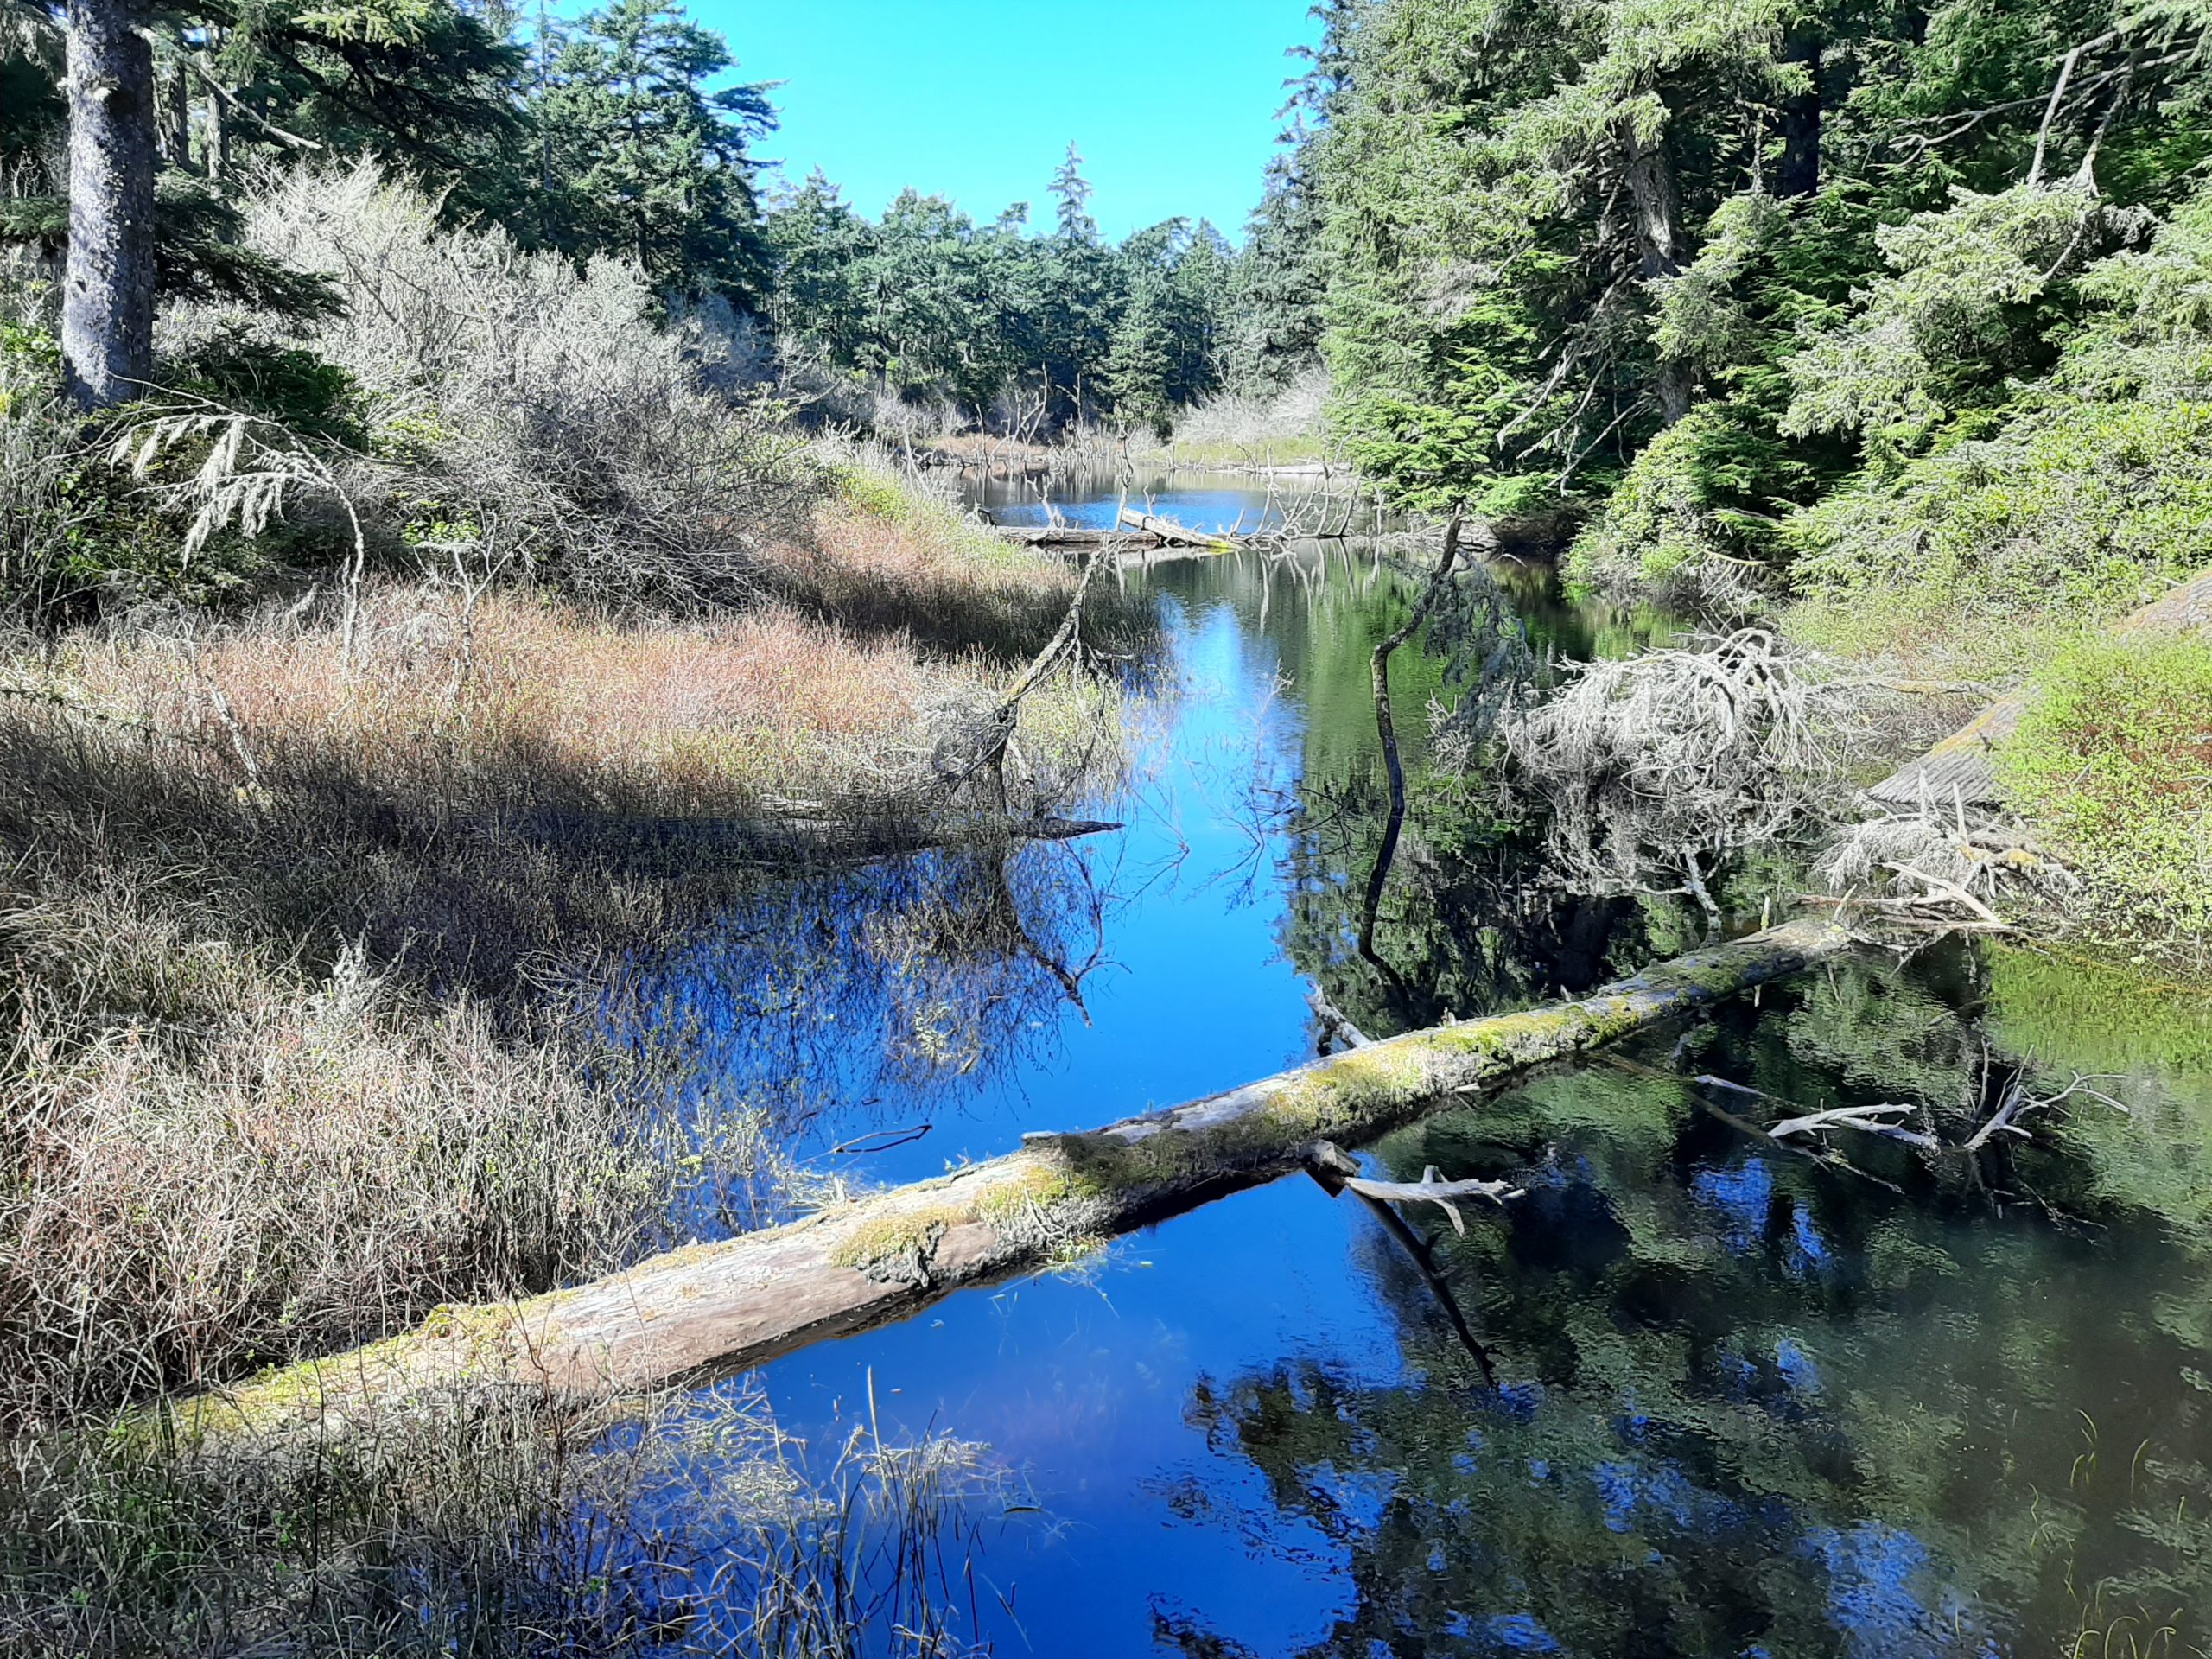
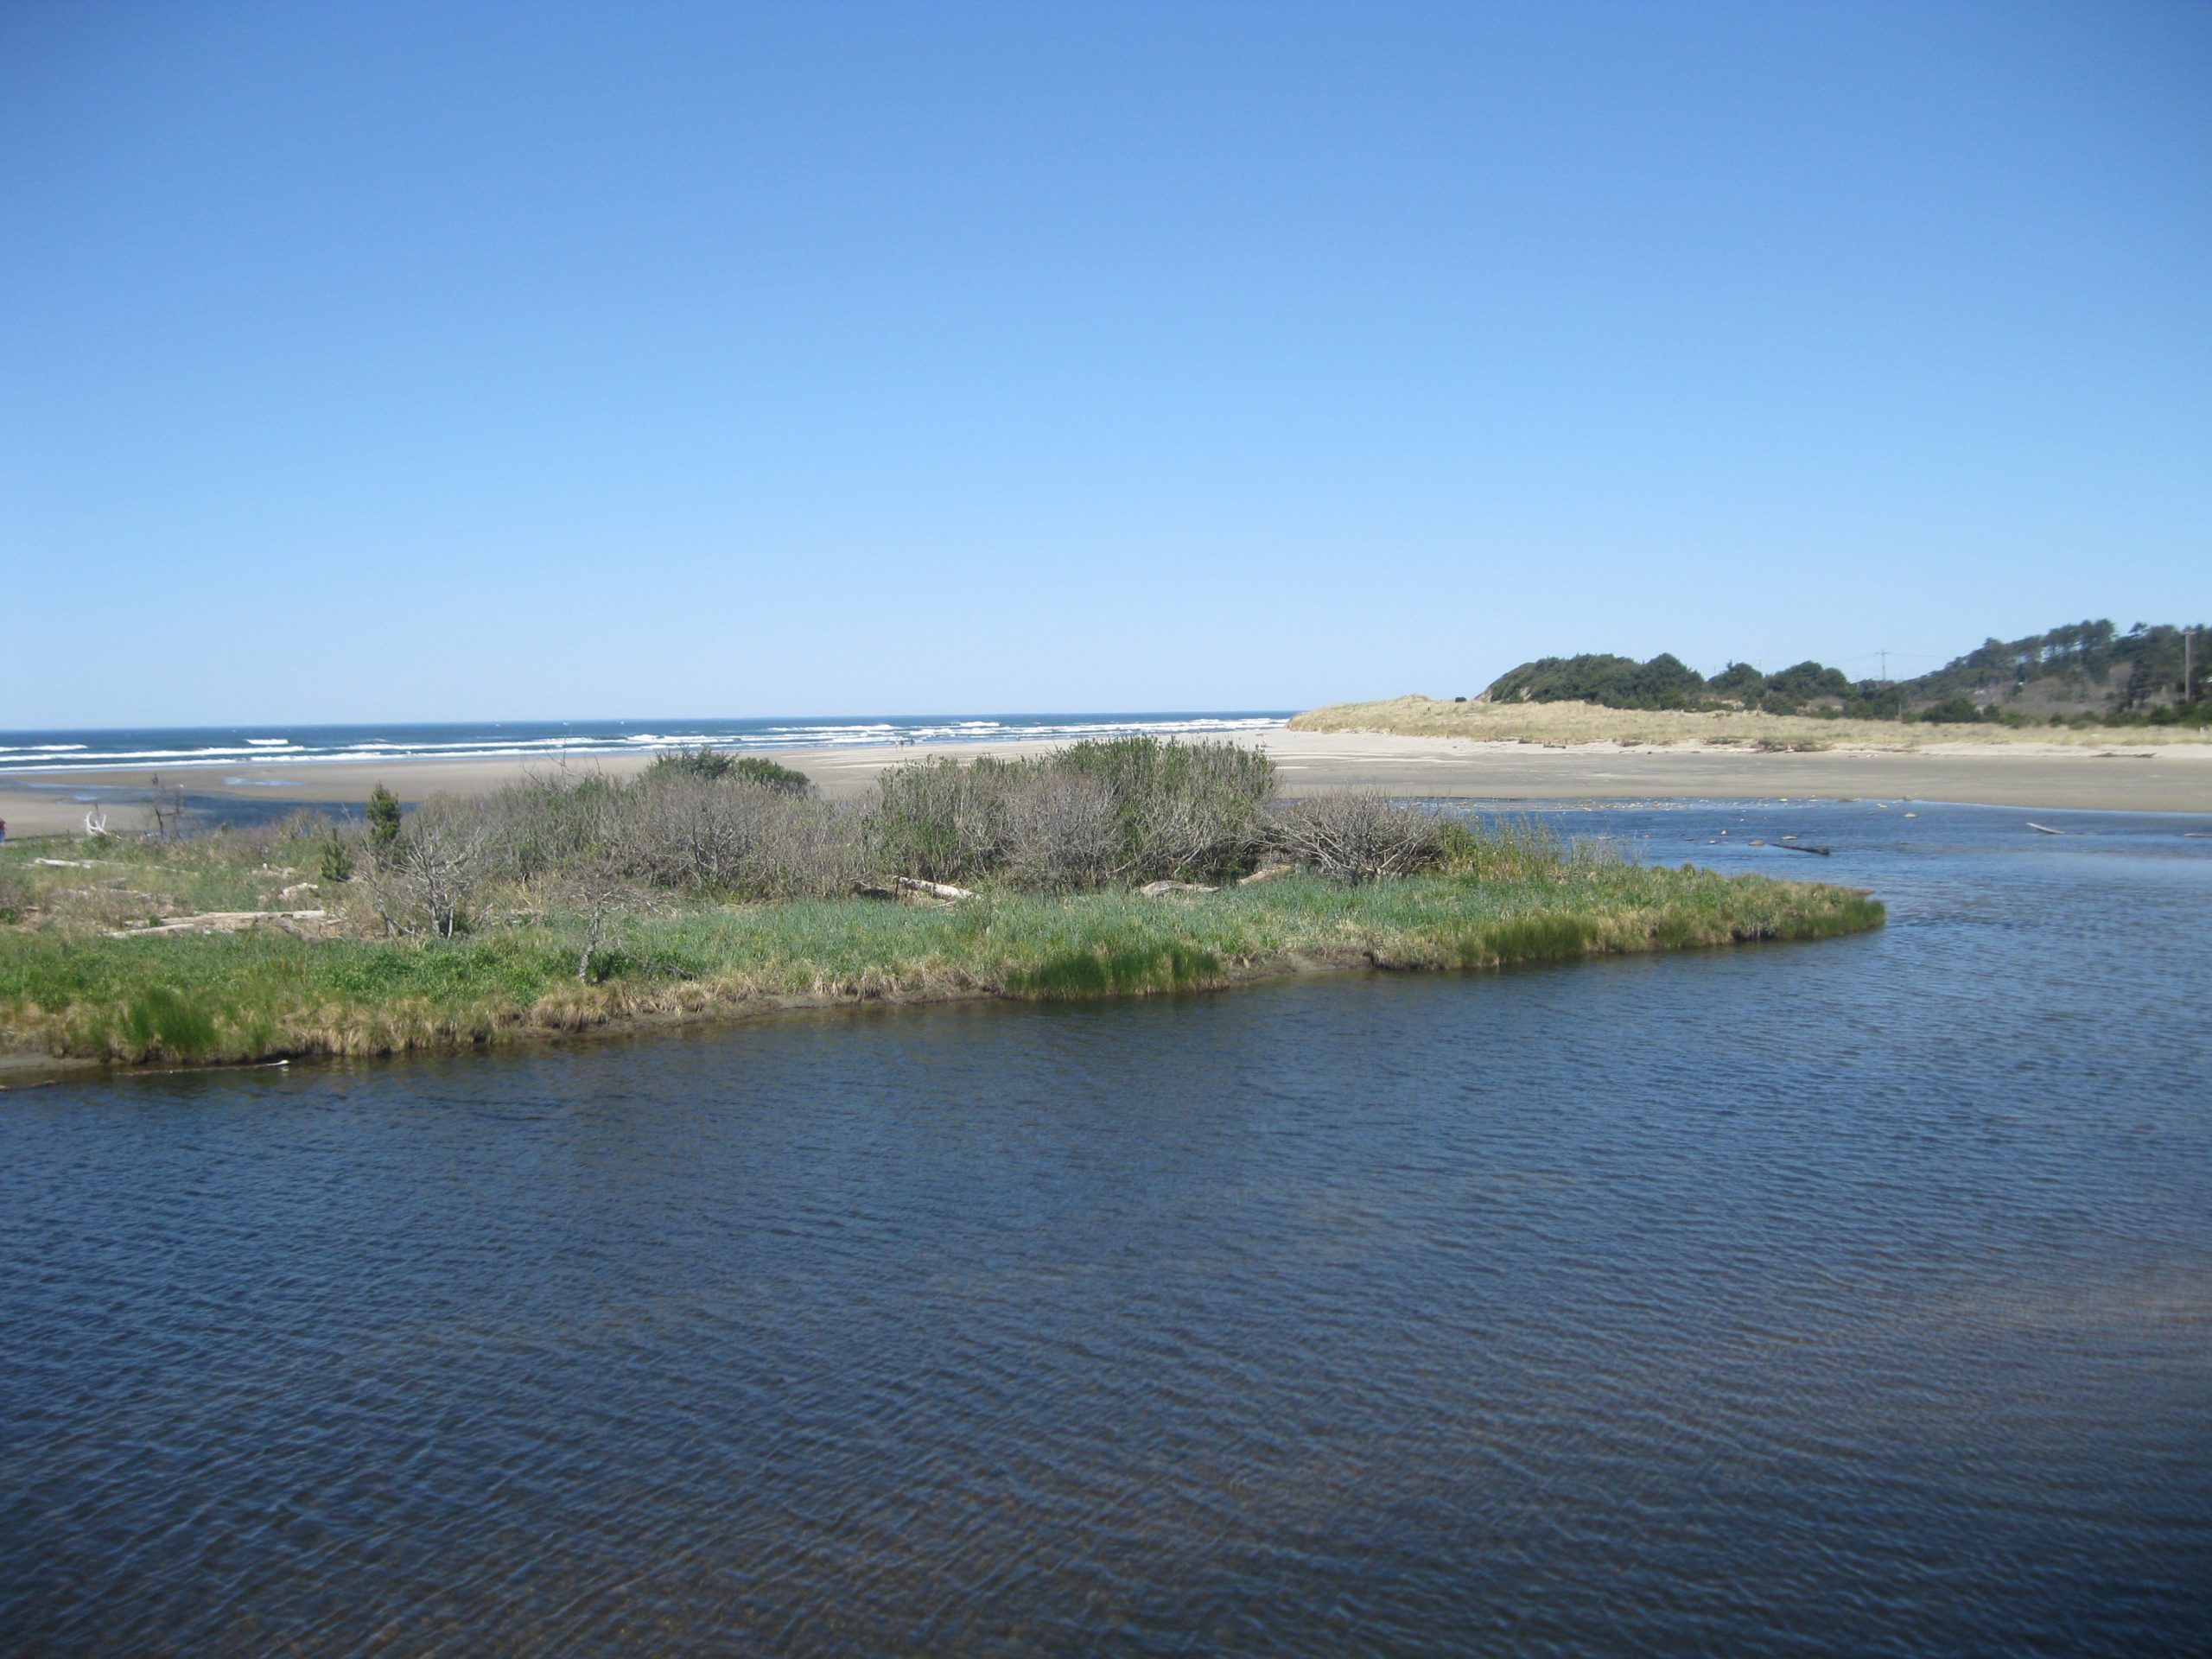
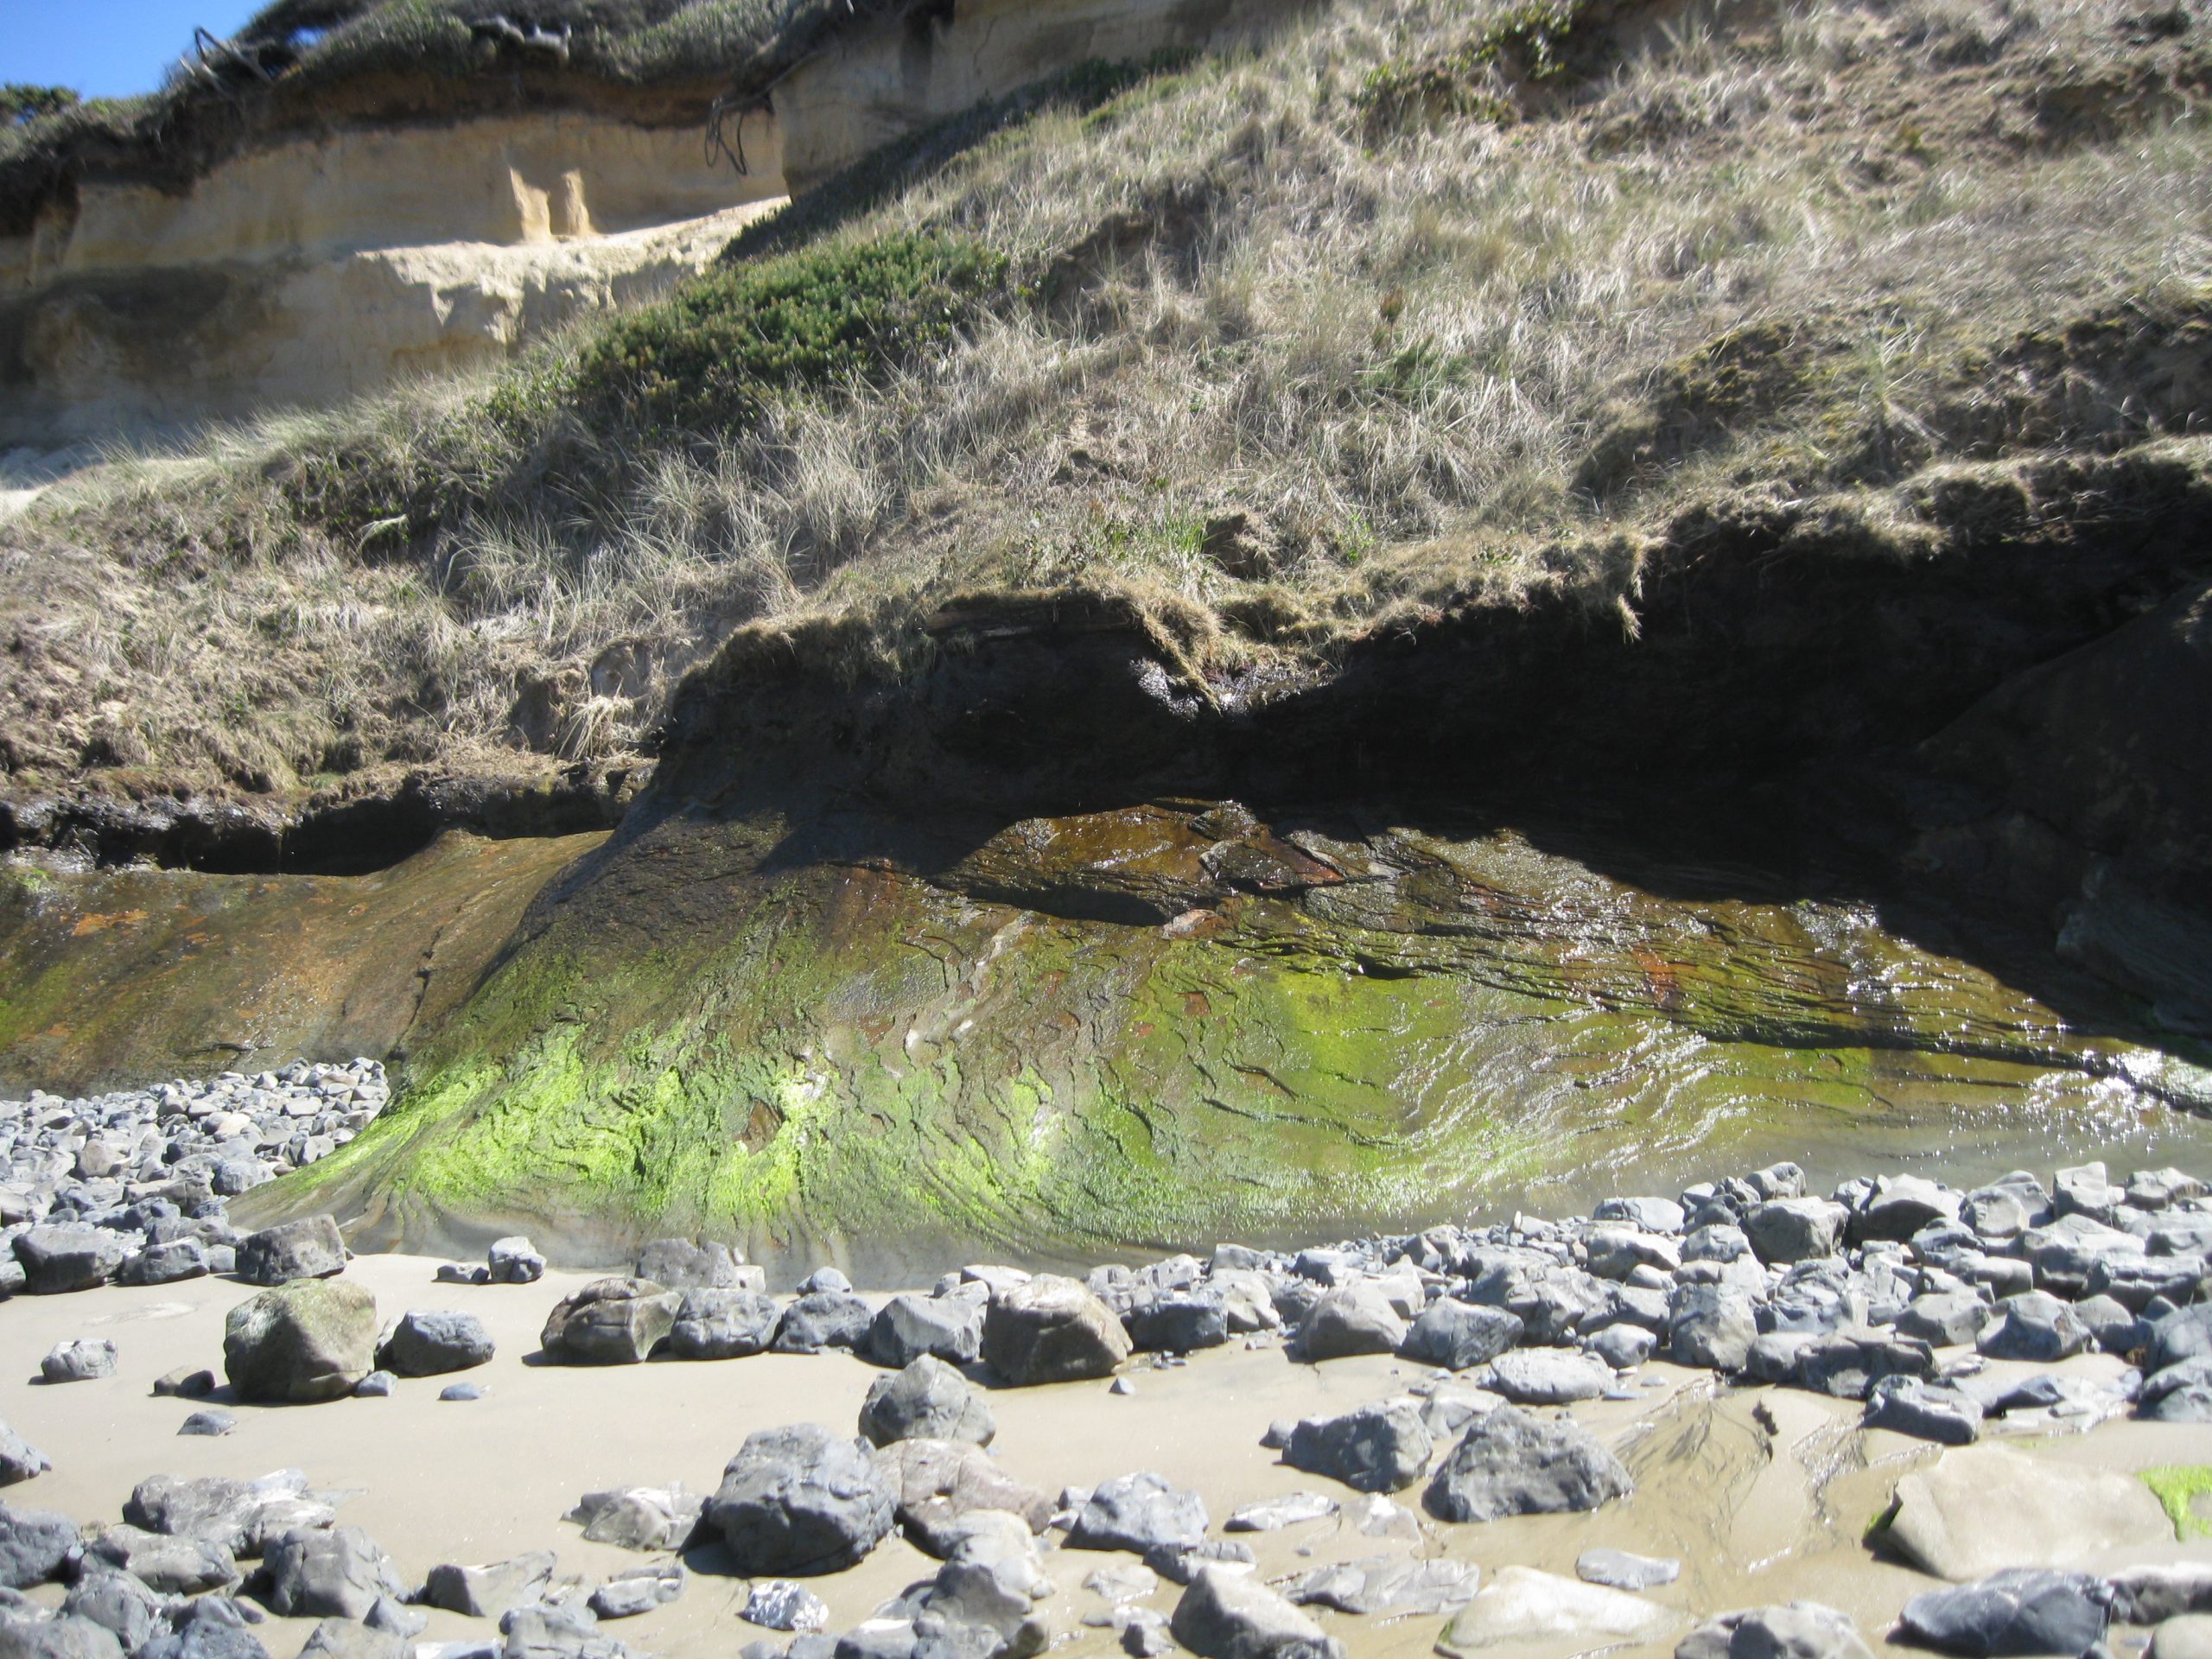
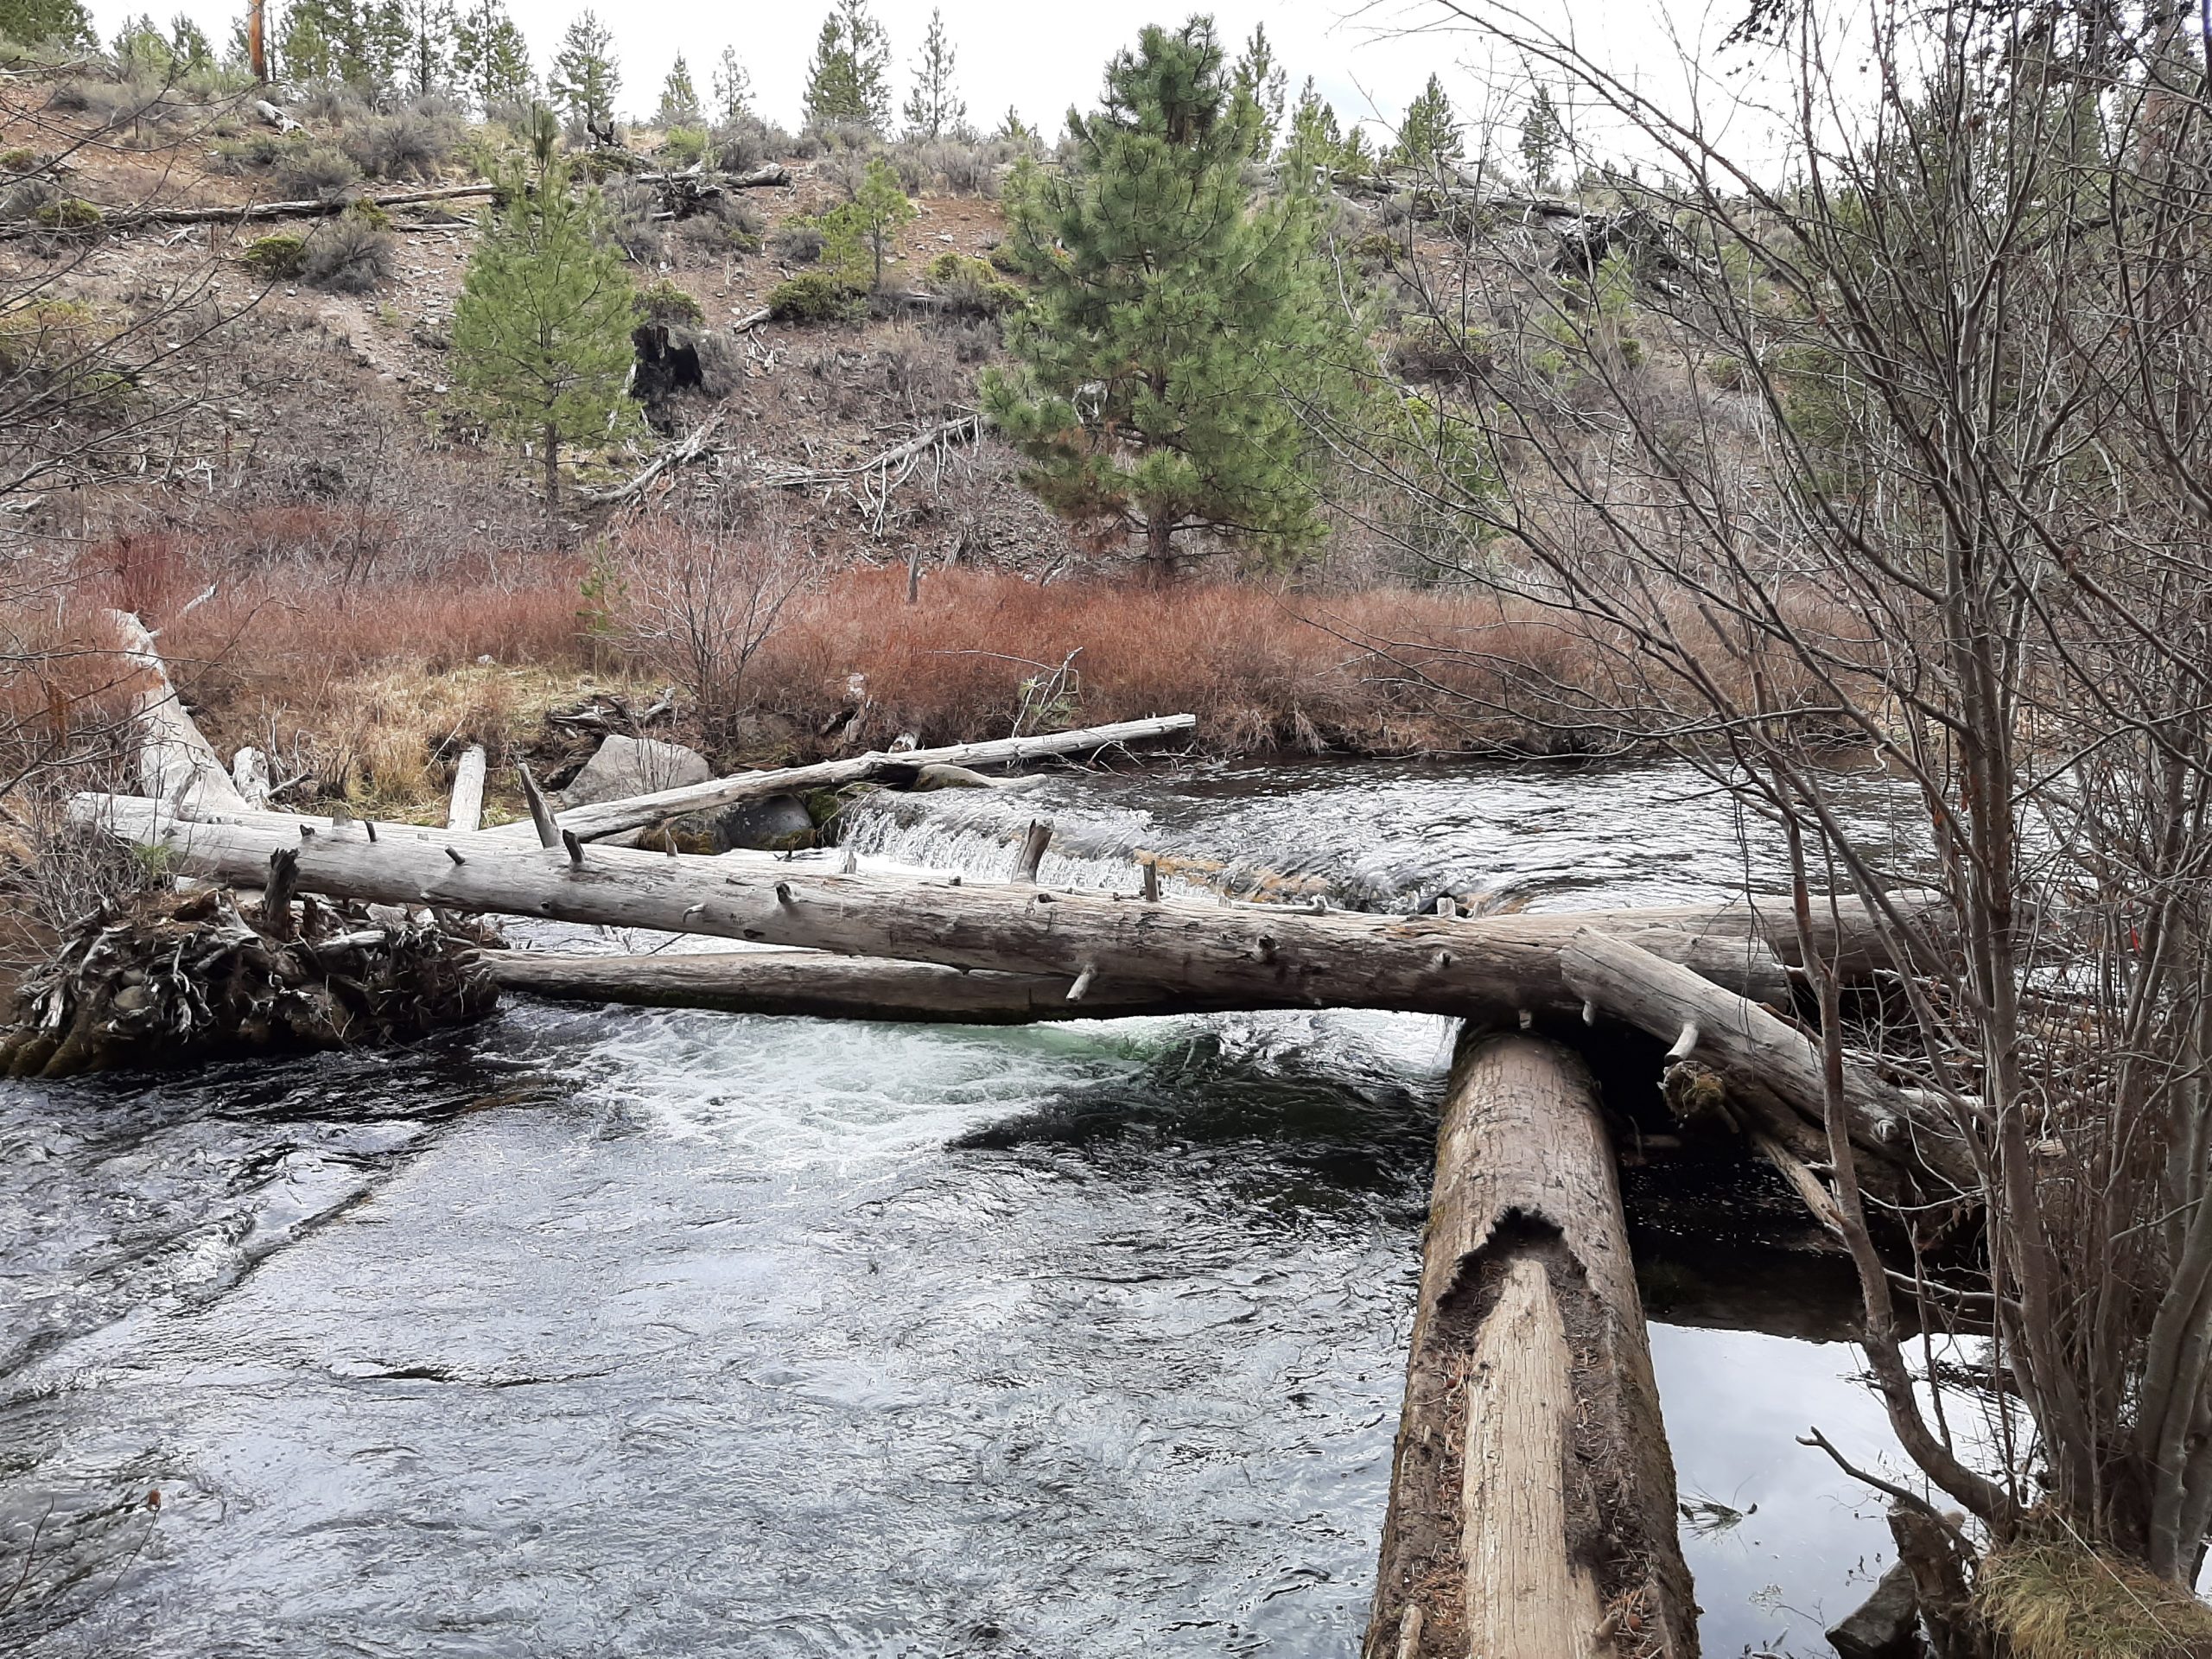
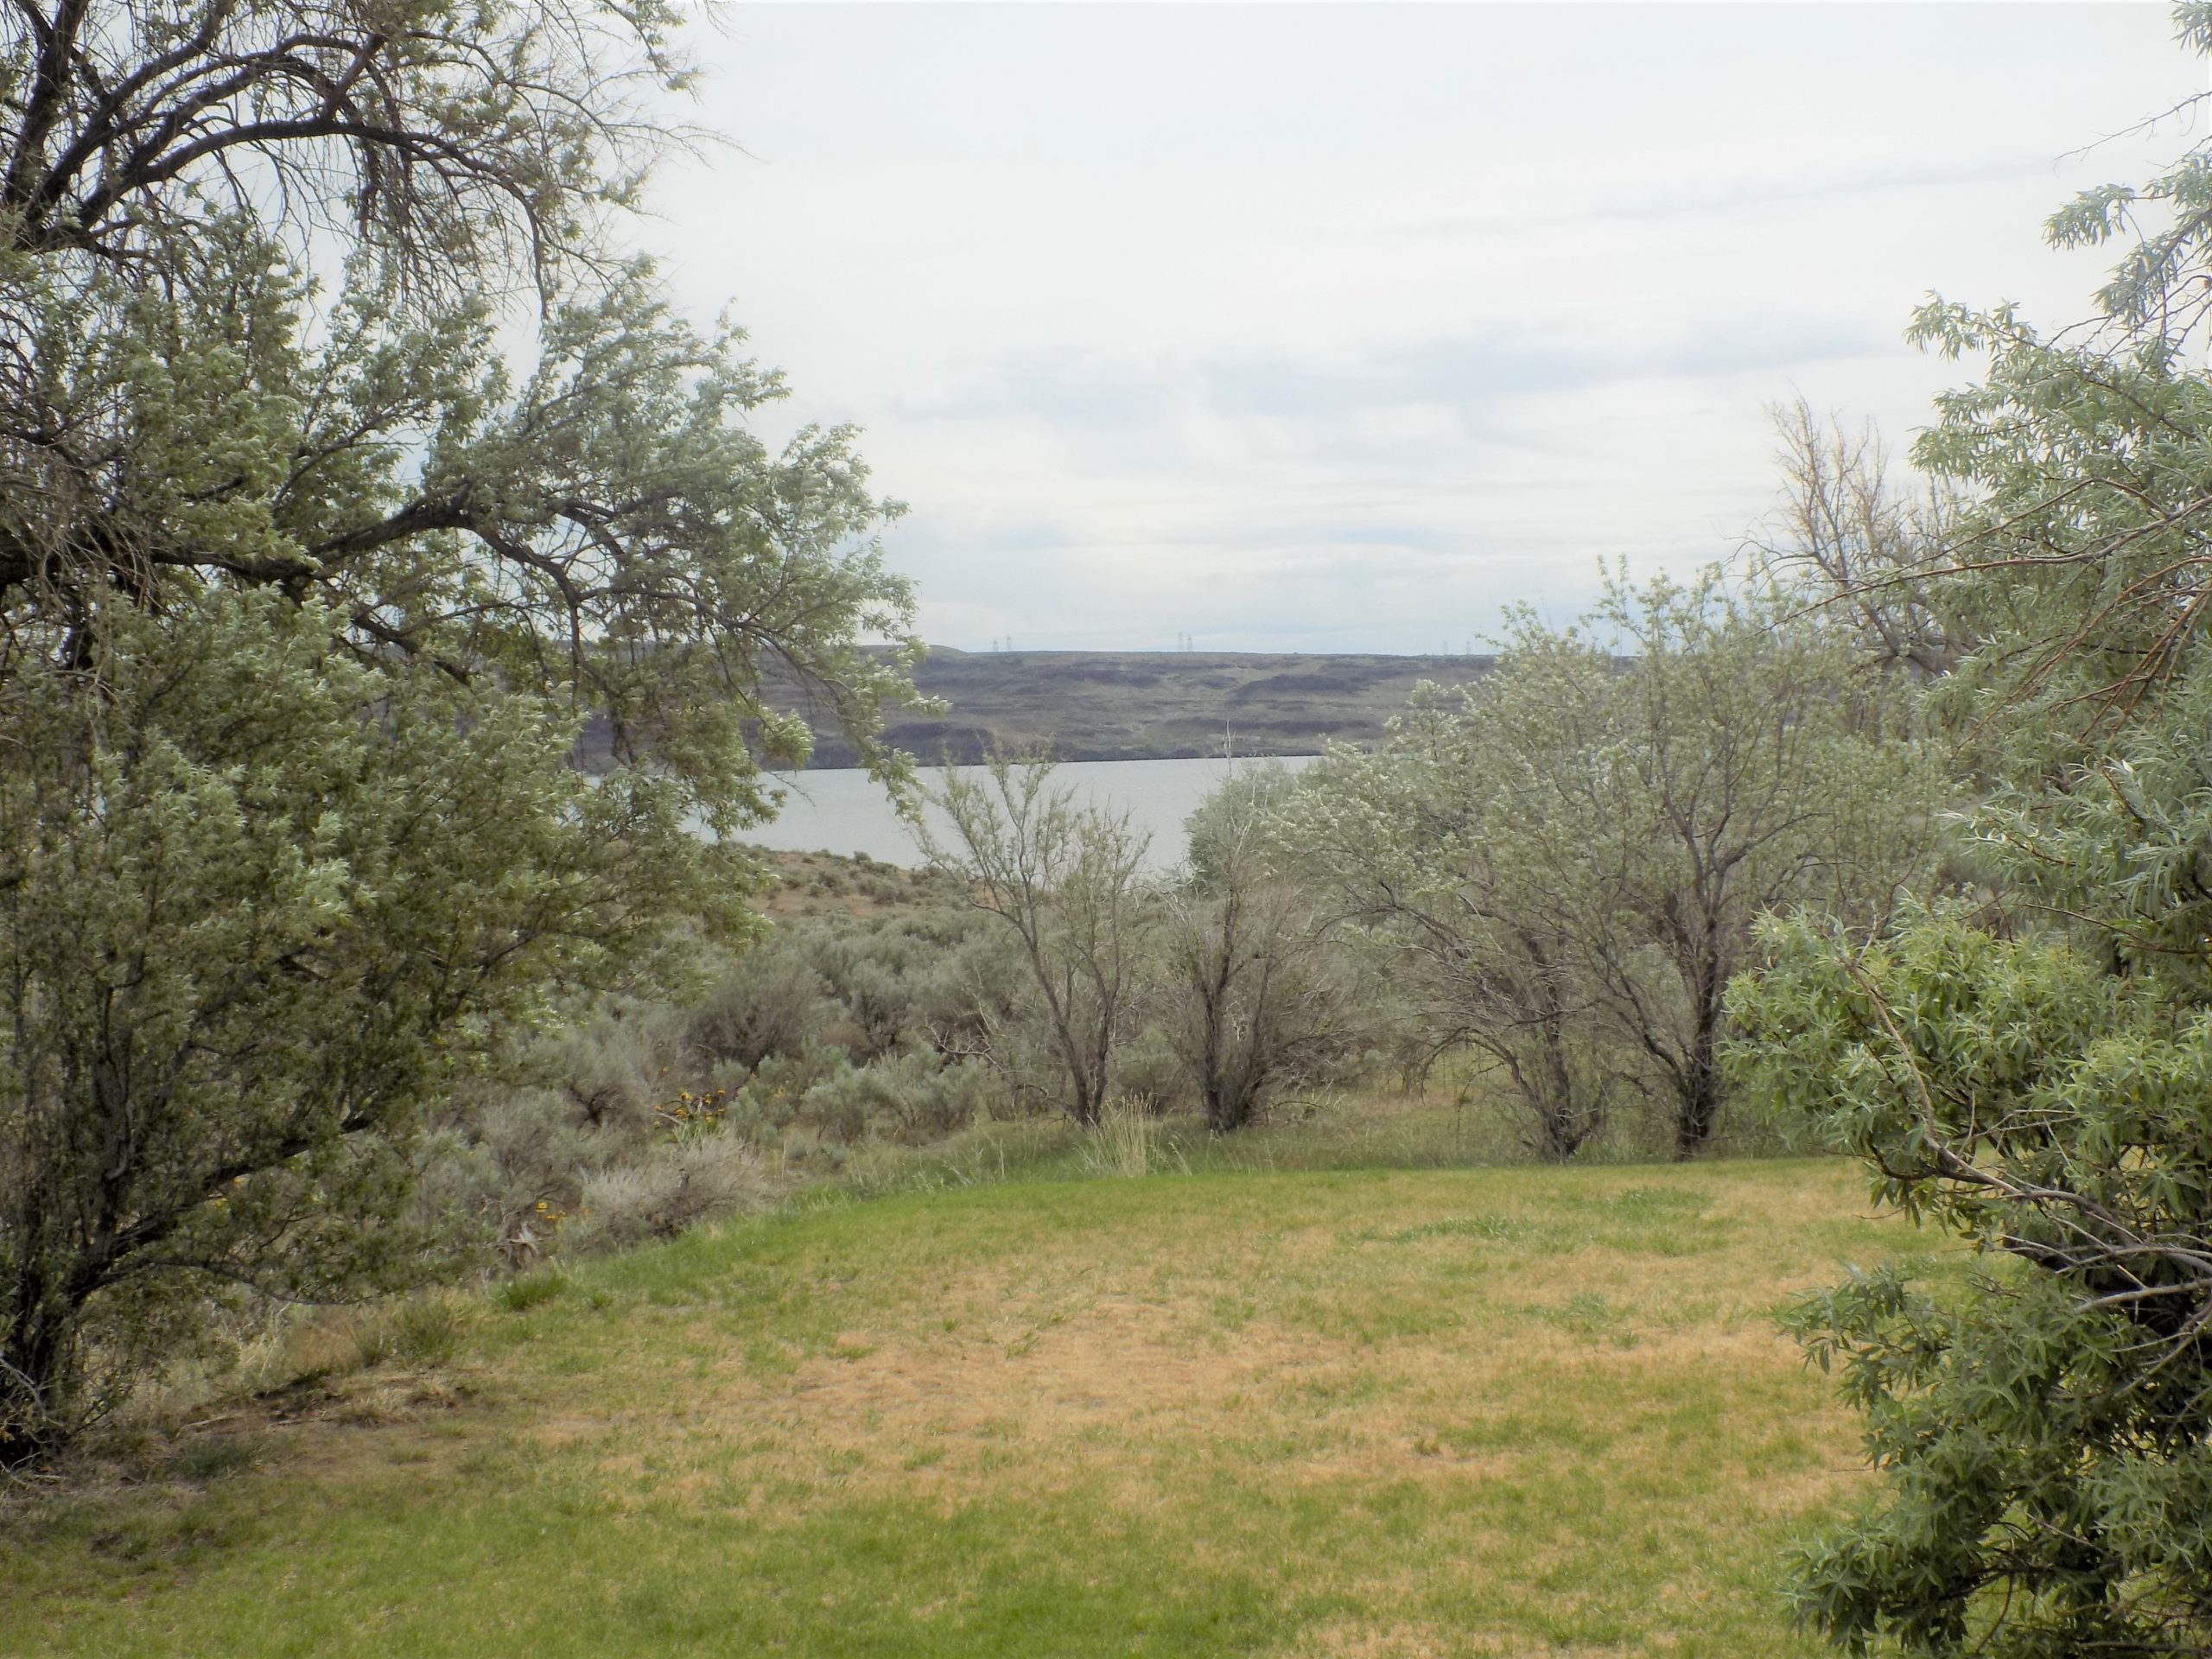
Now, if you have never visited this part of the state and like I did until a few years ago, felt that the only thing this part of the world had to offer was sage brush, you too would be grossly wrong in your thinking! This area is a geological wonderland. First of all, potholes are really cool. The scientific definition is “a deep natural underground cavity formed by the erosion of rock, especially by the action of water”.
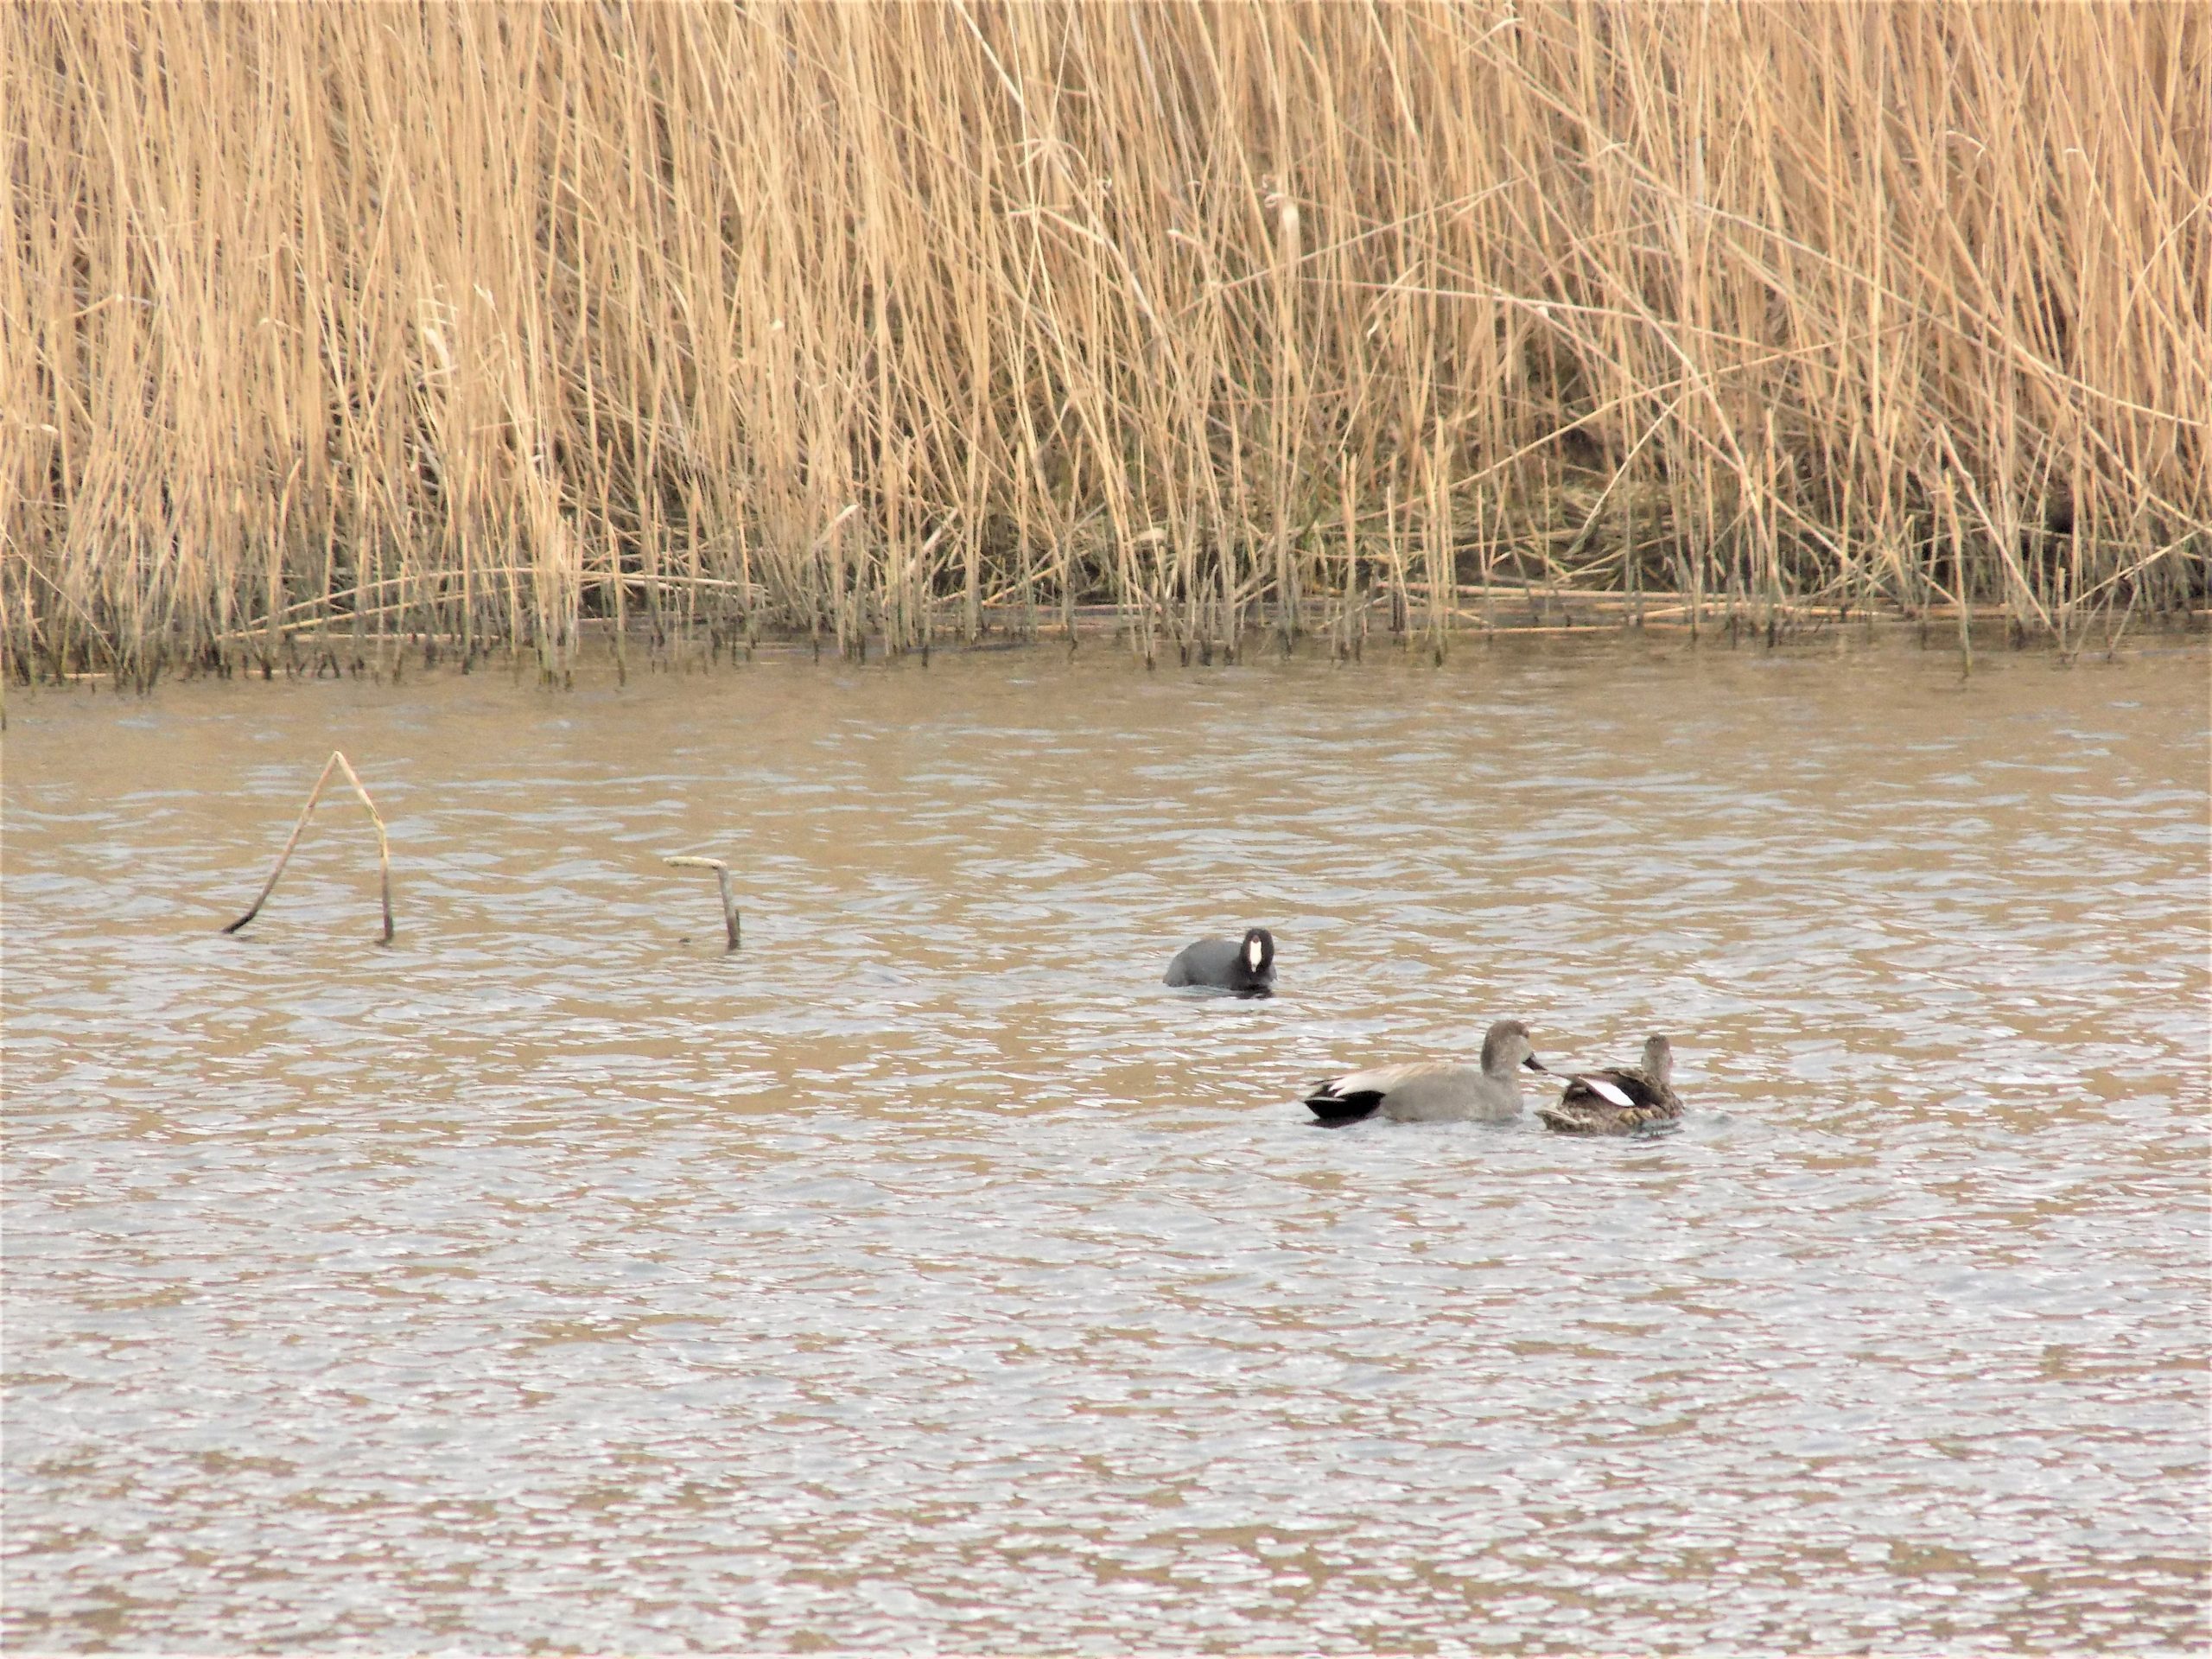
What my eyes perceive however, are pools of water, surrounded by cliffs, rimrock, lakes, and marshes. And inhabited by a variety of waterfowl and the usual dessert denizens. (See pictures below). If this type of geography and its critters interest you and you would enjoy additional information, search under “Columbia National Wildlife Refuge”. And if you’re in the area, do take the time to drive through this amazing wonderland. Allow yourself at least 2-3 hours, because you will want to get out of your vehicle, just to get a 360 degree look at your surroundings, and of course to take pictures.
One of the amazing geological formations in the areaA pothole, up close and personalMore potholesA closer view along with friendly crittersHappy place on such a nice dayThe white stuff on shore could either be salt or soda. We guessed soda because this pond/pothole was very near a body of water called Soda Lake. But your guess is as good as ours.
After our delightful drive, it was back to camp, dinner, and reading until we couldn’t keep our eyes open any longer. Another great day of travel with a trailer.
April 5th – Potholes SP
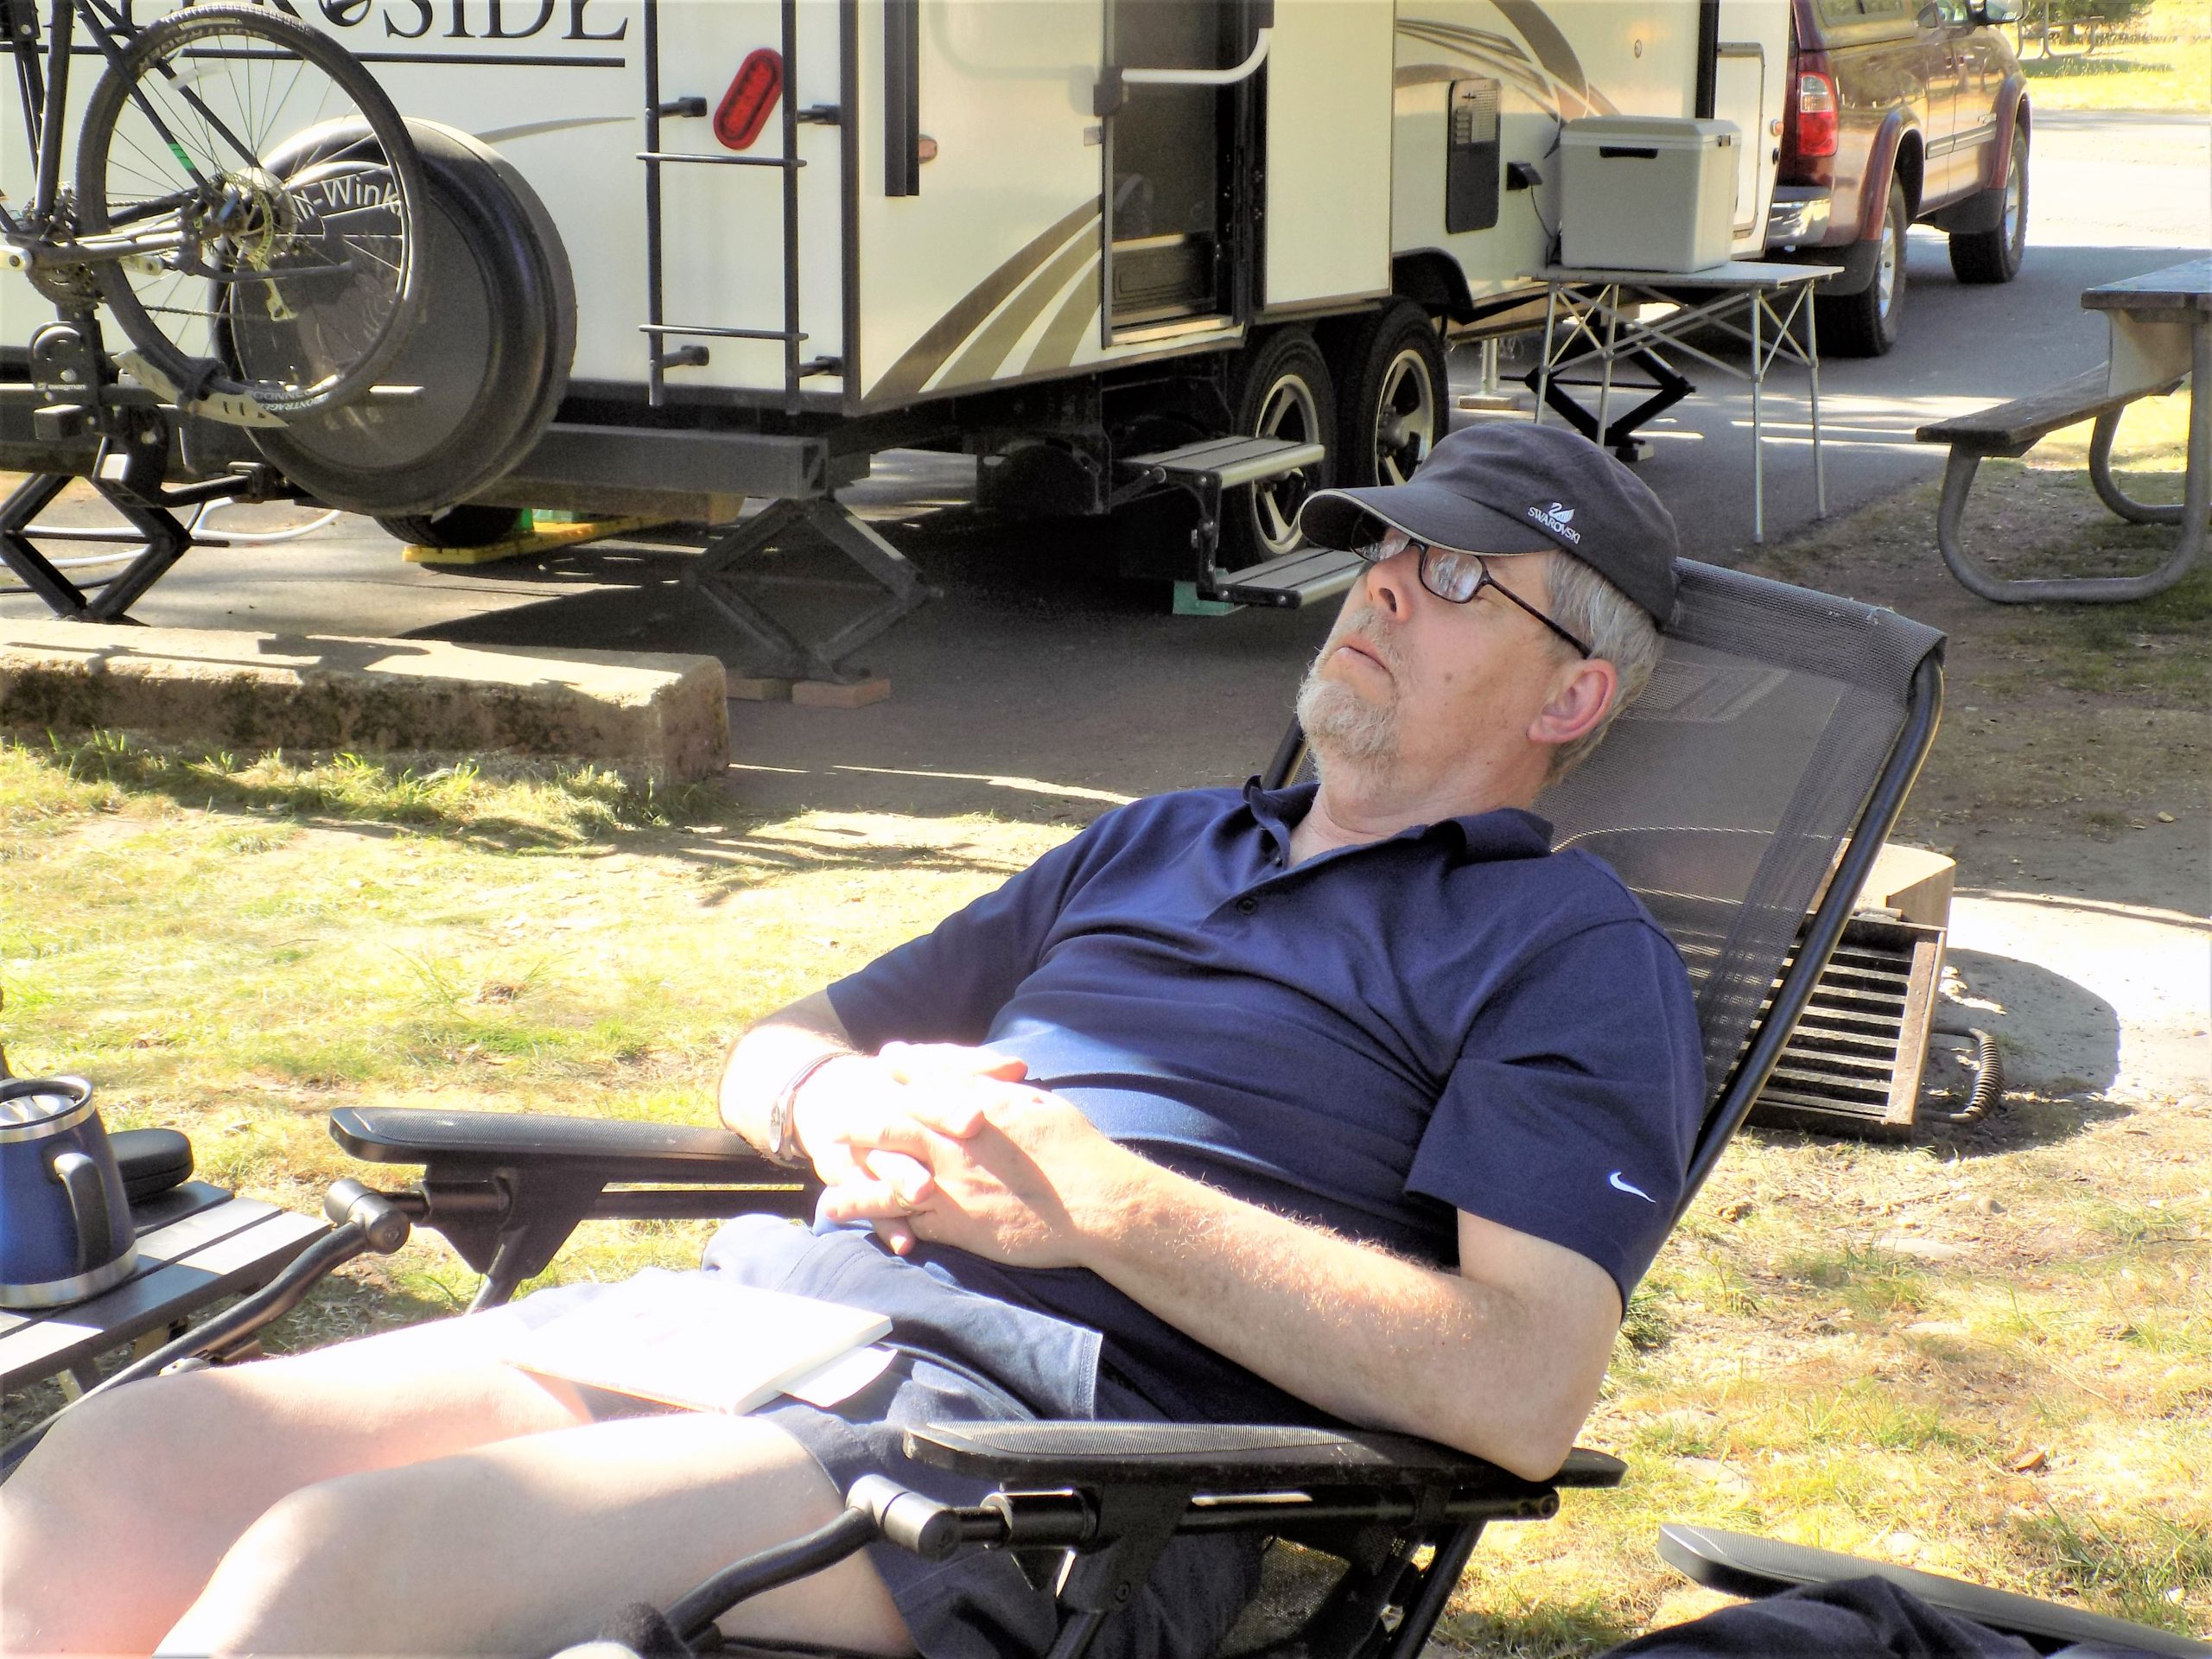
Woke up to a beautiful clear day. Had a leisurely breakfast and then Andy went for a hike. I stayed at the trailer and wrote up day 1 and day 2 of our trip, did my 20 minute jazzercize work out, and spent the rest of the time reading.
If you are just getting to know me, you need to know that I am, and have been since I first learned my ABCs, an avid reader. My day simply is not complete unless I get some quality time with a book. And no, I’m not much of a Kindle or Nook kind of gal. I want a paper book that I can hold in my hands. And I know, it would be so much easier to go on vacation with a few books downloaded to my Nook rather than carrying around a filled to the brim book bag. And no, I’m not going to embarrass myself by counting the number of books I brought along with me on this trip. Because I don’t really want to know! Suffice it to say, it’s a lot of books. And I might not finish them all. But it’s ever so much better to have too many books, than not enough. I’m sure any reader would agree with me on that statement. Maybe not on my need for the “real thing”, but that whatever form the book takes, there is no way I want to ever be reduced to reading the instructions on the package of quinoa! (Unless of course, I am preparing quinoa, and then all bets are off!)
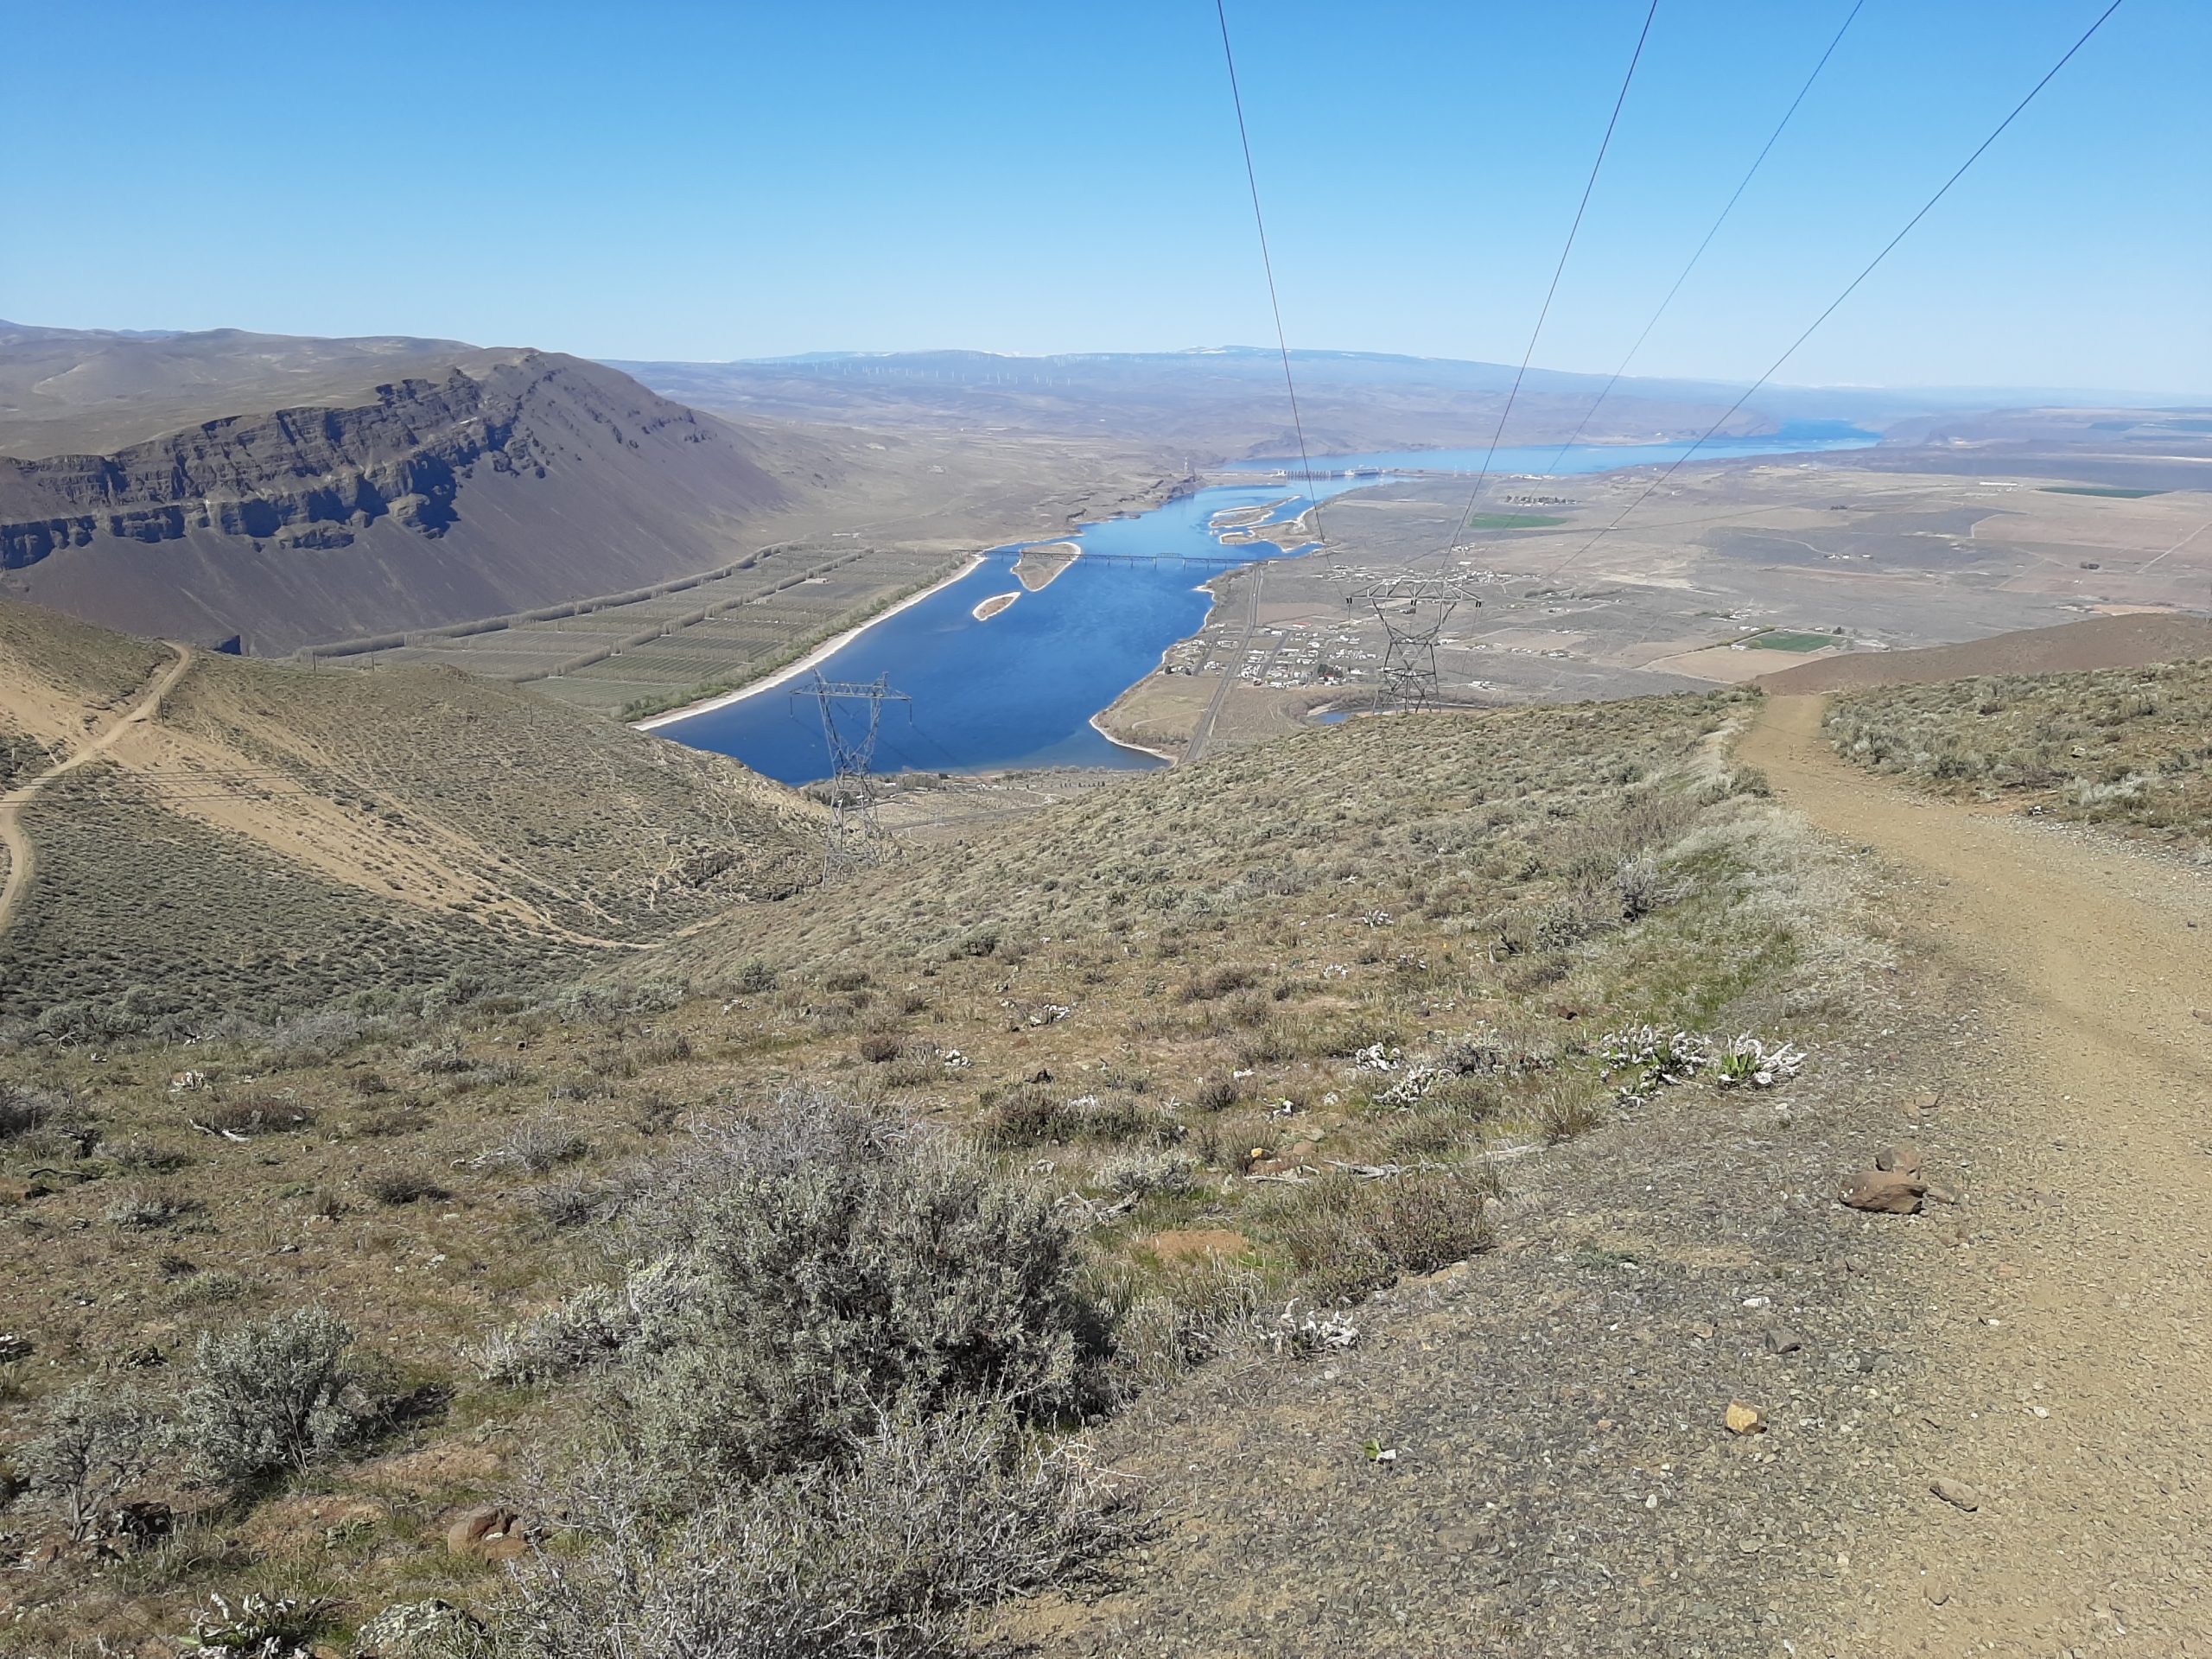
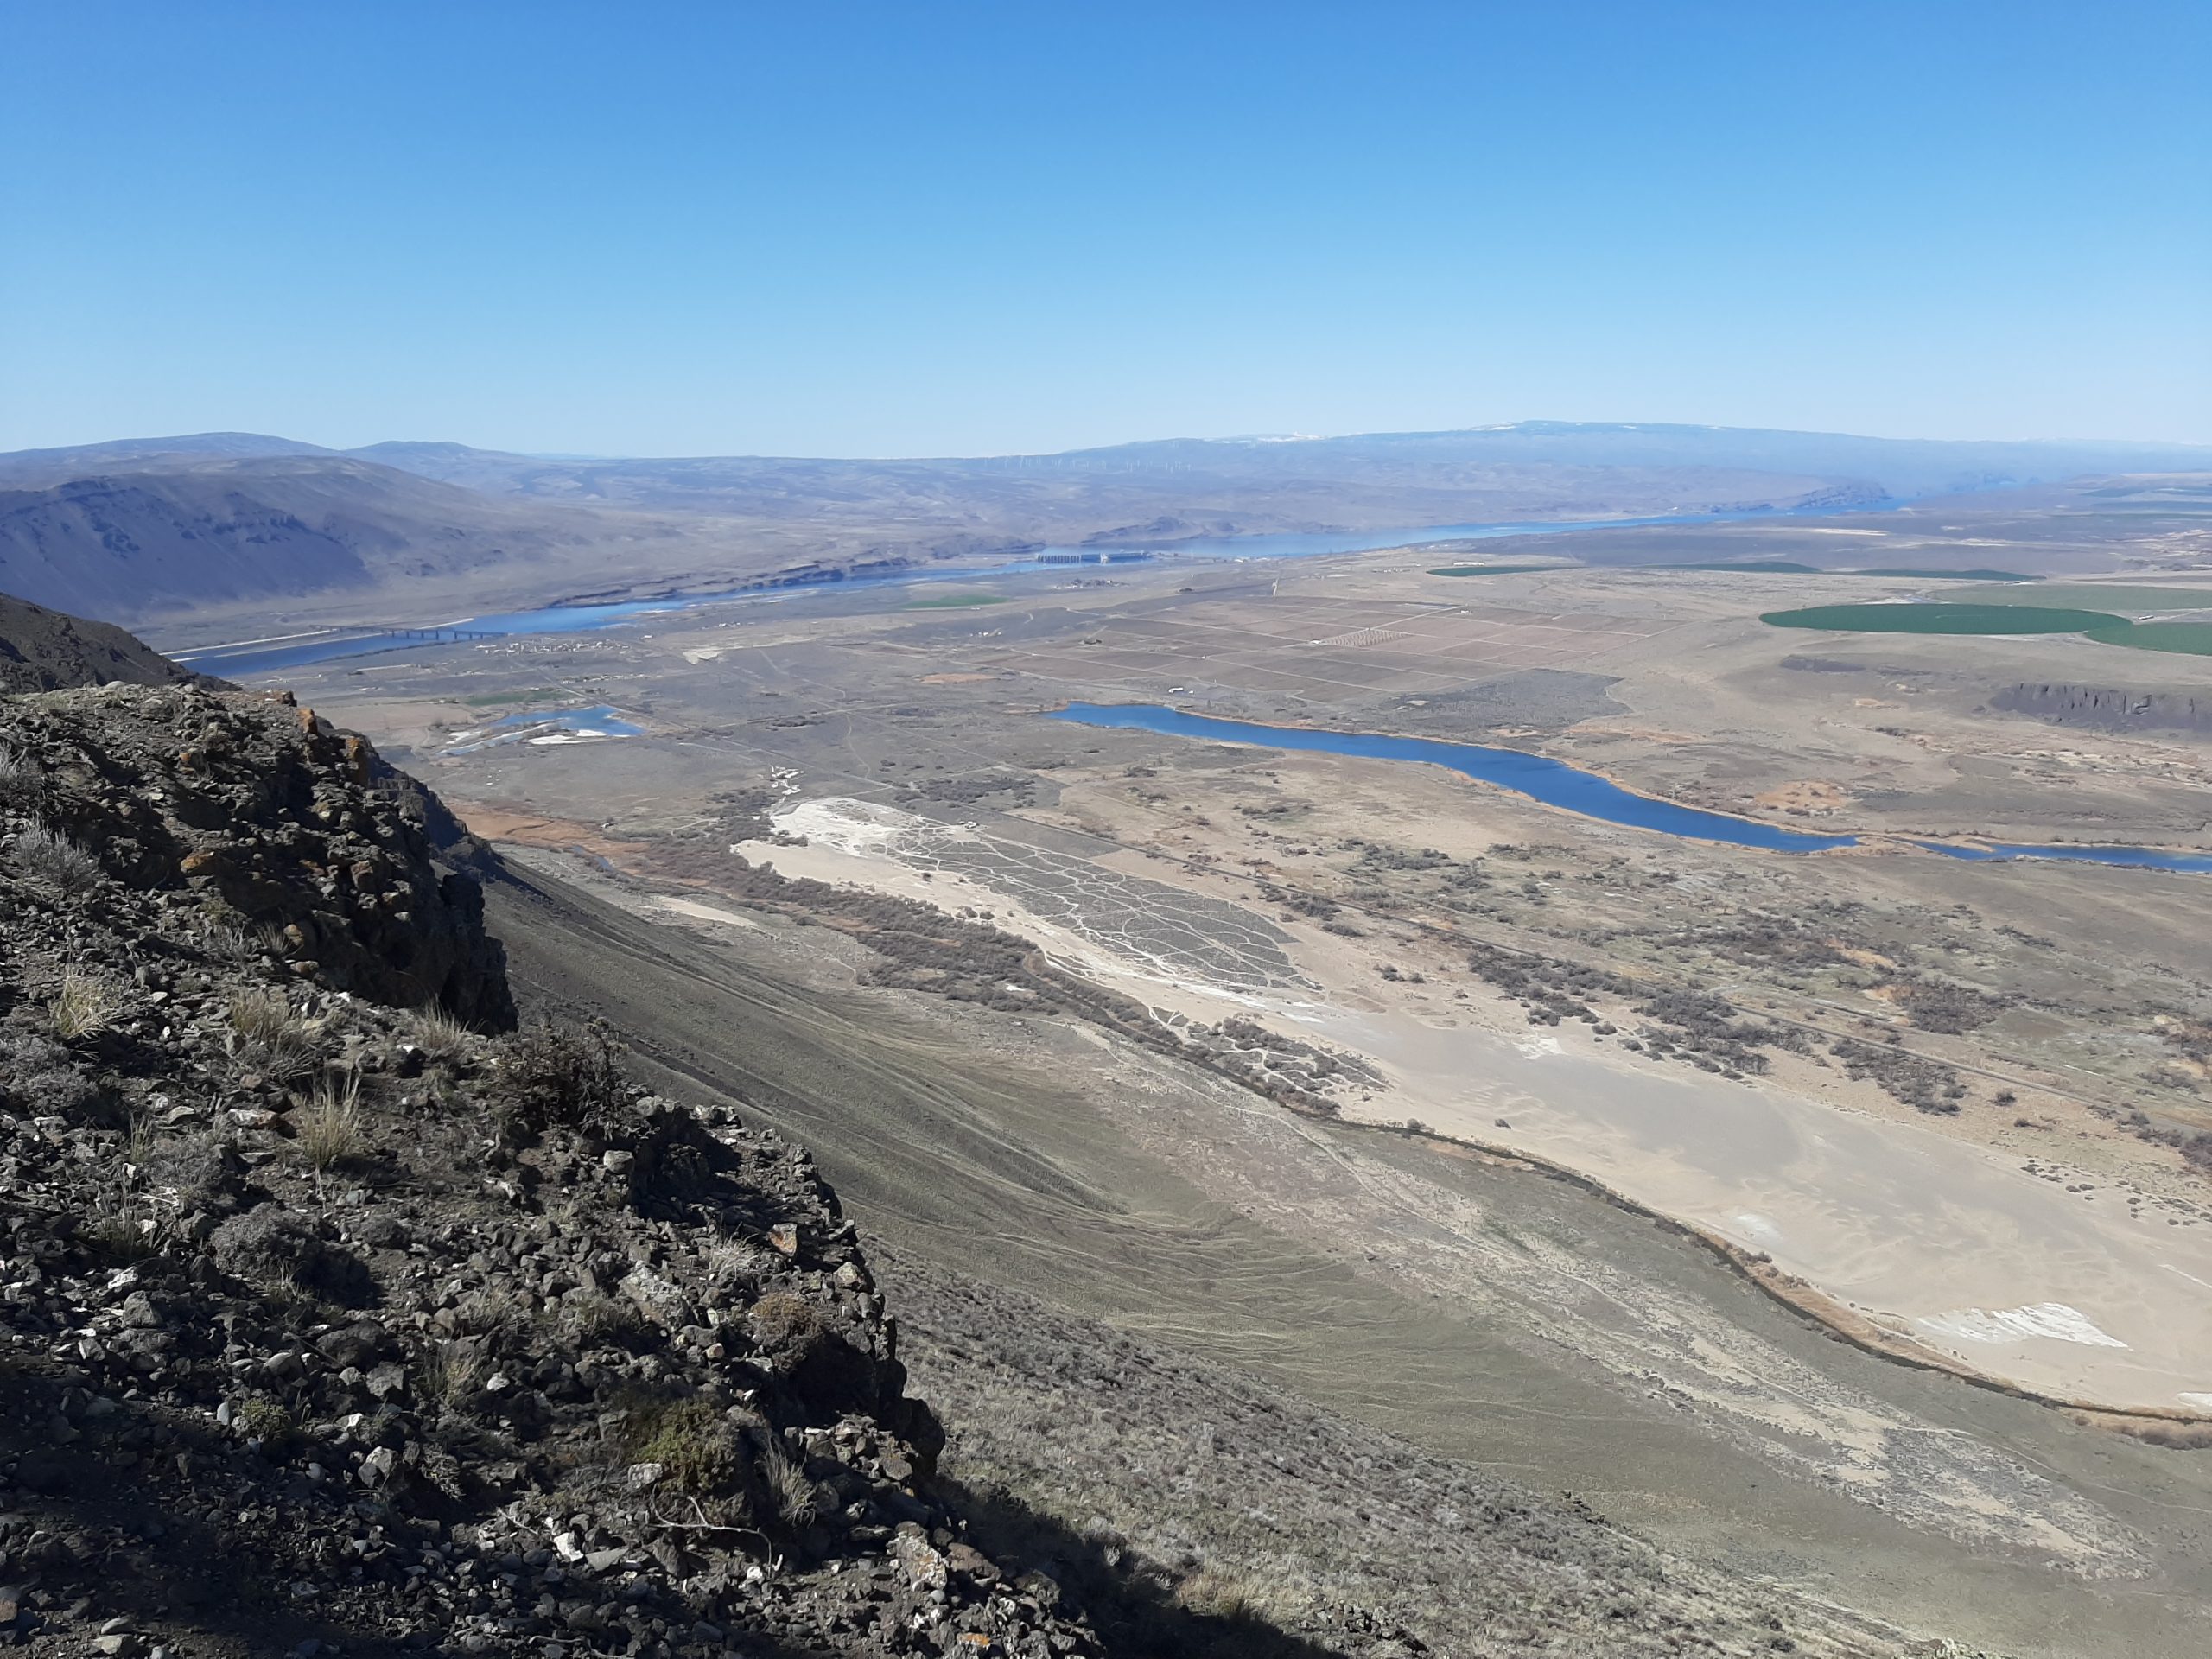
View down on to Potholes Reservoir. Andy took this picture while on his hike.Looking back the other wayMore vistas from Saddle MountainStill on Saddle MountainNotice the blue ski. Who could ask for anything more?
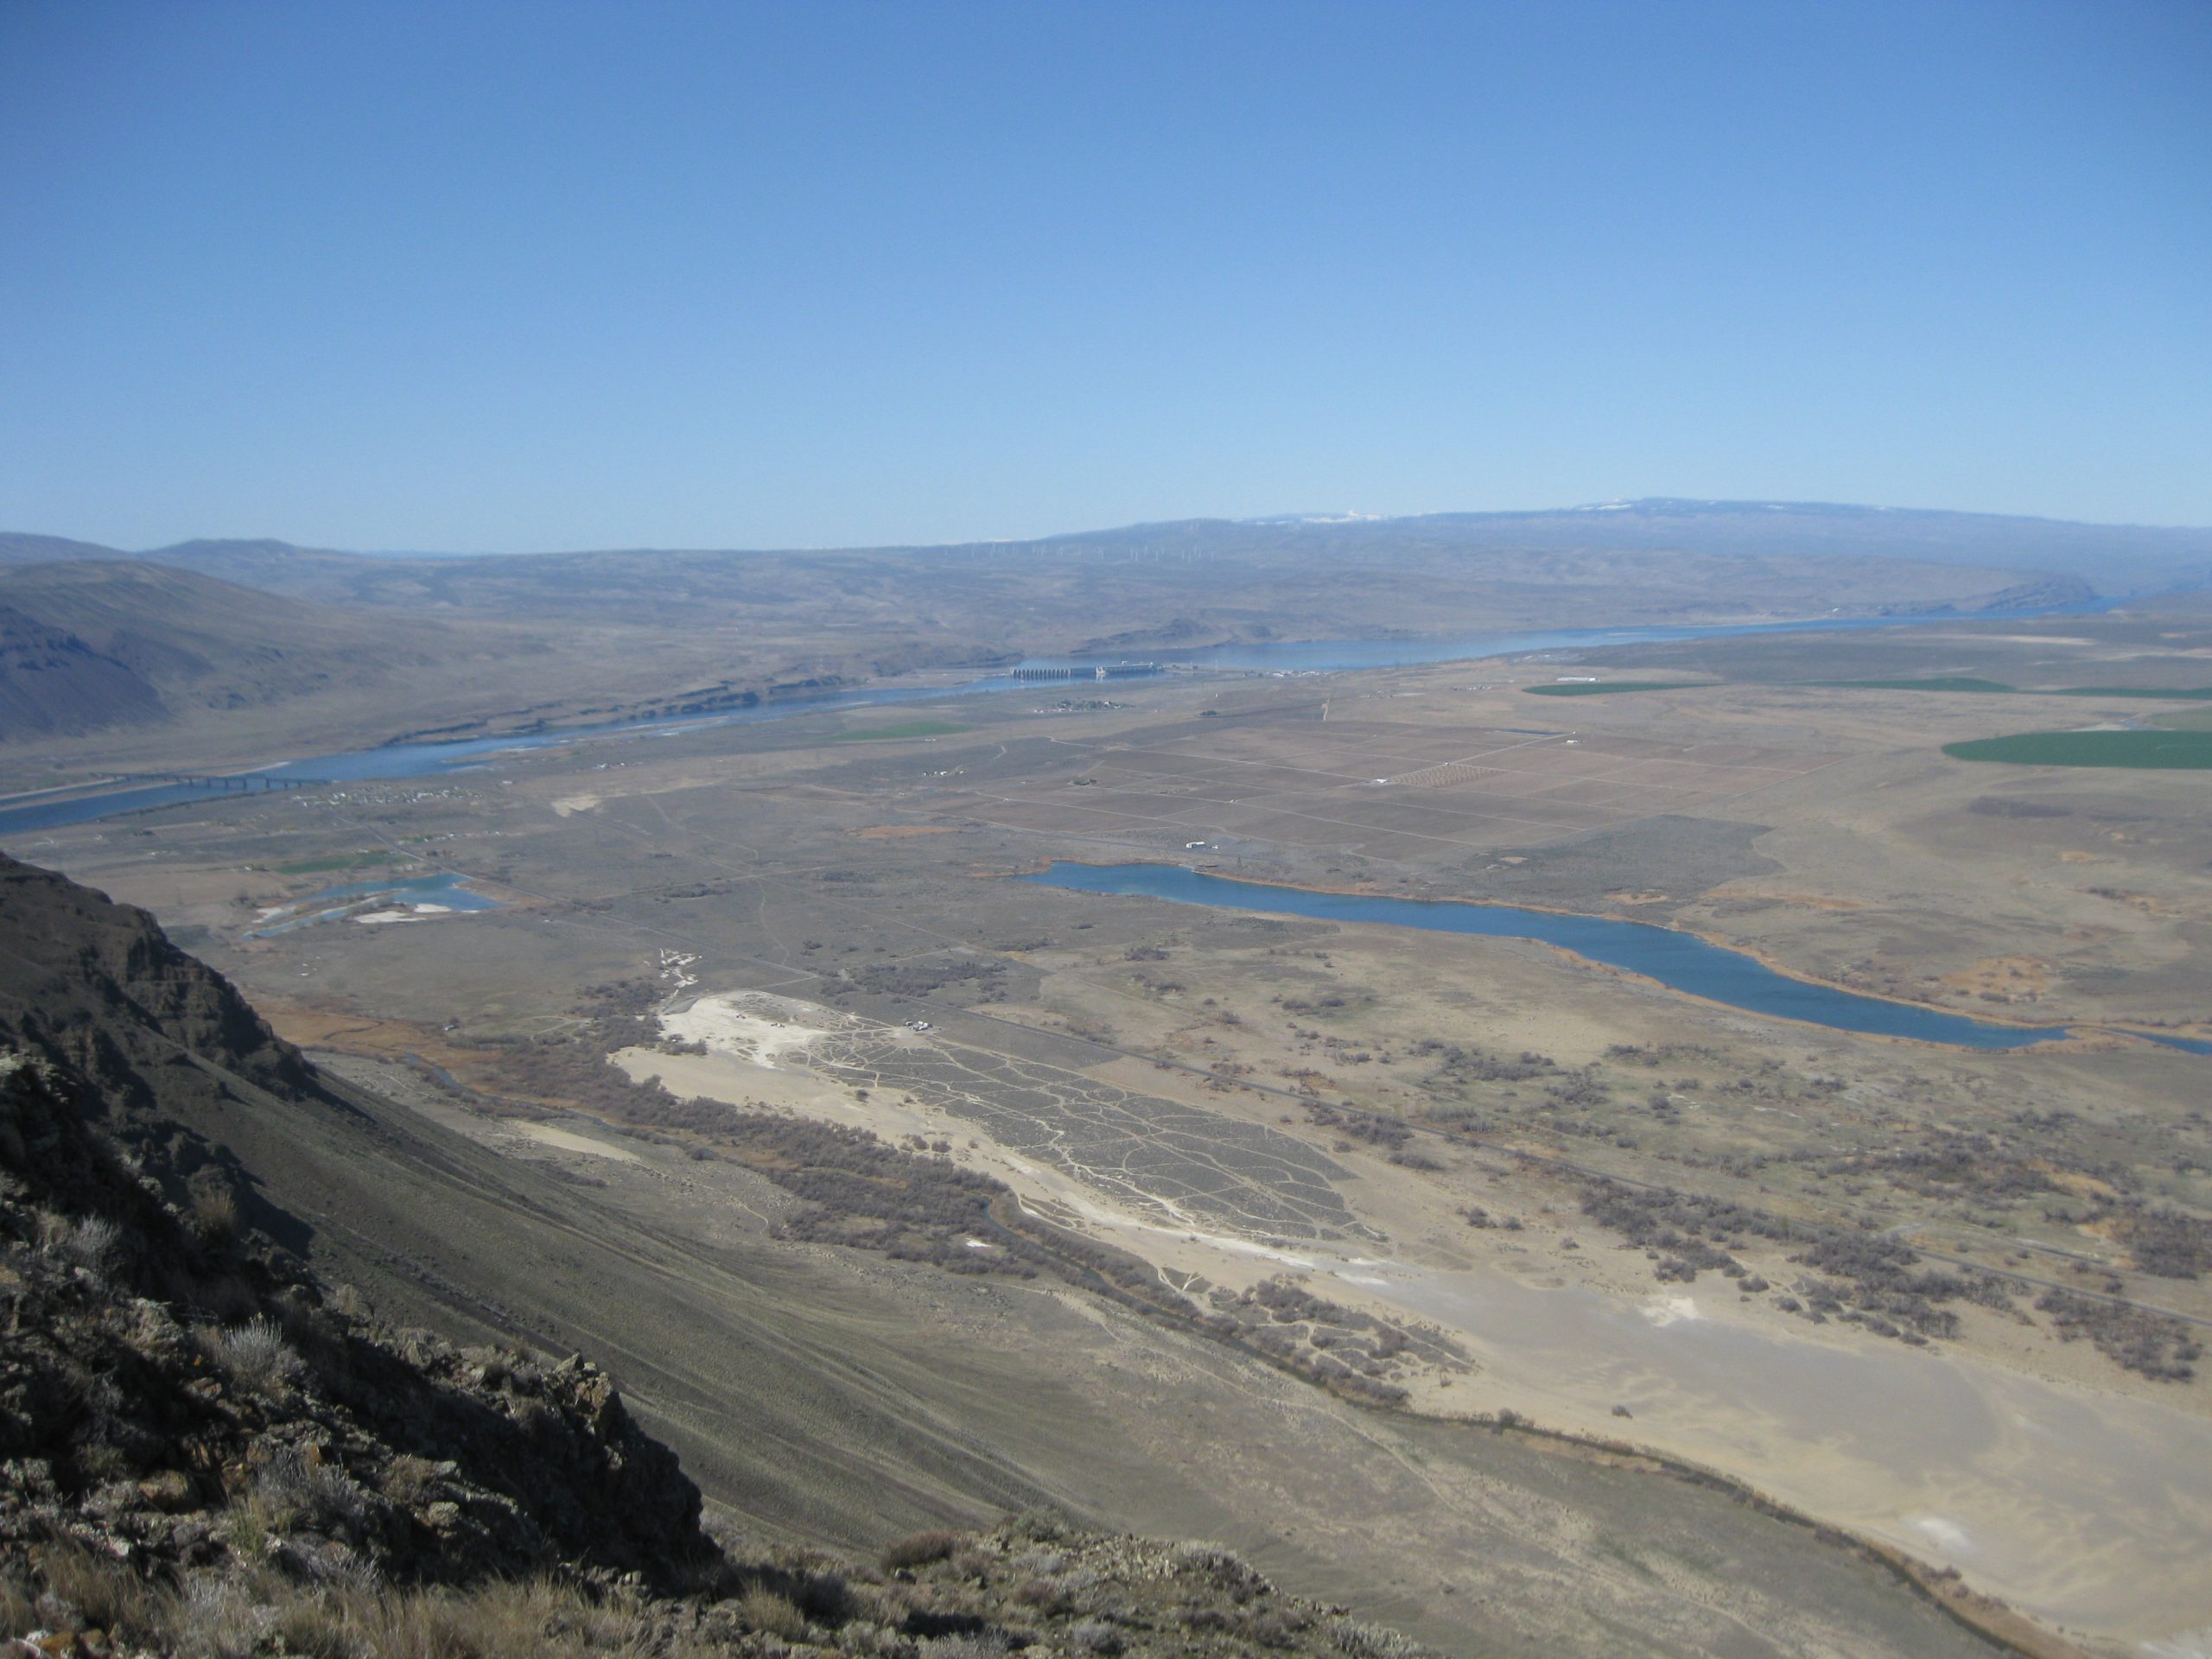
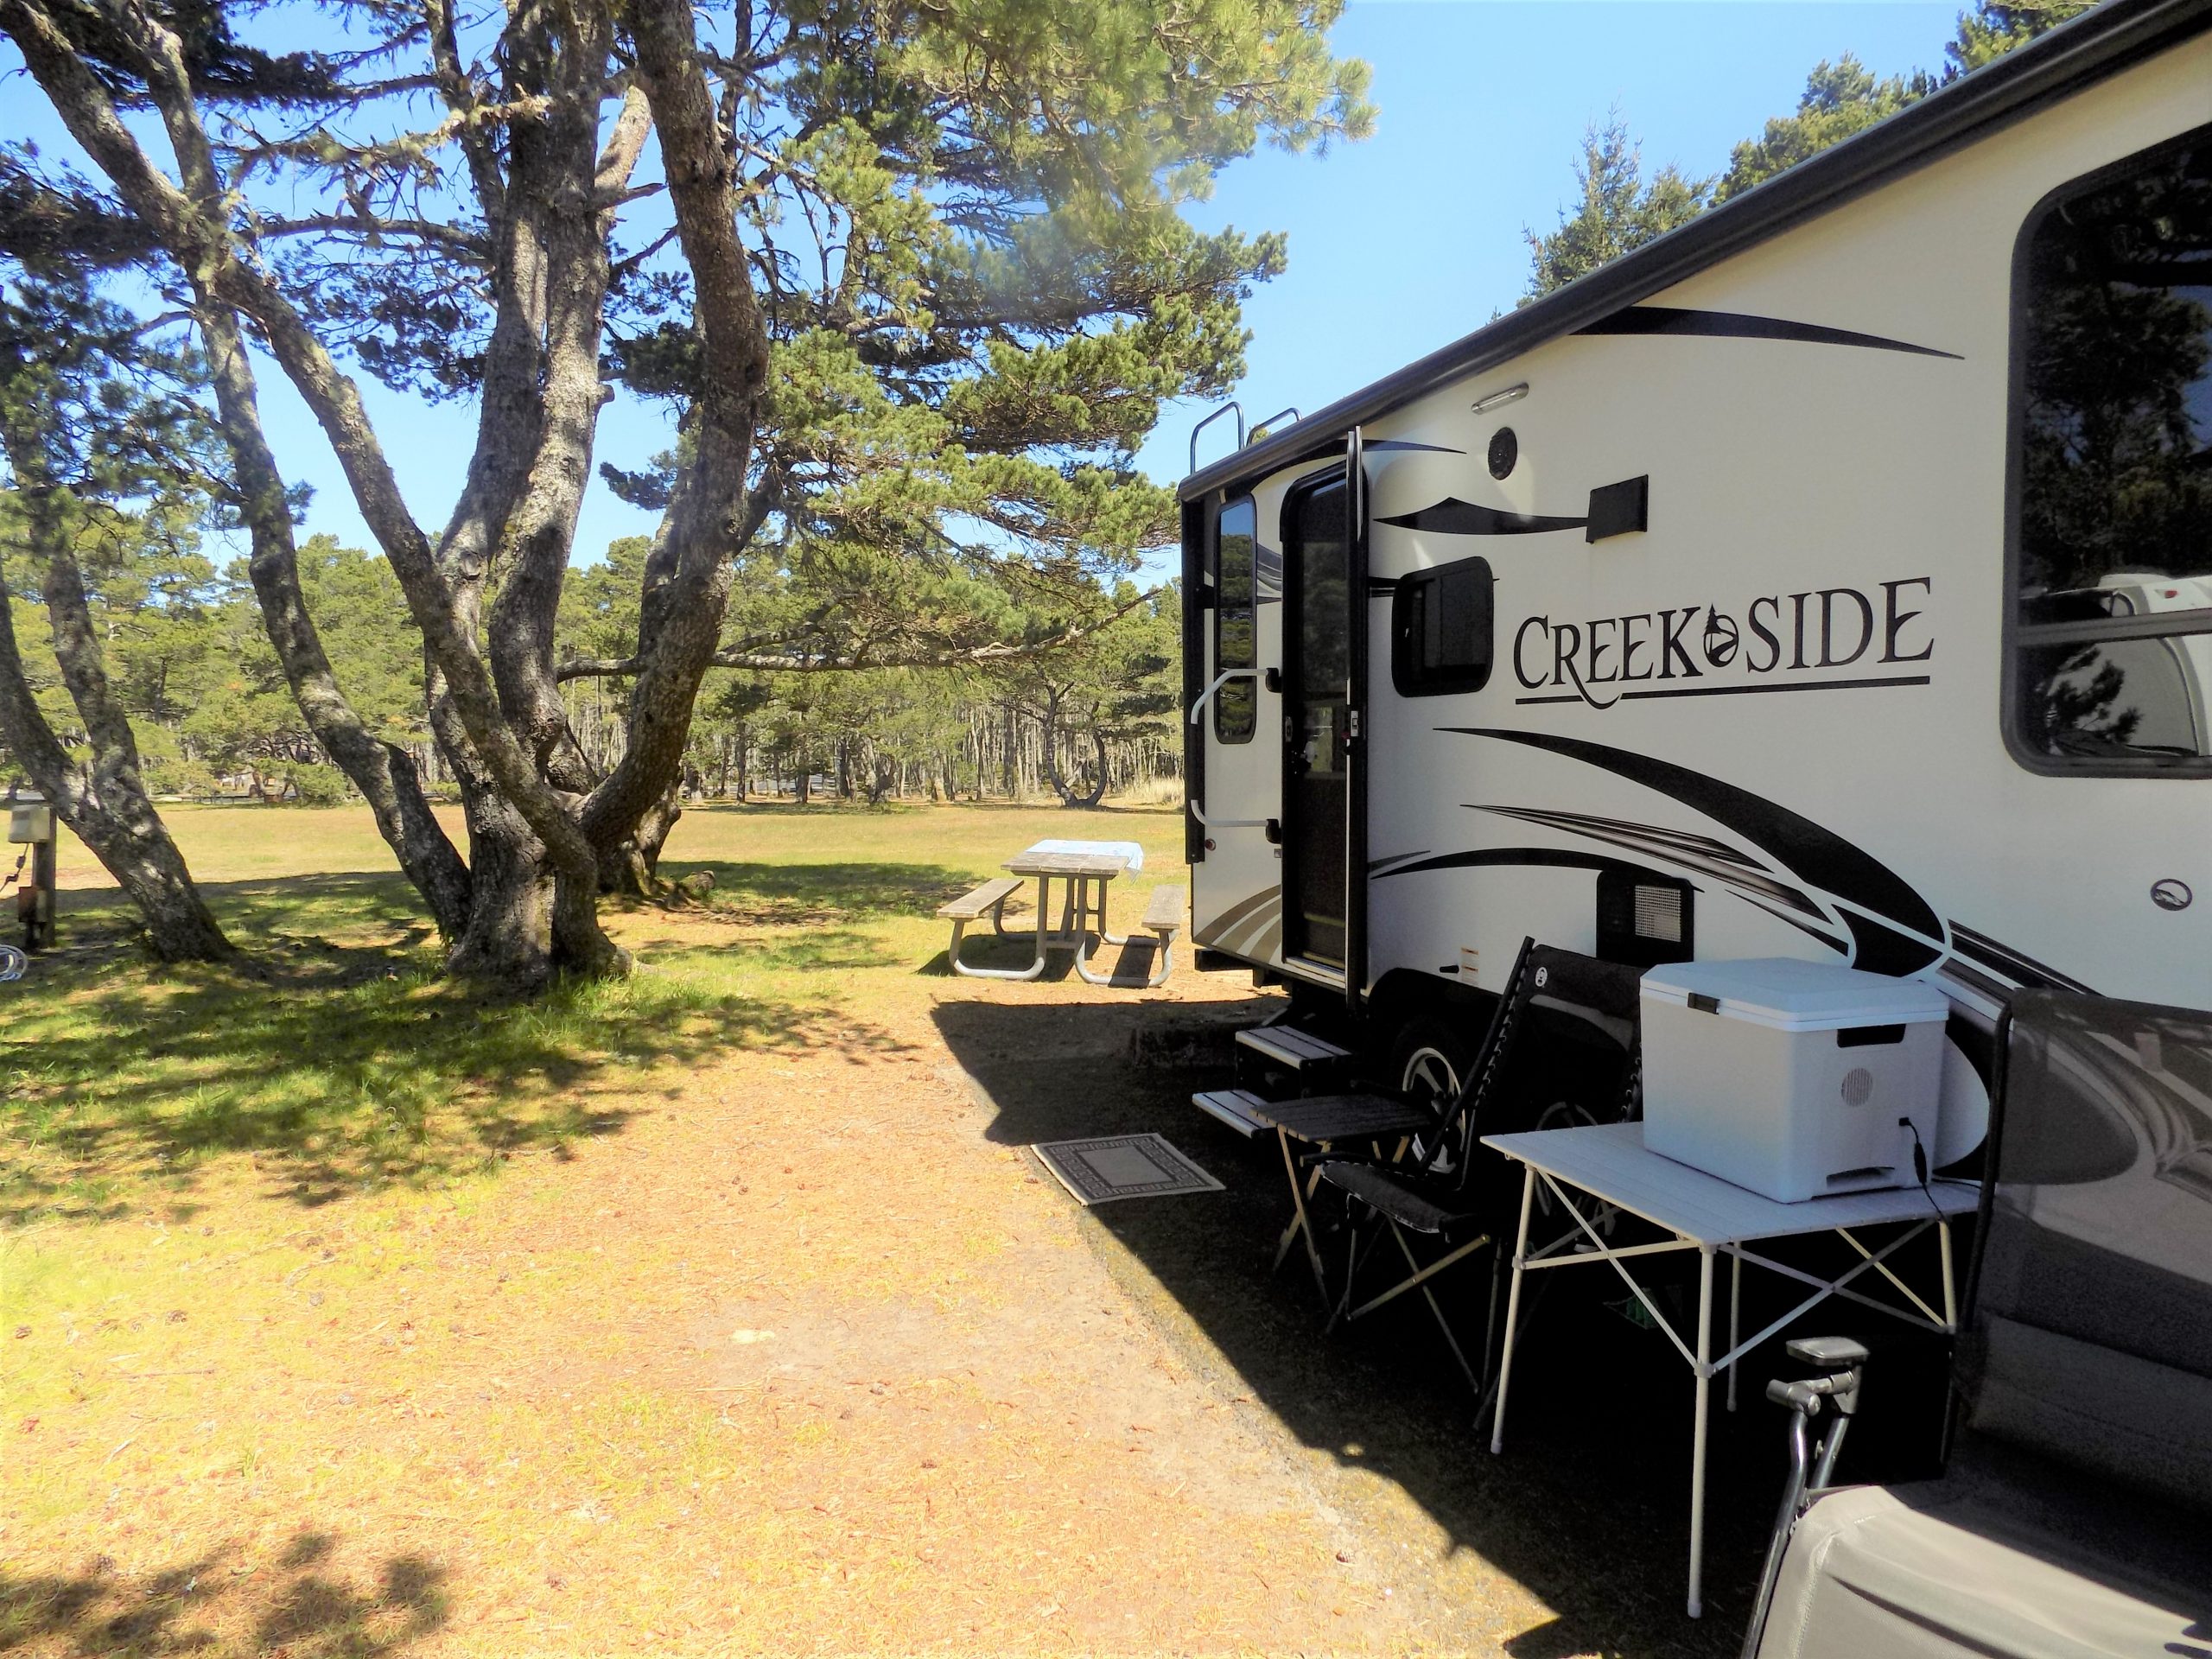
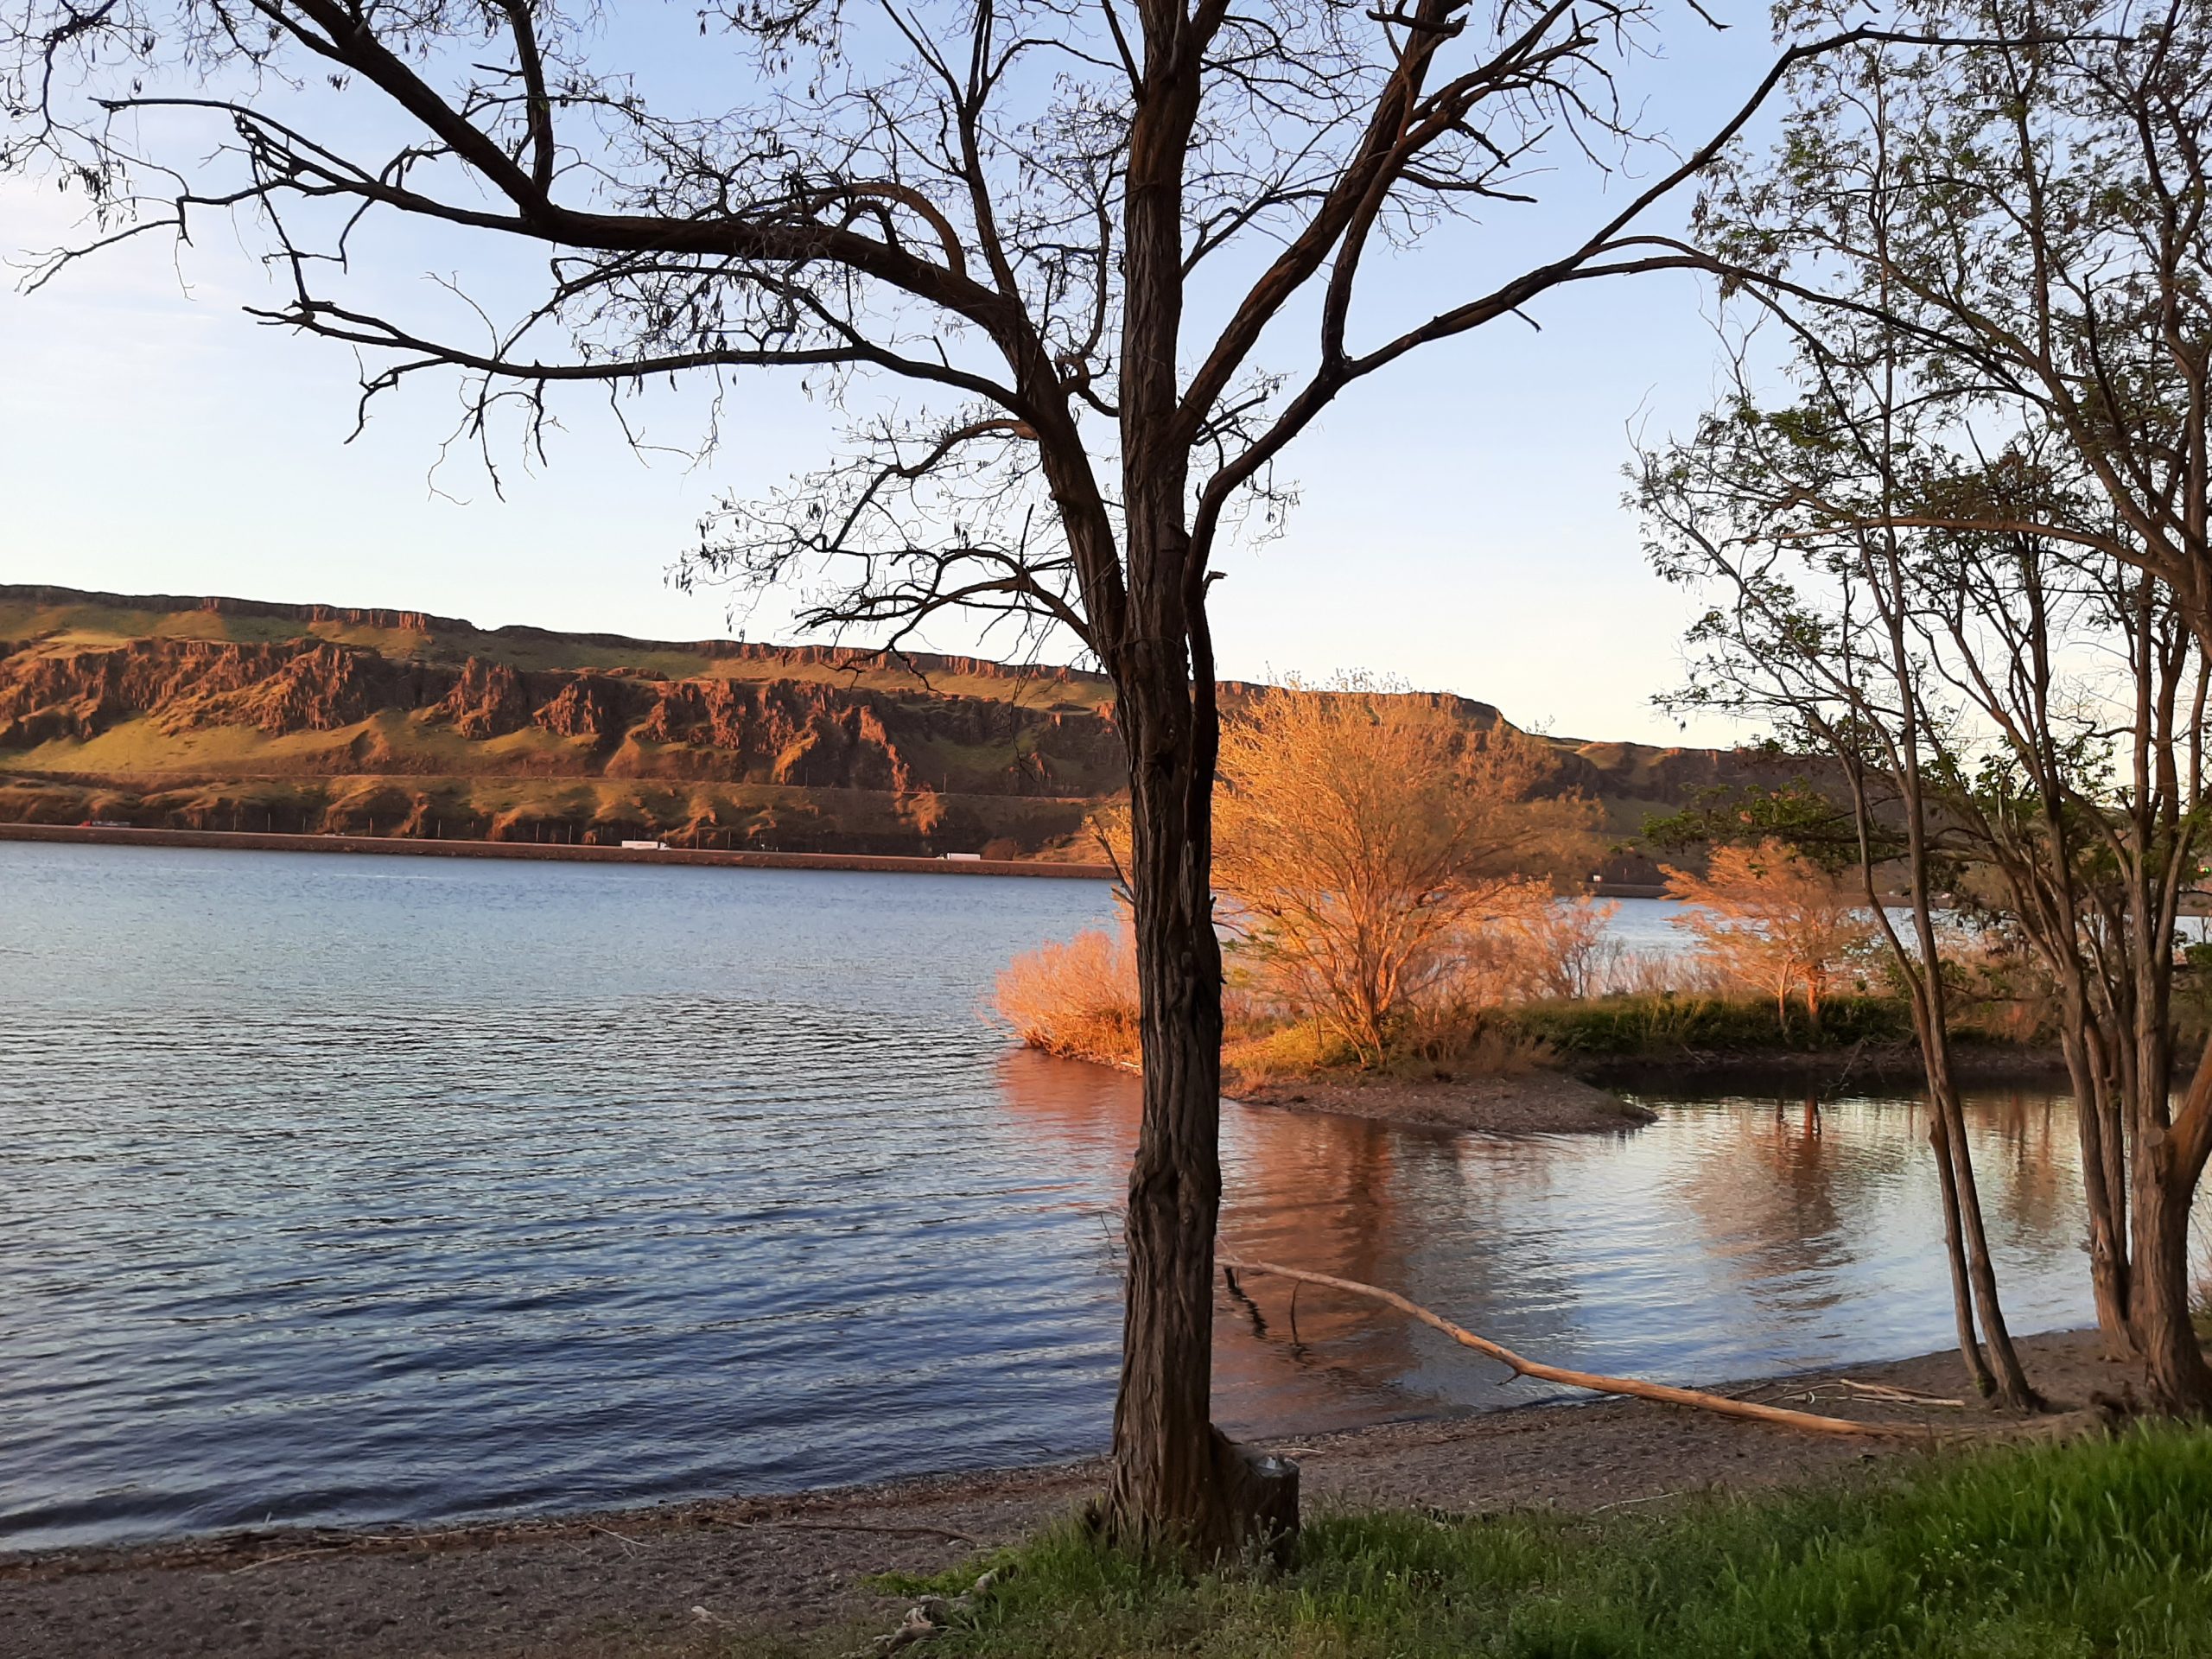
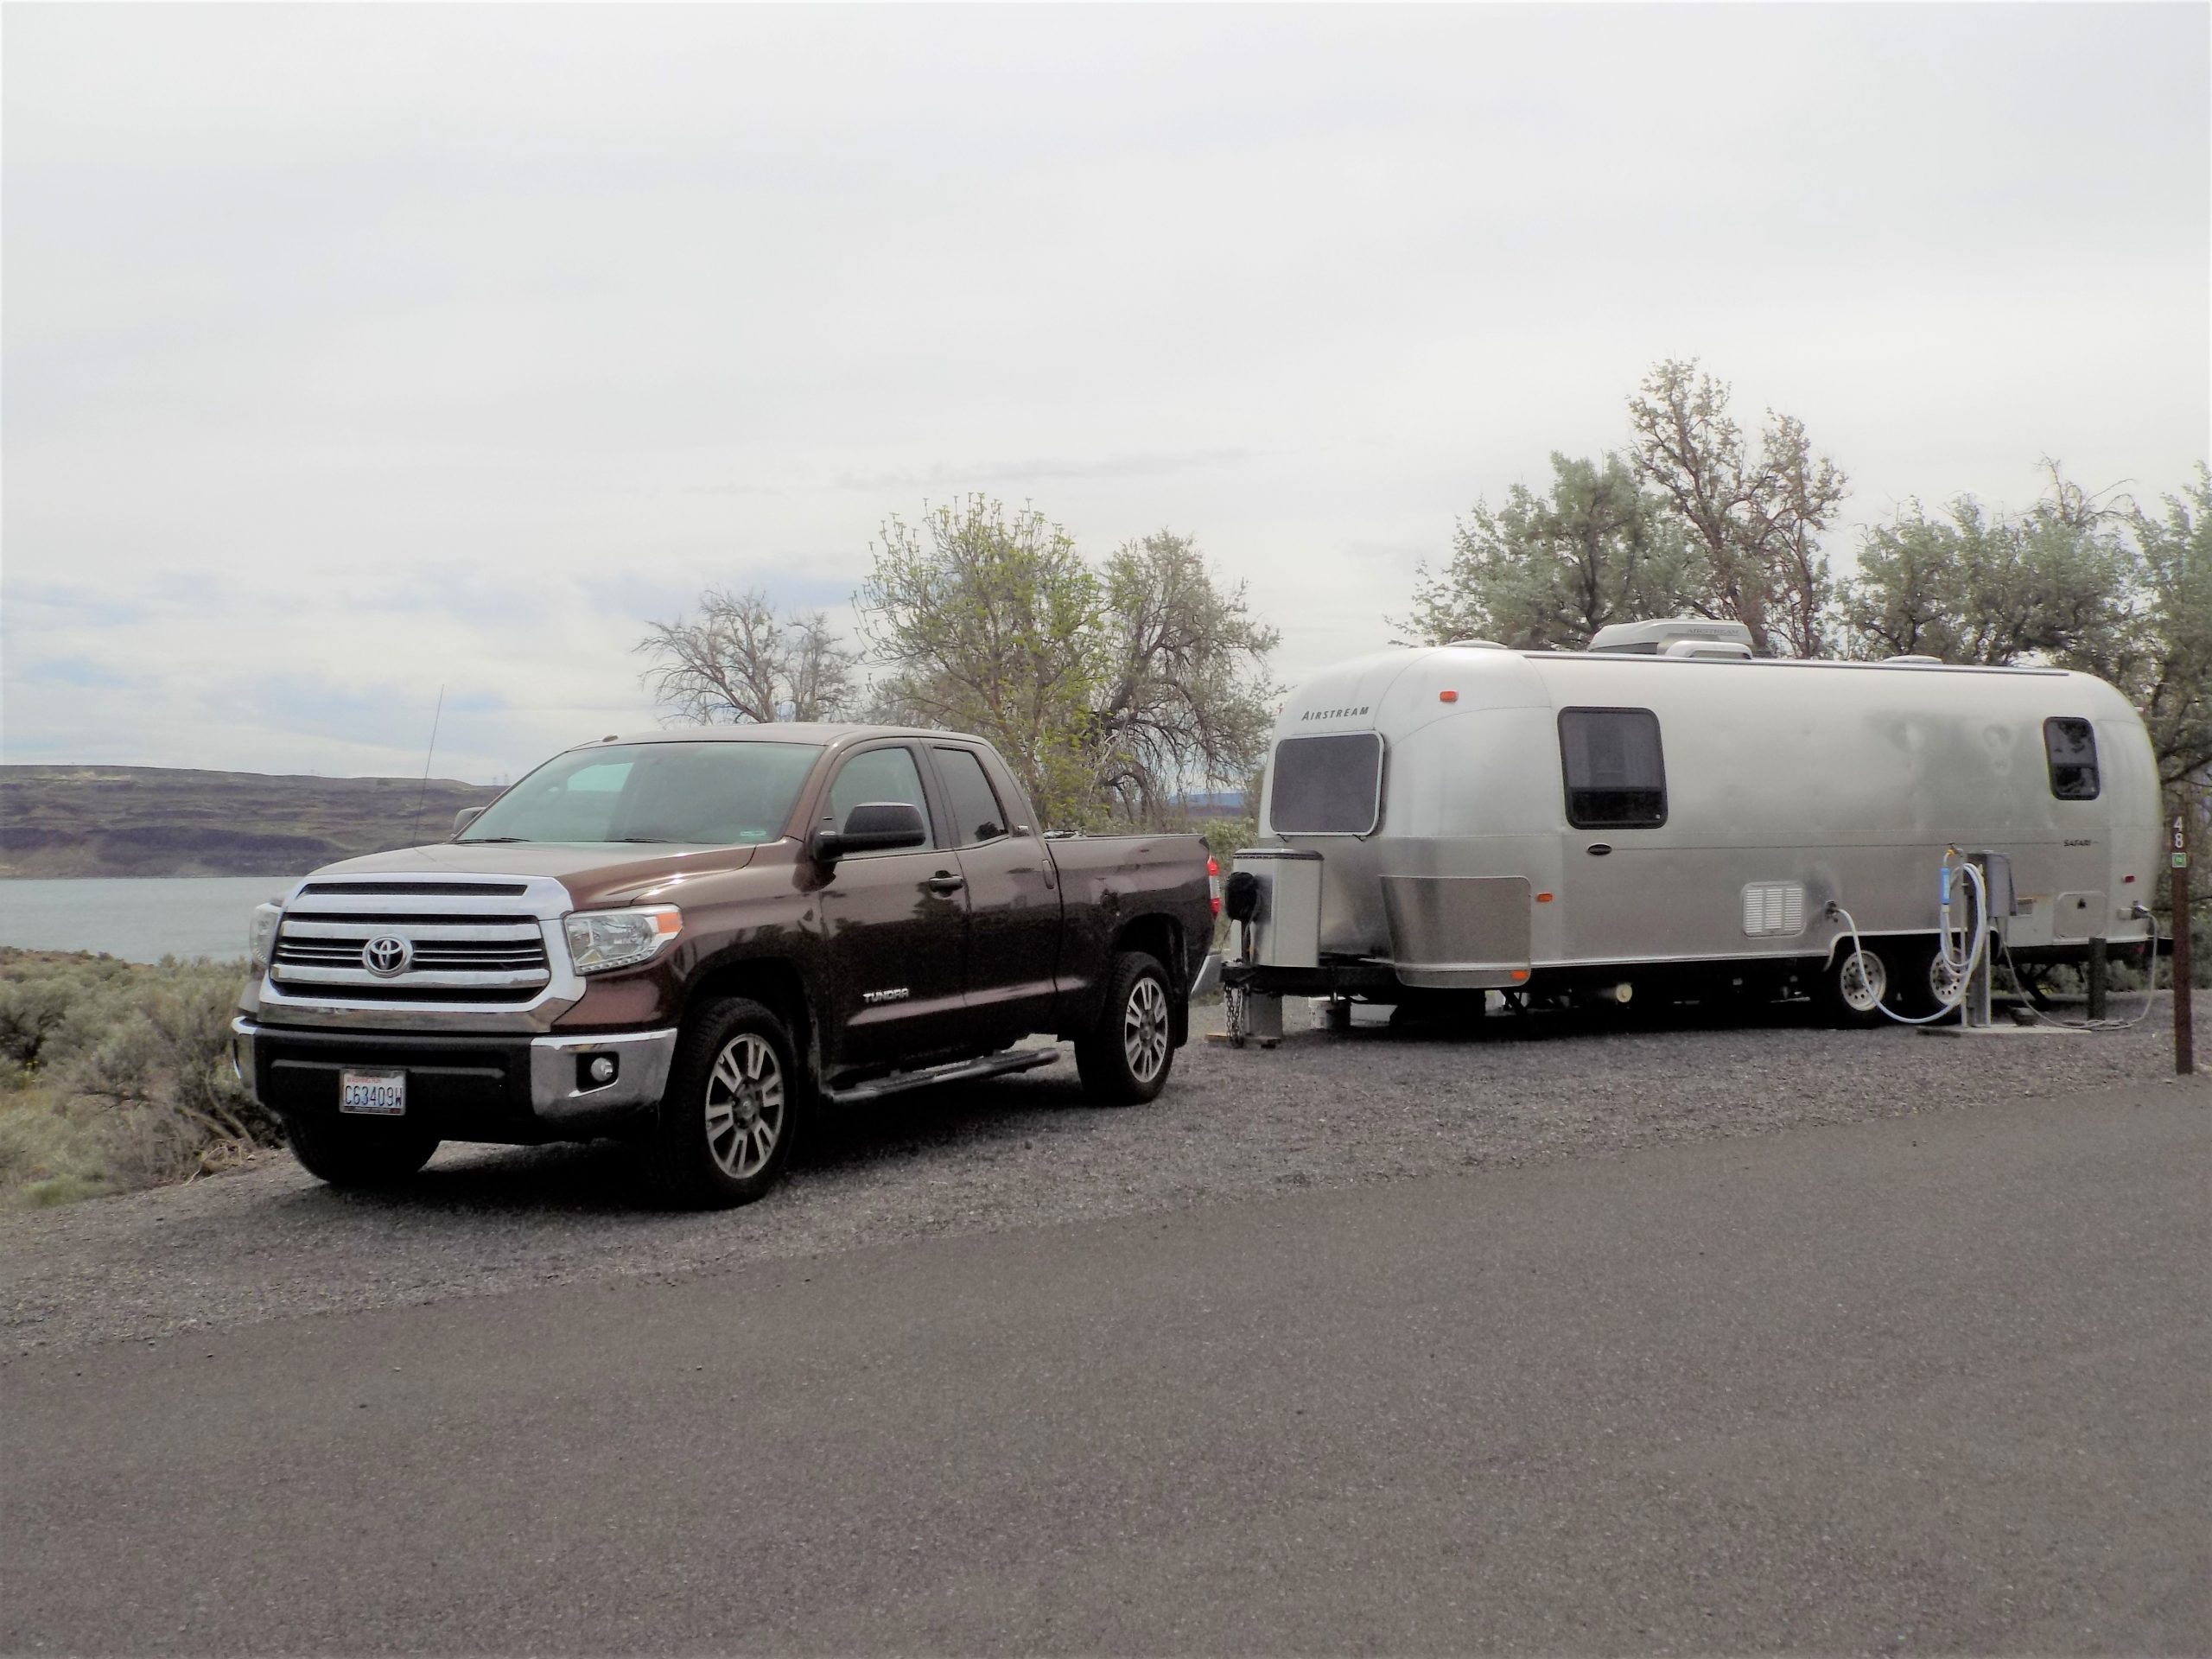
April 6th – Peach Beach RV Park – (next to Maryhill SP and across from Biggs Junction in Oregon via the Sam Hill bridge over the Columbia River) – site 28
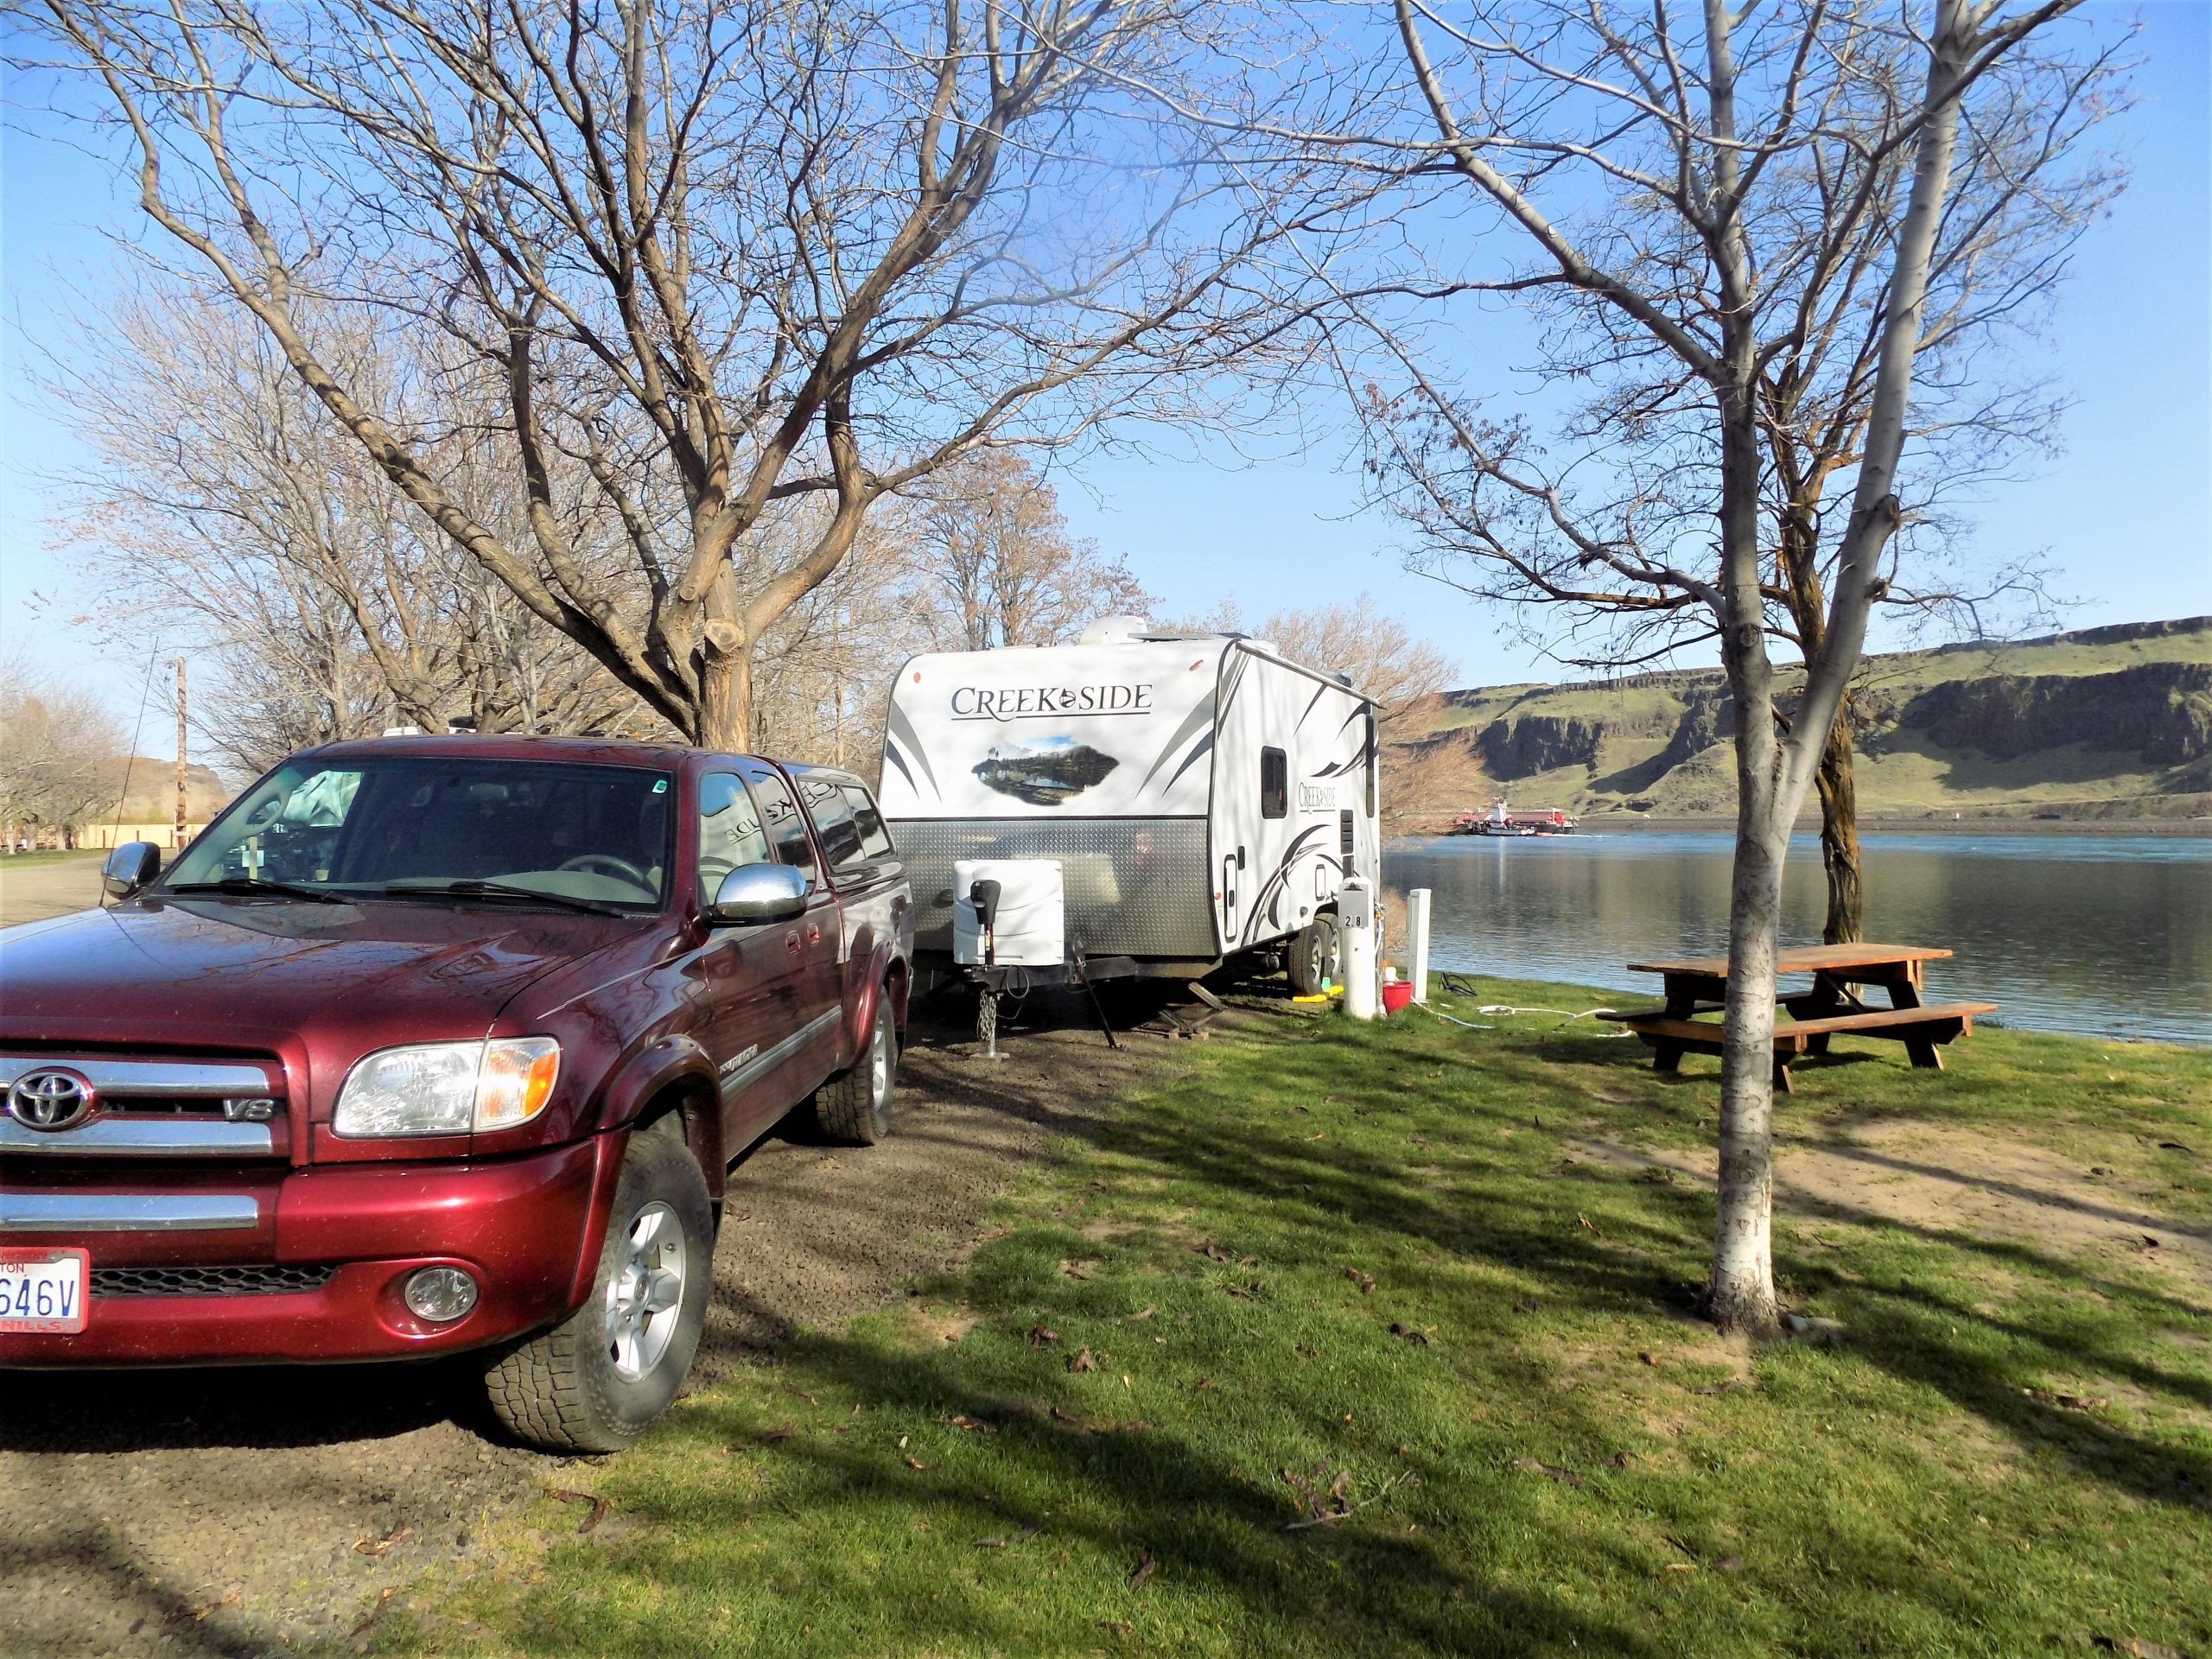
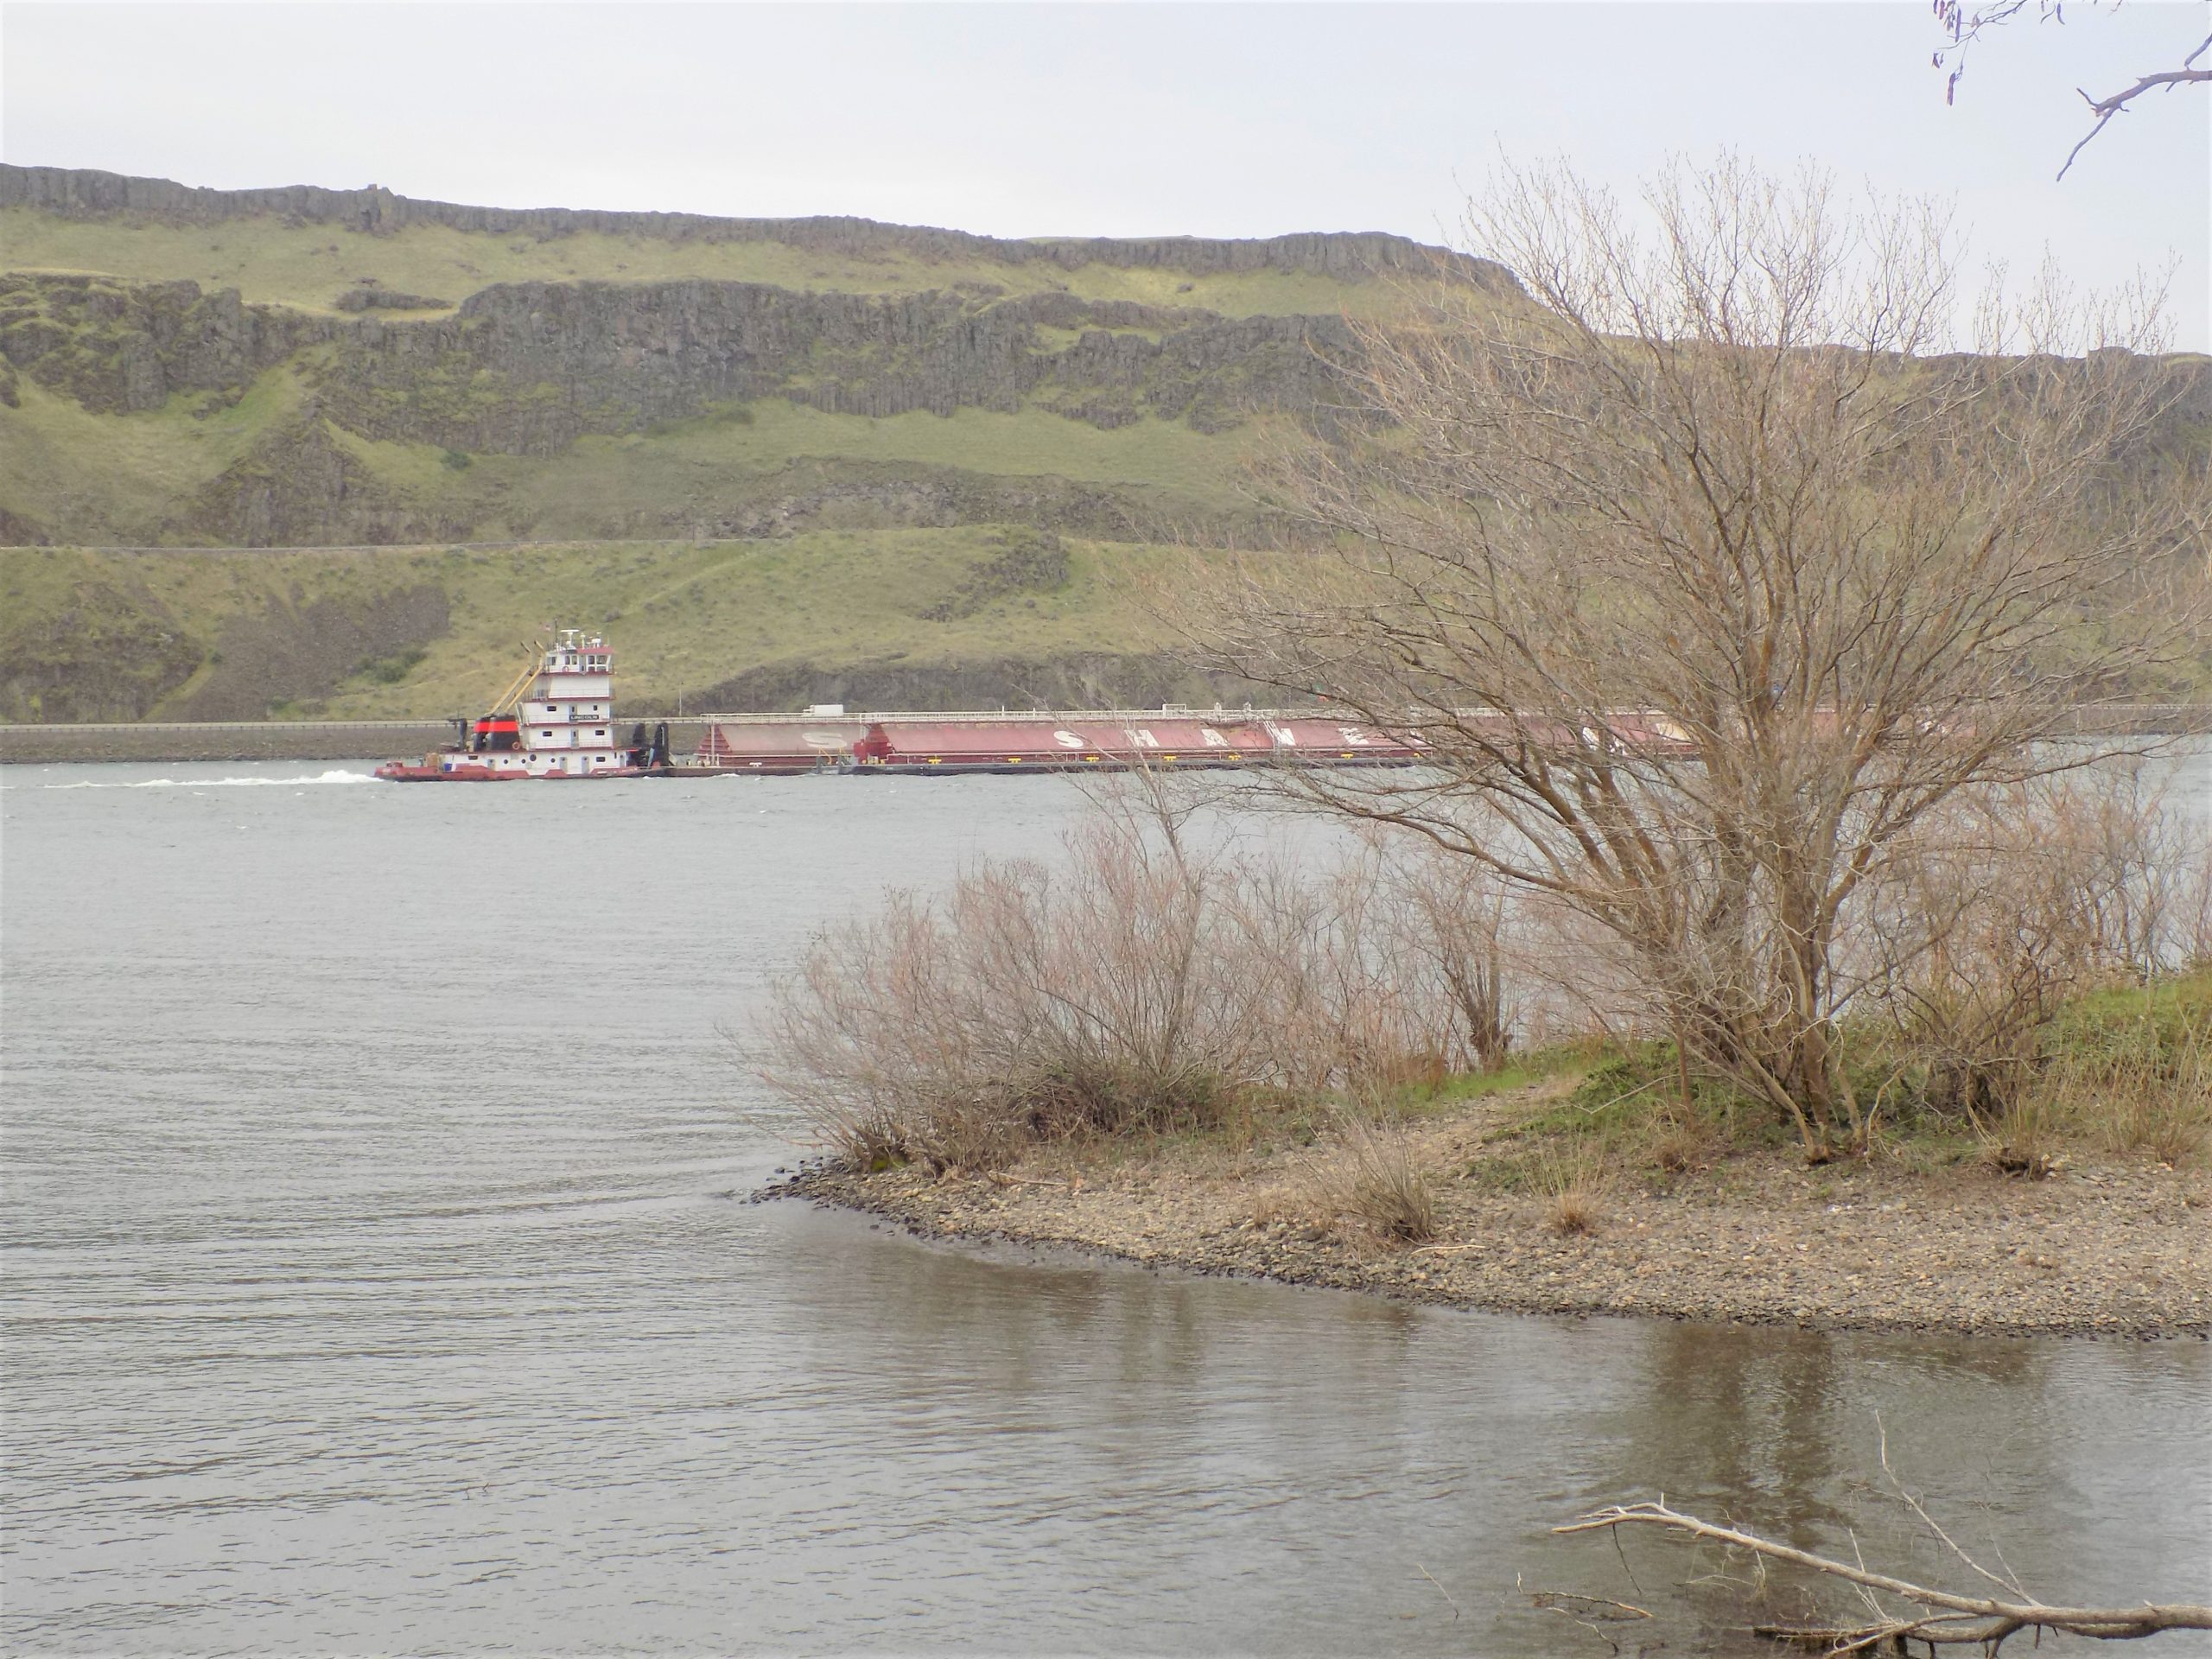
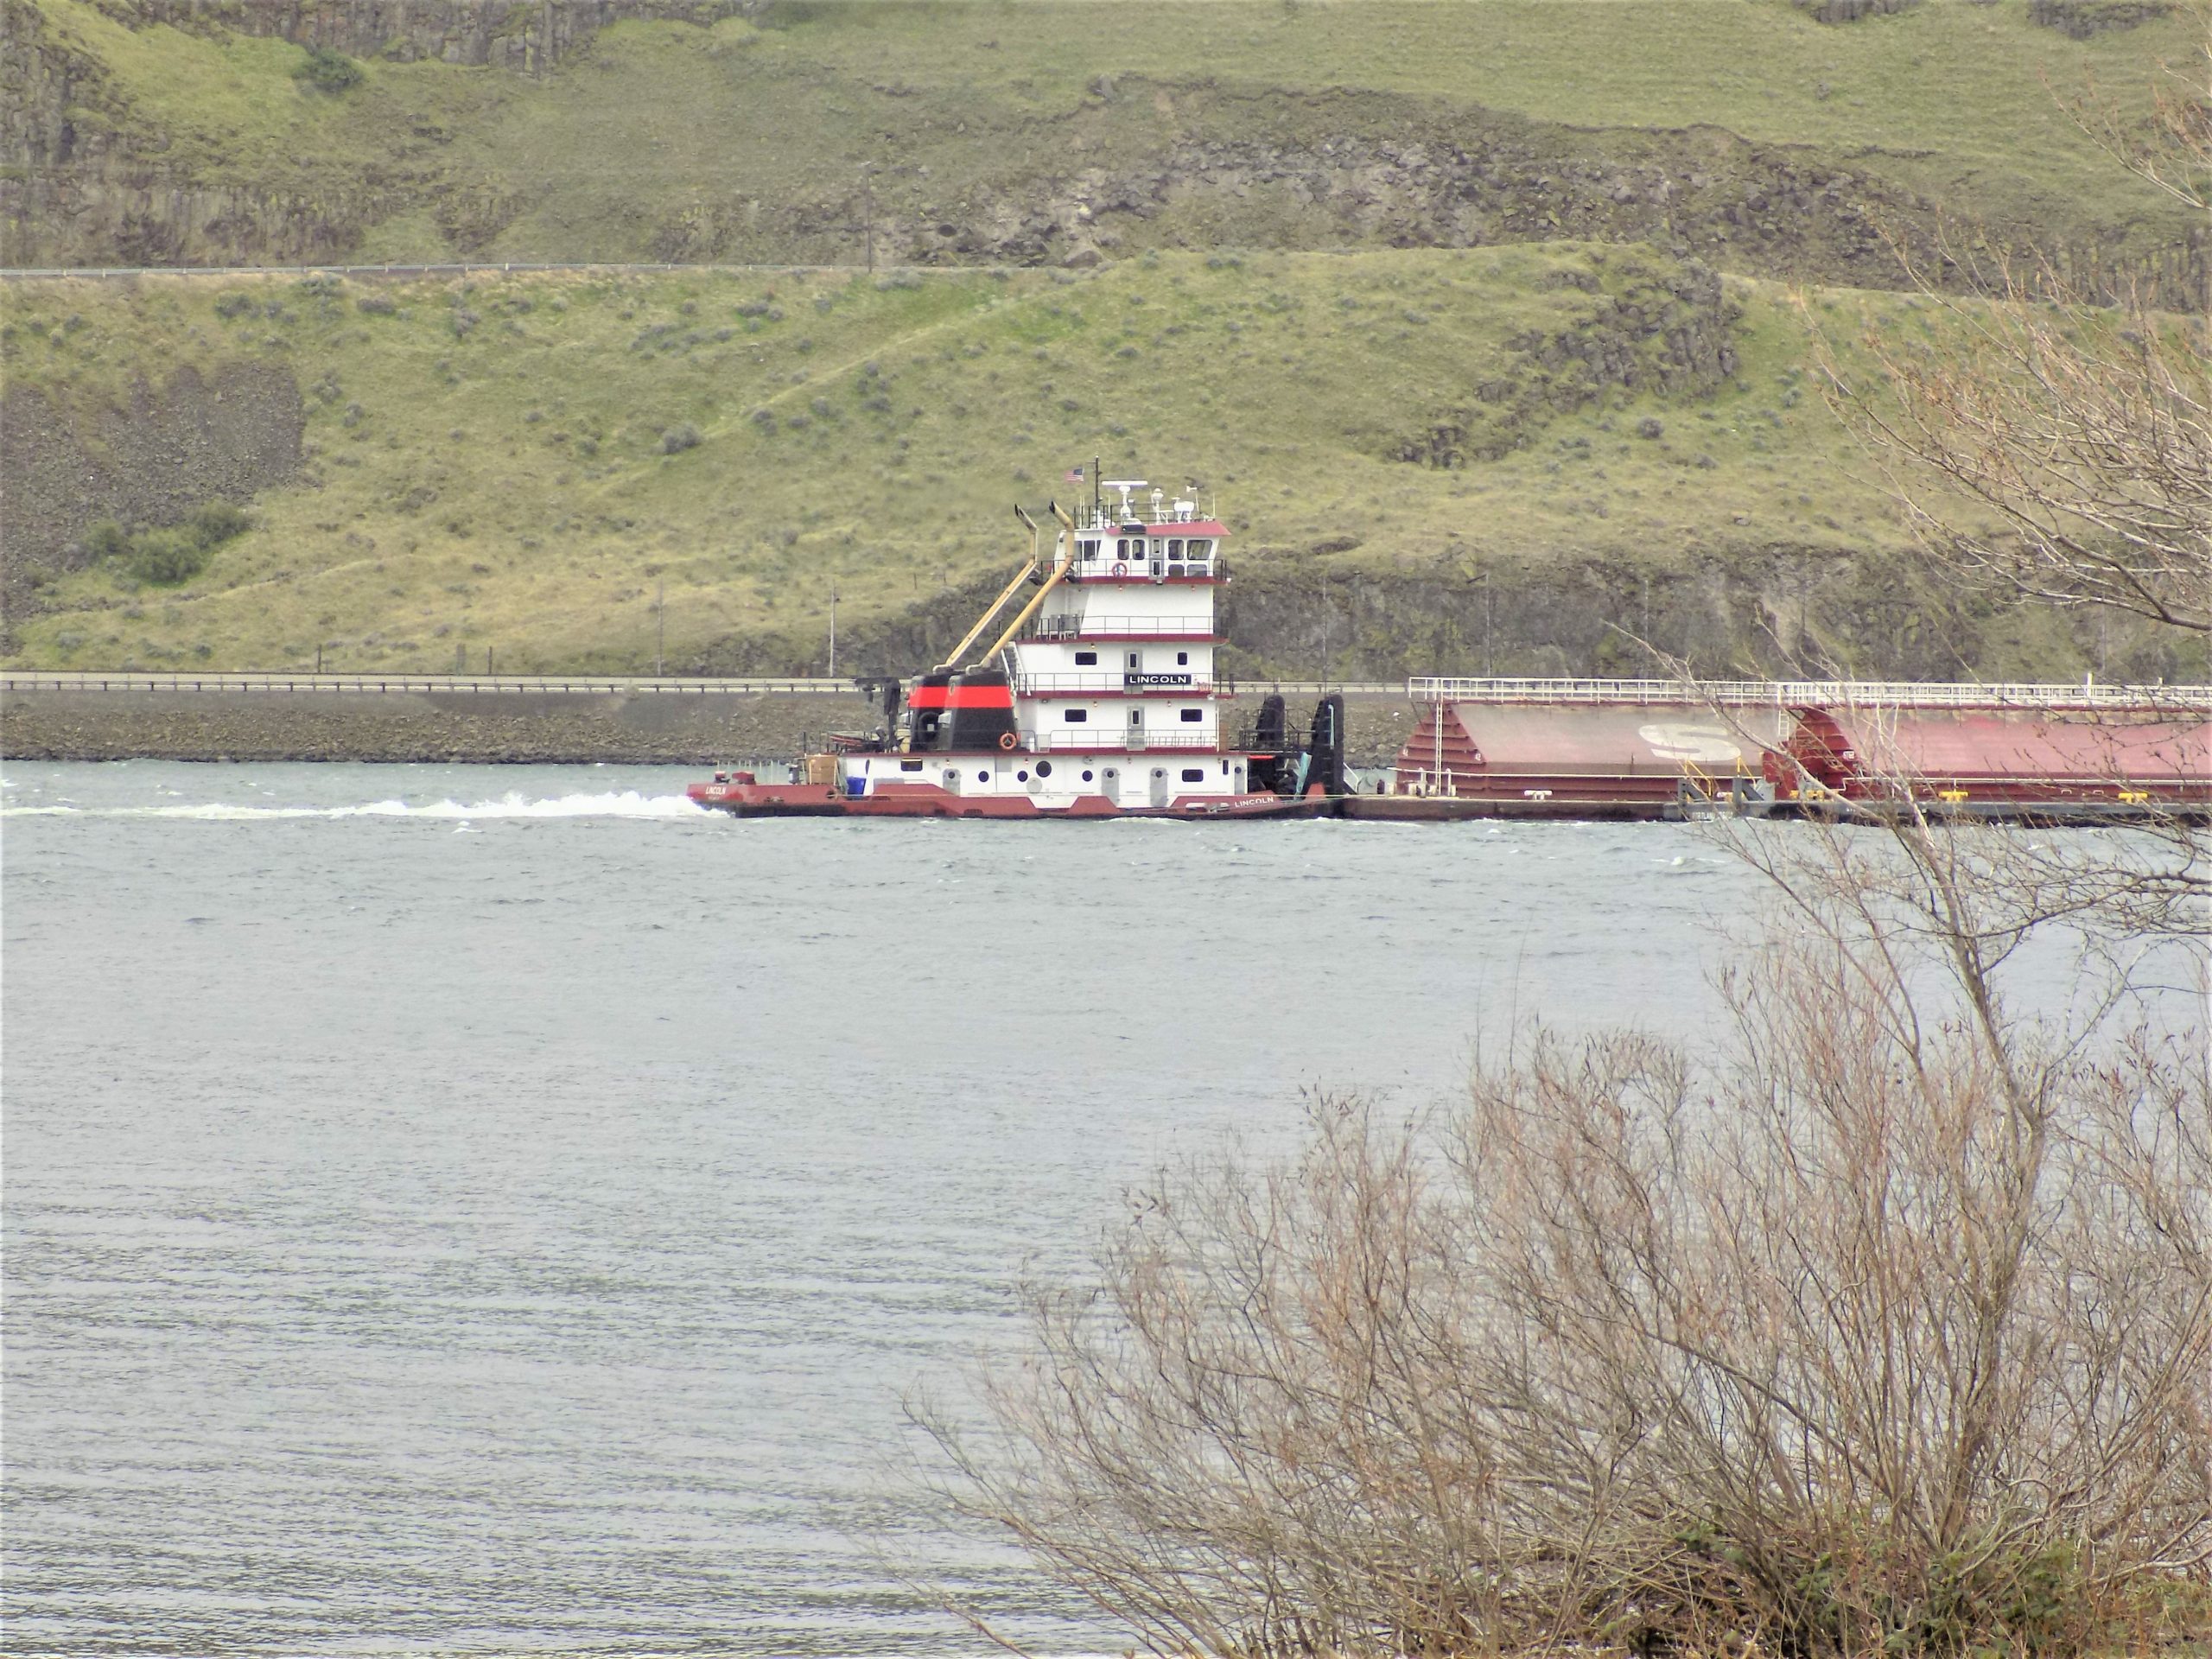
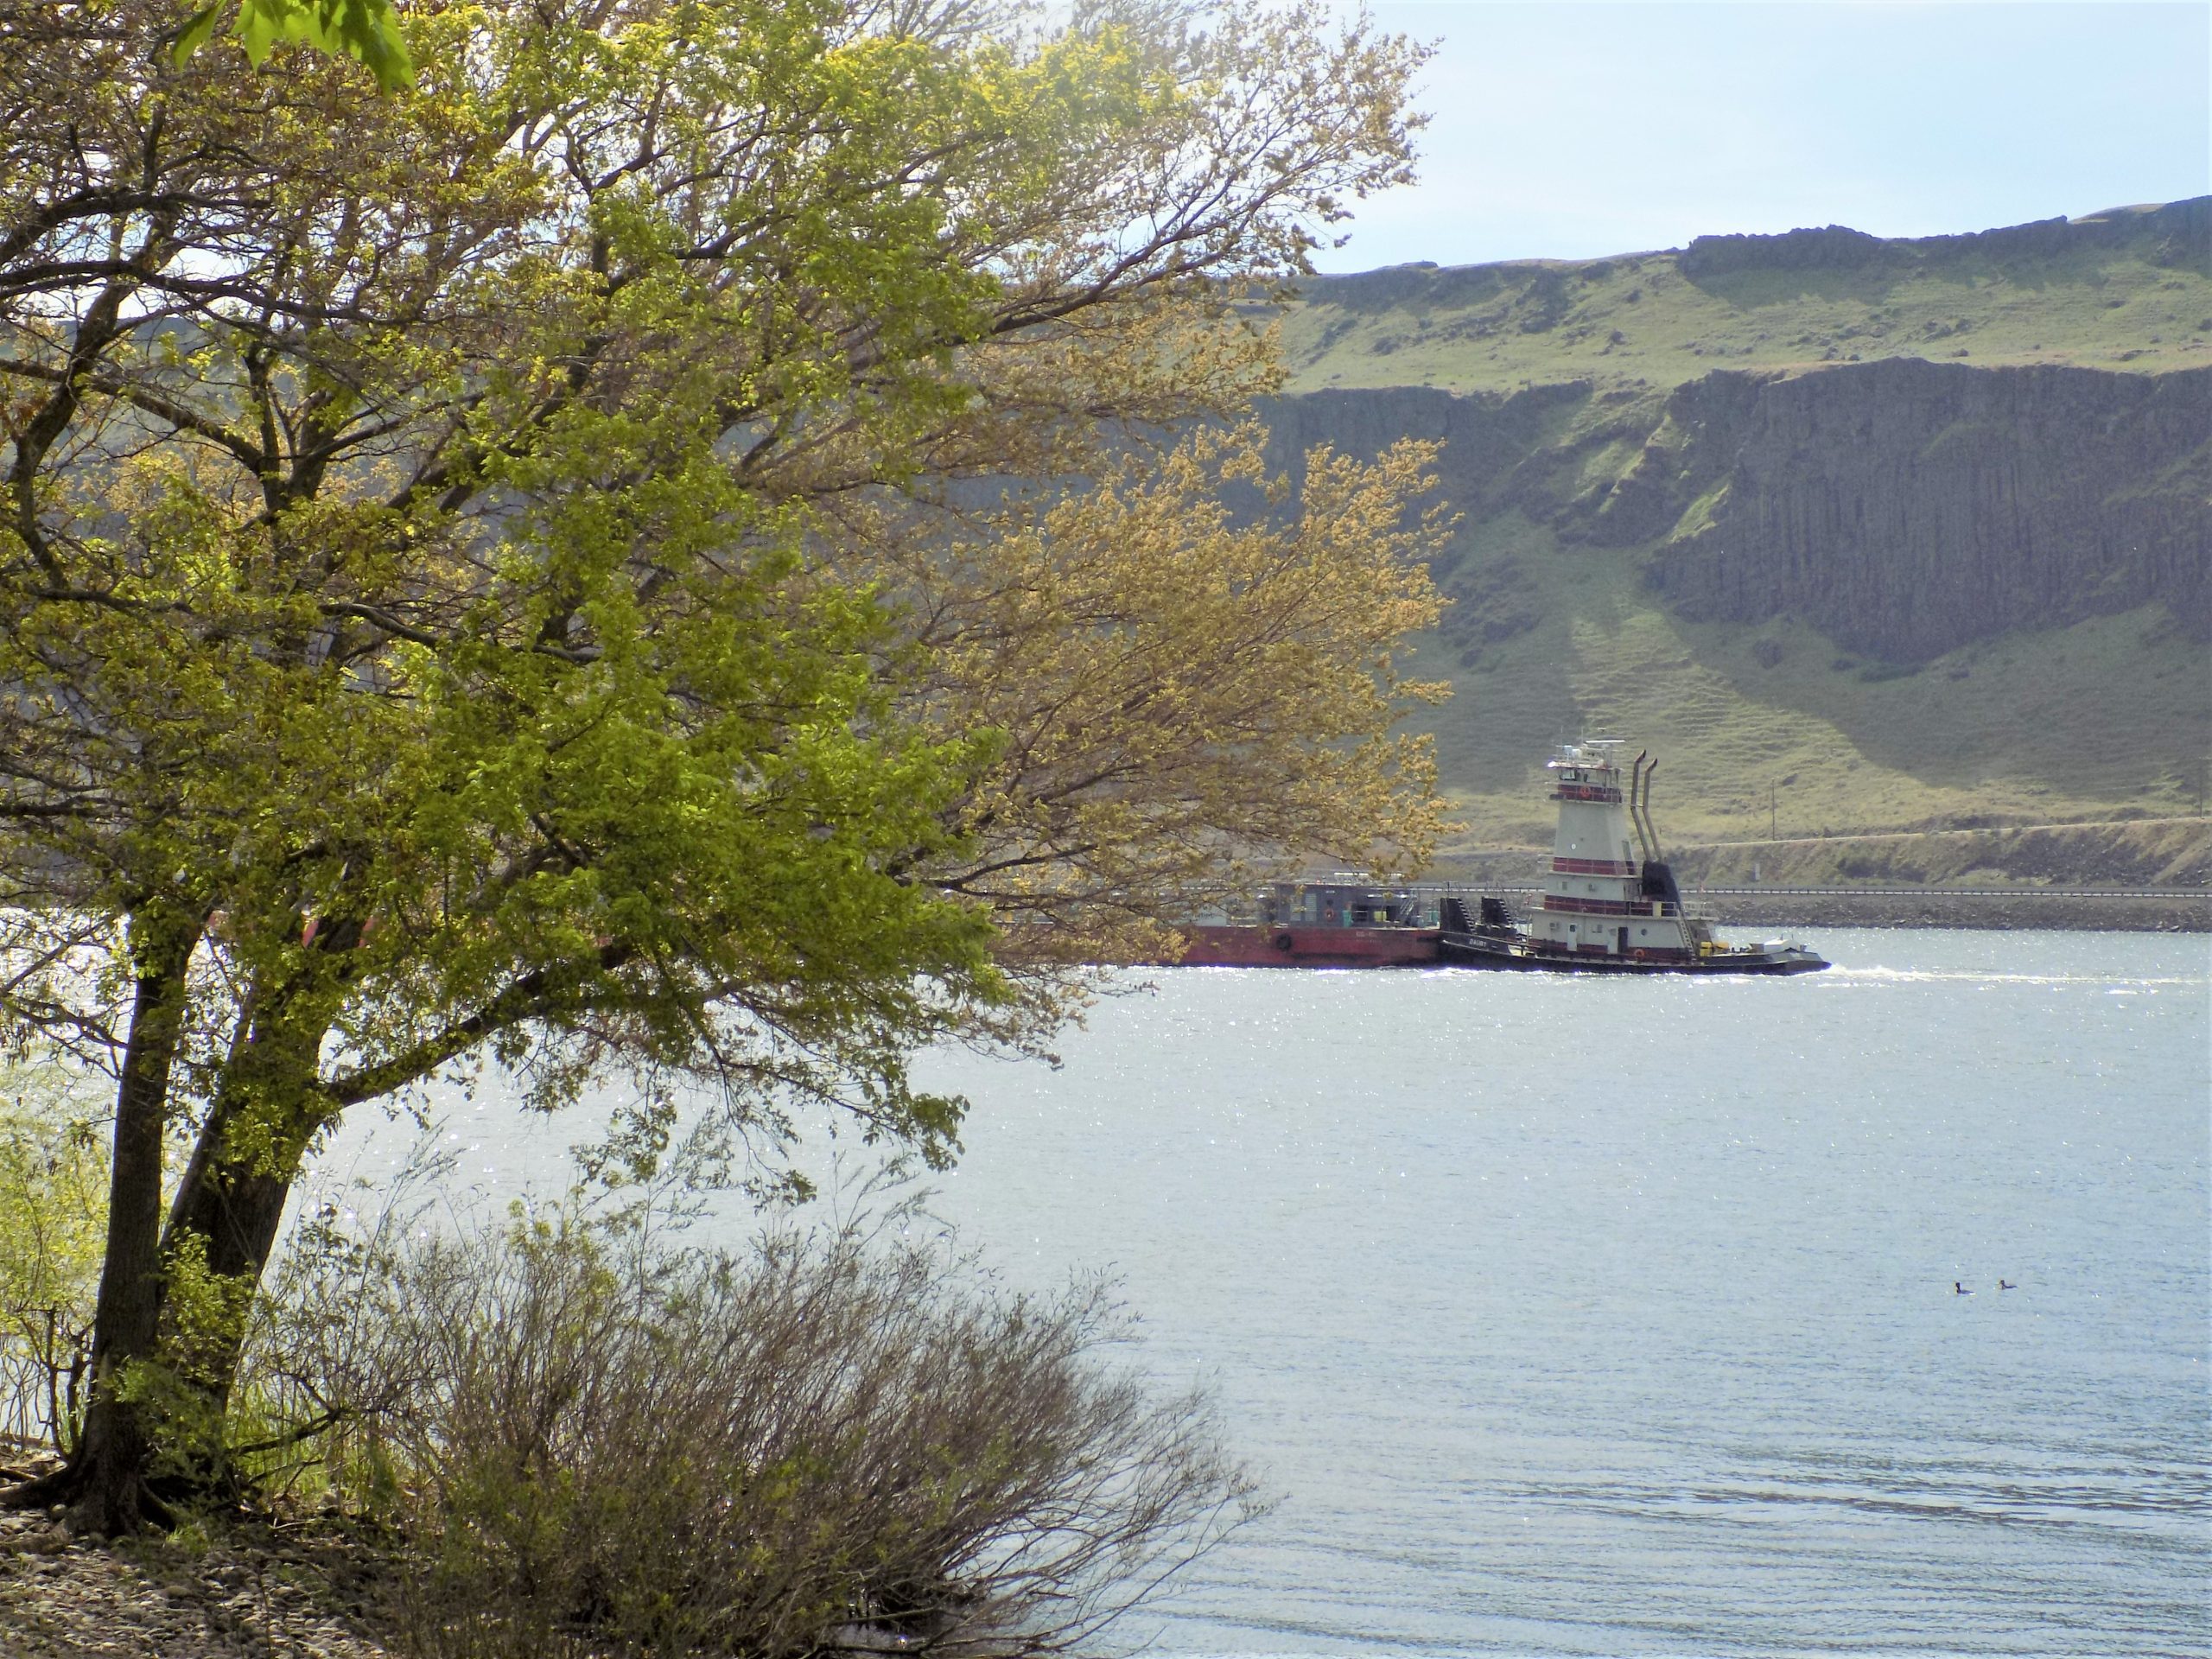
Site number 28 (our favorite) at Peach Beach. Notice how the trees are just starting to bud out. On our return we will be once again staying at this RV park. But the leaves will be out and it will be much warmer. One of the many barges we would see on the riverAlways being pushed, never pulled (or as it appears). Turns out it can be either pushed or pulled.
After a nice breakfast we stashed everything inside the trailer that could slip, slide, or be bumped out of place. Then Andy hooked us up and away we went toward our destination for the next 4 nights.
Now we have stayed at Peach Beach RV Park several times in the past because the sites we love are right by the river. The river being the mighty Columbia in case you were interested. And from our big back window we can watch double wide and double long barges being pushed or pulled by tugboats either up or down river. We have speculated that those going up-river are full of fertilizer because all the fields and orchards we passed on our way south from Potholes SP seemed to be just at the stage where fertilizer might start being applied. Of course, this was just a guess. And as with a lot of guesses, according to the following excerpt from the Gorge Connection, we were completely wrong.
“Tugboats that move barges are a vibrant part of the panorama along the Columbia River shores. They support the area economy as well as add color to the landscape.
A tugboat looks small from the shore. One might guess it is 200 feet long altogether when it is pushing or pulling four or more barges. In actuality, a tug with its tow is 84 feet wide and up to 650 feet long, which is longer than two football fields end to end. Eight miles an hour is the speed that tugs usually move.
A tugboat operates twenty-four hours a day, 365 days a year. It is self-sufficient as the systems work together. 55 gallons of diesel and two quarts of lube oil are used every hour by each of the two 1500 horsepower engines. The boat’s brain is connected to seventy-five sensors to ensure all the systems are working properly. The sensors will also detect if any fluids are not at their proper levels and if there is smoke in any compartment. An alarm will signal if anything is wrong.
Electric winches are used by the tugs while hand-cranked type winches are on the barges. 1-1/8-inch cables are used to strap the barges together. Usually, to connect two barges requires six cables while eighteen to twenty cables are required for four barges.
It takes years to master navigating a tugboat. From the wheelhouse, the pilot operates the boat, 45 feet above the water. Thanks to modern technology, new tools have been introduced to help with the job. Some of these tools include global positioning systems (GPS), wind gauges, swing meters, and radar. Part of the company’s network includes an on-board computer and the main office can locate any boat in the fleet at any given time.
Tugs travel along the deep channel of the river. The pilot is aided by buoys, range markers, and GPS to keep the tow in this channel. Water on the Columbia River flows at 300,000 cubic feet per second during spring runoff or heavy rainfall and this rapid current is only one problem a pilot must be able to handle. Other problems include fog, wind, rain, ice, snow, bridges, and dams. Another potential hazard is people on the river. The pilot must always be watchful for activities on the water such as fishing, windsurfing, and pleasure boating which sometimes takes people into the deep channel.
It takes about 48 hours to make the complete trip from Lewiston, Idaho to Portland, Oregon. Eight dams must be passed through during the trip, four on the Columbia River and four on the Snake River. Locks on the dams are a maximum of 650 feet long and 86 feet wide presenting a tight squeeze for a large tow. Eight large floats which are set into the lock wall are roped to a tow when it enters the locks. This keeps the tow in position as it is raised or lowered. The John Day Dam has a lift of 100 feet which is the highest of all the dams.
The primary cargo driven downriver is wheat. Wheat from Lewiston and other upriver locations is brought down to Portland, Vancouver, Kelso, and Longview to be shipped to overseas locations. Barges on the Columbia River transport forty percent of all the wheat produced in the United States; another thirteen percent is transported by train. Four wheat barges will carry 14,000 tons of wheat making river barges the most efficient method of transporting wheat. 560 trucks or 140 railroad cars would be required to carry the same amount.
Wheat is not the only product that is towed on the Columbia River. Tugboat companies also transport scrap metal, wood chips, paper products, petroleum products, and garbage among other cargos. One million gallons of petroleum are also transported by 42-footwide barges. 2.2 million gallons of petroleum can be carried by the jumbo barges which are 84 feet wide and 274 feet long. A jumbo barge carrying that much petroleum is thirteen and a half feet under water.
The barges on the Columbia River have crews which include a captain, a pilot, usually two deck mechanics, and a third man for the largest barges. Six hours on and six hours off is the standard shift around the clock.
Each crew works half of the month. Off-duty personnel call in the day prior to the crew change to learn what boat they are assigned to. They will also be told approximately where the boat will be at noon the next day. The location for boarding may be anywhere between Lewiston ID and Astoria OR since the boats operate around the clock. Arrangements are made by the crew members with each other for the storage and retrieval of their personal cars.” And yes, they totally do not look as large as they really are from shore.
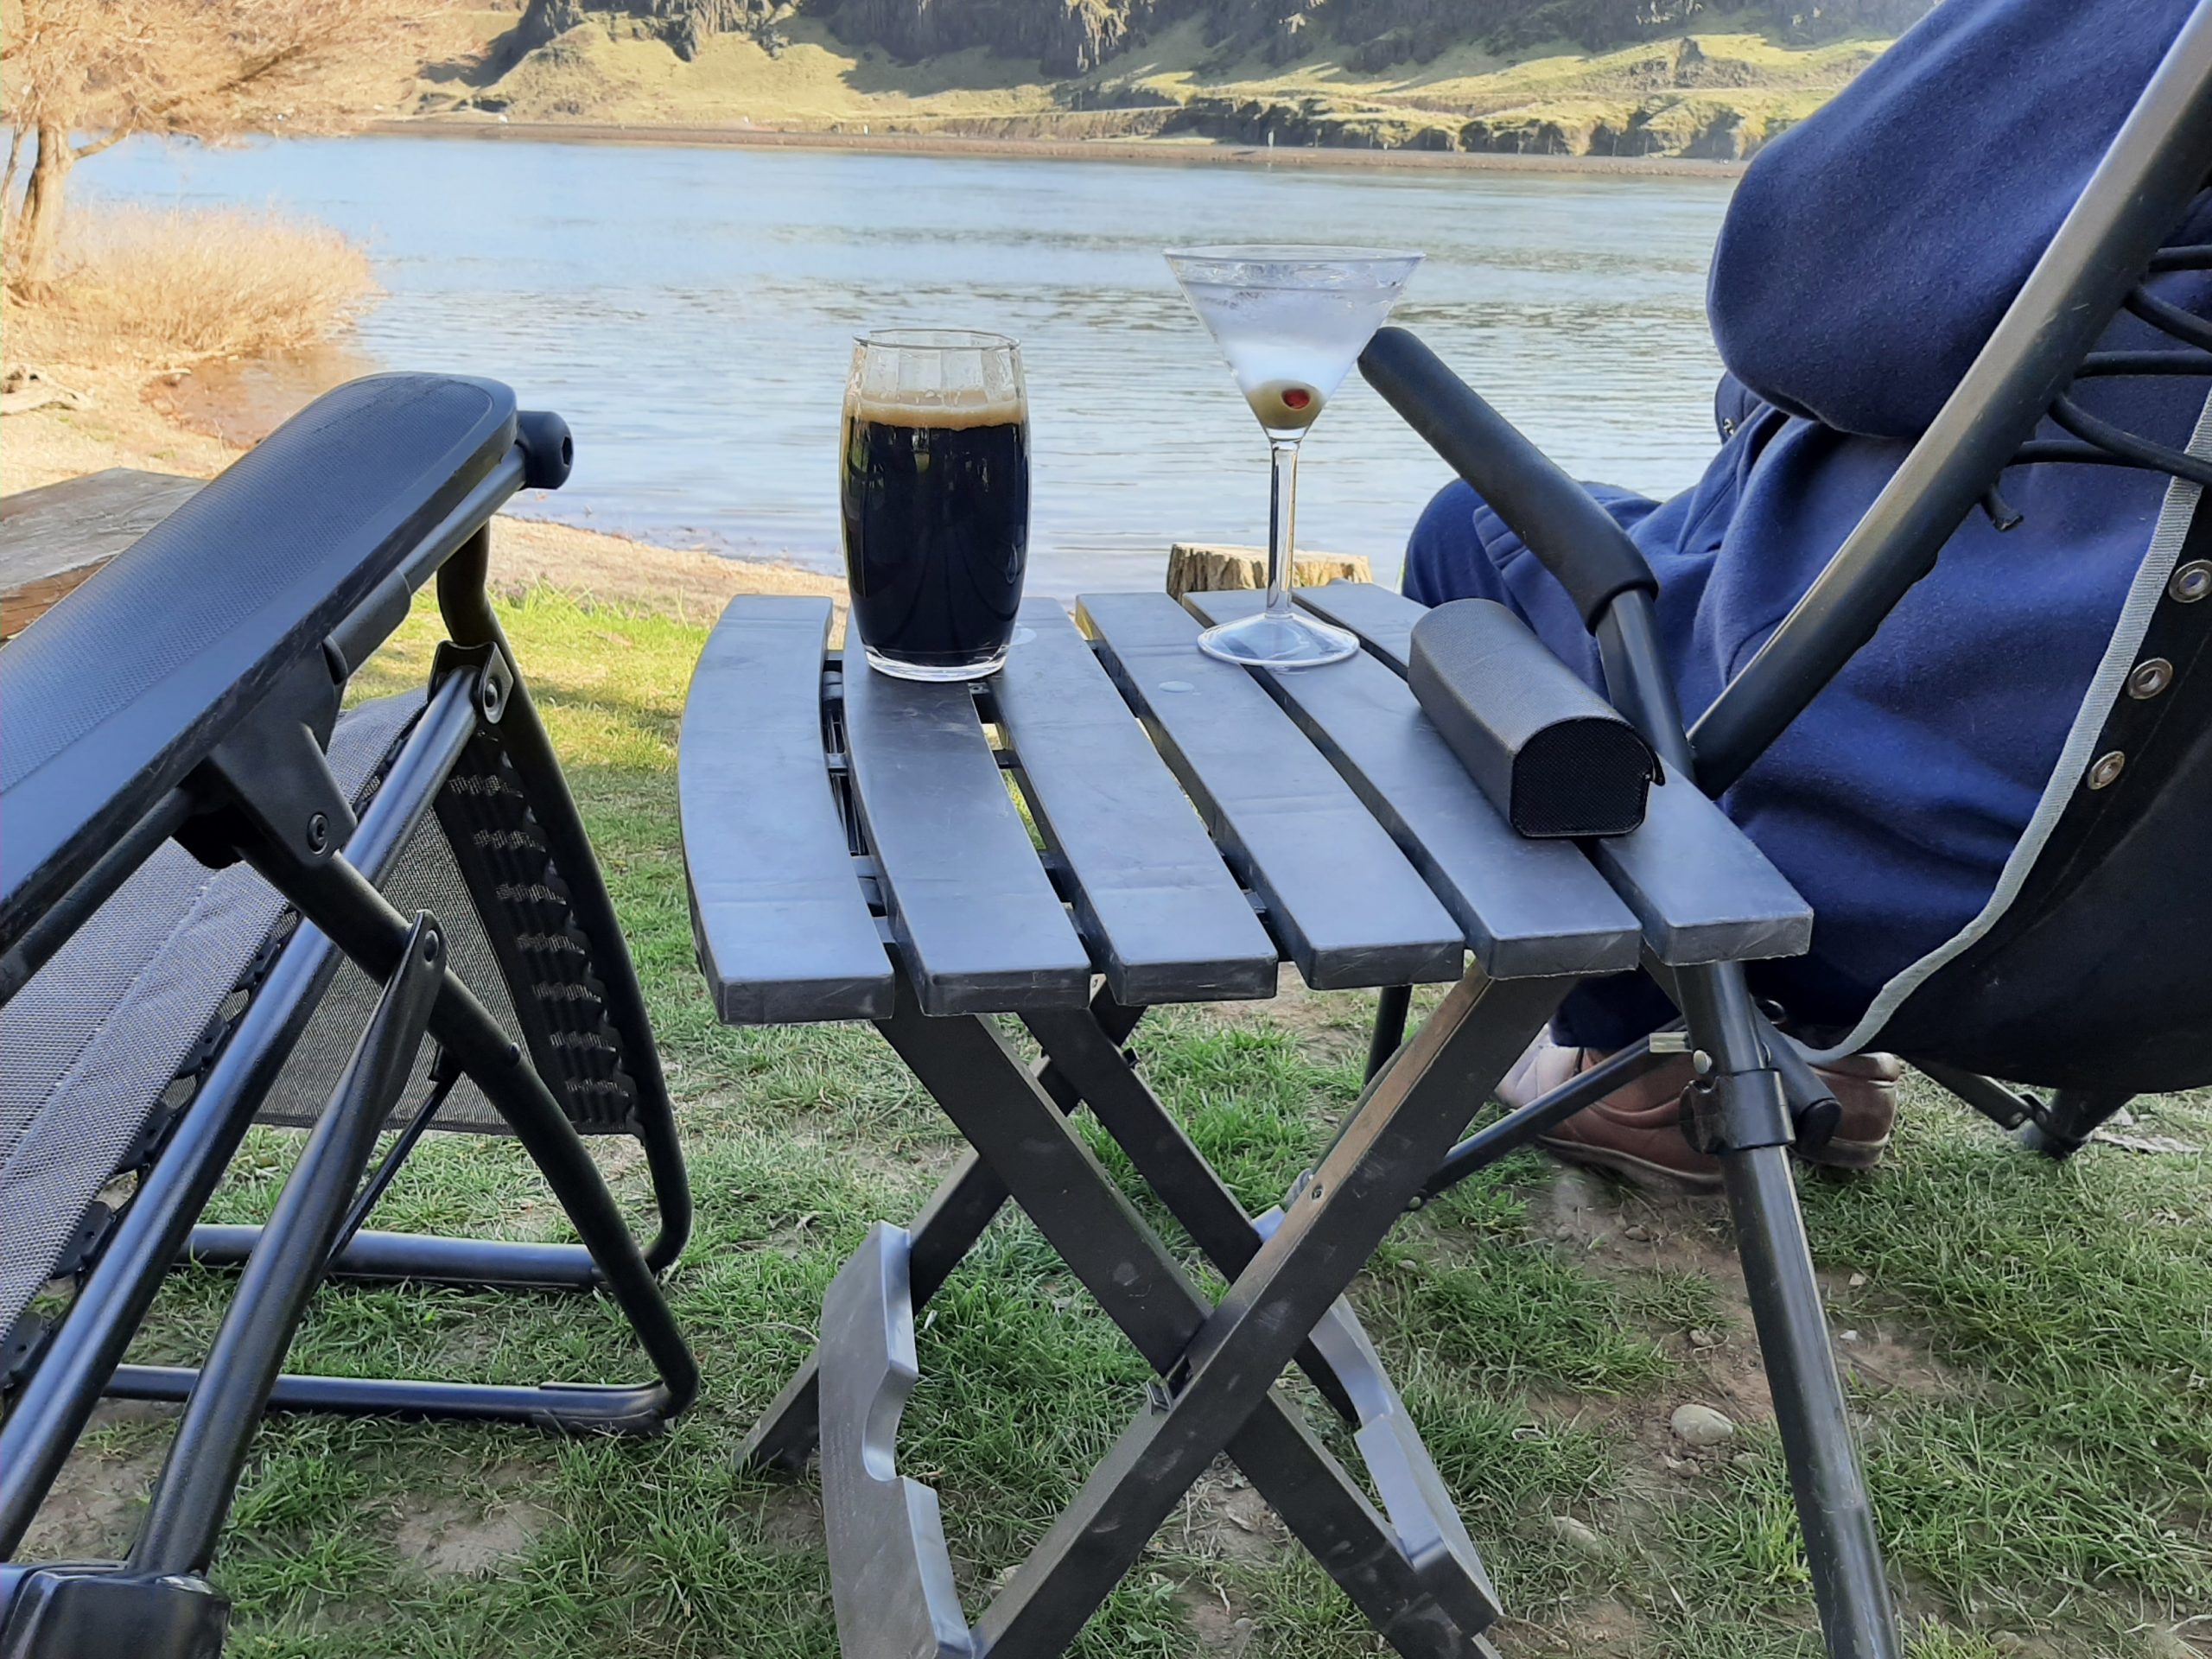
After we arrived late afternoon, we set up camp, enjoyed a safe arrival adult beverage outside in the glorious sunny evening, and shared a quiet evening of reading. And then off to bed. There is nothing like the sounds of trains in the distance to help rock one to sleep. (There is a main East/West line along the river on the Oregon side. And a main East/West line just behind the campground on the Washington side. And we love trains. So, for us it like being sung a lullaby as we drift off to sleep. Lovely.
The fun side of the trailerThe working sider of a trailer
April 7th – Peach Beach
Met the morning at a leisurely pace. Andy decided to go for a morning hike, while I read for awhile and wrote up my travel notes.
Views from above the river at Cherry Orchard
I had told Katie I would fix dinner for our first night together, so I took some time in the afternoon to prep for our evening meal. Then it was back to sitting in my comfy chair outside to watch the barges and various water critters as they maneuvered the calm waters. And of course, to monitor the progression of trains on the opposite shore.
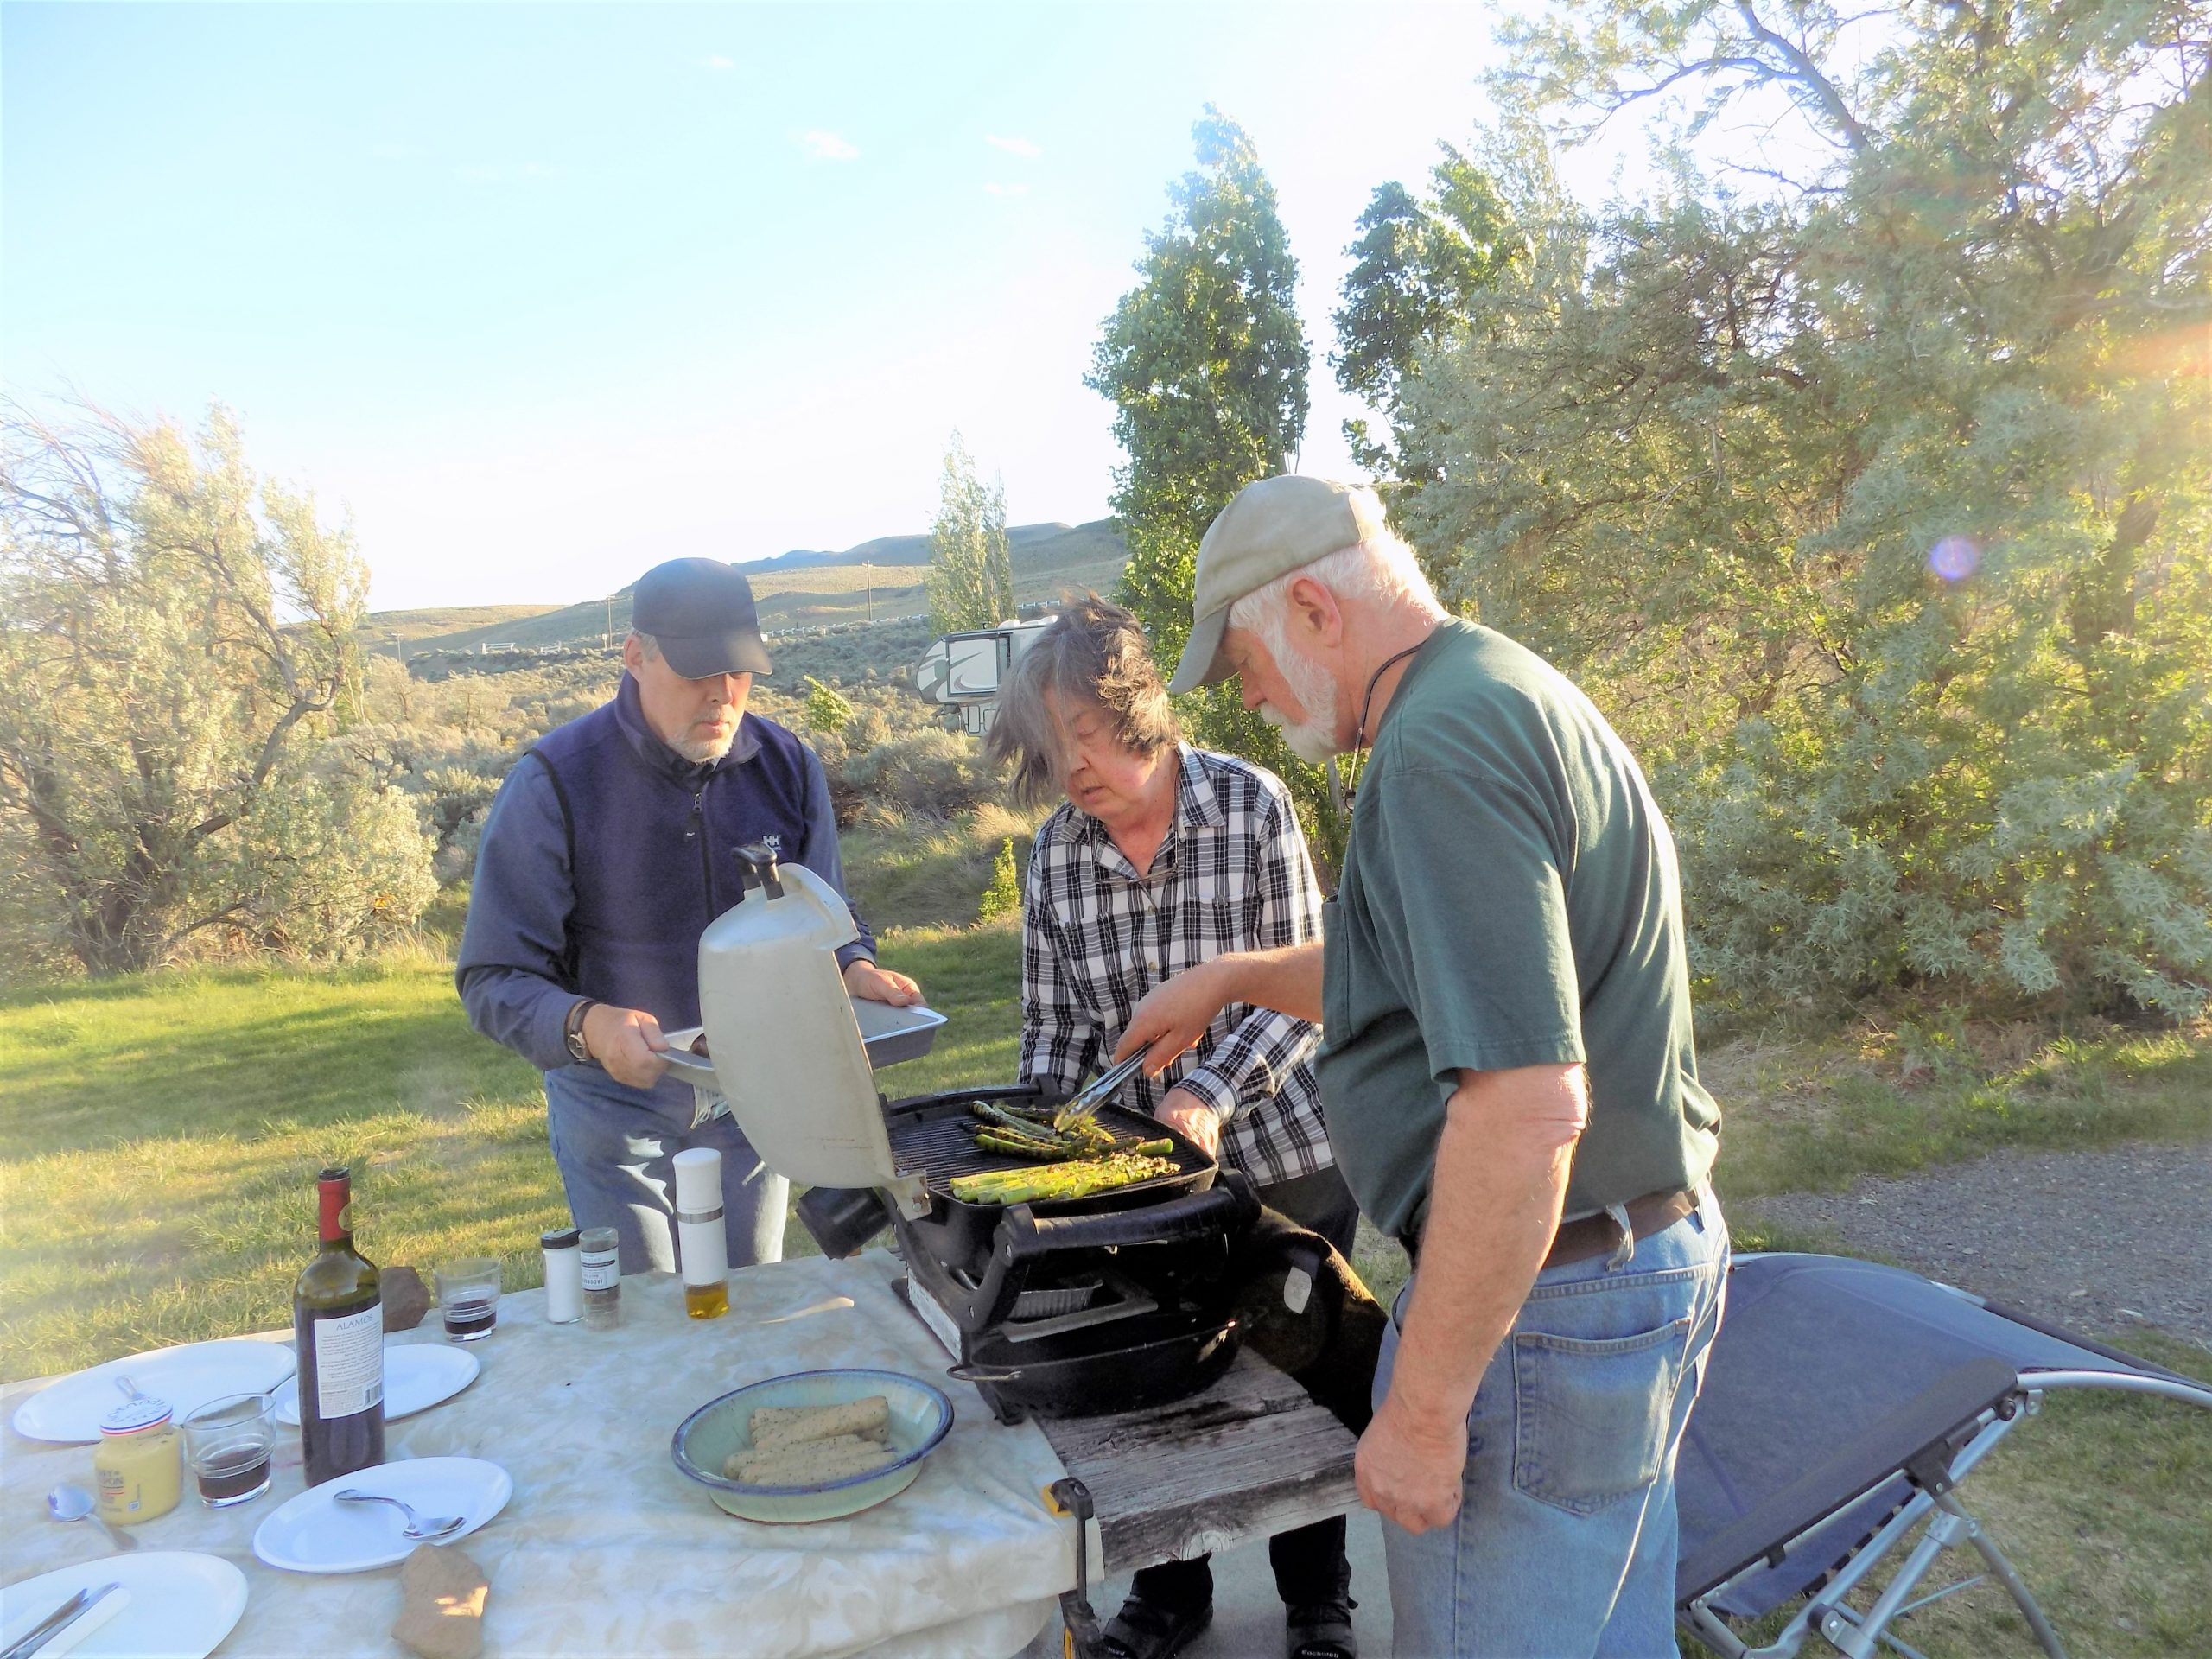
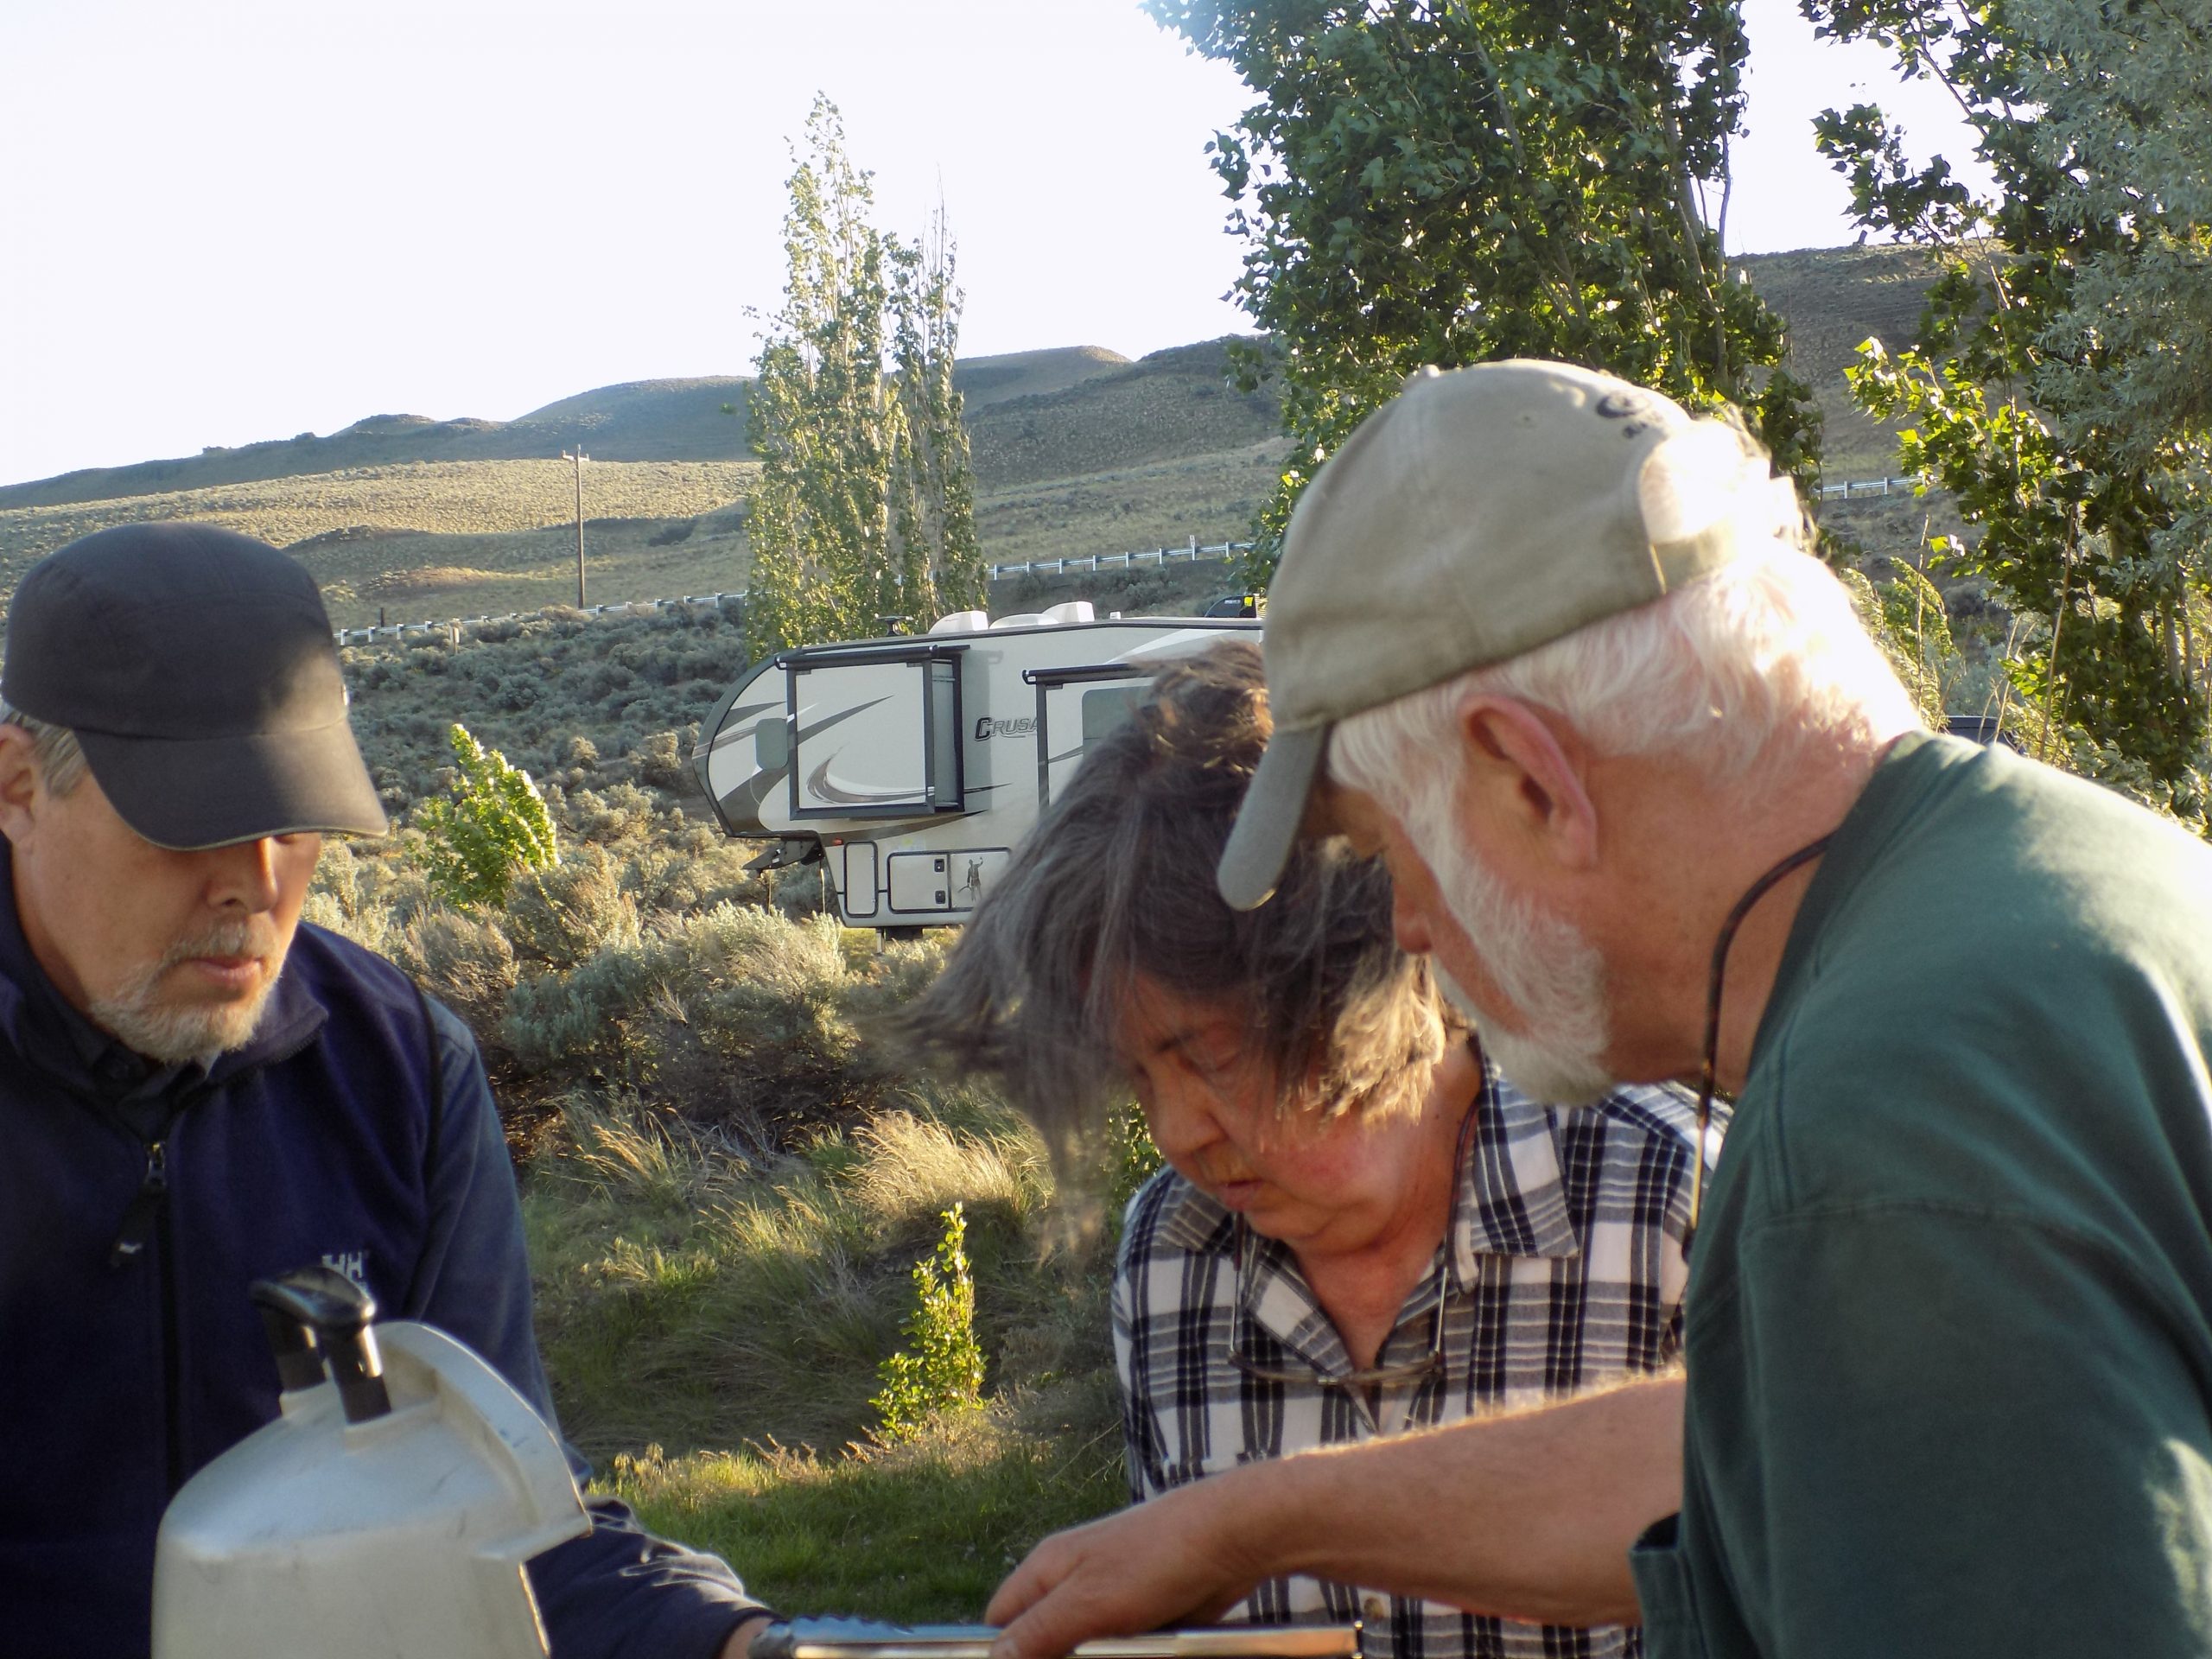
We already knew that today was going to be grand, because we were to be joined by Andy’s sister Katie and her husband Rick for the rest of our trip. We had traveled together on previous adventures, so we knew our time together was going to be very pleasurable.
Andy arrived just as I sat down to read. After grabbing his book, we sat together waiting, not too patiently, for the arrival of the truck and Airstream trailer and its inhabitants. Three of the four we knew very well. But one, Beau, a totally darling orange and white kitten was being introduced to us for the first time. And of course, we were anxious to make this young male kittens acquittance. And he was totally worth waiting for. Of course, it was wonderful to see Rick, Katie, and Juno (their older female cat whom we had know for several years) too, since covid had made us getting together until now impossible.
After they got their trailer all set up, we had dinner. Then it was off to bed for a lovely night of drifting off to sleep knowing the next morning we would wake to more fun and fellowship. Sometimes we become overwhelmed by our luck. Not only are Rick and Katie family, they are also very dear friends. And how absolutely marvelous is that!
April 8th – Peach Beach
After a nice breakfast of bacon, eggs, bagel, granola, and yogurt, we did the dishes and got ready to greet the day and our traveling companions. For us old retired folks, on days we are not traveling to our next destination, we are usually ready to present ourselves to the world between 10:00 and 10:30 am. Now I know what you may be thinking. That sounds like a pretty lazy way to operate. But we both worked for many years. And throughout both of our careers, we had to get up at the crack of dawn. We don’t have to do that anymore, plus WE ARE ON VACATION! So, that means we can be carefree and sleep in as late as we want! And we do!
So, at about 10:30, it was time to move outside with books in hand to await word that our traveling companions were also ready for an adventure. Around 11:30 we made the decision to visit the Maryhill Museum of Art. (For the umpteenth time I might add!) But we all love the museum, so off we went.
The museum is situated on a bluff overlooking the eastern end of the Columbia River Gorge. The structure had originally been intended as a mansion for entrepreneur Samuel Hill (1857-1931), and named Maryhill for Hill’s wife, the daughter of James J. Hill, a Great Northern Railroad baron. The mansion was intended to be used as a home where they could entertain Samuel Hill’s school friend King Albert I of Belgium.
Unfortunately, construction was halted with America’s entry into World War I. The unfinished building was dedicated on November 3, 1926 by Queen Marie of Romania, and was opened to the public as a museum on Sam Hill’s birthday – May 13, 1940. The mansion/museum’s first physical expansion was completed when the Mary and Bruce Stevenson Wing opened to the public in May 2012. The museum currently includes a plaza overlooking the Columbia River, an education center, a collections suite, a café, and a splendid little gift shop.
Even though the museum is quite small, it includes a very eclectic collection. Included are plaster and bronze sculptures and watercolors by Auguste Rodin, Native American art including baskets and beadwork from the Columbia Plateau region, mannequins and replica stage sets from the Theatre de la Mode, more than 300 chess sets from around the world, Eastern Orthodox icons including some donated by Queen Marie of Romania, palace furnishings and personal items that once belonged to Queen Marie, memorabilia associated with the dancer Loie Fuller, and Art Nouveau-era glass by Emile Galle, Rene Lalique, and several others.
If you are ever in the area, this museum is a wonderful place to spend a couple of hours. After leaving the museum, Andy and I had a fun treat to share with Rick and Katie. For more information about this very interesting and unique museum, give it a search on line.
Several years ago when we were in the area visiting daughter Ursala, her husband Soroush, and their two daughters Nika and Jaley, we learned about a farm open to the public where we could observe rare animals. The first time we visited this farm, it was such a timely opportunity for us, because we were just back from South Africa, and were missing the exotic animals we had come to love. So to find a farm in Washington State, where we could view zebras, giraffes, bison, camels, Black Buck antelope, Muntjac deer, and yaks, to name a few, in large outdoor enclosures, was very exciting for us. Plus the farm was free to anyone who wished to view these delightful animals. So of course we had to share this treasure with Katie and Rick. And as luck would have it, the giraffes and zebras were out in all their splendor, as were the antelope and camels. For more information, visit schreinerfarms.com.
After we said goodbye to all the animals, we headed back to our trailers for a relaxing afternoon of reading. Just before 4:30, Rick and Katie joined us to bask in the sun and spend a bit of time watching the barges going up and down the river. Then into Rick and Katie’s trailer for a lovely dinner of mushroom soup, salad, and olive rosemary bread. Then back to our trailer for a nice read before bed. Another lovely day in our trailer.
An interesting fact about the Columbia “river” in front of our camp. It isn’t technically flowing. Because of the many dams on the river (11 in Washington State alone, of which 3 share a border with Oregon), the only free-flowing section of the river in Washington is approximately 51 miles upstream in the Hanford Reach area. Named Hanford Reach after a large northward bend in the river’s otherwise southbound course. This area of the river is also distinctive because it was the former security buffer surrounding the Hanford Nuclear Reservation. And as such has been untouched by development or agriculture since 1943. The rest of the river is basically comprised of lakes.
April 9th – Peach Beach
After a very lazy begin to our day, we sat outside reading and watching the barges go by, both upstream and downstream, until around 2:00 in the afternoon, when we made a sojourn to a local winery for a bit of sipping. Luckily, the winery (Jacob William) is only a 15 minute drive from our camp site. And Andy, Rick, and Katie all enjoyed the tastings. I just went along for the ride because a few years ago wine started upsetting my stomach (wah) so I leave all the wine drinking in our family to Mr. C! (Boo hiss) Anyway, it was a fun adventure and just about as much fun as we could collectively handle.
That’s the wonderful thing about camping whether it’s tent camping or going the soft route by pulling a small home behind your truck. There’s lots of unplanned time. And nothing says you have to get up early, go to bed early, or serve your meals at any fixed time. If you choose to be highly energetic – great. You want to sit in your comfy chair all day long – who gives a hoot? It’s holiday time! So, no pressure. And I take my time away from home very seriously. I don’t care if it’s 9:00 am and I’m still dozing. Breakfast will be served when I’m good and ready. There are always things to munch on if Mr. C. gets peckish. And he knows that as soon as I am up, in short order, there will be a full breakfast set out before him! (He is ever aware that he will never starve as long as I’m around!)
So, all together, April 9th was a very fine day.
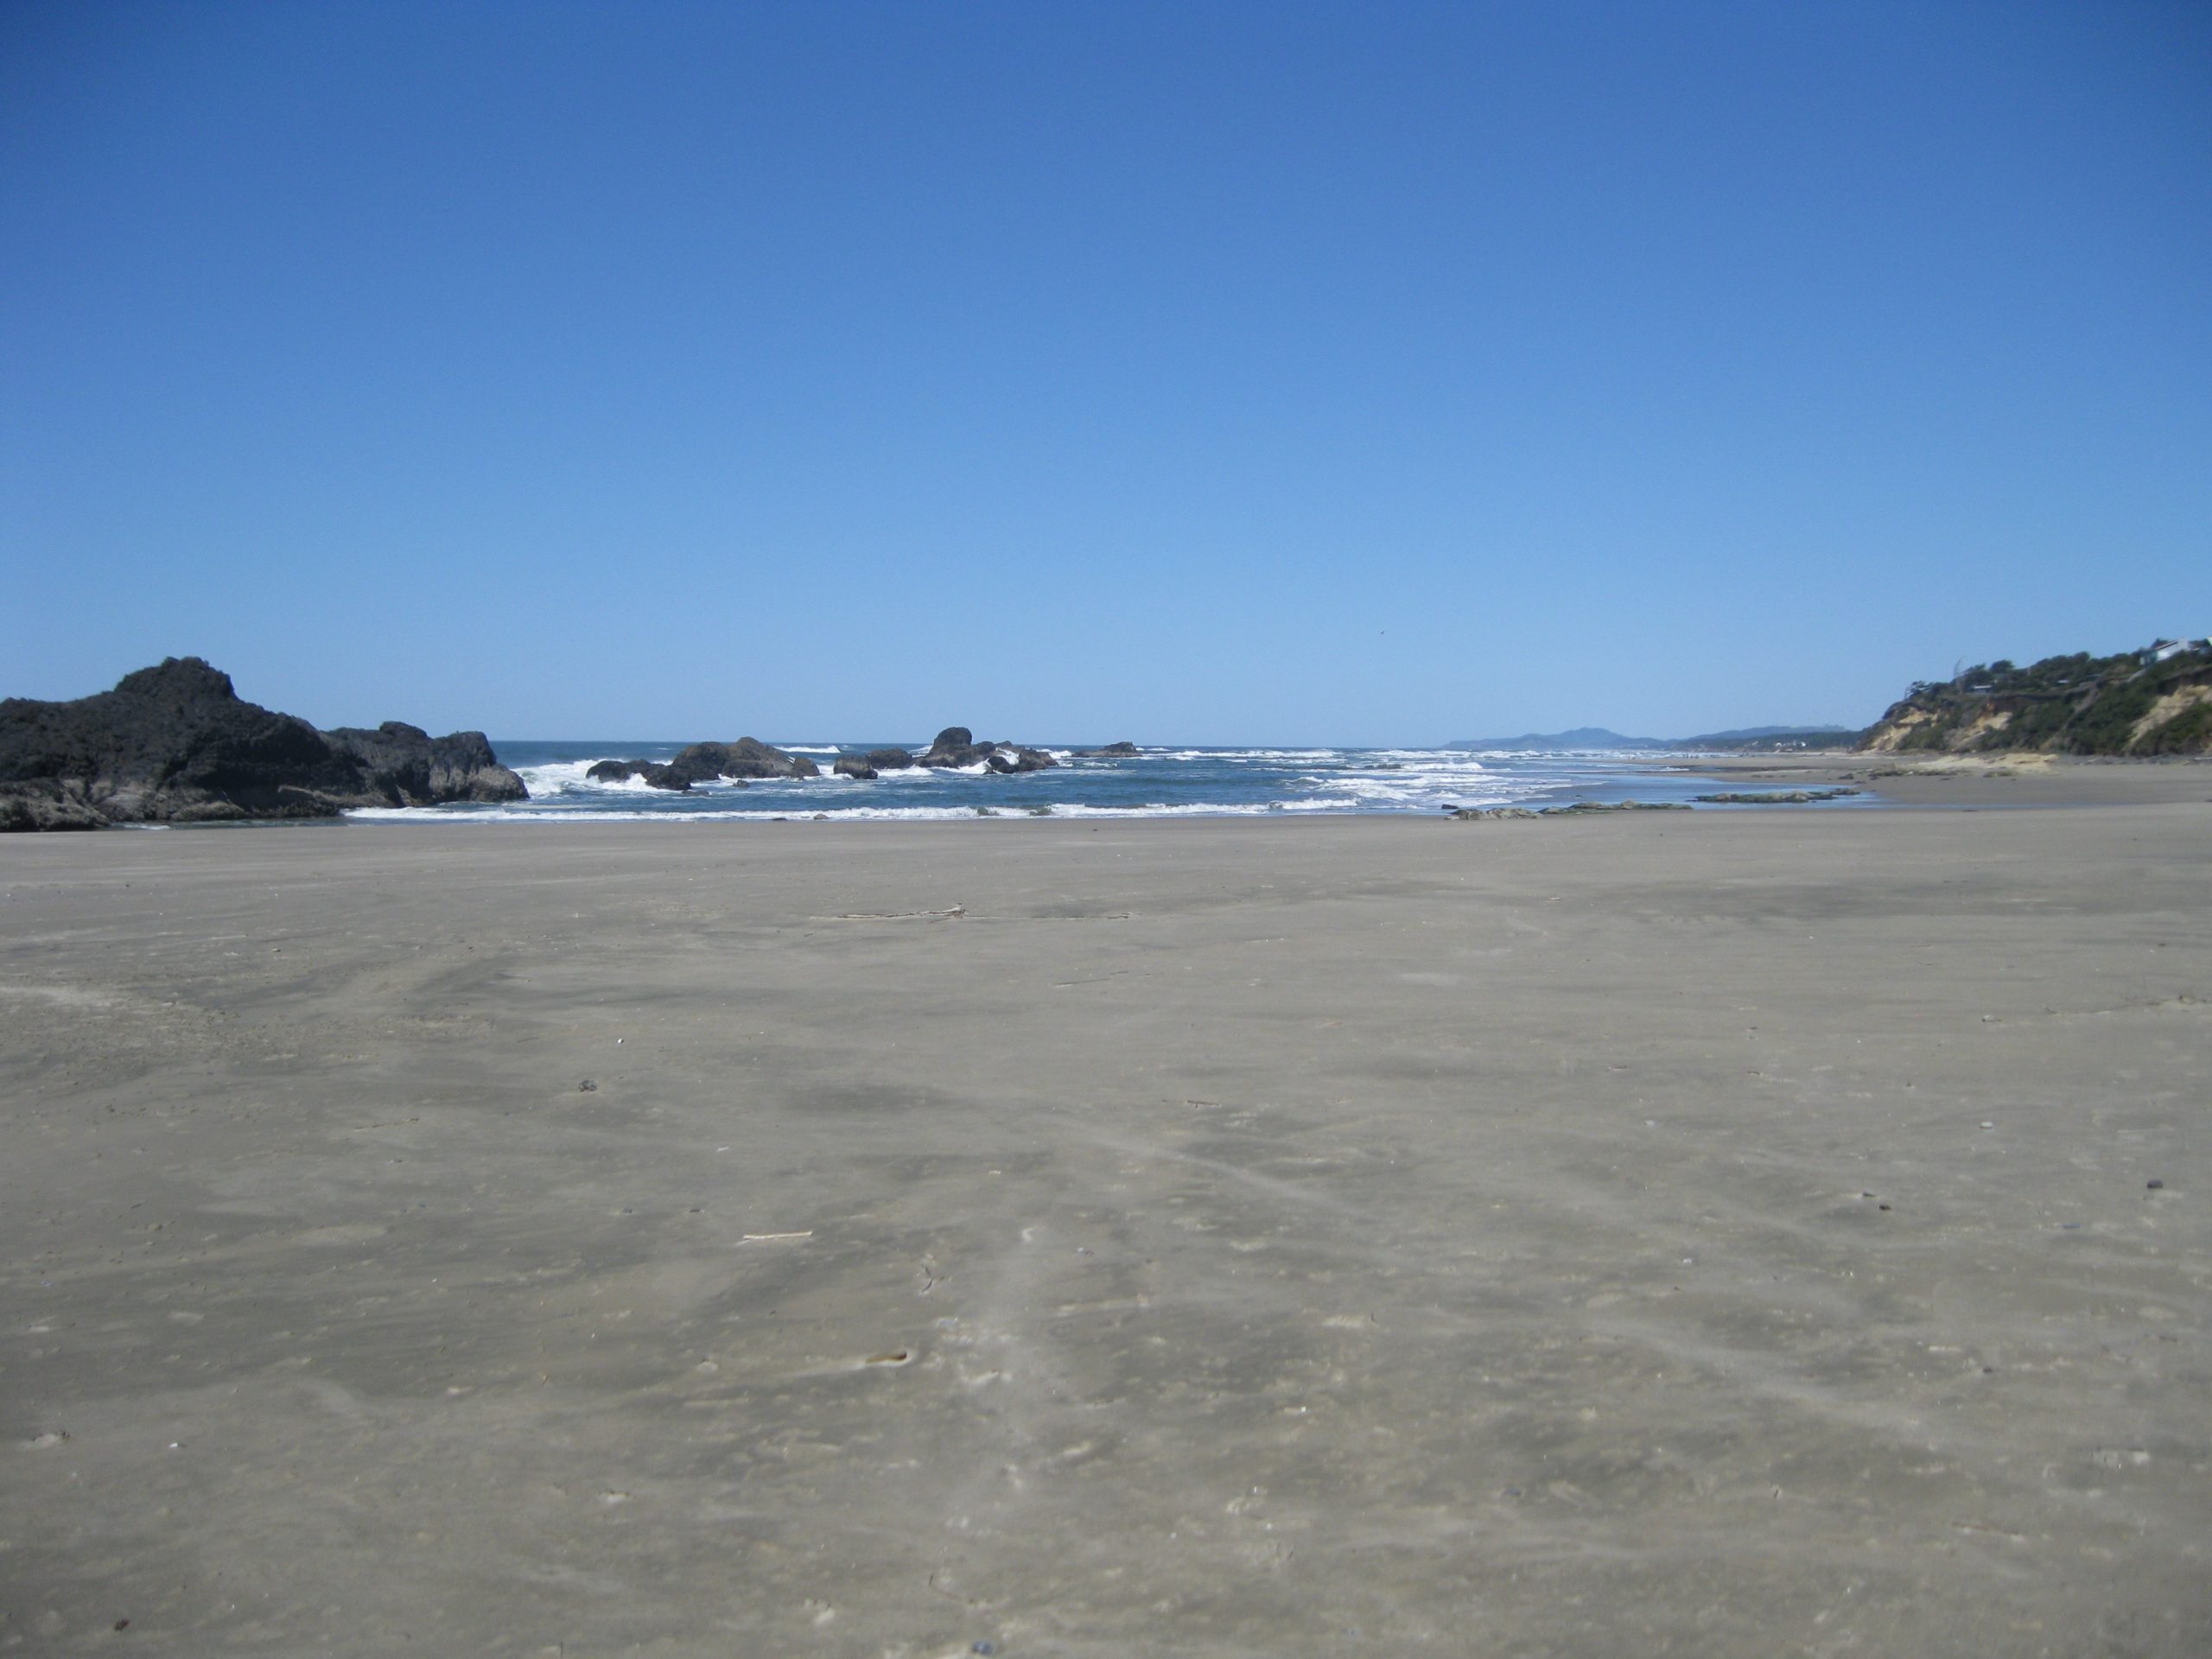
April 10th – Ft. Stevens SP, Hammond, Oregon – site L32
Our large and lovely site at Fort StevensWe went on a nice walk down to the beach after we got our trailer all set up. Beautiful day on the coast.
Great travel day. We had sun, clouds, rain squalls, hail, and a ton of wind that seemed to take delight in buffeting our truck and trailer about as we traveled from Peach Beach, across the mighty Columbia at Biggs Junction, and then West on Oregon I-84 towards Portland and our next destination – Fort Stevens SP in Hammond, Oregon. (Think Astoria.) We were very excited to stay at this park, because it would be a new camping experience for us. And we always like to explore new and different places to park our trailer.
Basically, to get to the park, you go to Astoria, then head south over the New Youngs Bay Bridge, and take the first right you come to. Then follow the line of trailers. At this point, signs are pretty much unnecessary. But it’s still nice to verify that you aren’t following a driver who is totally lost! So, signs are always a blessing even though they may seem a bit redundant at times.
Took a nice little walk through camp after getting set up. No sign of the clouds, etc. that we had experienced on our drive. That was definitely OK with us!
After our walk and afternoon reading, we had a grand dinner prepared by Katie, then back to our trailer for more reading and lights out.
April 11th – Ft. Steven SP
Woke up to sunshine. An absolutely beautiful day. Not warm, but with only a sweatshirt jacket I was warm enough to leave the comfort of our truck and visit several sites around this huge park.
Fort Stevens was once the primary military defense installation in the three-fort, Harbor Defense System at the mouth of the Columbia River (Forts Canby and Columbia in Washington were the other two). The fort was in service for 84 years, beginning during the Civil War and closing at the end of World War II. Today, Fort Stevens has grown into a 4,200 acre park offering exploration of history, nature, and many recreational opportunities. Camping, beach-combing, a historic shipwreck, freshwater lake swimming, trails, wildlife viewing, and a historic military fort make Fort Stevens a uniquely diverse park. The park also boasts a network of nine miles of paved bicycle trails and six miles of hiking trails that allow you to explore a variety of habitats including spruce and hemlock forests, wetlands, dunes, and shore pine areas. Coffenbury Lake has two swimming areas, a picnic area, restrooms, and a boat ramp. Two neighboring, smaller lakes are great for fishing and canoeing. Throughout the year, you can browse through displays ranging from the Civil War to World War II at the military museum and information center, walk through the only Civil War era earthen fort on the west coast, or explore the many turn-of-the-century, concrete coast artillery gun batteries.
For those of you who might wish to visit this beautiful state park, here are a few statistics:
Approximately 170 full-hookup sites More than 300 electrical sites with water Six tent sites with water nearby 15 rustic yurts (seven pet-friendly) 11 deluxe cabins (five pet-friendly) Hiker/biker sites
As you can see, I was very happy to be by the sea, loving the heck out of the sunshine, and smiling at the man who makes my life so wonderful.
After viewing all of the areas of the park that interested us, it was back to camp for lunch. After lunch we drove into Astoria to visit the RiverSea Gallery displaying and selling contemporary works of art. This is definitely a destination gallery presenting original art and fine craft by established artists of regional and national recognition, and emerging artists of note. Very much worth visiting if you are in the area.
Then back to camp and a nice bike ride around the park for Andy, and for me, the donning of my favorite trailer apron to prepare dinner for the 4 of us.
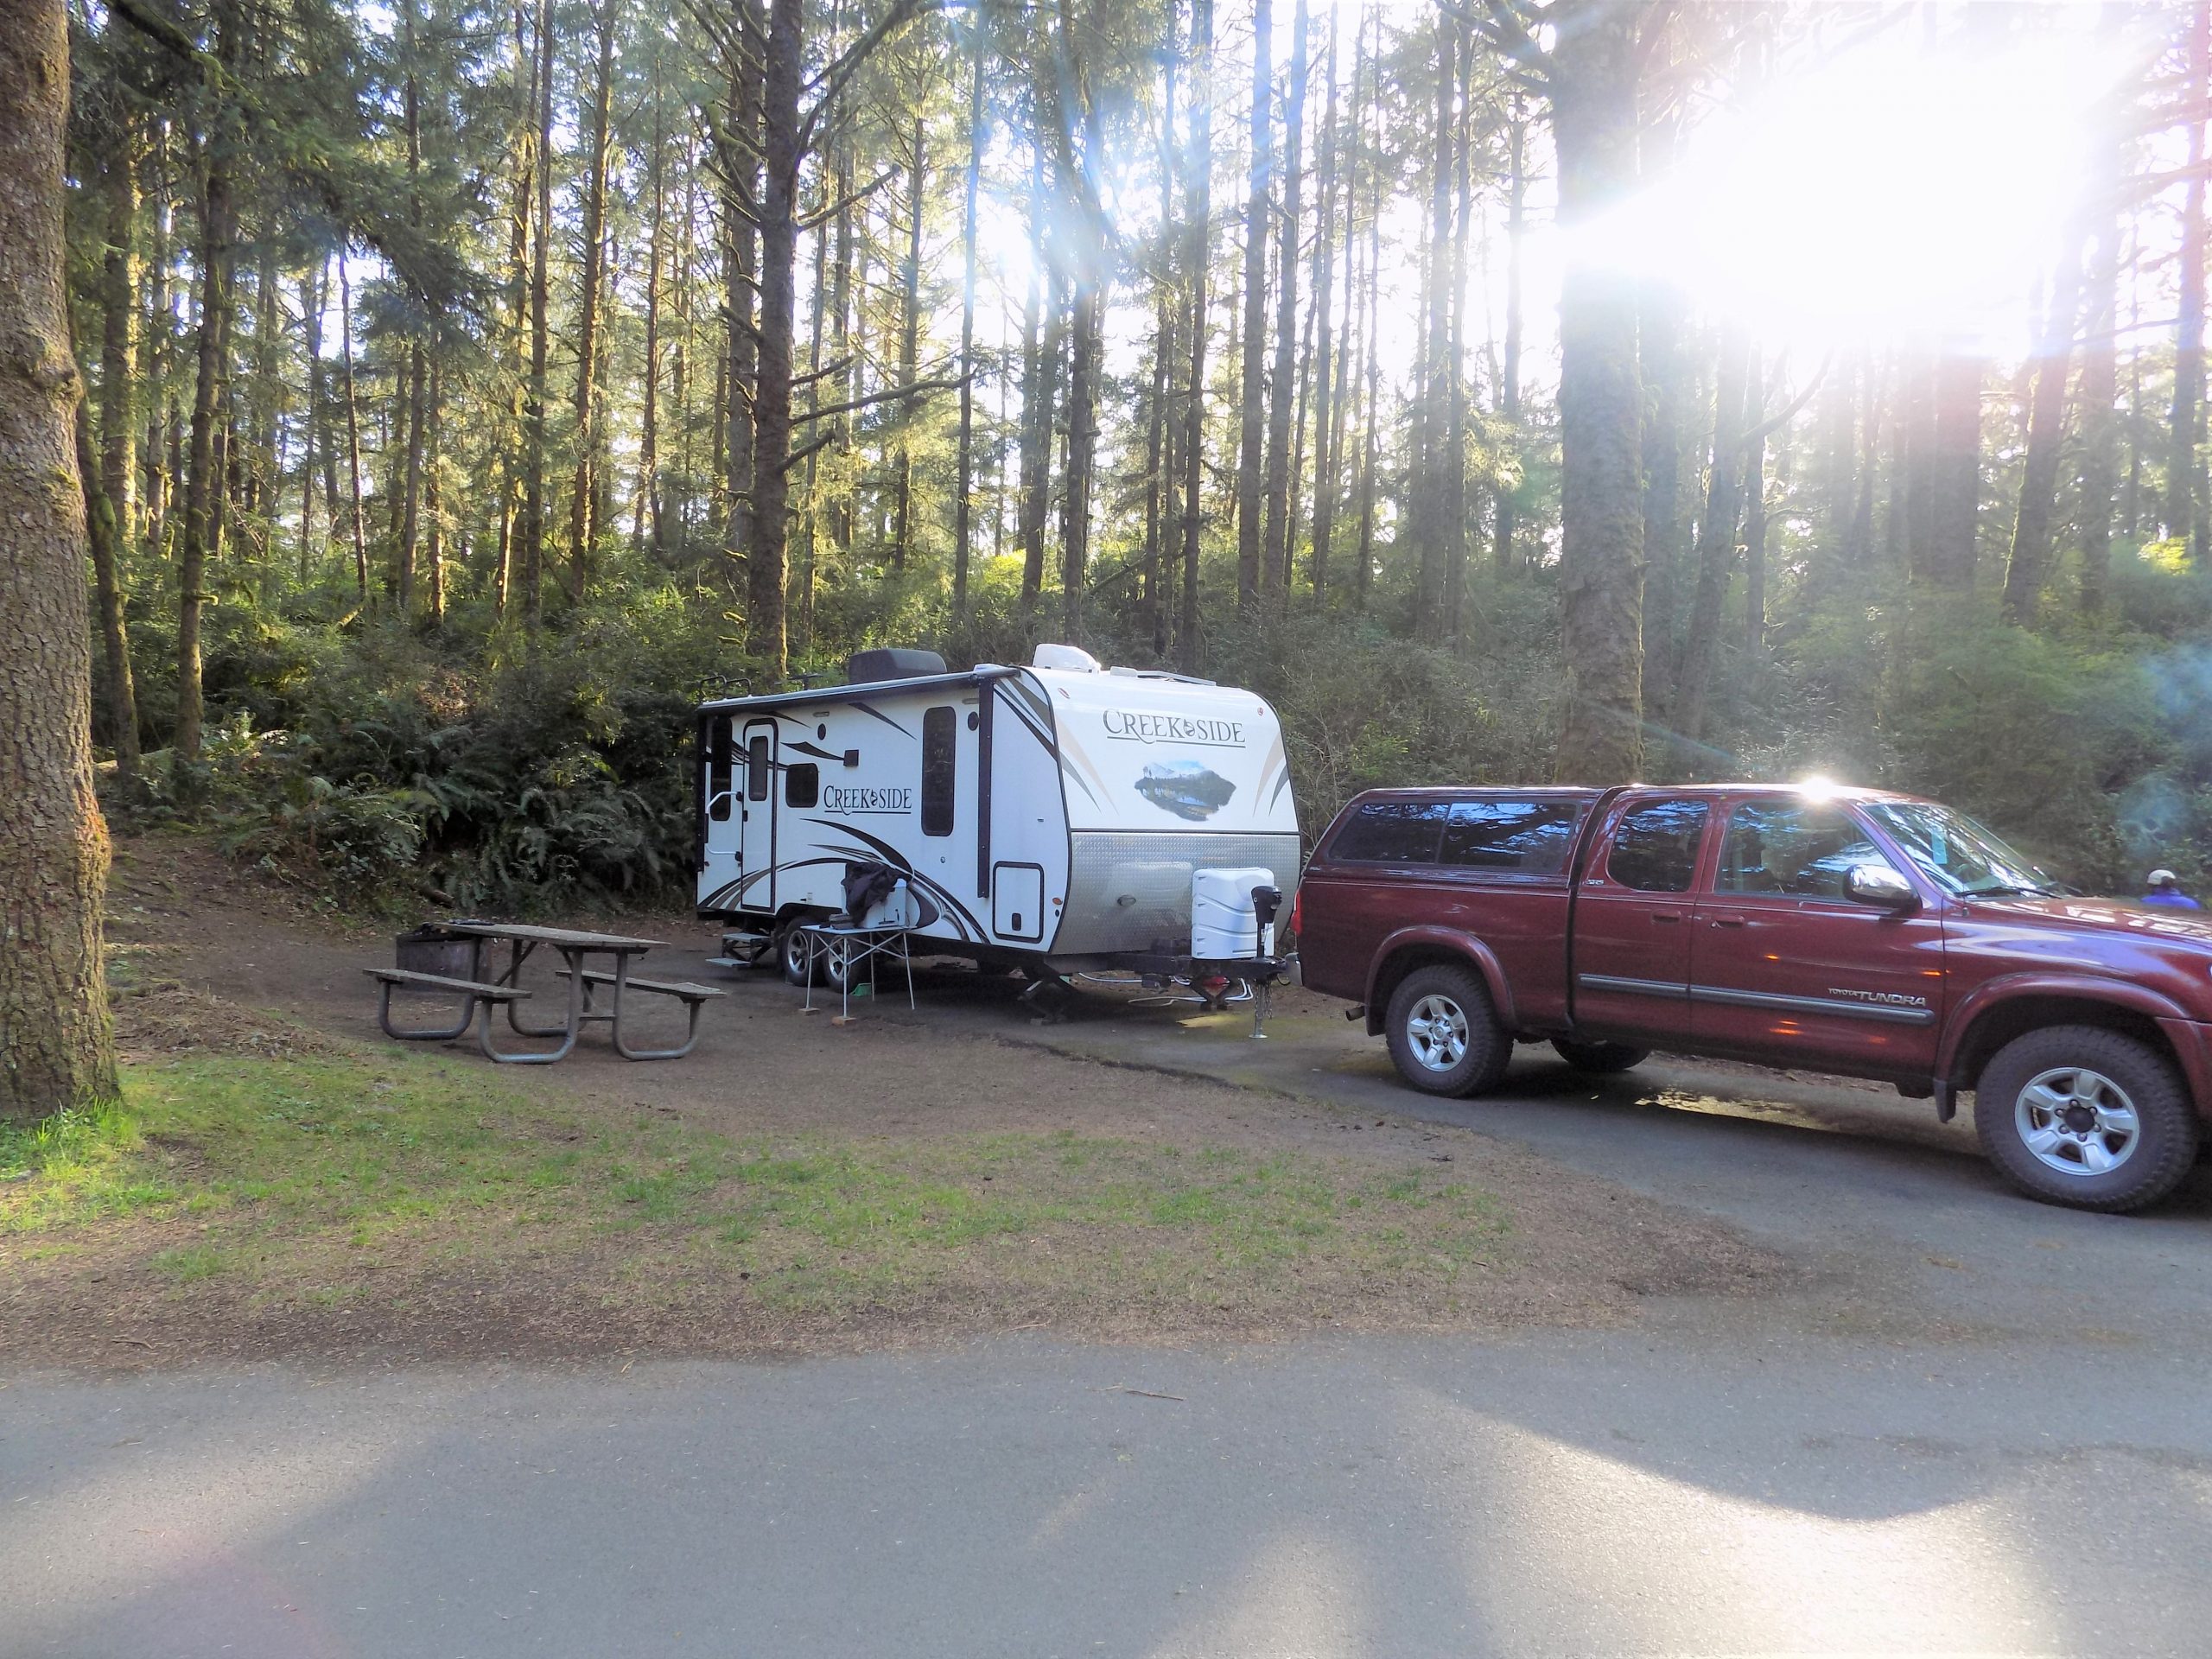
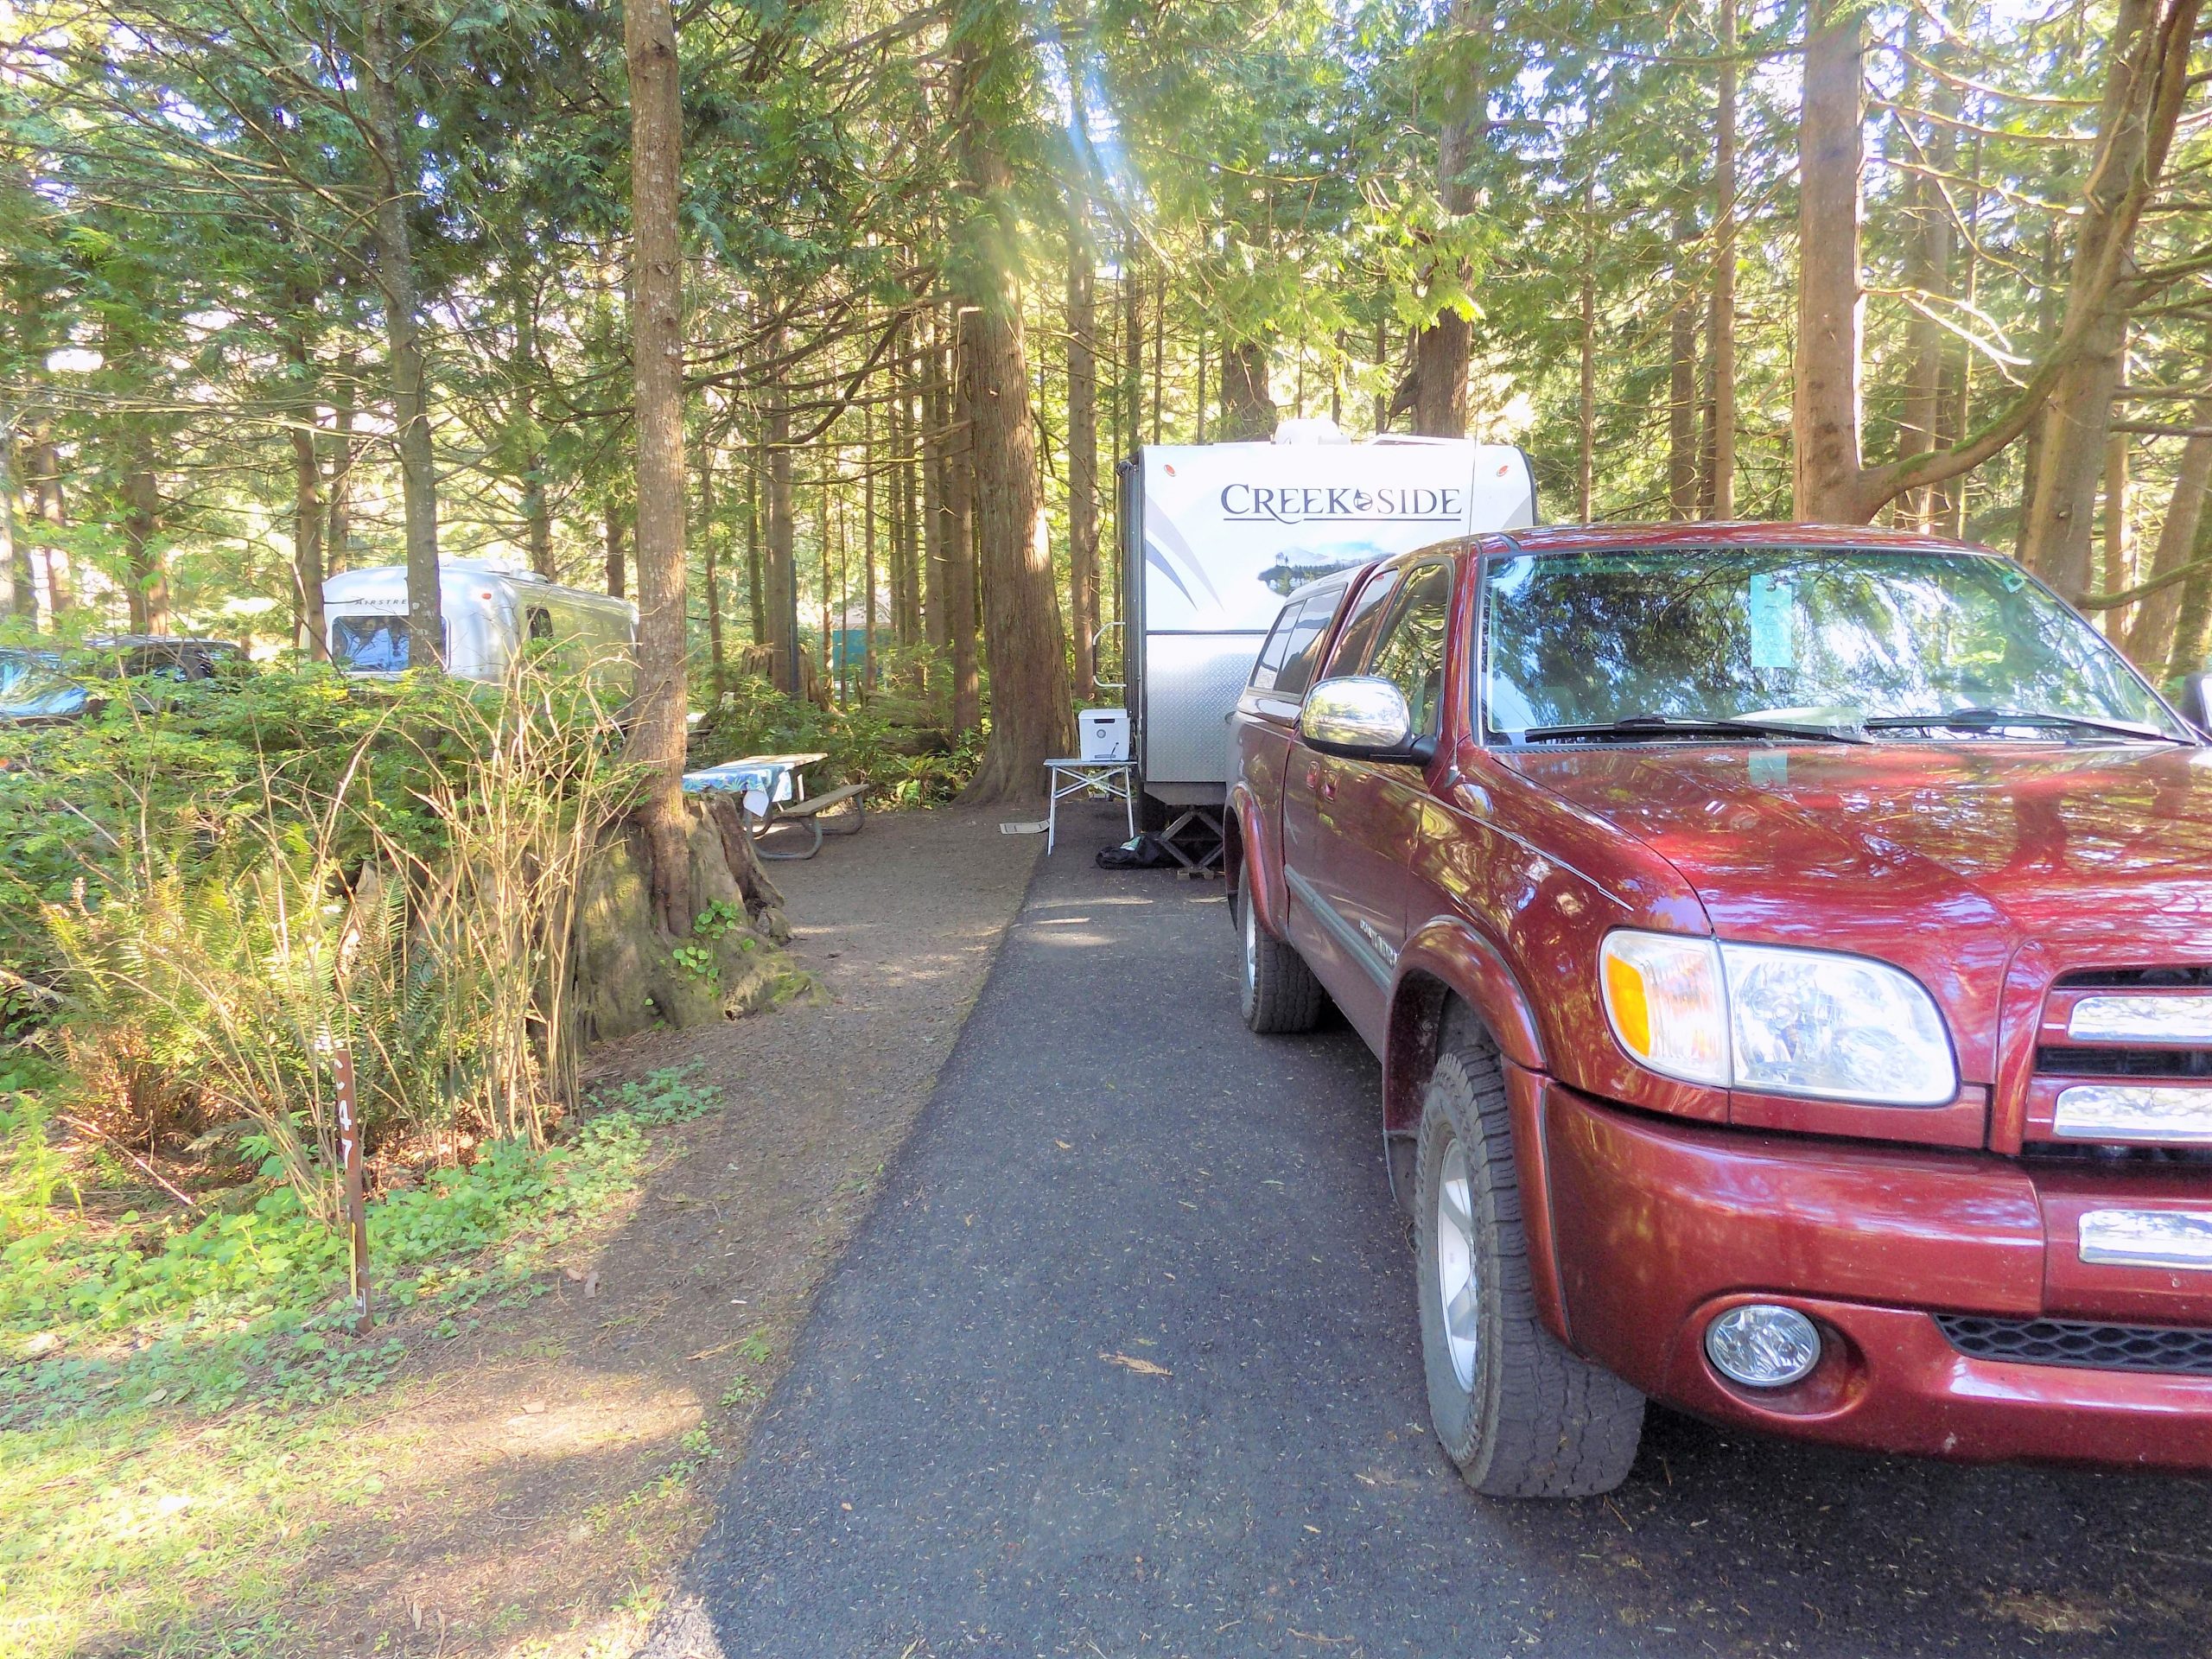
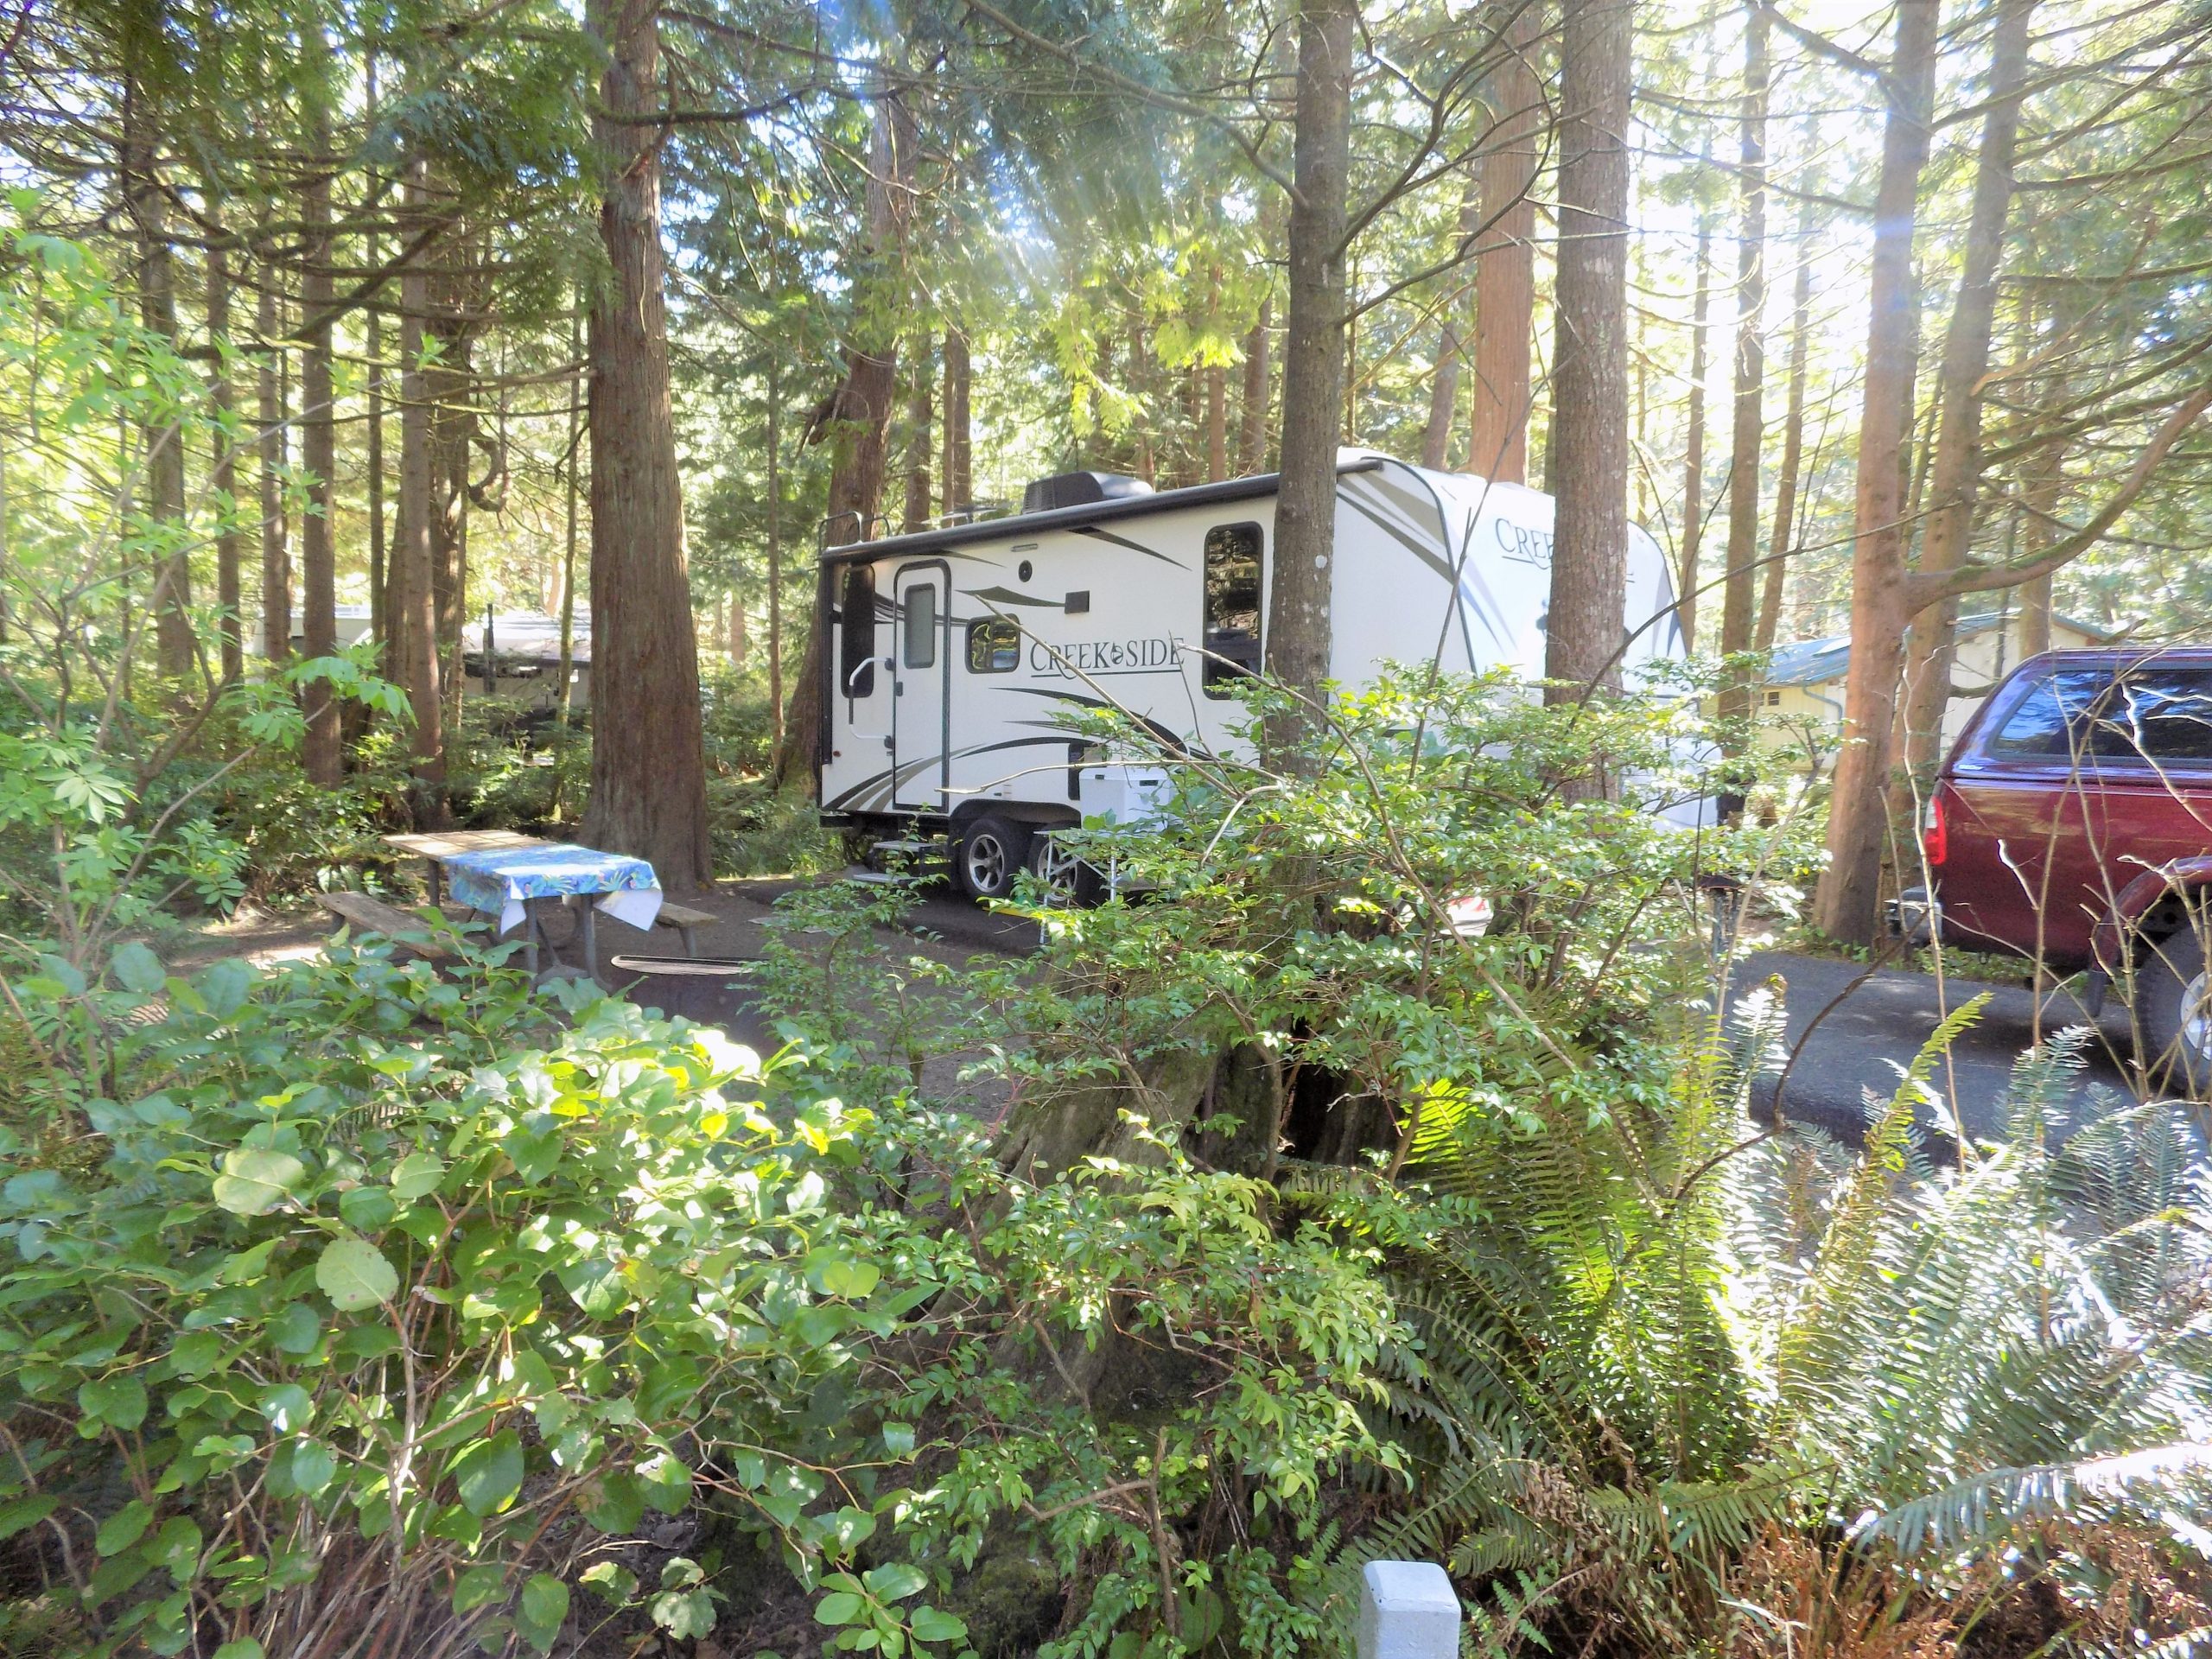
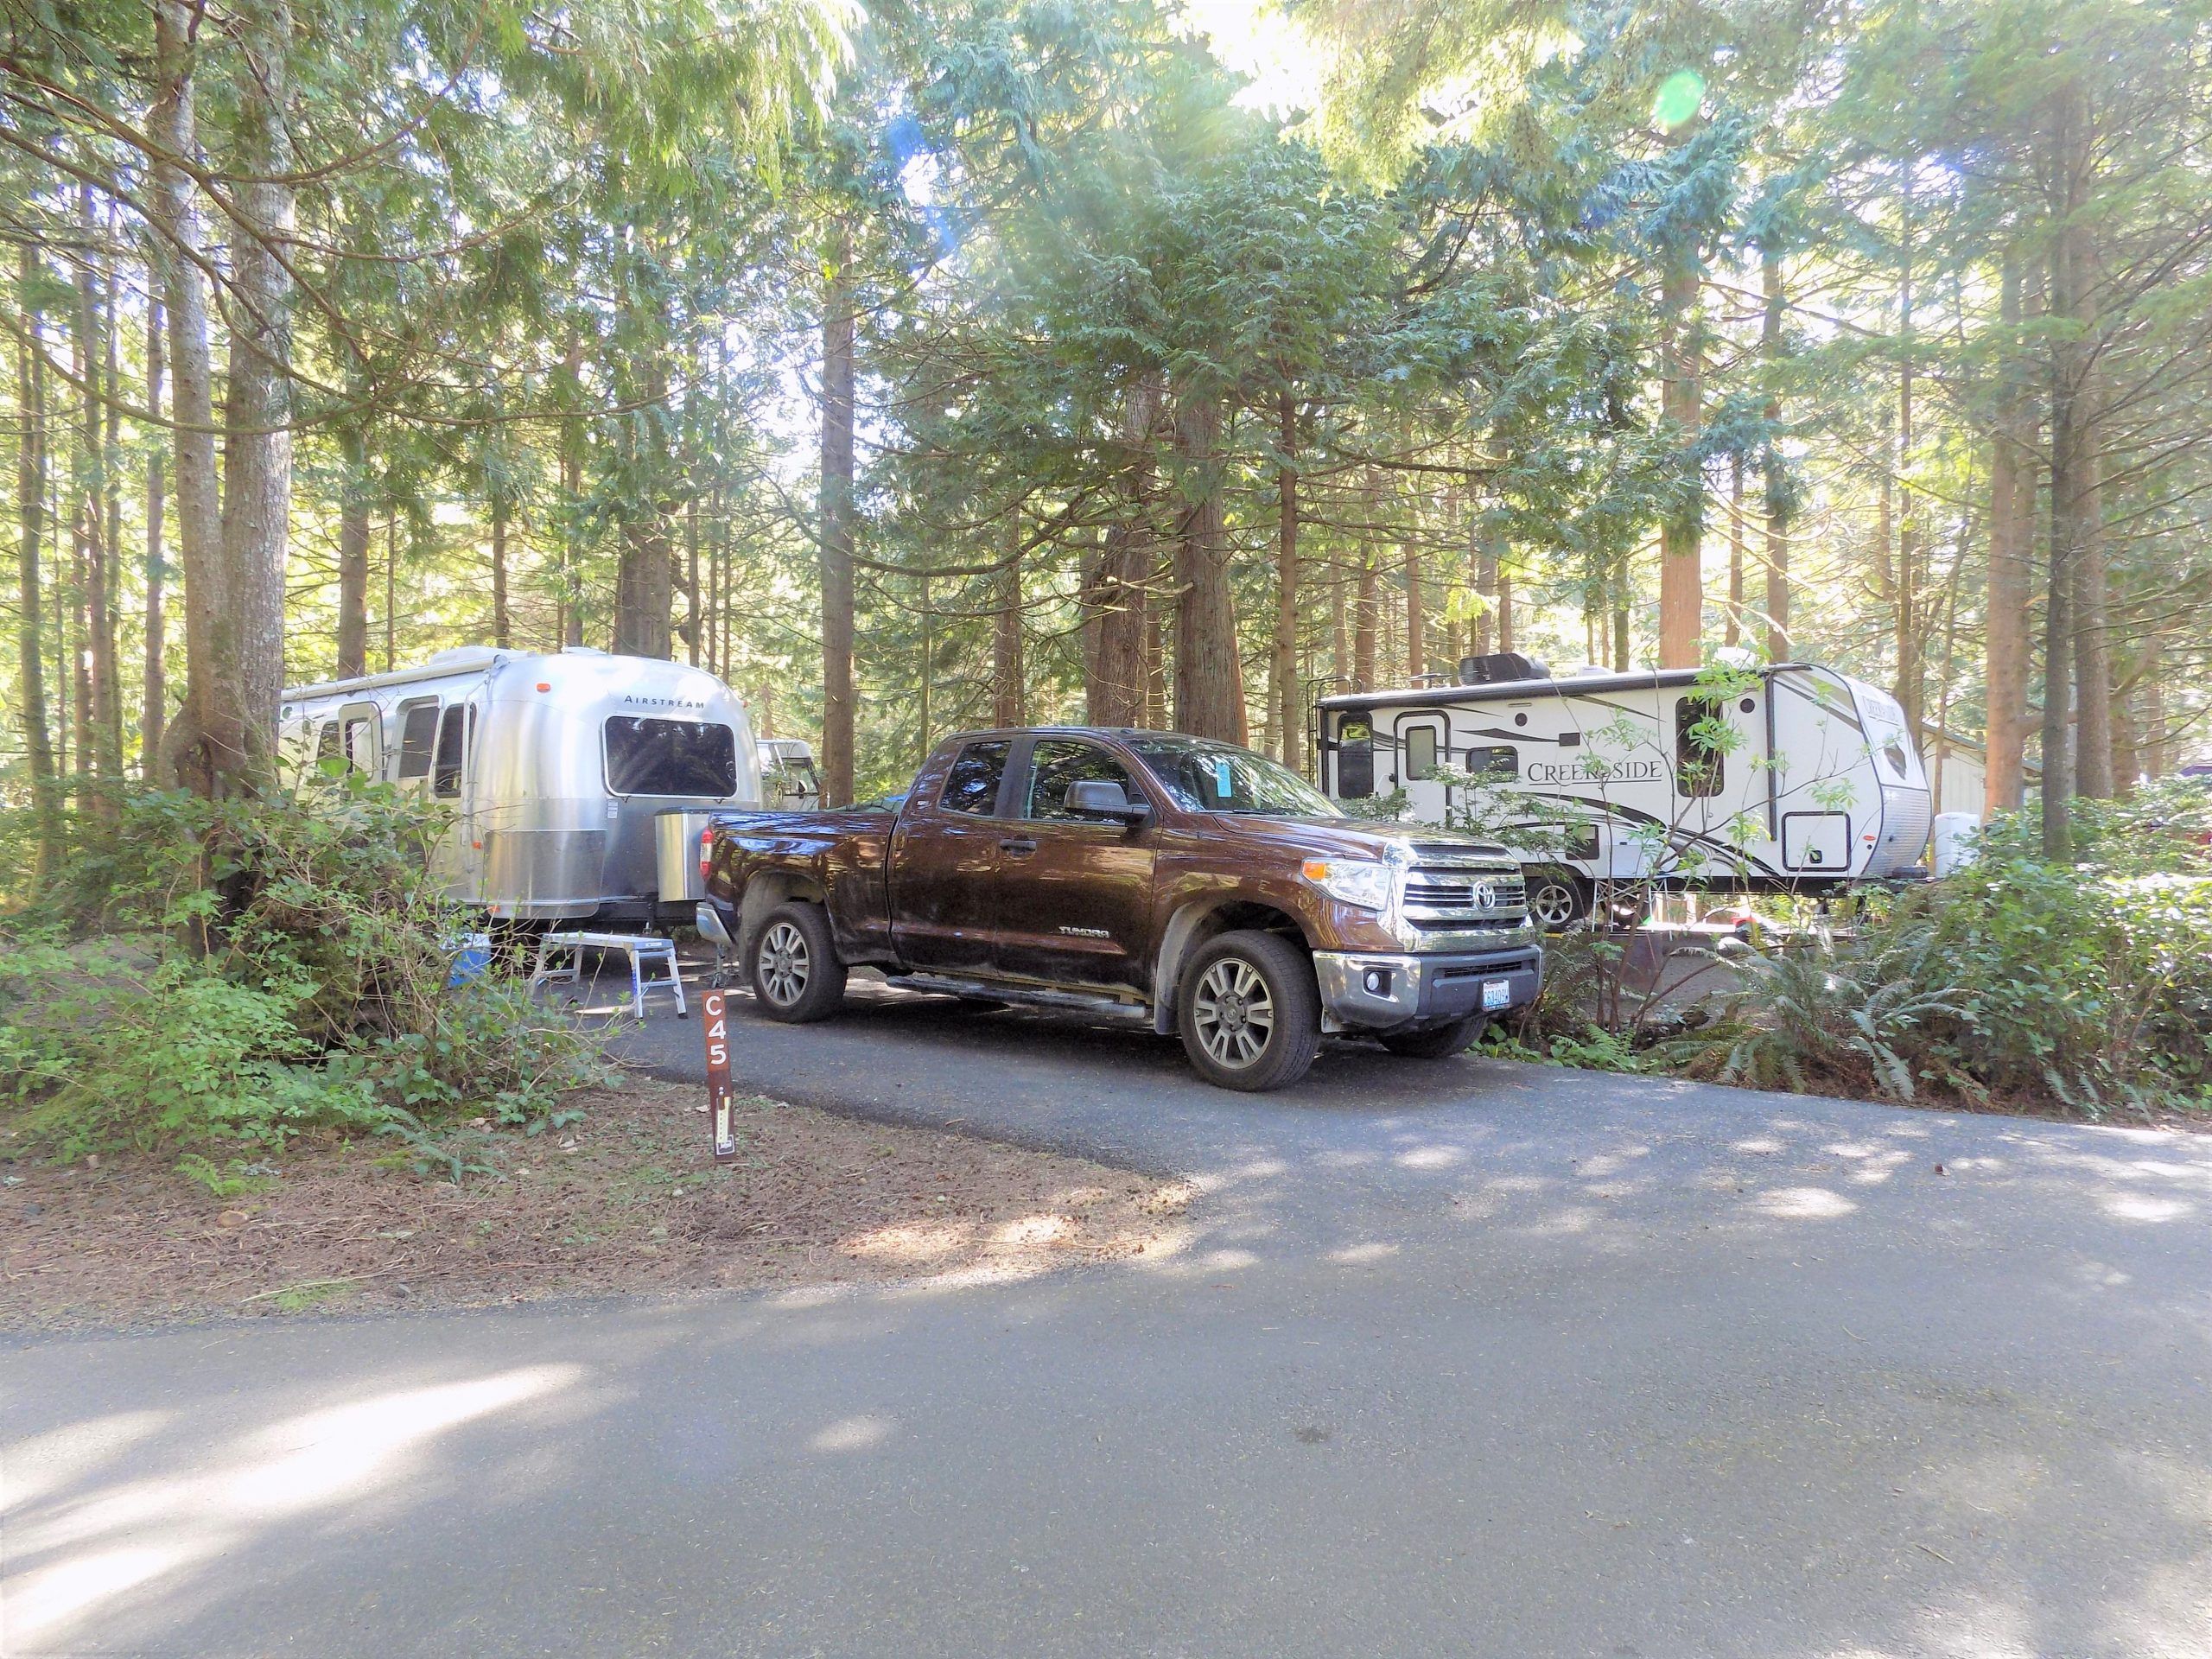
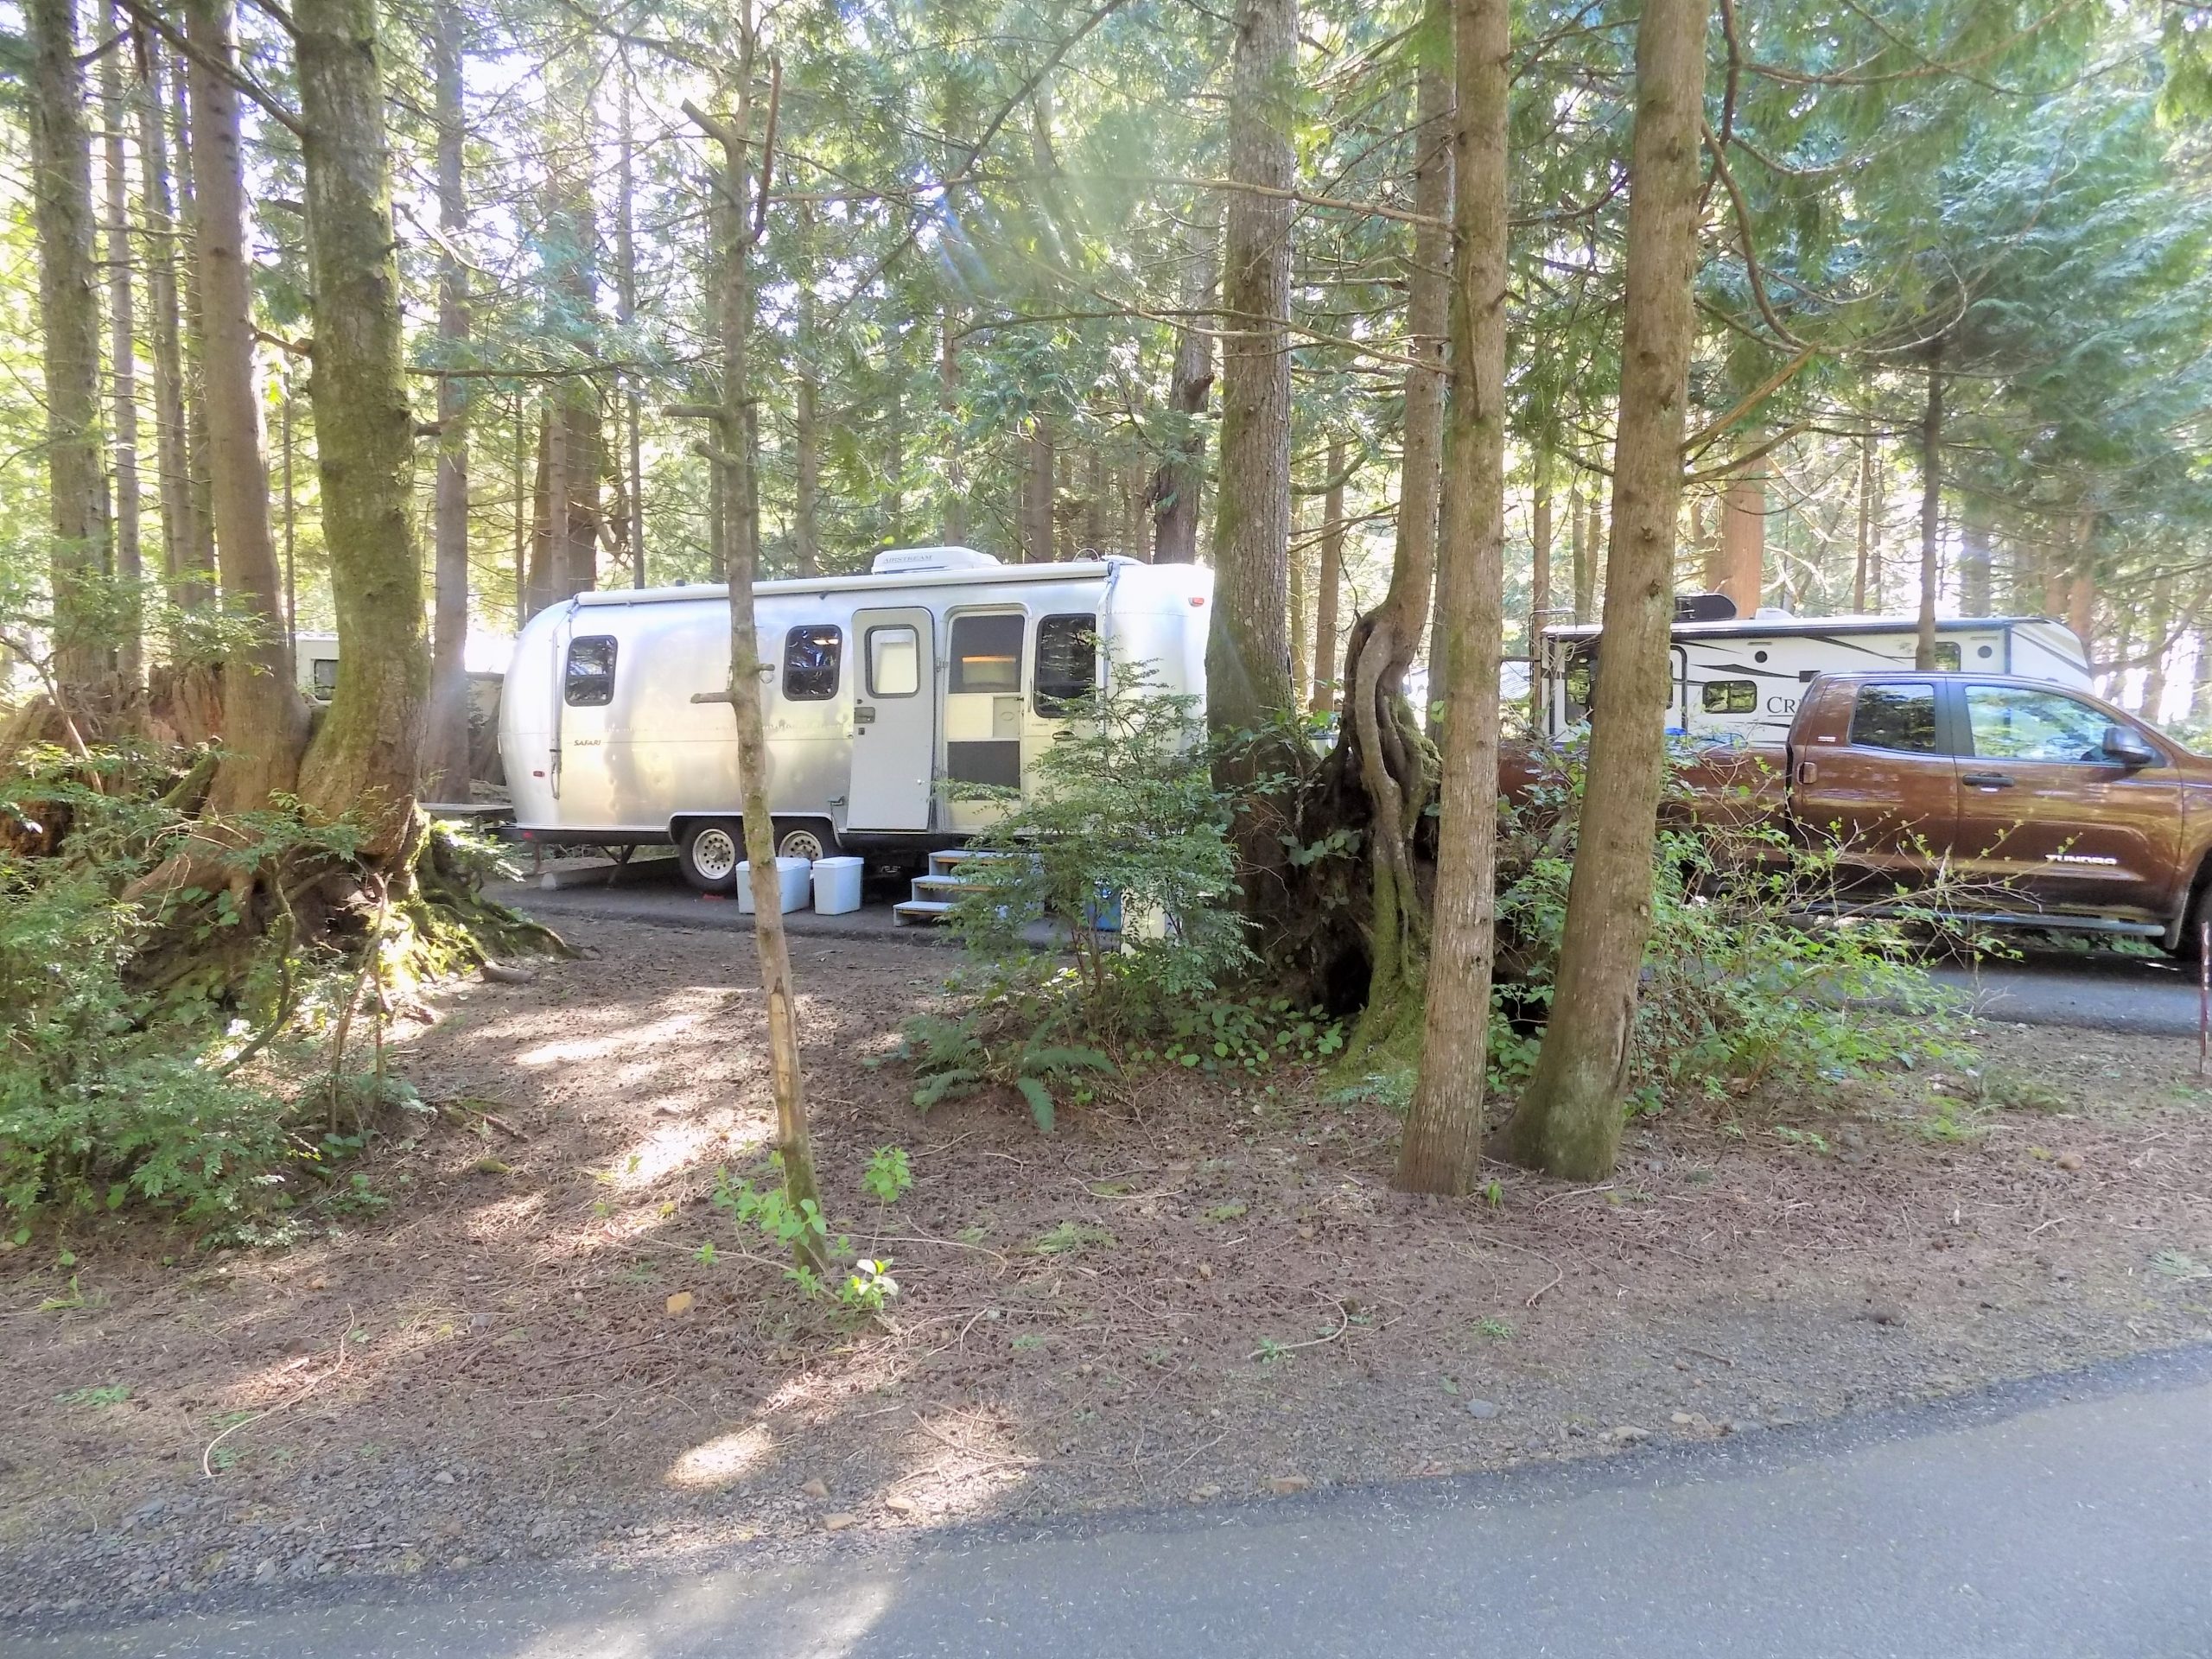
April 12th – Cape Lookout SP, Tillamook, Oregon – site C 47
Nice site in the woods. Quiet too. Rick and Katie’s site right next doorOh, we ain’t got a barrel of money. Maybe we’re ragged and funny. But we’ll travel along, singing a song – side by side. (Sing along if you’d like.)
Lovely morning. Bright sunshine filtering into our trailer set deep in the woods. After a leisurely breakfast, we broke camp at Ft. Stevens and headed further south on scenic US Route 101 towards our next destination.
Some interesting facts about U.S. Route 101 in Oregon. It is a major north–south U.S. Highway in Oregon which runs through the state along the coastline near the Pacific Ocean. It runs from the California border, south of Brookings, to the Washington state line on the Columbia River, between Astoria, Oregon and Megler, Washington. And in case you don’t happen to know where Megler, Washington is located, it’s a small unincorporated community up-river from the Astoria-Megler Bridge on the Washington side.
The bridge itself is a wonder to behold. It is a steel cantilever through truss bridge that spans the lower Columbia River. It opened in 1966 and it is the longest continuous truss bridge in North America. The total length is 21,474 feet and the clearance below is 197 feet. Quite the point of interest (and a little daunting to drive) as you begin the southbound Oregon US Route 101 experience. But if you have not ventured to this part of the world, it is worth the trip just to cross this bridge. It is truly an amazing engineering feat. But back to todays’ drive to Cape Lookout SP.
After driving around Netarts Bay we headed east towards our destination. Now no one could ever say that this park is too close to a main highway. In this case, the main highway being US Route 101 and at least 10 miles from the park. The road meanders up and over headlands, through forests, ever twisting and turning towards its destination. But we finally arrived all in one piece. And happy to be seeing this delightful park for the first time. After setting up camp we had some lunch and then walked down to the beach. A nice flat walk in perfect weather.
Rick and Katie have dear friends that have a 2nd home in Oceanside just a few minutes from our campground. Oceanside is not really what I would call a town. More of a beautiful little village with a couple of small grocery etc. stores and a restaurant or two. No gas station and I don’t believe there is even a church.
Many of the homes are built on steep hillsides, so much so, that I felt we were back in South Africa where in many small towns along the east coast, there are beautiful homes on hillsides which can only be reached by driving down very narrow dead end streets. And sometimes, up very steep driveways. (Happily, not in this case.) Stan and Judy’s home was the last residence on one of the many narrow driveways. (To call this access a “road” or a “street”, would be presumptuous!) But, oh what a fabulous view from their home. We sat out on the deck for about an hour until the wind came up and we were all getting a bit chilly. Then it was inside to dine on a lovely Greek themed dinner.
After spending a lovely evening with these wonderful people, it was back to our trailers for reading and relaxing before lights out.
April 13th – Cape Lookout SP
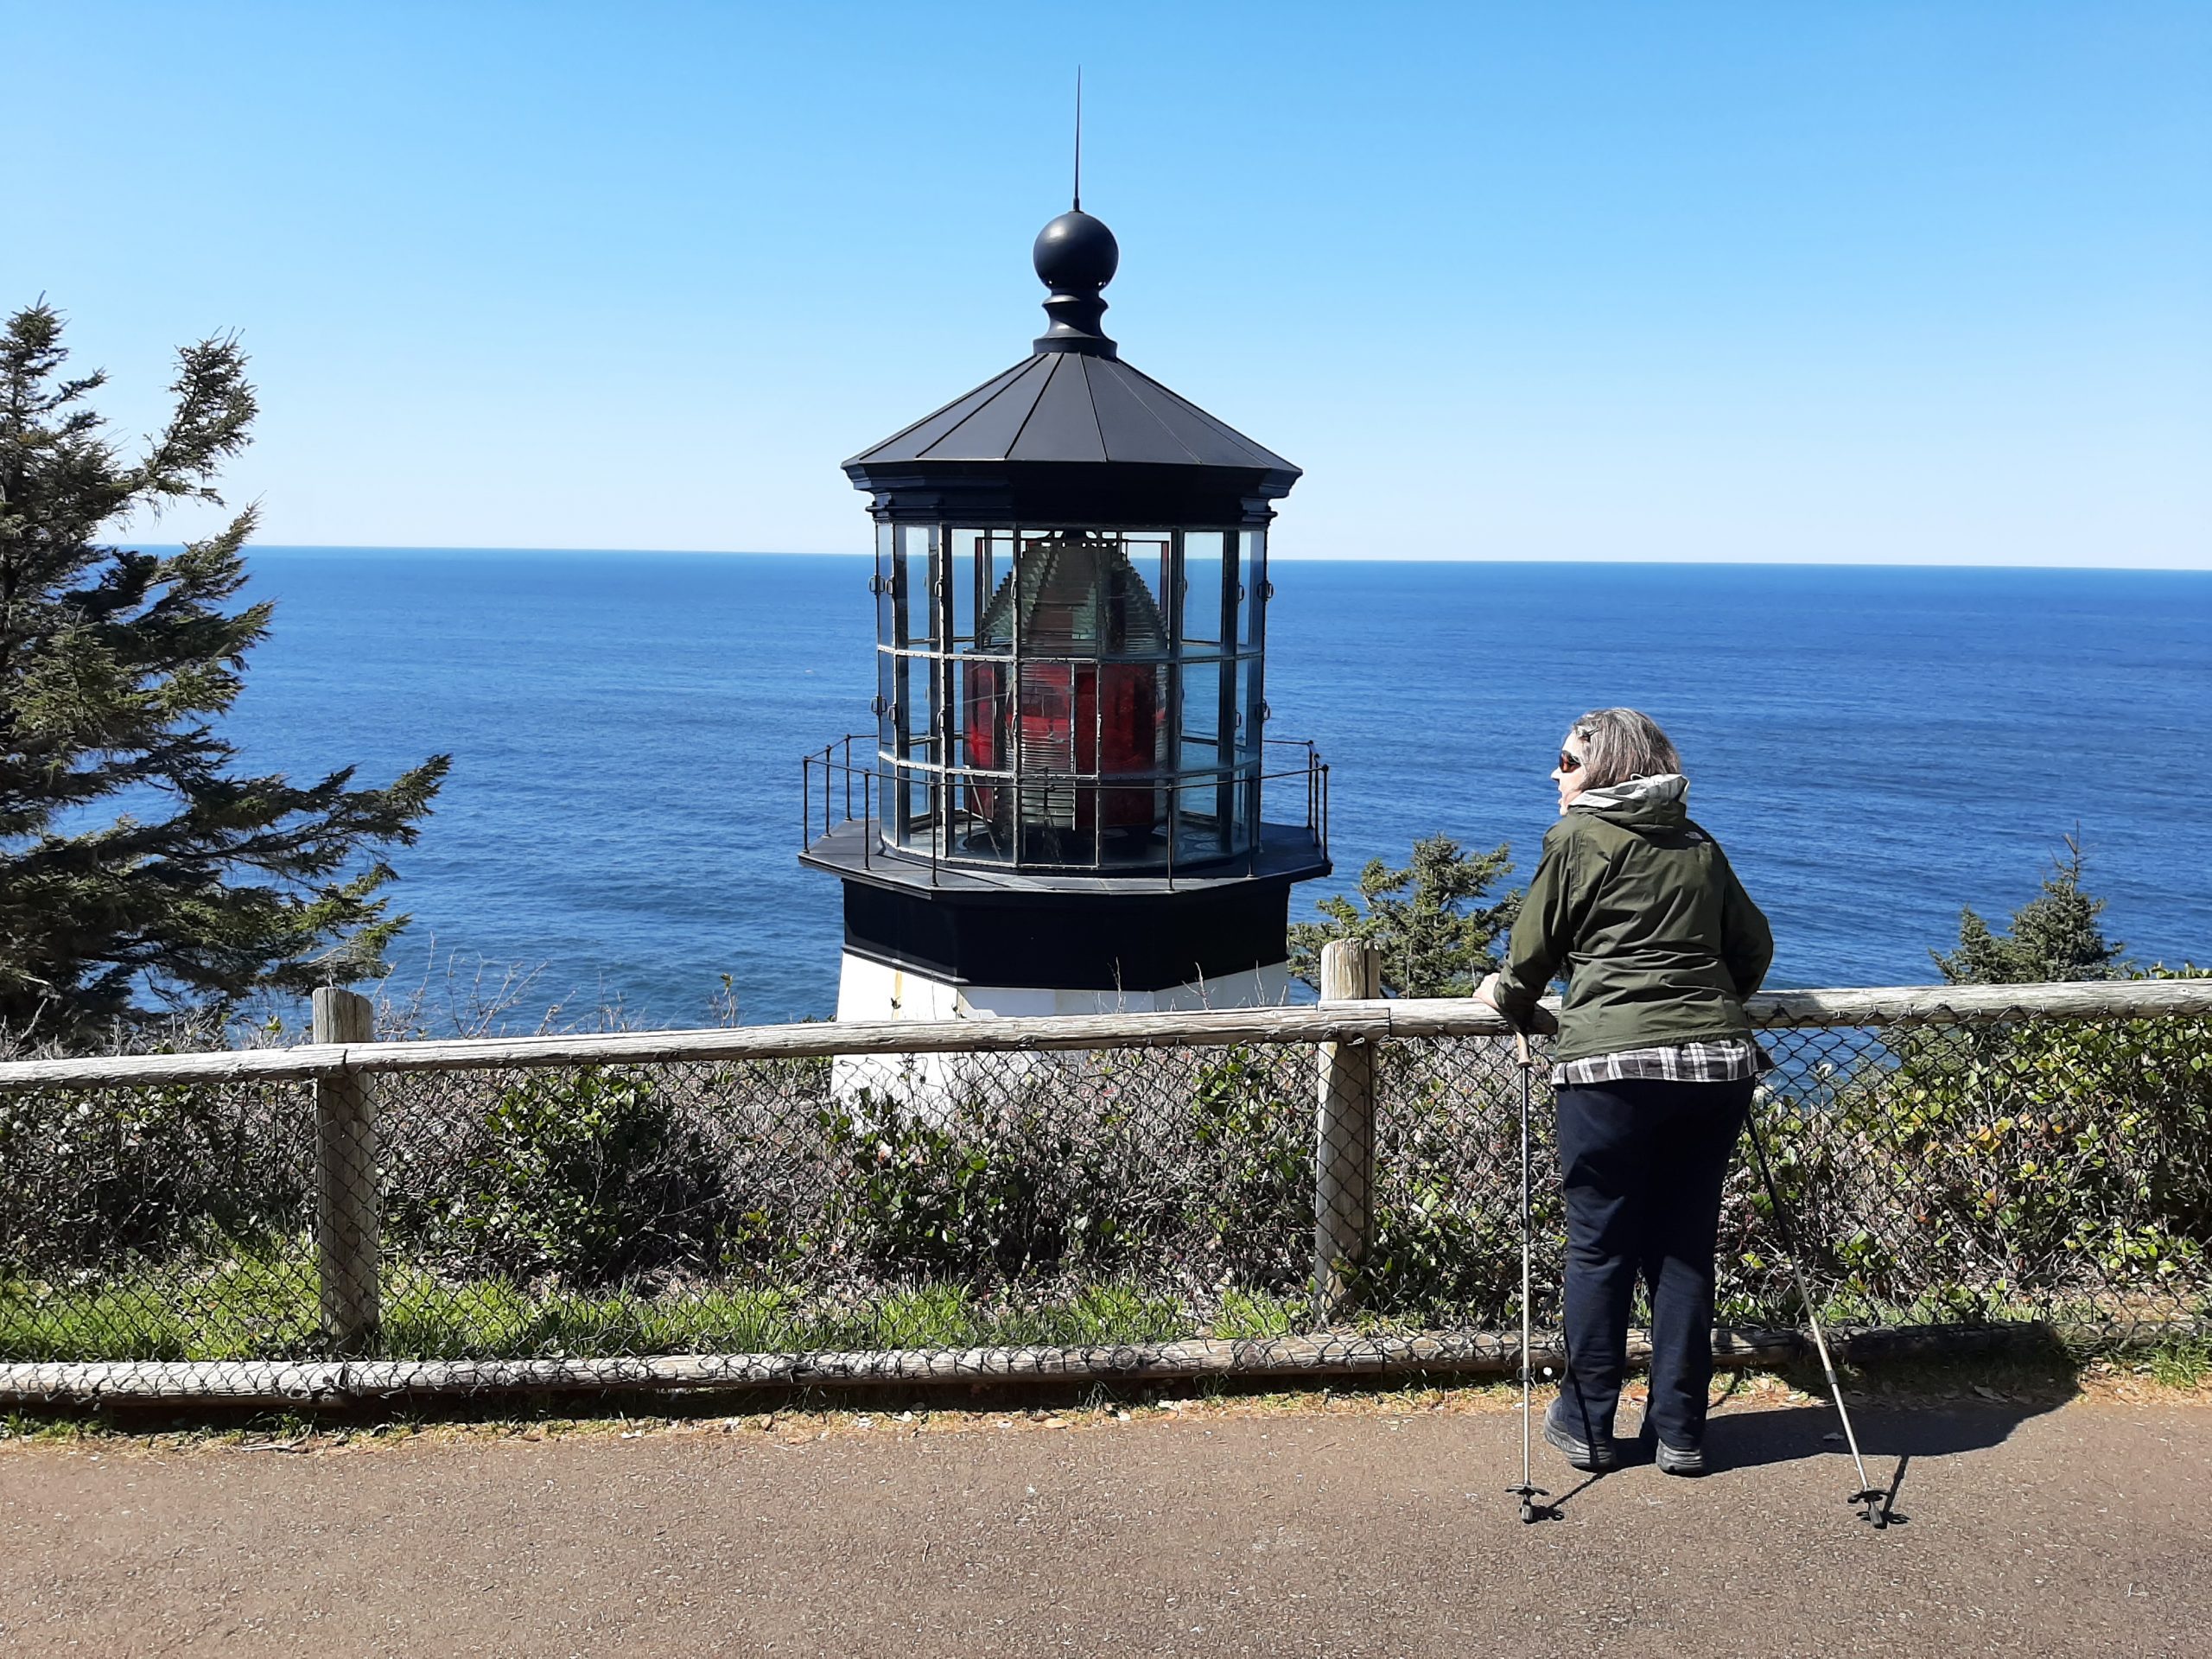
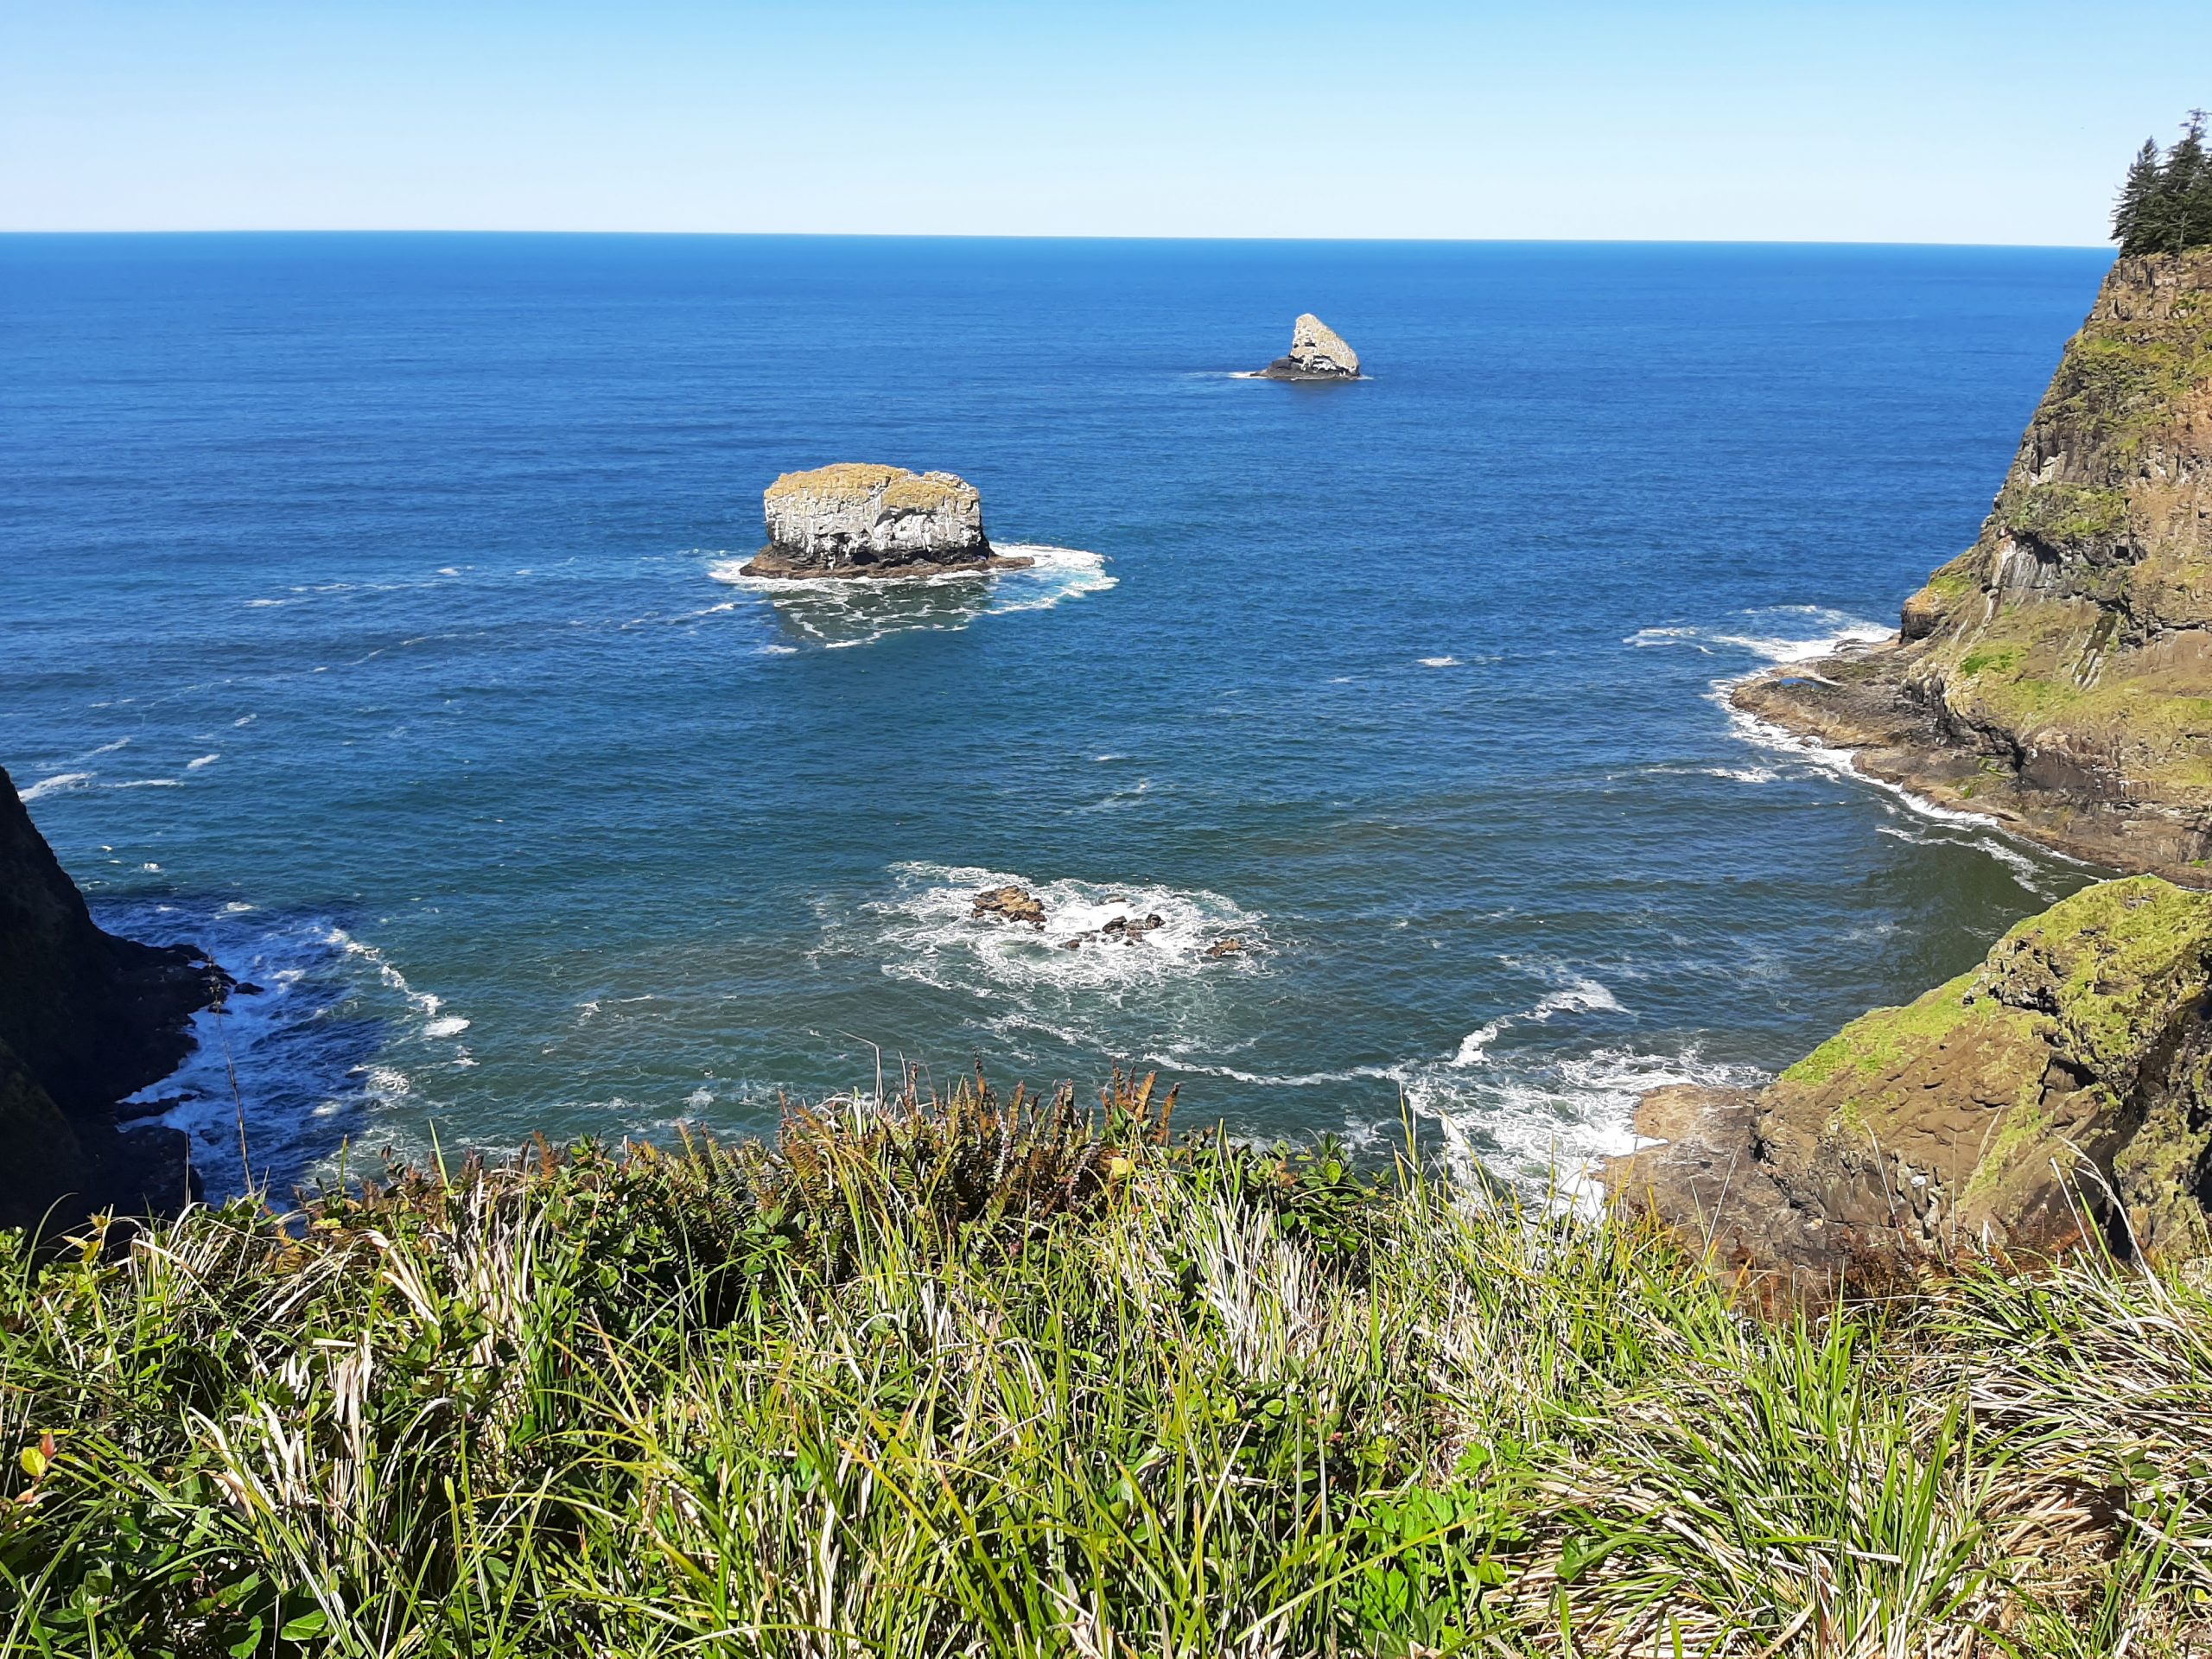
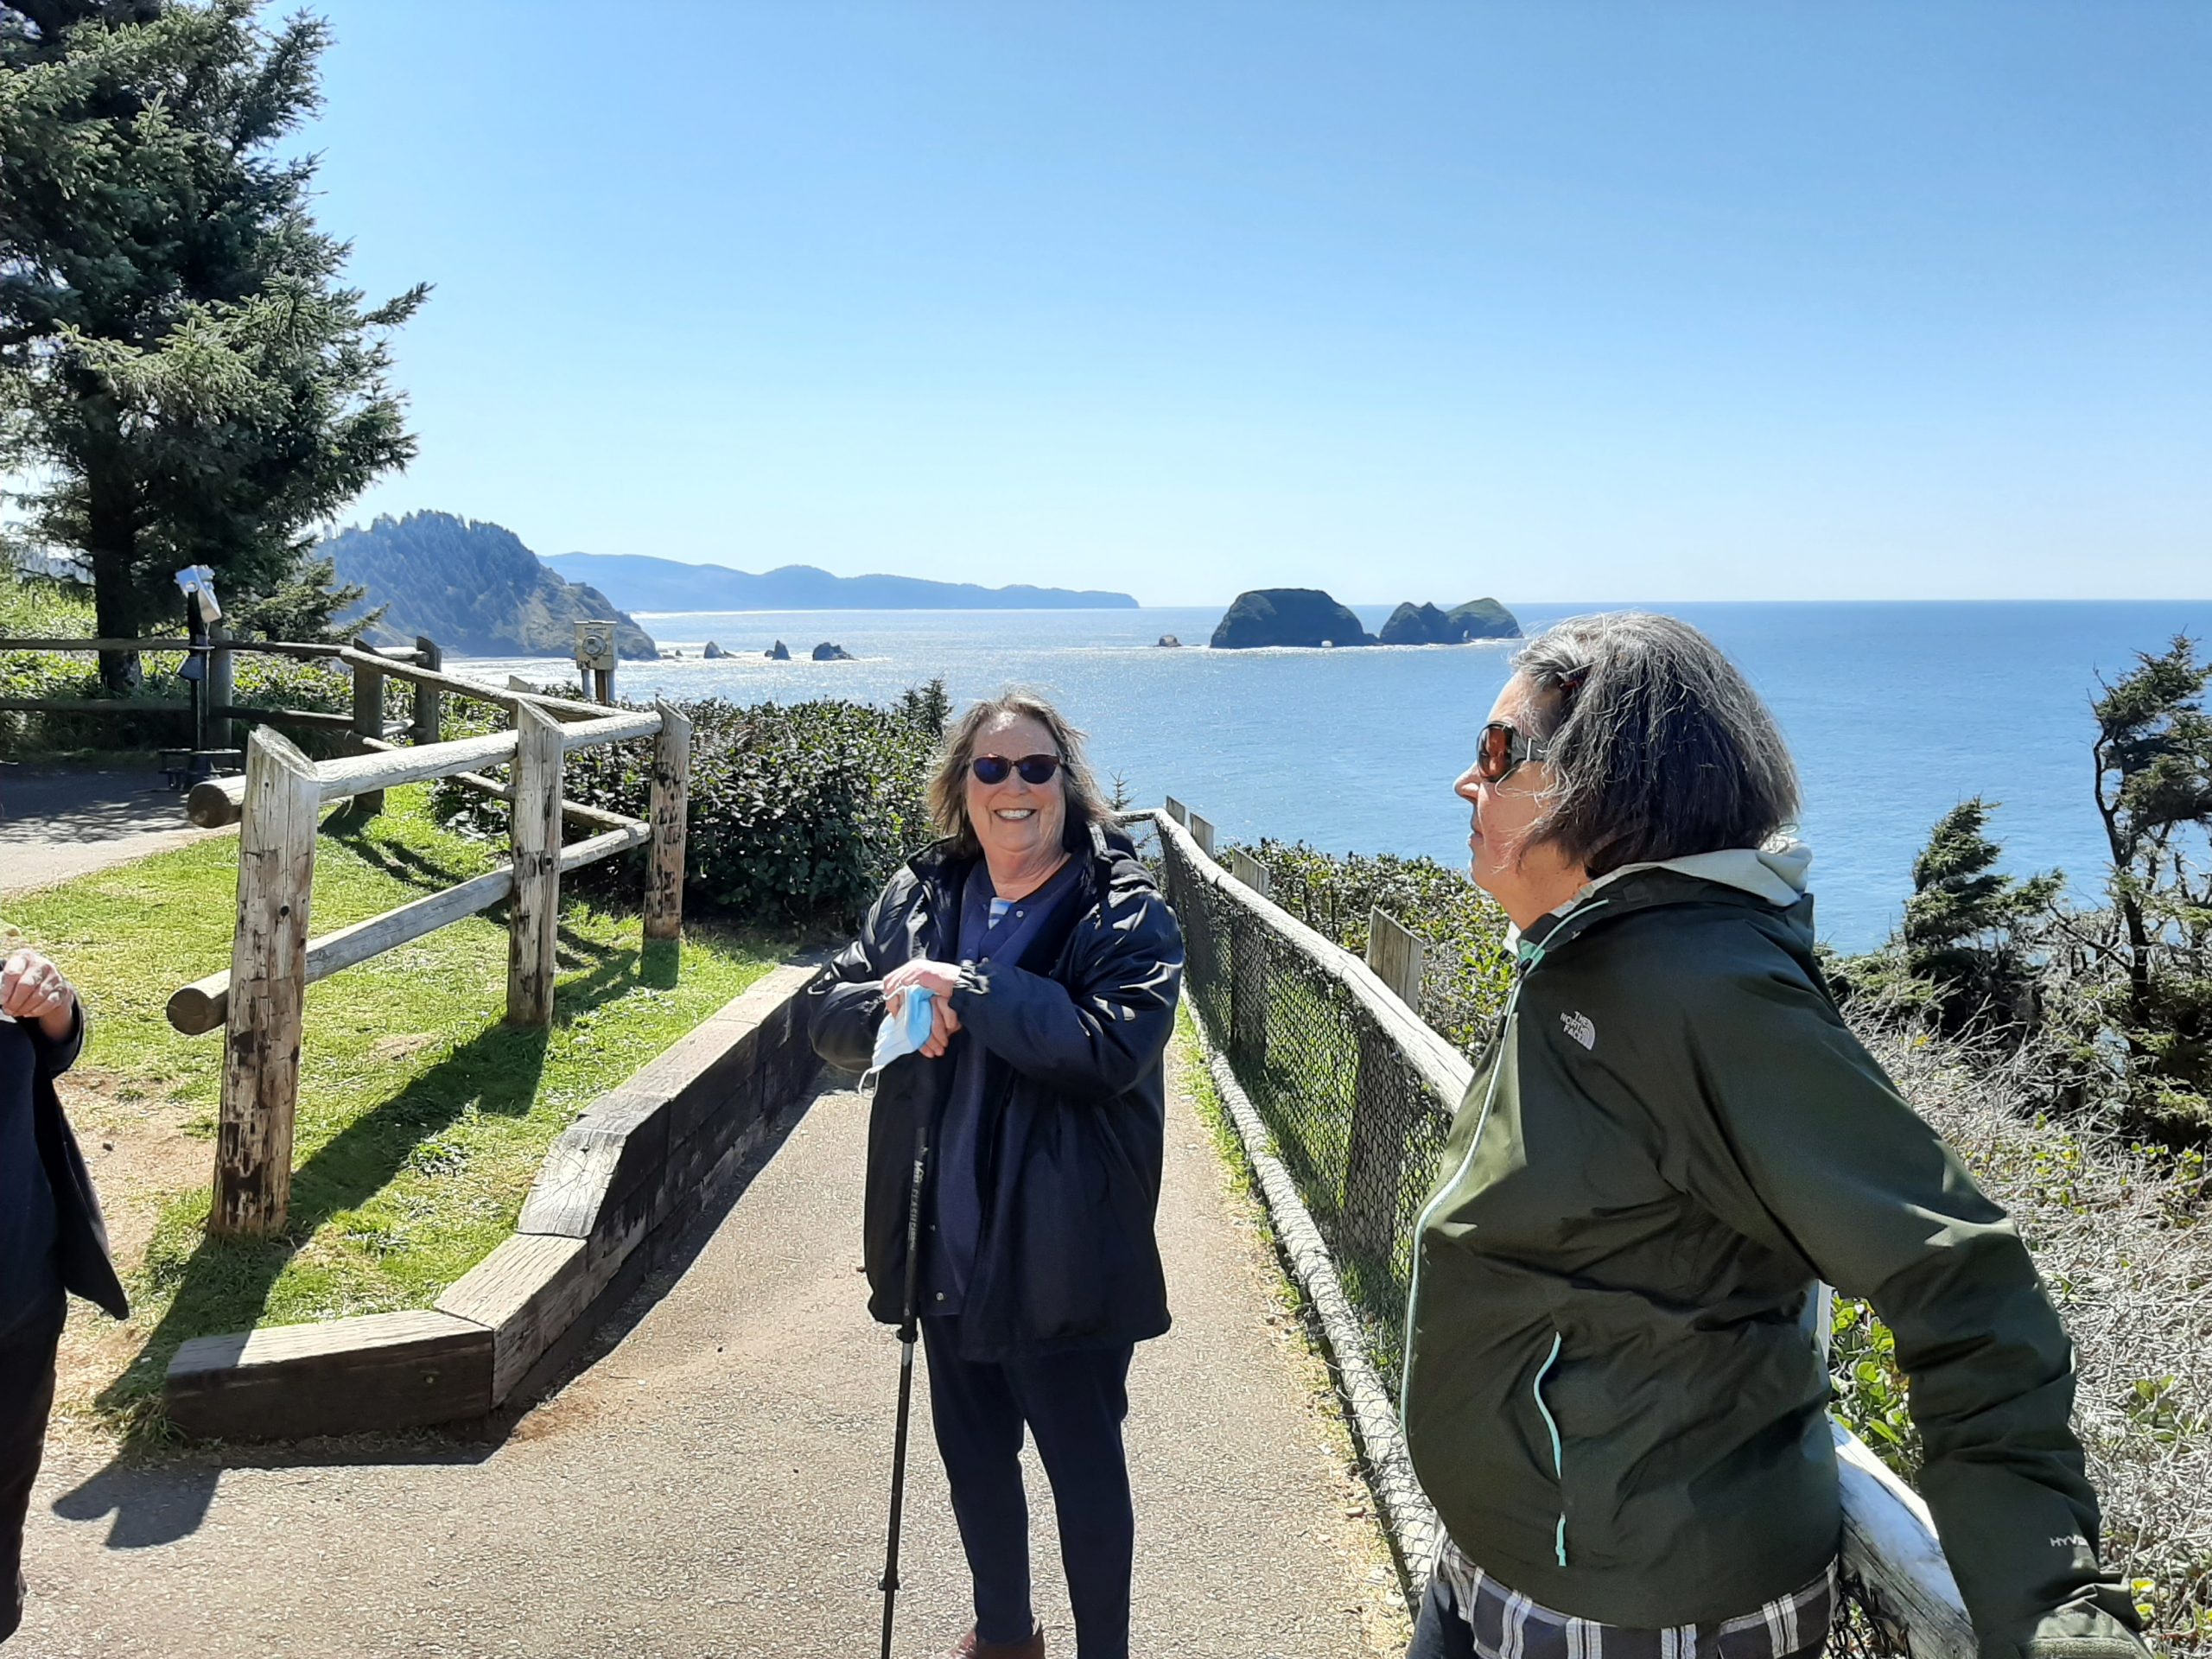
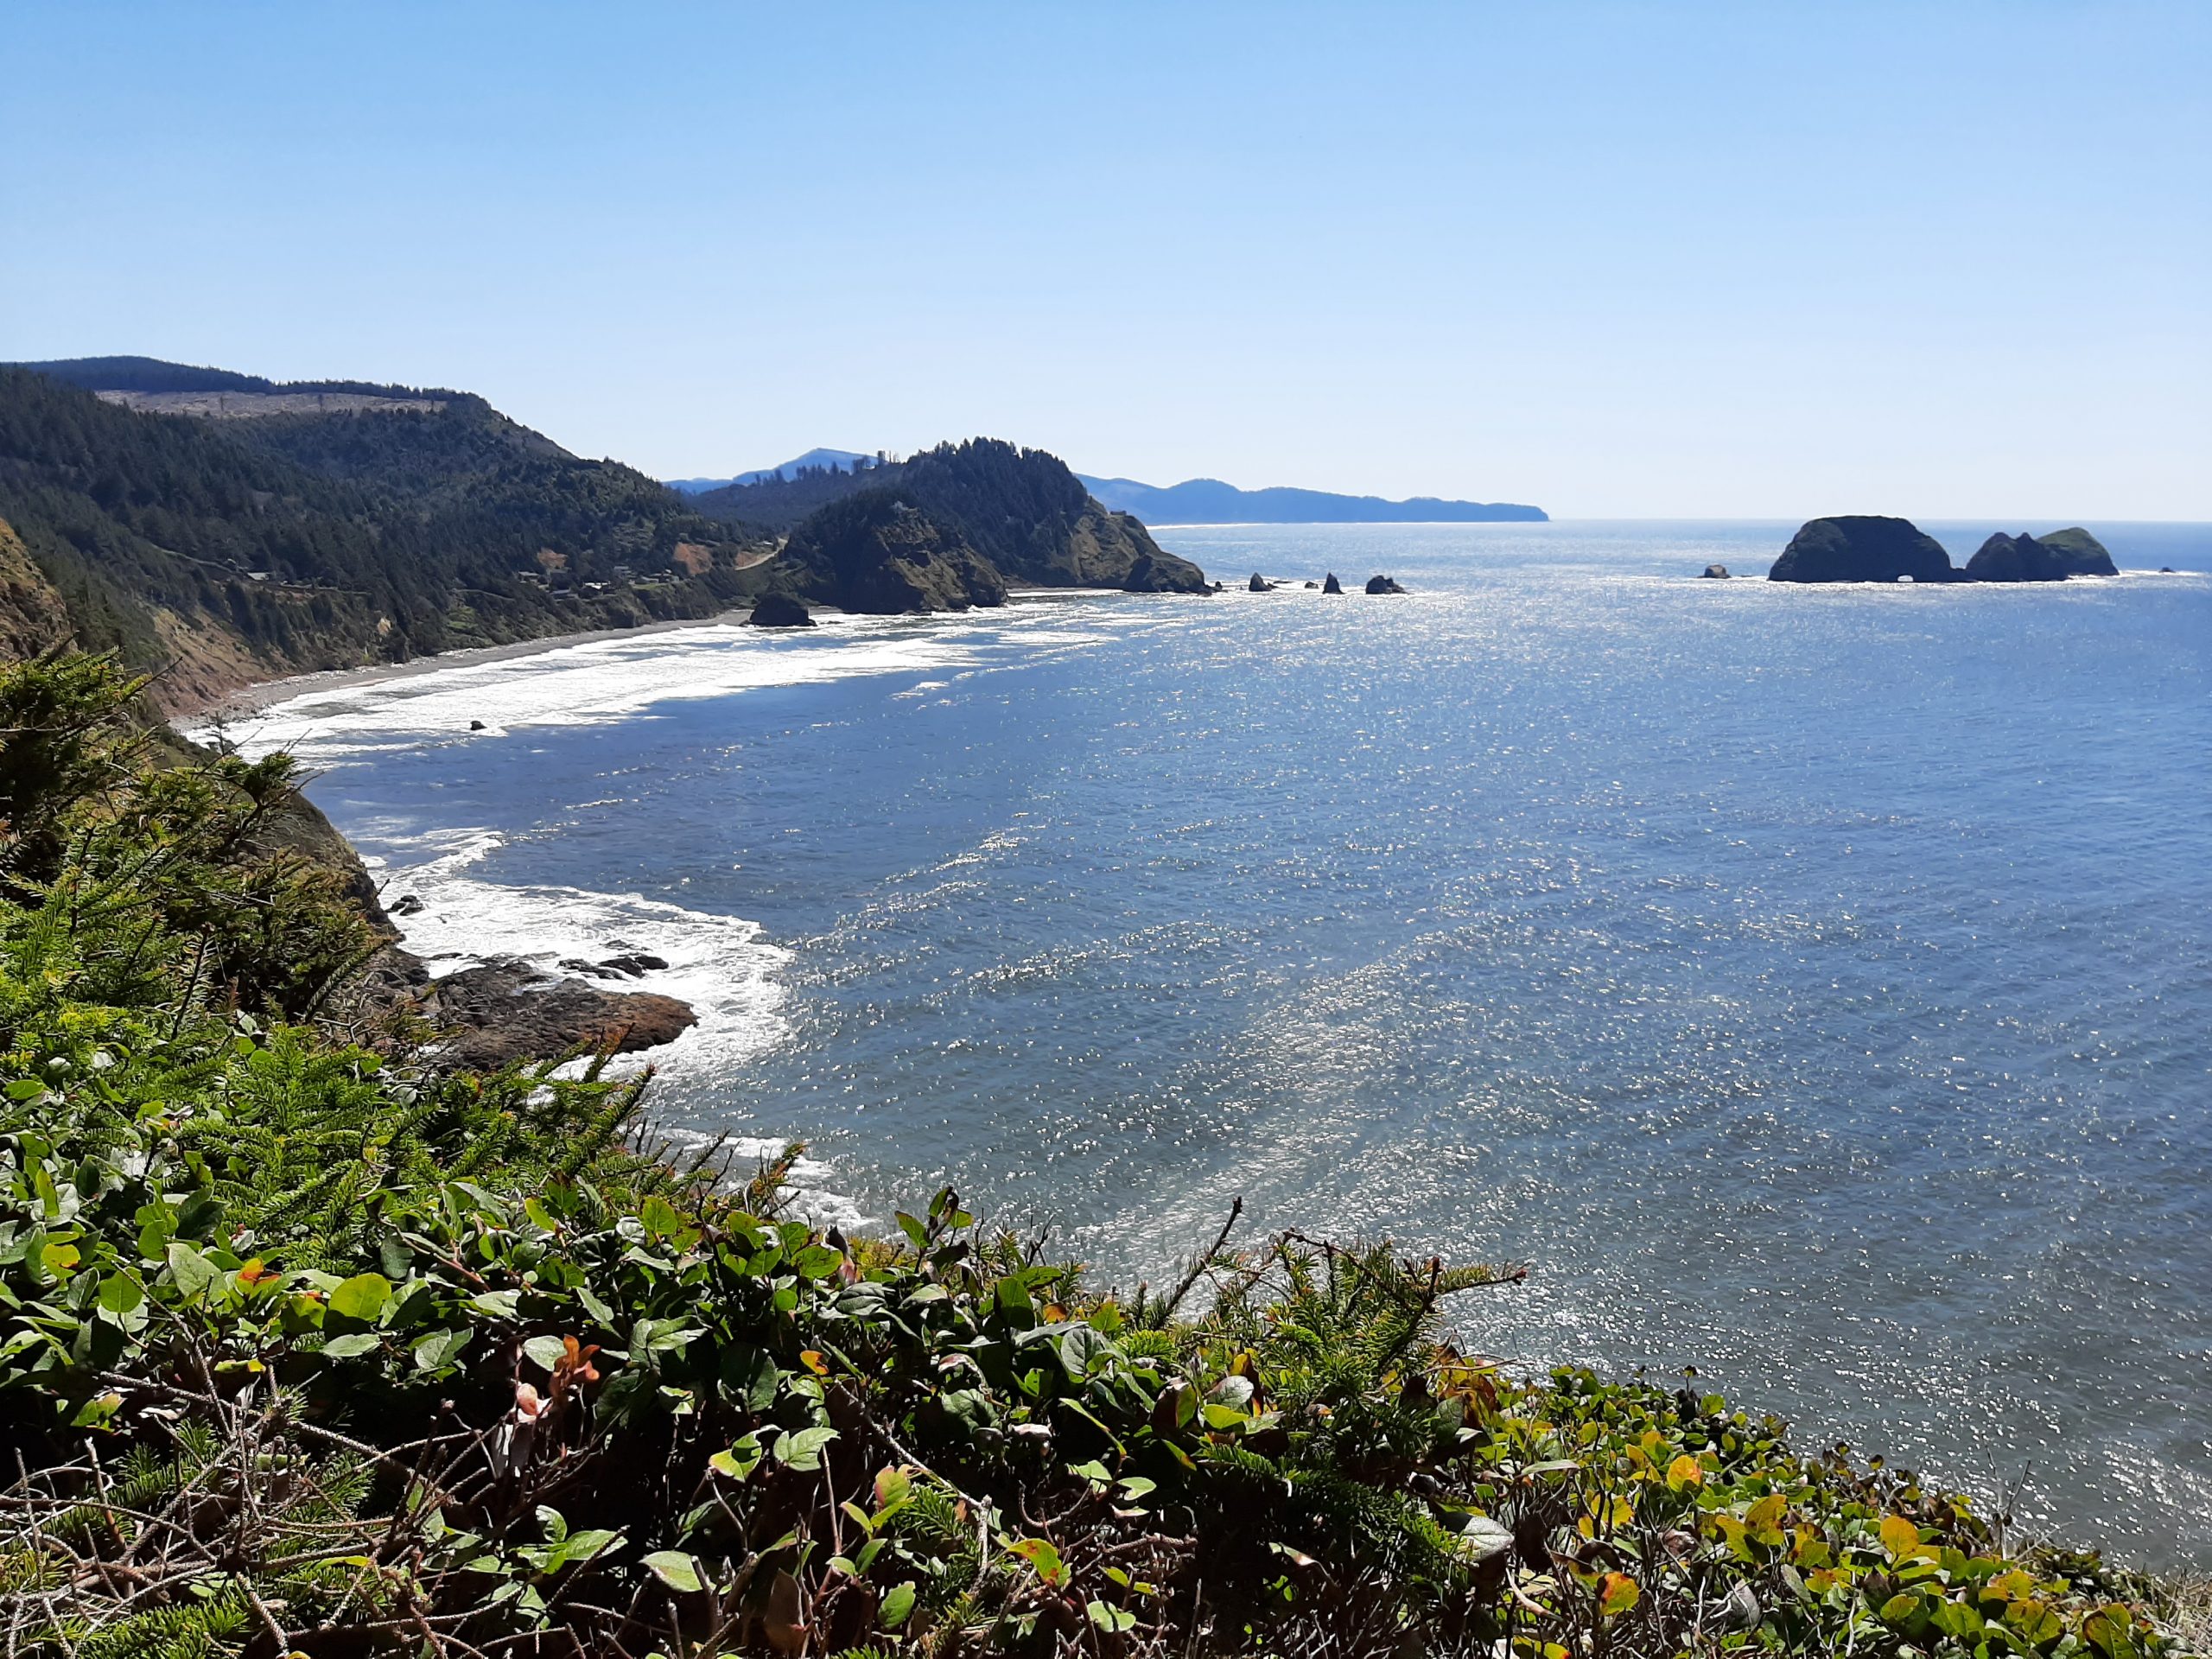
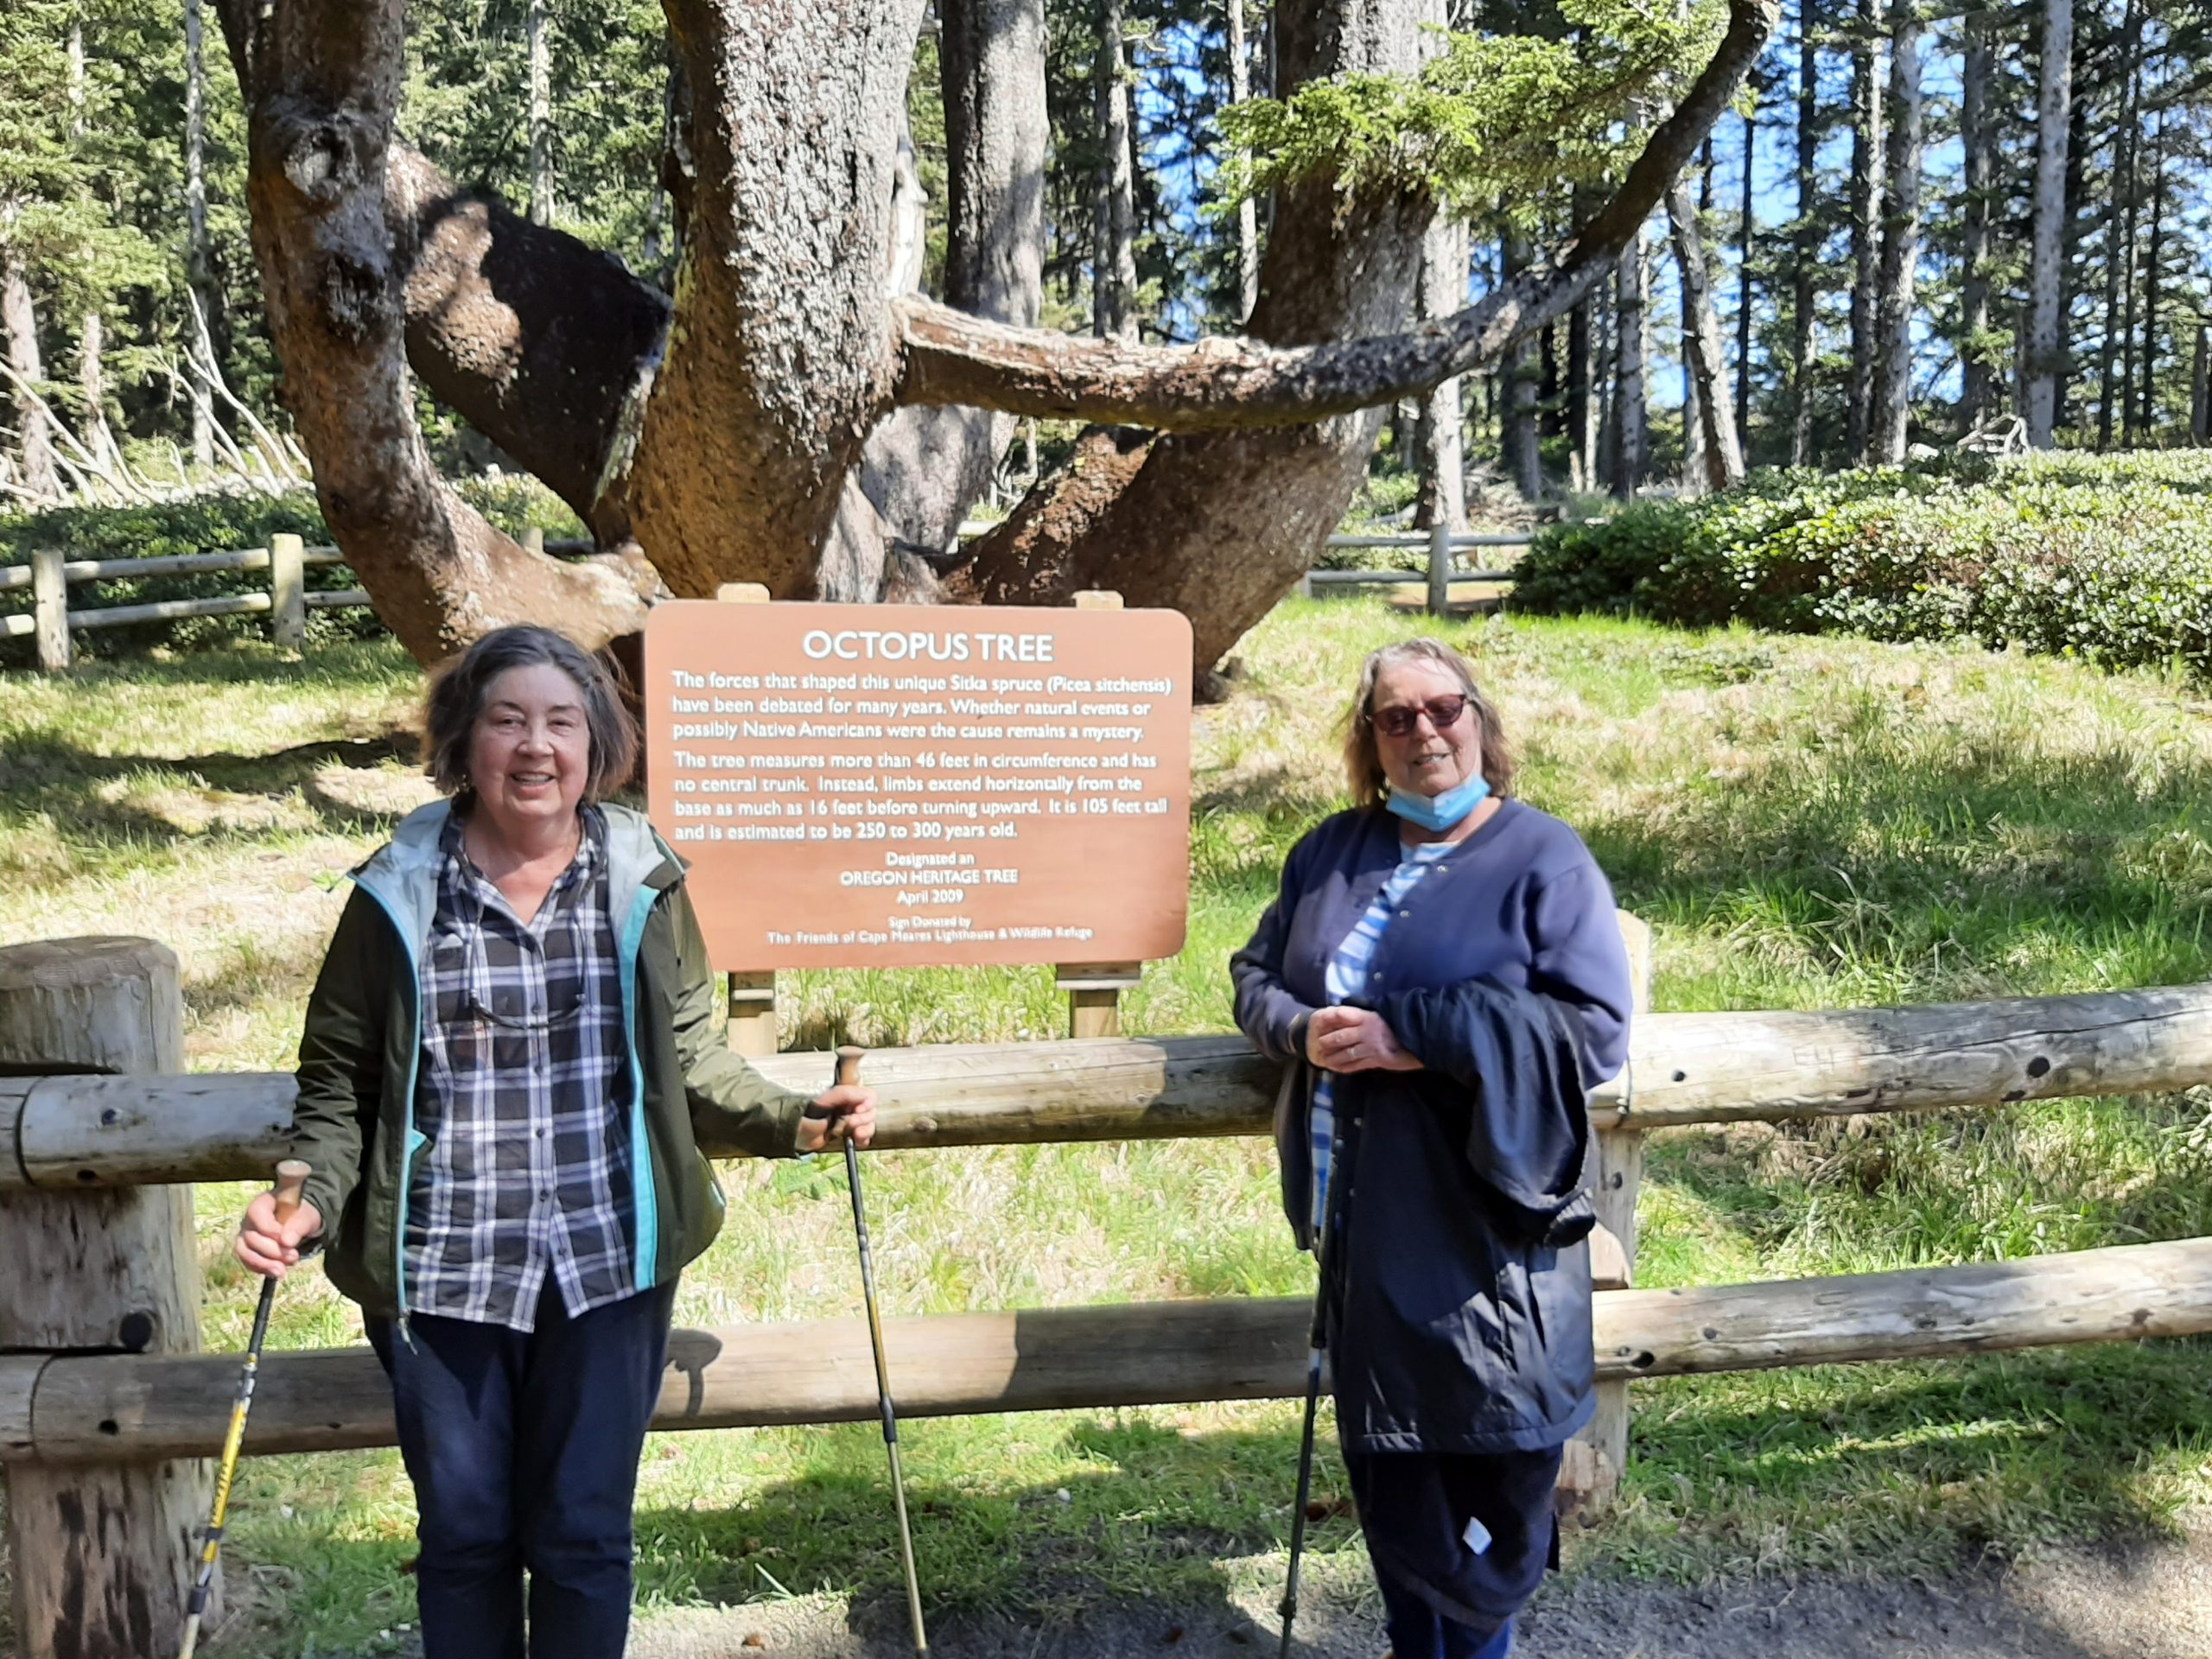
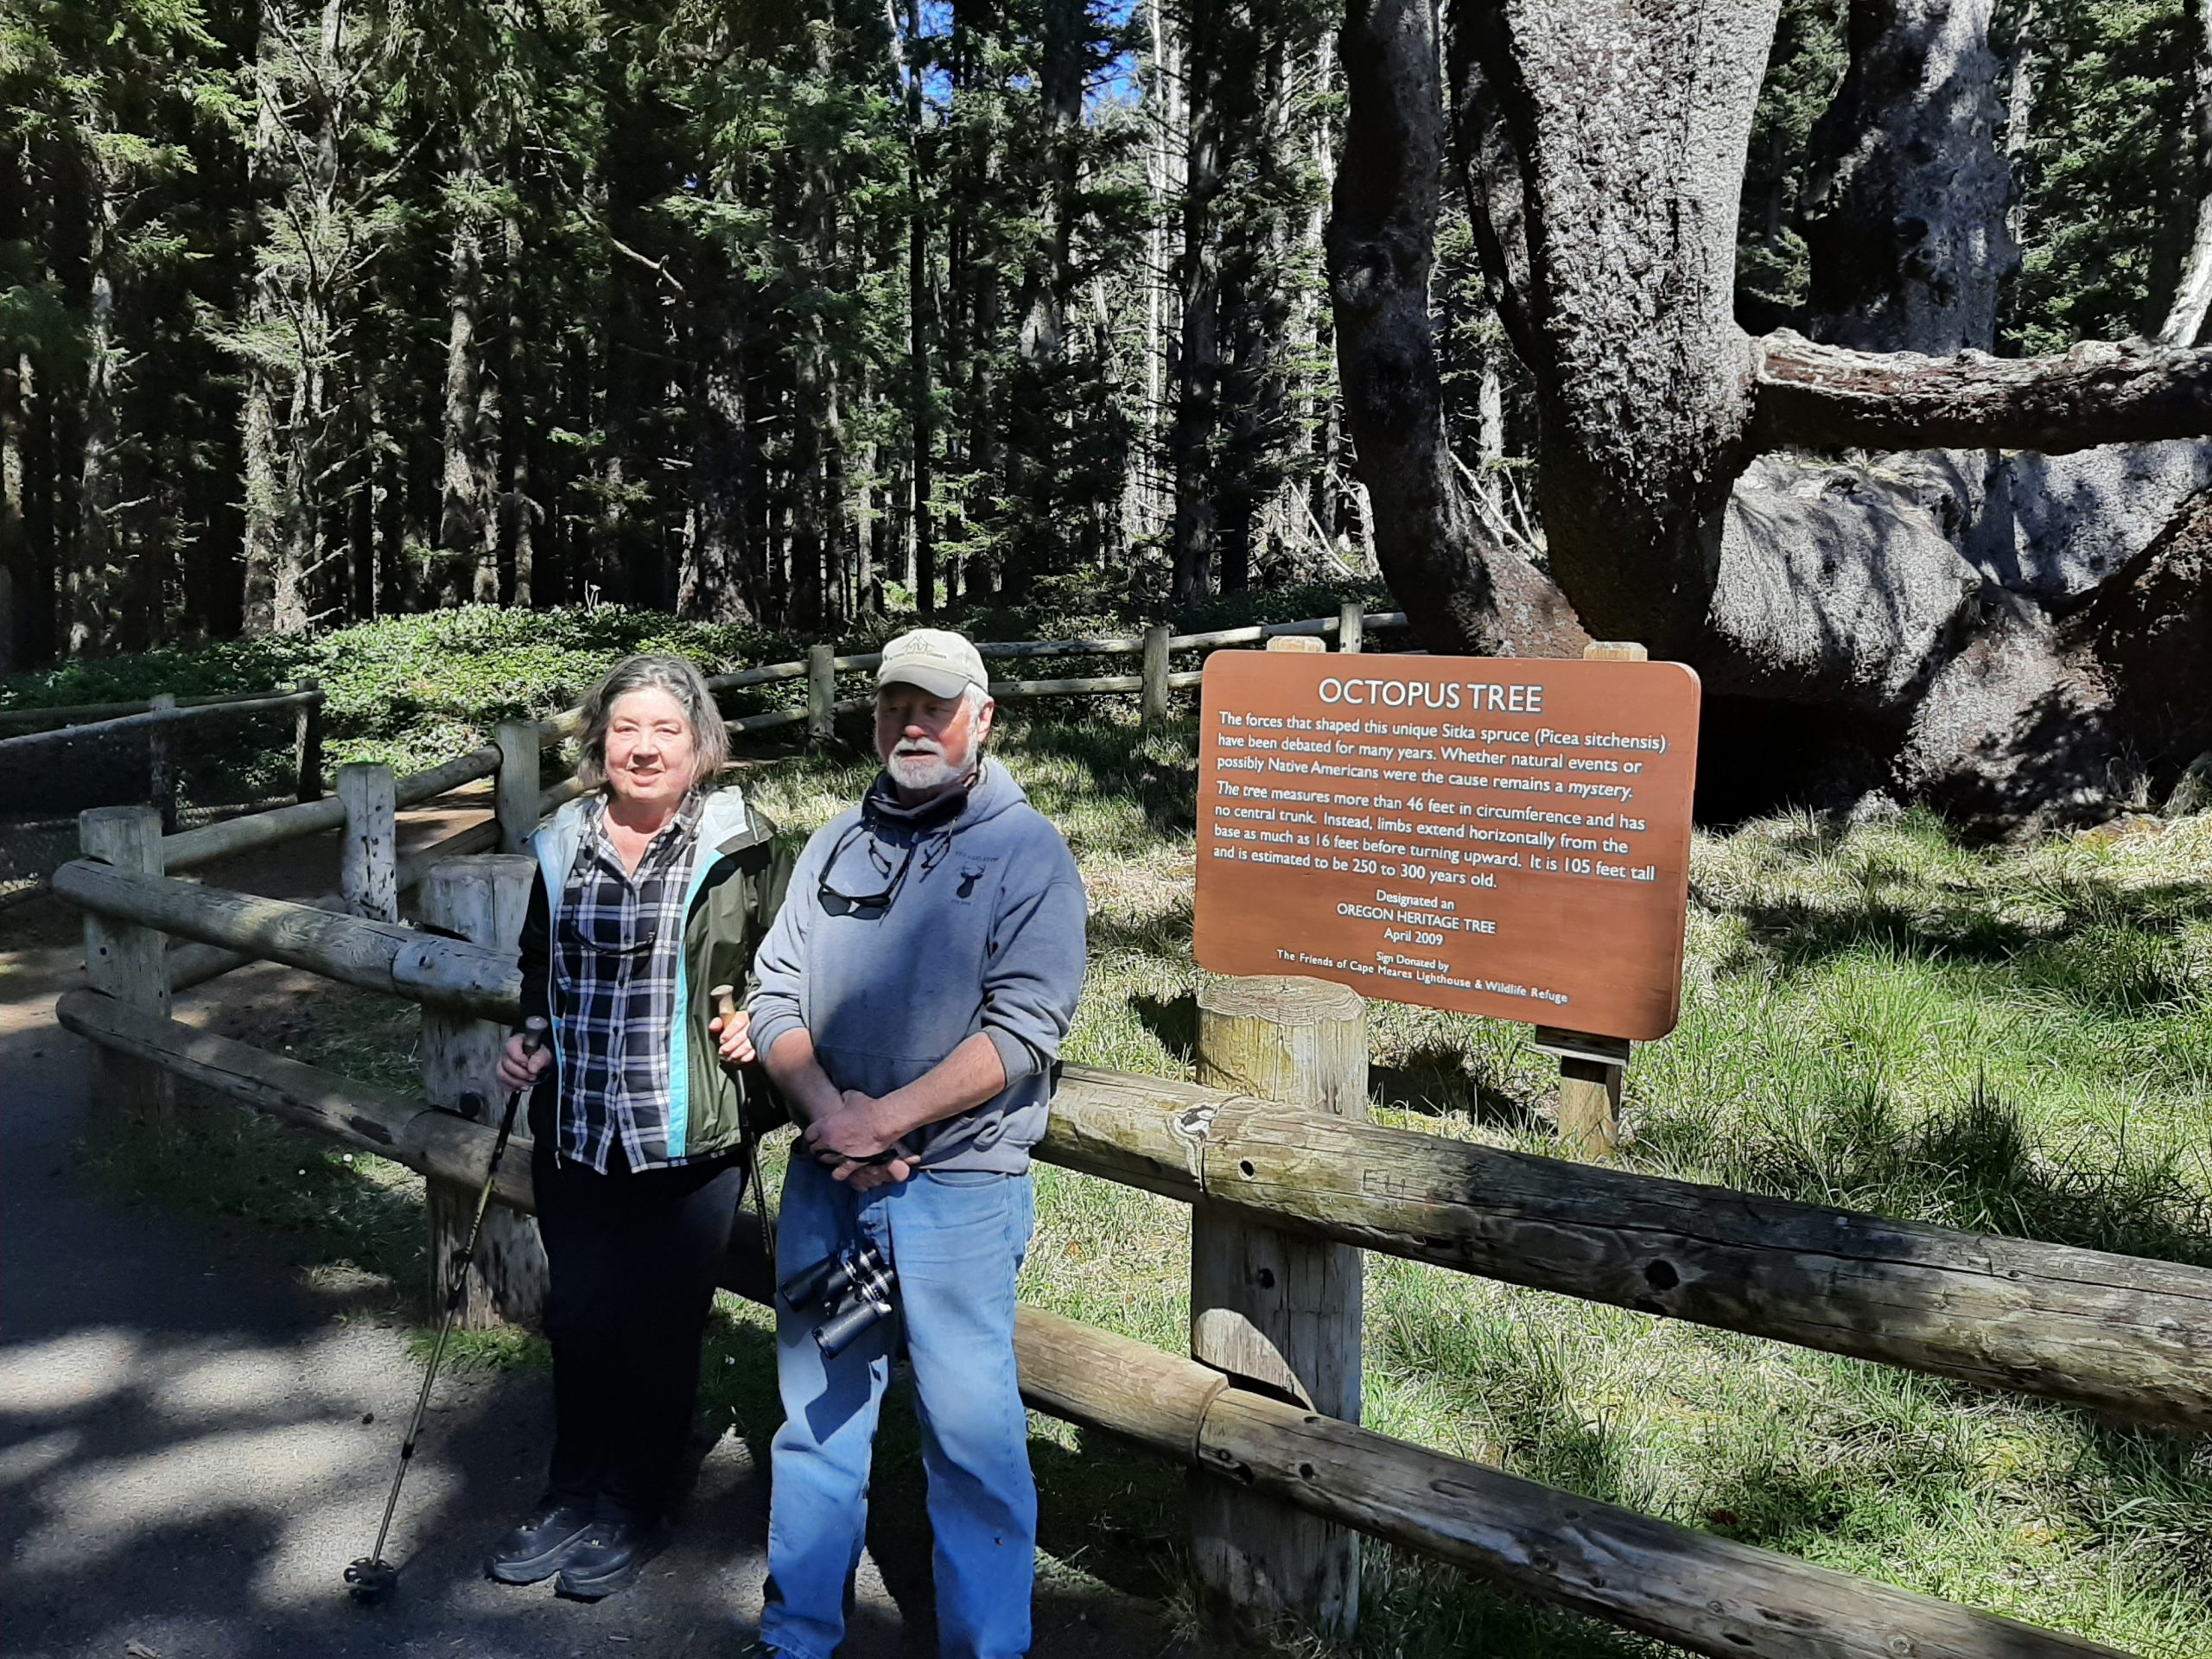
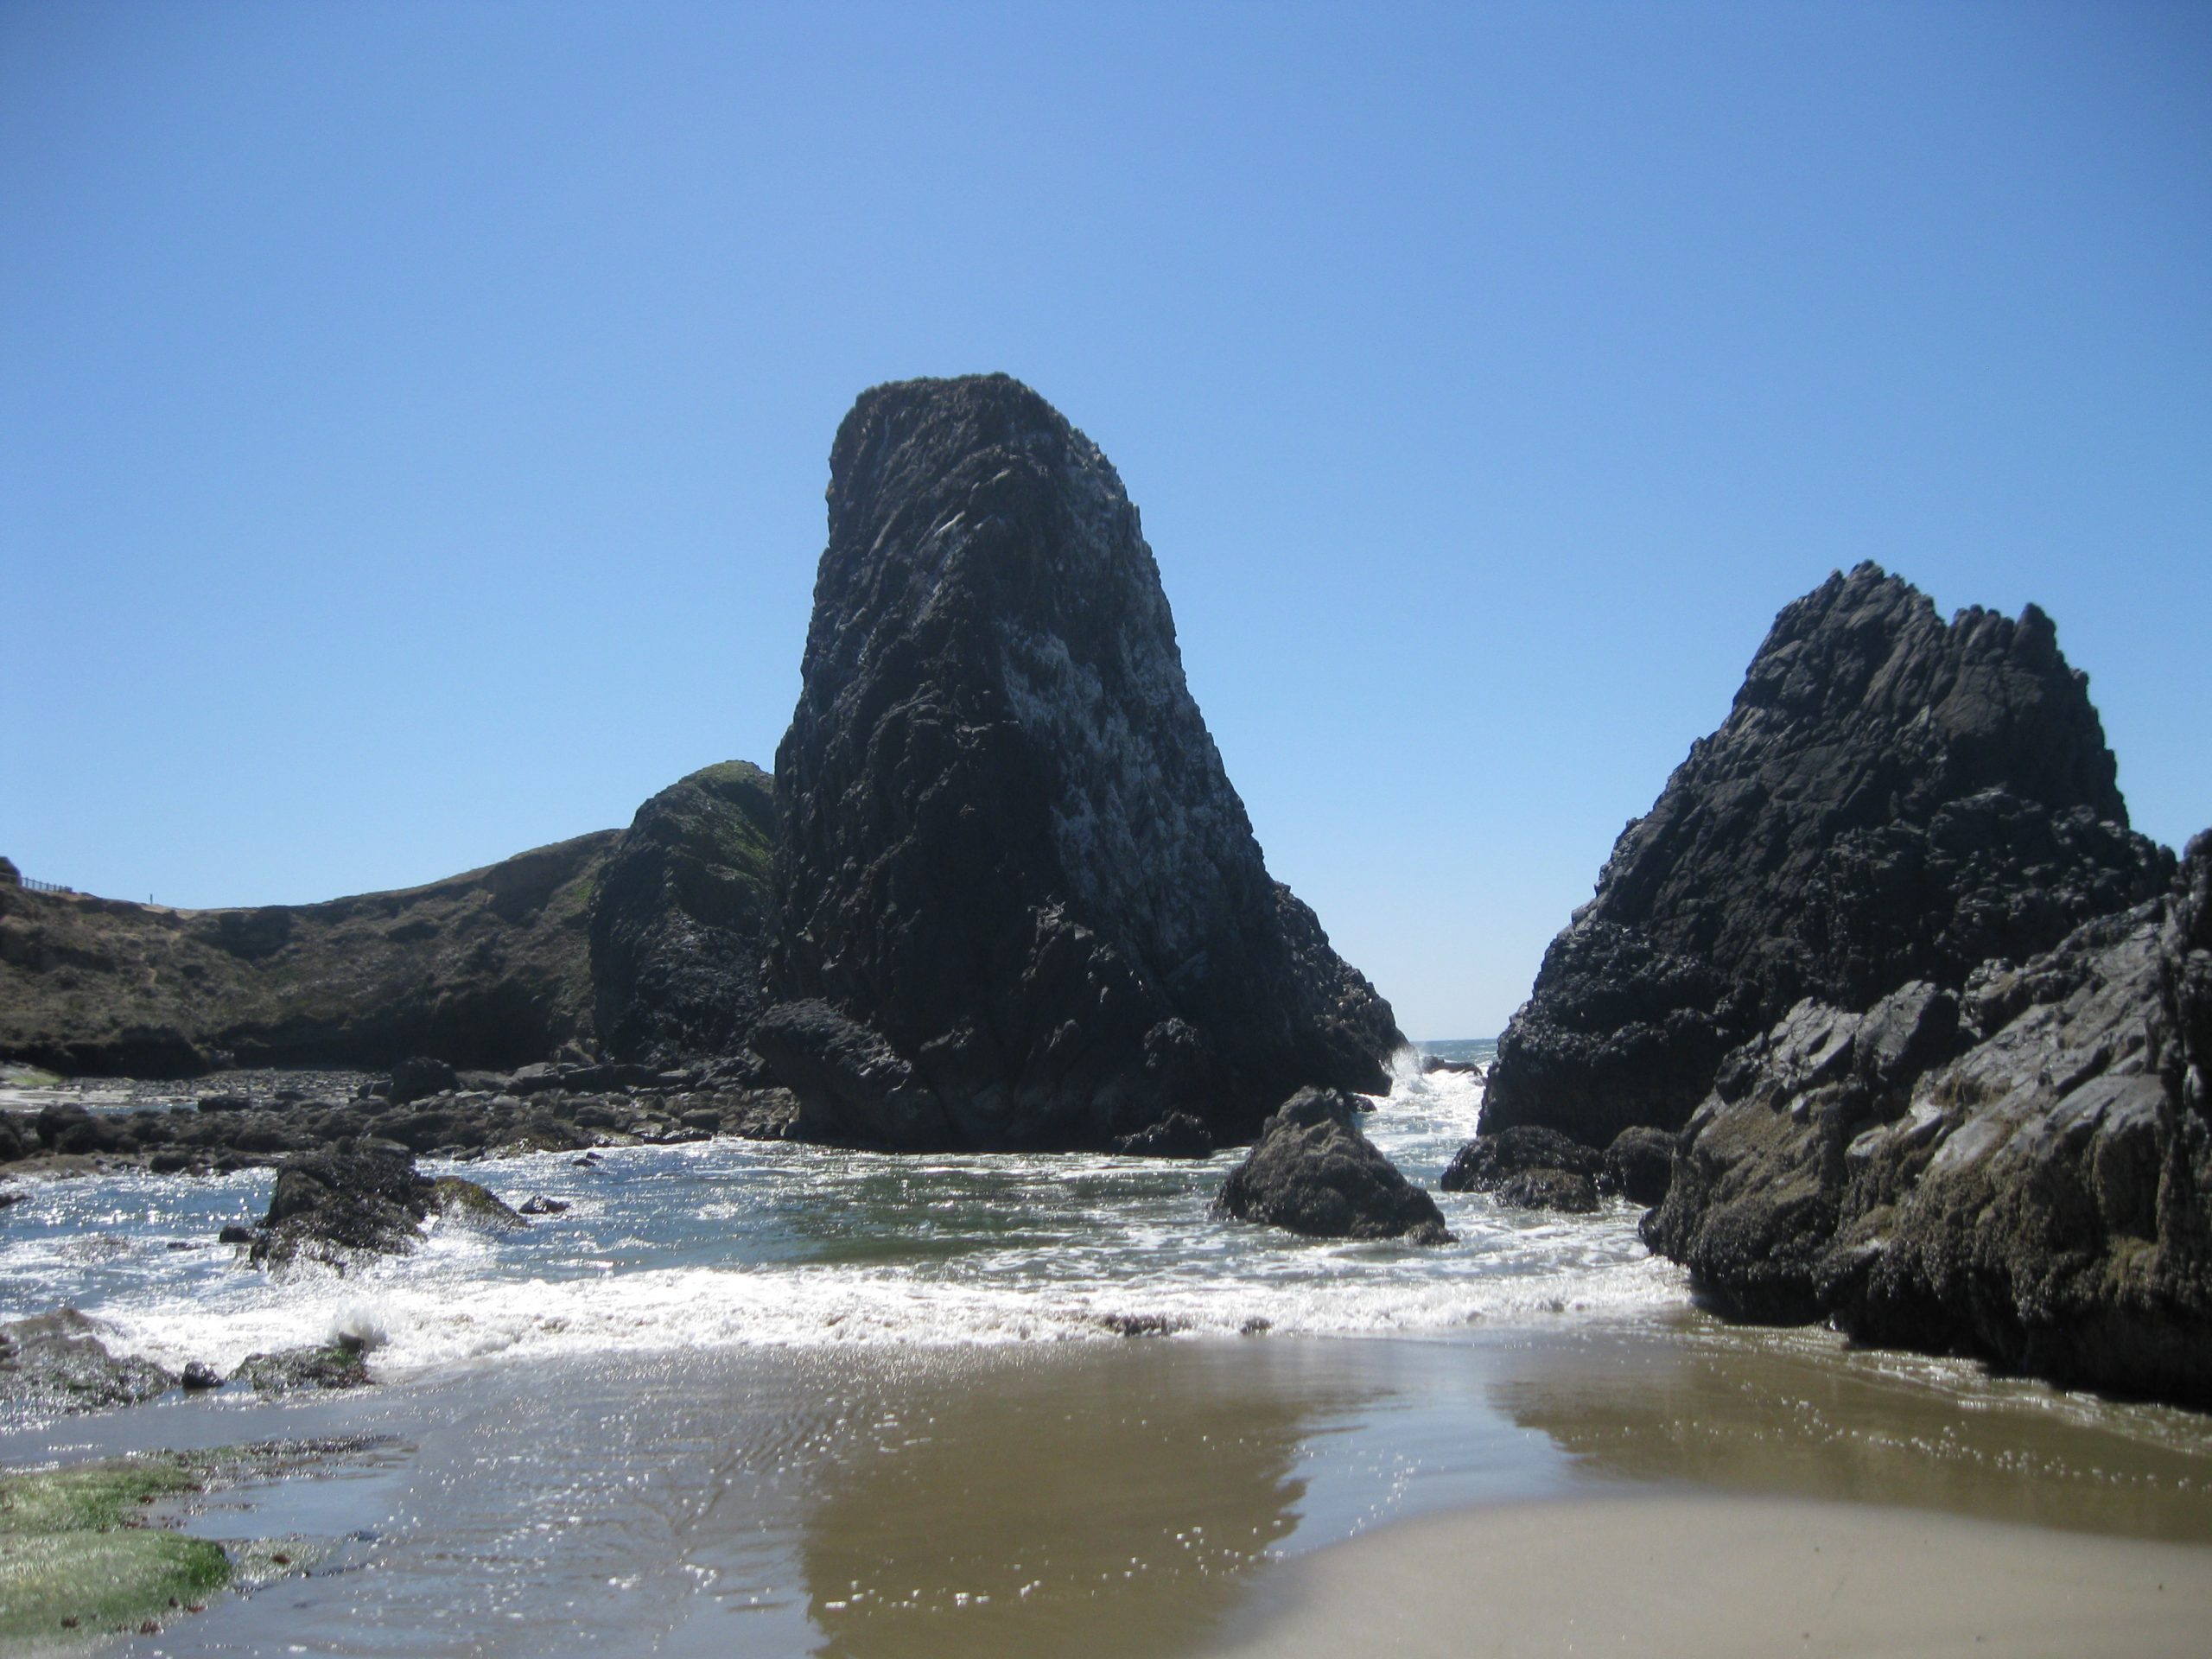
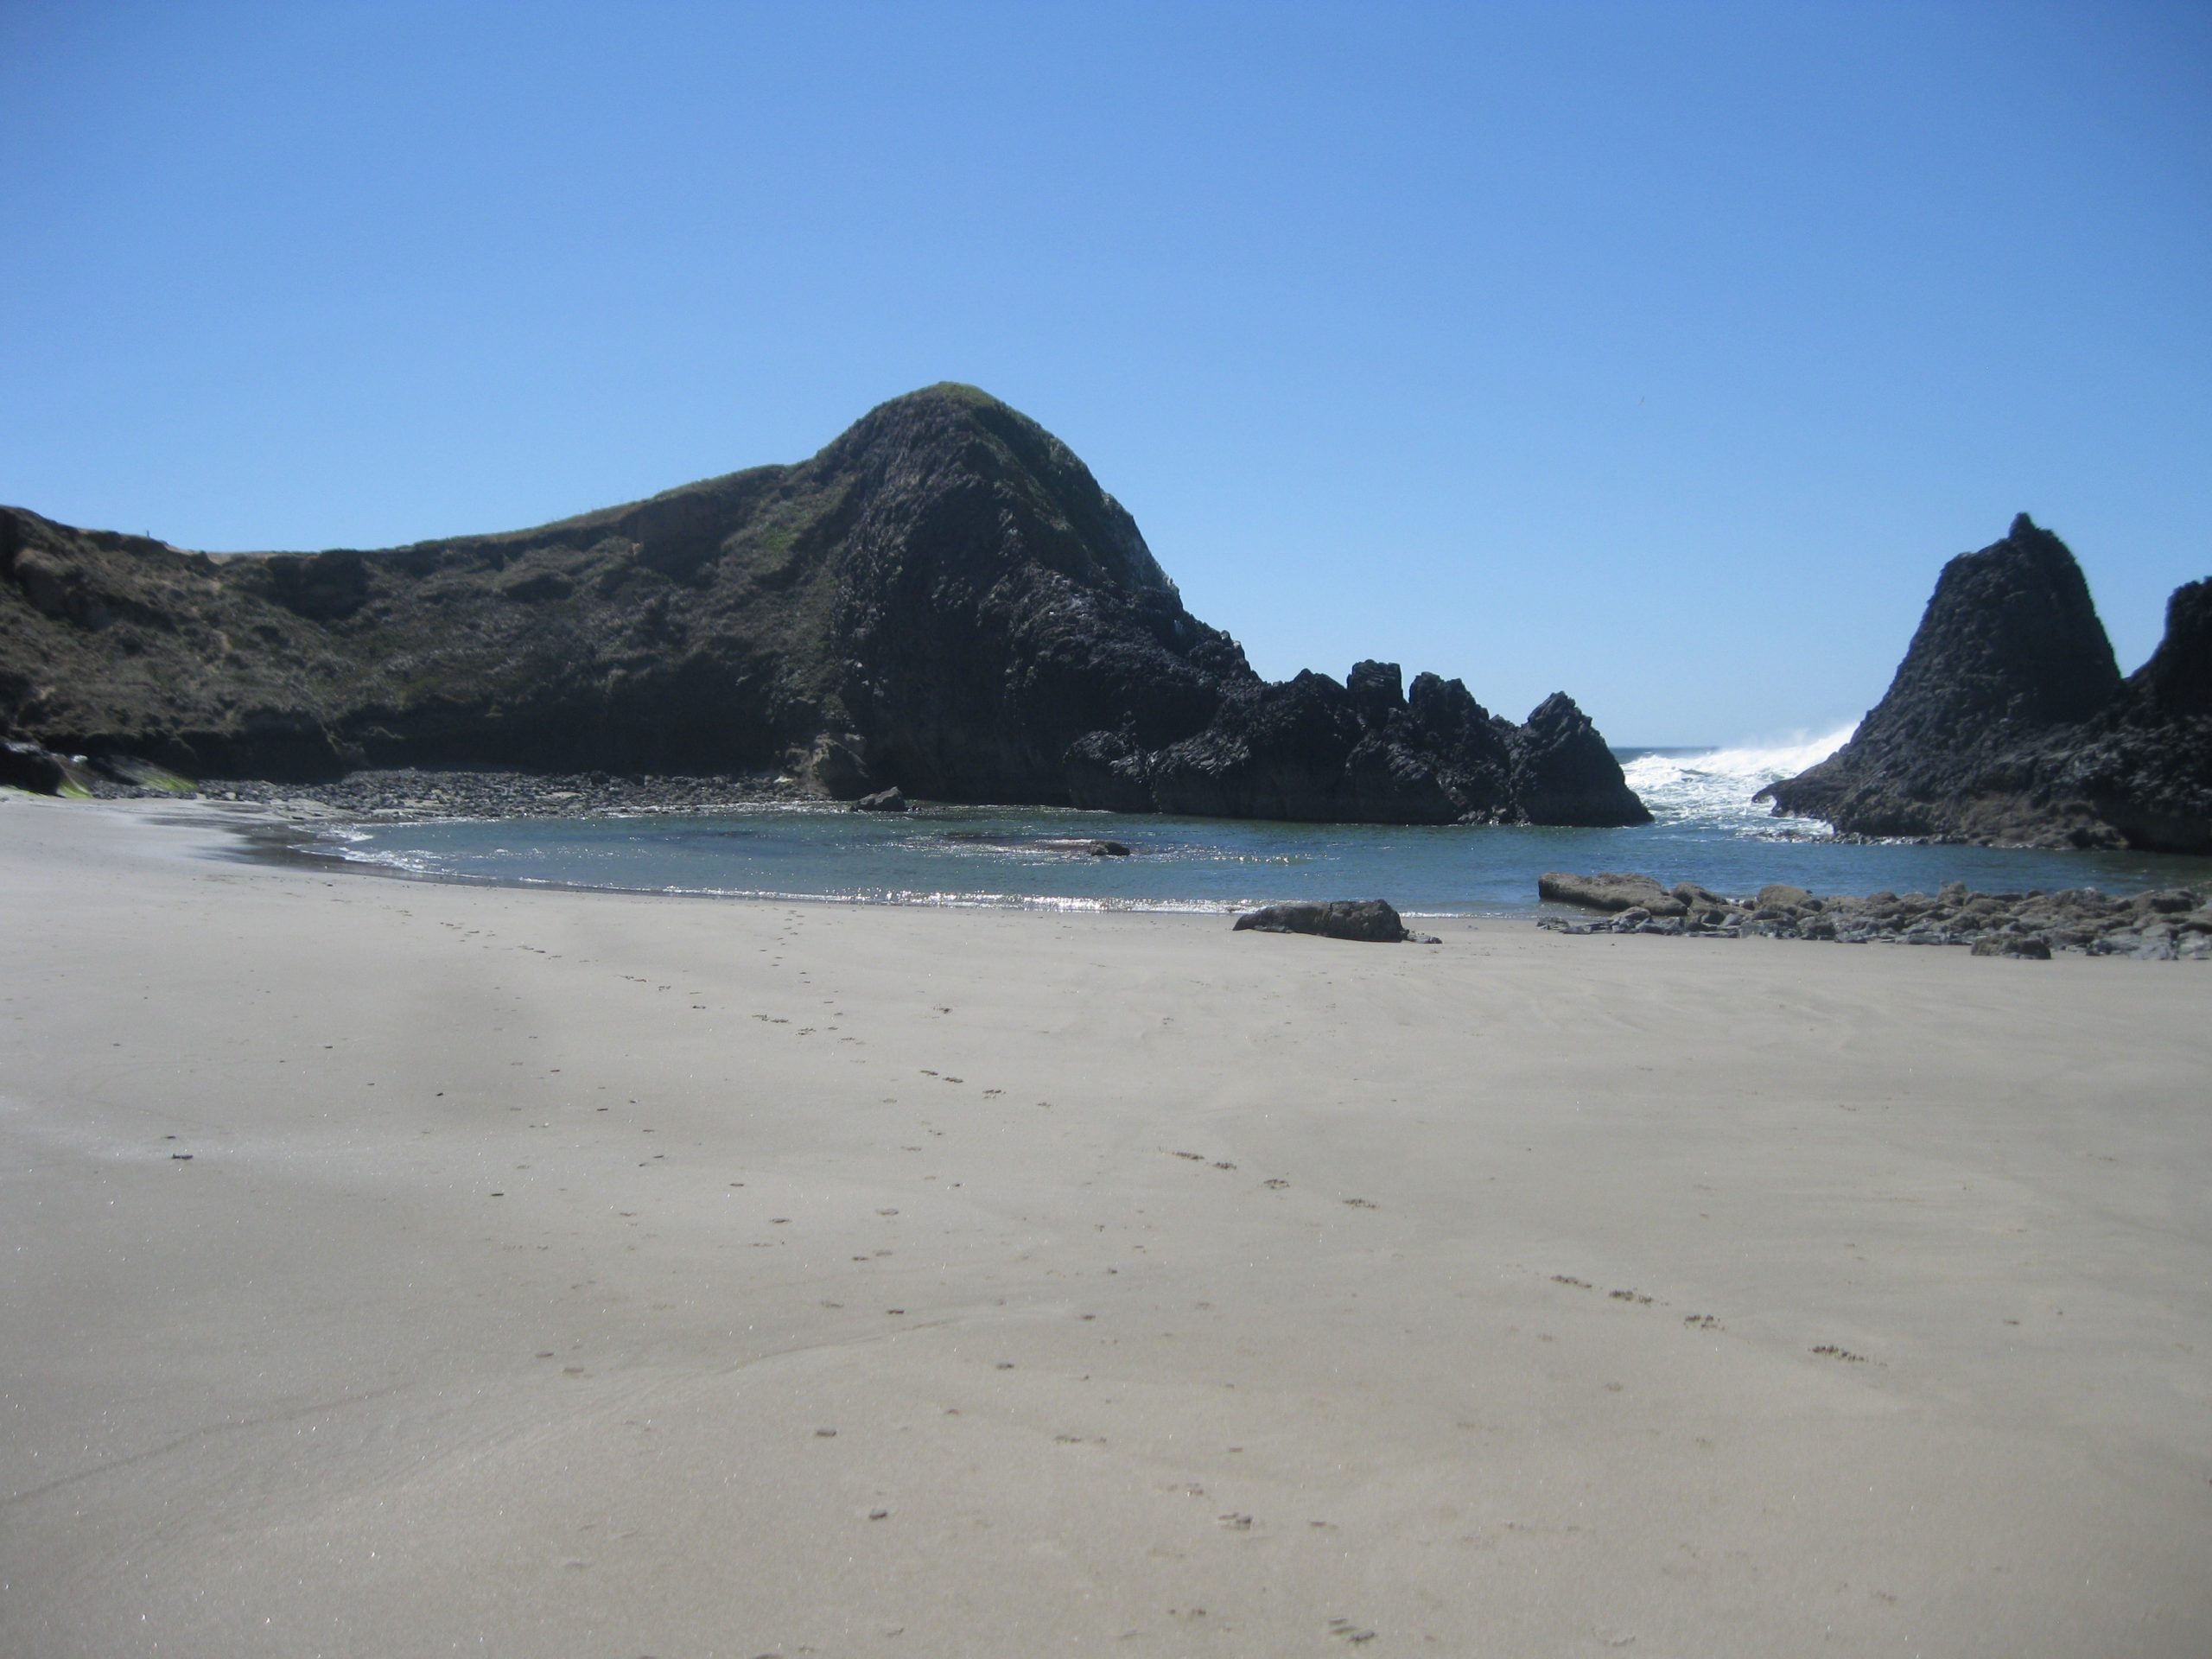
Leisurely morning lazing in bed, then a full breakfast and a discussion of what we would like to see or visit today. That is always half the fun of traveling. Wherever we go, unless we have planned our every move down to a gnat’s eyelash, we have a discussion over breakfast regarding the day’s agenda. Well the unanimous decision today was to meet up with Stan and Judy again, and the 6 of us would visit Cape Meares together. When we arrived at the parking area, it was just a short walk to the lighthouse with several fenced in outcrops which gave us perfect views to the surrounding cliff faces and the haystacks just off shore. The lighthouse, which began operating in 1890, looked just how a lighthouse should look.
Katie meets a lighthouseFrom the left, Judy, Patti, Stan, and Rick slowly strolling through the areaKatie and me taking the sun and enjoying the beautiful surroundingsJust amazing vistas
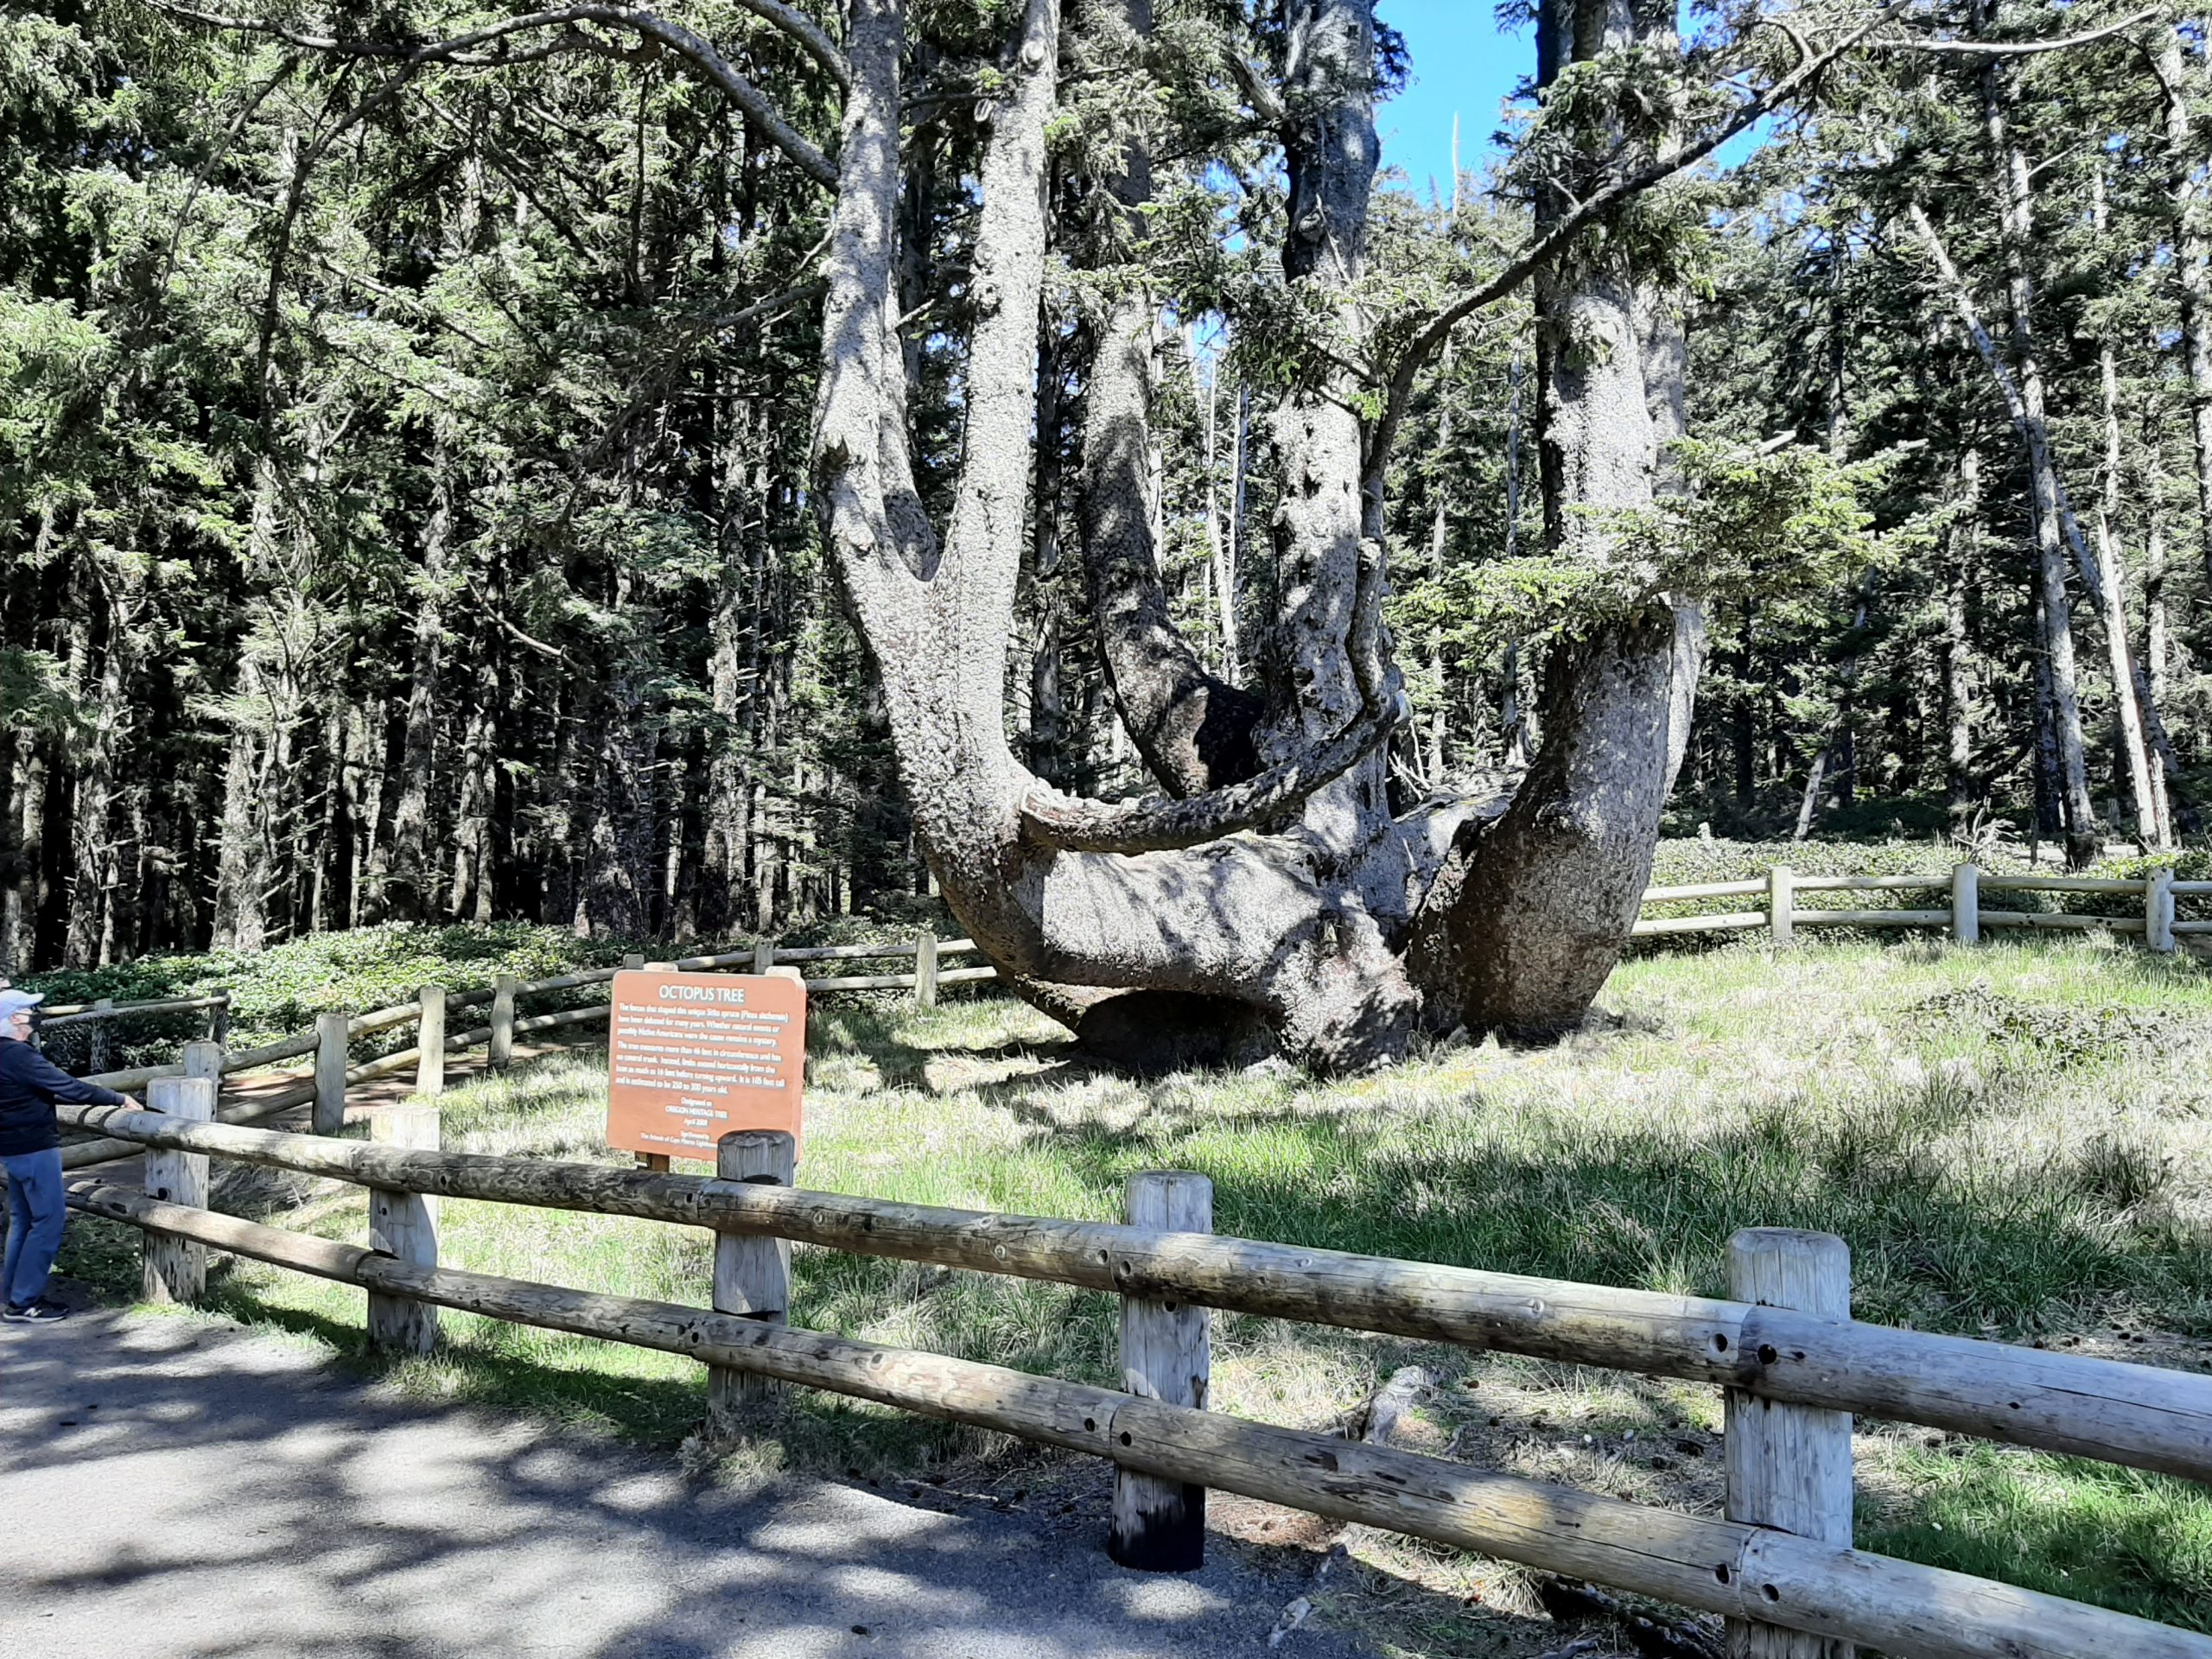
But what was of great interest to all of us, was the “octopus” tree, a 12-foot thick Sitka spruce (age somewhere between 250 and 300 years old). This old guy was magnificent. With its big old limbs and incredible height, it was quite the formidable giant. And as luck would have it, it was absolutely the perfect day to pay homage to this old fellow. The sun beams which found their way through the surrounding trees left beautiful dappled patches on this old denizen of the forest. And I’m sure the sun felt as inviting to this old tree as it did to all of us older humans. We could not have asked for better weather. Or better company.
Unfortunately, it is impossible to get every bit of this tree in one picture. Another couple of ageless beautiesTwo of the grandest people we know. And perfect traveling companions.
Then back to camp for a small lunch, a walk on the beach, dinner preparations, and travel blog writing.
April 14th – South Beach SP, Newport, OR – site F08
Lovely, spacious siteRick and Katie enjoying the afternoon sunLoved the open field behind our trailer
We broke camp at a very leisurely pace this morning because we knew our destination could be reached in less than 2 hours. And check out time wasn’t until 1:00 pm. And as with all Oregon state parks, check-in isn’t technically until 4:00 pm. Which, thank heavens, we have never been held to. We have even arrived before the park’s official check-out time and been told that if our spot had already been vacated, in other words the previous campers had already left, we were welcome to park it! So, in all cases, so far, and we’ve been trailering now for over 29 years, we have never been told that we must wait until the official check-in time. Because, the park rangers are not dummies! These rules were undoubtedly set by bureaucrats who obviously had never even been camping, or any realization that you don’t set up camp in 2½ minutes.
So, they have no idea what kind of congestion would occur if 100 trailers tried to check in at the same time. It would create utter havoc. But then, they were probably the same people who ordered the tsunami route in this campground to be closed off with Jersey blocks. Regardless of the big signs everywhere pointing to that very escape route. Truly, there are times when I wonder how the human race has lasted as long as it has. Pure, unadulterated luck, is all I can come up with! But back to the joys of traveling.
Instead of getting right back on State Route 101, we decided to take a scenic route through Pacific City. Lovely ocean vistas, and a new road for us.
We arrived at our site, shared a sandwich, and sat out in the sunshine reading our books. When Rick and Katie arrived, they joined us until it was time to get ready to proceed into Newport for our 6:15 pm reservation at Local Ocean, one of our favorite restaurants. Then back to camp for ginger cookies and Scotch. Lights out about 10:30. Another wonderful day in paradise.
April 15th – South Beach SP
Again, a relaxing morning with no pressure. Well, maybe a bit of pressure. I had brought a bit of my sourdough starter along for the ride (and so it wouldn’t die while we were away for a month), and it was high time I used the discard and gave my tiny yeasty guys something to eat. So, I made sourdough pancakes for breakfast. Sourdough starter, an egg, a bit of milk, and Krusteaz pancake/waffle mix. I wasn’t quite sure this would all work out, but OMG – these were some delicious pancakes. So, once again, I skated through a new recipe by the skin of my teeth!
Then after getting the kitchen cleaned up, I made a marinade for the flank steak Andy would be grilling that evening for our dinner. As accompaniments – Savory Israeli Couscous with Shiitake Mushrooms, and sautéed fresh asparagus.
Then into town for a bit of grocery shopping and a visit to Ace hardware and home again to read in the sun.
But we can only be slugs for so long before one of us gets antsy. So, we climbed in Rick and Katie’s truck and headed for Beaver country. Since it’s still April, and all of the marshy areas are still mucky, we couldn’t go for the walk we planned, but instead took a short walk in the Mike Miller Education woods. Short, but at least we got some exercise. Then back to camp for a small lunch, writing for me, and reading for the others. I love vacation.
Let’s follow this path. Right!?!?A little too wet to navigate through this area. And no sign of beavers. Sigh…….
April 16th – South Beach
Woke to another glorious morning. Sunny, light breeze, absolutely pleasant. Slow start to the day. No real plans except to go to the aquarium. But first Rick and Katie went into town to do some laundry, Andy headed out for a beach walk, and I stayed around camp to read and do some exercise. I over-achieved at the reading part, and slightly under-achieved at the jazzercise part. (No fun without the music and of course I had forgotten to bring my Fat Friday CDs along with me.) But at least I got some exercise in before I turned completely into a slug!
Canoes along a narrow channel on Andy’s walk to the beachSeal RockSea grass drying in the sunThen back to camp
Around 2:00 Rick, Katie, and I headed out to visit the aquarium. Sure we did. When we arrived, we were greeted with a sign that required that we show our pre-purchased tickets before we were allowed to enter. What? Last year when we were down here before Covid-19 was declared a pandemic, and a couple of times before that, there had been no such thing as having to make a reservation. But this year, with all the protocols associated with Covid-19, I guess it only made sense that entry would be limited. We had been so tied to our homes this past year that none of us even considered the fact that we might not be able to walk right in. It’s a brave new world in which we now find ourselves. And this had been yet another reminder that things are different now. (Another lesson learned the hard way.) So we drove around some of the beach areas around Newport and then back to camp.
That evening we enjoyed a beautiful smoked/grilled salmon dinner compliments of Katie and Rick. Then sat around talking in our shirt sleeves until forced inside to avoid further being eaten by mosquitos. This was the first night we had been bothered, but then, this was the first night we hadn’t experienced wind. Can’t have everything. Thankfully, there are screens on our windows, so we can sleep peacefully without the buzz and bites from flying critters. Then early to bed so that we could wend our way South the next morning. Another wonderful day of camping.
April 17th – Bullards Beach SP, Bandon, OR – site A17
I would love to be able to say that the drive along the ocean provided us with delightful vistas, but the entire time we had low fog off the water. So, no wonderful glimpses of waves and beach. We had to rely on our memories of past visits. Of course, it was still wonderful driving through wooded glades, and through towns that we had passed through many times before. That was still wonderful. Like seeing good friends, even if we only see them infrequently. But we sure did miss seeing all the haystacks along the way. They make this beautiful coast so very inviting.
Stopped along the way for fish and chips at Griffs on the Bay Restaurant in Winchester Bay, then proceeded on to one of our favorite campgrounds.
We have stayed at Bullards Beach SP several times over the years. It’s not a fancy campground, but the sites are set well apart and it’s very quiet at night. And of course, as with many of the state parks in Oregon, there are fabulous day use areas attached, so beach walks are close and easy to come by.
So, after arriving at about 2:30 pm, we headed off to the public market to see if we could purchase some cheesecake from one of our favorite vendors – Chubbie Girl Cheesecakes. Yum. The owner makes both savory and sweet cheesecakes, and we’ve gotten kinda hooked over the years. But the market had just opened (that darn covid-19 thing again) and no Chubbie Girl offerings yet. Wah! But never to be distracted from the call of cheesecake, we found some at The Fleet Deli. It’s presently in our freezer waiting for just the perfect time to thaw it out and serve it up. Then back to camp to enjoy cocktails with Rick and Katie until it was time to go to one of our favorite restaurants in this part of the world. Edgewaters restaurant is close to the old town but set at the river’s edge. Good food, good service, and lucky for us, accepting reservations. And I know, most decent restaurants accept reservations, but this was the second restaurant that we had visited, that had only been open a short time to inside dining. The restaurant we had dined in at lunch time had only been open for inside dining for 3 days. And Edgewaters, only since the middle of March (or at least that’s what I think our waitress said). With my diminished hearing and everyone speaking through masks, I sometimes find it difficult to hear every word of a conversation. But I do know that inside dining hadn’t been available for very long.
And it’s not that we go out all that often for dinner when we are camping. But we are on vacation, and after a year of not going out for dinner, it’s like some kind of a rare treat to have someone else prepare our food. (And do the dishes!)
But I can’t complain. When we travel with Rick and Katie, Katie and I take turns cooking dinner for the 4 of us. And what a treat that is, to merely show up, have a drink and often a small appetizer, eat a delicious dinner (Katie is a great cook), then excuse ourselves to go back to our own trailer with a happy tummy and no mess to clean up. We cook our own breakfasts and lunches, but having every other night off from dinner preparation is heaven.
So, after a lovely dinner at Edgewaters, it was back to our trailers for quiet time and for me an early to bed. When we are at home, Andy usually is the one to say he’s heading off to bed first. And then I trundle along after a few minutes. But on vacation, I’m usually the one who gets sleepy first, and the only thing I can think of when my pillow starts calling my name, is blessed horizontality.
Even though the sun never really appeared today, there wasn’t any rain. In fact, when I face timed with daughter Paula in the late afternoon, she told me that drought had already been officially declared for Oregon.
But for us, it was another wonderful day in the glorious state of Oregon.
April 18th – Bullards Beach SP
Still no sun. Well, no sun we could see through the fog, that is. But that never keeps us down. We did what all people who are crazy about oysters do, we drove up to North Bend (about 25 miles north of us) and bought oysters to grill for an appetizer that evening, and a quart of extra small oysters for me to fry up the next night. (Who needs the sun to have fun, when you can buy fresh oysters?)
Then back to camp for lunch. And after lunch, off to get gas, post a birthday card, and visit one of my favorite galleries – Bandon’s Second Street Gallery.
We must always visit this gallery when we are in Bandon. I always seem to find something that absolutely refuses to stay at the gallery. It bugs me until I am forced to take it home with me. I seem unable to refuse! And of course, this year was no exception.
Our new tile (on the left) now has a home on the shelf over the toilet in our guest bathroom. He definitely seems happy to have a new friend with whom he can now share all the joys of life.
Then back to camp for Andy to take a beach walk and me to catch up on my writing.
Dinner was provided by Rick and Katie – cold salmon, big old salad, and light rye bread. But the piece de resistance of the meal was the appetizer. Oysters on the half shell. Rick had heated them on the BBQ until the little darlings opened up enough for him to further pry open their shells. Then before they could even begin to complain, they were consumed by 4 oyster aficionados.
Then back to our trailer for reading, writing, and an early to bed.
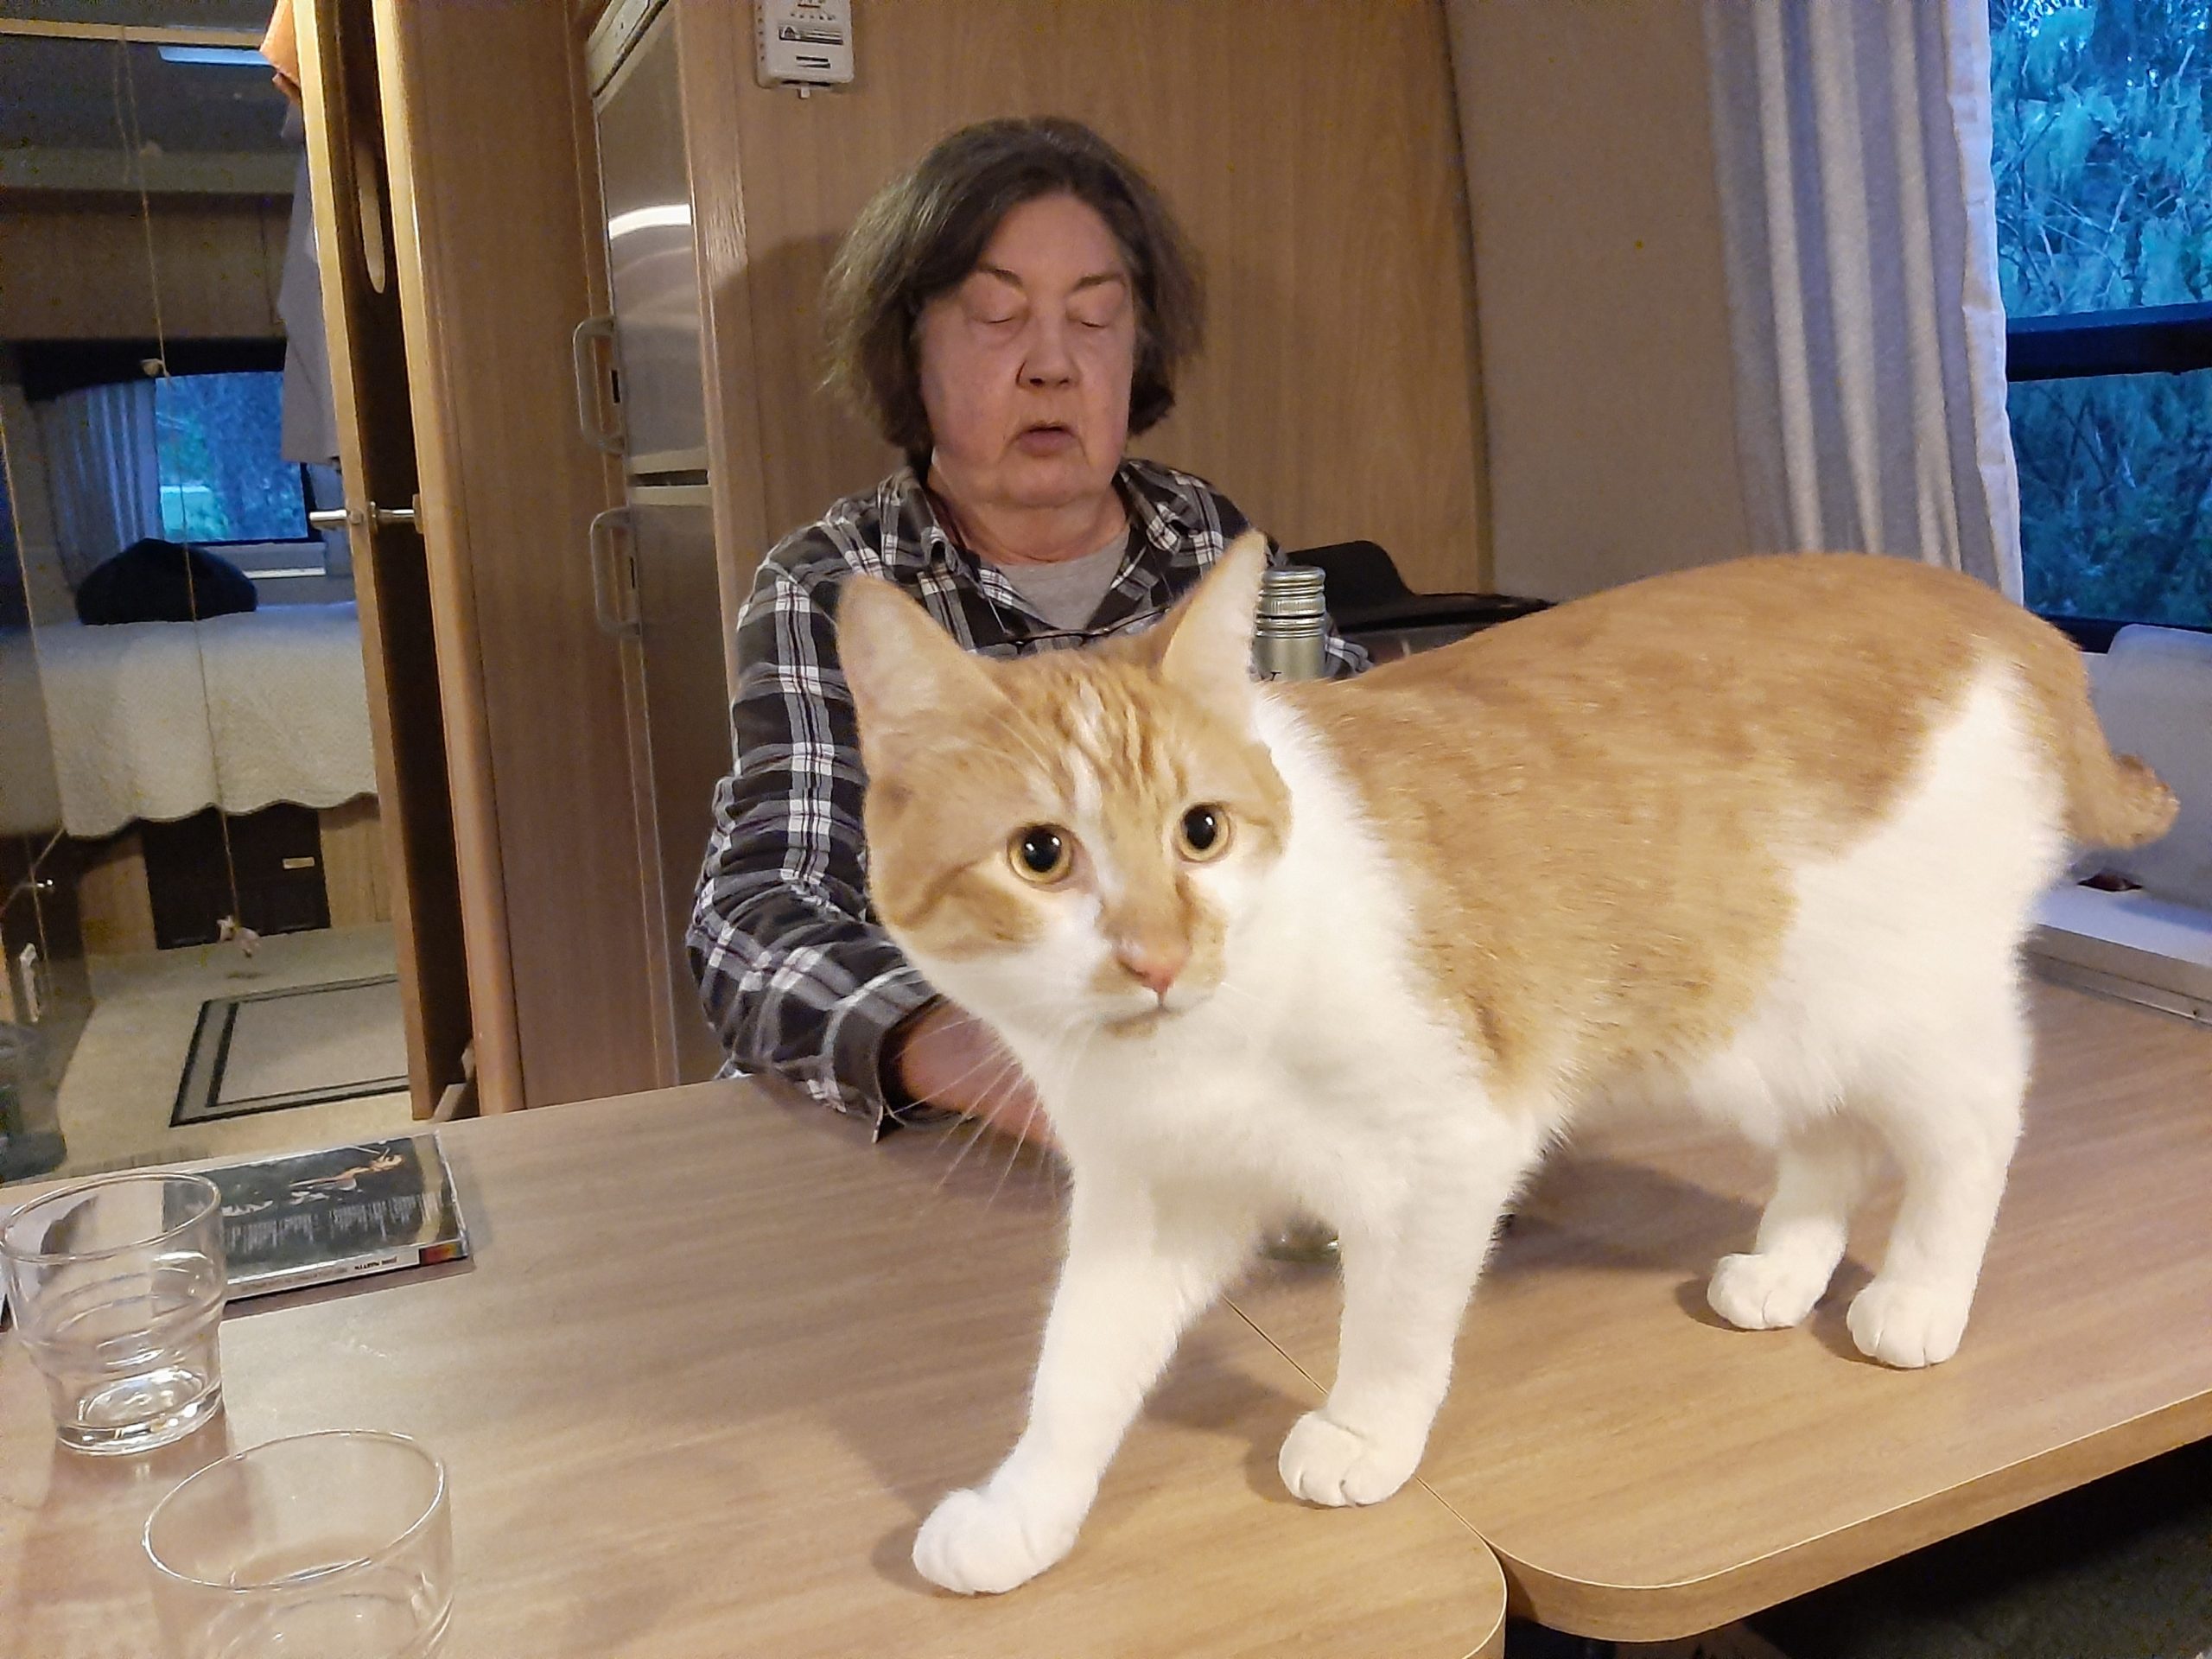
Before dinner time in Rick and Katie’s trailer. Their new kitty Beau was just as curious about us as we were delighted to be in his presence. A fine addition to the family.Well we were OK to spend time with until some type of flying insect took his eye. Fickle critters be kittens.
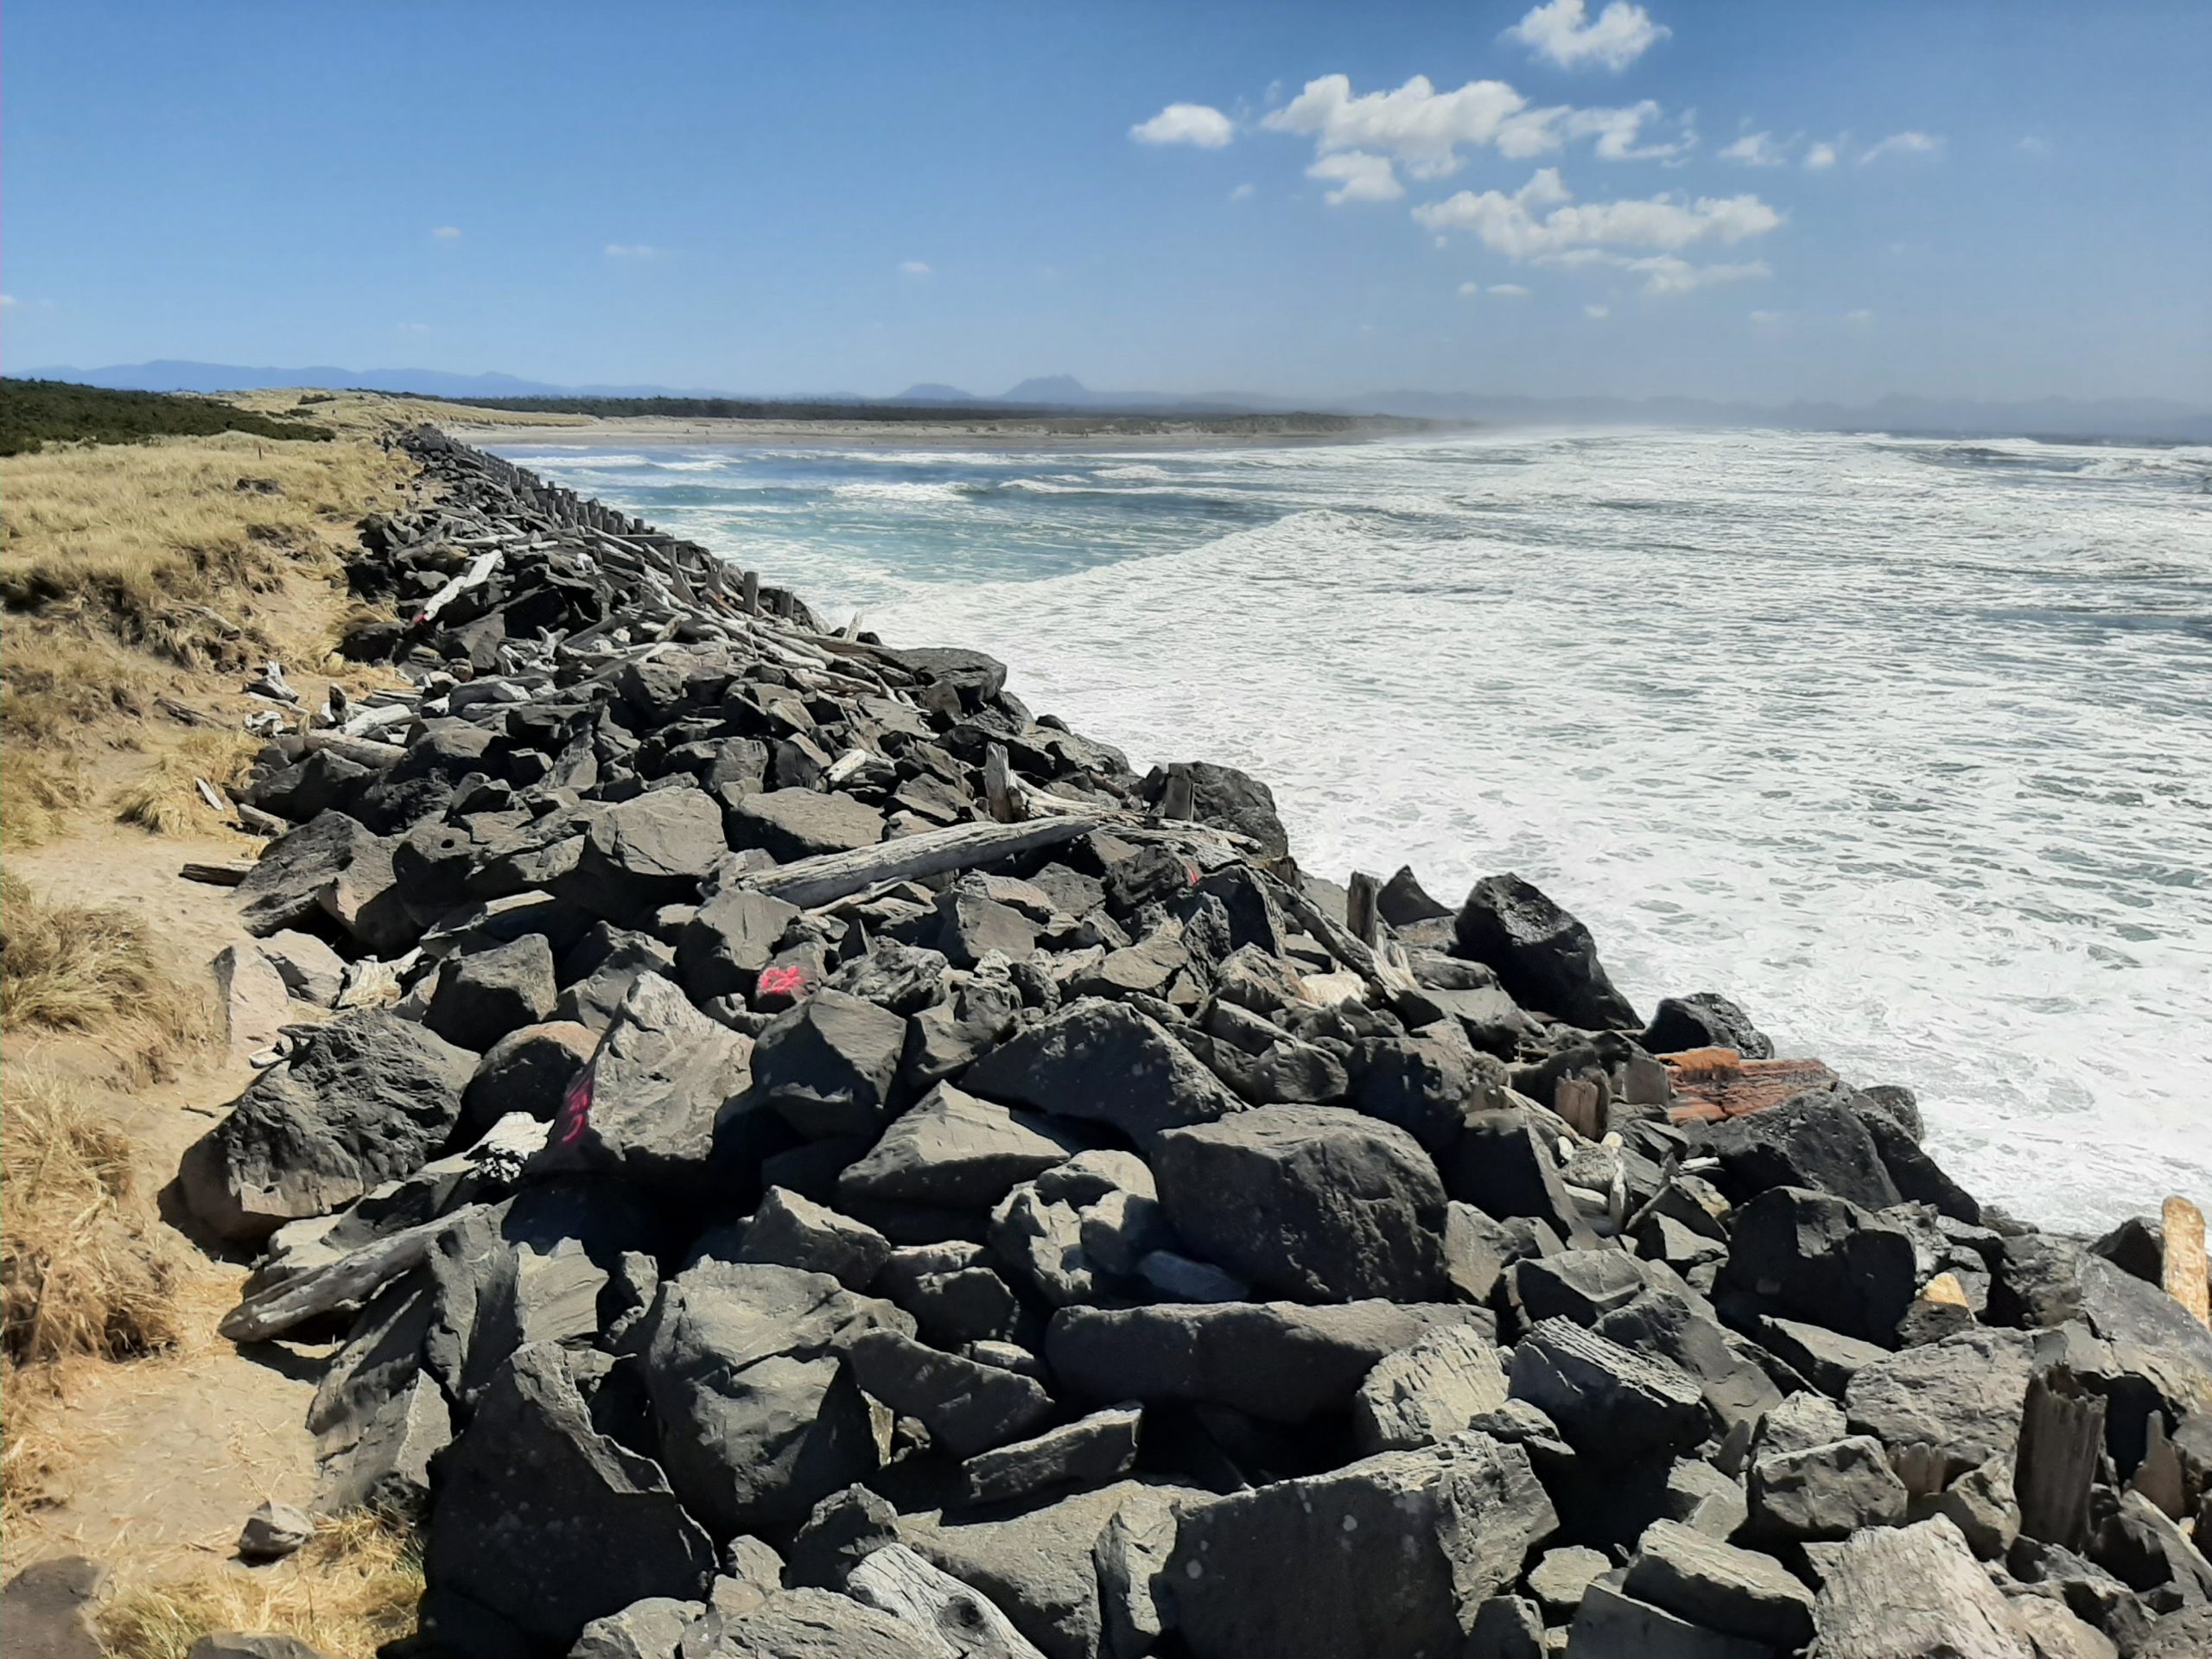
April 19th – Harris Beach SP, Brookings, OR – site A03
Another lovely site
I love waking up late, startled a bit by the fact that we were breaking camp that day, but then remembering that we only had about 80 miles to our next camp. So, no worries. Time to take a leisurely shower, enjoy an unhurried breakfast, and break camp without breaking a sweat! Nice feeling not to be rushed and no pressure.
In past years, before we got smarter (and older), we would plan short stops and fairly long driving days. Since realizing that we aren’t in our forties any longer, we tend to stay longer in one place and try not to have a drive day over 4 hours. Of course, that can’t always be the case. But we endeavor to keep our destinations within a reasonable distance of each other. In Oregon, that’s not a problem because there are state parks everywhere along the coast. Which means, as many times as we have travelled along this route, we still have not stayed in them all. (But we’re working on it!)
So, even with a somewhat late start, we arrived at Harris Beach at about 2:30. Then time to unhitch and proceed into town for groceries and a camping stove. And I know you are wondering why I felt the need for an outdoor stove when I have a perfectly wonderful 3 burner stove in the trailer. Well, while we were in Bandon and I had purchased the oysters to serve for dinner that evening, I had temporarily forgotten what a mess it is to fry oysters. Now, if you have never fried oysters, then you can’t possibly know how much the little coated darlings splatter oil all over the kitchen as they cook. At home, I have a powerful fan and a splatter shield to help eliminate most of the mess. Or I can choose to cook them outside on the burners I have in our outdoor kitchen. But in a small trailer, the thought of oyster grease everywhere was daunting. (Not to mention disgusting!) So, to Fred Meyer we proceeded. No camping stoves there. But two helpful employees in the sporting goods area suggested Bi-Mart.
Now we were not familiar with Bi-Mart since there are none in our area of the world. But both of the helpful gentlemen at Fred Meter ensured us that Bi-Mart had a lot of camping gear, so off we went. Sure enough, they had several stoves from which to choose. And I must say, camping stoves have improved dramatically since the last one I purchased probably 40 years ago. This baby had some real BTUs. So along with coleslaw and sautéed fresh asparagus, we pigged out on fried oysters with lemon aioli. And I must say, I’m pretty sure I have never cooked that many oysters before. So many, that I thought we would be eating leftover oysters for days. Huh! All that was left was the paper towel used for draining the cooked oysters. And Rick even made some comment about eating it too. (The man loves oysters!) As do we all. And because of my new camping stove, no mess or smell in the trailer. And on warm days, I now have a way to cook outside and remain one with nature as I prepare our dinners. Not to mention, one more thing for Andy to pack in the back of our truck each time we take a trailer trip. Good thing he remains such a fine sport in spite of the fact that he gets all the dirty end of the stick duties! He loads the truck with all the camping essentials like camp chairs, hiking sticks, BBQ, golf clubs, extra water etc. etc. He always gives the truck an oil change and makes sure it’s fully gassed and as ready for travel as possible. I plan, procure, and build the fun things for the trip. Like tasty delicacies to serve at appetizer time, planning the menus, baking cookies and other treats, and deciding which granola to take. You know – the fun stuff. All in all, the division of labor still works with nary a complaint from either of us. (But I really do get the better end of the deal.)
After dinner, it was dishes, and quiet time for reading before our pillows called to us that it was time to lay our heads down for the night.
April 20th – Harris Beach SP
Woke up to another sunny day. So far on this trip (and yes I just knocked on wood), we have had no rain along the coast. Unbelievable for this time of year, but we’ll take it. Some trips we have taken in March along this same amazing route have found us indoors for days at a time. No problem, because we can always find a good book to read or a game to play. But it can get a bit boring just staring at 4 walls that are really too close for comfort! But we have survived, and I’m sure, there will be other trips with continuous rain for us to endure. But there is just something about Harris Beach SP.
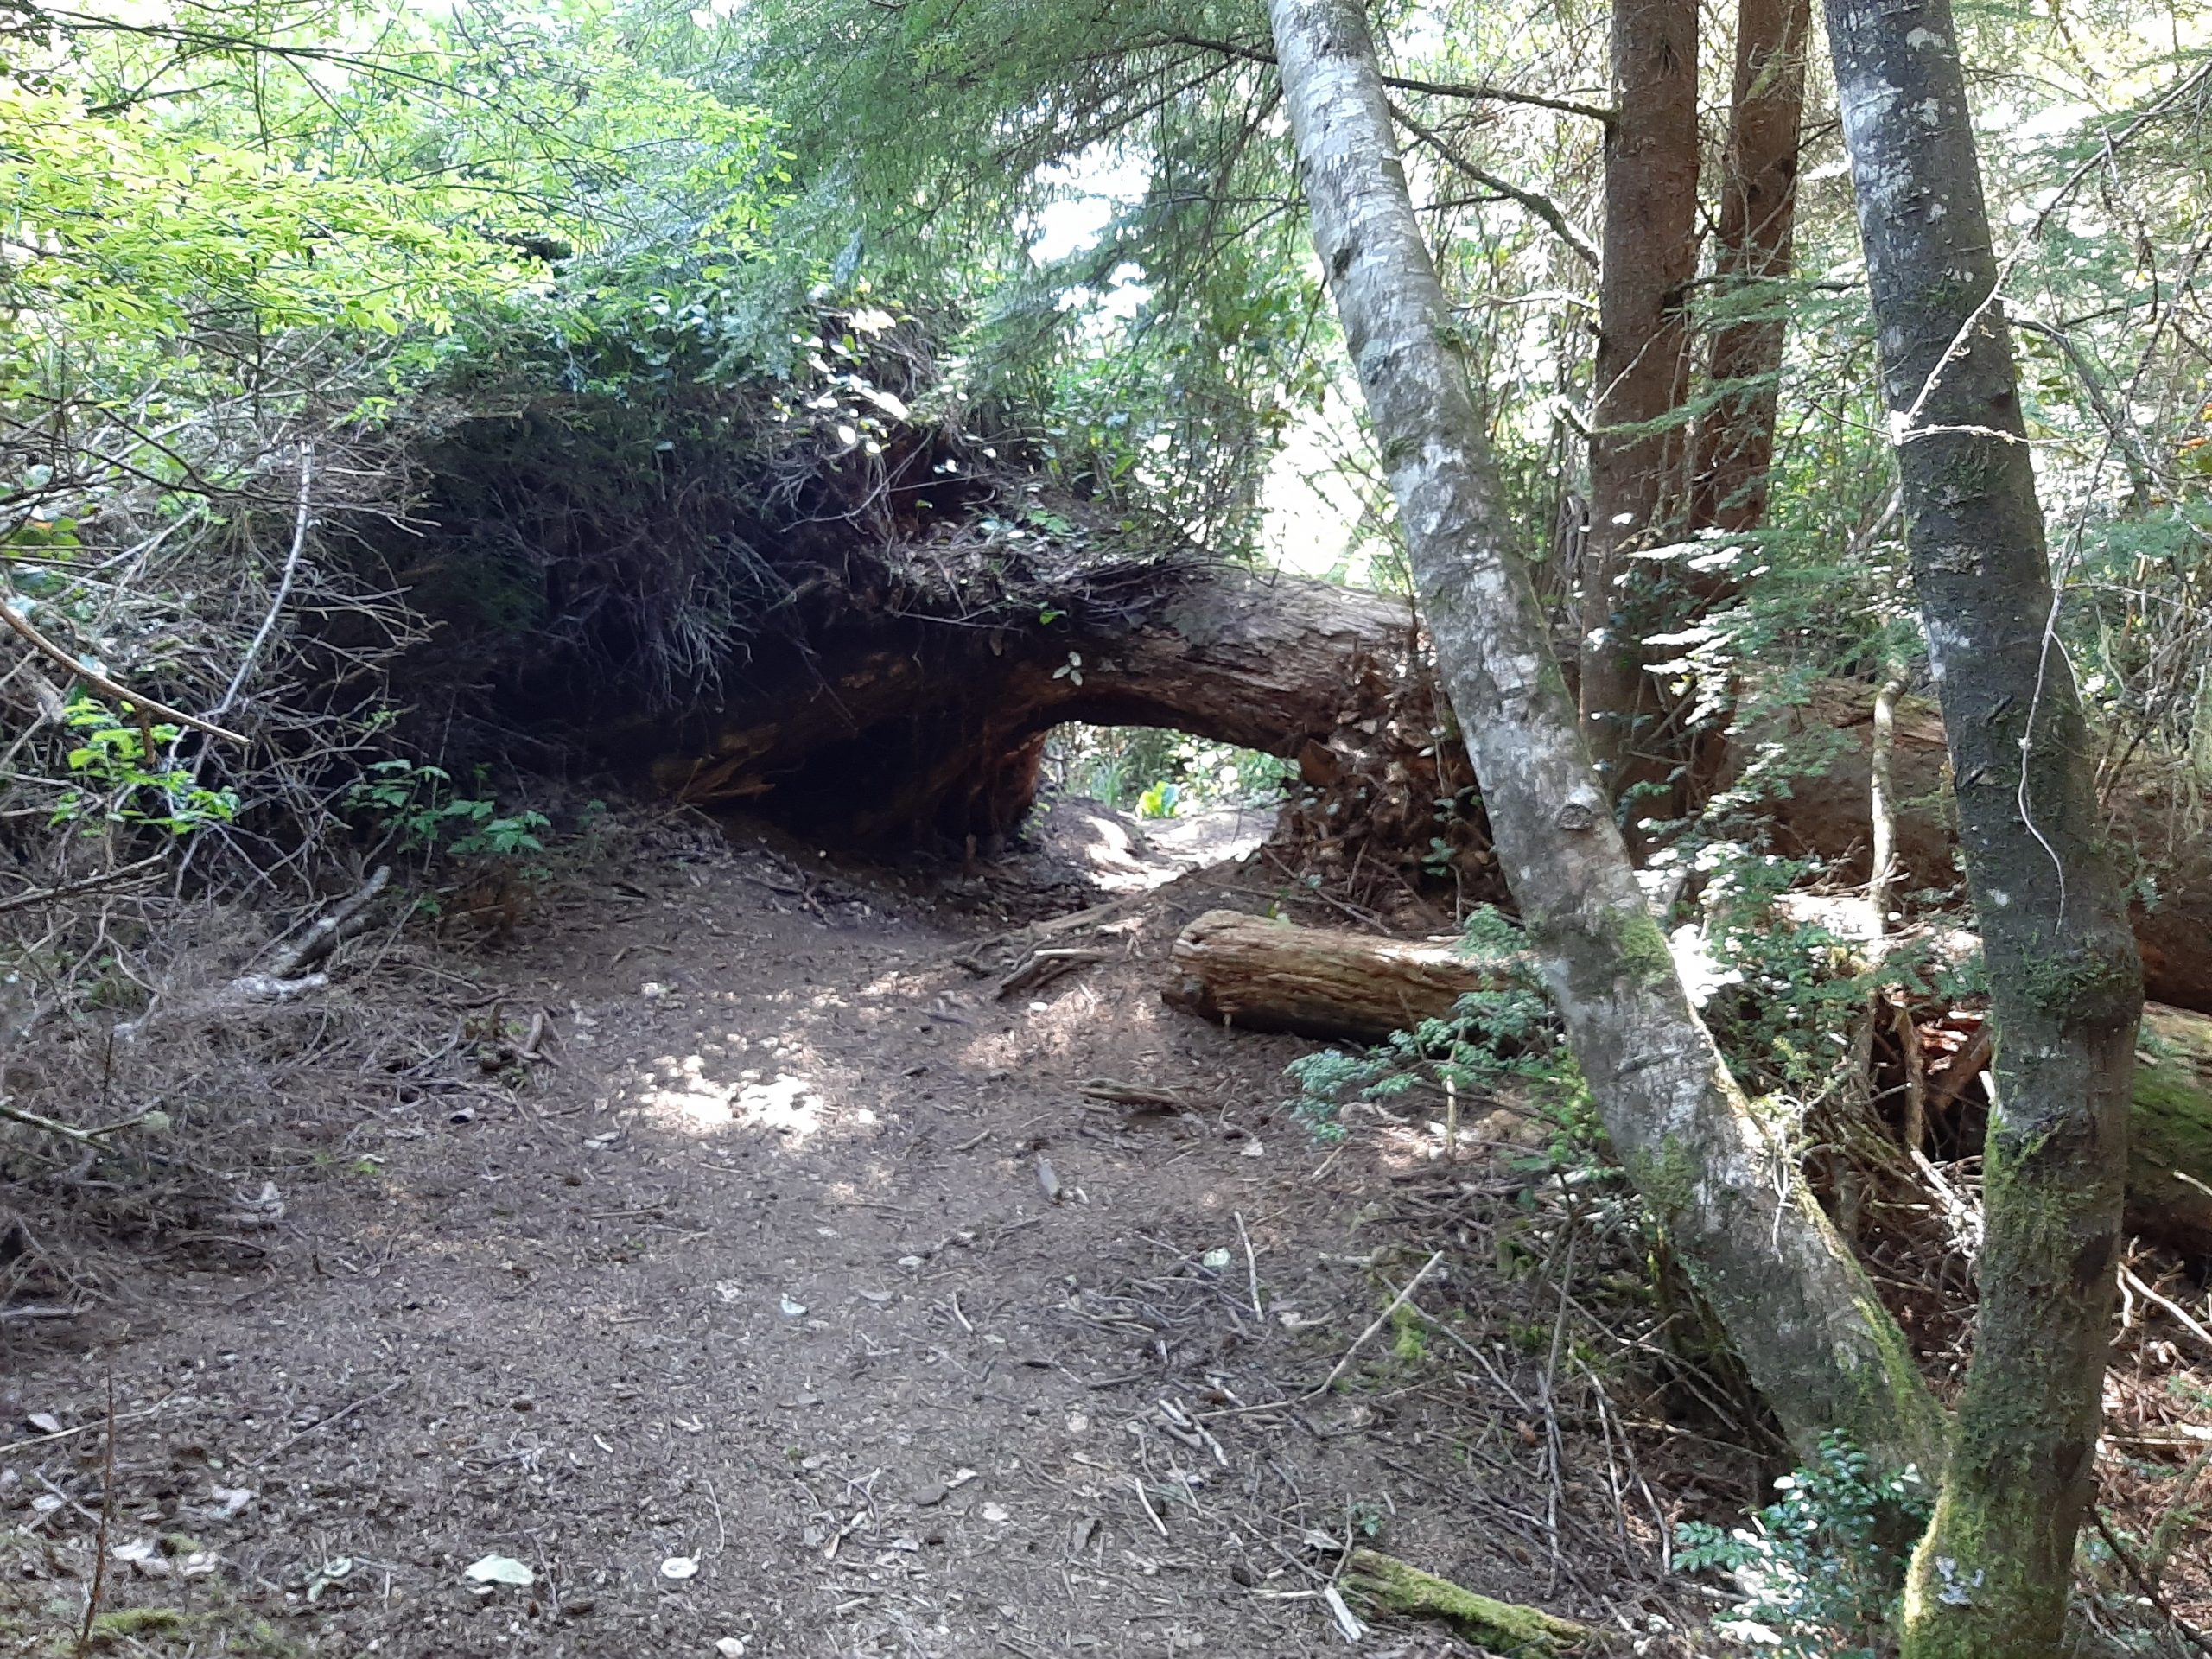
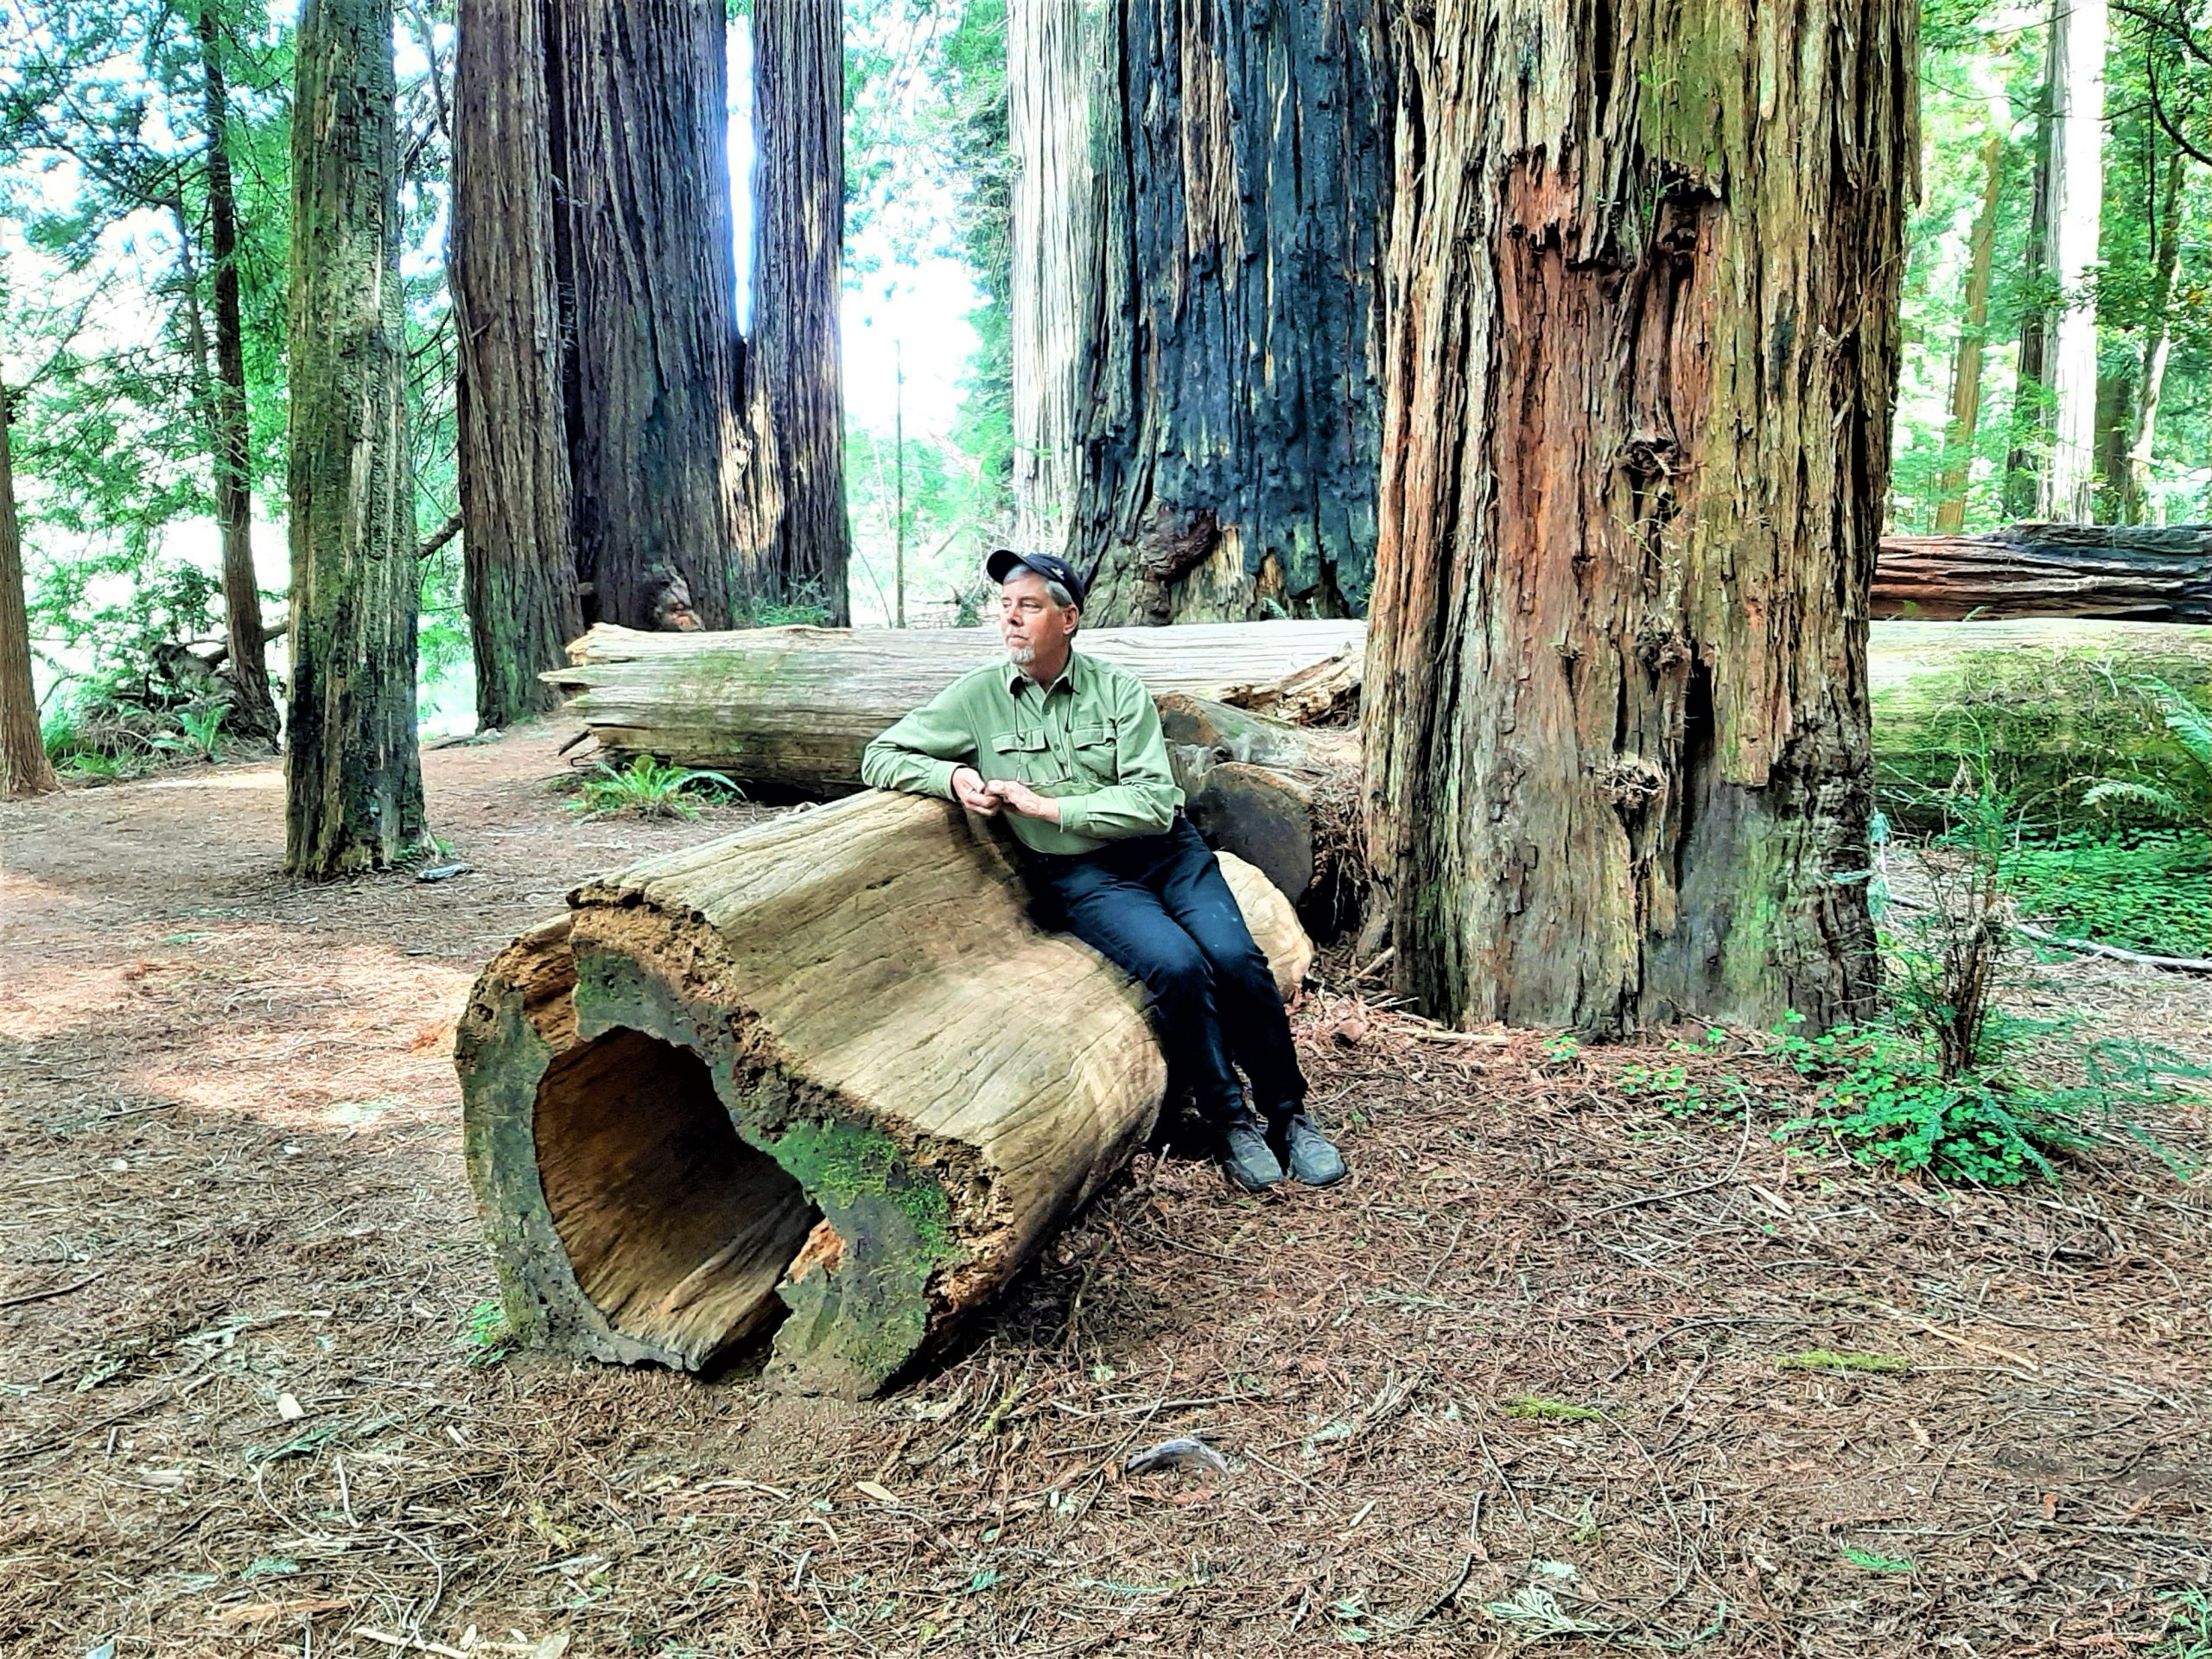
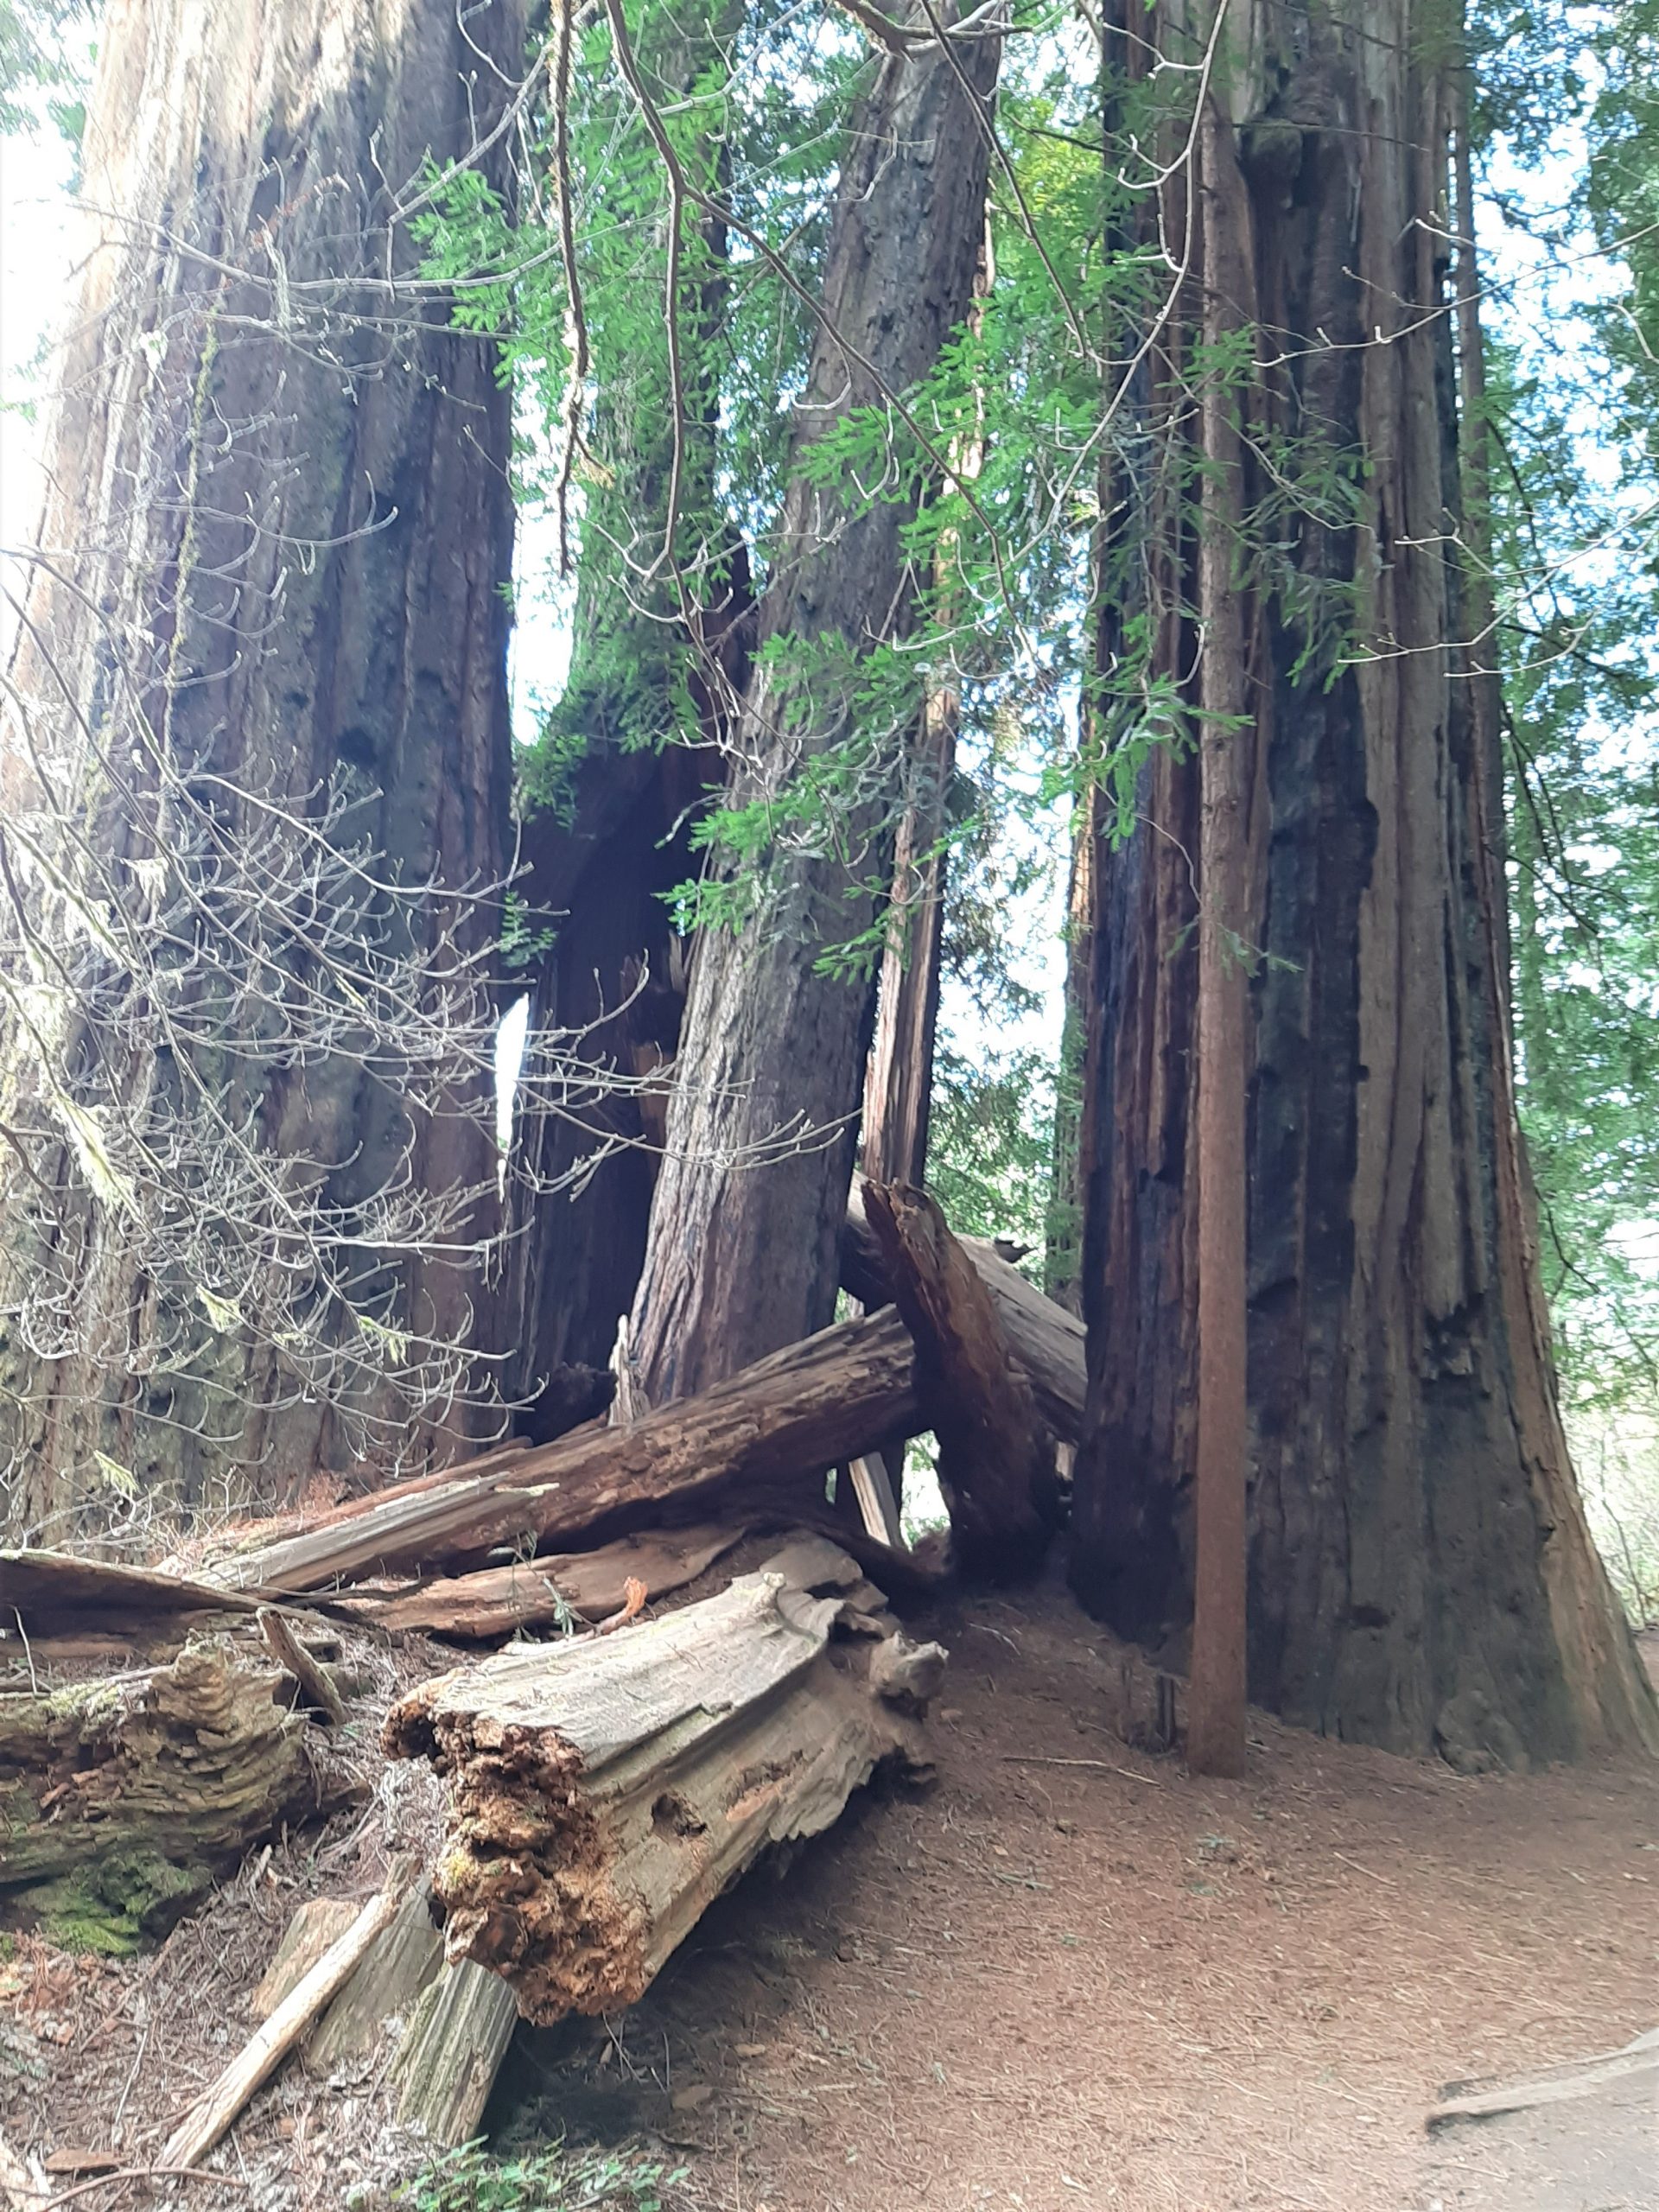
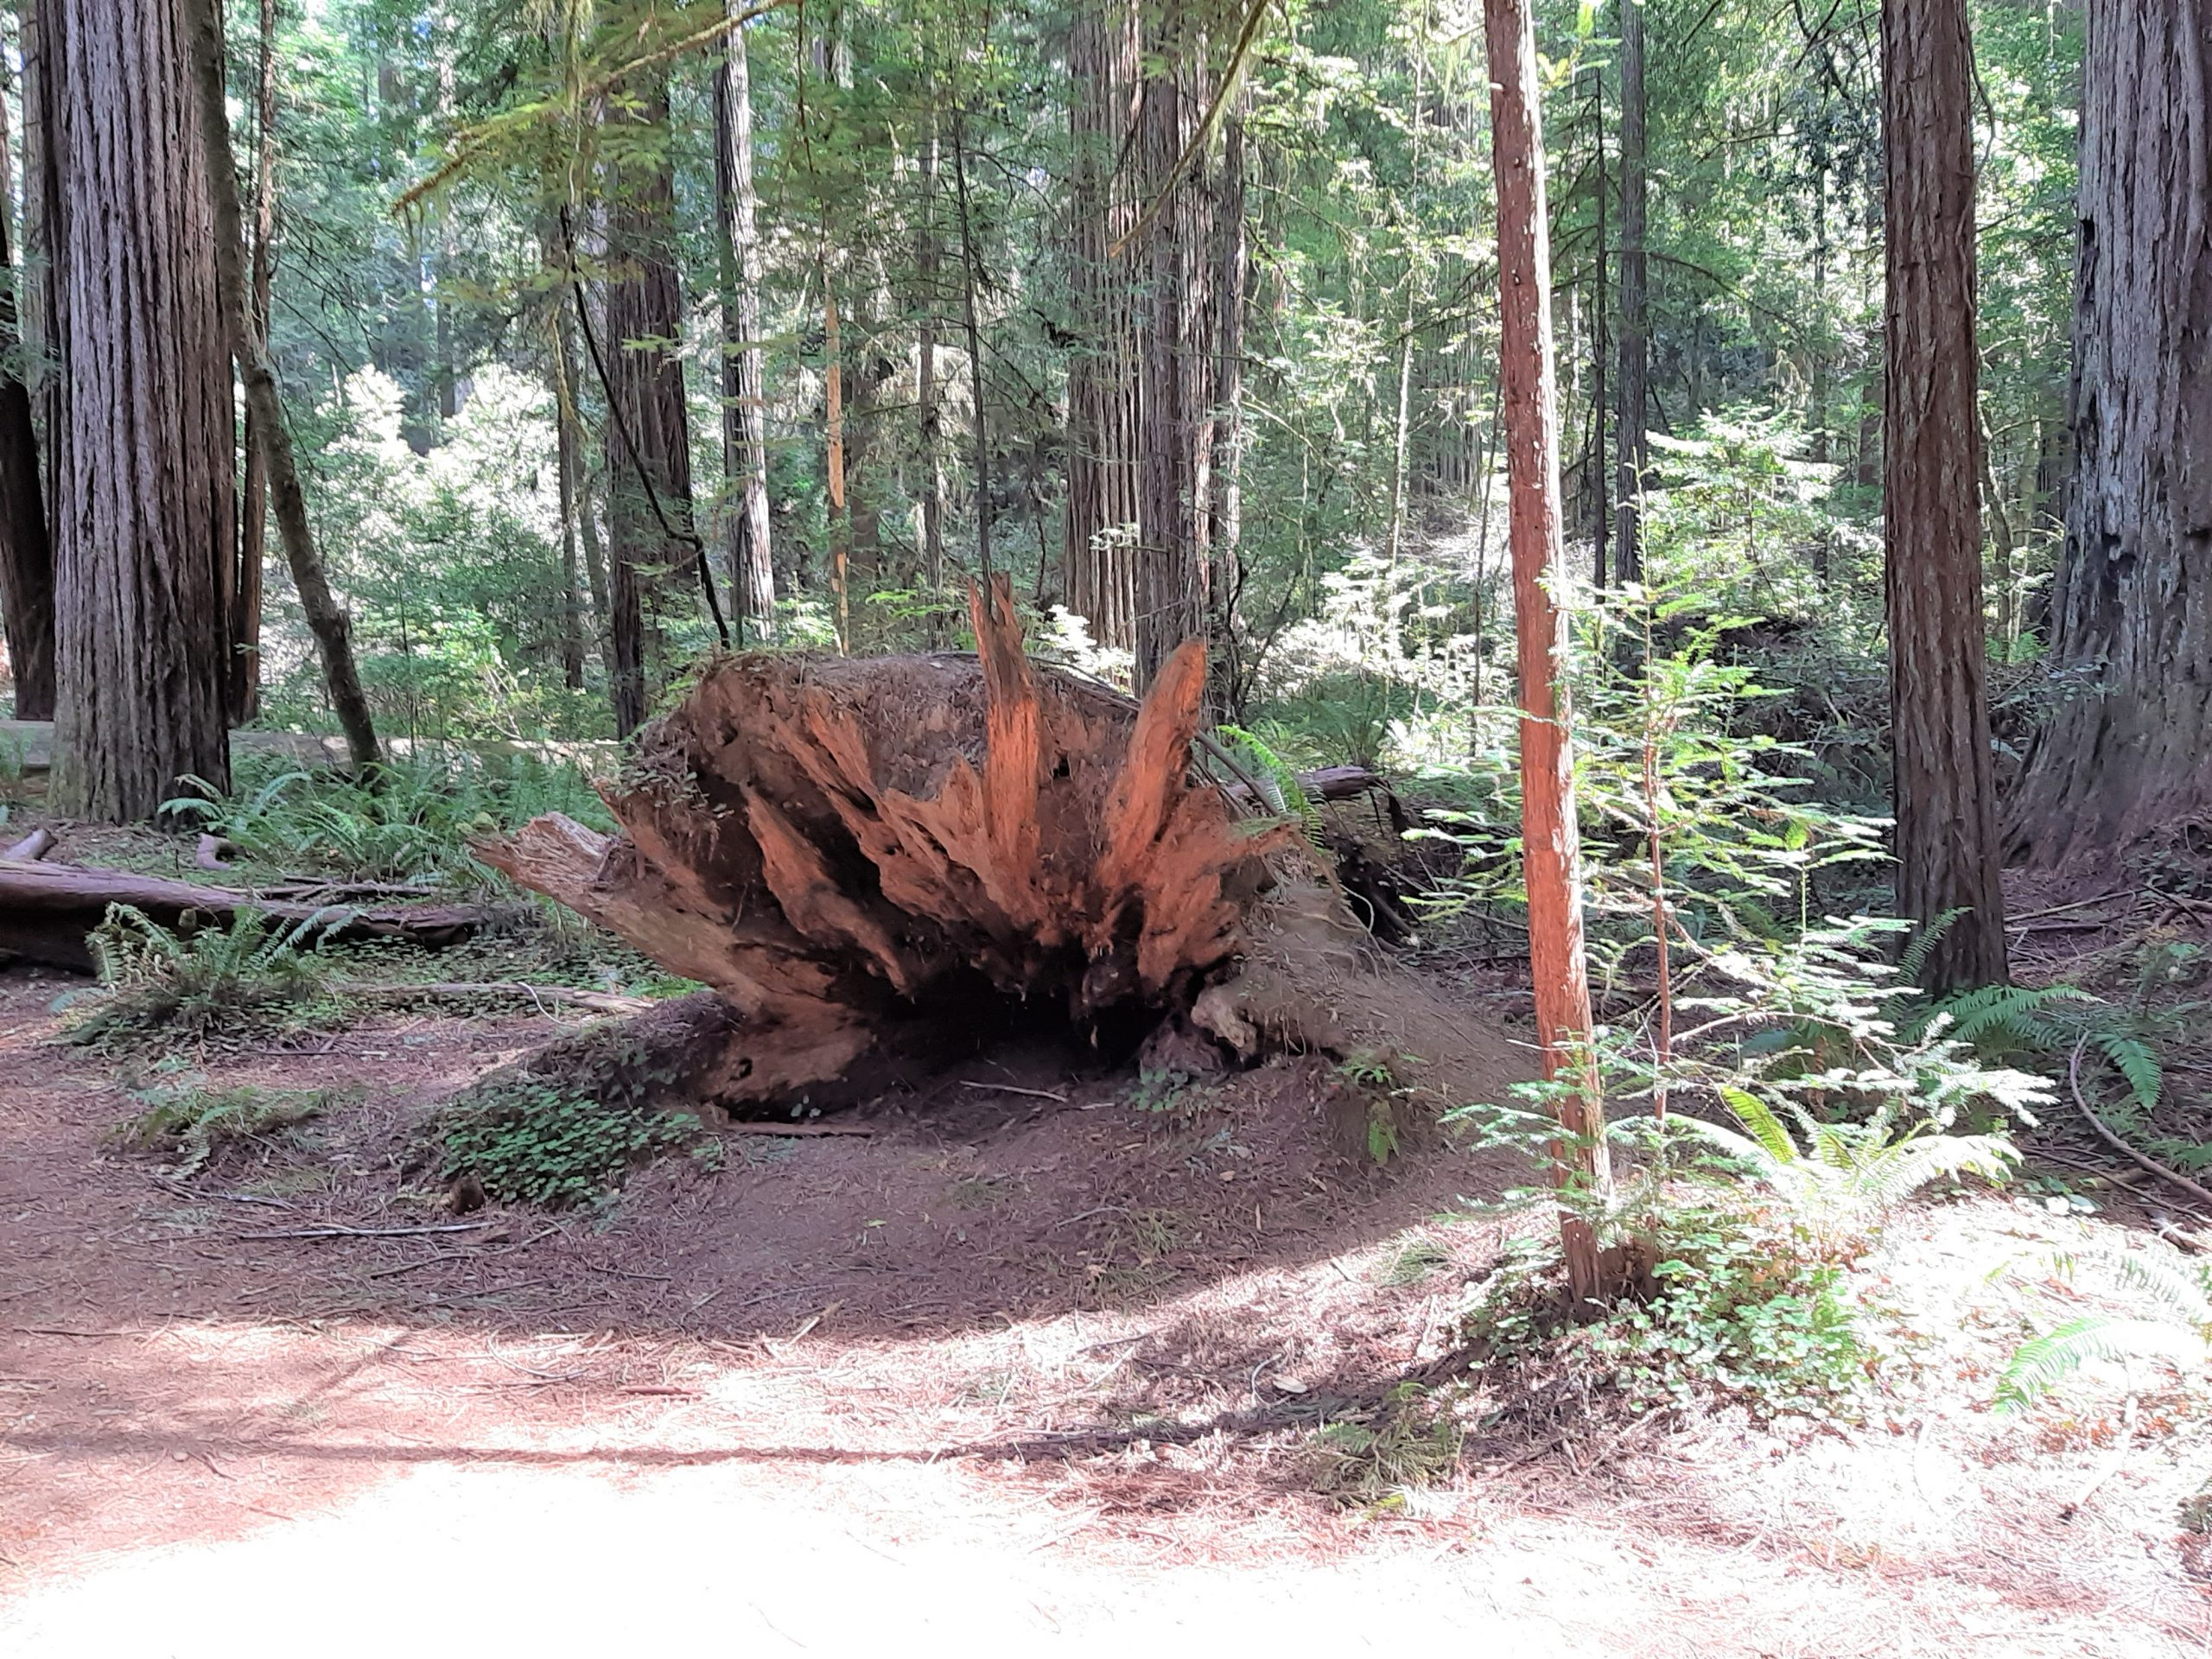
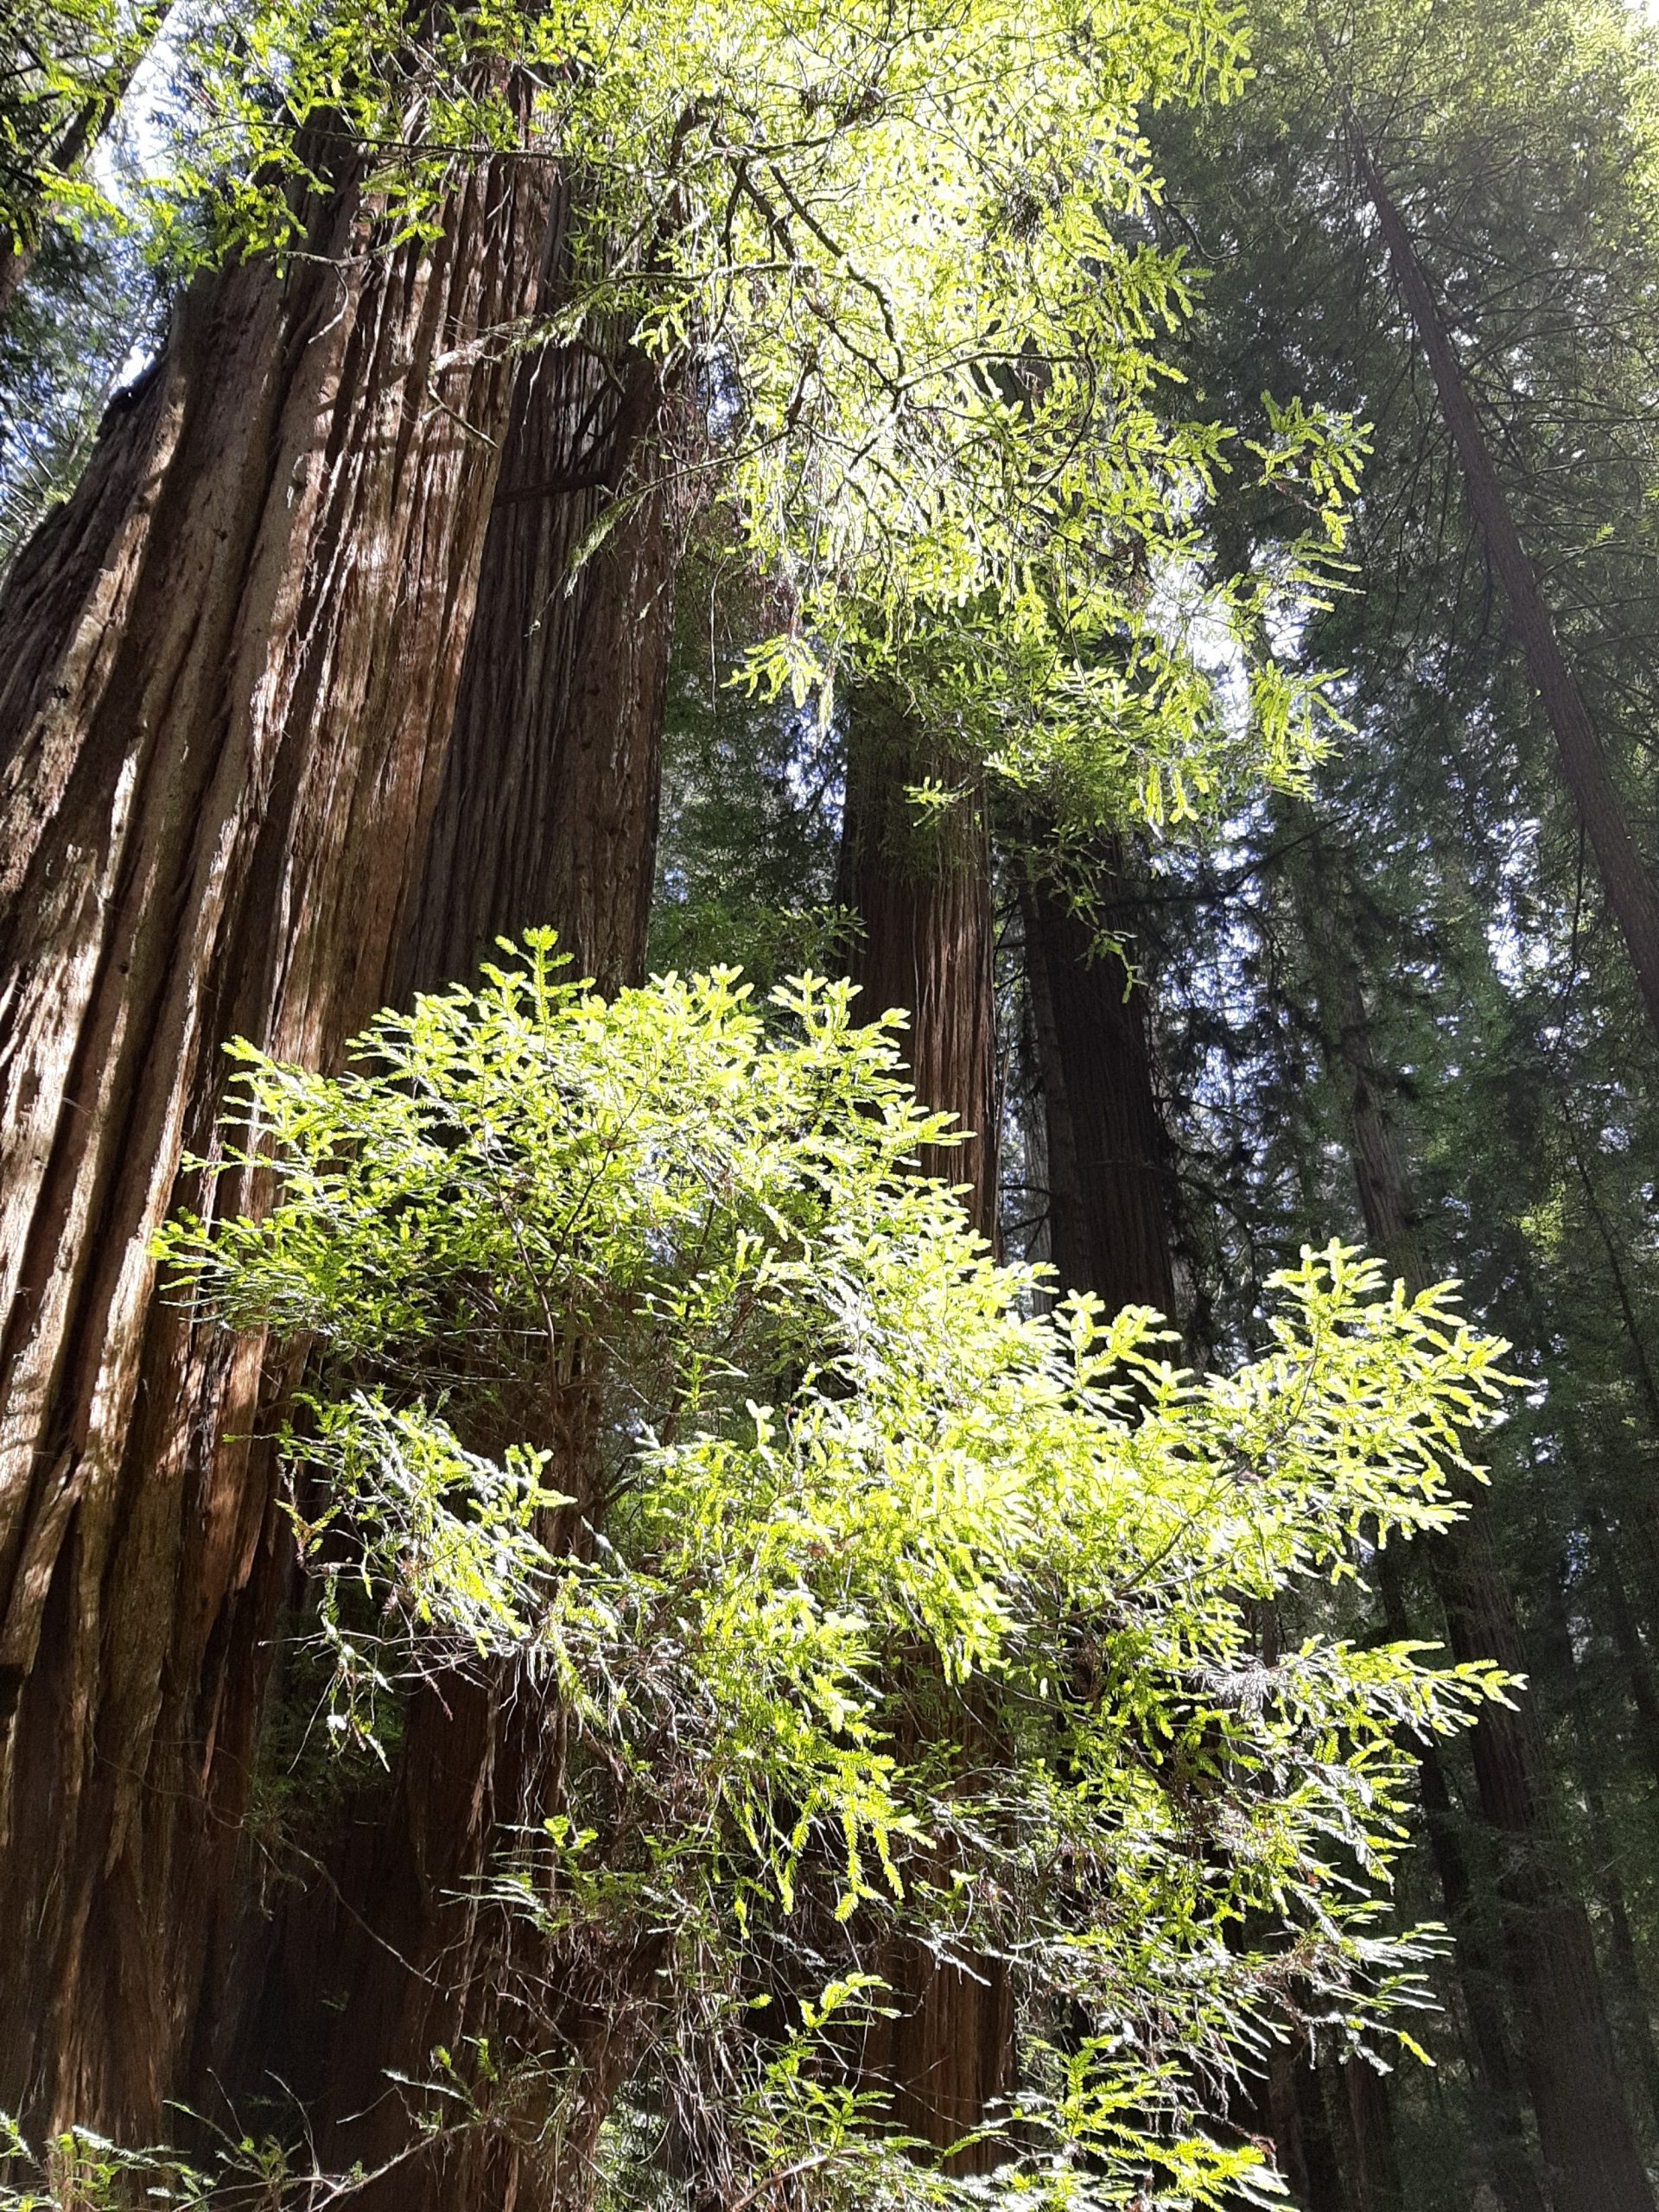
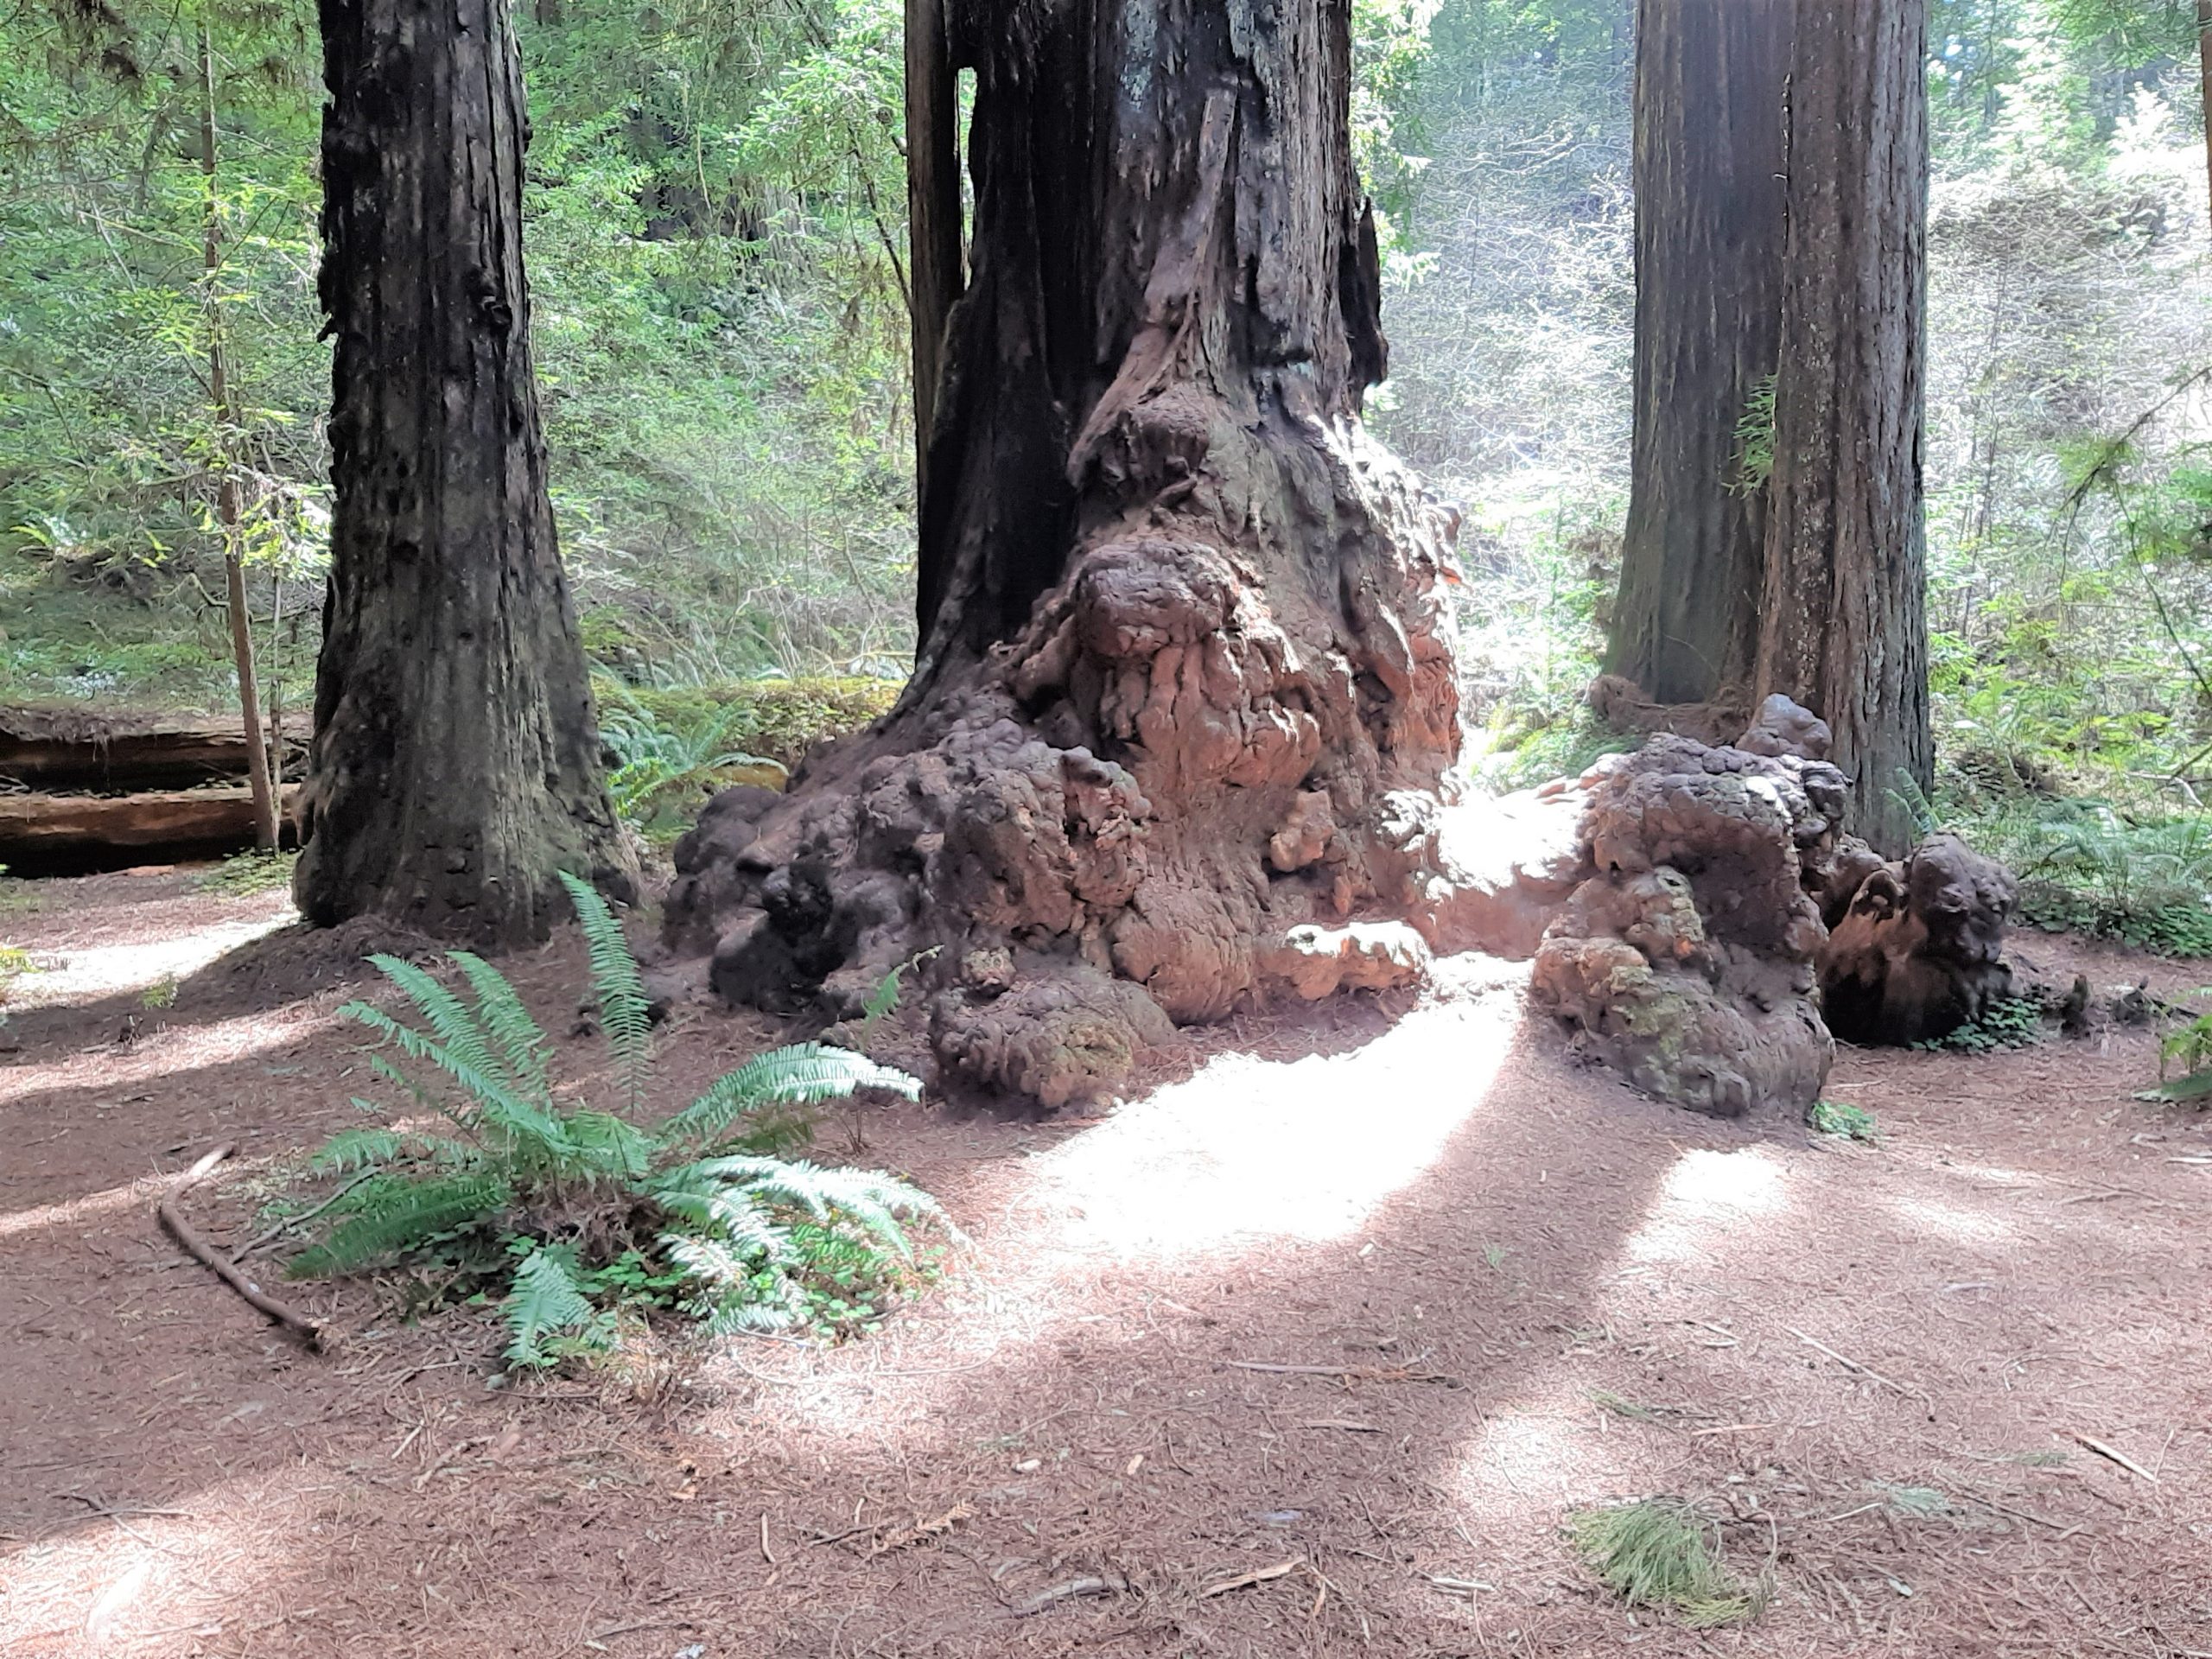
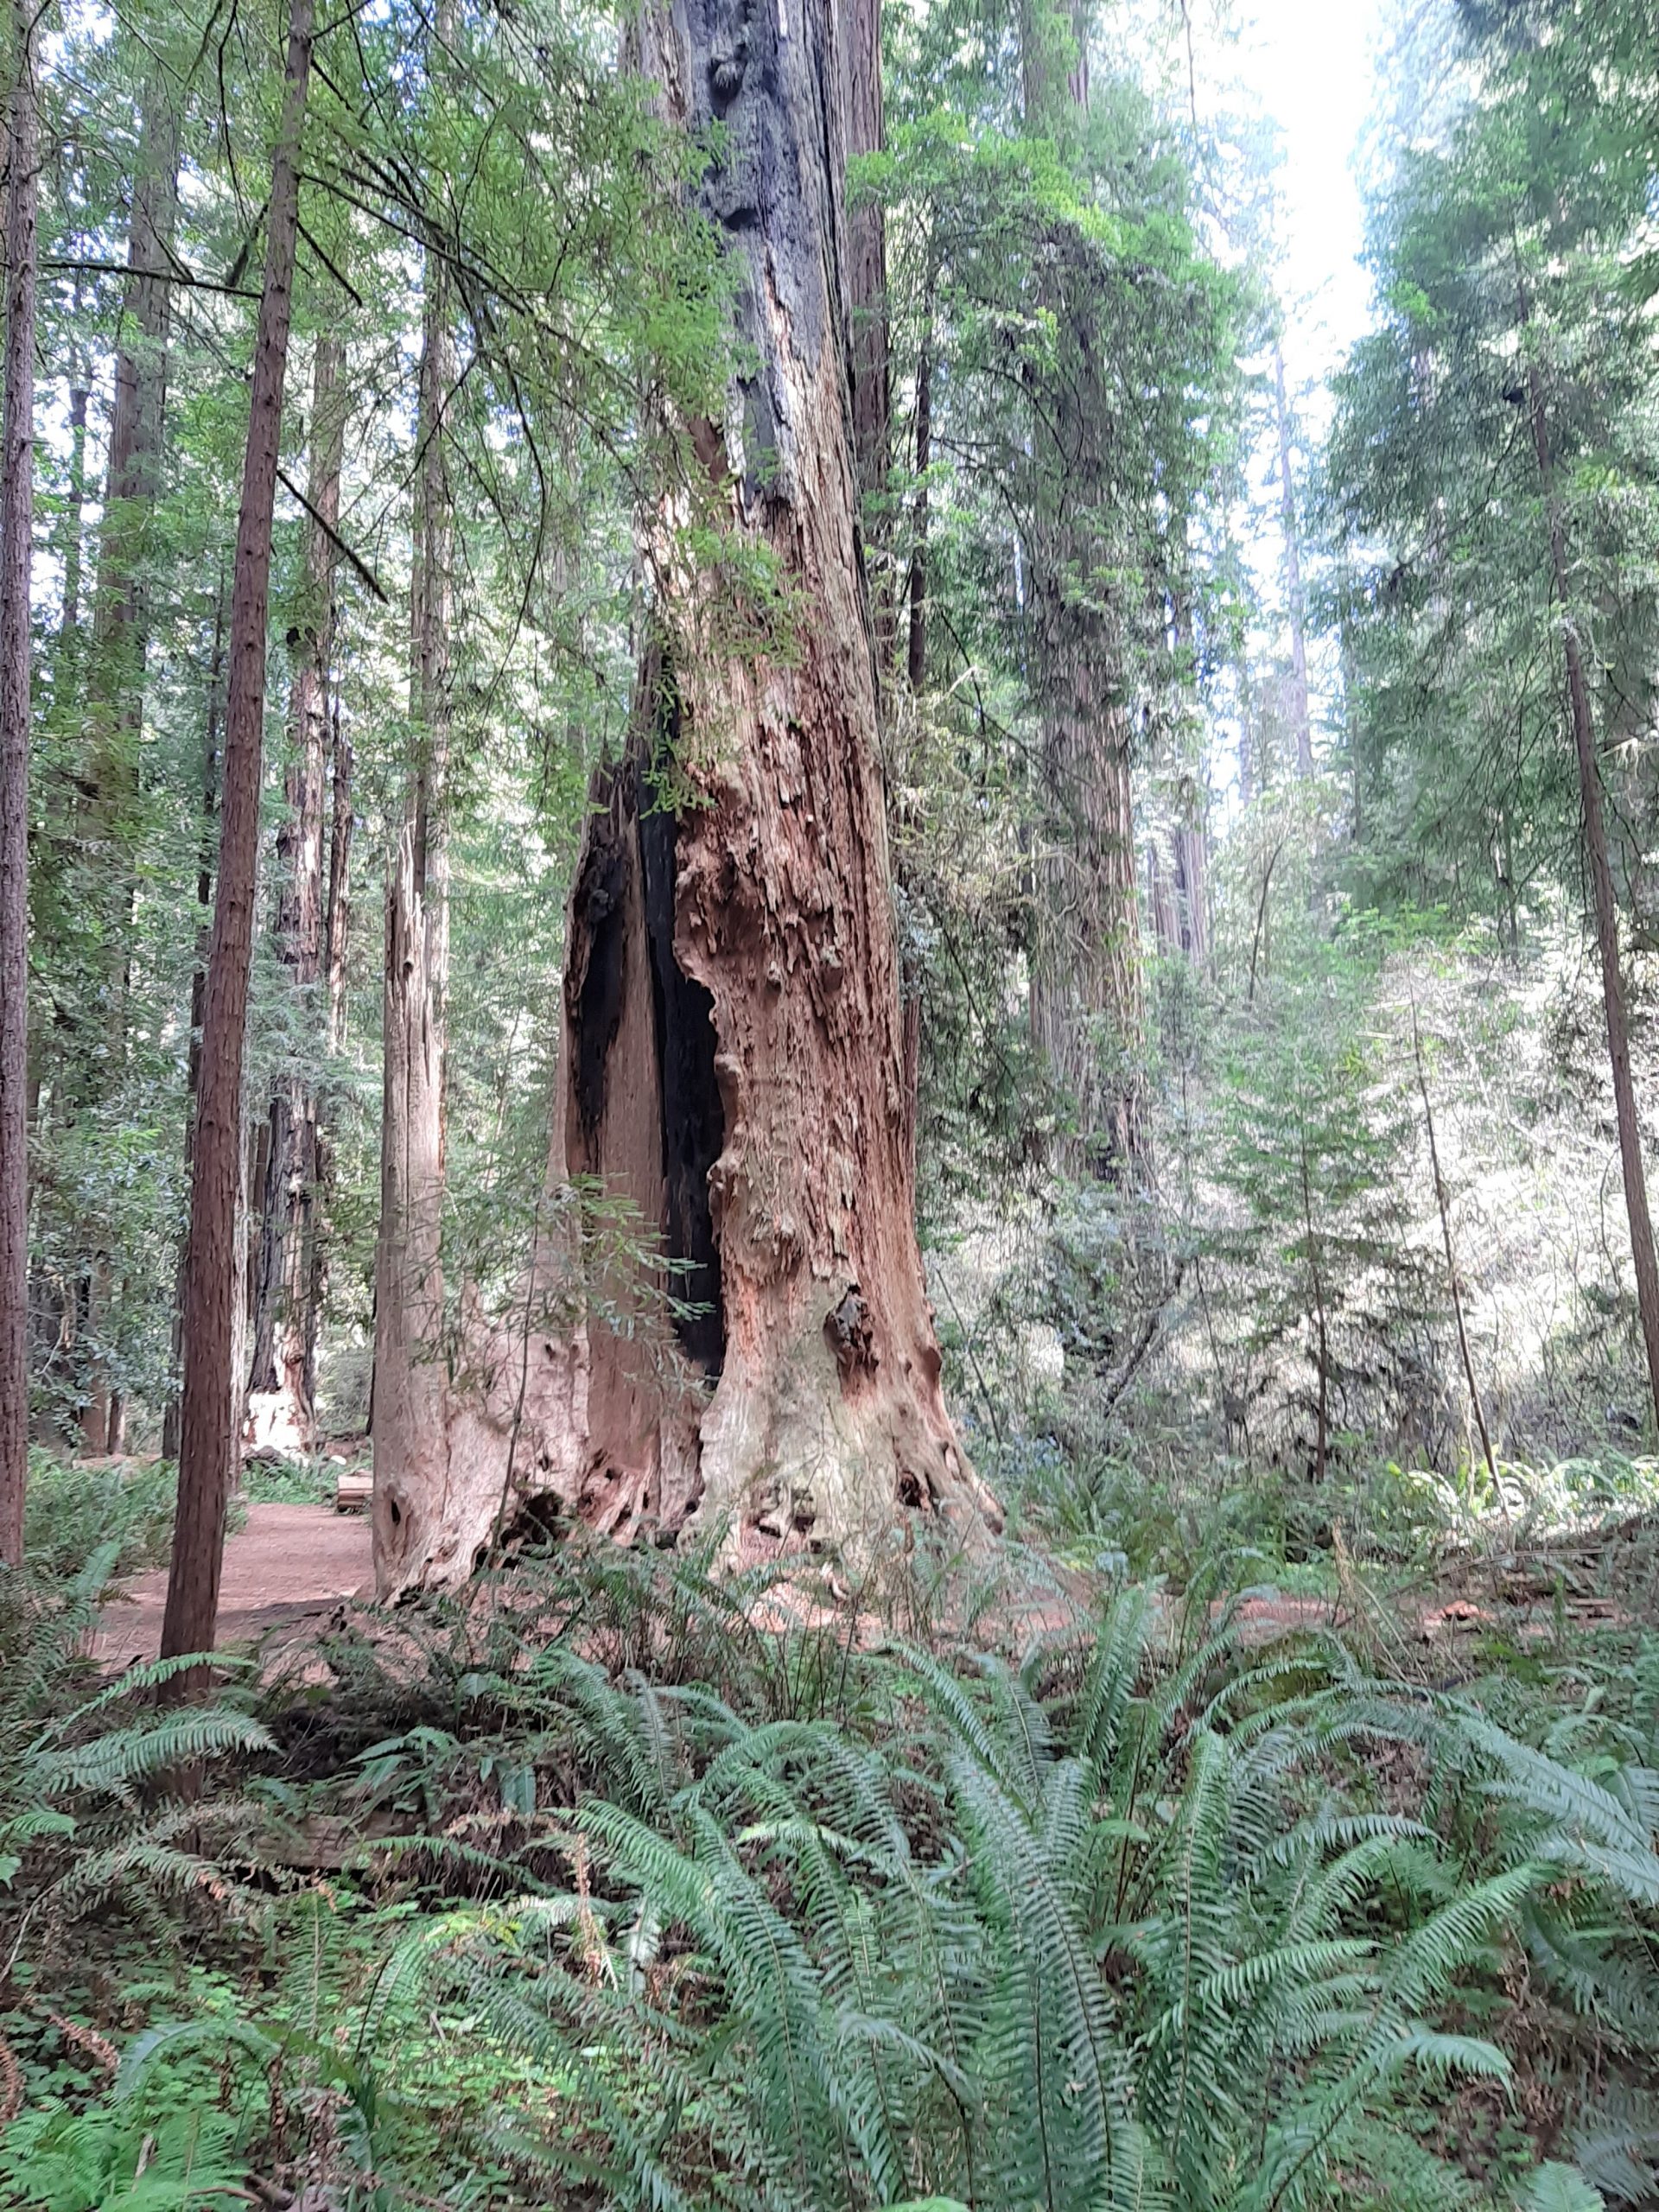
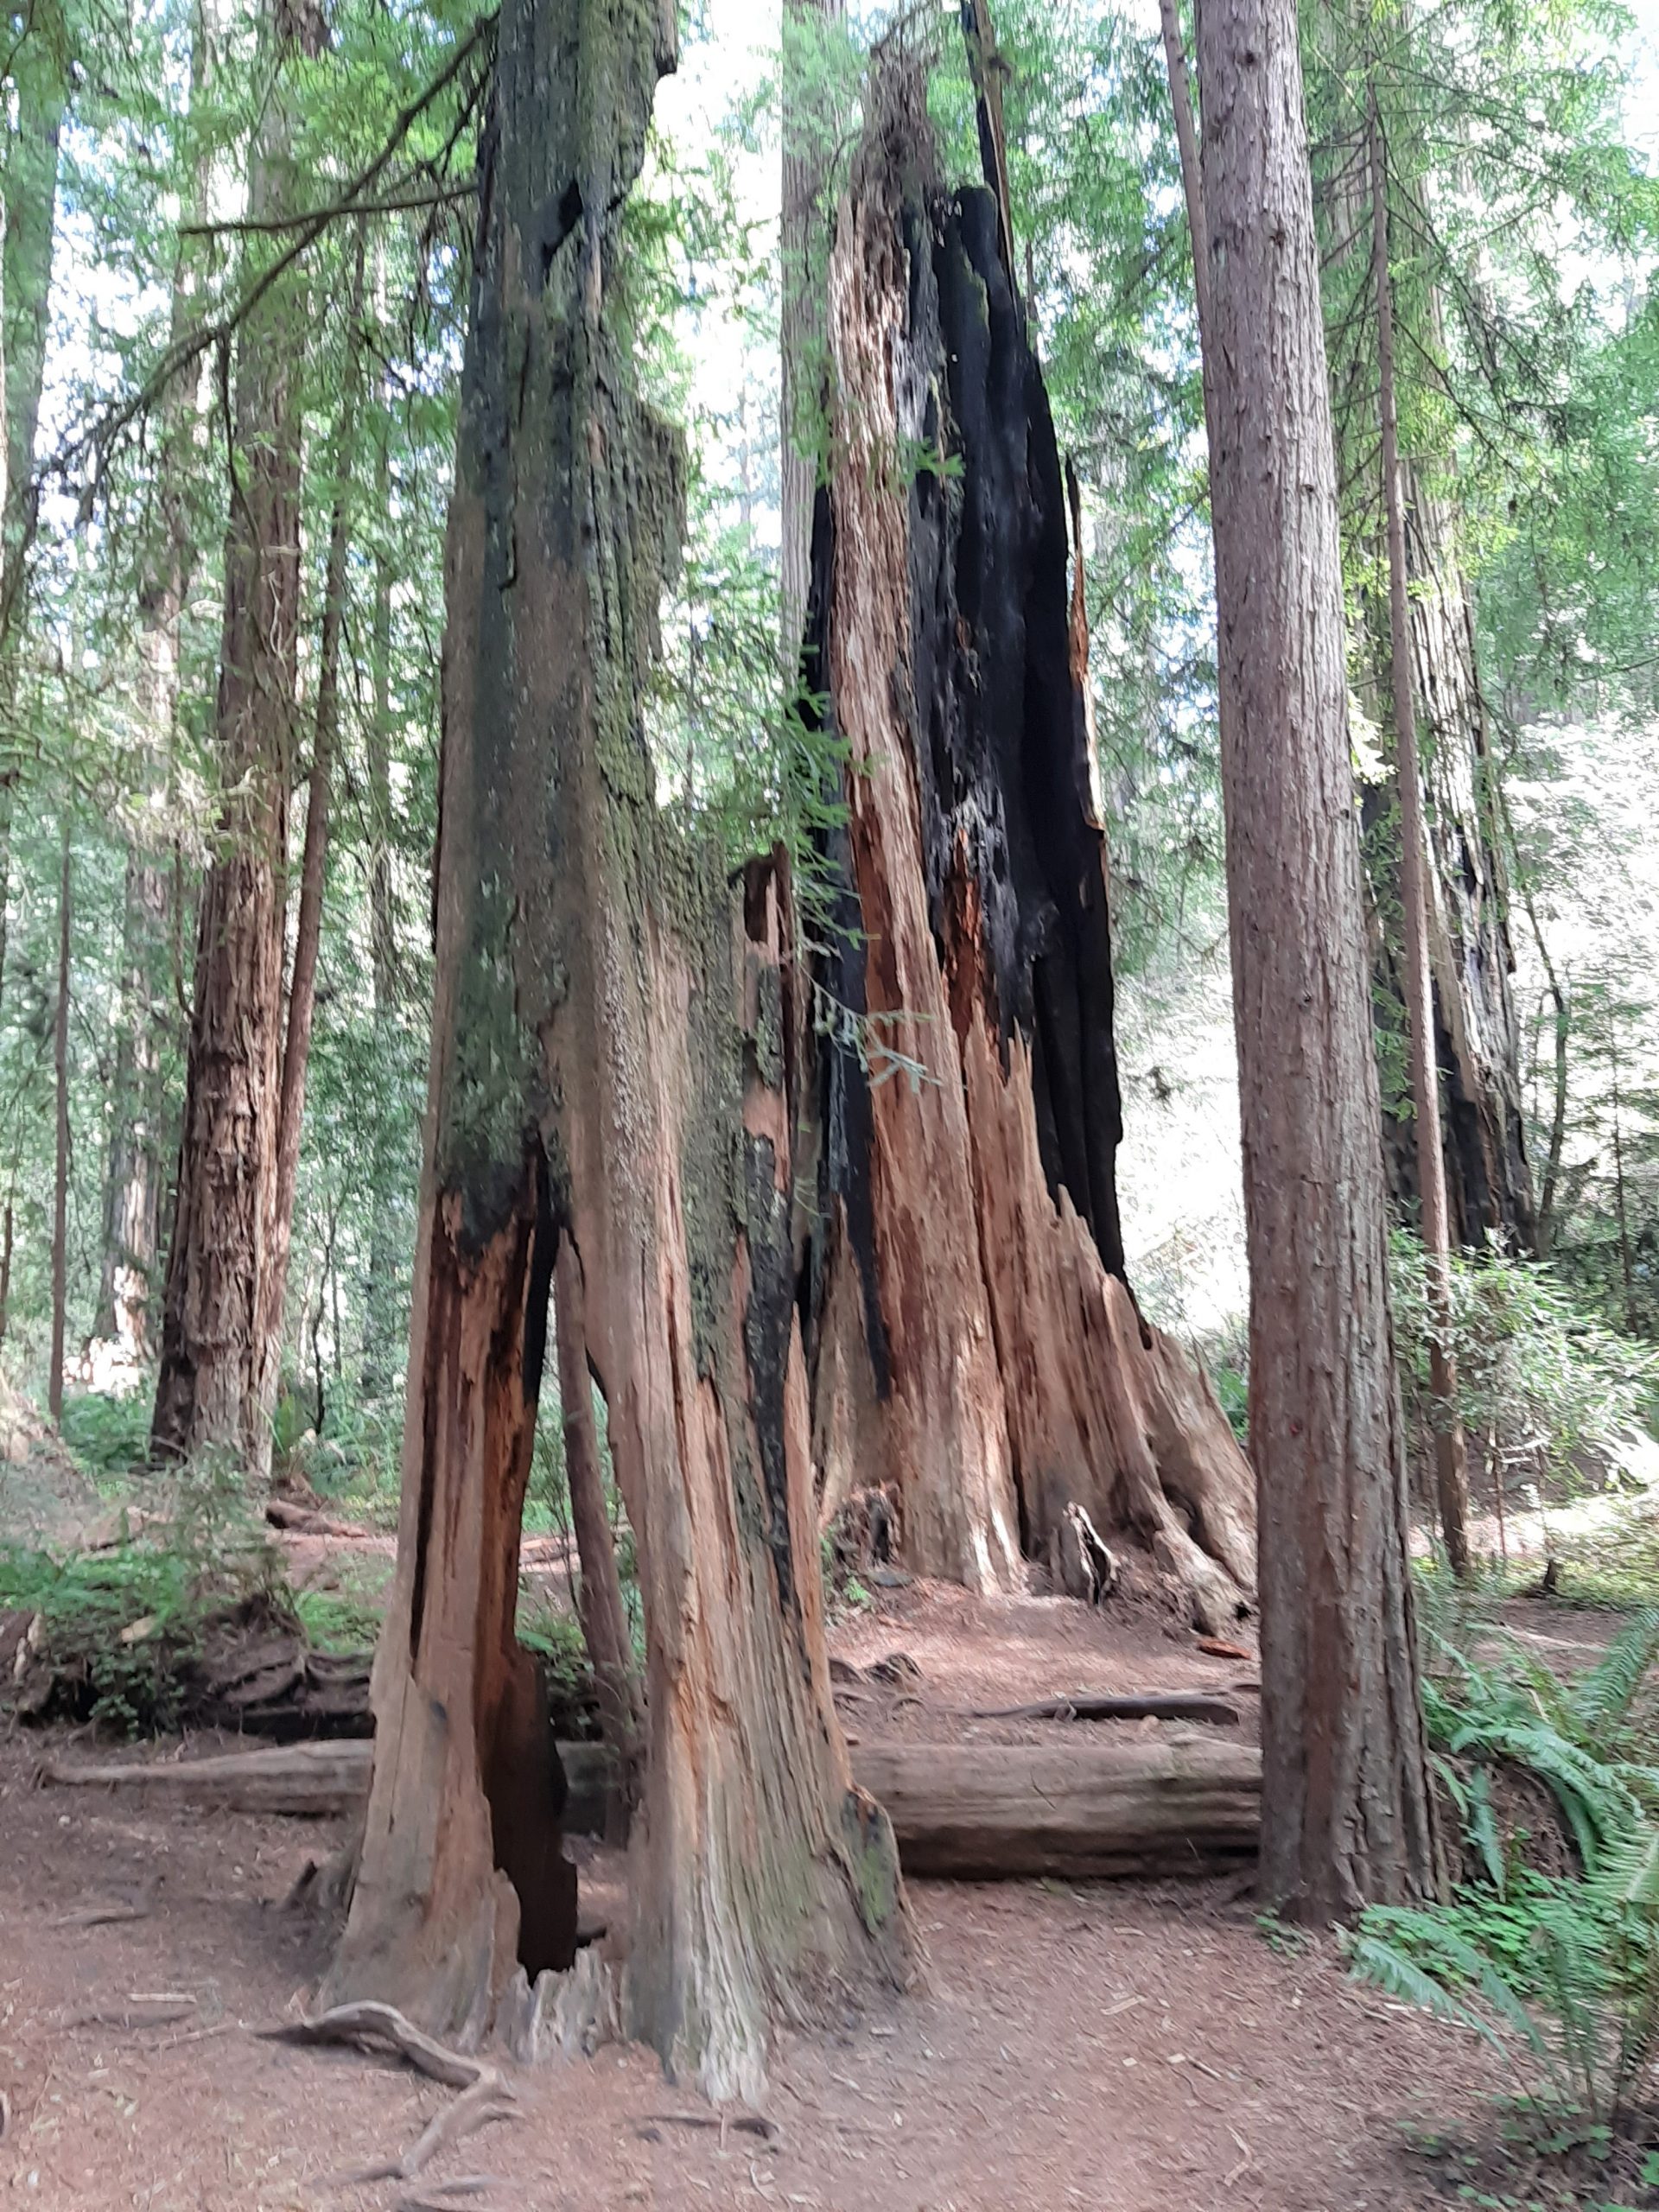
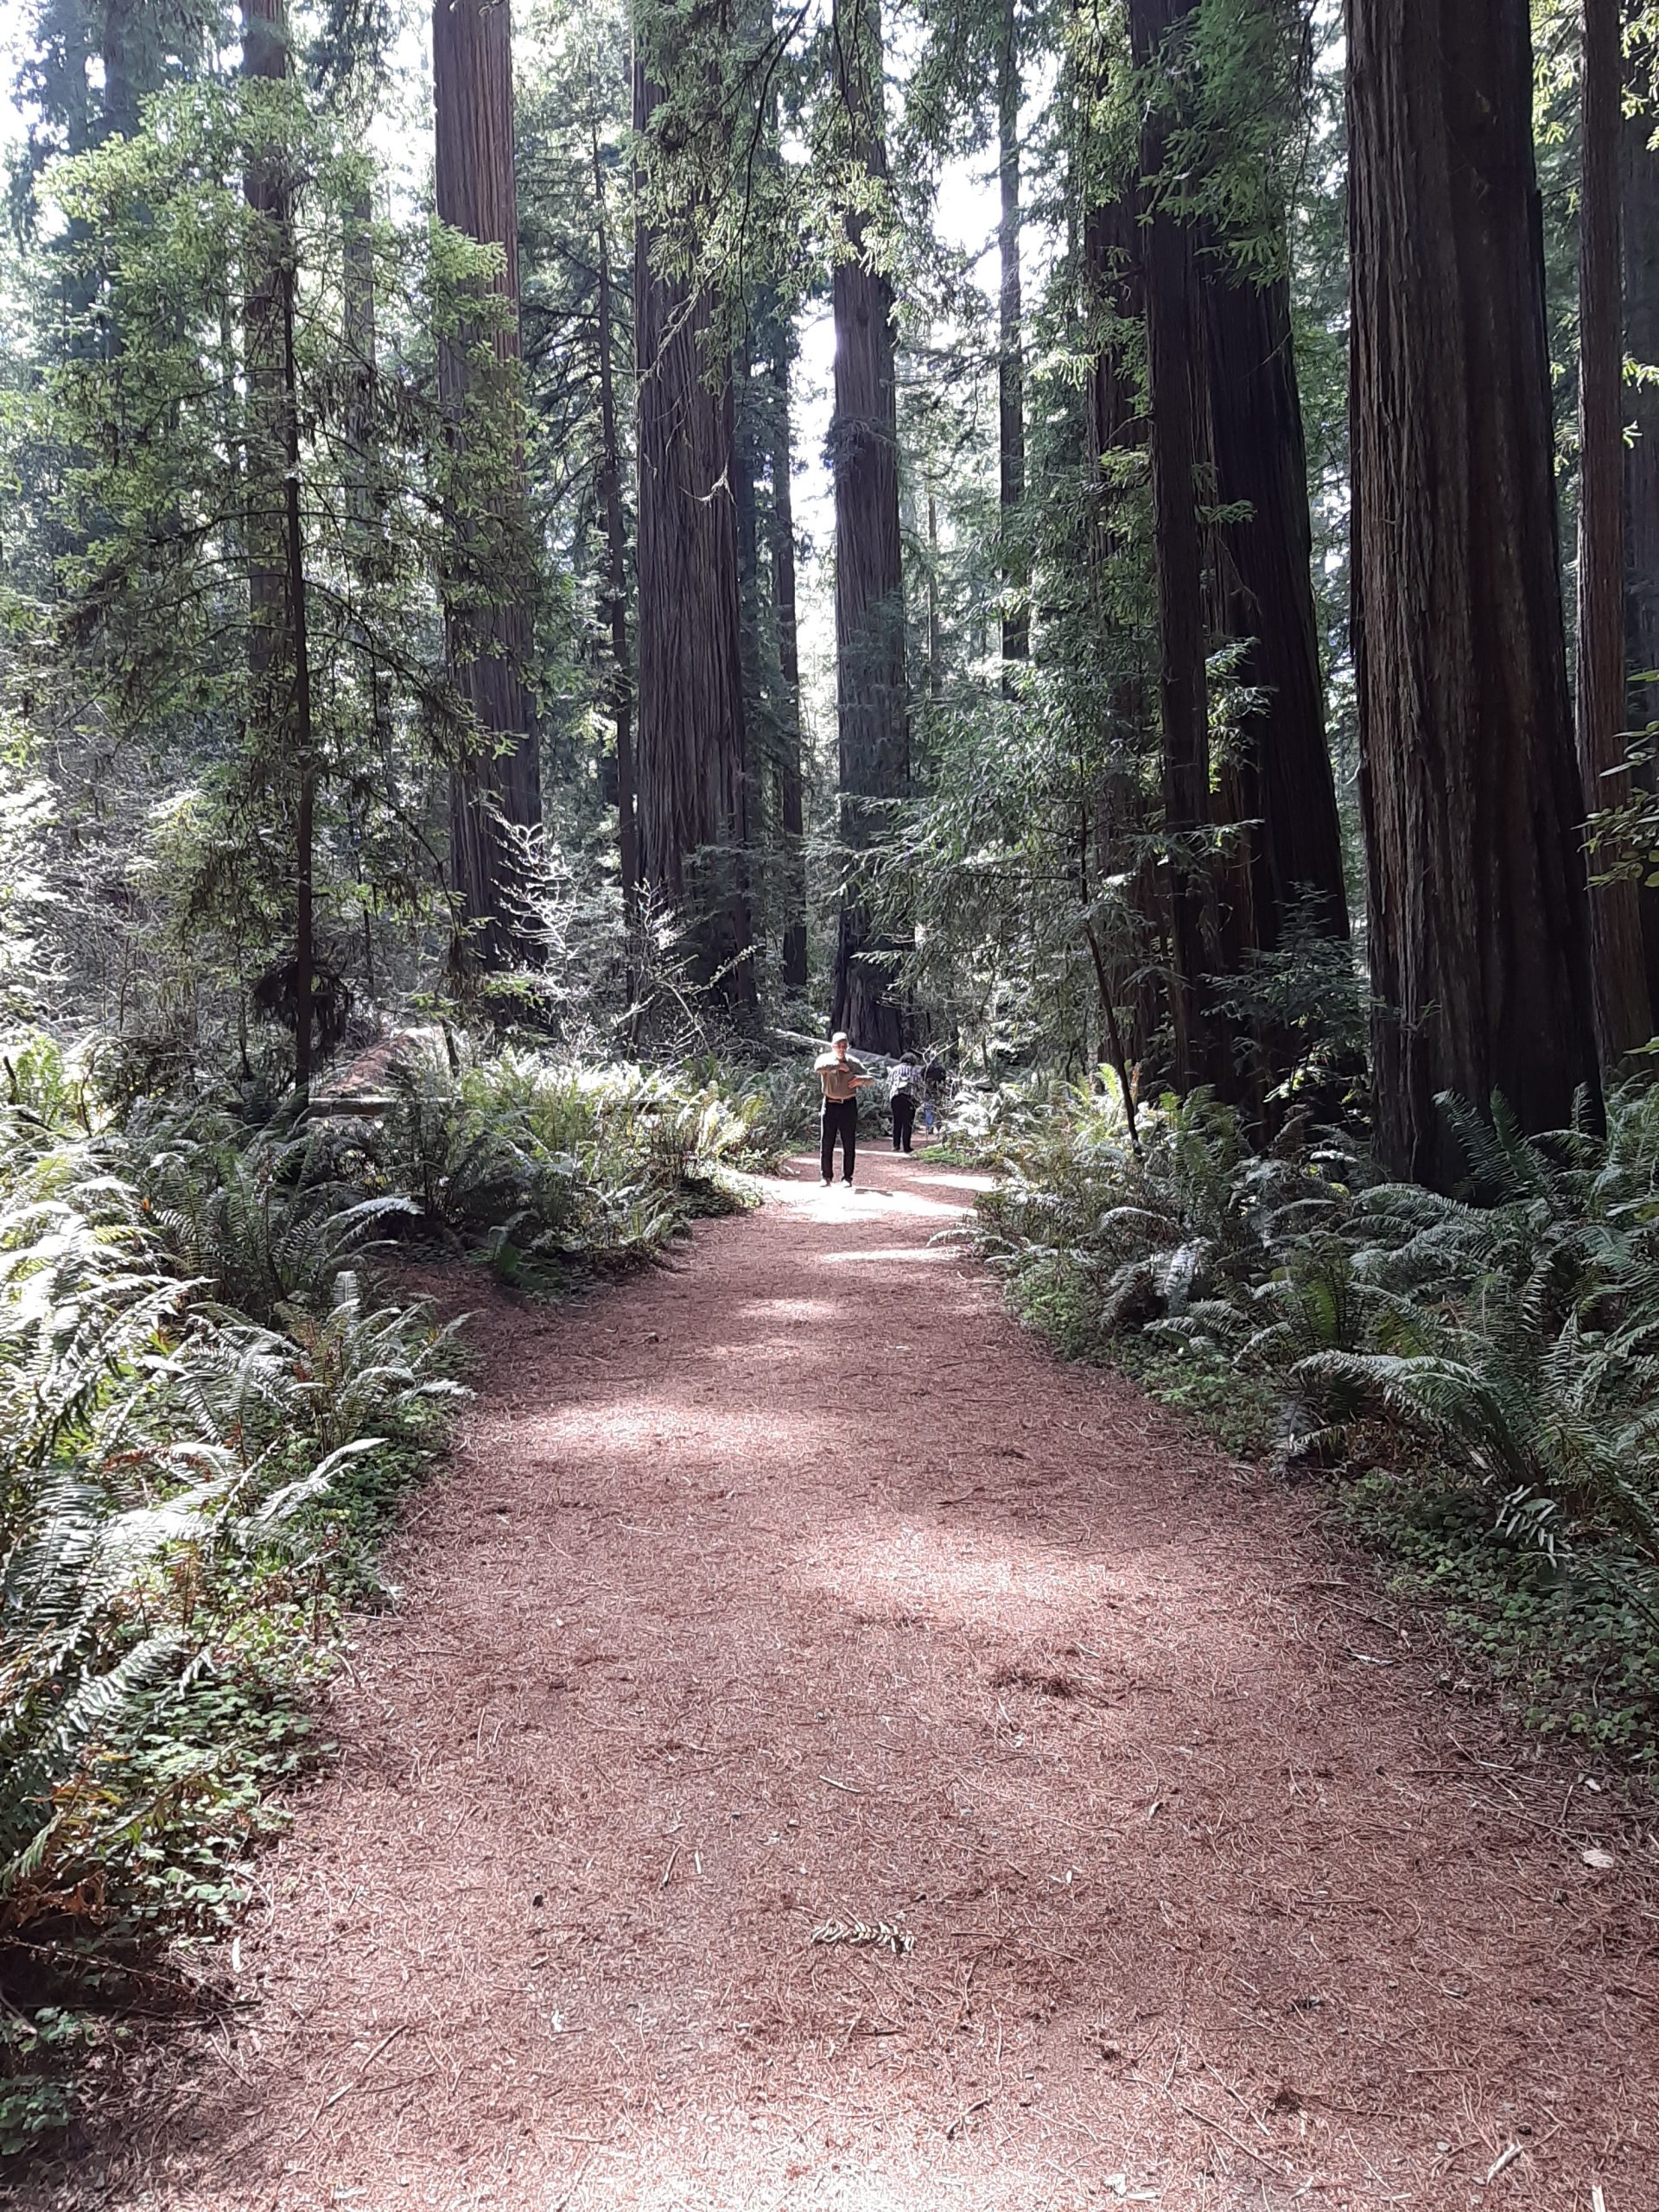
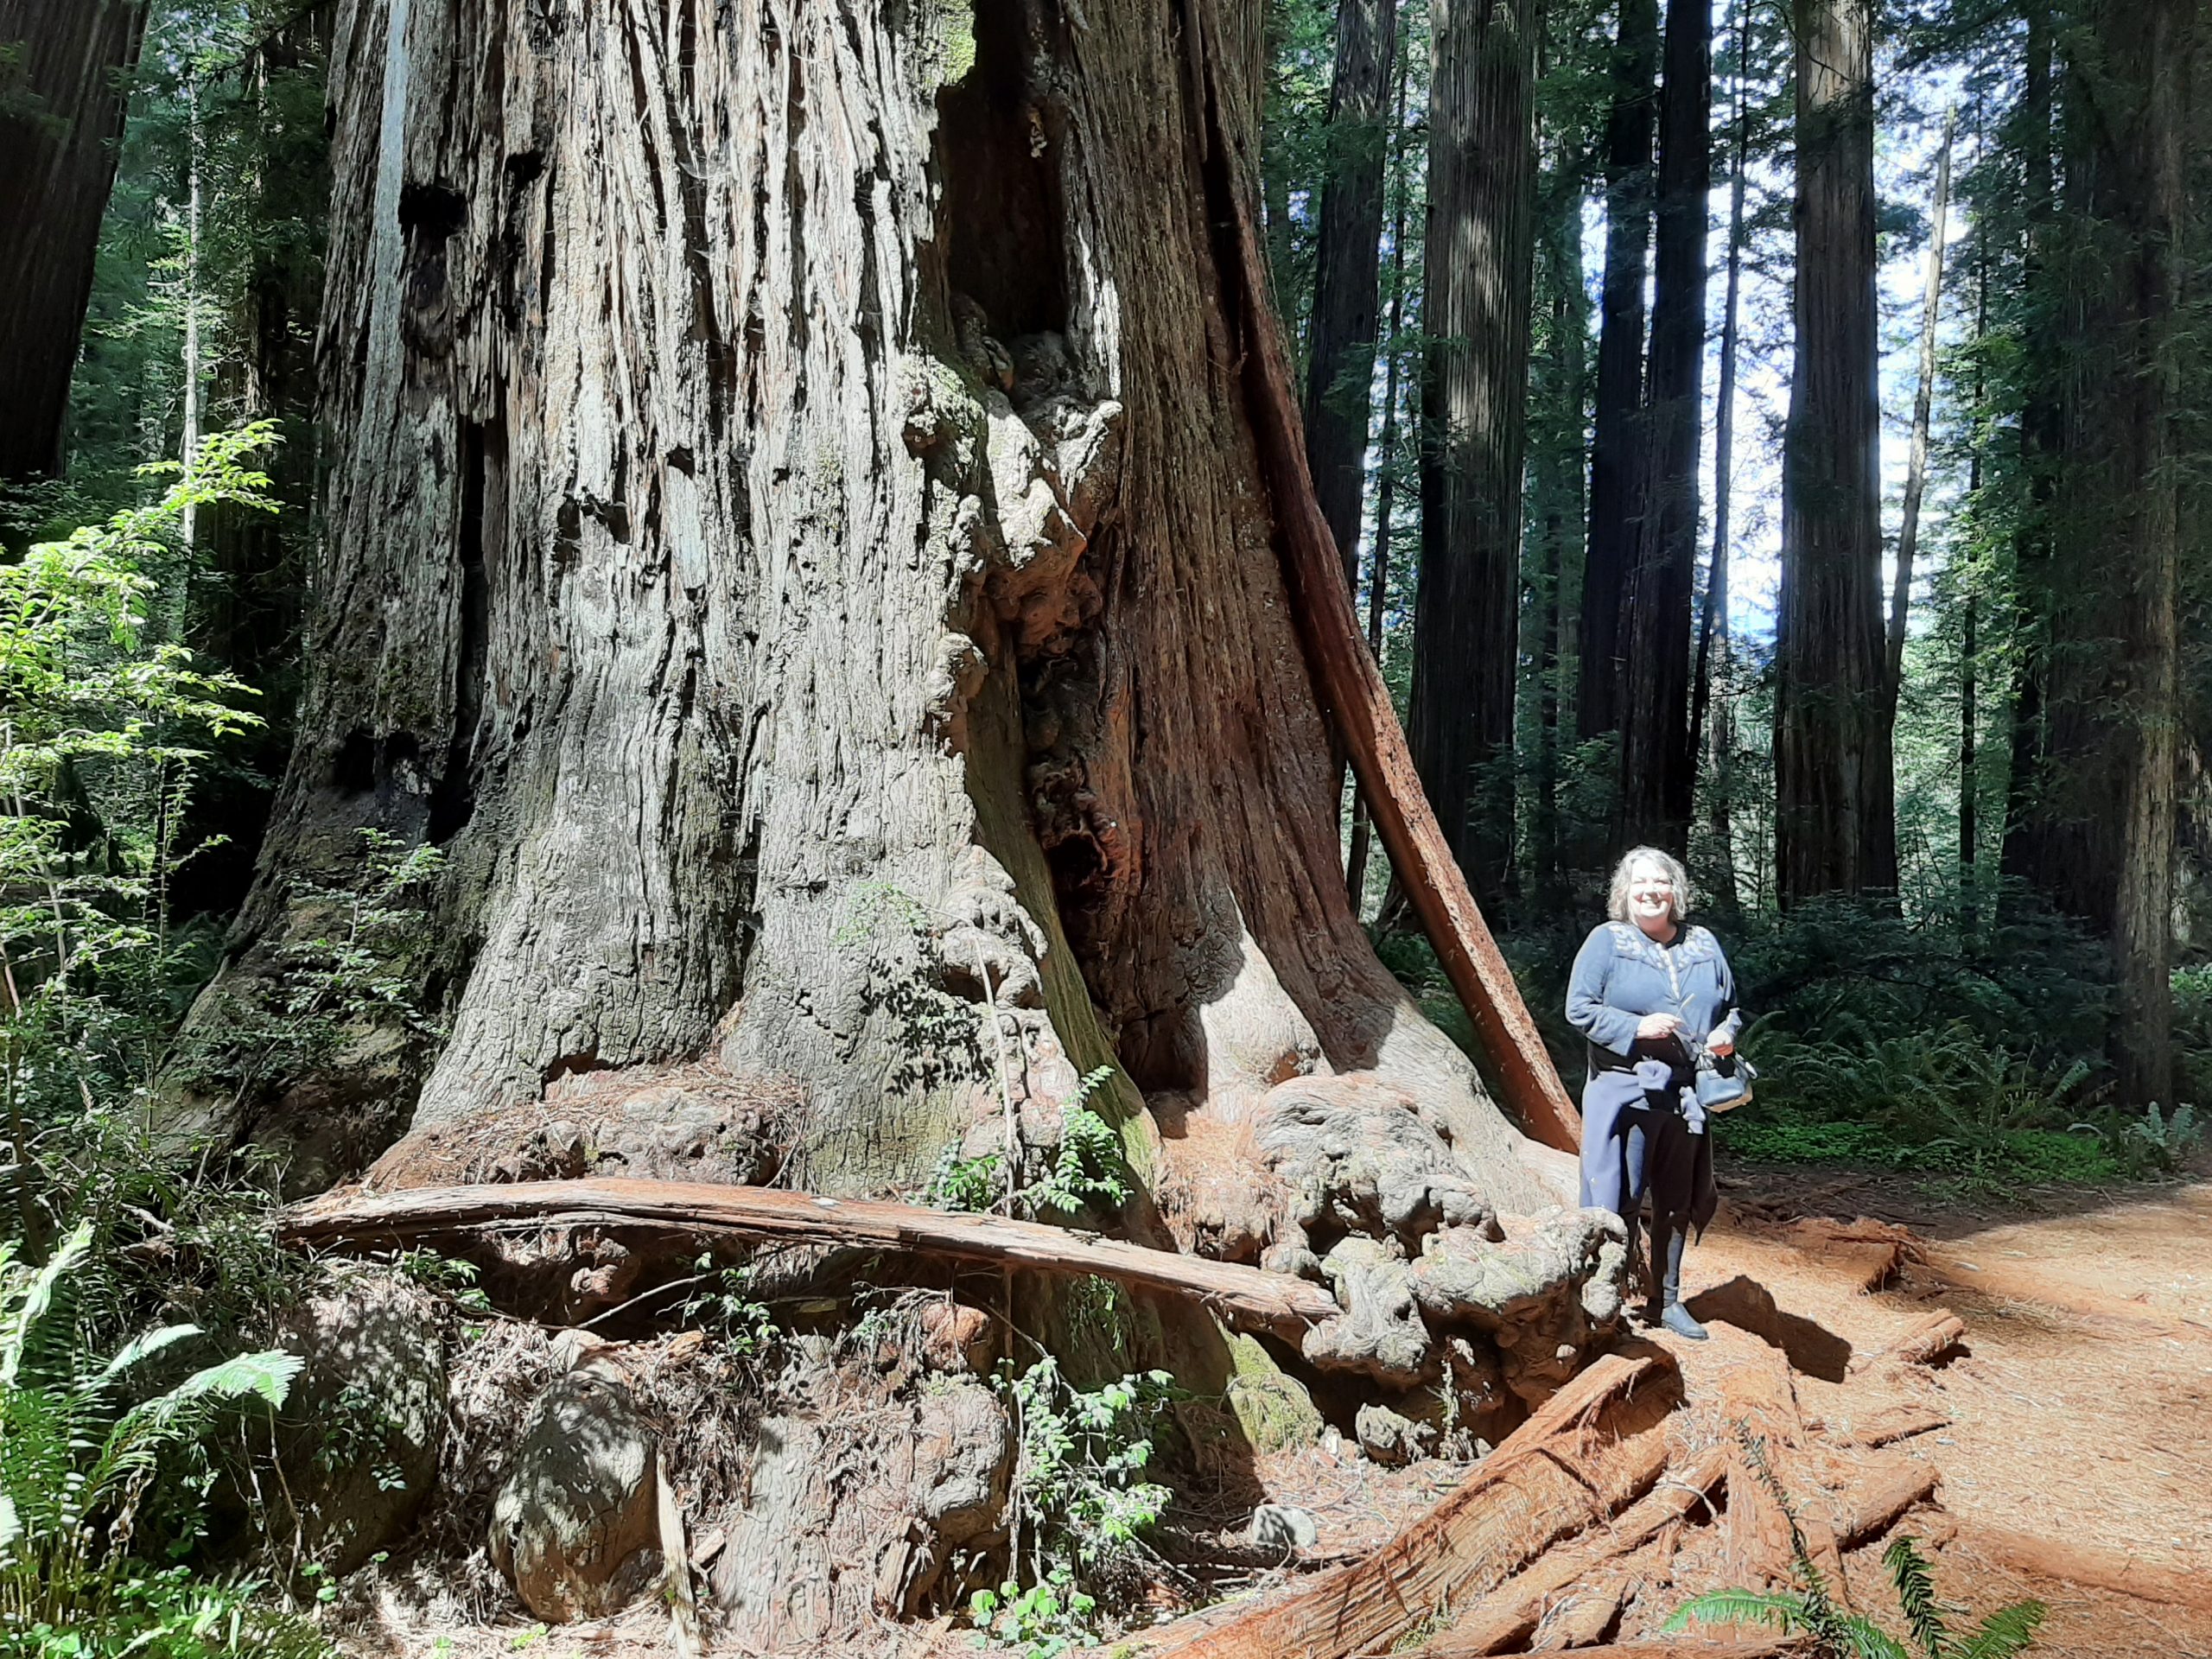
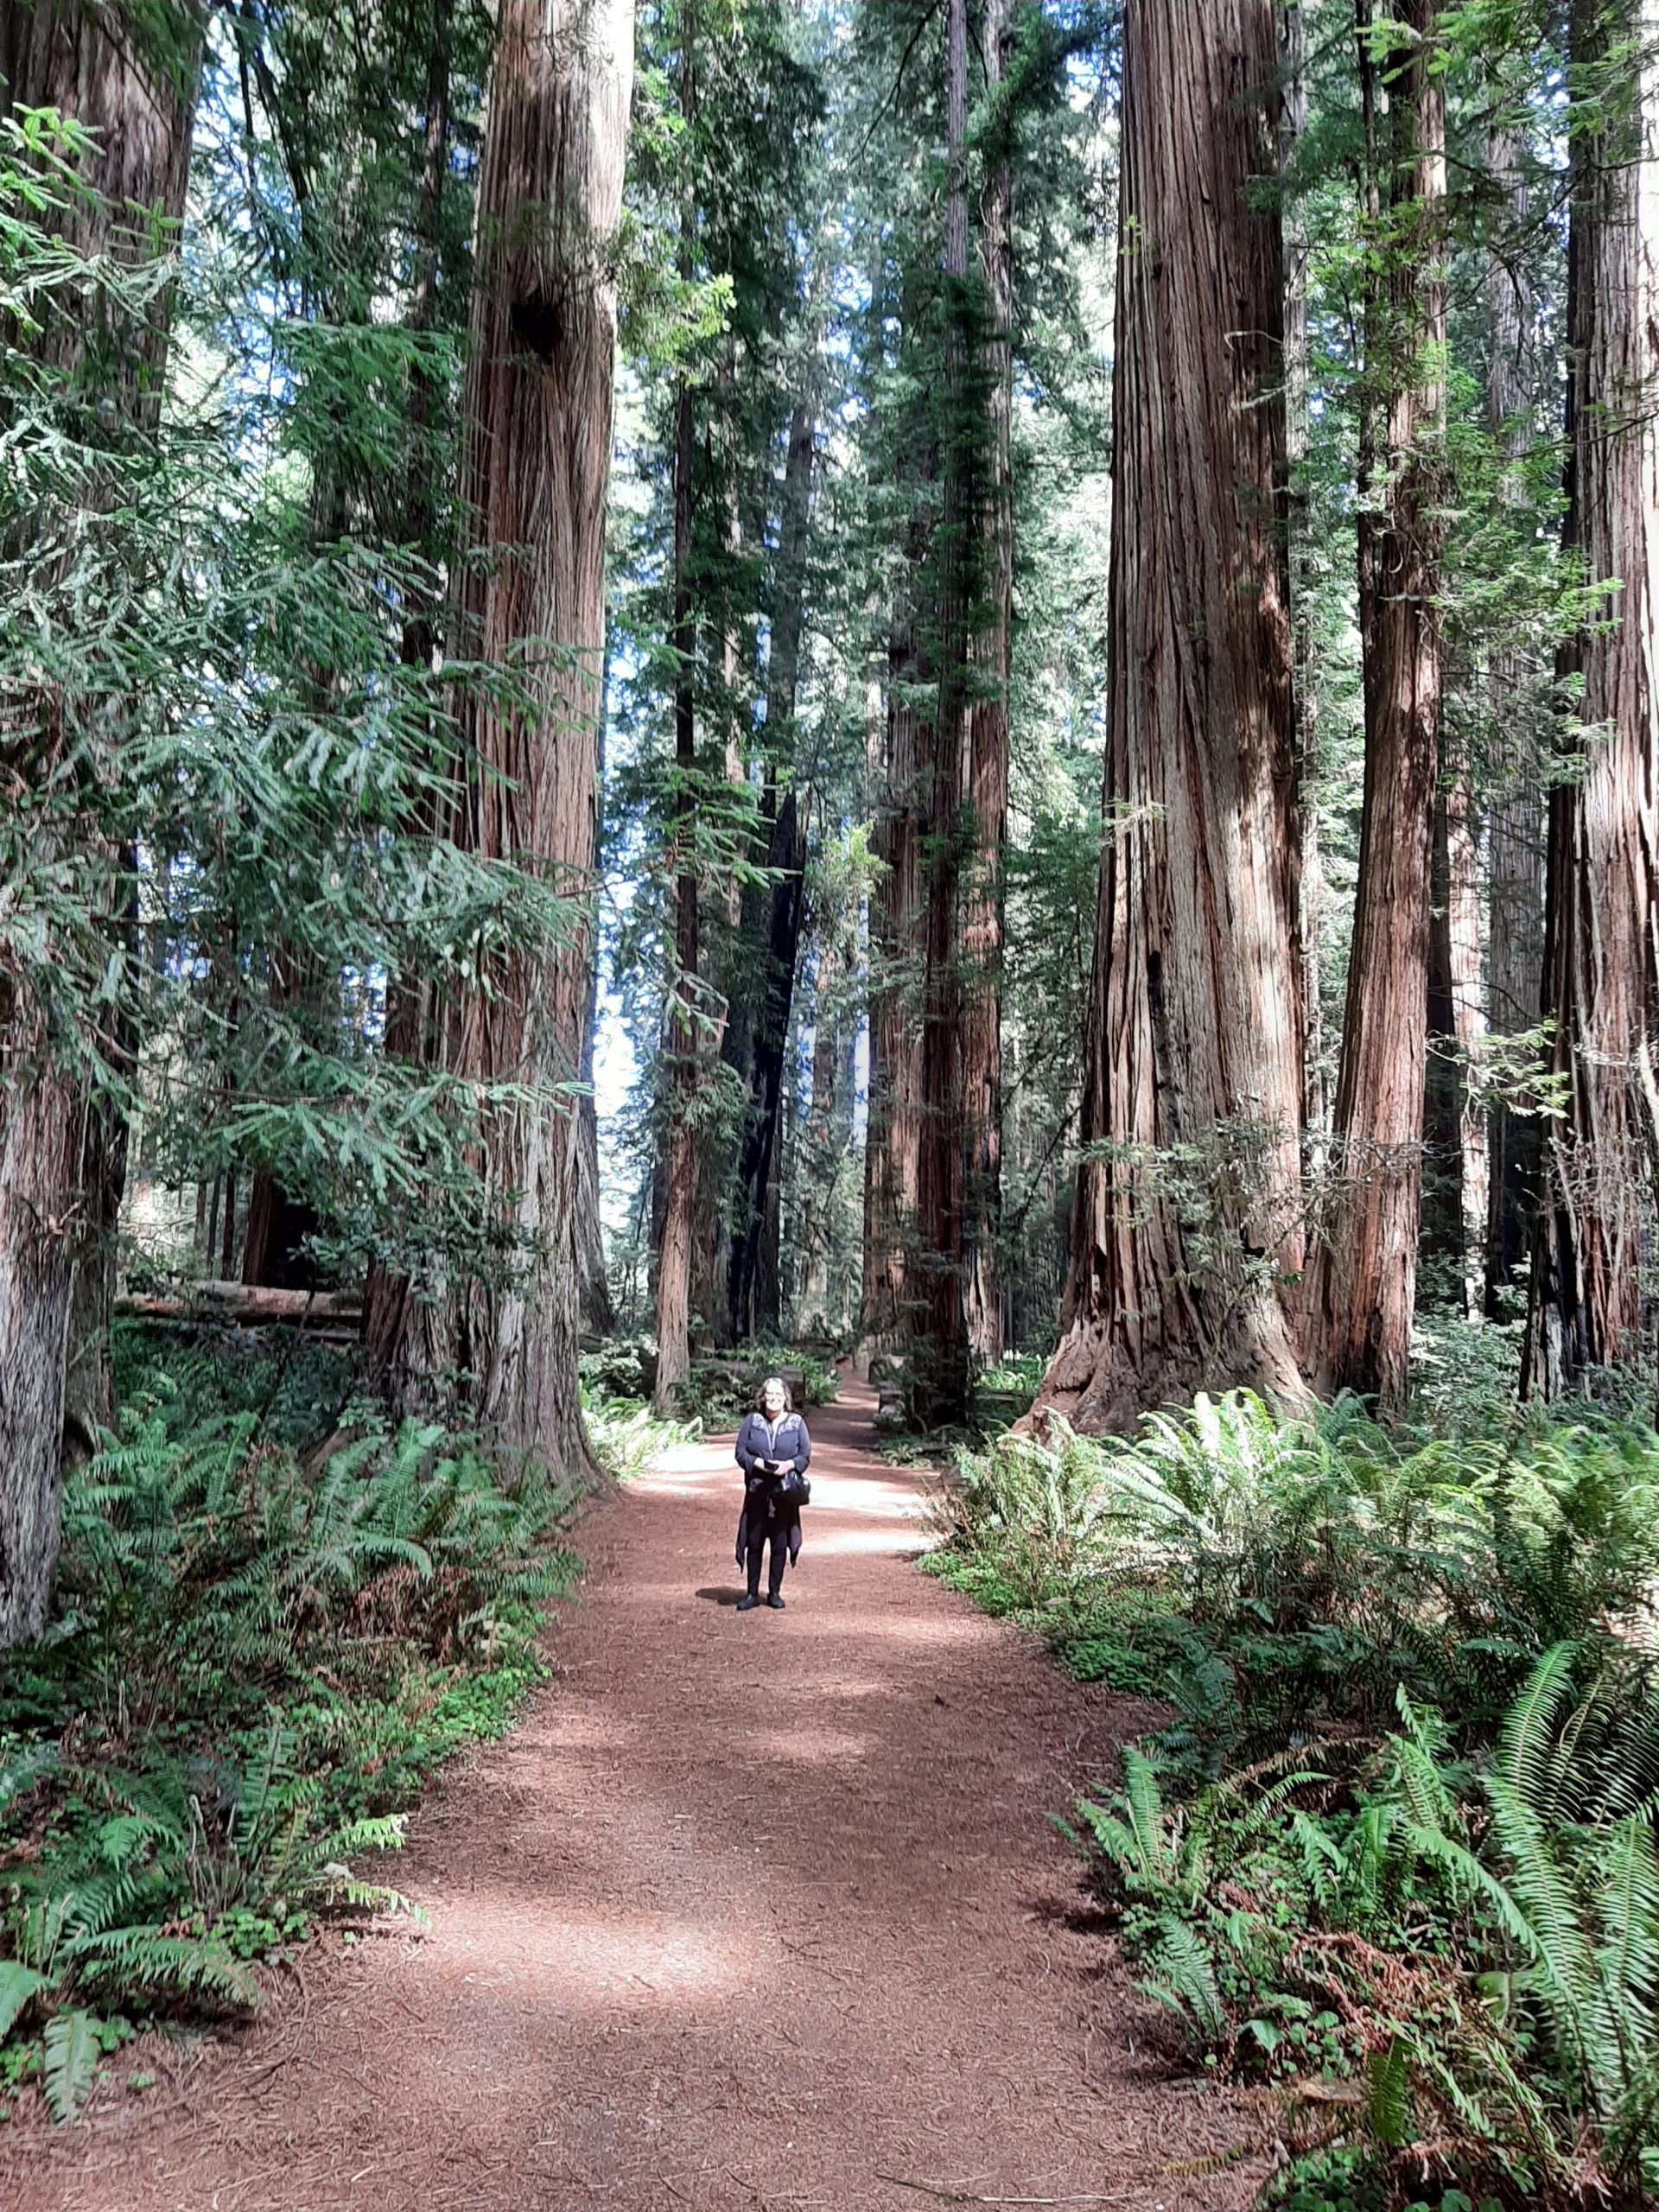
If I am remembering correctly, we have always been able to spend some time outdoors. (And no, not wearing our ski jackets either.) And that’s just wonderful. Because like today, we love to visit the redwoods. It is just so incredible to walk in a redwood grove. The trees are so magnificent. It always reminds me how small and inconsequential I am when surrounded by such majesty.
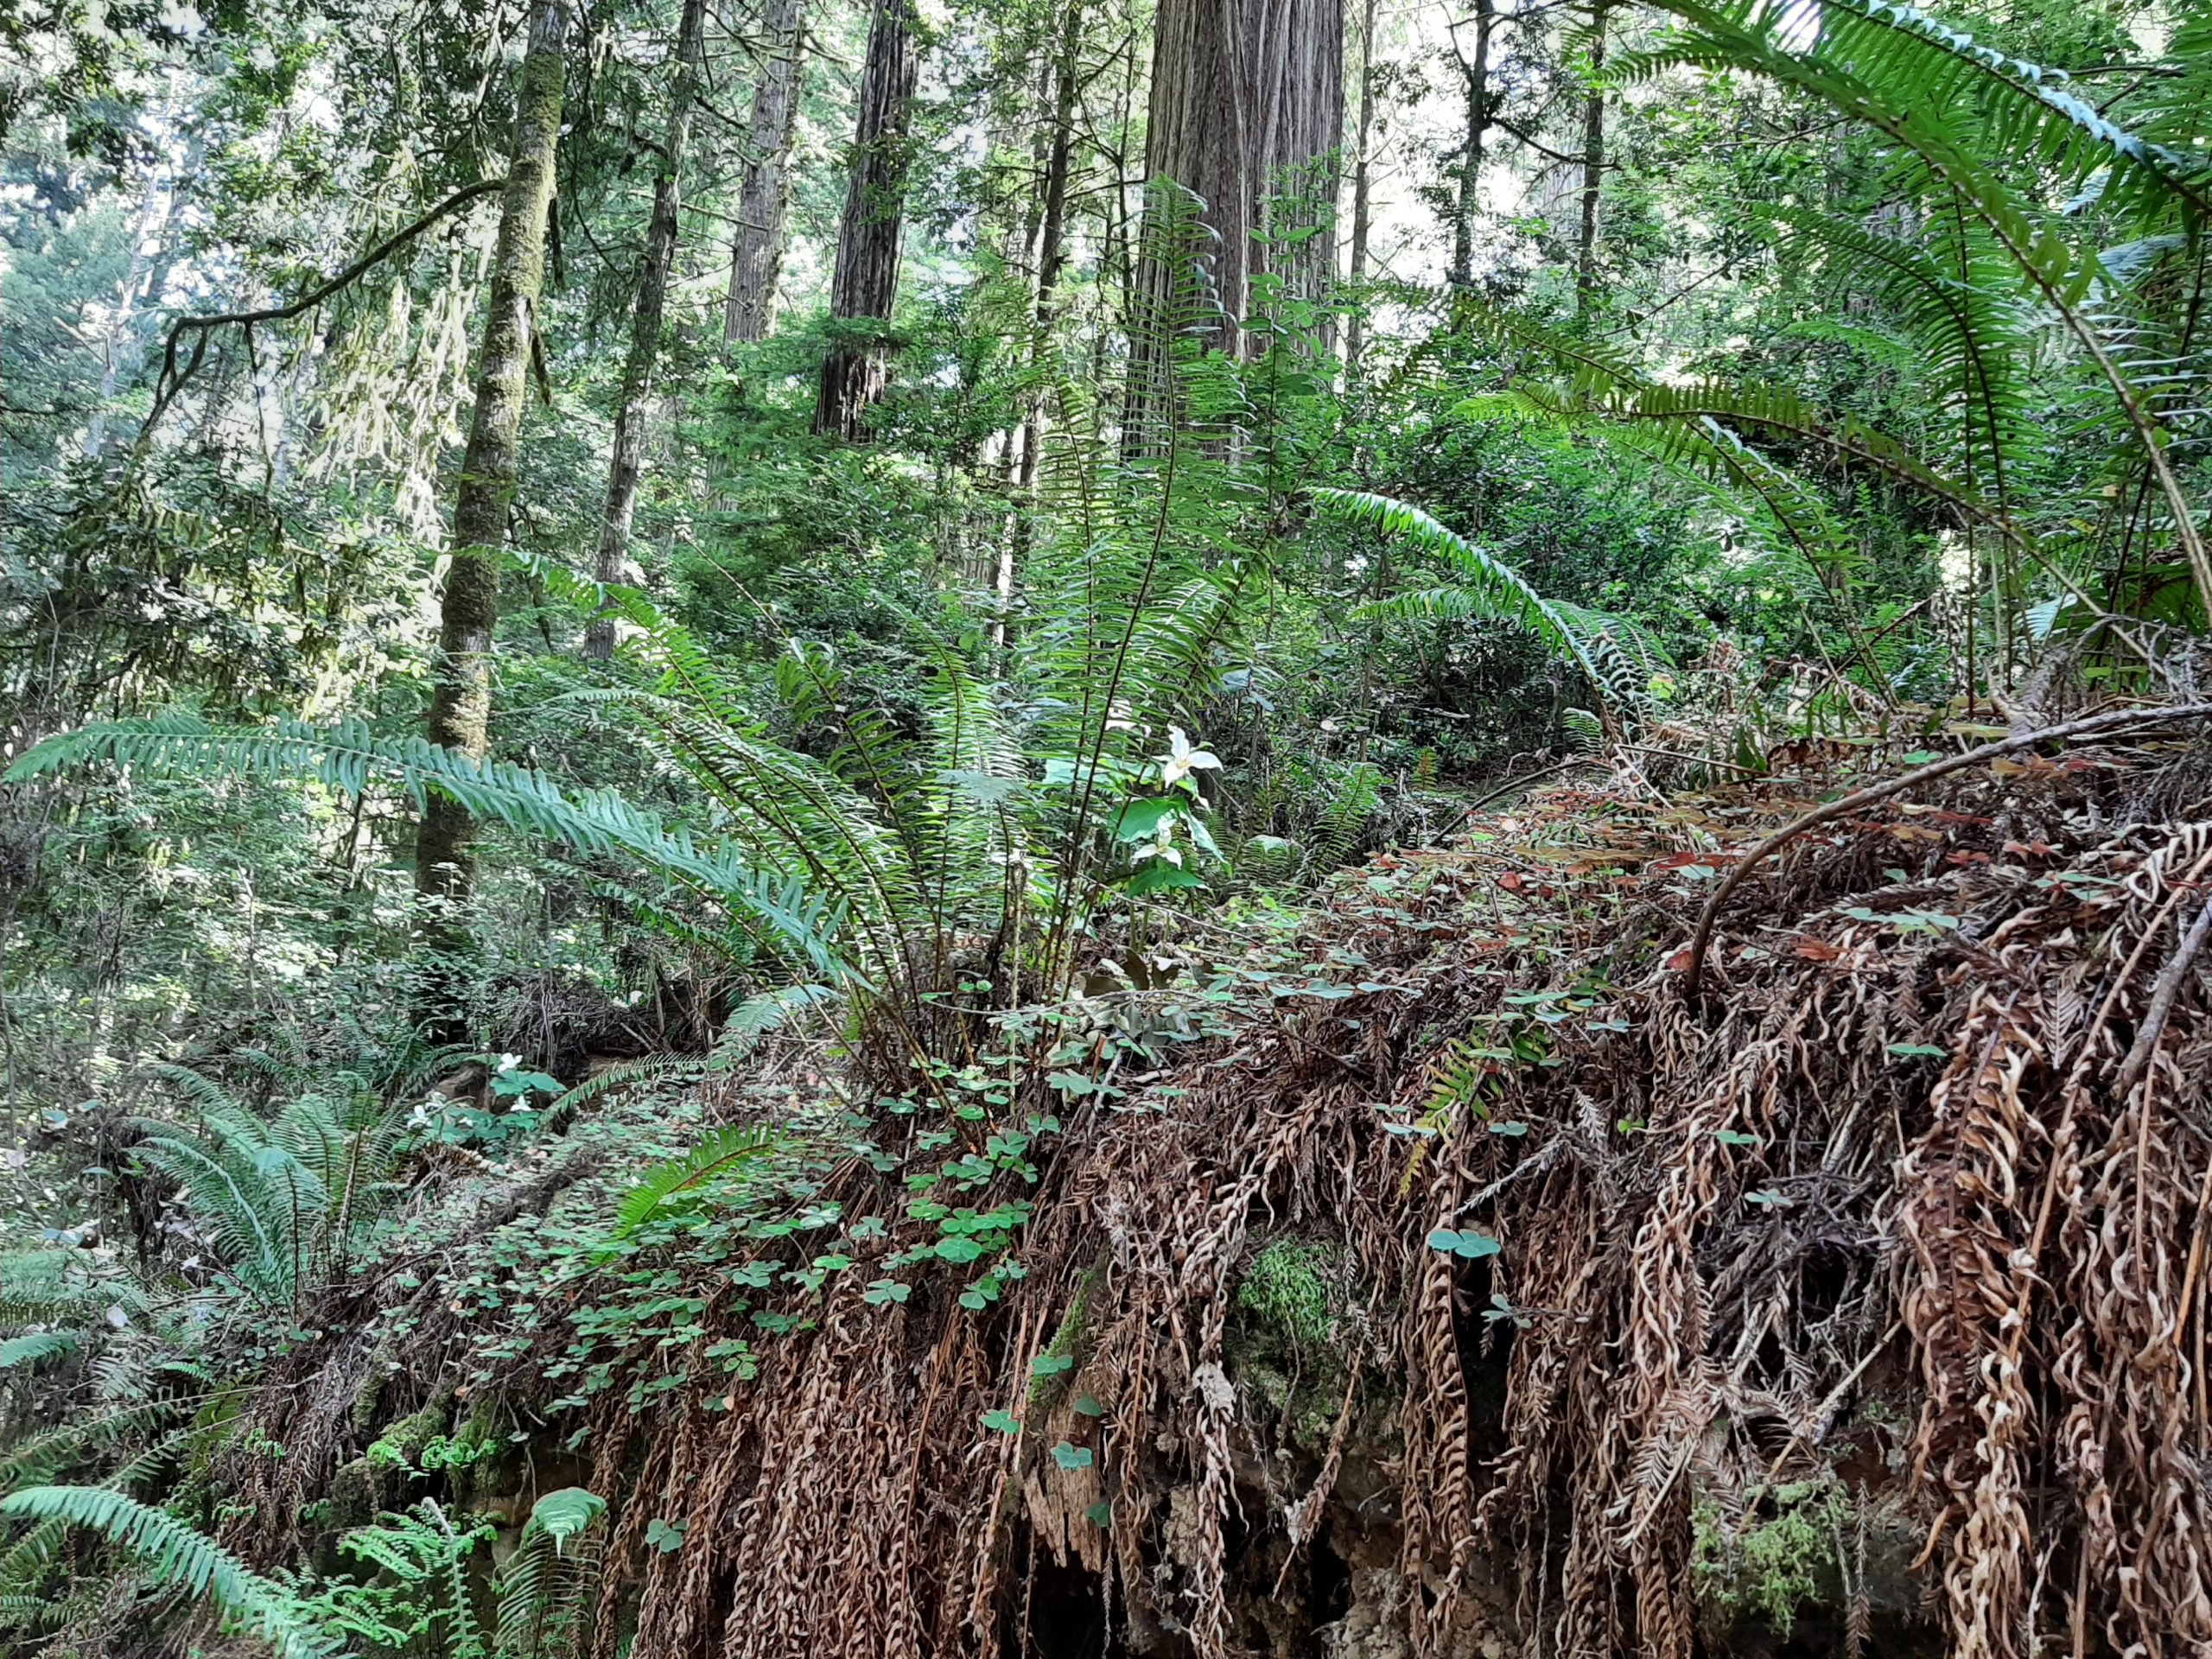
One of our favorite redwood areas to visit is just over the California border from Brookings. The Jedidiah Smith Redwoods State Park is one of the most scenic places to observe redwood trees in their native habitat. There’s an unusual amount of variety in the color and texture of the trees, in the size of the trees, and even in the understory vegetation, making the woods an interesting place to walk. The park also has some trees of truly stupendous size: perhaps not quite as tall as the redwoods to the south, but bigger in diameter. With its huge swath of uninterrupted old growth, Jedidiah Smith Redwoods State Park is truly an unspoiled redwood park. Our favorite redwood grove in the park is the Stout Memorial Grove Trail. Here the 300-foot trees are considered by many to be the heart of the park. In a short and very easy to walk half mile loop, you can wander through the forest and also get close to the Smith River. A glorious way to spend an hour in the land of giants.
A perfect bench seat Perfect hiding placeWhole new meaning to being uprootedVegetation along the wayBurls anyone?Wait for me! One old lady talking to another old ladyHappy trails……..
Then back to camp with a couple of important stops along the way. A happy visit to a California liquor store (no tax on liquor in California), and back in Brookings a stop at the Port of Brookings harbor, for an exchange of US dollars for fresh ling cod and scallops from one of the several purveyors of fresh seafood. An interesting note about this huge and busy port:
The Port of Brookings Harbor is the port authority for the city of Brookings and the neighboring community of Harbor. The district covers 400 square miles from the mouth of the Chetco River, south to the Oregon-California border, north to the mouth of the Pistol River, and east to the Curry-Josephine county line.It is the busiest recreational port on the Oregon Coast and one of the most active harbors for Chinook salmon on the coast.
Due to the unique south-facing bar orientation (as opposed to most Oregon bars facing due west) and enjoying the protection provided by Chetco Point on the north side of the river, the Chetco bar is more passable than any other in the state.
Chetco Point is a beautiful, rocky, nine acre peninsula where several dozen plant species and wildflowers grow. Vistas from its ridgeline extend a long way, north to Cape Ferrelo and south to Point St. George, near Crescent City, California.
After arriving back at camp, Andy took a beach walk and I spent my time writing up our days’ adventure. At my age, if I don’t write everything down immediately, no memory lingers very long and we would all be left with – we woke, we ate, we drove, and at last, we went to bed.
Then over to Rick and Katie’s trailer for a lovely East Indian dinner of marinated chicken, coconut and squash dal, and steamed pea pods.
Then back to our trailer for reading and writing. Again, a wonderful and sunny day along the Oregon coast.
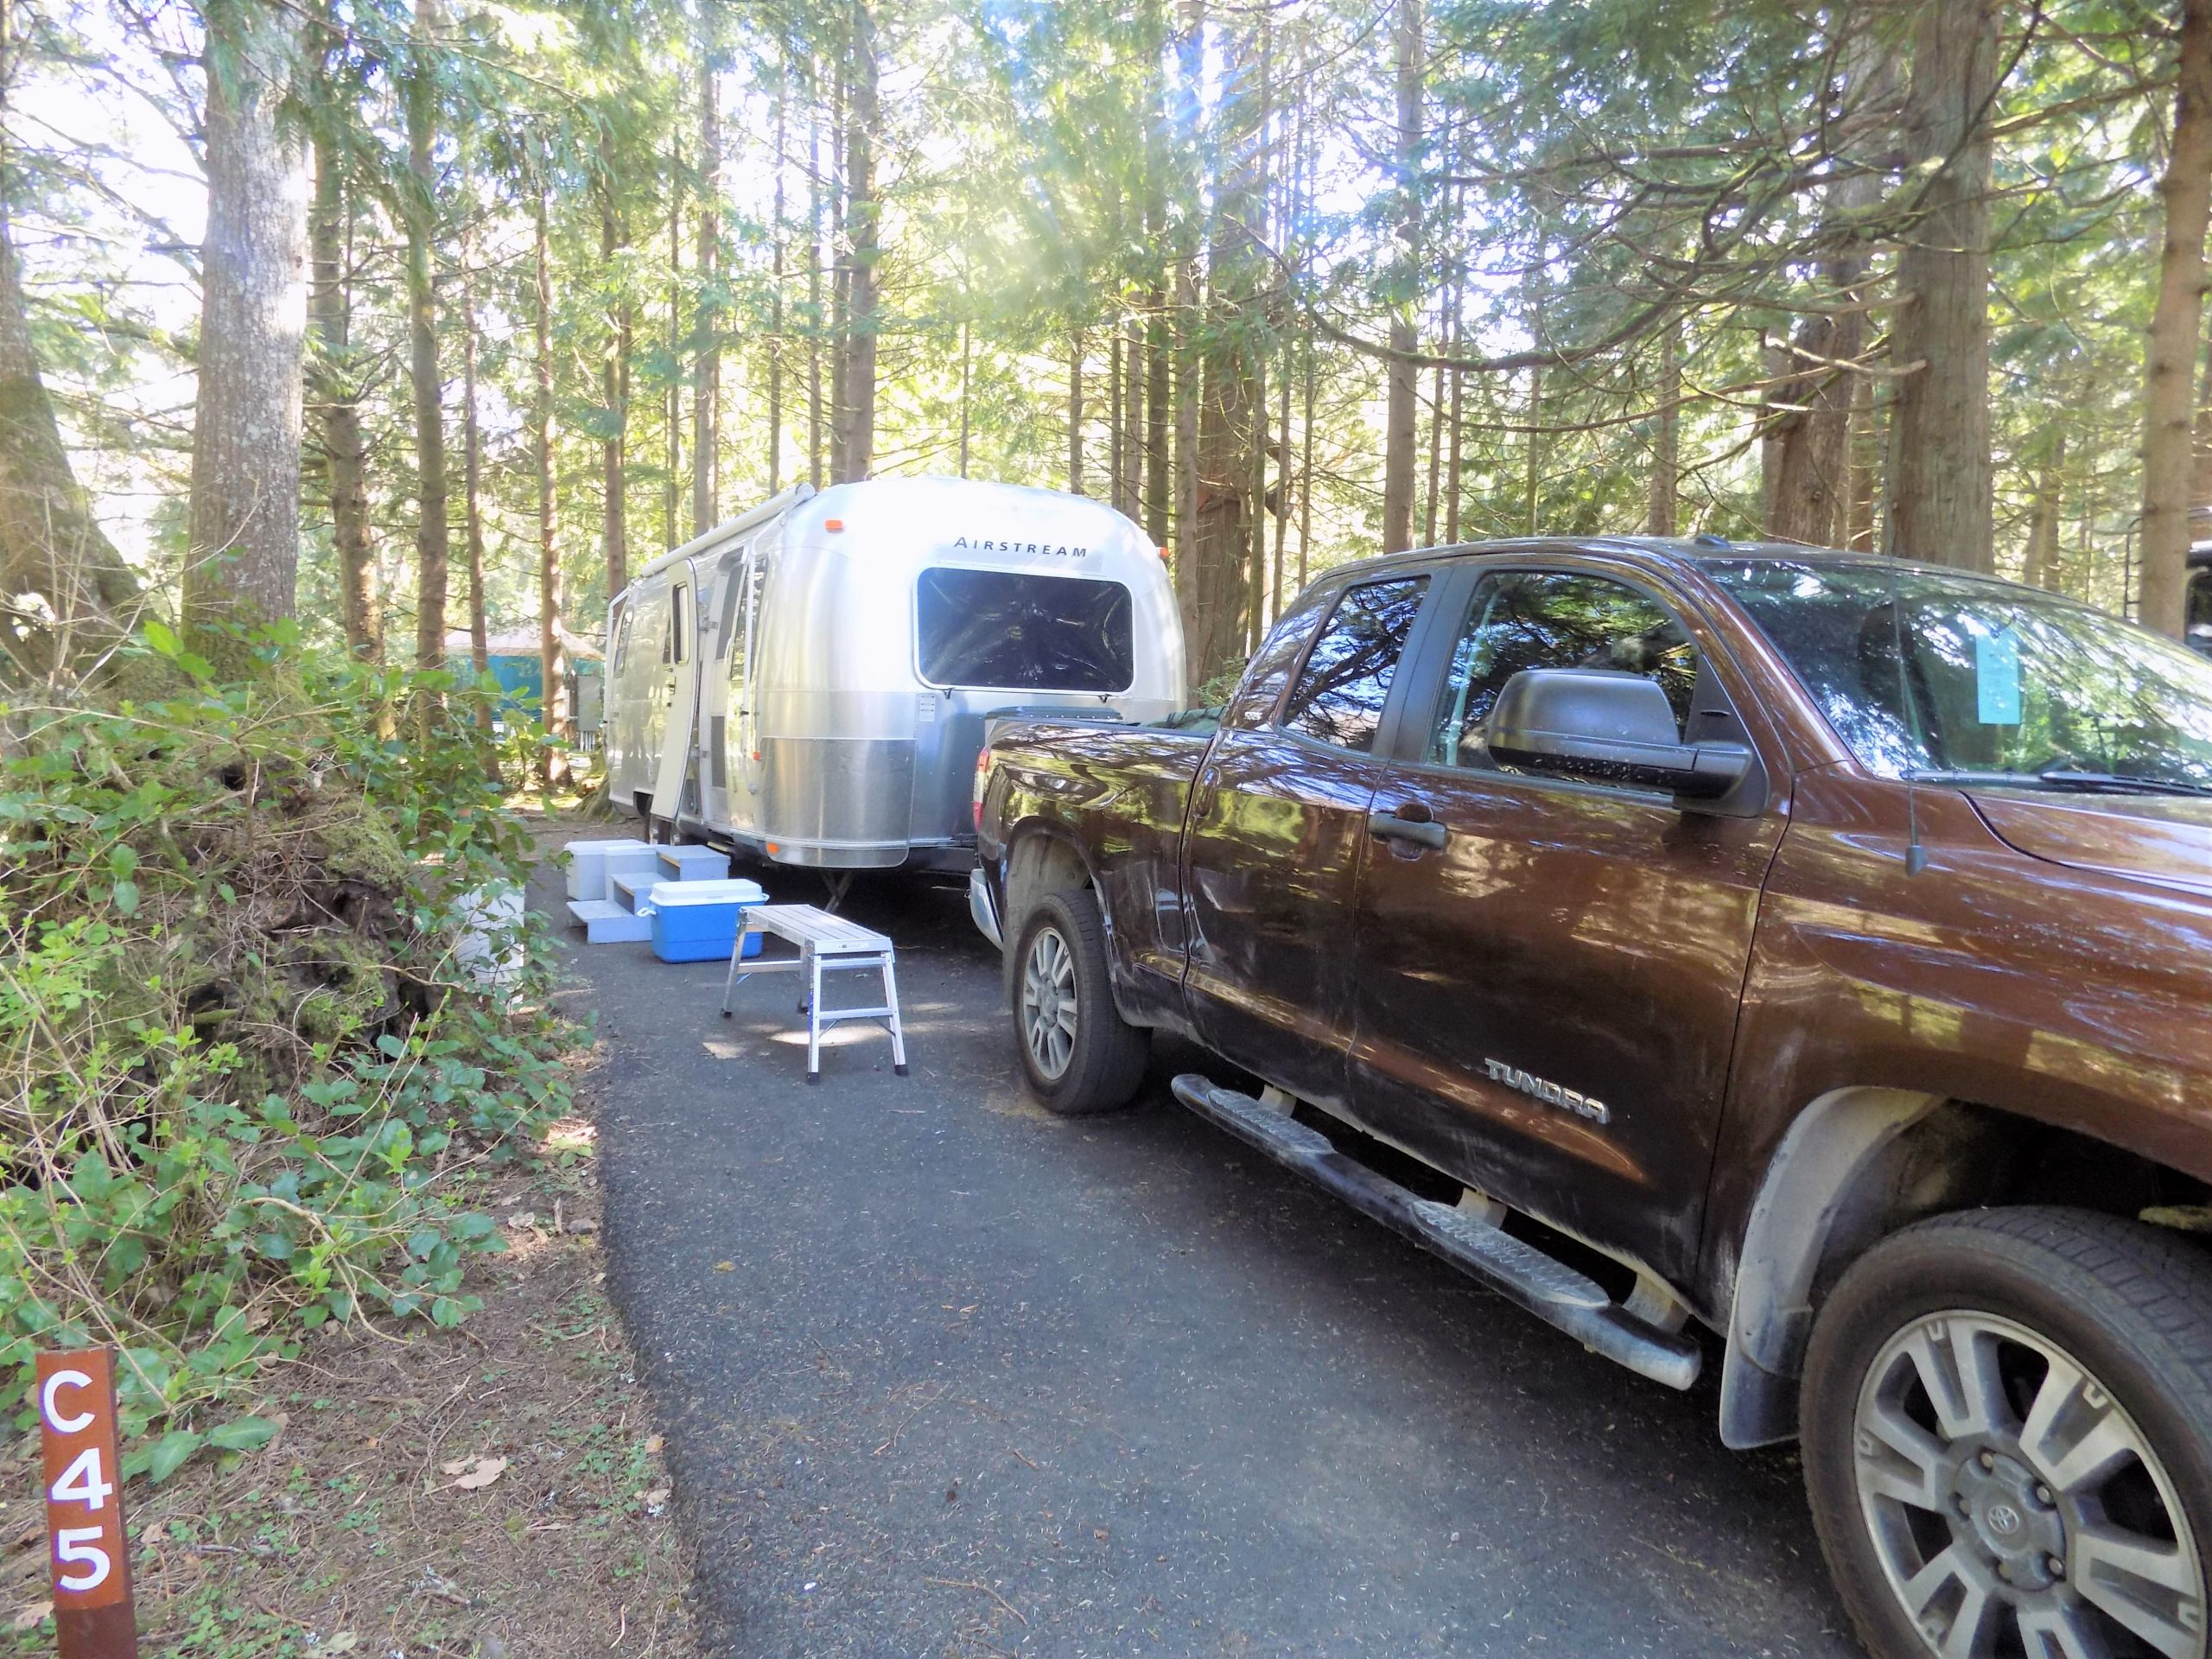
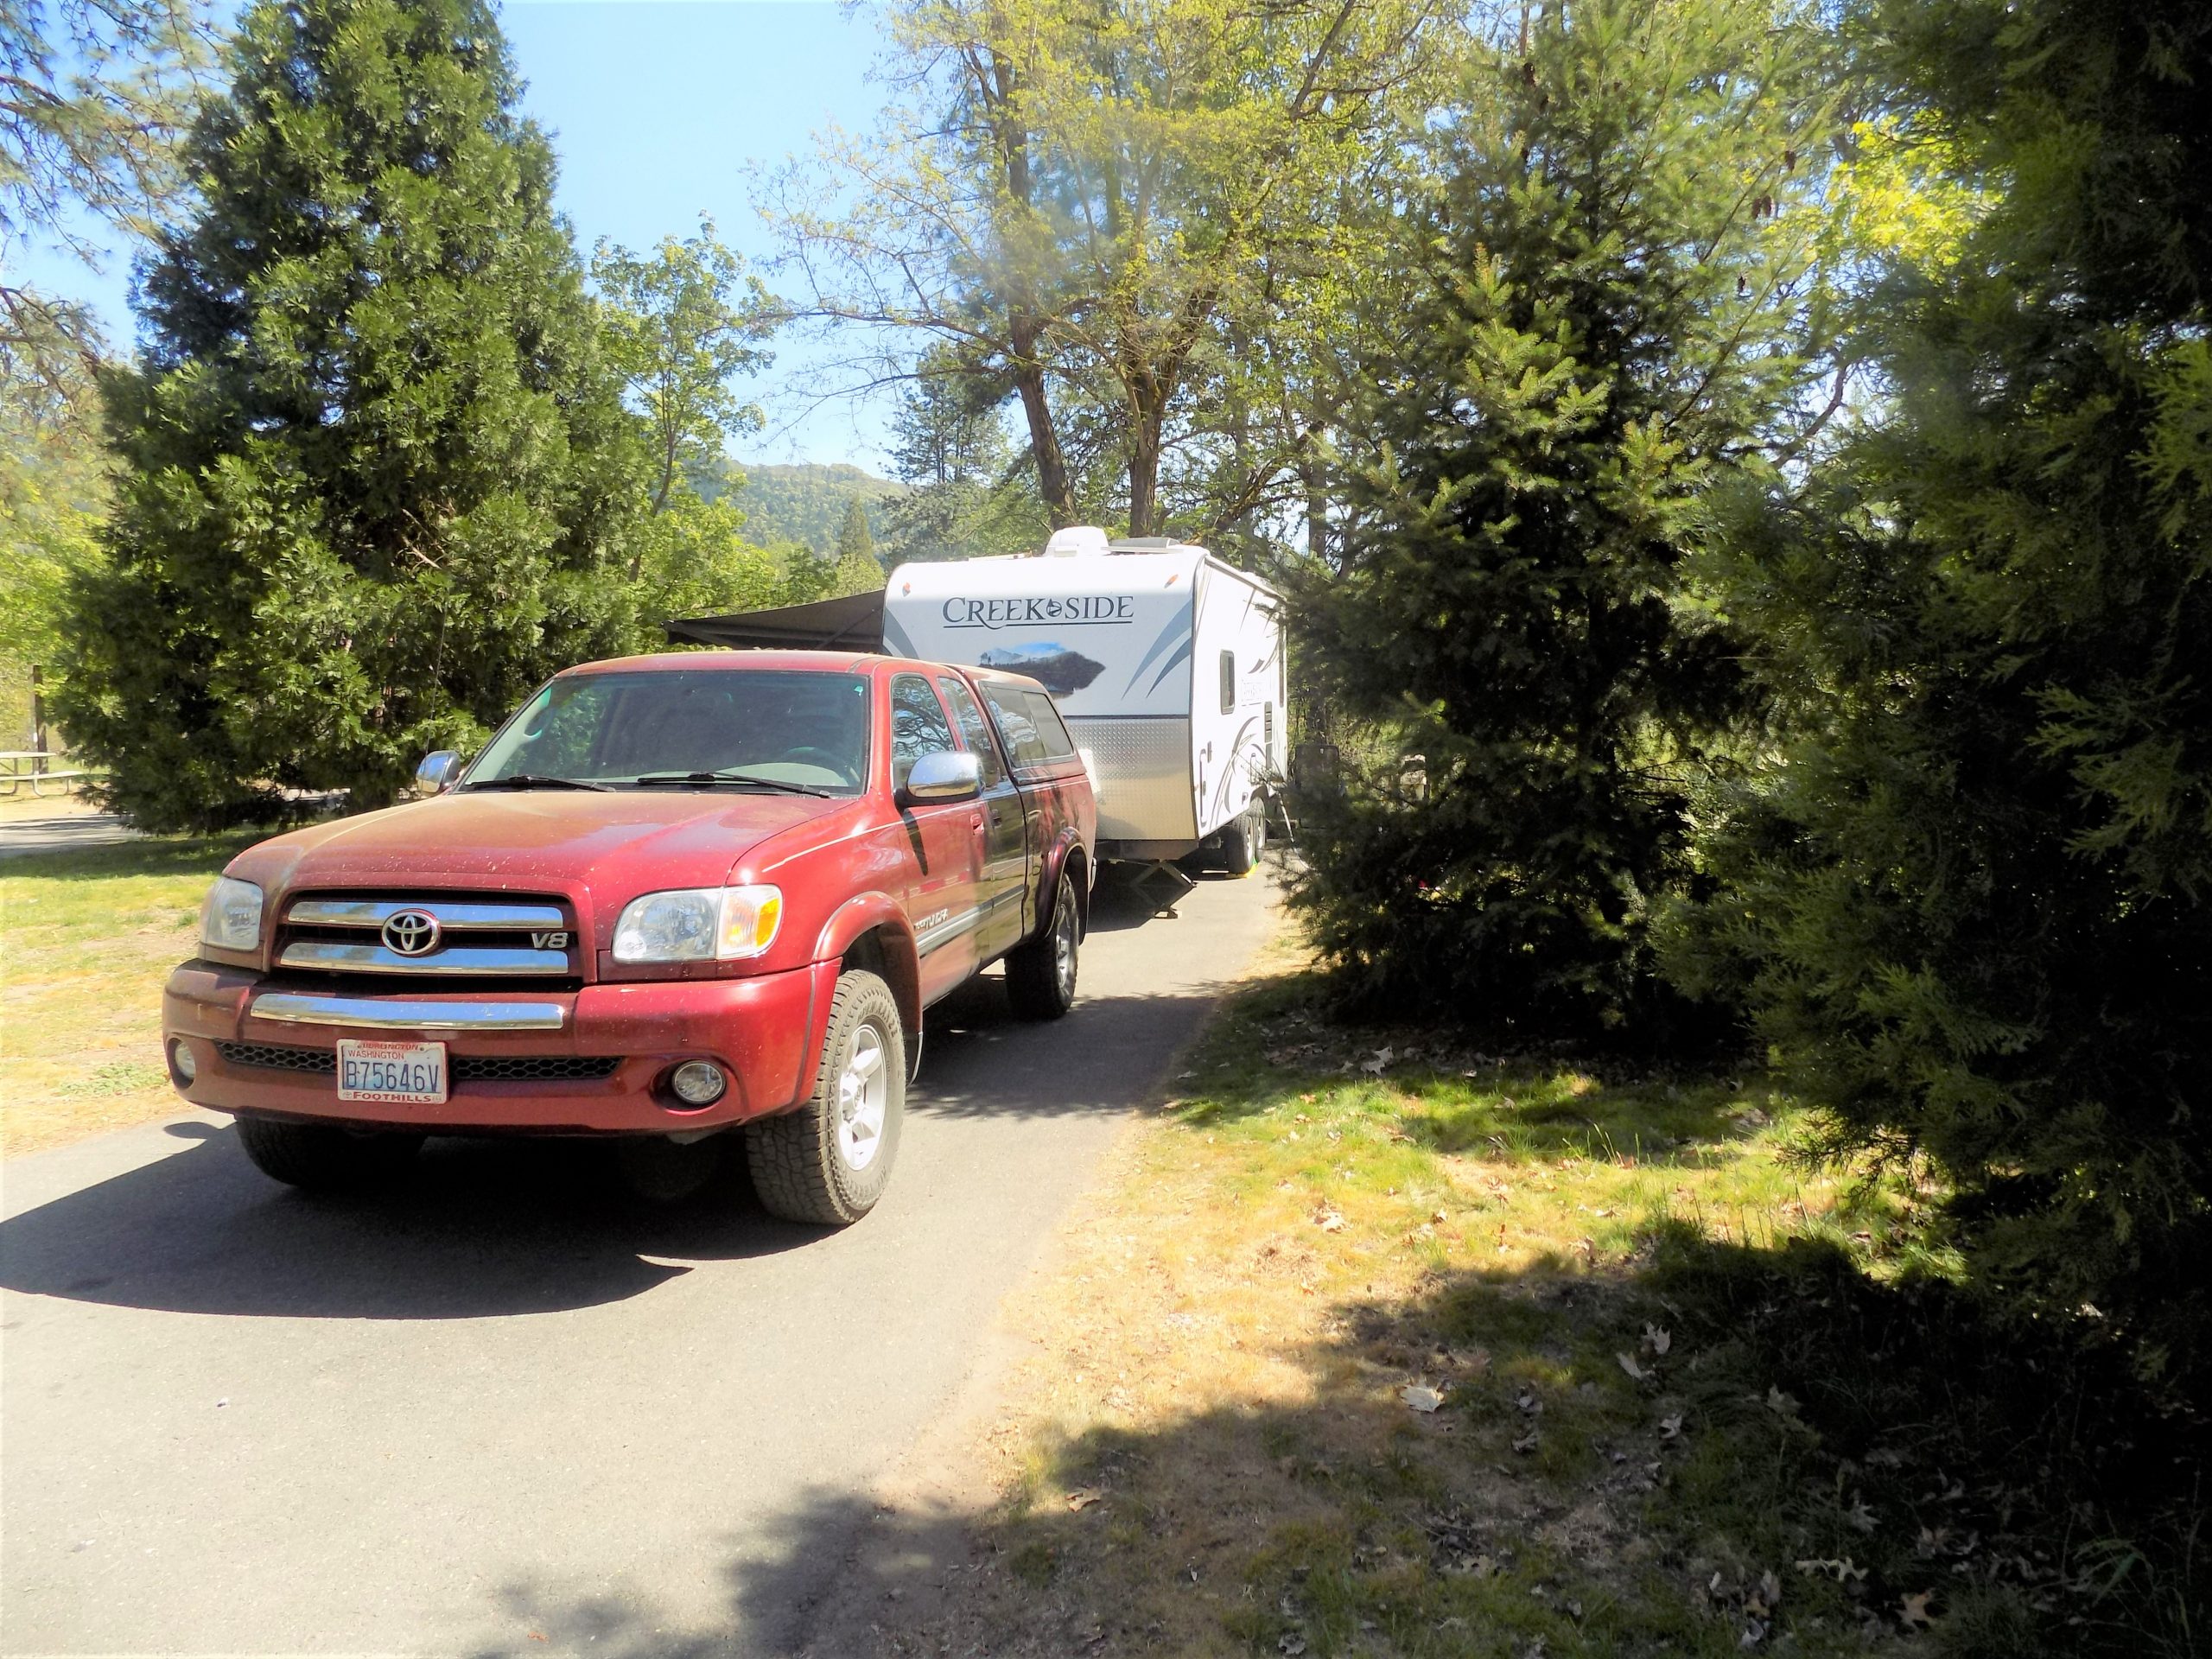
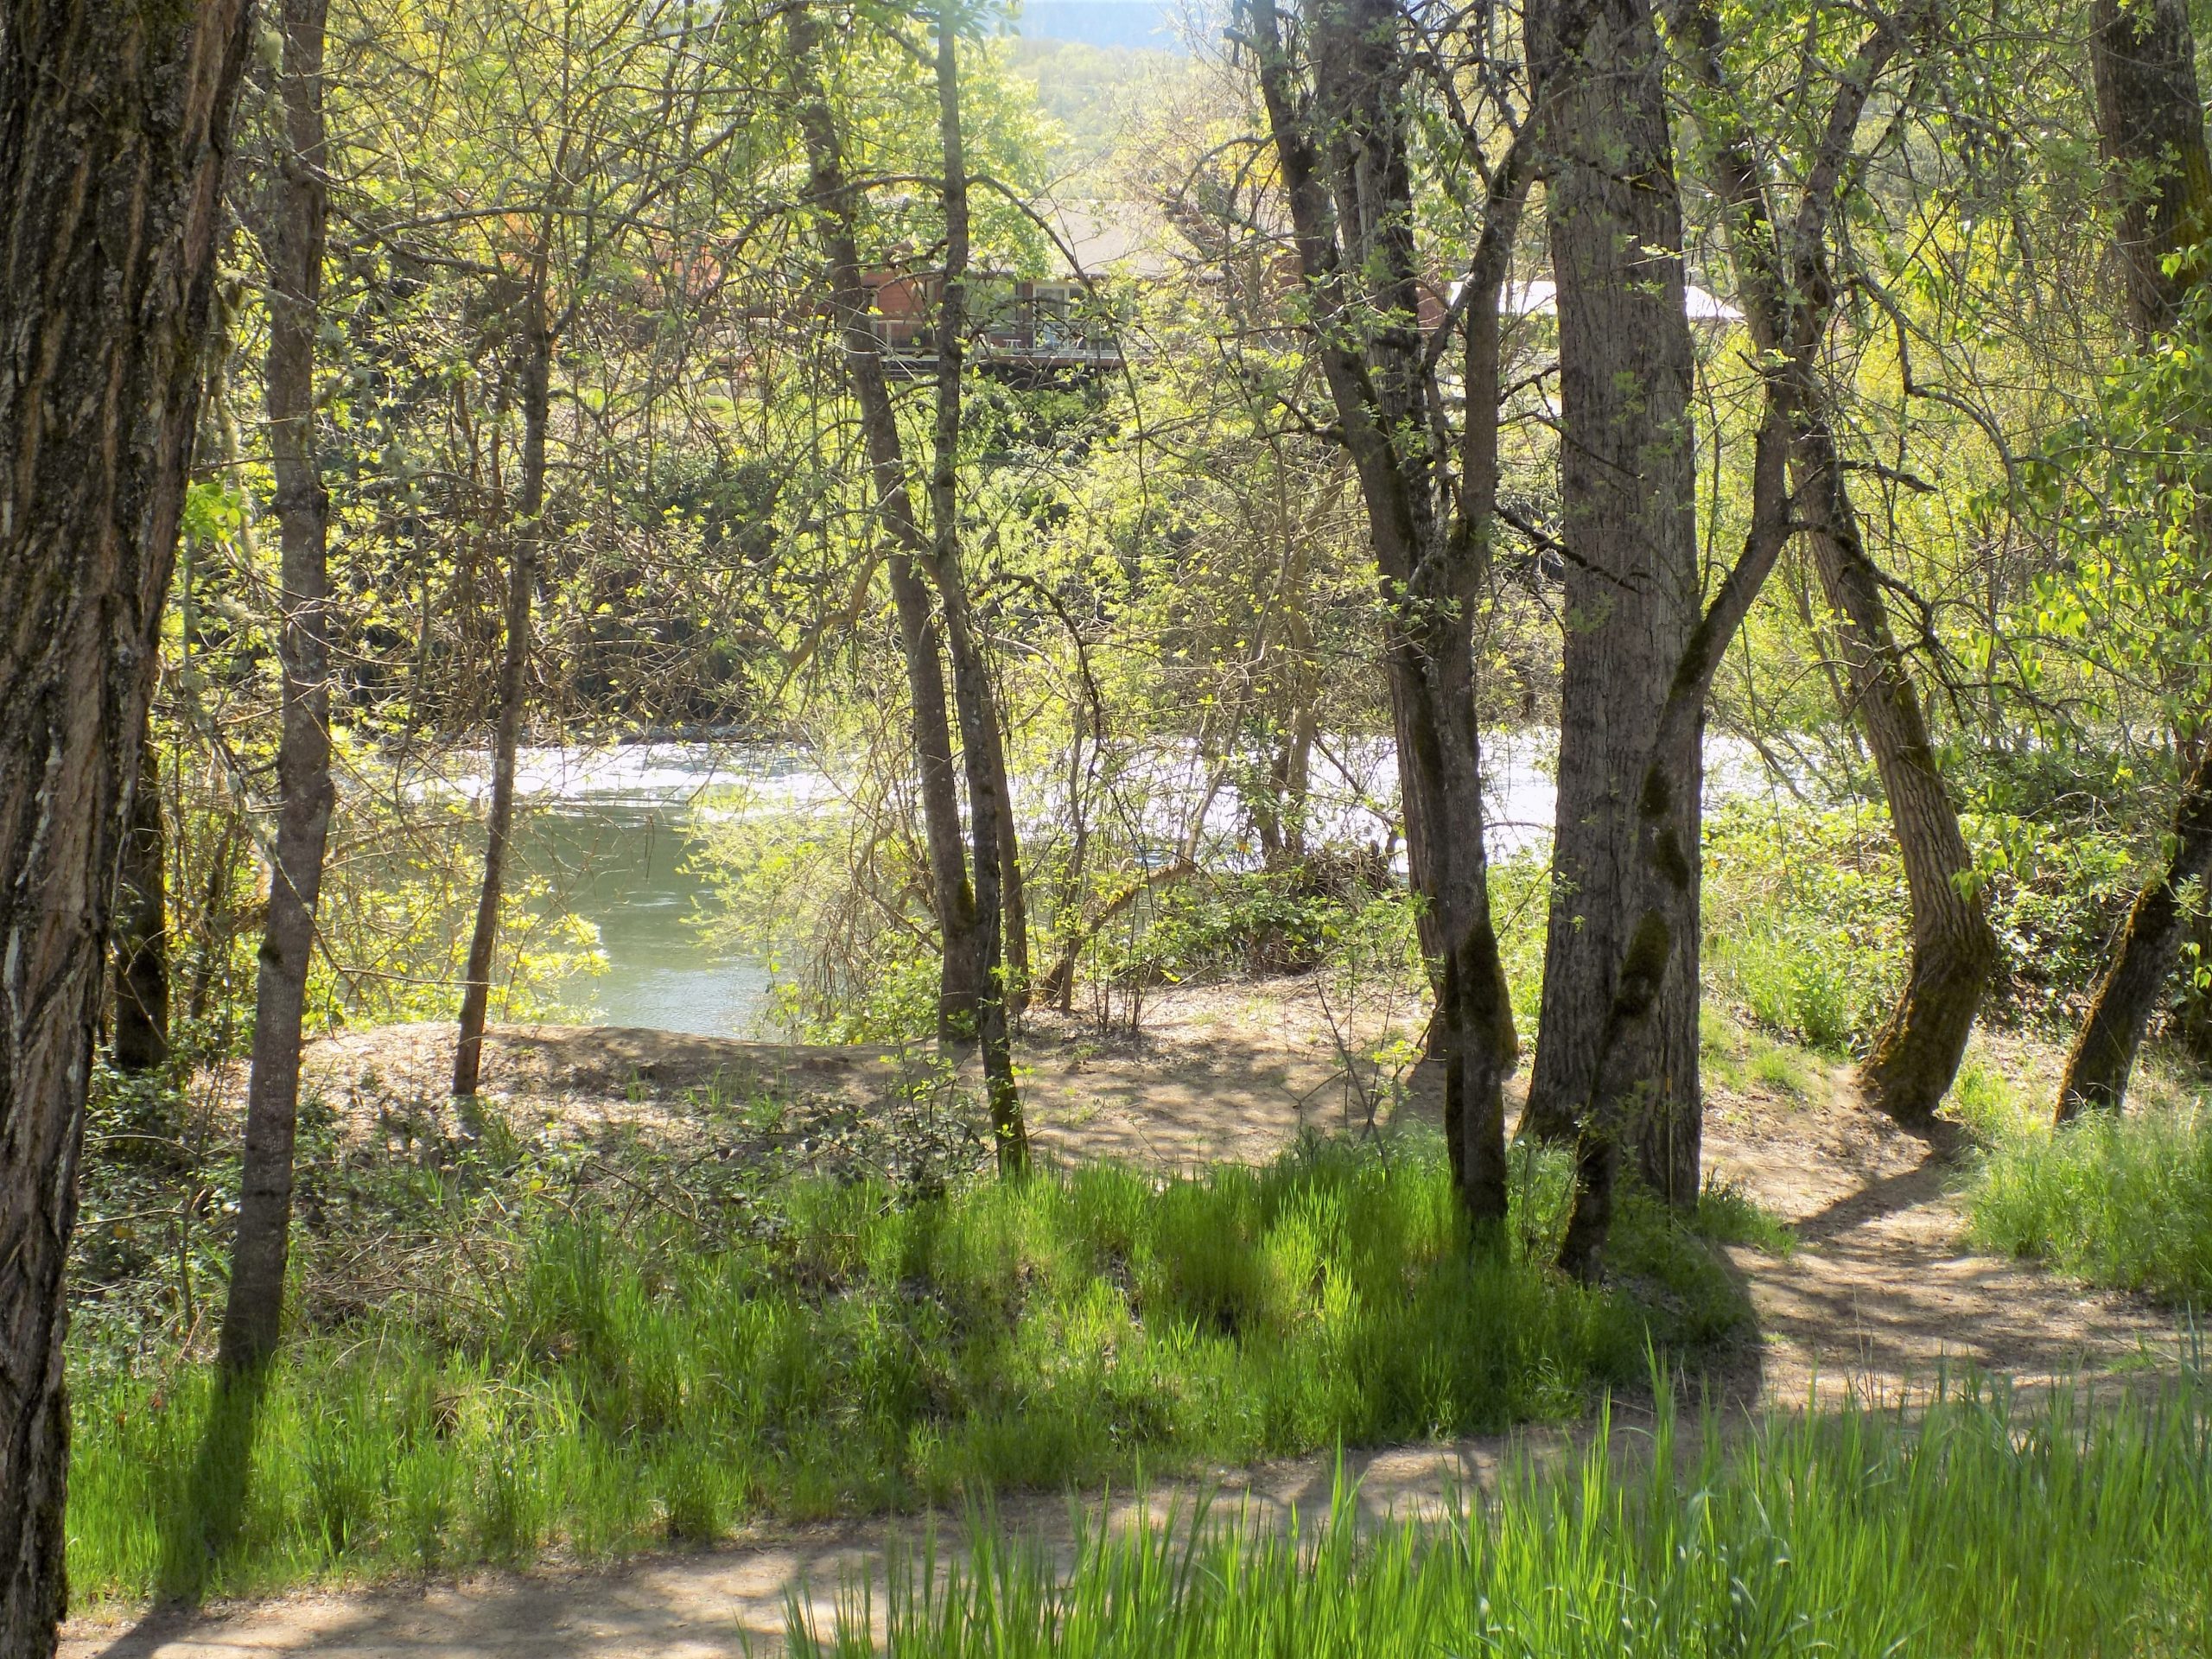
April 21st – Valley of the Rogue SP, Jackson County, Oregon – site B18
The free-flowing Rogue River just behind our campJust a short snooze before it’s time to read or fix drinks
What a wonderful drive from Brookings to our next campground in Jackson County. We basically followed the same route we had taken the day before on our drive to visit the redwoods. So, into California again on 101 and then left onto state highway 197 (North bank of the Smith River), past Jedidiah Smith SP connecting to US highway 199 and north into Cave Junction, Oregon. From there up to Grants Pass, and then on to southbound I-5 (which at this point you are really heading east and up the Rogue Valley).
I should point out that the California border check point station was closed both the day before and today. This was a good thing. Because both sets of travelers had all kinds of fruit that we really didn’t want to sacrifice even for such a noble cause as preserving the integrity of the fruit grown in California. Not only would we not be smuggling mandarin orange seeds to California growers, or a pound of grapes to be turned into California wine, our lemons and limes probably started in California to begin with. And never mind nary a taste of fruit would happen in the short time we would be traveling over California’s sacred ground. But I’m pretty sure had the border crossing been manned, they would have taken all our fruit never-the-less. So, we arrived in camp with our fruit safely tucked away in our Koolatron.
The new love of my life – Sir Koolatron
When we arrived in camp at about 1:15 pm, our camp site right on the river was ready and willing to be occupied. And with such a glorious site and perfect weather, we sat outside (without jackets) and read until we were joined by Rick and Katie for leisurely late afternoon conversation until it was time for them to go into Medford to have dinner with Rick’s daughter Gretchen and family.
We stayed in camp, had a nice dinner of scallops and cheezy grits, and a quiet evening and early to bed.
April 22nd – Valley of the Rouge SP
Woke up to another fine morning. Today was laundry day. So into the fine little town of Gold Hill, Oregon situated along a large bend in the Rogue River. I was prepared for a dingy little village, but was delighted to find a very comfortable little town with an excellent laundromat. After a short time, we had clean towels, bedding, and all the usual clothing suspects all safely tucked into our truck for the short return trip to our camp ground. But first, a few groceries. Found everything we needed at the local Ray’s Grocery, and of course a few things we didn’t really need, but they came home with us regardless.
Then after lunch, Andy went for a bike ride, and I got lost in a book. I should mention that it was really warm this afternoon. Andy was in shorts and sandals, I was in capris and sandals. Perfect day to be lazy. The only thing that caused us to move once in a while, was to reposition our camping chairs to get out of the sun! At about 3:00 pm I decided it was time to do some prep work for the rice dish I was providing for our evening entertaining. There would be 6 of us this evening for a potluck dinner.
Don and Denise, dear friends of Katie and Rick’s would be coming up from their home in Ashland to join us for the evening. For Andy and me, it would be a real treat because we had not seen these lovely folks since we all went on an 8-day burrow trek into the Pasayten Wilderness in August of 1999. And 22 years is a long time not to see friends. So, of course we had a grand time getting re-acquainted.
We were also happy to see Gretchen and her husband Dwayne when they decided to come up from Medford for a late afternoon visit. We hadn’t seen them either for more years than I care to mention. So it was great to re-connect with them too.
So, it was a wonderful day of renewing friendships, spectacular weather, and fine dining on smoked and grilled fresh ling cod, green salad, mixed rice with shiitake mushrooms, and apple pie for dessert. We could not have asked for a more pleasurable day.
(And why I didn’t take any pictures is still beyond my comprehension!)
April 23rd – Valley of the Rogue SP
Woke up to nice weather, but with a promise from the local weatherman that rain was on its way. Maybe not during the day, but definitely paying us a visit during the night. I wasn’t excited to hear about rain in the forecast, but Southern Oregon is experiencing a severe drought, so on their behalf I decided to welcome the rain with open arms.
After a nice breakfast, we decided a short day trip was in order. So we drove the back roads into Rogue River (the town) and then north and north east through the Evans valley. We came out at Table Rock with views of Mt. McLoughlin to the East. Then we stopped at Gold Hill to pick up some street food. Patti – Bentos (jasmine rice covered with teriyaki pork and green onions) and Andy with a Philly Cheese Steak. OK, but not up to our usual rigid standards.
About 4:45 pm we jumped in Rick and Katie’s truck for a short visit to Don and Denise’s home in Ashland. It had been at least 25 years since we had been to their home for a visit, so of course there were lots of changes for us to ooh and aah over. But the one constant that had made a large impression on me the last time we had visited, was Denise’s studio. Denise is a renowned teacher and international artist. She has been teaching workshops and classes for 20 years in the creative arts including monoprinting, collage, mixed media, and book arts. She has presented “Awaken Amplify and Sustain your Inner Artist” with Jean Houston’s Seminars and Women of Wisdom conferences of Seattle Washington. She has been an Artist in Residence at the Horace Mann School of New York. She has been exhibiting and selling her original works since 1985. She is a recent featured artist on Oregon Public Broadcasting’s Art Beat.
Denise is represented by Hanson Howard Gallery of Ashland, Oregon. Her favorite place to teach is in her studio located in a garden setting with the sound of Ashland Creek in her back yard. Animals, birds, and the natural world fill her work with myth and stories. Her work is life affirming. Denise has a working studio at the Ashland Art Center that is open to the public daily. You can view her new work and works in process. For more information on Denise, visit drawingonthedream.com.
So after a short visit with Don, Denise, and their daughter Amber for appetizers and wine, we left to meet Gretchen and Dwayne at the Belle Fiore Winery for dinner. The winery and restaurant are in what looks like a huge villa set on a hillside surrounded by a vineyard. Breathtaking. Gretchen’s son Brandon is the head chef. So not only did we enjoy a world class dinner, we were treated like royalty. An absolutely delightful dinner gathering. For more info on Belle Fiore, visit bellefiorewine.com. And if you happen to be going to Ashland for a visit, I highly recommend you visit this enchanted place.
Then after saying good night to Dwayne, Gretchen, and Brandon, and leaving the absolutely gorgeous villa behind, it was back to camp for lights out. Another wonderful day in paradise.
(And again, my camera stayed at home in the trailer. Where was my brain?)
April 24th – Valley of the Rogue SP
Woke to the tinkling of rain on our roof. I actually love to be cozy in bed in the trailer and hear the pitter patter of drops gently falling on us. Andy had made sure the night before that our camp chairs, drink table, and Koolatron were safely stashed under the trailer, so no worries there.
After a very unhurried breakfast and a couple of chores in and outside the trailer, we decided a short drive was in order. I had heard that the historic town of Jacksonville, the gateway to the Apple Valley Wine Trail, was worth visiting. And oh my, what a quaint, yet terribly sophisticated appearing little town. Beautiful homes, businesses that looked attractive enough to want to stay a while and visit each and every one of them. And restaurants galore. We definitely want to spend some time in this perfect little village on our next visit to this area.
After our nice ride, it was time to come back to camp because we were having company for dinner. Gretchen and Dwayne were coming for dinner and Katie had purchased some ground turkey enchiladas, and I contributed beef stroganoff and some of the ingredients for a big old green salad. All-together, a very lovely picnic dinner at our campsite. After dinner, it was dishes, a bit of reading, and an early night-night.
(I have fired myself as the staff photographer! Next time it will be up to someone else to save all these precious moments on film, or disc, or whatever it’s referred to now!)
April 25th – Tumalo SP, Tumalo, Oregon (just outside Bend) – site C-059 (eventually!)
Our site for the first night. Nice enough, but NOT OUR RESERVED SITE! But read all about why we were in this site, NOT OUR OWN, below. Our second night we were able to park IN OUR OWN SITE!Great landscape behind OUR SITE.Rock with no roll – thank heavens!
Snow had been predicted for our run from Valley of the Rogue (north of Medford) to Tumalo via the Diamond Lake Highway over Diamond Lake Summit (5400 ft.) and Cascade Summit (5900 ft.). (This highway passes by the north entrance to Crater Lake if that helps you get a bit more oriented as to where in Oregon we were crazy enough to drive in late April!) But we breezed over both passes with only about 30 seconds of not very serious snow/hail flakes. However, when Rick and Katie were heading down (East) after successfully passing over Cascade Summit, on an absolutely straight 18 mile stretch of road, they experienced snow on the road and passed two cars in the ditch. Not a wonderful feeling when towing a trailer and you’re traveling downhill. But Rick is an old hand at driving in snow, so he brought them safely into camp.
An hour before Rick and Katie arrived in camp, we pulled into Tumalo SP to find a small trailer in our reserved spot. Now if you have never been camping or made reservations at a campground, you need to know that some type of post with the site number is placed right next to every camp site. And if the site is reserved, there is a large red sign with that indication. So, at our reserved site, on the post, it very clearly stated that the site was reserved. And right across the way from us were 2 sites that were very clearly labeled “open”. Whatever vehicle that had been used to pull the trailer (IN OUR SITE) was nowhere to be seen. So, we located the camp host to explain our dilemma and to ask for assistance. He checked our reservation and then went in search of the trailer’s license plate so he could give the culprits a call. And low and behold, no license plate on the trailer. (Big surprise.) Also, the poachers had not bothered to register and pay their camping fee. Now Buddy (the camp host) was mad too. He called the park ranger.
After a couple of minutes, she showed up and she was more than mad! She wrote them a citation. (Whatever that means!) Meanwhile, we learned that in most Oregon state parks, one site is marked reserved just for situations like ours. So, we were provided with a really nice site. Of course, it wasn’t next to Rick and Katie, but it was only a few sites away. Could have been much worse. Could have been in a whole other loop. Could have been no available sites at all!
Buddy had asked us to obtain the license plate number of the vehicle when and if it ever showed up. But to not get into any confrontation or put ourselves in any kind of awkward position. So, Andy casually walked by the vehicle and was about to write down the license number when a scrappy looking man asked him if he was the park ranger. He apparently was unsure why he had received a citation. (Right!?!?) Andy assured him that he was not the ranger, but that he (the guy with the citation in hand) had parked his trailer in a reserved spot. At which point the man went all “I didn’t know”, and “what reserved sign”, etc. etc. The upshot was, he left the next morning and we moved our trailer to its appointed spot. Of course we will never know the whole story, but my “bullshit” meter was all the way into the red zone when Andy explained how sorry the man was for parking in our spot and how he had just made an innocent mistake. And the reason there’s no license on your trailer? And you failed to register for the site because…..? Anyway, I didn’t let the air out of his trailer tires or hide his power cord, so except for being rather grumpy and irritable for the entire evening, I conducted myself like an adult! Grrrrrr Sometimes I hate being an adult!
But Katie fixed us a wonderful dinner of marinated grilled lamb steaks, oven roasted squash, and green salad with lots of blue cheese crumbles. So along with the fabulous meal that evening and the lovely martini Andy fixed me before dinner, I managed to get back to my normal, fairly reasonable self.
Then a good nights’ sleep. (That always helps too.)
April 26th – Tumalo SP
Woke up early after a really good night’s sleep for both of us. After breakfast we sat around waiting for the people who had stolen our site to leave. Now if it had been me, and I had inadvertently stolen someone else’s site, I would have crept out of camp really, really early before anyone could throw eggs at my trailer. So, when it got to be 10:00 am, I was ready to go knock on their trailer door and ream them a new one. But, fortunately for them, I watched while they had trouble hitching up their trailer. (If it even was their trailer. I have my doubts. Perhaps I’ve been reading too many mysteries. That could be a contributing factor to the suspicions I was having about these folks.) Anyway, we moved our trailer to OUR reserved site (righteous indignation being displayed here) and proceeded to have a wonderful day.
When we were all set up, I did some prep work for tonight’s dinner. I made a marinade for the chicken. I prepared pea salad. And I made the dressing for the mixed green salad I was also planning to serve. After that was all finished, the four of us took about a mile walk along the Tumalo River. Then back to camp for lunch.
Along our walk beside the Tumalo River
Then into the truck for a short drive around the area. Then back to camp to read, write, and finish making the green salad for our evenings’ meal. After that, reading until we could no longer keep our eyes open. Just before lights out we discovered that the sky was clear of clouds and we had obviously paid our moon tax, because from our bathroom, the moon was full and beautiful shining through the skylight over our bathtub. Reason enough to get up for a night call.
April 27th – Peach Beach, site 3 (scratch that – we moved to our favorite site 28)
Back in our favorite siteNotice the trees. Since our visit earlier in the month, the leaves were out in all their glorious splendor. What a difference a couple of weeks makes when Spring is in the air! Mama, papa, and baby swimming just off shore
After a cold night (outside only, our trailer was toasty inside) we woke to blue skies and a terrific day to travel north towards our next destination. All of the mountains were in top form, from Mt. Bachelor to Sisters, from Hood to Adams and even the top of Mt. Rainier could be spotted in the far distance. Amazing. If you have never traveled along 97 from Bend to The Dalles or Biggs Junction, you can’t imagine how amazing this drive is for mountain viewing. And because the air was so clean from the on and off rain storm we had experienced the last couple of days, the vista was better than we had previously experienced. And we had driven this route many times before.
So, even though the drive was fairly short, it was absolutely delightful. Of course there were quite a few truck and trailer combinations on the route. But that’s only to be expected because, even though it is a two lane road most of the way, it is a main route from Yakima and the tri cities, to Bend and all of Eastern Oregon.
At one point, the frustration of one of the truck drivers could have caused a massive and probably fatal accident for an oncoming car driver and could possibly even have included us in the fallout from his poor decision. And of course, there had been some road work, and that never helps drivers keep their cool or truck drivers keep to their schedules.
But this one truck driver must have had enough of the truck in front of us leading a long string of trucks and cars behind him. To the lead truck driver’s credit, he was going the speed limit and there really was no place for him to pull over and let others pass. But before we could even realize what was happening, this crazy truck driver was passing us and he barely got back on our side of the road in front of us before smashing into the oncoming car. It was the most reckless demonstration of poor judgement I have seen in a long time. And I’m sure the driver of the oncoming car is still giving thanks to his/her guardian angel for allowing him/her to live to tell the story. And I am sure as heck glad Andy was driving at the time. He remained calm and cool, and simply applied the brakes in a reasonable manner and didn’t panic in the least. I probably wouldn’t have panicked either, but the driver’s side seat might have had to be replaced. It was truly a close call.
But we survived and made it into camp, to find that our favorite spot on the river was available. So, instead of being right next to Rick and Katie in site number 3, we were happily set up just across the road in site 28.
Our evening was wonderful. Not only did the weather cooperate, our daughter Ursala and her husband Soroush brought us dinner. They live in White Salmon, Washington, about a 45-minute drive from our campground. We usually go to their place when we are in this part of the world, but with covid-19 precautions still in place, it made more sense to have them come here where we could eat outside. All 4 of us (Rick, Katie, Andy, and I have all been completely vaccinated, but Soroush and Ursala have only had their first shots, so protocols still needed to be followed.)
But what a glorious place to sit around a table enjoying great food. With the mighty Columbia River right beside us, and the weather agreeable to outside dining, we shared a lovely repast.
After Ursala and Soroush left to go home, we shared an after dinner Scotch (well Andy, Katie, and Rick enjoyed a Scotch) in their trailer. (Had to see their kitties after all.) Then it was back to our trailer for our evening’s quiet time with a good book.
Tomorrow, it’s in to White Salmon to see Soroush and Ursala’s new digs. And to visit granddaughter Nika in her new dance studio.
April 28th – Peach Beach
Woke to blue skies. After breakfast I drove to Hood River to visit some more with Ursala and to see their new apartment. Beautiful. Very cozy and perfect for just the two of them. And right next to the laundromat they own, so they can keep a close eye on things. We talked for about an hour then jumped in our truck and we proceeded downhill to the booming town of Bingen, right at the bottom of the hill and right on the Columbia River.
My son-in-law Soroush had built a beautiful auto body shop, complete with a paint booth, to service the auto repair needs of the people on the north side of the river. But for various health reasons, it became too much for him to handle. After their oldest daughter graduated from college, she was kind of at loose ends, not sure in what direction she wanted to go with her life. Nika is a very intelligent young lady, with terrific academic credentials, but her first love has always been dance. So, she and her dad decided that the perfect use for this large space was to turn it into a dance studio. And it just so happened that Soroush had designed the building to include an apartment on the 2nd floor. So not only does Nika now own and run her own dance studio, she owns a very nice apartment in the same facility. After Ursala and I had visited Nika for about an hour, I decided it was time to head back to the trailer.
The pandemic and all the protocols involved with keeping yourself and those you come in contact with healthy, makes long visits almost impossible. But it was glorious being able to spend at least a few hours with my kids.
When I got back to Peach Beach, I basically spent the late afternoon and evening doing nothing productive. It was wonderful! It was Katie’s turn to cook, so I just sat back and let the evening evolve around me. Isn’t that what’s supposed to happen when on vacation? I think so!
Andy took this picture in front of our trailer just as the sun was rising. Beautiful and calm beginning to his day. (I of course, was still asleep.)
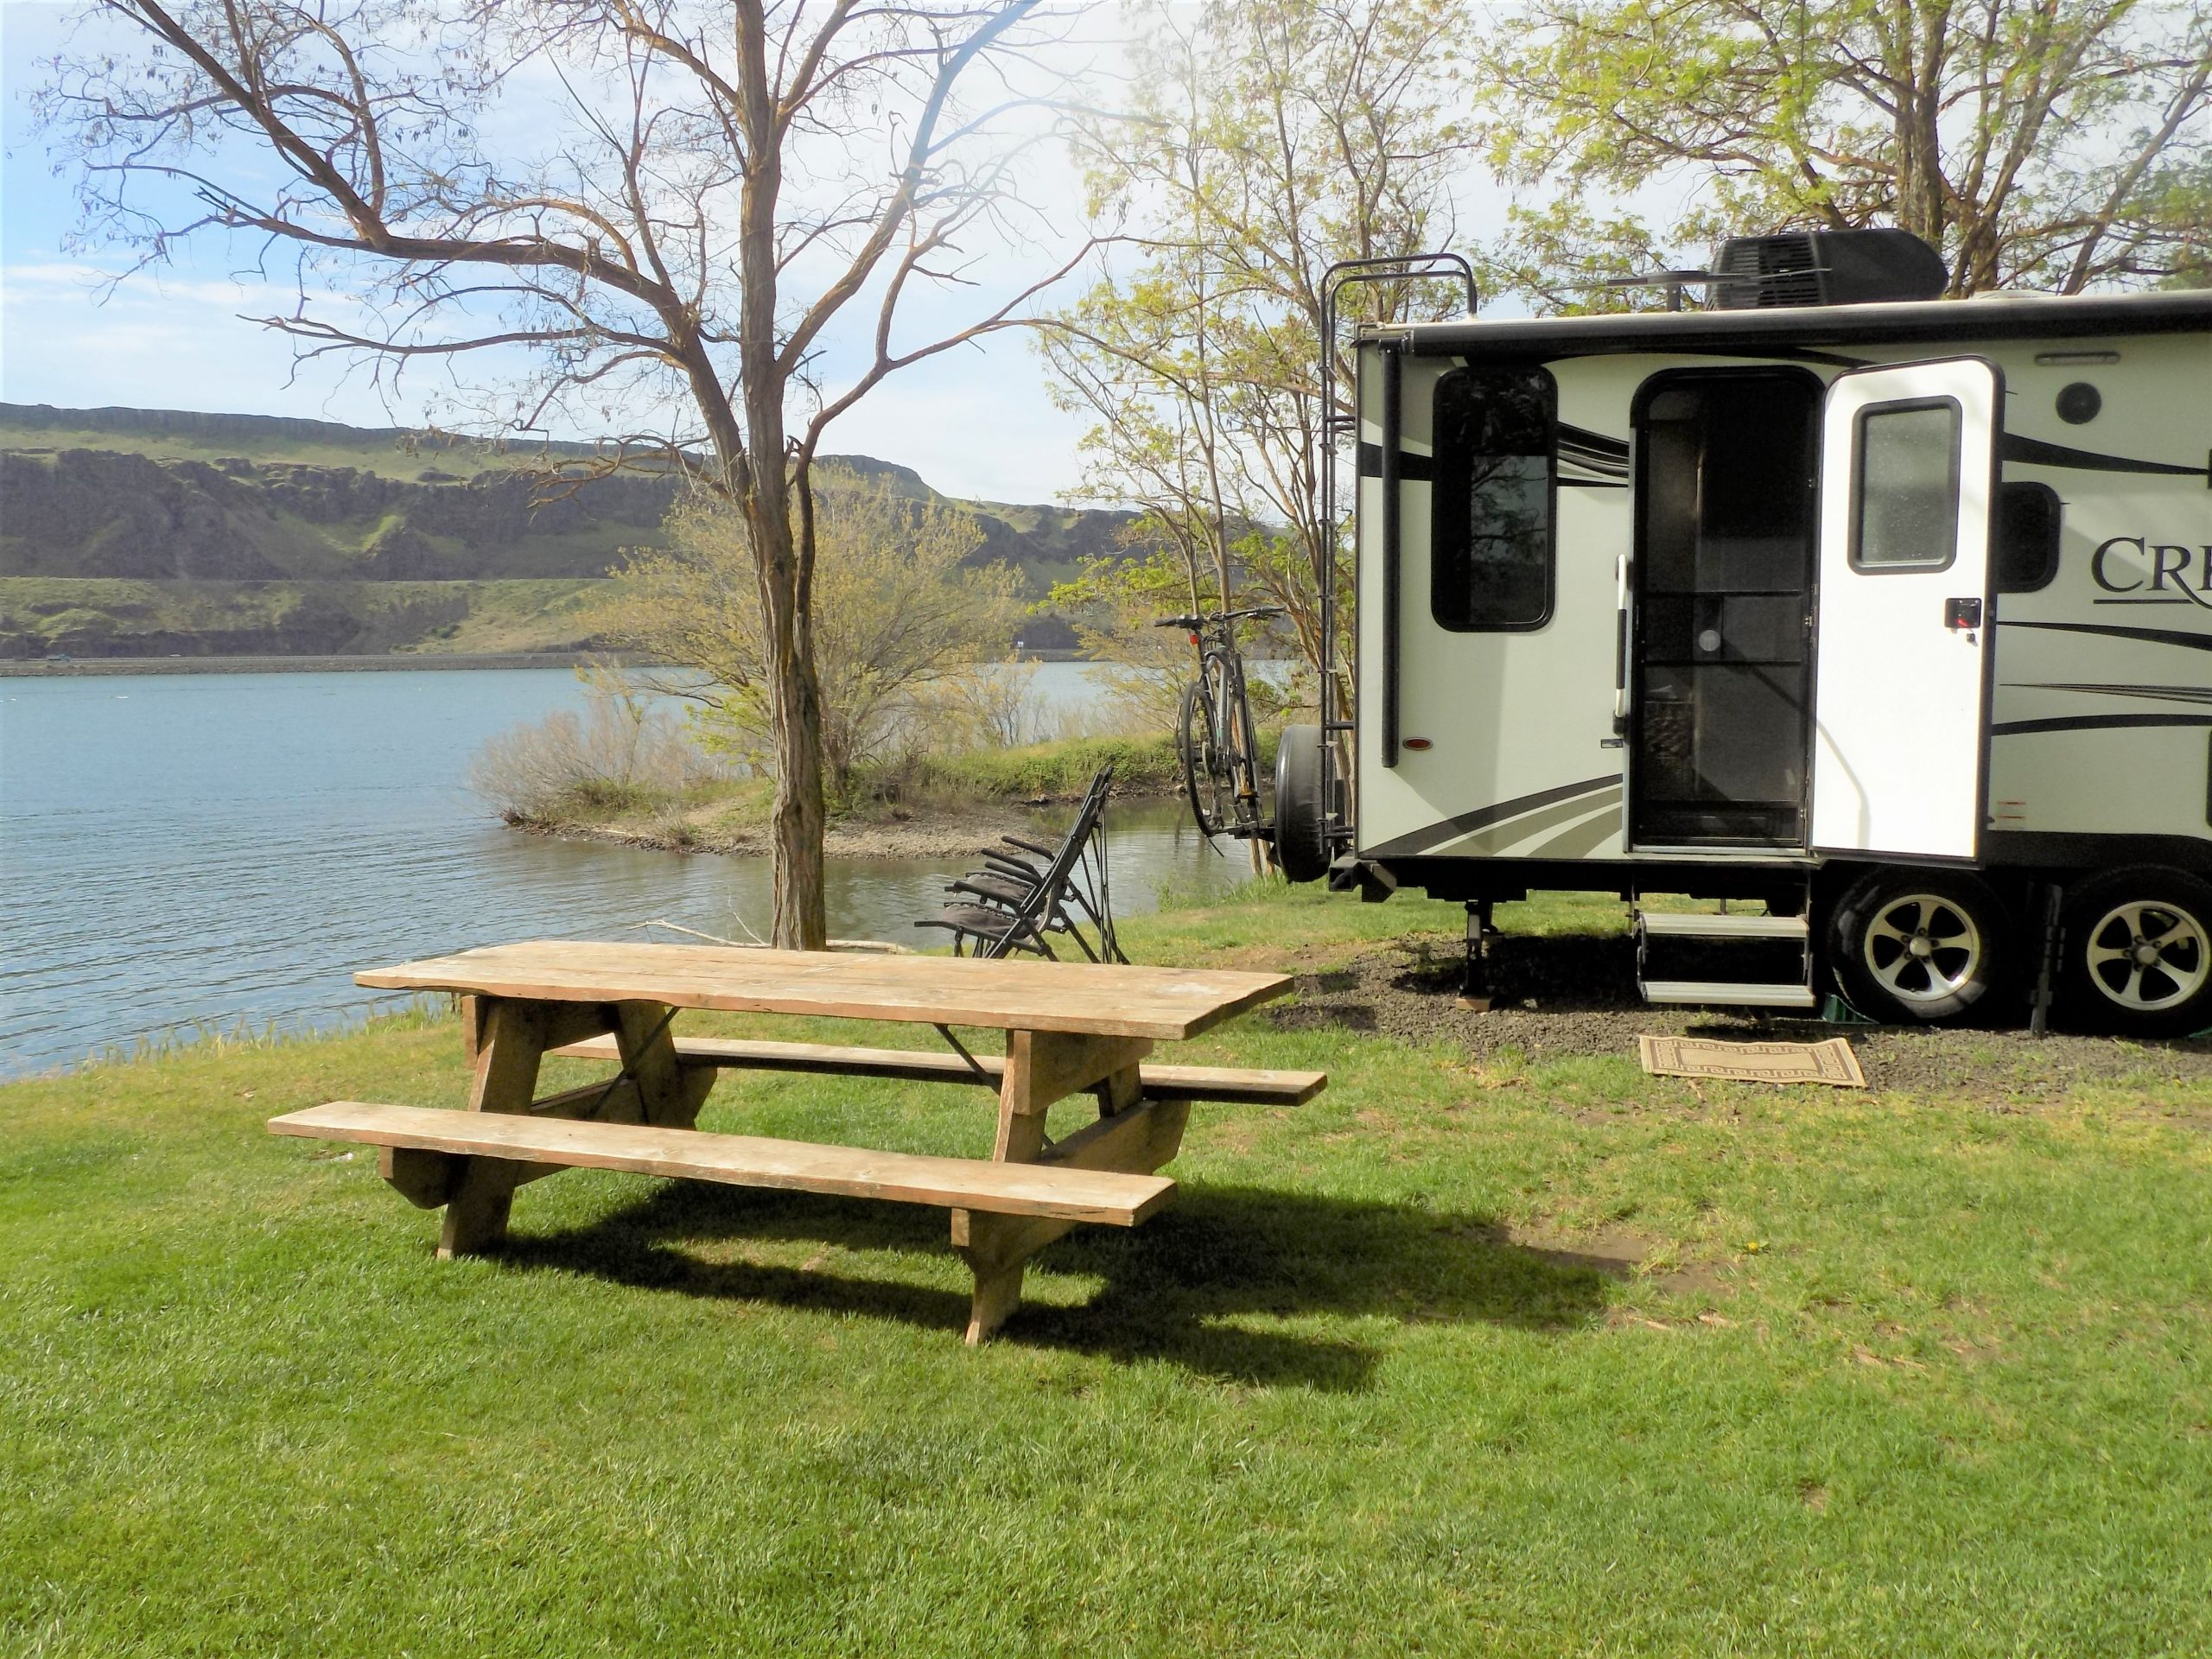
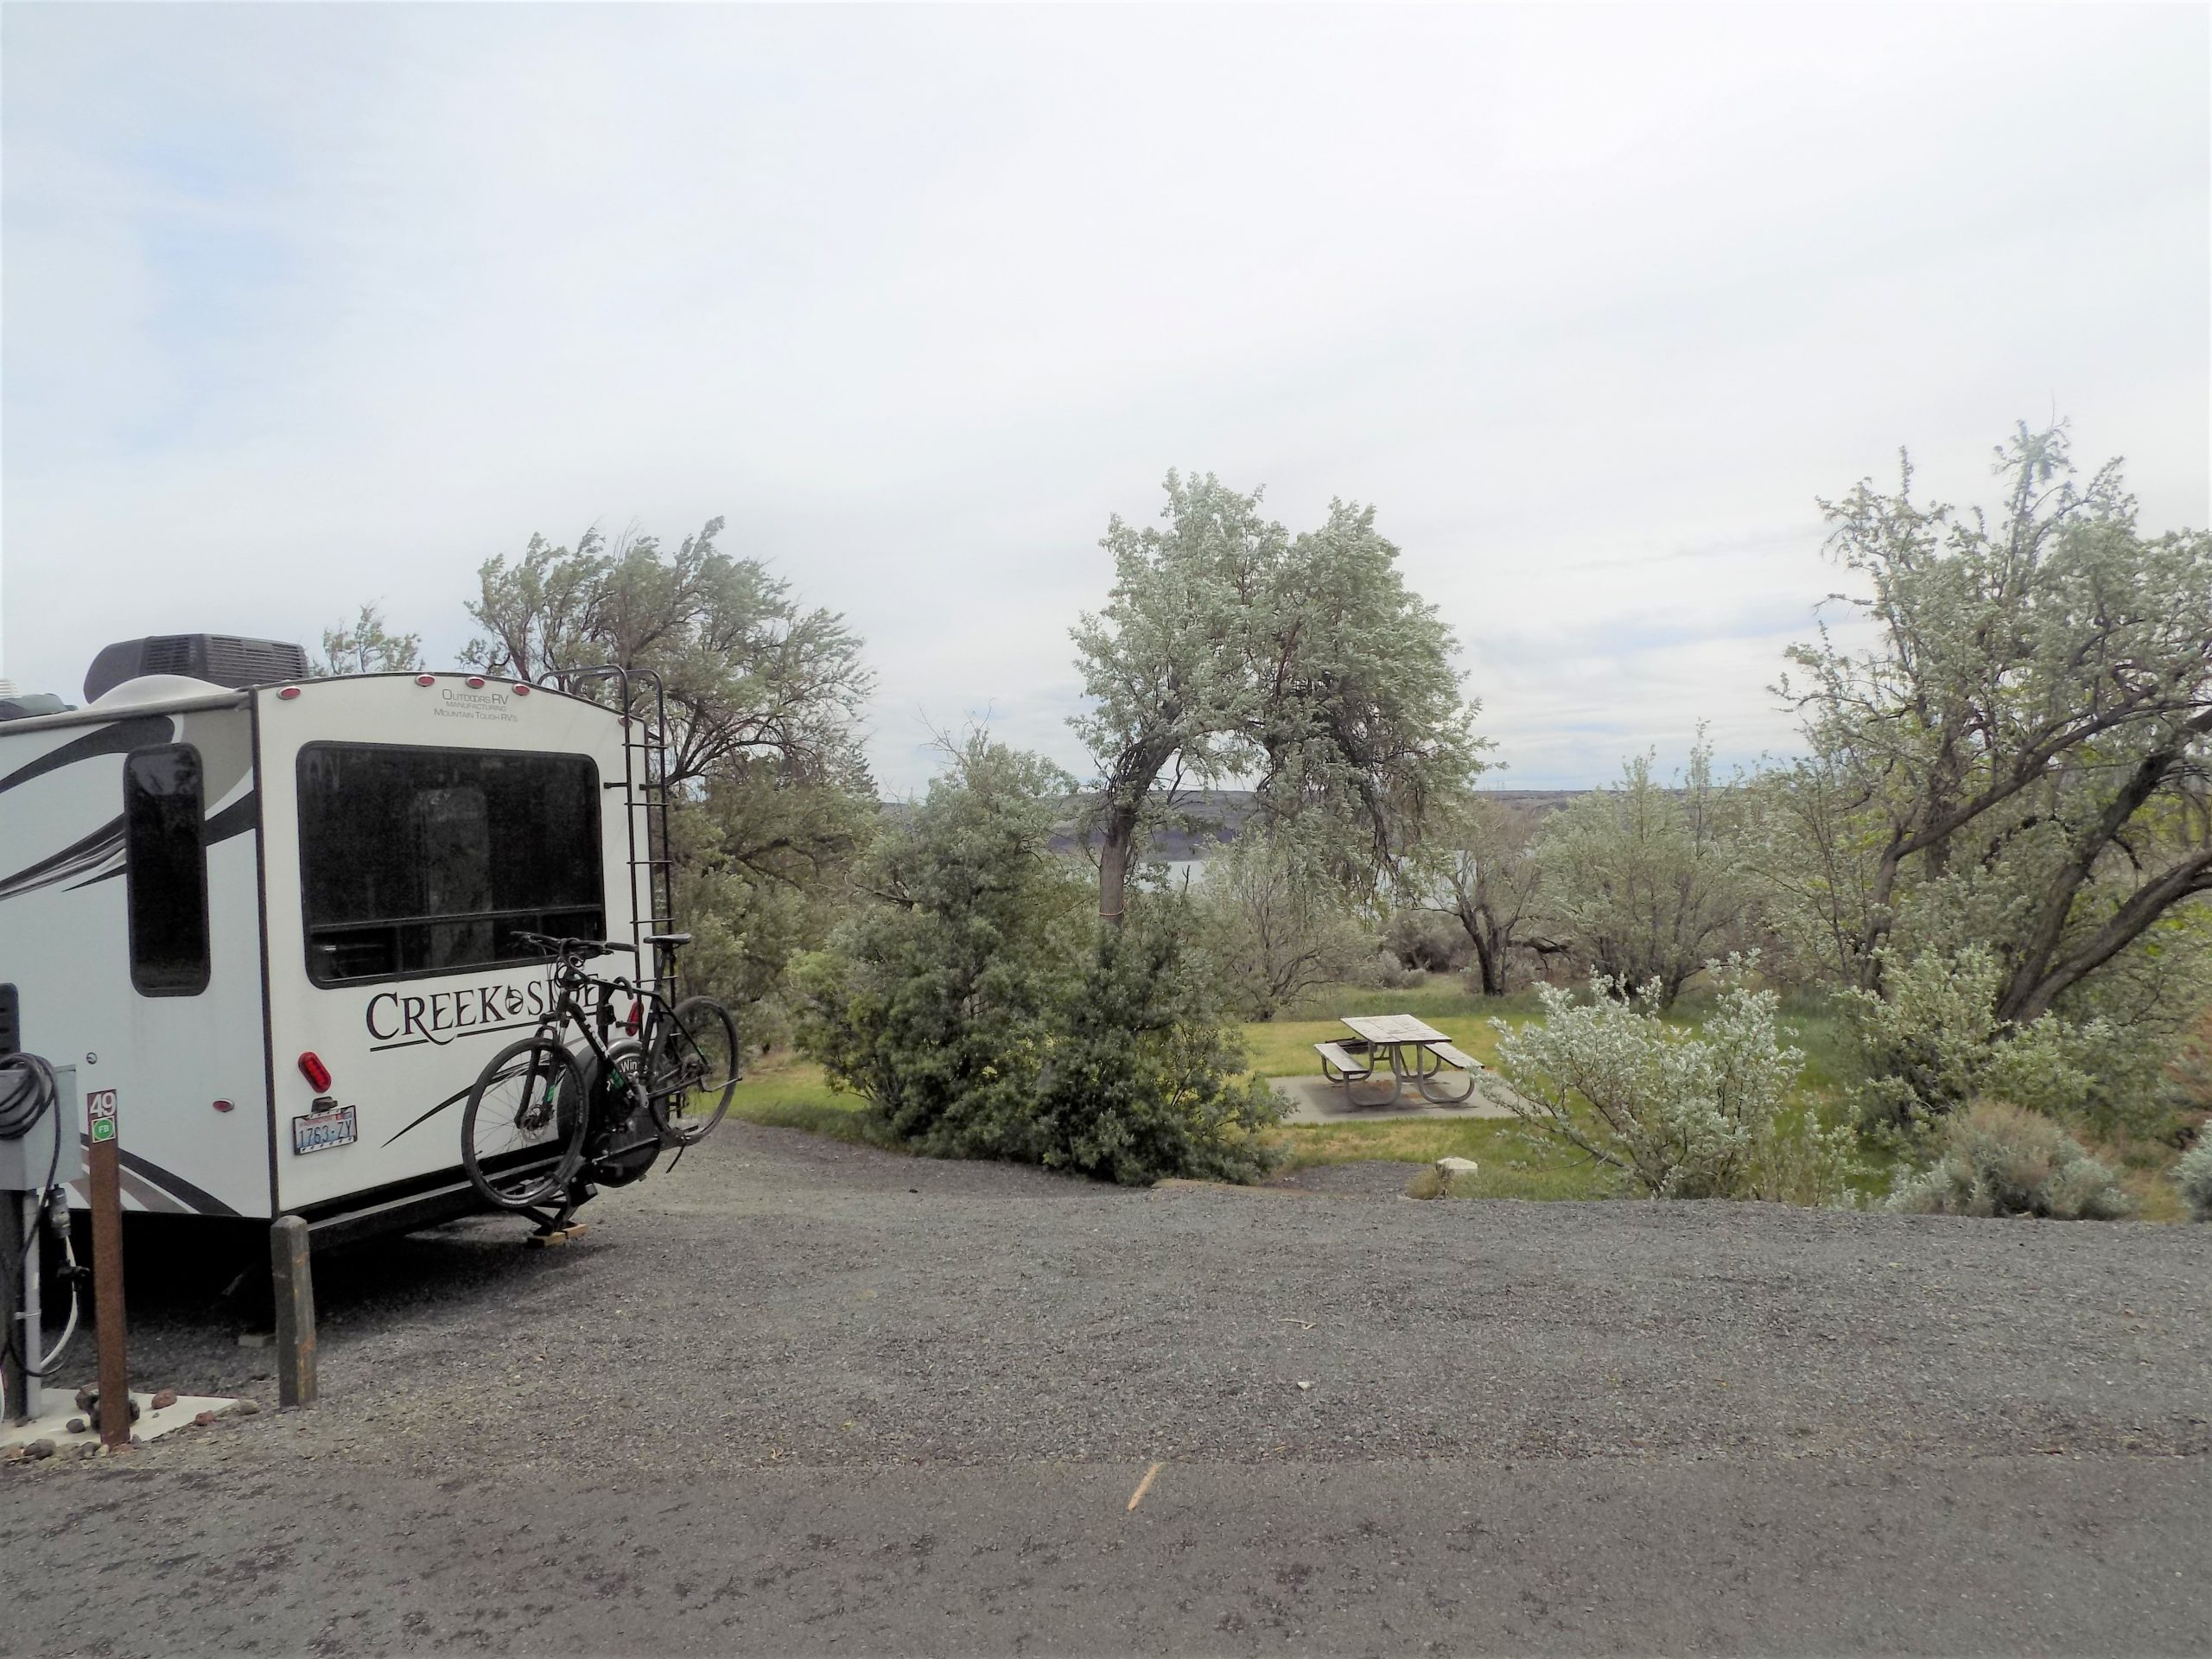
April 29th – Wanapum SP, Vantage, WA – site 49
View from behind our trailerNice picnic areaRick and Katie’s site right next to ours.
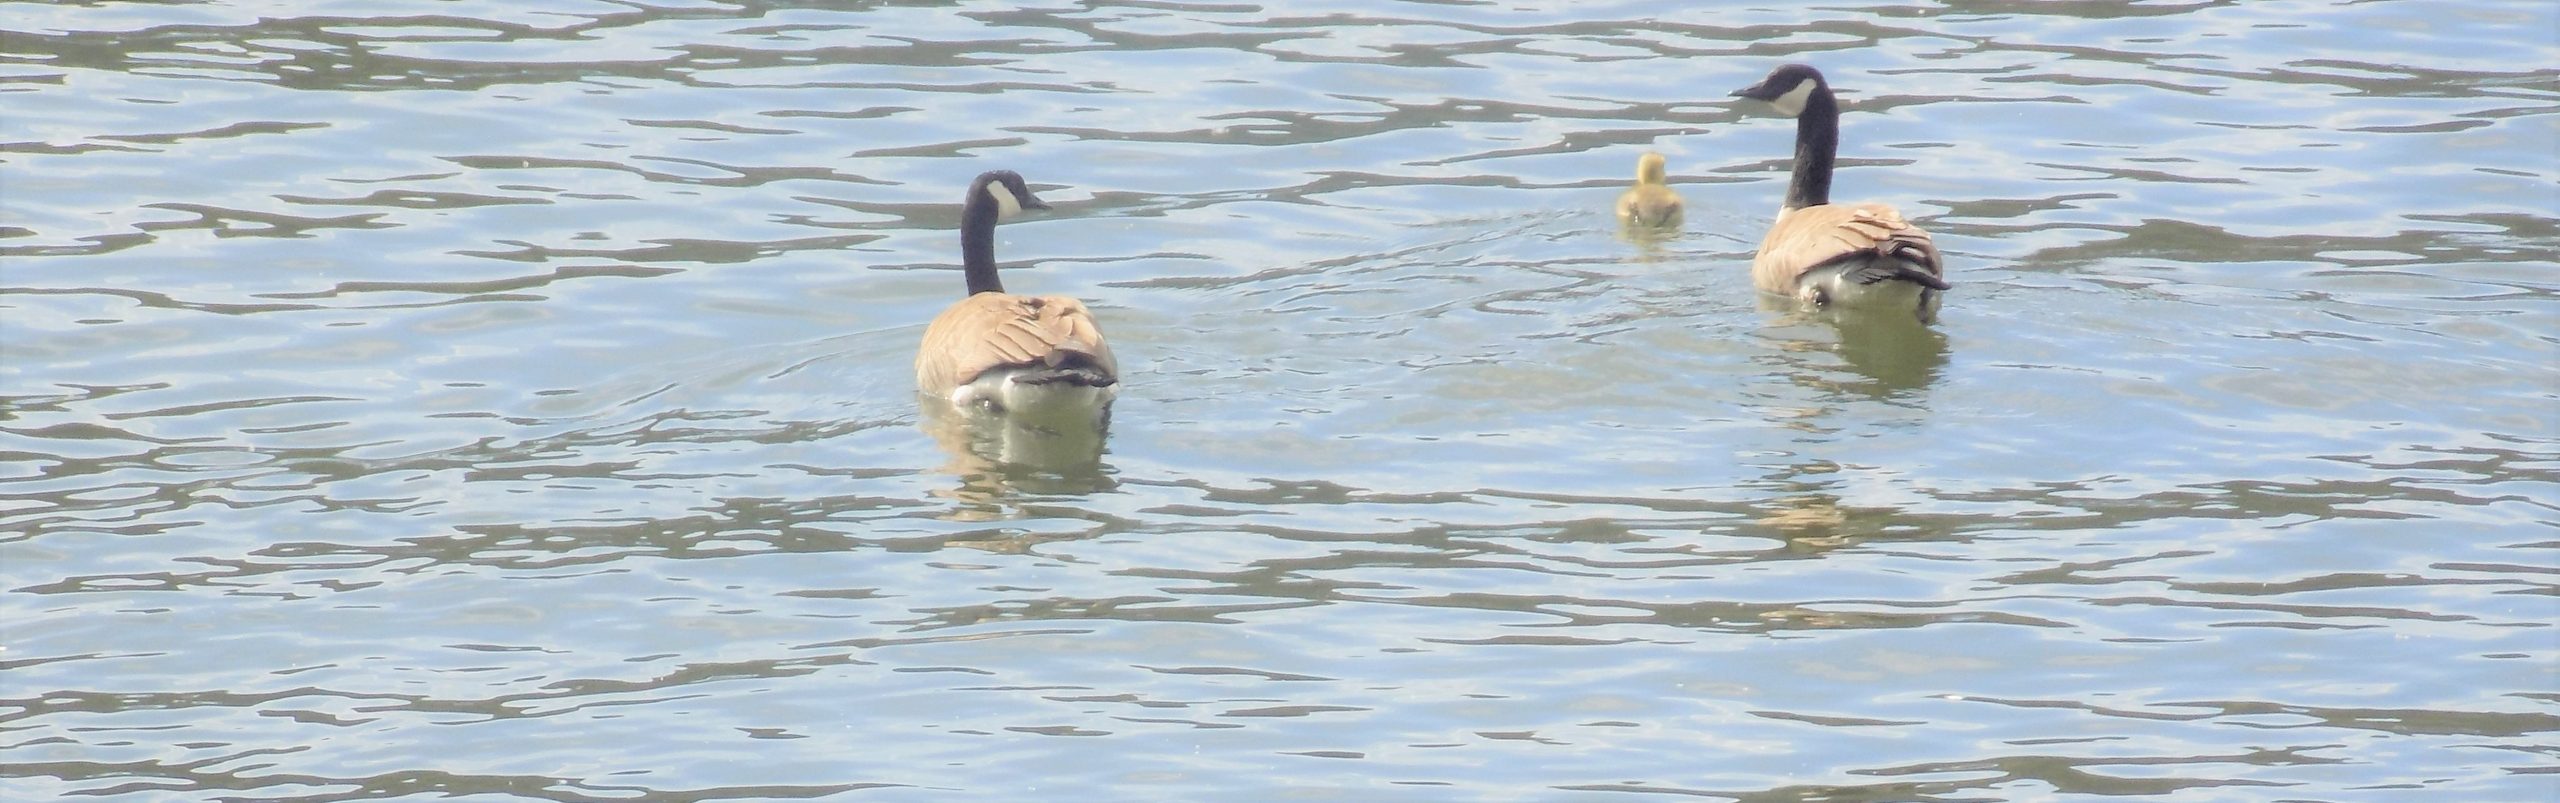
I always feel sad when I leave Peach Beach. We have always been lucky enough to get one of the premium sites right by the river. So as the barges go by, different water fowl stroll up and down the beach in front of us, or we watch any number of trains putt along on the Oregon side of the river, we feel totally at peace with the world. But once again, it was time to hit the road for out next to the last destination on this camping trip. (The final destination of course, being our own home.) And what a day to travel! Going north through Goldendale, Mt. Adams was out in all its splendor. And of course, we had to stop at St. John’s Monastery and Bakery for a gyro. (We absolutely cannot go past this amazing bakery without stopping for something.) If you will be traveling over Satus Pass anytime in the future, be sure and stop for espresso or fabulous baked goods or other typical Greek delicacies. The nuns are delightful and the food amazing.
After an easy drive, we arrived at Wanapum SP around 2:30. We set up camp and because it was really warm, just sat outside and enjoyed the quiet and peaceful surrounding. We were soon joined by Rick and Katie, and we spent another lovely evening together laughing too much, eating too much, and reminiscing about friends and family and many of the experiences that led us to who and what we are today. Most enjoyable.
Then we did the dishes, got everything put away outside in case the wind that had arrived after dinner got worse, then into the trailer for reading until our pillows called to us so loudly we could no longer ignore their siren song. Another wonderful day in the wilds of Eastern Washington.
April 30th – Wanapum SP
I really should entitle this day – “not worth mentioning”!
Woke to light rain. But knowing this was our last day to take it easy before heading home, I decided to completely relax and not do a damn thing. OK, I rode with Andy all the way into the sprawling community of Vantage to get gas. (Probably all of 3 miles.) Then we explored a bit within about a one mile radius before heading back to camp. I did take the frozen cheesecake out to thaw about an hour before dinner, so I guess that accounts for a bit of effort. But that was about the sum total of the expenditure of energy I exhibited for the entire day. It was truly wonderful and I have no feelings of guilt whatsoever! (It was Katie’s turn to cook, so I just sat and read and talked with Andy while Rick and Katie did all the work.)
Last night dinner grilled in very windy conditions. But both Rick and Katie persevered. At one point, even Andy was pressed into service. Grilling in the wind is not an easy task! Check out the concentration.
There are many reasons why we like to travel with another couple. And right at the top of the list is not having to cook dinner every evening. Now you all know I love to cook. But when on vacation, it’s nice to get a break too. But the main reason we love to travel with these wonderful people is because they are simply grand to be with. Smart, interested in life, and they bring their cats along with them. (Helps ease us through the terrible pain of kitty withdrawal.) Oh, don’t get me wrong, we still miss Miles and Max, but being able to pet and watch Juno and Beau bounce off the walls of the Airstream, reduces our suffering considerably.
After the wonderful chicken sausage, grilled veggies, rice (for Andy), and potato salad (for the potato lovers in the crowd) dinner prepared for us by Katie and Rick, and of course the grasshopper cheesecake for dessert, it was back to our trailer for reading and an early to bed.
June 1st – Chez Carr
After a big old breakfast of sausage links, fried eggs, half a bagel each, yogurt, and a mandarin orange, it was time to clean the trailer, pack up, and head for home. So, with all accomplished in a timely manner, we were on the road home by 10:45 am. We said a quick goodbye to Rick and Katie with assurances that we would be seeing them in July when they came over to Seattle for birthday celebrations. Then with me behind the wheel, we started our long climb out of Vantage and back to our comfortable home on Camano Island. After a short stop for gas and a burger in North Bend, we were back on the road for the final leg of our trip. We arrived at our storage facility at about 3:45 pm. Just as we were getting the trailer backed into our spot, Andy received a text from Mark inviting us to dine with Vicki and him that evening. Of course we said yes, because we were eager to see them and after unpacking I sure wasn’t going to be in the mood to cook dinner! Plus, we wanted to hear all about what had been happening on the home front. So, we schlepped the refrigerator and freezer food, our toiletries, and a few cloths home and left the rest for the next day.
I always seem to end my travel logs by writing about how much I love seeing all the amazing sites that this wonderful planet of ours has to offer. But more than ever, with the past year of pandemic related trauma and the general chaos it engendered, I more than ever appreciated how lucky I was to be able to leave my home and witness all kinds of beauty first hand. And I was also reminded how much responsibility each and every one of us must absolutely now assume to keep our world from turning into a scorched planet. It simply must begin with each of us if we want future generations to experience what a lucky portion of us have always taken for granted. Like clean air, outside temperatures that our bodies can manage, drinkable water, a roof over our heads, and enough food to support healthy bodies. And these are just the basics of life, not superfluous niceties.
Please endeavor to be part of the solution. Let’s all work together to keep our planet alive and well. And work towards making life better for everyone everywhere.
I hope you have enjoyed reading about our travels. Andy and I are so blessed. Blessed with good health, good friends, a wonderful family, and all the happiness and joy we can stand. May you too be so blessed.
Let me begin with an apology. I have not posted for over 5 weeks now because I have been on vacation. I never announce that I will be gone, for all the obvious reasons. But so far, the good Lord has allowed me to come home with new recipes and a travel log of our adventure to share with everyone. But please know that I was thinking of you the whole time. (Do you really believe that? If so, I have a banana ranch on Camano I would love to sell you. At a reduced price of course.) But I do think of the blog periodically. And each of you of course. And always with fondness, I assure you. And with the hopes that whatever new recipes I tried along the way and subsequently post for your edification, might meet with satisfaction. But more about this recipe and how it came to be.
For this trailer trip, we added a new piece of equipment. It’s called a Koolatron. The only mission in its rather boring existence is to keep things cold. Or hot if you want to warm something. (Very versatile.) We purchased this exciting new piece of camping equipment because I wanted to carry more veggies and fruit than our trailer refrigerator can reasonably accommodate. Don’t get me wrong. There is quite a bit of room in our fridge, but not enough to hold a bag of mandarin oranges, large bunch of grapes, apples, various and sundry salad fixings, fresh asparagus, celery, shallots, and mushrooms. Plus, whatever else I might decide is a perishable necessity. (I really am trying to cook healthier food, even if it means one more thing for Mr. C. to drag in and out of the truck at every new site.)
The cool thing about a Koolatron, is that while we are driving it can be plugged in to the console of our truck (one of those ports for which their use is totally unknown to me) so that the fruit and veggies can stay cool regardless of the temperature inside the cab of the truck. Then, when we arrive at our camp site and Mr. C. attaches the trailer to a current bush, the Koolatron can happily reside right up against our trailer for easy access. I simply wish to never leave home again without my Koolatron by my side. It is one of the best investments I ever made! Thank you Amazon Prime! But on to this recipe.
Because of my Koolatron, I was able to keep shiitake mushrooms from moldering before I was ready to prepare this dish. And my shallot stayed perfect even though it had been along for the ride for over two weeks by the time I was ready to chop it into tiny little pieces. Which by the way, helped turn this simple dish into a thing of beauty. And perfect for camping. Easy to prepare and not too much time on the stove.
I wish I had a picture to share with you. But I was too busy to think about taking a picture while simultaneously working on other dishes. As soon as I make this again, I will add a picture. Rest assured.
So as always, have fun in your kitchen, be kind to everyone you know or meet, and stay safe. We aren’t out of the woods yet with covid-19. And all though I make jokes about how I feel about you as readers, I actually do care about each and every one of you. Of course, I’ll never understand why you read my blog and put up with my foolishness, but I’m never-the-less very pleased that you do.
Peace and Love to all.
2 tsp. extra virgin olive oil
1 sm. shallot, finely minced
2 garlic cloves, finely minced
1 c. thinly sliced shiitake mushrooms (cremini, button, or even canned mushrooms are just fine too)
1½ c. water
1 tsp. Montreal Steak Seasoning
1 tsp. beef base (I use Better Than Bouillon)
1 c. Israeli (pearl) couscous
Heat the olive oil in a small, covered pan. Add the shallot and sauté just until tender. Add the garlic and mushrooms, and sauté gently until the garlic is soft and aromatic. Add the water, Montreal seasoning, and beef base. Stir and bring to a boil. Add the couscous, bring back to a boil, reduce heat, cover, and simmer for 8-10 minutes.
Great with just about any grilled meat or seafood.
Now, the first thing you should know about these cookies, is that they are not for the faint of heart. These incredible cookies, compliments of the ifyougiveablondeakitchen.com site, are for true lovers of gingerbread and ginger cookies. They are simply the best soft ginger cookies I have ever tasted. And because they are crinkle cookies, they are beautiful as well as delicious. And doesn’t everyone appreciate a beautiful cookie? Of course, we do!
But I must emphasize that these are strongly flavored cookies. The word wimpy could never be applied to them. They are gingery with a capital G. And the texture too is perfect. But because of their pronounced ginger flavor, I doubt they would be the preference of say, a 5-year-old. So, don’t share them with a 5-year-old! Simple solution. Keep them for yourself! (That’s OK to do, you know!) Give the child an animal cracker. (That is, if they even make them any longer.) If not, find some other innocuous cookie to pawn off on the kid. And no, I never did that with my own children, but I think it’s OK if you do! I always made cookies that everyone in the family would enjoy. But I’ve since learned that doing something just for myself is OK. The earth will not stop spinning, summer will still follow spring, and no one really gives a rip anyway! But, whatever you do, make a batch of these cookies. They are really, really tasty.
As always, have fun baking. Have fun cooking. And if you’re like me, try to enjoy preparing salads rather than thinking of them as endurance contests. Because veggie salads are our friend. And don’t forget to make your own salad dressings. First of all, fresh dressings are delicious. And if you build your own dressing you know exactly what you are eating rather than depending on the kindness of strangers not to include unpronounceable ingredients like Phosphoric Guanylate, Disodium Inosinate, Sorbic Acid, and Calcium Disodium Edta! (Whatever they are!) Manufacturers simply have no choice but to add various stabilizers, preservatives, and even synthetic flavorings. It’s what they do! But that doesn’t mean you have to buy their products. You can fight the system and build you own dressings. I call it – using common sense!
Peace and love to all.
3 c. unbleached all-purpose flour, fluffed
¾ c. brown sugar, packed
¾ tsp. baking soda
1 T. ground cinnamon
1 T. ground ginger
½ tsp. ground cloves
½ tsp. kosher salt
12 T. (1½ sticks) unsalted butter, room temperature, cut into ½-inch cubes
¾ c. molasses (not blackstrap)
2 T. milk
granulated sugar
powdered sugar
In the bowl of your stand mixer, stir the flour, brown sugar, baking soda, cinnamon, ginger, cloves, and salt together until combined. Add the butter pieces and beat until the mixture is sandy and resembles fine meal.
Reduce the speed to low and, with the mixer running, gradually add the molasses and milk. Mix until the dough is evenly moistened and thoroughly combined. Don’t over mix.
Using an ice cream scoop (I use my #40 – 1½ tablespoons ice cream scoop), drop balls of dough right next to each other on a waxed paper lined baking sheet. (Make sure the baking sheet you use will fit in your refrigerator.) After you have scooped all the dough, roll each scoop in your hands to form smooth compact balls. (This takes no time at all and is a necessary step.) Place the pan uncovered in your refrigerator for at least 2 hours.
Meanwhile put a bit of granulated sugar in one shallow mixing bowl, and some powdered sugar in another shallow bowl. (I don’t give specific amounts here because you should start with a small amount of each and add more as required.)
After the two-hour cooling off period, roll each ball in granulated sugar then in powdered sugar. Place 1-inch apart on a parchment paper lined baking sheet.
Bake in a pre-heated 350-degree oven for 12-14 minutes, or until the top feels set, but you would swear on a bag of Cheetos that the middle was not done! Truly, the cookies will feel a bit squishy in the middle. That’s what you want. Do not over bake.
Remove from the oven and cool on the sheets 2 minutes before transferring to a wire rack to cool completely. Store in an airtight container at room temperature.
Windy and stormy weather while I was baking these cookies. Notice how the trees in front of our house are bent to the North.Alpenglow on the upper clouds
I’m not known for keeping my opinions to myself. You should be quite aware of this if you are in the habit of reading my blog. There just doesn’t seem to be any way for me to keep my innermost, private, terribly biased, and probably offensive to some, thoughts inside my head where they belong. So, here goes another blast from me that shouldn’t be said, or in this case written down for everyone and their grandmother to read! But I’m going to say it anyway! “In my opinion, those who loudly proclaim that they hate lamb but have never even tasted said critter, should be made to ride the “It’s a small world” Disneyland ride for 10 hours straight!” (And no real offense to whomever is running the show for the Disney corporation now. But whoever you are, I’d be willing to bet you couldn’t stand this ride for 10 hours straight, even if they doubled your yearly salary!) (I rode it once when I went to Disneyland with daughter Paula and kids. Once! And even then, I was almost screaming by the time the poor ride attendant “helped” me to the exit.) So, that’s how strongly I feel about the subject of lamb! And I stand behind my comment!
Now, for those who have tasted lamb, but don’t like the slightly gamey taste, that’s a different story. But just to arbitrarily decide that lamb is icky before even giving it a chance, well that’s just not right! I mean it’s not sea urchin or parsnips for goodness sake!
OK, I feel better now. And I know I am preaching to the choir about the marvels of lamb because you wouldn’t be reading this post if you weren’t interested in preparing a ground lamb dish. Of course, you could be just reading this post to find out what I felt compelled to rant, advise, or sweet talk you into today! Either way, I feel I have adequately fulfilled my responsibility for every type of reader.
But, if it’s a great recipe for ground lamb you are after, this recipe should make you happy. One thing you should know. I compiled this group of ingredients based on ease of preparation. I plan to serve these patties while traveling in our trailer. Because dried seasonings and herbs are much easier to use when I am trying to fix dinner in an area roughly the size of a linen closet. Without the shelves, of course! (Not complaining here, because I love our trailer. But too much of my hacking and slashing can become hazardous to Mr. C. as he tries to navigate his way past me from the dining/reading/game playing area of the trailer to the bathroom or the bedroom area. (And I hope you realize that I am delineating both “bathroom” and “bedroom” very loosely in this context.)
So, for trailering, it’s mostly dried herbs and spices all the way. But you will find that I have also listed fresh equivalents, which I too will be using when I have the luxury of a larger “kitchen” in which to prepare these lamb patties.
As always, keep having fun. Laugh at yourself when it’s appropriate. And find the joy in everything you do. Peace and love to all.
1 lb. ground lamb
2 tsp. Montreal Seasoning
1½ tsp. granulated garlic or 1 large garlic clove, finely minced
½ tsp. dried rosemary, crushed or 1 tsp. finely chopped fresh rosemary
I go through cycles. For several weeks I can find myself drawn to brown rice, for example. Then all of a sudden, it’s egg noodles, or grits, or lentils, or like at present – quinoa. Why I can’t happily diversify better when it comes to side dishes, I might never know. But it is what it is. And like I stated, I seemed to now be on a quinoa kick. And more power to me, I say. Because quinoa is a very healthy seed and a better choice for a side dish than say, white rice, or even brown rice. And I do have to admit, I love me a good side dish.
What I was really hungry for the other evening was a hearty salad to go along with our entrée. But frankly, I was too lazy to make both a side dish and a salad. So, why not a combination dish that contained some kind of grain, dried beans, lentils, or rice and a plethora of fresh veggies!
So, I decided to make a salad that was kind of a Greek salad meets tabbouleh mash-up. But one of the main requisites for whatever I was going to build, was that I had to have all of the ingredients on hand. No going to the store for this gal for only one or two ingredients! So, this is what I came up with. And yay, we both loved this salad/side dish. And after we had eaten our fill, we still had enough left over for me to serve it again with Ground Lamb Patties with Rosemary and Thyme (recipe coming soon), Hummus, and Tzatziki (recipes already on site) the next day.
Now for those of you who have never cooked or even tasted quinoa, you are in for a treat. Quinoa is quick and easy to cook, and it plays well with other ingredients. You want to serve it plain, then simply cook it in broth. You want to add other ingredients, you will never hear it complaining. Quinoa is nothing if not versatile. And I must state this fact: Quinoa is a healthy alternative to most other grains. It’s rich in fiber, minerals, antioxidants, and all nine essential amino acids, which makes it one of the healthiest and most nutritious foods on the planet. And – it tastes good! What more could you ask? So, do yourself and your family a favor. MAKE SOME QUINOA SOON!
As always, play with your food. Eat what you know you like, but don’t forget to try new things too. And stay safe. Both Mr. C. and I are now fully vaccinated. But that doesn’t stop us from wearing our masks in public. And like some people still believe, wearing a mask does not infringe on our personal rights as American citizens. But it does have a lot to do with the rights of others. Every person has the right to remain healthy. And that can’t happen until every person shows consideration for those around them. There’s no republican or democrat under those masks. There’s no one who has been stripped of their personal freedom by wearing a mask. But donning a mask is still the best way to demonstrate that the wearer cares about themselves and others. And so what if it’s a bit uncomfortable wearing a mask. Big deal. The sooner we can all put this pandemic behind us, the sooner we can see everyone’s beautiful smile again. And I for one will be glad for that day. I miss smiles. And I miss hugs. I miss my kids, my relatives, and my friends. But mostly, I don’t want to miss people who have lost their life because of another person’s ignorance. So, please do your part. And get vaccinated. No, it may not be the perfect solution, but it’s what we have to work with right now. So, please be part of the solution. Read what experts have to say on the subject, not what some television personality sitting behind a script has to offer.
And no, I can’t help myself from sharing my beliefs with you. I’m not just a cook. I’m a wife, mother, old friend, and new friend who wants the best for every person who is now living or is yet to be a resident of Mother Earth. If we don’t care about our planet and how to save it, and don’t value the lives of others, what have we really given to the world? I’d rather be remembered as a good person than as a good cook. (OK, I’d like to be remembered as a good cook too.) But upper most – a decent human being. That’s what really counts. And what I strive for daily.
Peace and love to all.
1 c. quinoa *
2 c. chicken broth or 2 cups water and 2 teaspoons chicken base
3 T. extra virgin olive oil
3 T. red wine vinegar
1 T. fresh lemon juice
2 cloves garlic, finely minced
pinch kosher salt
freshly ground black pepper
1 c. halved grape tomatoes
1 c. diced English cucumber
½ c. diced red, yellow, or orange bell pepper
⅓ c. minced red onion
2 T. chopped fresh parsley
½ c. sliced pitted kalamata olives
1 c. chopped feta cheese, or more to taste
Pour the quinoa into a fine mesh strainer and rinse under running water for at least 1 minute. (See why below.) Combine the rinsed quinoa and chicken broth in a saucepan. Bring the mixture to a boil, then decrease the heat to maintain a gentle simmer. Cook uncovered until the quinoa has absorbed all of the broth, about 20 minutes. Stir frequently. Remove the pot from heat, cover, and let the quinoa steam for 5 minutes. Remove the lid and fluff the quinoa with a fork. Set aside.
Whisk the olive oil, vinegar, lemon juice, garlic, salt, and pepper together in a large salad bowl. Gently stir in the tomatoes, cucumber, bell pepper, red onion, parsley, kalamata olives, feta cheese, and slightly warm quinoa. Taste, and adjust seasoning. Chill in refrigerator, 1 to 4 hours.
*Quinoa is coated with a naturally occurring toxic substance called saponin. So always rinse quinoa before cooking. Place the quinoa in a fine mesh strainer and run cold water over it until the entire soapy residue has been washed away. You can taste test a few seeds; if they still have a bitter taste, run more cold water over them.
If prepared correctly, the flavor of quinoa when cooked in just water is a somewhat nutty combination of brown rice and oats. But when cooked in broth, the seeds will take on the flavor of the broth. And as you can see if you look up my other quinoa recipes, I always cook the seeds in broth.
OK, I’ve spared you any new bread recipes for several days now. But yesterday morning we had feasted on the remains of my last homemade bread baking adventure, so I had no choice but to take my sourdough starter out of the refrigerator and whip up a loaf. I was really in the mood for a nice boring whole wheat bread that would make great toast. And my favorite way to eat toast is slathered in honey. Now, not just any honey. My favorite is pine tree honey. But it’s really hard to find because the best pine tree honey we’ve ever tasted comes from Turkey. (The country, not the critter.) Which, incidentally, is where we learned to love pine tree honey in the first place.
Every morning we would find a wonderful combination of dishes waiting for us in the dining room of our accommodation. Our breakfasts were generally comprised of black and green olives, sliced cucumbers, cured meats, dips and sauces, eggs, fresh cheeses, sliced fresh tomatoes, fresh-baked bread with butter, jams, and honey. And often, delicious pastries. But what we both lived for, was the fresh bread and the honey. All the offerings were lovely, but the honey was so wonderful, we simply couldn’t get enough. And yes, we loved our holiday in Turkey. The Turkish people are friendly and gracious, and the cultural aspects of the country unparalleled. I felt a true connection with the land and the people from the first day of our visit. I especially loved the call to prayer that happened 5 times each day. Even though I am not Muslim, this simple soundscape had a profound impact on me. It helped me remember to be thankful for all the many blessings I have in my life.
And even though we can’t feast on pine tree honey any longer, we are lucky enough to live in the land of Cats Paw honey*. This raw, unpasteurized honey from bees that love to nibble on clover, blackberries, dandelions, and thistle is absolutely delicious. And I have to say, slathered on our unbuttered toast this morning, the combination of this lovely local honey and this simple whole wheat bread made for mighty fine eating. And the bread had been very easy to build. Always a plus.
So, if you too would like to make a bread that is quick to assemble, and tastes wonderful, I recommend you give this recipe a try. And if you live in this area, I absolutely recommend you buy some Cats Paw honey at your earliest convenience.
As always, cherish your memories while still making new ones. As we get older, if we let them, physical limitations can have a negative impact on our lives. But if we have great memories to look back on, I think that helps us adjust to our new reality. I can’t ski any longer. But boy do I have great memories of gliding through the snow with family and friends by my side. The laughter, the joy of being outside, and the fellowship at the end of the day. Marvelous. So, no regrets that I can no longer put on uncomfortable ski boots, hustle my butt to sit down on the ski lift without killing myself, or get myself buried in powder snow enough so that Mr. C. has to dig me out. Nope – can’t happen anymore. But it did happen, and I have those wonderful memories to keep me entertained when I start feeling a bit creaky. Life is truly wonderful. Enjoy it to the fullest.
Peace and love to all.
½ c. lukewarm water
1 tsp. active dry yeast
2 tsp. pure maple syrup or honey
1 c. sourdough starter discard
1½ tsp. kosher salt
2 T. vital wheat gluten** (I use Bob’s Red Mill Vital Wheat Gluten)
1 c. whole wheat flour
1 c. bread flour, or more as needed
extra virgin olive oil
Place the water, yeast, maple syrup, and sourdough starter in the bowl of your stand mixer. Stir gently with your dough hook. Let proof for 15 minutes, or until foam appears on top.
Add the salt, vital wheat gluten, and whole wheat flour. Stir well with dough hook. Add enough of the bread flour until a smooth, only slightly sticky dough forms. (This takes 3-4 minutes of letting your mixer do the hard work of kneading the dough). There should be no dough stuck to the bottom of the bowl. It should all be hanging on for dear life to the dough hook.
Once the dough has been kneaded, lightly grease the dough with a small amount of olive oil. Cover the bowl with plastic wrap and leave it alone for about 90 minutes or until almost doubled in size. Punch down the dough. (The dough should feel smooth and slightly springy.)
Shape into a loaf and place in a lightly greased 9 x 5-inch loaf pan. If you prefer smaller loaves, shape the dough into 2 equal sized loaves and use 2 7½ x 4-inch (roughly ½ lb.) loaf pans. Cover with plastic wrap or a tea towel and let rise for 75 minutes. Towards the end of the rising time, preheat the oven to 425-degrees.
Bake for 35-40 minutes for large loaf, or about 20 minutes for smaller loaves, or until golden brown and firm. (If in doubt if the bread is done, take the breads temperature with an instant-read thermometer. It should read at least 195 degrees.)
Remove from oven and turn out onto a wire rack. Let cool completely before slicing. Store in an airtight container at room temperature. Will stay fresh for several days.
Absolutely wonderful toasted and slathered with butter and honey!
*Locally owned Cats Paw Bees is dedicated to the restoration and preservation of an organic environment for the honey bee in the local community of Stanwood and Camano Island in the Puget Sound area of Western Washington. Andy & Bonnie Swanson own and operate Cats Paw Bees using natural and organic methods to raise honey bees, producing a raw natural honey filled with local floral flavors. To find this wonderful honey, visit www.catspawsbees.com for retail locations.
**Vital wheat gluten is nearly all gluten and almost no starch. When used as an additive in baking, its purpose is to add elasticity to flours that would otherwise be low in gluten, such as whole wheat flour or rye. It improves the rise of the raw dough and also improves the texture and chewiness of the final product.
This salad is the result of having an avocado, too many cherry tomatoes, and an English cucumber that really needed to be eaten. You know how that goes. Either you bought too many vegetables on your last grand adventure to the grocery store, or like with us, your last farm box included many of the same vegetables you already had on hand. This happens to us all the time. And of course, I always tell myself, this week I am going to serve – more – veggies! And it’s not that we don’t eat plenty of vegetables already. We do. But there is always room for improvement. Especially in this household where both of us have always enjoyed and felt cheated if we don’t dine on the perfect threesome for dinner. Entrée, side starch of some kind (unless of course it’s a pasta dish where the starch is part of the entrée), and a veggie or salad. And if there’s a slice or two of freshly baked bread on the side, all the better. (Bread at dinner doesn’t happen often at Chez Carr, but when it does it’s a real treat.) But, for us, our downfall is that darn starchy side dish.
Perhaps it’s just psychological, but I don’t think so. Regardless, my taste buds could apparently care less what my brain has to say on the subject. They just know what they like. And my taste buds like veggies just fine. But what they really crave are the creamy, calorie laden starches that compliment almost any entrée. Especially the entrées that feature a lean cut of meat or fish. So, you can see, after all my years of pacifying my taste buds, they are bound to rebel at a lean piece of chicken, no starchy side dish, but rather two veggies or a veggie and a salad.
But the other evening, I served this salad with a baked piece of chicken and steamed broccoli. For whatever reason, this combination of dishes met with my taste bud’s approval. There was no, “I feel cheated”, “you’re trying to starve me”, or “why do you hate me” whining going on. In fact, because it had been a fairly low fat, low calorie dinner, my mind didn’t give me any flak either!
So, if you too would like to serve a dish that doesn’t cause guilt or a sense of longing for missed delicacies, build this salad at your earliest convenience. It is just creamy delicious. And just as satisfying as a starchy side dish. (But it’s got veggies in it!)
As always, have a great time in your kitchen, keep laughing out loud, and finding the joy in everything you do. Life’s short my friends. Live it to the fullest. And no, I’m not giving up on side dishes completely. I’m just going to try and cook healthier. And serve more vegetables. (Sorry honey!)
Peace and love to all.
1 T. extra virgin olive oil
1 T. fresh lemon juice
½ tsp. kosher salt
freshly ground black pepper
1 c. halved grape or cherry tomatoes
⅓ c. thinly sliced red onion
⅓ English cucumber, partially peeled, halved, then cut ⅓-inch thick
1 avocado, diced
1 T. chopped fresh parsley
Whisk or shake the olive oil, lemon juice, salt, and pepper together.
Place the tomatoes, red onion, cucumber, diced avocado, and parsley in a salad bowl. Drizzle with the dressing and toss gently just before serving.
And yes of course, if you want to add some diced carrot to your salad, fling it in. Or any other veggie for that matter. This is just a basic “throw it all together” salad. The creamy delicious part comes from the avocado. Because regardless of how carefully you toss the salad, some of the avocado melts onto everything. Yum!
Because I am always on the lookout for simple side dishes, I decided to take a gander in our pantry for inspiration. And if you have ever looked in my pantry, then you know that I have lots of choices available. Everywhere from many kinds of dried beans and peas, every color lentil imaginable, pasta in every style, shape and ethnicity, and all sorts of the usual grains, plus a few rather rare types which I have only used once. (And probably will never use again.)
But the one that caught my eye the other day, was way in the back, and one that I hadn’t used in years. (Yes, years!) In fact, I hadn’t even remembered that I still possessed any of this delicious pasta. (And you’re right. I obviously should take inventory of my pantry more often!) Anyway, there it was. Israeli couscous – sometimes called “pearl couscous”. (FYI, it looks like the Italian pasta acini di pepe, which is the Italian term for peppercorns.) But although acini di pepe and Israeli couscous may look alike, couscous is often considered a healthier alternative because it is made from whole-grain flour. And unlike regular couscous, which consists of very small granules which are merely dried before being packaged, Israeli couscous which have much larger granules, are toasted. This “toasting” gives Israeli couscous a lovey nutty flavor and a nice chewy bite.
So, the upshot of all this discourse is that I re-discovered Israeli couscous, I compiled a recipe, I made the dish, and now you too have a recipe for a quick and easy to prepare, non- argumentative, goes with everything, side dish. My work here is done!
As always, keep inventing new and delicious ways to prepare food. Remember, not every dish has to take a lot of prep time or effort. And it doesn’t have to be spectacular or award-winning, or even fit for company. It can simply serve as a nice compliment to whatever main entrée you are serving. After all, isn’t that the perfect definition of a side dish to begin with? And of course, being something new or different, it provides variety to a meal.
And as far as I’m concerned, variety is still every cook’s best friend when it comes to keeping their family happy and content at the dining table. If you doubt that statement, think what it would be like to live in a home that followed the regimen of Monday meatloaf, Tuesday tacos, Wednesday weiners, etc. etc. every – single – week! Good God, if I had to eat the same thing every Monday, I’d go bonkers! And I can’t imagine I’m any different than anyone else in that regard. So, even if a new dish you prepare isn’t everything you’d hoped for, you will still have tried to keep meal-time interesting. So, brava to each and every one of you who take a chance by trying new recipes. To my thinking, you totally rock!
Peace and love to all.
2 c. chicken broth
1 T. olive oil
1½ c. Israeli (often called Pearl) couscous
tiny pinch crushed red pepper flakes
2 lg. cloves garlic, finely minced
pinch seasoned salt
freshly ground black pepper
1 T. chopped fresh parsley
Heat the chicken broth in the microwave until very hot. Set aside.
Pour the olive oil a medium sized covered heavy pan. Once hot, add the Israeli couscous and cook, stirring occasionally until toasted and a light golden brown, about 7 minutes. Add the crushed red pepper flakes and minced garlic then cook, stirring constantly, for 30 seconds. Add the hot broth, a tiny pinch of seasoned salt, and freshly cracked pepper, to taste.
Bring to a boil, reduce heat to a simmer, cover, and cook until the liquid is absorbed, about 10 minutes. Give a stir once in a while for good measure. Add the freshly chopped parsley and mix until combined. Taste and adjust seasoning. Serve hot.
OK, I know there are hundreds of new recipes out there for corned beef, especially since corned beef is usually on sale and plentiful at this time of year. (Something to do with celebrating the patron saint of Ireland, or some such thing!) But somehow, I always seem to be a step or two behind everyone else, so I just fixed this dish last evening. And even though you have undoubtedly just finished eating the leftover corned beef you served on the 17th to celebrate all things Irish, I decided you needed this ever so simple way to prepare corned beef, whether you were presently sick of corned beef, or not.
Now the only thing I don’t like about corned beef is that it can tend to be a bit salty. (Now, in case you didn’t recognize it for what it is, my last sentence is commonly referred to as an understatement!) And the one way I have discovered to combat the problem of too much sodium left in the meat after it has been cooked, is to braise the corned beef in water. (Not an unusual recipe so far, right?) But where this recipe differs, is that I change the water 2 times while it braises its way to becoming the flavorful, tightly grained meat we all adore. And changing the water truly does work to remove a lot of the salt problem. And yes, it’s a bit of a bother to keep changing the water. But the proof is in the pudding, as the old saying goes!
When you read the ingredient list below, you will also learn that I have discovered a new way to up the flavor quotient in corned beef. I have begun preparing my own pickling spices. And I truly believe it makes a big difference.
So, that’s it for today. I’m sorry I couldn’t get my act together enough to post this recipe ahead of St. Patrick’s Day. But you now have a great new way to fix corned beef any time of year. Because corned beef is very versatile. (Think a great Reuben Sandwich. Recipe on site – of course!) And, using this simple recipe, the meat comes out delicious every time. For more recipes search under St. Patrick’s Day Recipes.
And in case you are wondering why I didn’t cook cabbage and carrots with the corned beef last evening, it’s because I didn’t have any cabbage on hand. But even if I had, I would have prepared my favorite recipe for cabbage and carrots – Braised Green Cabbage. (Yes of course the recipe is on this site.) Over the years, I have served this delightful vegetable dish to many guests, and they have all raved about it! In fact, one dear friend (Todd) even went so far as to inform his son (Miles) that he was actually eating vegetables as he was happily spooning them into his mouth. Apparently, Miles replied, “I don’t care what this is – it’s really good.” (High praise coming from an 18-year-old young man!)
So, what did I serve with the corned beef and sauce? Oven Roasted Sweet Potatoes (recipe will be posted within the next few days) and Salade de Carottes Rapées (French Grated Carrot Salad). And if you have never prepared or eaten this salad, you are in for a treat. Both from a cook’s perspective because of the ease of preparation, but also from the standpoint of the lucky person who gets to eat this delicious salad. And of course, this recipe is available on this site with just a few simple keystrokes.
As always, have fun in your kitchen. And remember, certain meats that we only think of at holiday time are perfect year-round. So, corned beef isn’t just for the 17th of March. And it’s still legal to serve turkey any time of year. Ham makes a yummy any time entrée and doesn’t take offence if served other than as the star of your Christmas feast. And baked heart isn’t just for Valentine’s Day. (Oh wait – maybe I’m the only one who thinks baked heart is perfect for Valentine’s Day. Never mind!)
Just don’t limit your entrée possibilities by forgetting about all those wonderful meats we tend to think of only once a year. Because some of these protein sources are quite affordable and the leftovers perfect for use in other simple to prepare dishes. And as we all know – variety is the opiate of the culinary elite. (Who said that you might ask?) I did – just now!
1 (4-lb.) flat-cut corned beef (do not trim the fat)
Toast the coriander, peppercorns, mustard seeds, and anise seeds in a skillet until fragrant. Add the crumbled bay leaves and crushed red pepper flakes; toast for another minute. Pour the warm spices into a covered roasting pan. (I use my Le Creuset Braiser.) Preheat the oven to 325-degrees. (If you don’t use the entire spice mix, store the remainder in an airtight container.)
Please note: You can use the packet of spices that comes with the corned beef instead of preparing your own mix. I simply prefer to make my own spice mix because I think my blend of spices flavors the meat better.
But be warned: You might want to use only half of the homemade spice mix the first time you prepare corned beef this way. Using all of the spice mix makes for very, deeply flavored corned beef.
Rinse the corned beef thoroughly under running cold water. (This helps remove excess salt.) (No need to dry the meat.) Place the washed corned beef fat side up in the roasting pan with the spice mix. (You’ll trim the fat off after the meat is cooked.) Pour 2 cups of water into the pan. Cover tightly with lid or heavy duty foil and bake for 1 hour. After 1 hour, remove from oven and using a turkey baster, suck up most of the liquid and discard. (Try to leave as much of the spice as possible undisturbed.) Add 2 cups fresh water, and cover. Bake for another hour. After the second hour, drain off the liquid again. Then add 2 more cups of water, cover, and return once again to the oven. Total braising time – 3 hours or until the meat shreds easily.
Remove from oven and transfer the corned beef to a cutting board and let sit until cool enough to handle. Cut off the layer of fat on top of the corned beef and discard. Slice the meat against the grain into ½-inch slices. Arrange the meat on a platter and serve with the Horseradish Cream Sauce. (recipe below)
Please note: If you wish to cook cabbage wedges, small red potatoes, and/or carrots with the corned beef, simply add them the third hour of braising. Then remove them to a serving bowl, cover to keep warm, and serve them along side the sliced corned beef. And yes, there will still be enough flavor in the water to produce delectable veggies.
Horseradish Cream Sauce
1 c. sour cream
2 T. prepared horseradish, plus more if desired
1 T. Dijon mustard
1 tsp. white wine vinegar
¼ tsp. kosher salt
freshly ground black pepper
¼ tsp. granulated sugar
Combine all of the ingredients in a small bowl. Taste and adjust seasoning, adding more horseradish, if desired.