Invariably when I get a craving for rich and decadent comfort food, it coincides with my lack of desire to spend a lot of prep time over said dish. I don’t understand why there is such a strong correlation, but never-the-less, it happens to be the reality of the situation. Perhaps my desire for rich food comes from my subconscious reminding me that I should be feeling stressed or a bit anxious over something. And because we have such a long experience of each other, my subconscious is quite aware that a creamy and luscious culinary concoction always gives me a feeling of wellbeing. Whatever the excuse, I can always find an adequate justification for treating myself to a delicious indulgence.
But then, along with the desire for said indulgence, comes the reality that I don’t always feel like spending a lot of time in the production. So, what is a 77-year-old foodie to do? Well, I will tell you. It’s just this kind of recipe which is quick and easy to prepare but decadent enough for the most sophisticated gastronome, that saves my bacon. (So, to speak.) And thank heaven, after cobbling several recipes from my internet search together, I had my desired comfort food on the table in short order. And there was much rejoicing at Chez Carr.
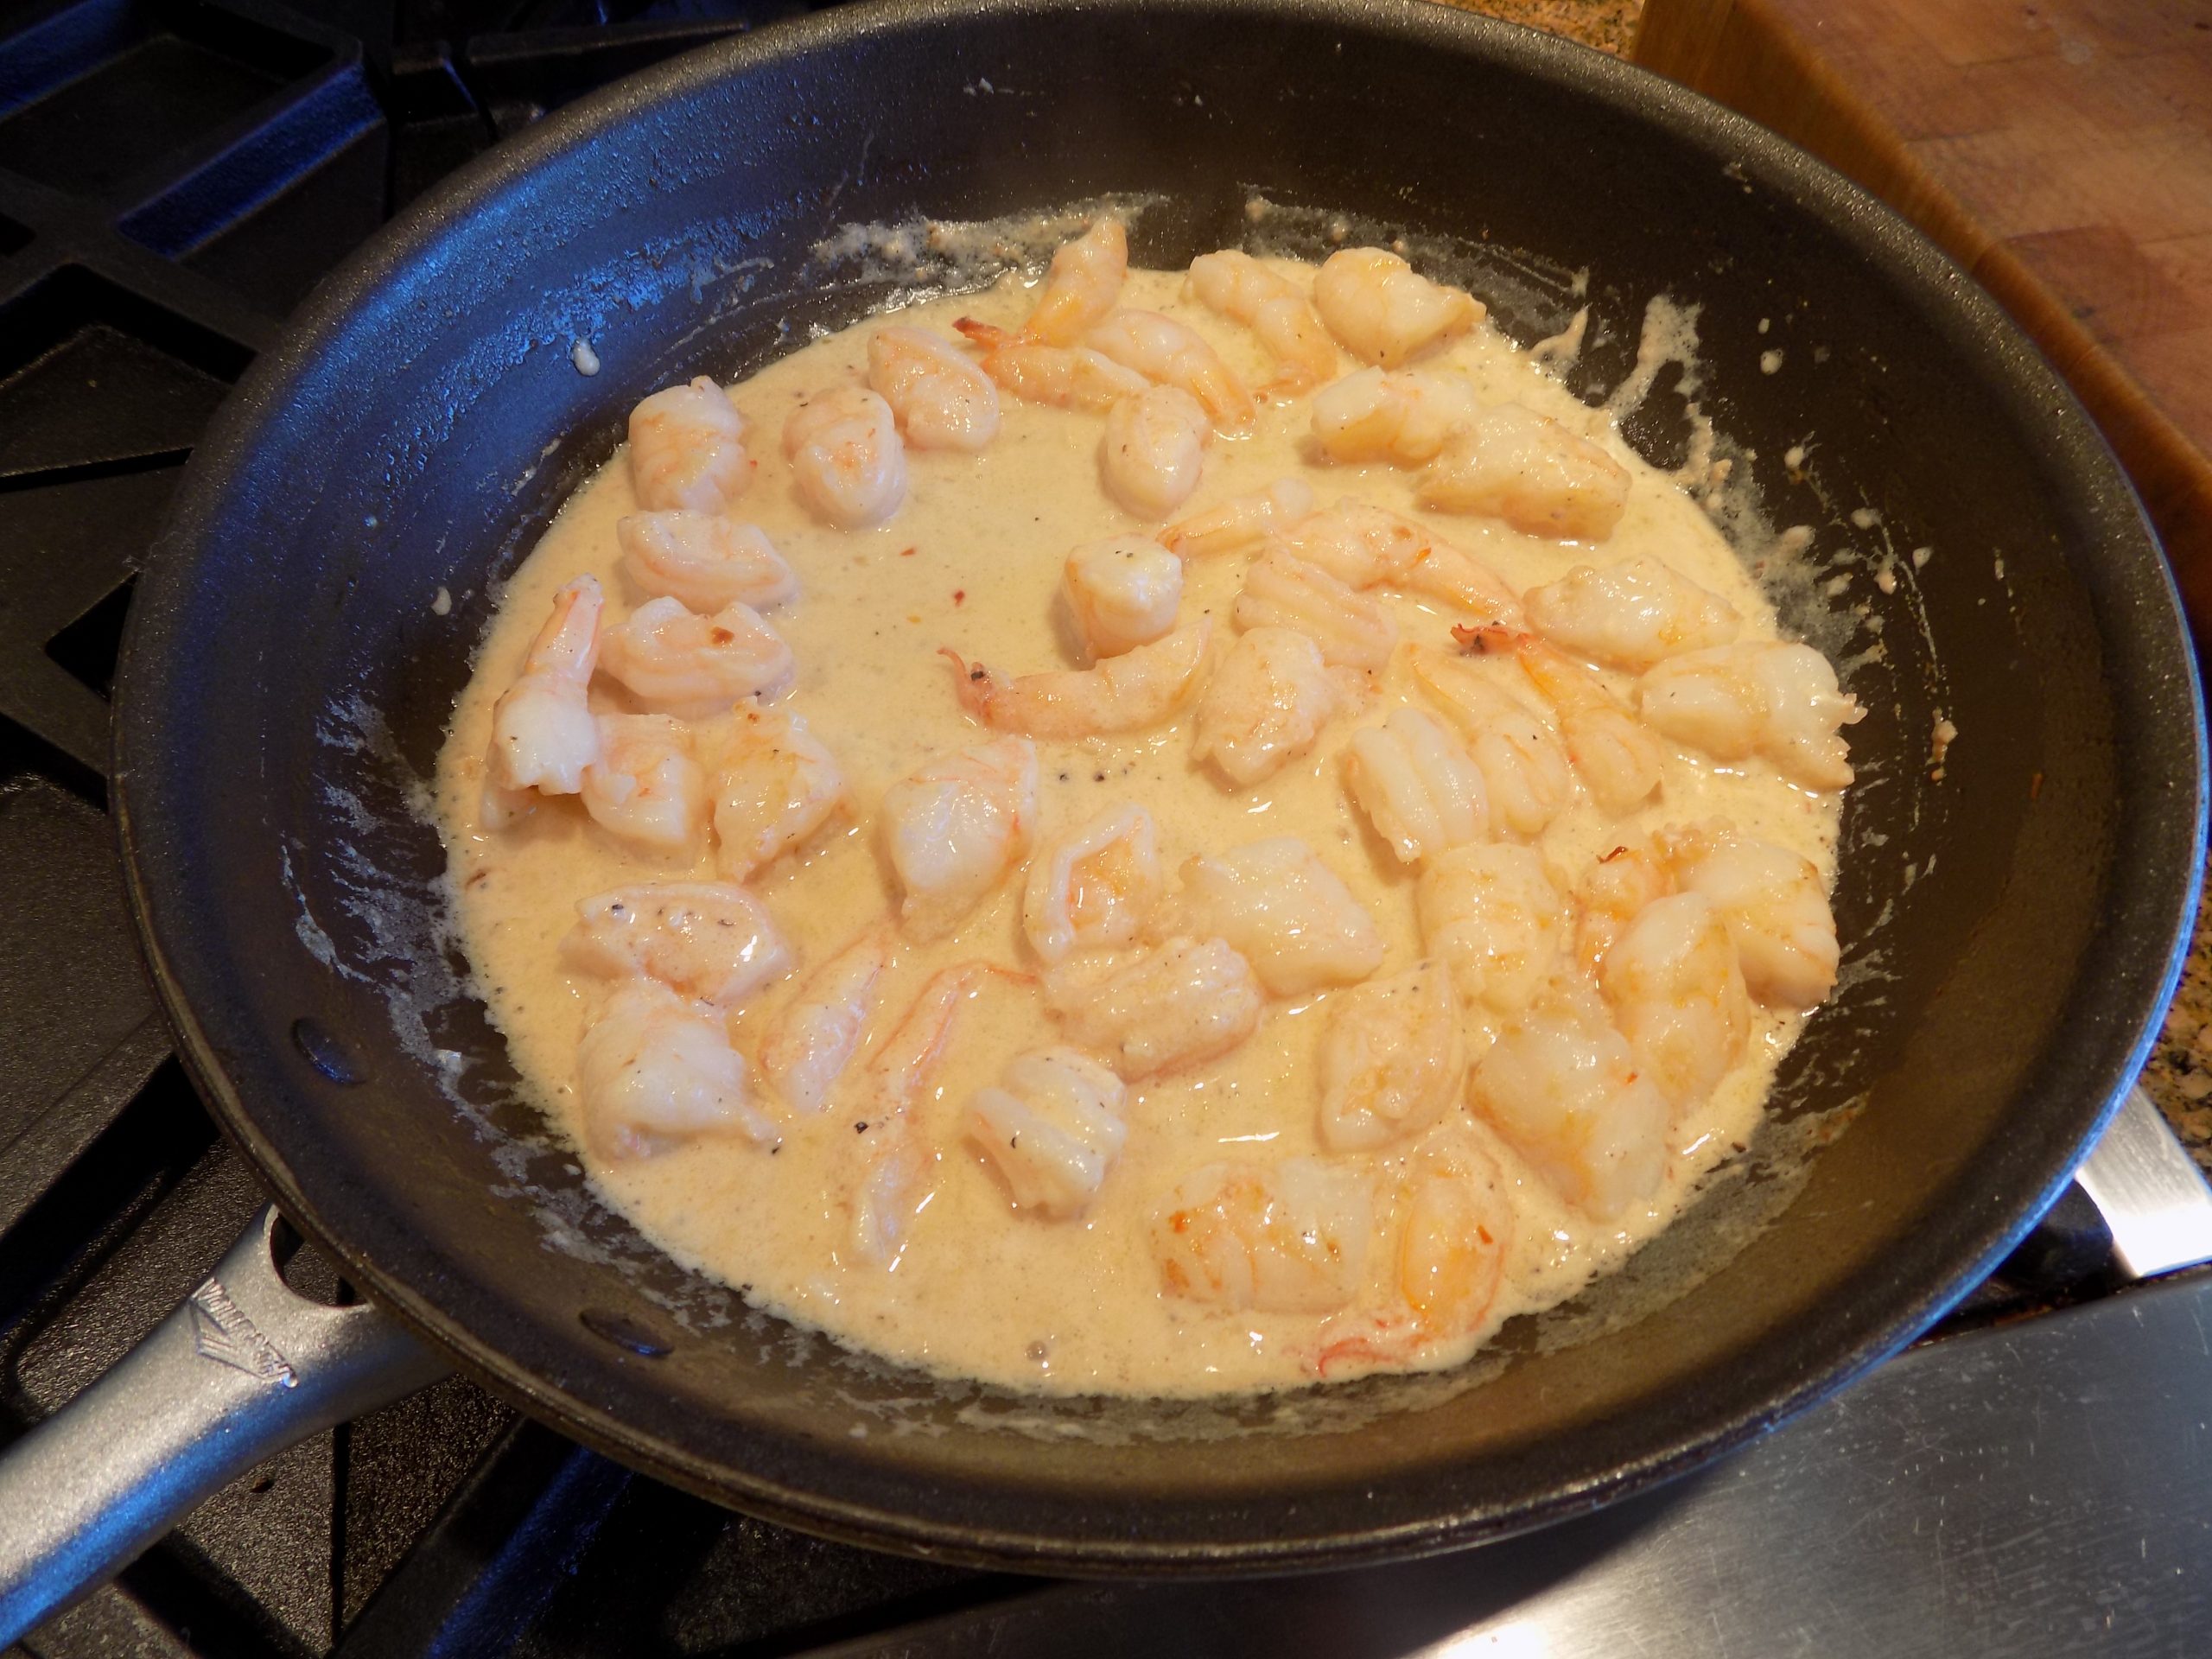
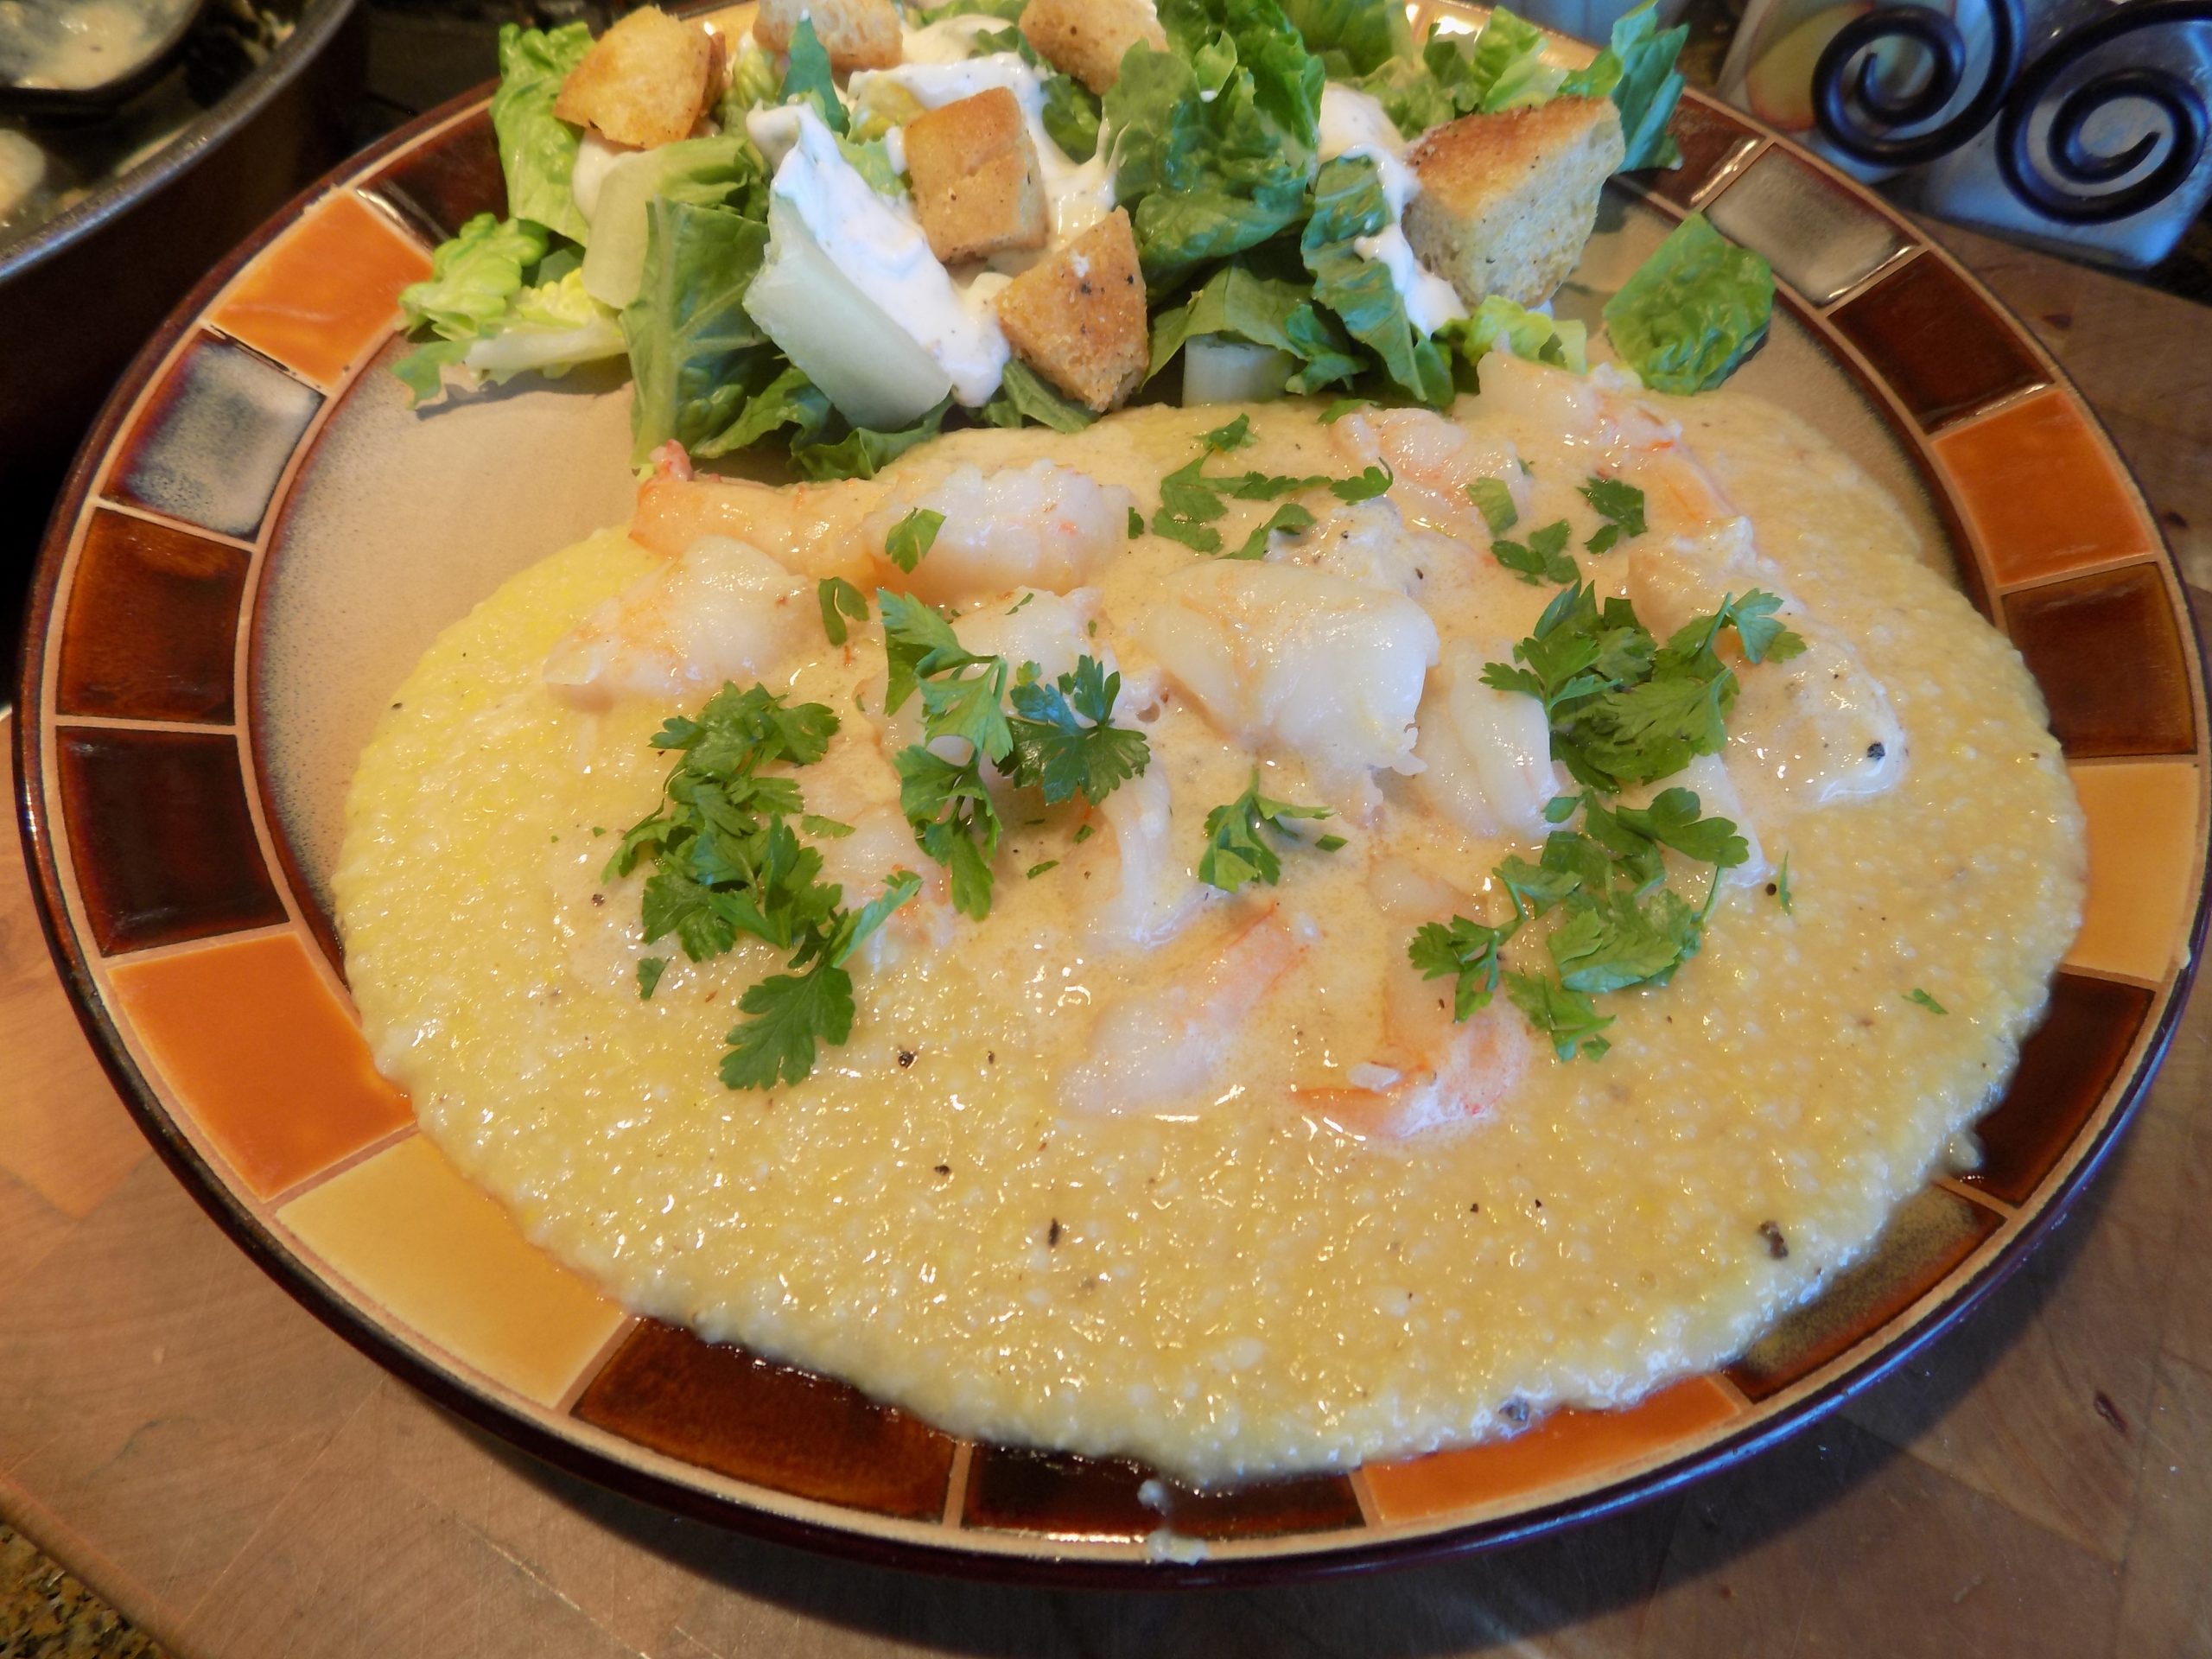
This delightful creamy shrimp dish, served over Parmesan Polenta, along with a simple green salad, made for a mighty fine dinner the other evening. And this old gal was still able to walk and talk (almost coherently) after all the preparation had been completed.
So, if you too would appreciate a delightful new way to cook shrimp that tastes like it came out of a 5-star restaurant, I recommend you give this recipe a try. The dish could not be easier to prepare, doesn’t require any fancy ingredients, and packaged frozen shrimp is perfect in this dish.
As always, keep smiling, keep looking on the bright side, and keep going. As I get older, my reading chair keeps looking more and more comfy. But if I want to stay able to do things, I must continue to stand my butt up, and force myself into action. And truthfully, I always feel better and stronger for the effort.
Peace and love to all.
2 T. unsalted butter
1 lb. lg. shrimp, peeled, de-veined, and tails removed, then cut in thirds
kosher salt
freshly ground black pepper
4 garlic cloves, finely minced
pinch crushed red pepper flakes
½ c. dry white wine
½ c. chicken broth
½ c. half & half
⅓ c. grated Parmigiano-Reggiano cheese
2 T. chopped fresh parsley
Heat the butter in a large skillet over medium-high heat. Season the shrimp very lightly with kosher salt and plenty of black pepper. Add to the skillet and cook until the shrimp is just cooked through and no longer translucent, about 4 minutes. Transfer to a plate and set aside.
Add the garlic to the skillet. Sauté until fragrant, about 30 seconds.
Reduce the heat to medium-low. Add the crushed red pepper flakes, wine, and chicken broth; reduce by half. Add the half & half. Bring to a gentle simmer and cook until the sauce is a bit thickened. (This should take about 2 minutes.) Add the Parmesan cheese and gently stir until melted, about 30 seconds. Taste and adjust seasoning.
Add the shrimp back to the skillet. Gently stir to combine and cook for about a minute. Sprinkle with parsley and serve.
Great served over Parmesan Polenta. (See recipe below.)
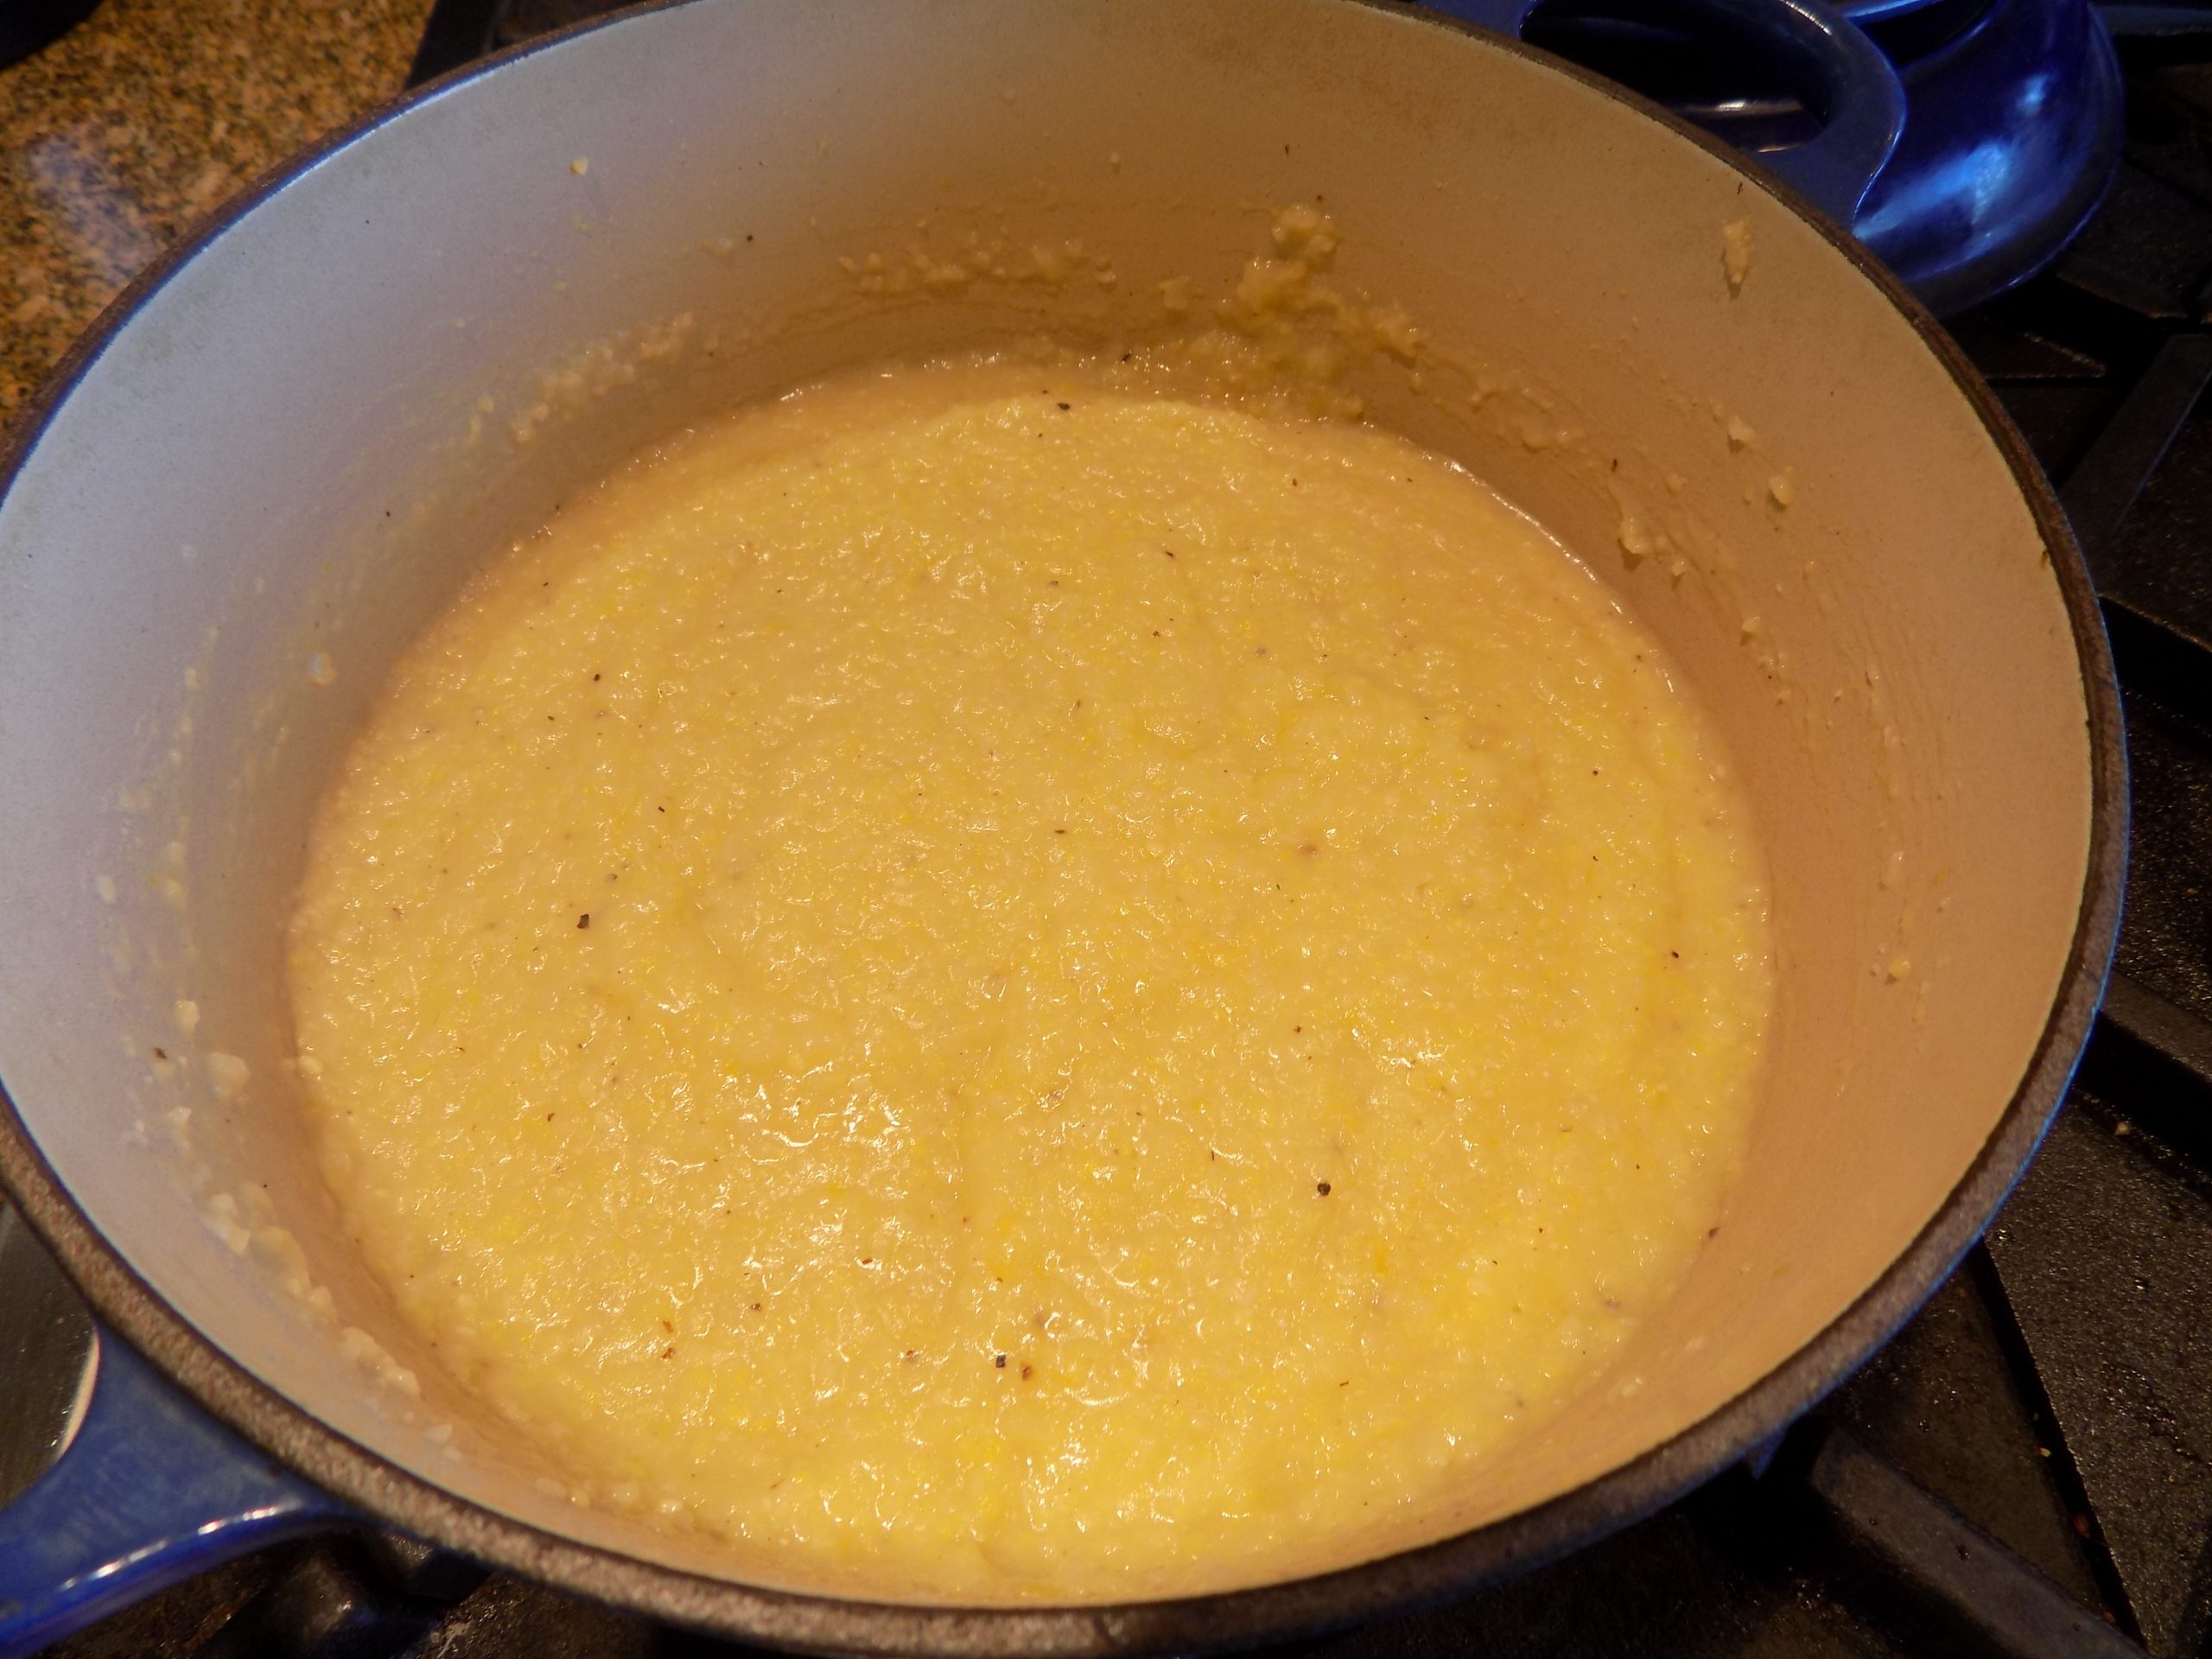
PARMESAN POLENTA
4 c. chicken broth
pinch sea salt
freshly ground black pepper
1 scant c. polenta (not instant or fast cooking variety)
3 T. unsalted butter
½ c. freshly grated Parmigiano-Reggiano cheese
Bring broth, salt, and pepper to a boil in a medium-sized, covered saucepan. Whisk the dry polenta slowly into the boiling broth until all of the grains are stirred in and no lumps remain.
Reduce heat to low and simmer, whisking continuously until polenta starts to thicken, about 5 minutes. Cover and cook for 30 minutes, whisking every 7 minutes or so. (When polenta is too thick to whisk, stir with a wooden spoon.) Polenta is done when the texture is creamy and the individual grains are tender.
Remove from heat and stir in the butter until partially melted. Then add in the Parmigiano-Reggiano until the cheese too has melted.
Cover and let stand 5 minutes to thicken. Stir, then taste to see if additional salt or pepper is required.