MY FAVORITE SAUCES AND TOPPINGS (BOTH SAVORY AND SWEET)

Speaking of favorites, my favorite kitties keeping me company as I write. Max on the left, Miles on the right.

OK, this is going to be a long list. Because if there is one food type that I like almost better than any other, it’s gravies, sauces, and toppings. You will find that My Favorite Gravies list has already been posted under My Favorite Gravies (imagine that!). And I know, sometimes it’s hard to distinguish a gravy from a sauce or topping, and vice versa. But then, the item must be called something. So, pardon me if I have your favorite sauce, gravy, or topping in the wrong category. But enough jabbering and on to why I made this list in the first place.

When you go to a fine restaurant, you almost always find expensive meat dishes served with a sauce, gravy, or topping of some kind. And the reason is simple. A plain piece of beef, chicken, pork, or fish is boring. The same with veggies. It’s the sauce, gravy, or topping that makes any simply prepared food more flavorful. If more home cooks took a hint from restaurant dining and served simply prepared meat, seafood, and veggies with a bit of “something” on top or to the side, I feel it would up their credibility as a great cook in the eyes of their family and friends. It doesn’t take much. Even a dab of this or that makes such a huge difference. So, this list might just possibly come in handy.

And of course, I have many more recipes on this site from which to choose. With gazillions more on the internet available with just a few keystrokes. It only takes a short time to find a recipe that would work for you. And believe me, your family and friends will appreciate your effort.   

Well, that’s it for today. It’s cloudy, sunny, and a bit windy on Camano Island this afternoon. No sign of snow yet, but the weather guys assure us that mixed snow and rain could happen at any time. All I can say is -bring it on! I love snow. Even though we have tickets this evening to hear Timothy Eagan speaking at the Lincoln Theater in Mount Vernon on the value of community libraries (speaking to the choir here, but what the heck), if it should start to snow, I wouldn’t be shattered. Like I said, I love snow.

Anyway, I hope you find my list of savory and sweet sauces and toppings helpful. If nothing else, it might give you ideas. And isn’t it always fun to have an idea rattling around in your brain.

Peace and love to all.    

SAVORY SAUCES AND TOPPINGS   

Arrabiata Sauce (under Pasta with Arrabiata Sauce)

Beefy Red Wine Sauce with Shallot, Garlic, and Rosemary

Beurre Blanc Sauce (under Seared Scallops with Beurre Blanc Sauce)

Blender Hollandaise

Butter, Sage, and Lemon Cream Sauce (under Angel Hair Pasta with a Butter, Sage, and Lemon Cream Sauce)

Chimichurri Sauce (under Grilled Argentine (Like) Marinated Flank Steak with Chimichurri Sauce)

Creamy Lemon Aioli

Curry Sauce for Chicken, Shrimp, Beef, or Lamb

Demi-Glace

Different Butters (under Pan Seared Tenderloin or Filet Mignon Steaks with Different Butters)

Dijon Cognac Cream Sauce (under Pork Tenderloin with a Dijon Cognac Cream Sauce)

Easy Teriyaki Sauce

Garam Masala Sauce (under Ground Lamb Meatballs in a Garam Masala Sauce)

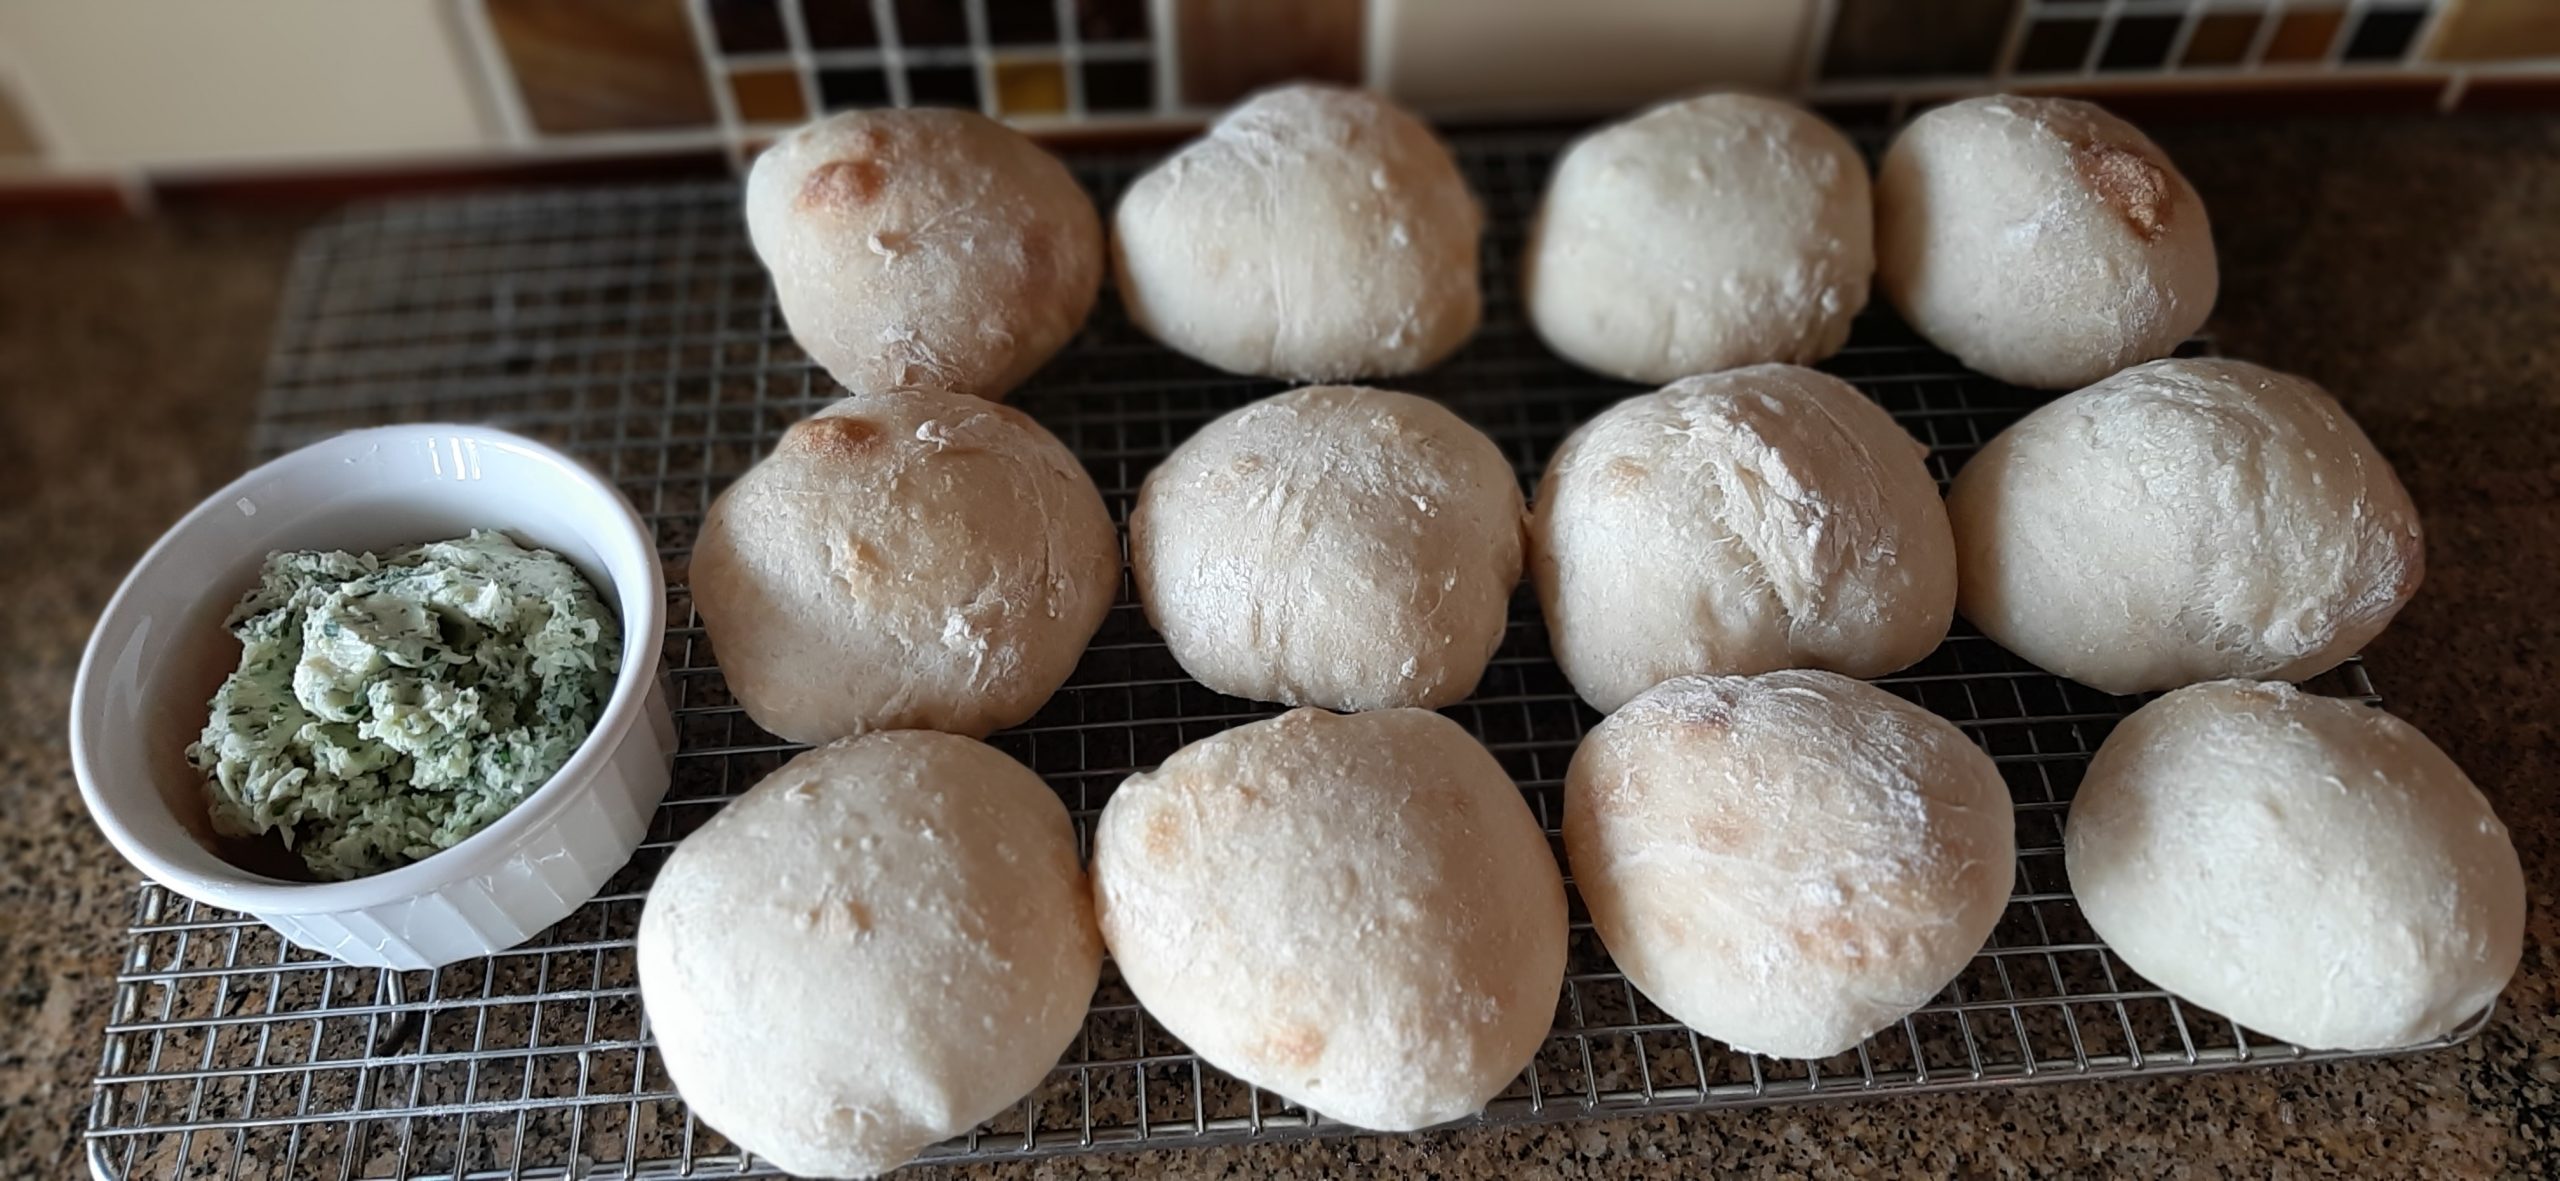
Garlic Herb Butter (under Easy Overnight Chewy Dinner Rolls – No Knead)

Gorgonzola Cream Sauce (under Ricotta Cheese Gnocchi in a Gorgonzola Cream Sauce)

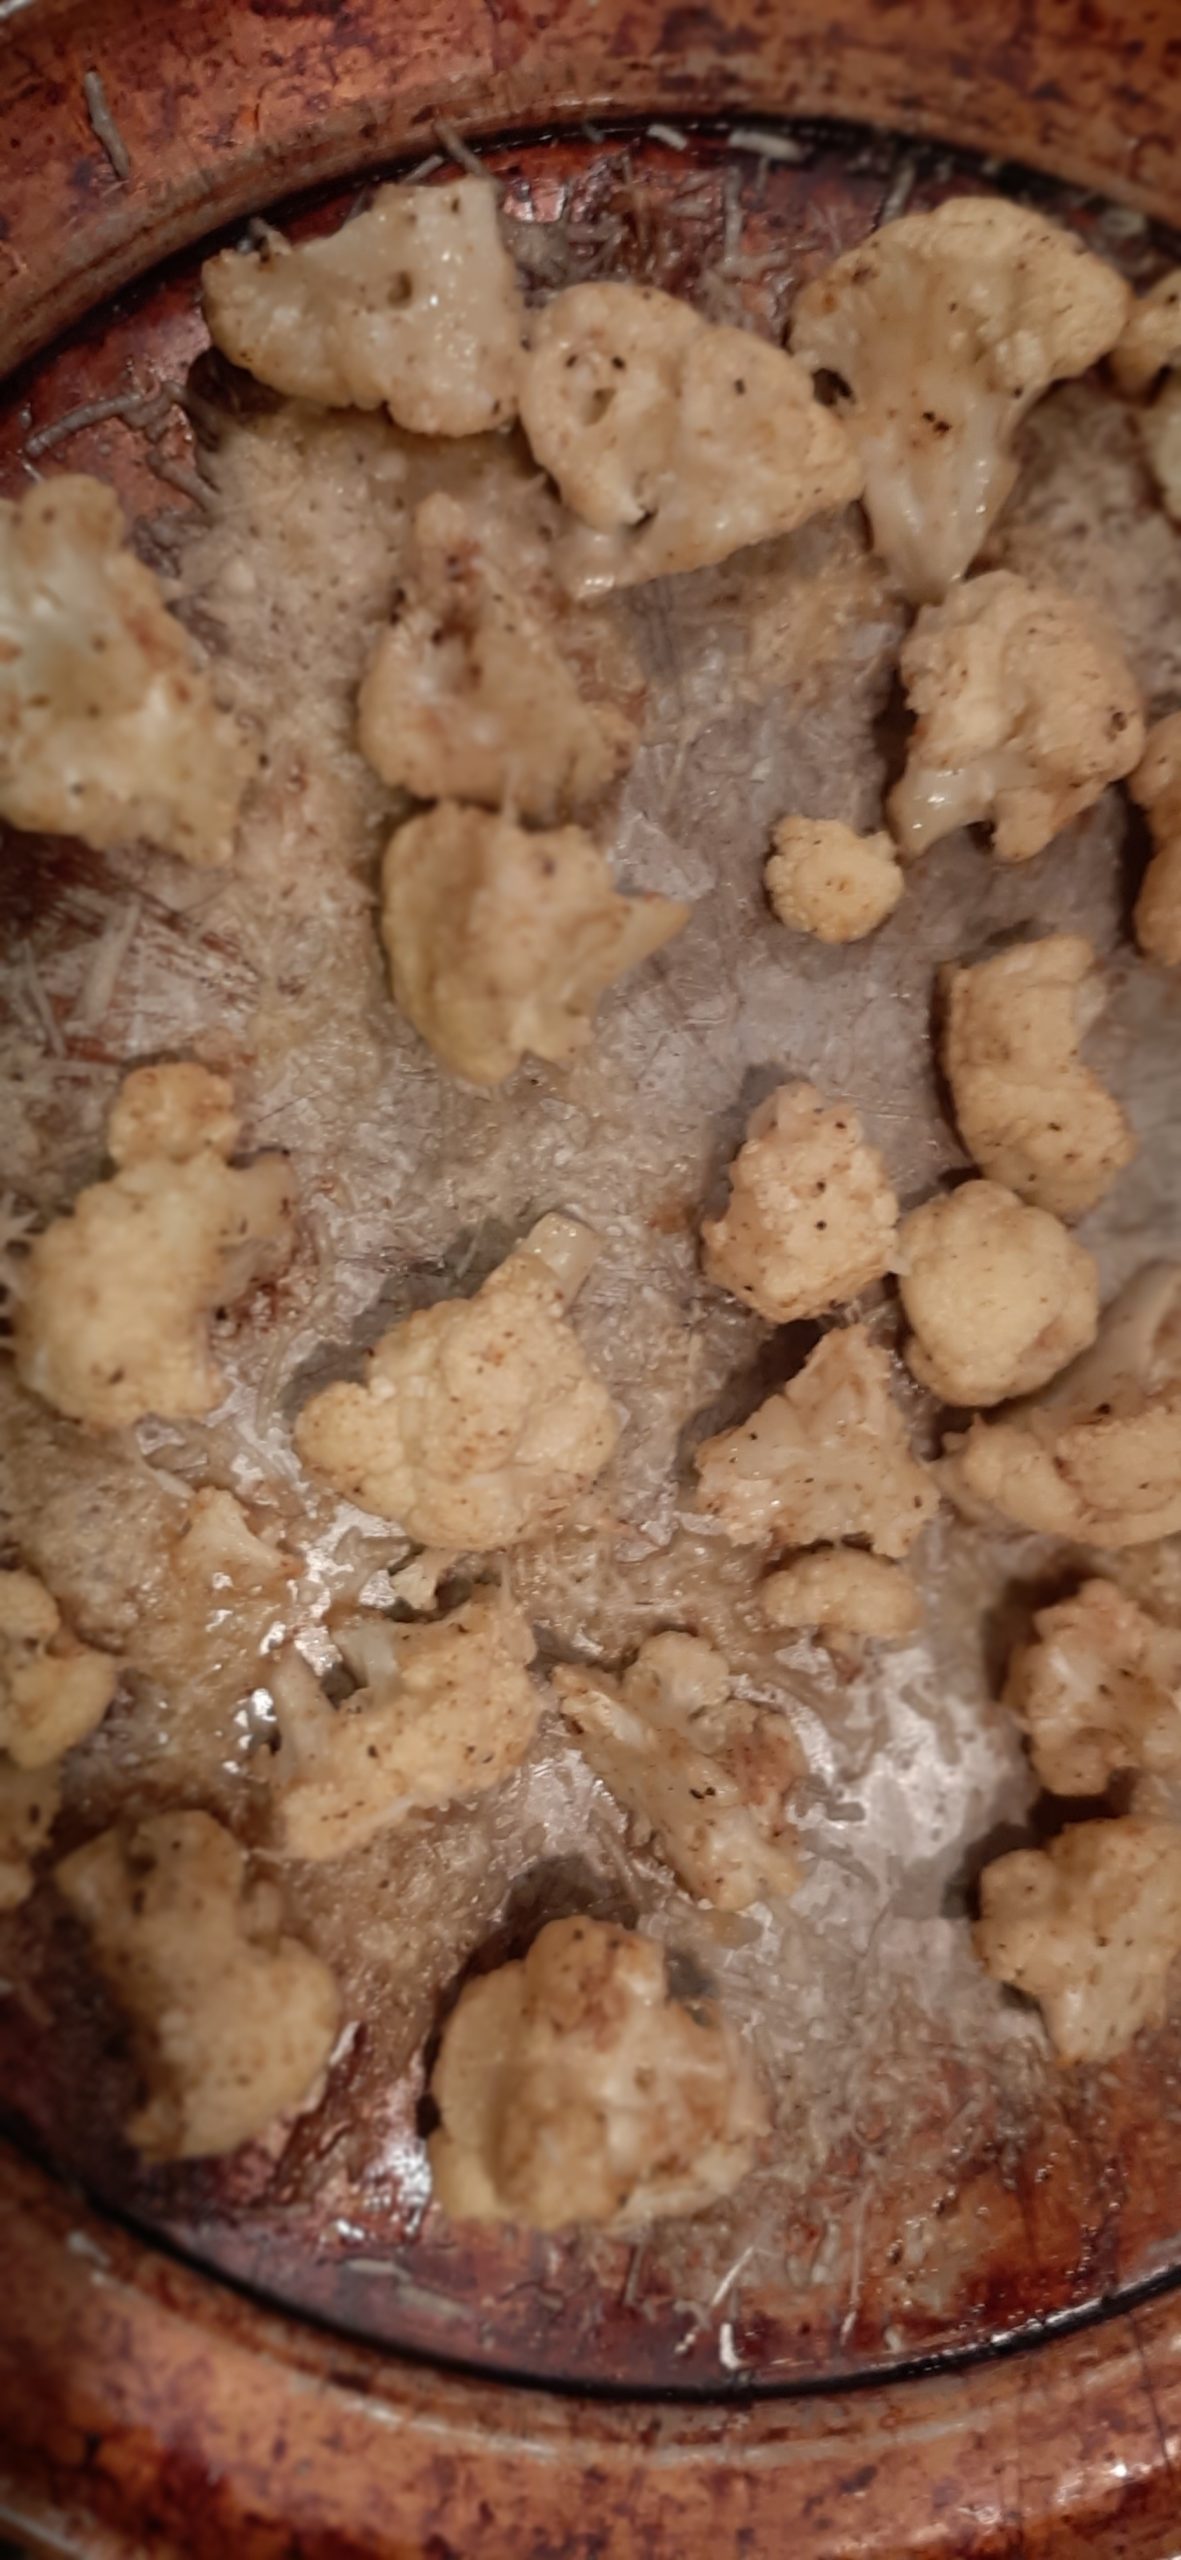
Green Chili Sauce (under Green Chili Sauce with Pork)

Horseradish Cream Sauce (under Simple Braised Corned Beef with Horseradish Cream Sauce)

Kansas City Style BBQ Sauce

Lemon Aioli

Lemon Basil Aioli

Lemon Caper Sauce (under Baked Chilean Sea Bass in a Lemon Caper Sauce)

Lemon-Dill Tartar Sauce

Marinara Sauce

Mushroom Red Wine Sauce (under Ground Beef Patties with Mushroom Red Wine Sauce)

Mushroom Wine Sauce (under Chicken Breasts in a Mushroom Wine Sauce over Creamy Polenta)

Orange Marmalade Sauce (under Duck Breasts with Orange Marmalade Sauce)

Red Chili Sauce (under Cheese Enchiladas with Red Chili Sauce)

Rémoulade Sauce

Savory Bourbon BBQ Sauce

Steak Sauce with Mushrooms

Stroganoff Sauce (under Meatloaf with Stroganoff Sauce)

The 5 Mother Sauces of Classical Cuisine (made easy)

Tzatziki

SWEET SAUCES AND TOPPINGS

Blueberry Rhubarb Sauce

Bourbon Caramel Whipped Cream

Caribbean Rum-Raisin Ice Cream Sauce

Chocolate Kahlúa Ice Cream Sauce

Fresh Raspberry Sauce

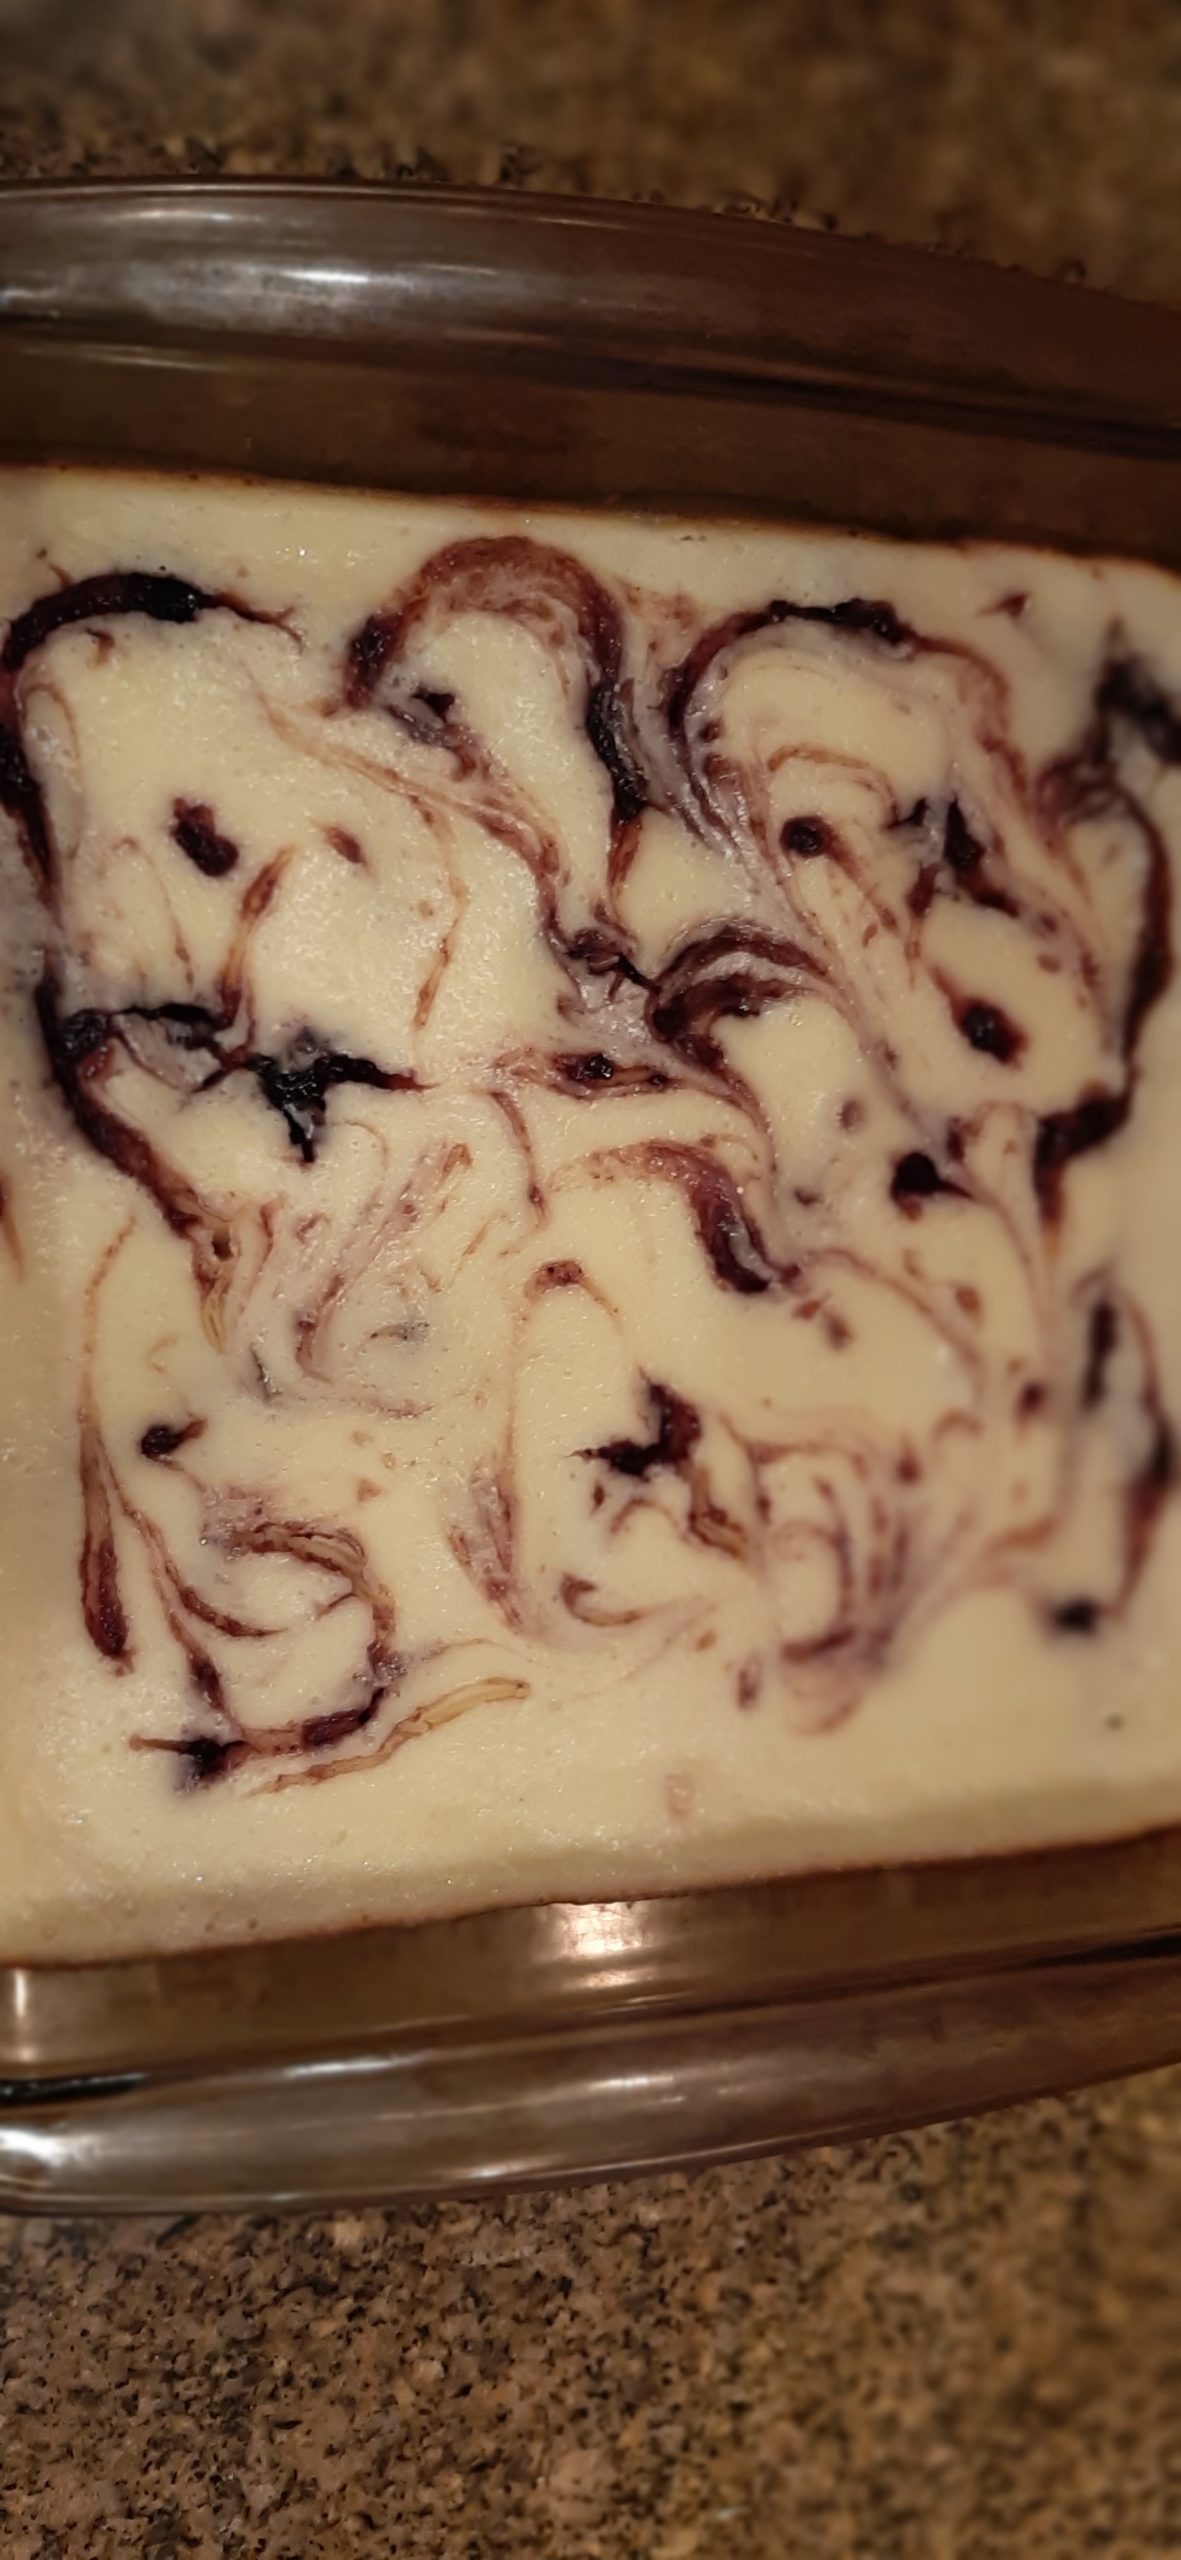
Fresh Strawberry Sauce (under Chocolate Cheesecake with Fresh Strawberry Sauce)

Strawberry, Rhubarb, and Blueberry Compote with Bourbon

PARMESAN ROASTED CAULIFLOWER

OK, sometimes recipes are too easy to be true. Not this one. This dish from natashaskitchen.com could not be easier to prepare or more delicious. And believe it or not, I could even get Mr. C., the Carr family bonified, card-carrying, less than excited by cruciferous veggies family member, to nibble on a few florets. And that is saying a lot!

And you know, there are just those times when spending even 15 minutes on a dish is more effort than you want to expend. OK, maybe that never happens to you, but it sure does to me. And the older I get, the more I appreciate quick and easy. But, and here’s the rub, the food must still be very tasty. Spoiled? You might say that. But who doesn’t want to be spoiled when it comes to food?

So, when I find a wonderful recipe like this one, that is ever so quick and easy to prepare, I may rejoice a bit more enthusiastically than most. (You know – happy dance, loud and boisterous shouts that can be heard a mile away, our two cats running for safety in our bedroom closet, and Mr. C. diving under his deck for protection.) (OK, that might be a bit of an exaggeration. But it just happens to be the way I envision myself reacting to an event of this magnitude. After all, you don’t find a great recipe for cauliflower every day! So, when it happens, I believe you should respond accordingly!)  

So, if you too would like to serve cauliflower to your family and friends, may I recommend this recipe. I totally adore cauliflower served this way. Mr. C., well not as much. But then, he is not a true Cruciferarian like me. But I’m sure there must be others. We could form a club. Want to join?

And as always, peace and love to all.

1 T. unsalted butter

1 T. extra virgin olive oil

¼ tsp. granulated garlic

¼ tsp. kosher salt

freshly ground black pepper

pinch paprika

½ fresh cauliflower, cut into medium-sized florets

¼ c. finely grated Parmesan cheese, or more to taste

Line a baking sheet with parchment paper.

Melt the butter in a medium sized bowl and whisk in the olive oil, granulated garlic, salt, pepper, and paprika. Add the cauliflower and toss until every floret is well coated. 

Spread the cauliflower evenly on the prepared baking sheet and bake in a pre-heated 425-degree oven for 15 minutes. Sprinkle on the Parmesan cheese and bake for another 5 minutes, or until cauliflower reaches desired tenderness.

Serve hot out of the oven.

AU GRATIN POTATOES WITH CARAMELIZED ONIONS

To see a picture of this dish, you need only look at the one for “Scalloped Potatoes”. These two dishes look exactly the same.

Well, have I got an exciting, time saving way to make scalloped potatoes (excuse me – au gratin potatoes) with lots of cheese and caramelized onion. And yes, I have a very similar recipe for Scalloped Potatoes on this site, but it doesn’t contain caramelized onion. And I have found that I really like that little bit of caramelized onion in my potato casseroles.

Which brings me to an interesting point that I feel you too should know.

A traditional scalloped potato casserole does not contain cheese. Instead, the potato slices are cooked in a cream sauce made of whole milk, heavy cream, and often fresh herbs. However, you will still find many recipes calling themselves “scalloped potatoes” that contain cheese. Are you now as confused as I am? And does it really make a darn bit of difference what these potatoes are called? Of course not. But I always like to educate my readers on the finer points of haute cuisine. But back to the time saving aspect of this dish that I promised to reveal in the first sentence of this post. (I do so ramble on and on sometimes……) (Sometimes?)

Anyway, I pre-cook my potatoes when I make potato casseroles. Thus, saving about 1½ hours of oven time. Plus, the fear that the bloody potatoes will never get tender. Or at least not in our lifetime.

So, if you too love potato casseroles, you might enjoy having this recipe in your recipe arsenal. And just in case you are interested, using cornstarch in place of flour makes these babies gluten free. But if you prefer, you can always use flour.

Well, that’s it for today. It’s very windy today with rain in the forecast. But that’s OK. We need more snow in the mountains. So, bring it on.

I hope you too are warm and snug in your own home. And feel as blessed as I do to be able to make that statement.

Peace and love to all.

2 lb. Yukon Gold or yellow potatoes (yellow potatoes are cheaper and just as good)

2 T. unsalted butter

¾ c. finely chopped onion

2 T. cornstarch

2 c. whole milk

freshly ground black pepper

4 c. shredded sharp cheddar cheese (or cheese or cheeses of choice) 

paprika

Peel potatoes and cut them in half. (And yes, I peel my potatoes for this recipe, because boiled potato skins tend to become tough.) Then slice each half potato into ⅓-inch slices. (If the potatoes are large, cut them in thirds and proceed from there.)

Place in a pan, cover with cold water, and bring to a boil. Reduce heat, add a bit of kosher salt, and cook until just about tender. (You don’t want mushy potatoes, so watch carefully). Drain.

Meanwhile, melt the butter in a medium sized saucepan. Add onion and cook until just starting to brown (caramelize). Then add cornstarch and let burble in pan for about a minute. Gradually whisk in the milk and pepper, bring to a boil, reduce heat, and let simmer for 2 minutes. Remove from heat and slowly stir in the cheese. Taste and adjust seasoning. (The sauce will be quite thick.)

Carefully add the cheese sauce to the potatoes. Scoop mixture into a lightly buttered baking pan and sprinkle lightly with paprika.

Bake in a pre-heated 350-degree oven for 30-40 minutes or until the top starts to brown and the sauce is bubbling around the edges of the casserole dish.

Remove from oven, cover, and let sit for a few minutes before serving.

Note: Don’t be afraid to mix and match the cheeses for this recipe. This dish is a perfect way to use up those bits and pieces of cheese that aren’t aging gracefully! Also, this recipe doubles and triples beautifully.

MUSHROOM ONION GRAVY  

For our last JazzVox pre-concert meal I served some of my favorite dishes. Pastrami Roll Ups (recipe under 1950s Themed Cocktail Party Menu) as an appetizer. For the other dishes, Old Fashioned Meatloaf (without the ketchup brown sugar topping) topped with Mushroom Onion Gravy, Cheesy Scalloped Potatoes with Caramelized Onions (recipe soon to be published, Pear and Blue Cheese Salad, Broccoli Salad with Bacon, Dried Cranberries, and Sunflower Seeds, Bread and Butter Pickles, Overnight Whole Wheat Dinner Rolls, and for dessert – Ginger Cake with Bourbon Caramel Sauce and Bourbon Whipped Cream. (Recipes on this site for all highlighted dishes.)

A mighty fine combination of dishes if I do say so myself. (Which of course I would say. Duh!) Anyway, of all the dishes I prepared, the ones Mr. C. raved about the most were the roll ups and this gravy.

The roll ups I have been making for eons, so no thrilling new taste sensation there. But the gravy, well that was a different story. Mr. C. really liked the gravy. I had simply wanted to dress the meatloaf up a bit. And how better to make anything a bit fancier than by adding a sauce or gravy?

And of course, it didn’t hurt that both of us are gravy/sauce/aioli etc. addicts. I tend to be a bit more addicted, but Mr. C. comes in a close second. So, a gravy seasoned with a bit of powdered dried porcini mushroom to enhance the button mushroom flavor was all it took to lift the gravy from just OK, to well, pretty darn tasty! And not a bit of real roasted beef fat was required*. Would have been nice, but sometimes we must make do with what we have on hand. (More about using real roasted meat fat and juices below.)

So, if you too want to add a bit of excitement to a simple cut of meat or a plain meatloaf, I invite you to make this gravy. But make plenty. Some folks feel it necessary to slather rather than merely decorate or garnish with gravy. Me? I am firmly and enthusiastically in the “slather” camp!

Unpaid and very opinionated political announcement: If you happen to live in the state of Washington where voting for your favorite democrat or republican candidate for president is in full swing, please vote. We as individuals don’t often get a voice in what happens in our country. But if we vote, we can at least say we tried to make a difference.

Peace and love to all.

6 T. (¾ stick) unsalted butter*, divided

¼ c. finely chopped shallot

8 oz. fresh button mushrooms, chopped

1-2 cloves garlic, minced

2 tsp. ground** dried porcini mushrooms   

¼ c. all-purpose flour

2 c. water

2 rounded tsp. beef base (I use Better Than Bouillon Beef Base), or more to taste

2 tsp. balsamic vinegar

2 tsp. Worcestershire sauce

1 tsp. Kitchen Bouquet

¼ tsp. dried thyme

¼ tsp. kosher salt, plus more to taste

freshly ground black pepper

¼ c. heavy cream or whole milk

1-2 tsp. cognac

Heat 2 tablespoons of butter in a small, heavy pan. Add the shallot and cook until tender. Add the mushrooms and cook 7-8 minutes or until golden and the liquid from the mushrooms has evaporated. Add the garlic and ground porcini mushrooms and cook for another minute.

Then melt in the remaining 4 tablespoons of butter.  Add the flour, whisk to combine, and cook for about 3 minutes, stirring continually.  

Add the water, beef base, vinegar, Worcestershire sauce, Kitchen Bouquet, thyme, salt, and pepper.  Whisk continually until the gravy is thickened.  Simmer on low, stirring occasionally, for 5-10 minutes.  Taste and adjust seasoning.   

Just before serving, stir in the heavy cream and cognac. If the gravy is too thick, add a bit of hot water. 

*If you have the fat and juices from roast meat available, use them to make your gravy. There is still nothing better than the real thing (rendered meat fat and juices) to flavor gravy. Or use part meat fat and part unsalted butter.  

**Grind dried mushrooms in a coffee/spice grinder or pound with a mallet in a Ziplock bag.

BROCCOLI SALAD WITH BACON, DRIED CRANBERRIES, AND SUNFLOWER SEEDS  

OK, I know. I already have 2 very similar broccoli salad recipes on this site. That’s because I REALLY LOVE BROCCOLI SALAD! But the one I served yesterday for our JazzVox pre-concert meal was even more spectacular than my other recipes. (Sorry guys, but the truth shall set me free!) I think it was the use of apple cider vinegar rather than another type of vinegar, and the addition of dried cranberries that made this version so amazing. Also, the fact that I made it the day before and let it sit overnight in the fridge. This I learned from Holly, creator of the spendwithpennies.com cooking blog. (A fabulous site BTW. You simply must check it out!) So, this is basically Holly’s recipe with a couple of minor ingredient amount changes of mine.

And I must say, this salad literally disappeared yesterday. One moment there was still some left in the bowl. The next time I looked, it was all gone. It might have been because of all the bacon. But I am choosing to believe that people are finally realizing that broccoli is an excellent source of vitamins C, K, and A. And that it also contains several important minerals, such as potassium, calcium, and iron as well as several antioxidants, including vitamins C and E, β-carotene.

Anyway, if you want to make a broccoli salad that is sure to be a hit, this is the recipe for you. And it can be made ahead. And who doesn’t love that kind of recipe. Especially when entertaining.

Well, today is a down day for me. Not mentally, but after feeding 41 people yesterday, my body is rebelling at even getting up from my desk to grab a drink of water. (My body saying – You want me to walk all the way to the kitchen. Have you no compassion for tired legs and feet? Don’t you remember that the kitchen is your enemy? Etc. etc. ad nauseam!) So, my brain having a mind of its own, I am choosing to surrender and keep my butt firmly planted in my desk chair today.

But I’m still coherent enough to wish peace and love to all.

⅓ c. finely diced red onion

1 c. ice water

1 c. mayonnaise

3 T. apple cider vinegar

1 T. granulated sugar

¼ tsp. kosher salt

freshly ground black pepper

8 c. broccoli florets and peeled stems, cut into bite-sized pieces and thoroughly dried

½ c. dried cranberries

½ c. sunflower seeds

1 c. cooked tiny meaty bacon pieces, plus more for garnish

Combine the red onion* and ice water in a small bowl. Make sure the onion is under water. Let the onion mellow out while you make the dressing and chop the veggies. Then drain the onion and pat dry really well before adding to the bowl with the other ingredients.  

Whisk the mayonnaise, apple cider vinegar, sugar, salt, and pepper together in a small bowl. Set aside.

In a large bowl, combine the broccoli, cranberries, sunflower seeds, bacon pieces, and drained and dried onion. Pour the dressing over all and mix well.

Cover and refrigerate overnight for best results. Remove from fridge about 30 minutes before serving. Garnish with bacon.

*It seems to me that red onions seem to be getting “hotter” than I remember them being in the past. So, letting the cut onion spend some quality time in ice water helps reduce the hot or bite. This is true for other onions and shallots too.  

MY FAVORITE YEAST BREADS, QUICK BREADS, ROLLS, MUFFINS, PANCAKES, ETC.

OK, here goes! When it comes to almost any kind of bread, count me in! I have never found a type of bread I couldn’t eat. OK, I do draw the line at store-bought white sandwich bread (you know the one I mean), but that’s about it! But homemade bread of any kind or most breads served in good restaurants, I’m the first one to dive in.

But before I go any farther, I need to rant a bit about a problem I see happening all over America. The exorbitant price of edible groceries, including artisan bread. Terrible. I agree. But if someone starts ranting while I am standing behind them in line at the grocery store, and their cart is full of pre-packaged meals, packaged cookies, expensive bakery style bread, canned chili, canned soup, etc., they have immediately lost my sympathy. They aren’t buying items to make food; they are buying PACKAGED PRODUCTS! And you simply have to pay more for packaged items. Duh! So, what I really want to say to these shoppers – try cooking and baking dishes from scratch and see how bloody much you save on groceries! Harrumph!! However, if a cart contains fresh veggies, lean meat, all-purpose flour, butter, sharp cheddar cheese, and chocolate chips, I will gladly hear that person’s concern. And join them in their tirade! Fair is fair after all! OK, I feel better now. Thanks for listening. And back to the real reason for this post.

The first time I realized I liked to mix things together was when I was about 4. I would sneak flour and eggs from our kitchen, go outside, and mix them with sand and dirt. I don’t think I actually ate any of my mixtures, but how could I remember that far back? At least I hope I didn’t eat any of my first culinary attempts. But as soon as my mom discovered what I was up to, she put a stop to the sand and dirt part and let me help her bake cookies. And I have yet to stop loving to make a mess in my kitchen. (Or anyone else’s kitchen for that matter!)

Now, I do realize, not everyone has my passion for building food from scratch. But even if you aren’t as crazy as I am, this list might help you narrow down your choices when it comes time to bake a loaf of bread or a batch of muffins for a special occasion.

Well, enough for today. I currently have a mini concert going on in my living room. Mr. C. on piano, along with a violinist and violist playing chamber music. I am such a lucky person to have such beautiful music coming from my living room.

And to say thank you to all three of them, I am serving a luncheon of soup and homemade rolls. So, farewell for now. Time to make like a cook.

As always, peace and love to all.       

MY FAVORITE YEAST BREADS, QUICK BREADS, ROLLS, MUFFINS, PANCAKES, ETC.

Baked English Muffins

Banana Bread

Beer Bread

Brioche Dinner Rolls

Buttermilk “Everything” Seasoned English Muffins

Caribbean Cornbread

Challah

Cheddar and Chive Cornmeal Biscuits

Chewy Sourdough Baguettes

Cinnamon Sugar Quick Bread

Crumble Topped Pumpkin Spice Muffins with Walnuts

Crusty Sourdough Rye Bread

Date-Nut Bread with Coffee and Jack Daniels

Dilly Casserole Bread

Easy Buttermilk Biscuits

Easy Dinner Rolls

Easy Overnight Chewy Bread (no knead)

Easy Overnight Chewy Dinner Rolls (no knead)  

Easy Overnight Focaccia Two Ways

Frosted Maple Pecan Scones

GF (Gluten Free) Blueberry Cream Cheese Muffins

GF Sandwich Bread

Healthy Oatmeal Raisin Bread

Light Rye Bread

New York Style Bagels

Oatmeal Pancakes

Onion Dill Bread

Overnight Brioche Rolls

Overnight Chewy Artisan-Style White Bread

Overnight Italian Bread

Overnight Pain de Campagne (French Sourdough Bread)

Overnight Soft Herb Rolls

Overnight Sourdough Discard Bâtard (great for making crostini)

Picnic Buns

Refrigerator Whole Wheat Rolls AKA Honey Buns

Rosemary Olive Bread

Rhubarb, Orange, and Walnut Quick Bread

Rustic Italian Bread

Rustic Sourdough Boules

Savory Green Chili, Parmesan, and Green Onion Cornbread

Simple Sourdough Boule

Sour Cream and Chive Crescent Rolls

Sourdough Waffles or Pancakes

Zucchini Seed and Nut Bread (a quick bread)

EASY OVERNIGHT CHEWY DINNER ROLLS (NO KNEAD)  

Garlic Herb Butter and rolls

In my quest to make bread baking easier for myself and of course for you too, I recently posted a fabulous recipe for Easy Overnight Chewy Bread (No Knead). And I love that bread. But there are just those times when instead of a boule (round loaf) you want individual rolls. So, I came up with this recipe that could not be easier to make. Thus, the title. But it is still a two-day process. Consider yourself warned.

But boy are these rolls delicious. Chewy and flavorful, especially when slathered with Garlic Herb Butter. (See recipe below.) And perfect for a beginning bread baker.

No kneading. No guessing how much flour to use. You don’t even need to worry about warming the water. Water right out of the tap is fine. You simply need to follow the simple instructions and prepare yourself for all the rave reviews you will receive from your family and friends. (Remember to remain humble.) (Good cooks are always humble.) (That’s the rule!)

So, if you too ever find yourself needing great dinner rolls with little time to spend on the effort, this is the recipe for you.

That being said, my work here is done.

Peace and love to all. And happy bread baking.

4 c. bread flour, fluffed, plus more for shaping the dough

2 tsp. kosher salt

1 tsp. instant dry yeast  

2 c. room-temperature water

In a large bowl, stir the bread flour, salt, and yeast together. Add the water and mix with a sturdy rubber spatula until all the flour is incorporated. The dough will be wet and sticky. Cover the bowl with plastic wrap and leave on your counter overnight. The following day the dough will have risen somewhat but will not look like other risen bread dough.

Line a baking sheet with parchment paper. Preheat oven to 425-degrees.

Spread a generous amount of flour on a work surface or pastry cloth. Using a stiff spatula remove the dough from the bowl to the floured surface and turn the dough several times to coat it with flour.

Coating your hands with flour, divide the dough into about 12 equal portions, turning each piece in the flour to coat. Shape each piece into a ball, pulling edges under and pinching together to make a smooth top. Place the balls on prepared pan a couple inches apart. Let the shaped rolls rise for 20 minutes. (The rolls will not rise a lot during this 20-minute rest.)

Bake for about 15 minutes or until the internal temperature reaches at least 205-degrees. They will not brown very much. That is just fine.

Remove from oven and transfer rolls to a wire rack to cool completely.

To serve, heat them for about 45 seconds in your microwave. Great served with Garlic Herb Butter. See recipe below.

GARLIC HERB BUTTER

½ c. unsalted butter, room temperature

1 scant T. fresh finely chopped parsley

1½ tsp. fresh finely chopped thyme leaves

1/8 tsp. granulated onion

1/8 tsp. granulated garlic

¼ tsp. kosher salt, or more to taste

freshly ground black pepper

Combine all ingredients. Store covered in your fridge but serve at room temperature.


MY FAVORITE SALADS  

OK, I adore salads, but salads are not my favorite dish to prepare. All that washing, drying, and knife work can become tedious. Very quickly. At the same time, I enjoy a good salad probably more than any other part of a meal, except of course for the bread. Because as anyone who knows me can attest, I could practically live on bread. Good homemade or bakery bread slathered with soft butter. Or dipped into sauce or gravy. Or perhaps with some cheese on the side. In England the combination of bread and cheese with possible additions like green salad, hard boiled eggs, ham, pâté, and/or mustard pickles is called a “Ploughman’s Lunch”.

And even though I have never found English cuisine to me my favorite (that was a nice way of putting it, don’t you think) I could easily enjoy a Ploughman’s Lunch 2 or 3 times a week without feeling picked on! I mean really. What’s not to love!

But for me, one of the key ingredients to keep me a happy camper in that scenario would have to be the salad. Because, as stated above, I love a good salad. And of course, a good salad depends on being dressed in a wonderful dressing or vinaigrette. So, my next post will be my list of favorite dressings and vinaigrettes.

Well, that’s it for now. Mr. C. doesn’t have a gig or a rehearsal this evening, so I can enjoy a leisurely dinner with him in the comfort of our own home. Lately, I find that I prefer eating at home rather than dining out. I think that might mean I’m getting old. (The comforts of home and all.) (Feet encased in slippers, sloppy jeans, minimal make-up, a fabulous before dinner drink made by the resident mixologist, a tasty homecooked meal, and more pages turned in my current book for my after-dinner treat.) For me, this is the perfect recipe for an evening at home.

Well, I hope you too find some inspiration from my list of favorite salads. Now that I’ve actually made my choices, I can hardly wait to fix these salads again. We all need a little jump start occasionally. And creating this list did just that for me.

And as always, peace and love to all.

MY FAVORITE SALADS  

Asian Vegetable Salad

Blue Cheese and Walnut Salad in a Balsamic Vinaigrette

Broccoli Salad

Buffalo Chicken Salad with Blue Cheese Dressing

Celery Salad (Céleri Salade)

Chef Salad with Thousand Island Dressing

Chicken and Wild Rice Salad

Chopped Salad with Salami and Cheese

Cobb Salad with Shrimp

Creamy Cucumber Dill Salad

Crunchy Cabbage Slaw with Peanuts and Parmesan

German Potato Salad

Greek Salad (Kinda Sorta)

Grilled Romaine Salad

Gurkensalat (German Cucumber Salad)

Italian Salad

Japanese Cucumber Salad (Sunomono)

Kale Salad with Dried Cranberries, Pumpkin Seeds, and Poppy Seed Dressing

Marinated Fresh Veggie Salad

Mexican Toasted Corn Salad

Quinoa Salad with Feta Cheese and Spinach

Old Fashioned Potato Salad

Overnight Mexican Coleslaw

Panzanella Salad (Tuscan Bread Salad)

Pasta Salad

Pea Salad

Pear and Blue Cheese Salad

Remolacha (Argentine Beet Salad)

Roasted Beets, Candied Pecans, and Feta Cheese Salad with a Balsamic Vinegar

   Dressing     

Romaine Salad Dressed in an Asian Flavored Vinaigrette

Shrimp and Macaroni Salad

Simple Italian Rocket (Arugula) Salad

Spinach Salad

Spinach Salad with Roasted Beets, Feta Cheese, Toasted Hazelnuts, and Honey  

   Balsamic Dressing

Tuna Macaroni Salad

Veggie Macaroni Salad

Waldorf Salad with Dried Cranberries and Orange Zest

RUSTIC ITALIAN BREAD    

I can’t help myself when it comes to trying easy bread recipes. Especially recipes that contain only the 4 basic ingredients (flour, salt, yeast, and water) you find in any yeast bread recipe, no matter how many other items might be included in the list of ingredients. After all my years of baking bread, I finally realized that you only need these 4 essential ingredients to make unimaginably delicious bread. And for just pennies, rather than several dollars spent when purchasing the same type of bread at your local grocery store or bakery. And this recipe from the ciaoflorentina.com site could not be easier.  

I did change the baking directions on Florentina’s recipe however, because I really like to bake a simple bread like this one in a Dutch oven* or cloche** (clay bread baker). And Florentina’s recipe called for baking the bread on a pizza stone.

Because another important thing I have learned from years of baking bread – I CAN NOT TURN OUT HOMEMADE BREAD QUITE AS PERFECT AS BREAD BAKED IN A COMMERCIAL OVEN***. However, when I use a Dutch oven (regular cast iron or Le Creuset) or clay cloche, I can come pretty darn close. And for my pennies spent, close is good enough. And in most cases, better than just good enough. Wonderful, to be exact.

So, if you too are into baking bread, give this amazing recipe a try. Just be prepared and have soft butter available. But try to let the freshly baked bread cool before diving into it. I know, I’m asking a lot of you. But trust me, as soon as the bread is cool, slice off a big hunk and liberally spread it with butter.  After all, who deserves a treat more than you?!    

And on that happy note I wish you, as always, peace and love. And happy baking.

3½ c. unbleached all-purpose flour, plus more for dusting

1 tsp. fine sea salt

2 tsp. instant yeast

1½ c. warm water

In the bowl or your stand mixer, combine the flour, salt, and yeast with the paddle attachment.

Add the warm water and mix until a soft dough has formed. Cover the bowl loosely with plastic wrap and a tea towel. Allow the dough to rise at room temperature for about 3 hours or until doubled in size.

Place a bit of flour on a pastry cloth or clean kitchen counter. Transfer the bread dough onto the floured surface using a stiff spatula. Then flour your hands and form the dough into a boule (ball shape). (Do not knead the dough or handle it more than necessary.)

Place the formed bread dough on top of parchment paper and using a serrated knife, gently carve an X on top. Rest the formed dough while you place a Dutch oven or cloche on the middle rack of your oven and turn the temperature dial to 450-degrees.  

Once the oven has come to temperature, carefully remove the hot Dutch oven, and gently place the boule and parchment paper inside the Dutch oven.

Cover and bake the bread for 25 minutes. Remove the lid and bake another 10 minutes or until golden brown on top and the internal temperature reaches 205-degrees.

Remove from oven and transfer to a wire rack to cool completely before slicing.

*Using a Dutch oven helps to mimic the environment of a commercial oven. That being a moisture-sealed chamber with intense and (mostly) even radiative heat. Dutch ovens offer ample thermal mass to ensure a temperature-stable baking environment with their thick cast iron walls. 

**A cloche is designed to support bread dough while it bakes creating a perfect rise. Cloches should have tight-fitting lids that trap steam, giving the bread a lovely crispy golden-brown crust. A good cloche also comes with a heavy-duty bottom that also ensures a thick, crispy, golden base.

***Commercial ovens provide heat from both below and above. They can also inject steam into the baking chambers.

EASY CHEESECAKE FRUIT BARS

I love cheesecake. But in my lazy old age, I prefer not to spend hours in its creation. Unless, of course, it’s a special occasion. Then I will do what needs to be done. But for a quick and easy cheesecake, that takes little effort, with no special ingredients required, this recipe works just fine. In fact, more than just fine. These bars are delicious.

I wrote this recipe up years ago. And while culling my “recipes to be tried” pile (about a foot deep), I found this beauty patiently waiting to be tried. And why I waited several years to make these easy to prepare bars is a puzzle. Of course, I also have other cheesecake bars on this site. And they too are wonderful. (Strawberry Rhubarb Cheesecake Bars, Tart Cherry Topped Cheesecake Bars, and Lime or Lemon Curd Topped Cheesecake Bars) But this one is just simplicity itself. And you can vary the flavor by whatever jam, jelly, preserves, or curd you happen to have on hand. I used blackberry preserves and they were perfect. A little tart. A little sweet. Terrific!

So, next time you get a hankering to build a cheesecake but would prefer to save most of the fuss and bother for another time, give this recipe a try.

Well, another evening of live music is in store for me tonight. And believe me, I am not complaining. Listening to live music is just one of the best ways I know of to stay connected with good and positive things in today’s complicated world.

There is so much negative happening these days, that for me, clearing my mind by listening to music helps me cope with today’s reality and remain reasonably sane. (I will never be completely sane. Just not in my genes.) But music, along with reading books, cooking, posting recipes, spending time with friends, or just puttering around the house (I am an excellent putterer BTW) keeps me on almost an even keel. Almost!

I hope you too have pleasant ways to deal with some of the harsher realities of life today. Even if hard times don’t hurt you personally, they are still out there affecting masses of humanity. And at least for me, sometimes that’s harder to deal with because nothing I do can help the situation. I simply can’t make things OK. (But I would if I could!)

Peace and love to all.

Crust:

2 c. unbleached all-purpose flour, fluffed

½ c. brown sugar, packed

½ tsp. kosher salt

¾ c. (1½ sticks) unsalted butter, room temp., cut into small pieces

1¼ c. jam, jelly, preserves, or curd, divided

Place the flour, brown sugar, salt, and butter in the bowl of your food processor. Whirl until mixture begins to form small lumps. Sprinkle mixture evenly in a 9×13-inch pan. Pat down gently. Just enough to make an even surface. (No need to wash the food processor bowl or chopping blade at this point. Use them again for the filling.)

Bake the crust in a pre-heated 350-degree oven on the middle rack for 15-18 minutes, or until light golden brown. Remove from oven but leave the oven at 350-degrees.

Evenly spread the hot crust with 1 cup of the jam. (I use a small offset spatula for this task.)

While the crust is baking, prepare the filling.

Filling:

2 (8-oz. pkgs.) (2 cups) cream cheese, room temp.

2 lg. eggs

¾ c. granulated sugar

1 tsp. vanilla

In the same food processor bowl, whirl the cream cheese until smooth. Add the eggs, granulated sugar, and vanilla. Whirl until well combined.

Spread the filling evenly over the jam covered crust. (I use the same offset spatula again that I used to spread the jam.) (And yes, I already told you I was lazy!)

Drop small bits of the remaining quarter cup of jam over the cream cheese mixture. Then gently swirl it to make a nice pattern for the top of the bars. Hint: I find it helps to stir the jam a bit before dropping it onto the cream cheese mixture. It loosens the consistency of the jam which then makes it easier to swirl.

Bake the bars, still on the middle rack, for 28-30 minutes or until slightly puffed. Remove from oven, cool completely, and refrigerate until ready to serve.