OK, you may yell at me all you want because I know I have been away from my blog for way too long! But first I was sick with this nasty cold/flu that’s going around. Then I had JazzVox concert food to prepare, then I went on vacation, and then when I got home last Wednesday, I was hit over the head with home owner’s association minutia. (Please note. This is probably the best advice I will ever share with you. Under no circumstance should you ever accept the position of president of your home owner’s association. It’s a thankless job that can only lead to sleepless nights, hair loss, and an inordinate fondness for adult beverages.) You’ve been warned. Now – on to a very pleasant topic – bread.
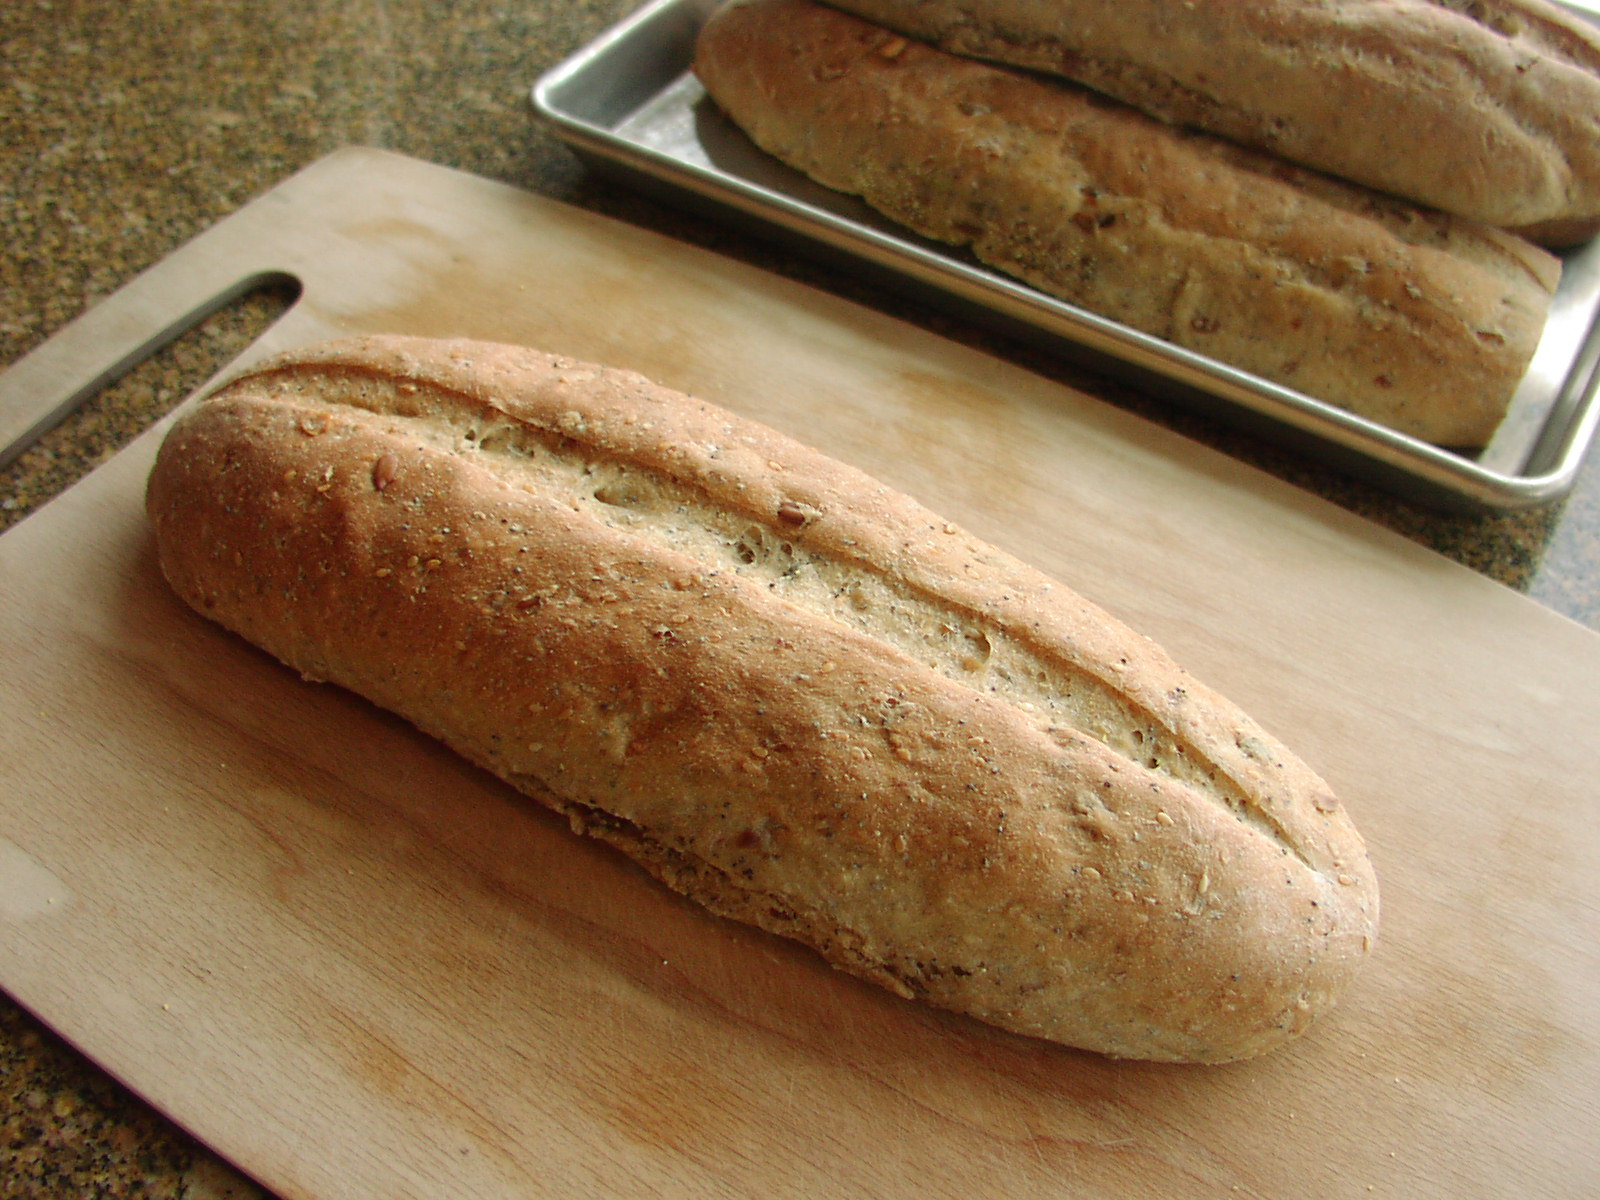
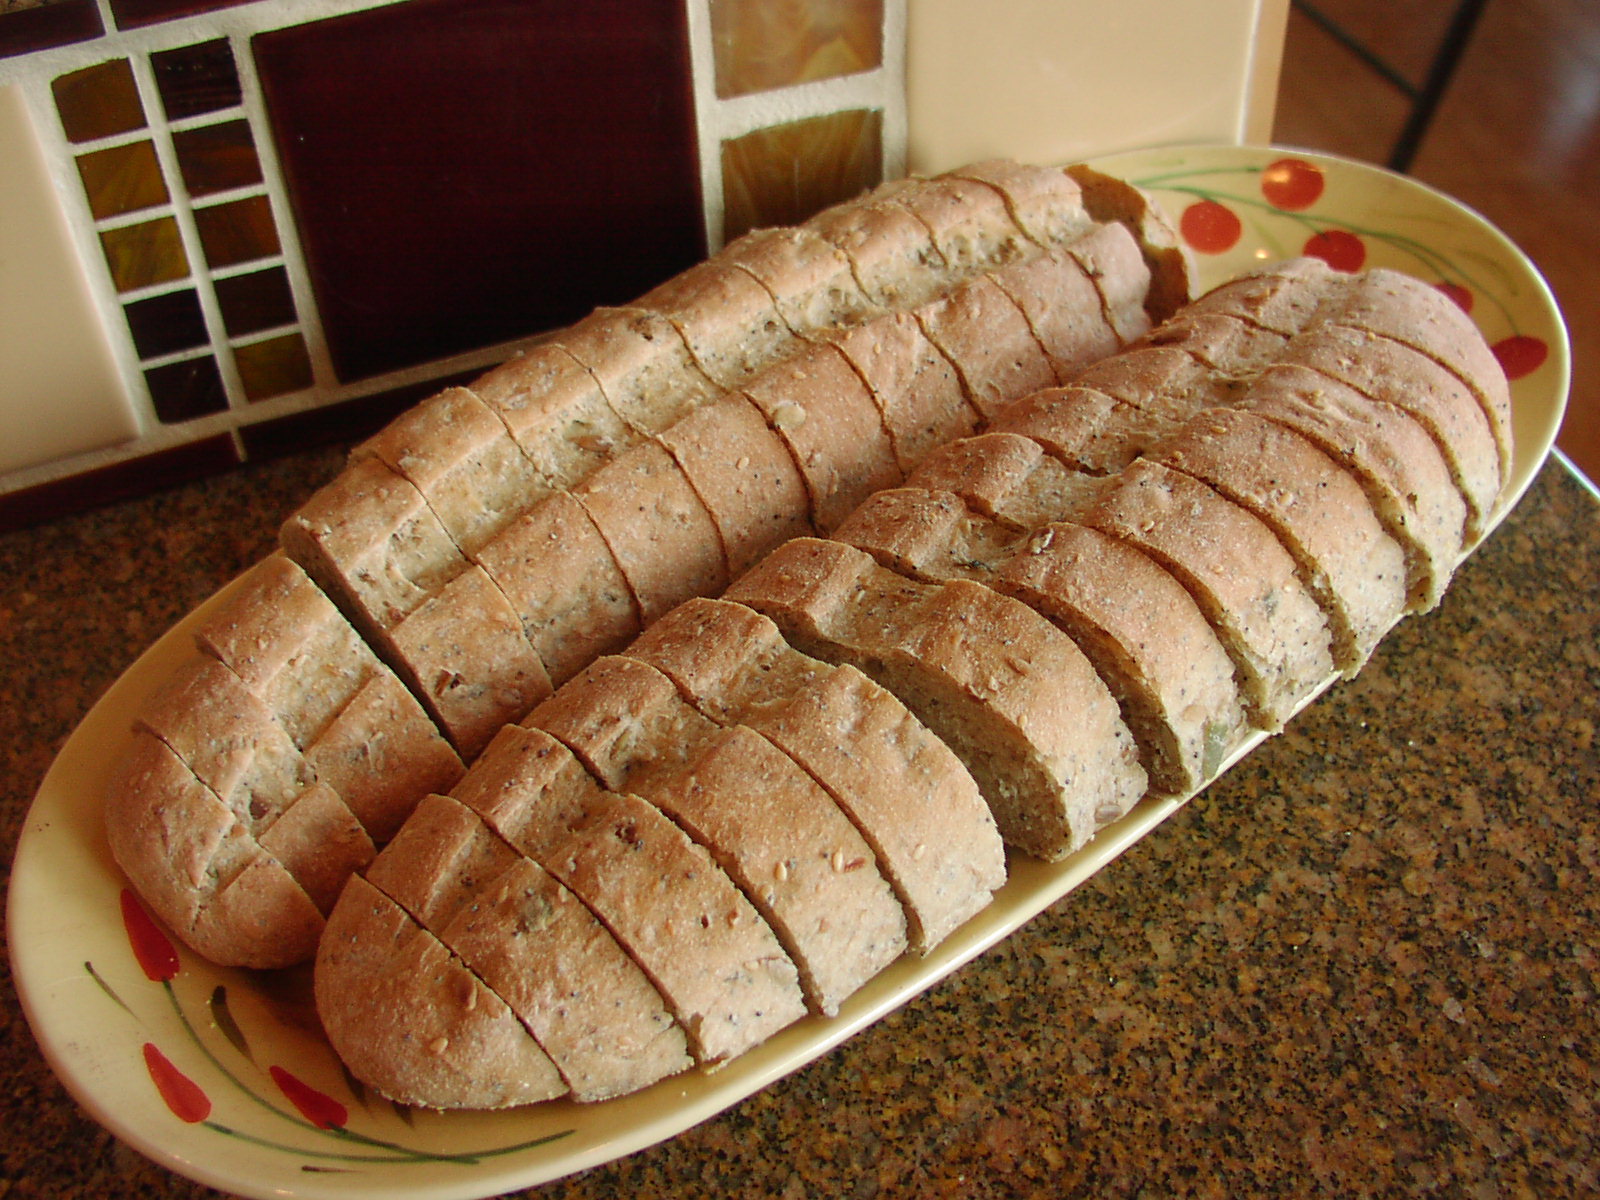
This recipe calls for 4 types of seeds. Using all of the seeds is not necessary. Any combination will work. You don’t like poppy seeds – don’t use them! You like other types of seeds like flax, by all means add them to the mix. Just whatever you do – make this amazing bread adapted from a recipe by Martha Rose Shulman. It is just wonderful. Of course, there are a couple of basic ingredients missing from this bread recipe. Yep, you’re right. No sugar and no oil. But if you are like me, that isn’t going to bother you in the least.
So next time you get an urge to bake bread, give this recipe a try. You will be so glad you did. And when you realize how much money you saved by baking your own healthy “specialty” style bread, you might even remember to thank me. Better yet, put a good word in for me with my neighbors. That old adage attributed to John Lydgate – “you can please some of the people all of the time, you can please all of the people some of the time, but you can’t please all of the people all of the time” is never more true than for decisions made by the board of a homeowner’s association. Of course Oscar Wilde had it right too. “No good deed goes unpunished.” Enjoy the bread recipe.
- 1 c. water
- 3 T. sunflower seeds
- 3 T. sesame seeds
- 2 T. pumpkin seeds
- 1 T. poppy seeds
- ¼ c. rolled oats
- scant T. active dry yeast (or one pkg.)
- 1½ c. bread flour
- 1 c. lukewarm water
- 1¼ c. whole wheat flour (if more flour is required, add additional white bread flour)
- 1½ tsp. kosher salt
- olive oil
- corn meal
In a small bowl containing the 1 cup water, set the seeds and rolled oats to soak covered with plastic wrap. Place in the refrigerator overnight.
The next day, in the bowl of your stand mixer, combine the yeast, bread flour, and the lukewarm water; mix together until well combined. Cover with plastic wrap and leave to ferment at room temperature for two hours or until doubled in volume. Remove the seeds and oats from the refrigerator, drain and set aside to come to room temperature.
After the yeast mixture has doubled in size, add the drained seed mixture, the whole-wheat flour, and the salt. Start mixing on medium speed. If the dough is too dry, add a small amount of additional water. If the dough is still sticking to the bottom of the bowl, add additional bread flour just until the bottom of the bowl is dry. Then, continue mixing the dough until it is elastic, about 5 minutes. Form the dough into a ball and pour a small amount of olive oil down the side of the bowl. Using your hands, lift the dough from the bottom of the bowl and coat with the oil. Cover the bowl with plastic wrap and set in a warm area to rise for 1 hour. Meanwhile, lightly sprinkle a baking sheet with cornmeal and set aside.
After the dough has rested for an hour, punch down and divide in half. Set halves on prepared baking sheet, cover with plastic wrap, and let rest for 15 minutes. Then, using your hands, form each half into an elongated, 12-14 inch loaf and place back on the prepared pan. (To shape the dough, I pick up each piece, holding the dough with both hands, then I squeeze the dough up and down its length until I have the desired size I need. Then I finesse it a bit once I have it back on the pan. (A little additional shaping here and there until it is roughly symmetrical.) Then cover the baguettes with a tea towel and place in a warm spot for one hour.
After 30 minutes, place a pan of water on the bottom rack of your oven. Set the other rack in the middle of the oven. Pre-heat oven to 450 degrees.
After your dough has rested for an hour, remove the tea towel, and using a very sharp knife, make an ½-inch deep cut down the length of the loaves from one end to the other.
Place pan on the middle rack of the oven and bake for a total of 30 to 35 minutes, or until the loaf is dark brown and sounds hollow when you tap the bottom. 10 minutes into the baking time, carefully remove the pan of water.
After the loaves come out of the oven, transfer them to a wire rack to cool completely for at least 45 minutes before slicing. Or prepare a day ahead and keep wrapped in a kitchen towel until needed. Slice and serve with room temperature butter. Or for the most amazing breakfast treat, slice thick pieces of bread, toast, slather with butter, and top with jam. (The best!)