I love Creole food and I love meatloaf. So I decided that a recipe for Creole meatloaf would be next on my list of “how in the heck am I going to use up more of the ground beef in my freezer?!?!”
Having decided on the flavor theme, I went about looking for Creole recipes I could adapt. And one of the first recipes to pop up on my search was a recipe from Rachael Ray. But I couldn’t stop with just looking at one recipe, so I brought up a few more and the recipe below is the result of combining several recipes and my own ideas on the subject.
Now, unless you have done a lot of Creole cooking, you might be wondering about “trinity” gravy. If you are like me, my “trinity” in cooking is a combination of onion, carrot, and celery. I start almost every stew, soup, or red sauce with this combination of base ingredients. In French cooking it’s called mirepoix, and consists of 2 parts onion, 1 part carrot, and 1 part celery. But the Creole and Cajun cuisine considers onion, celery, and green pepper to be the holy trinity of flavor. 3 parts onion, 2 parts celery, and 1 part green bell pepper. Cajun/Creole dishes such as étouffée, gumbo, and jambalaya almost always start with this base. And since I love all three of these dishes, I decided maybe a trinity gravy was right up my alley too.
I am happy to report that both the meatloaf and the gravy are a wonderful combination of flavors, very simple to prepare, and economical to build. In fact, I would classify this dish as perfect for company. It does take time to prepare, but all can be made ahead of time, and then reheated just before serving. And although the ingredients aren’t expensive, the presentation looks like a million dollars.
Now I’ve heard, that half the enjoyment one gets from food is in the presentation. Frankly, I think that’s a load of rutabaga skins! I’ve tasted many a dish that looked terrific, but the flavor – less than satisfactory. But this delicious dish is not just beautiful on the outside. Remember – “external attractiveness has no relation to goodness or essential quality.” I know this maxim first stated by Sir Thomas Overbury in his poem “A Wife”, was meant to imply that beauty (in a wife) should not be just skin deep. But, as far as I’m concerned, his reflection speaks equally to culinary presentations! And if this dish doesn’t yell “good wife” I don’t know what dish does!! (And yes, I can make any quote or maxim have something to do with food. It’s a DNA abnormality handed down through my father’s side of the family!)
For a small family or a senior couple like Mr. C and me, this wonderful meatloaf and gravy is a three meal delight. First night – eat until you can’t walk. Second night, eat until you remember how bad you felt after dinner the night before! Third day, argue over who’s going to get the last couple of slices of meatloaf for lunch! Enjoy, and no fighting kids!
Meatloaf:
- 1 T. extra virgin olive oil, plus more for smearing on meat loaves before baking
- 1 lg. onion, finely chopped, divided
- 5 garlic cloves, finely minced, divided
- 2 tsp. paprika
- 2 T. fresh thyme leaves
- 2 T. Creole Seasoning, divided (to make your own, see two very good recipes below)
- 1 tsp. kosher salt, divided
- freshly ground black pepper
- 2 T. grainy Dijon mustard
- ½ c. bread crumbs
- 1 egg
- ¼ c. milk
- 1 lb. ground beef
- 1 lb. ground pork
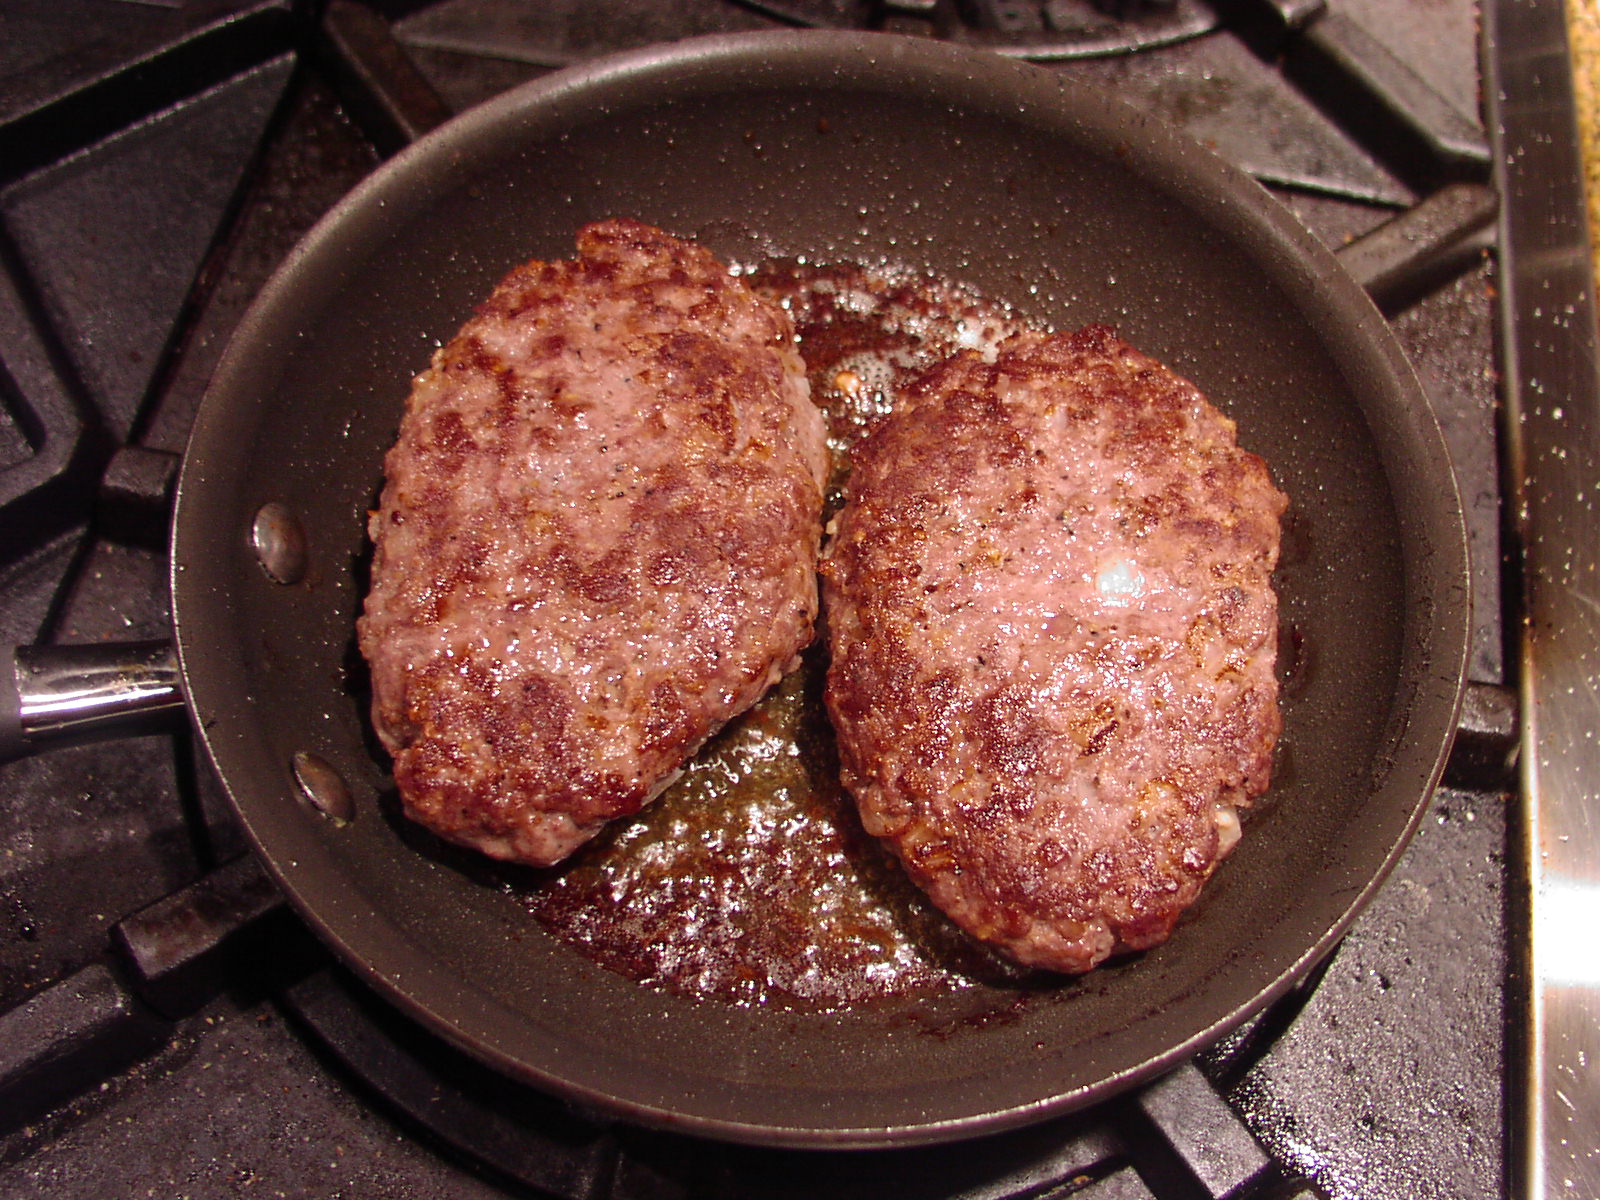
Heat the olive oil in a medium skillet over medium heat. Add 1/4th of the onion to the skillet, and cook to soften, 5-6 minutes. (The rest of the onion is used in the gravy.) Add half of the minced garlic and cook for one minute. (The rest of the garlic goes in the gravy.) Transfer the mixture to a bowl and cool. To the cooled onion mixture add the paprika, thyme, 1 tablespoon of the Creole seasoning (the rest of the Creole seasoning will be used in the gravy), ½ teaspoon of the salt (the rest in the gravy), black pepper, mustard, breadcrumbs, egg, and milk. Mix to combine. Add the ground beef and the ground pork, stirring gently just until well combined. (I use my hands for this part.) Form into 2 loaves, each about 10 inches long and 4 inches wide.
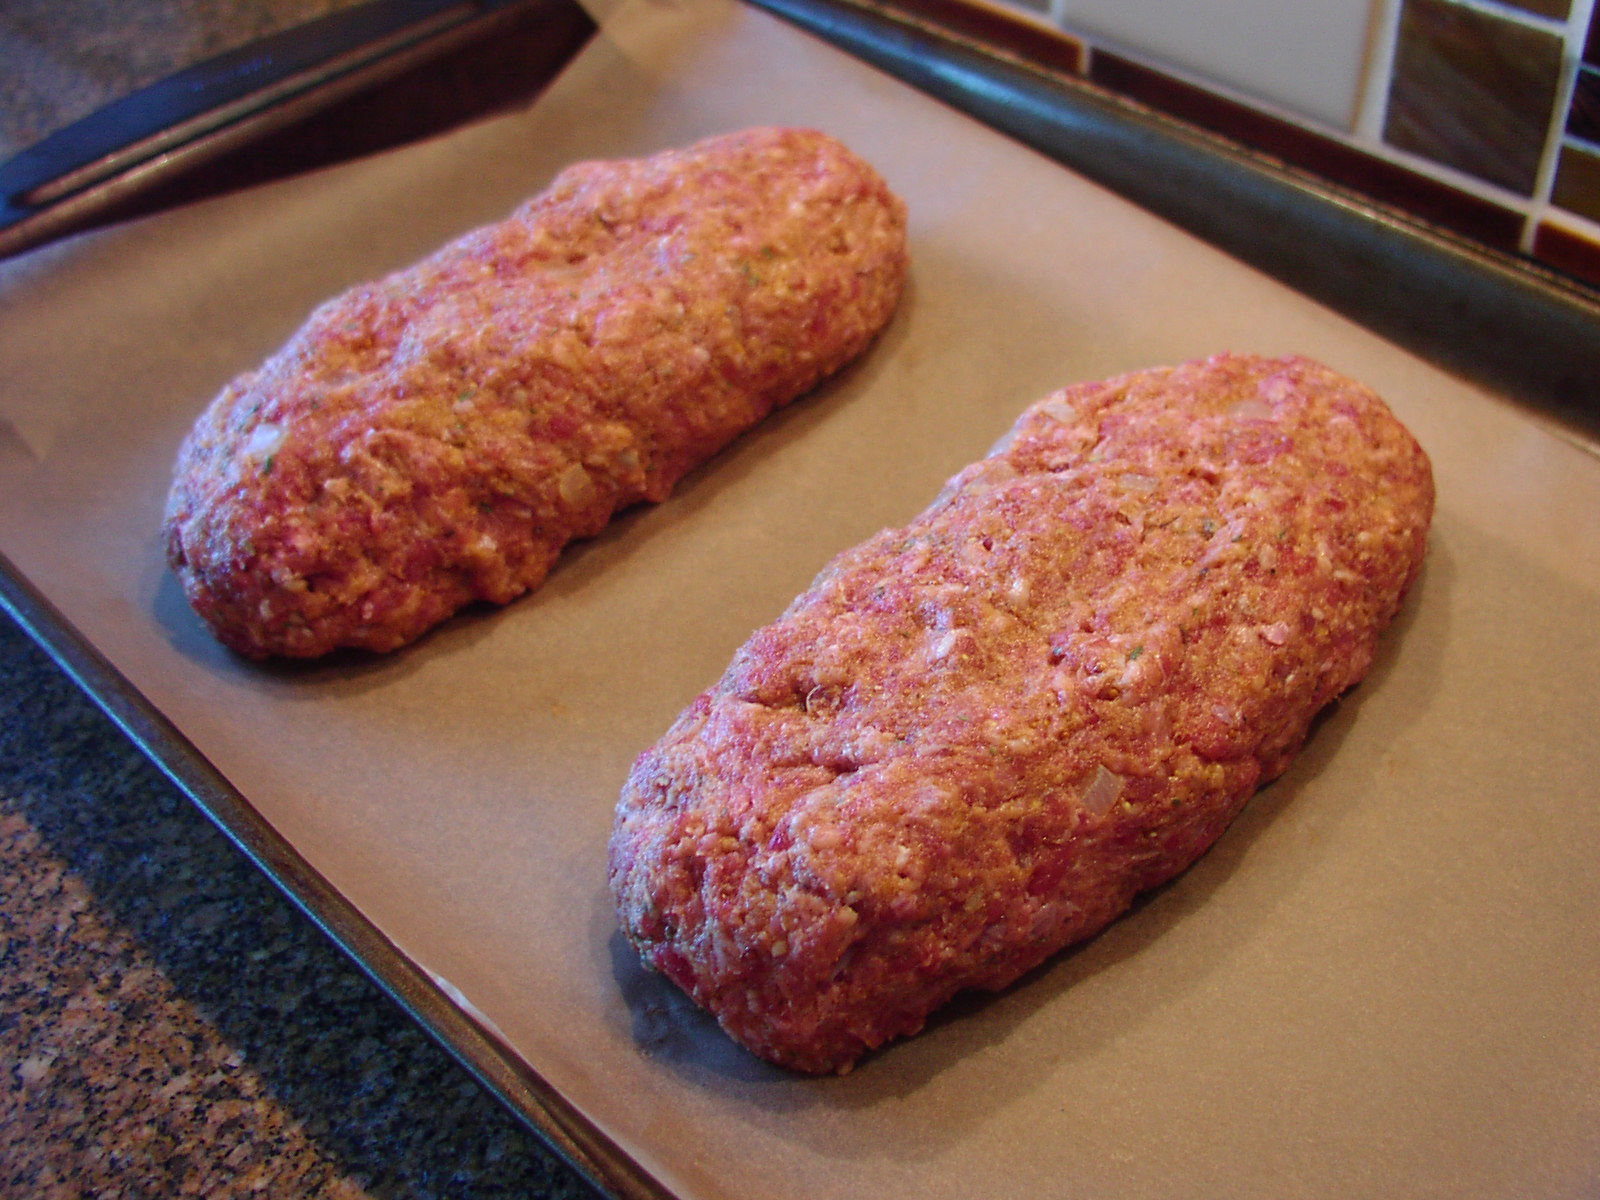
Place on a parchment-lined rimmed baking sheet. Smear the entire surface lightly with olive oil. Bake in a pre-heated 375 degree oven for 30-35 minutes or until the internal temperature reaches 160 degrees.
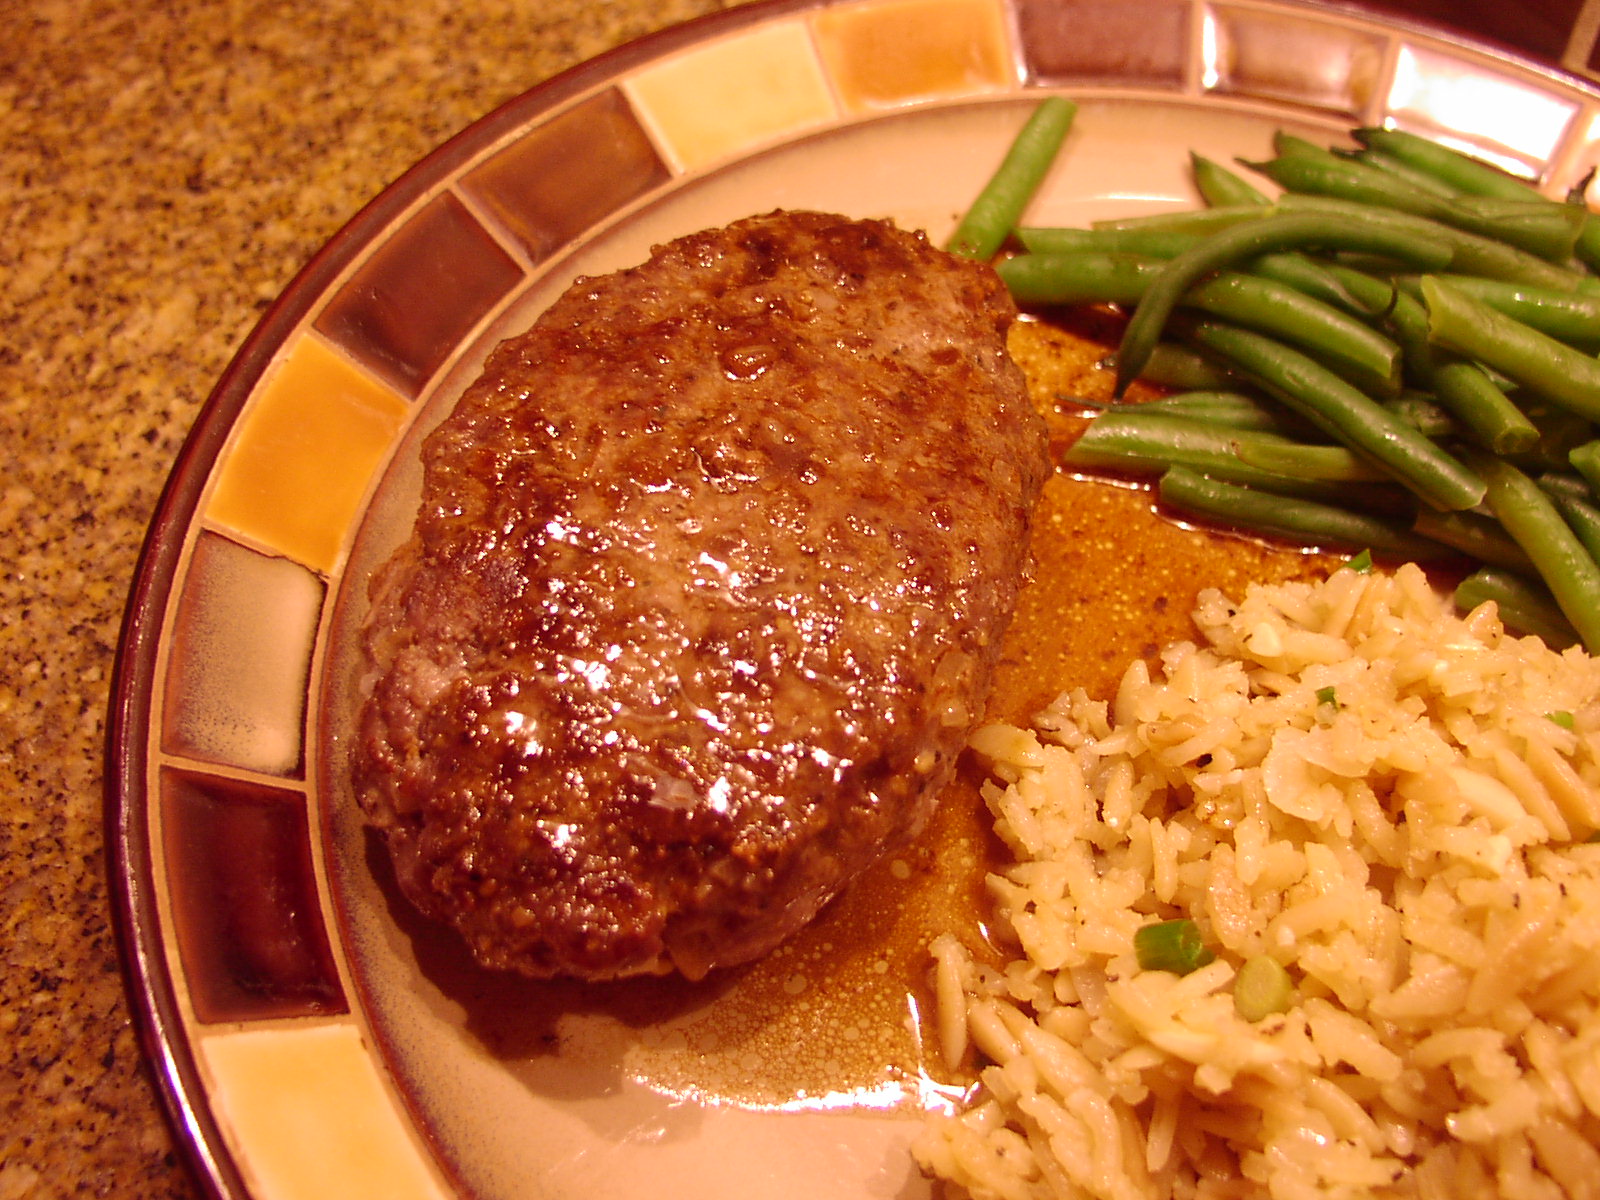
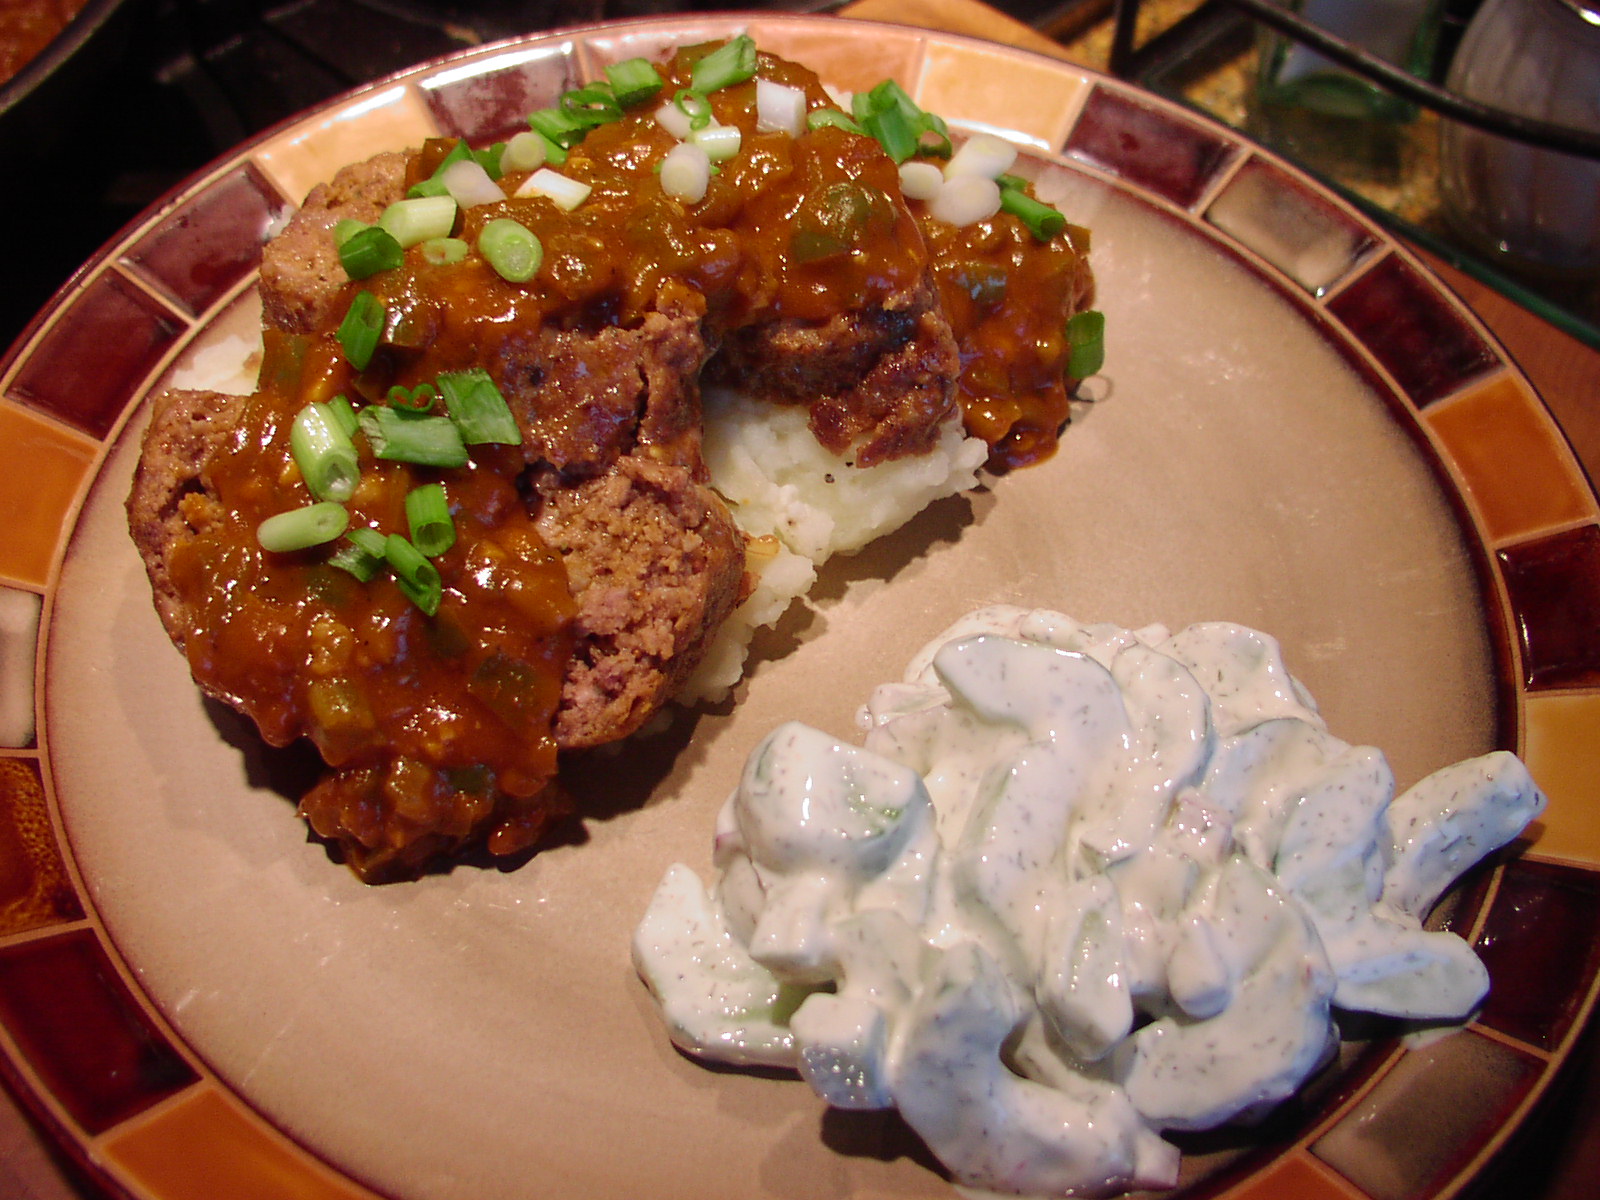
To serve: Slice the meat loaves. Arrange the slices over Buttermilk Mashed Potatoes and pour the Trinity Gravy over both. Garnish with sliced scallions and serve.
Trinity Gravy:
- 2 T. butter
- 2 celery stalks, finely chopped
- 1 green bell pepper, seeded and finely chopped
- 1/8 tsp. white pepper
- 2 T. tomato paste
- small bay leaf
- 2 T. all-purpose flour
- 1½ c. beef stock (I use beef base and water)
- 1 tsp. hot sauce or more to taste (I use Frank’s Red Hot Sauce)
- 1 T. Worcestershire sauce
- mashed sweet or russet potatoes (see recipe below)
- 2-3 scallions, sliced on the bias, for garnish
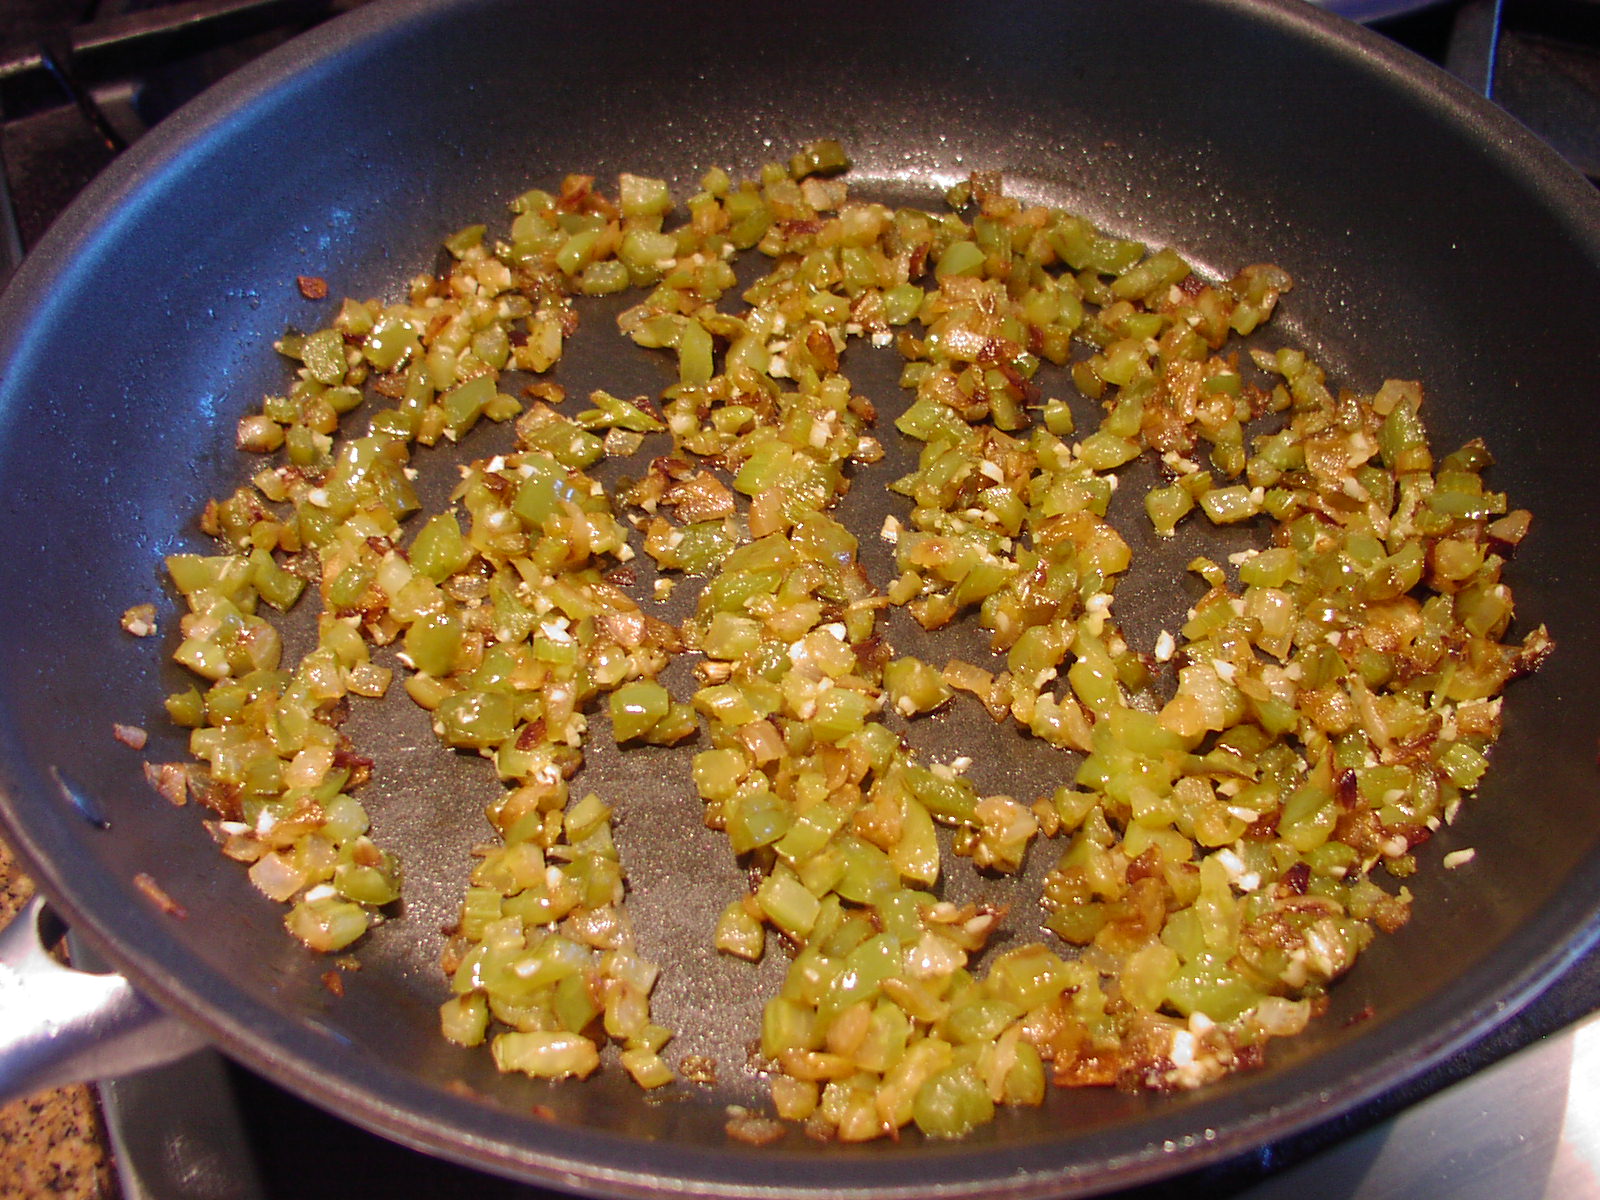
Meanwhile, in the same skillet you used for the meatloaf mixture, melt the butter and add the remaining onion. Cook for about 7 minutes, then add the celery, bell pepper, remaining ½ teaspoon salt, and white pepper. Cook the mixture long enough to soften, about 30 minutes. (I usually cover the pan after about 10 minutes and let the veggies gently steam/fry.) The veggies should be kinda brown and kinda mushy. That’s what you want. None of this crisp tender for this recipe!
Add the remaining garlic and cook for one minute. Add the tomato paste and bay leaf; stir for 1 minute. Sprinkle the flour and remaining Creole seasoning over the mixture and stir for another minute. Whisk in the stock, hot sauce, and Worcestershire sauce; cook to thicken over medium-low heat for a couple of minutes. Adjust the seasoning. Turn the heat to the lowest setting to keep the gravy warm. Stir periodically.
If you are not going to be serving in the next little while, remove from heat and re-warm when ready. Remove bay leaf before serving.
Buttermilk Mashed Potatoes:
- 2 lbs. sweet potatoes or russet potatoes, peeled and cut into chunks
- kosher salt
- freshly ground black pepper
- ¾ to 1 c. buttermilk
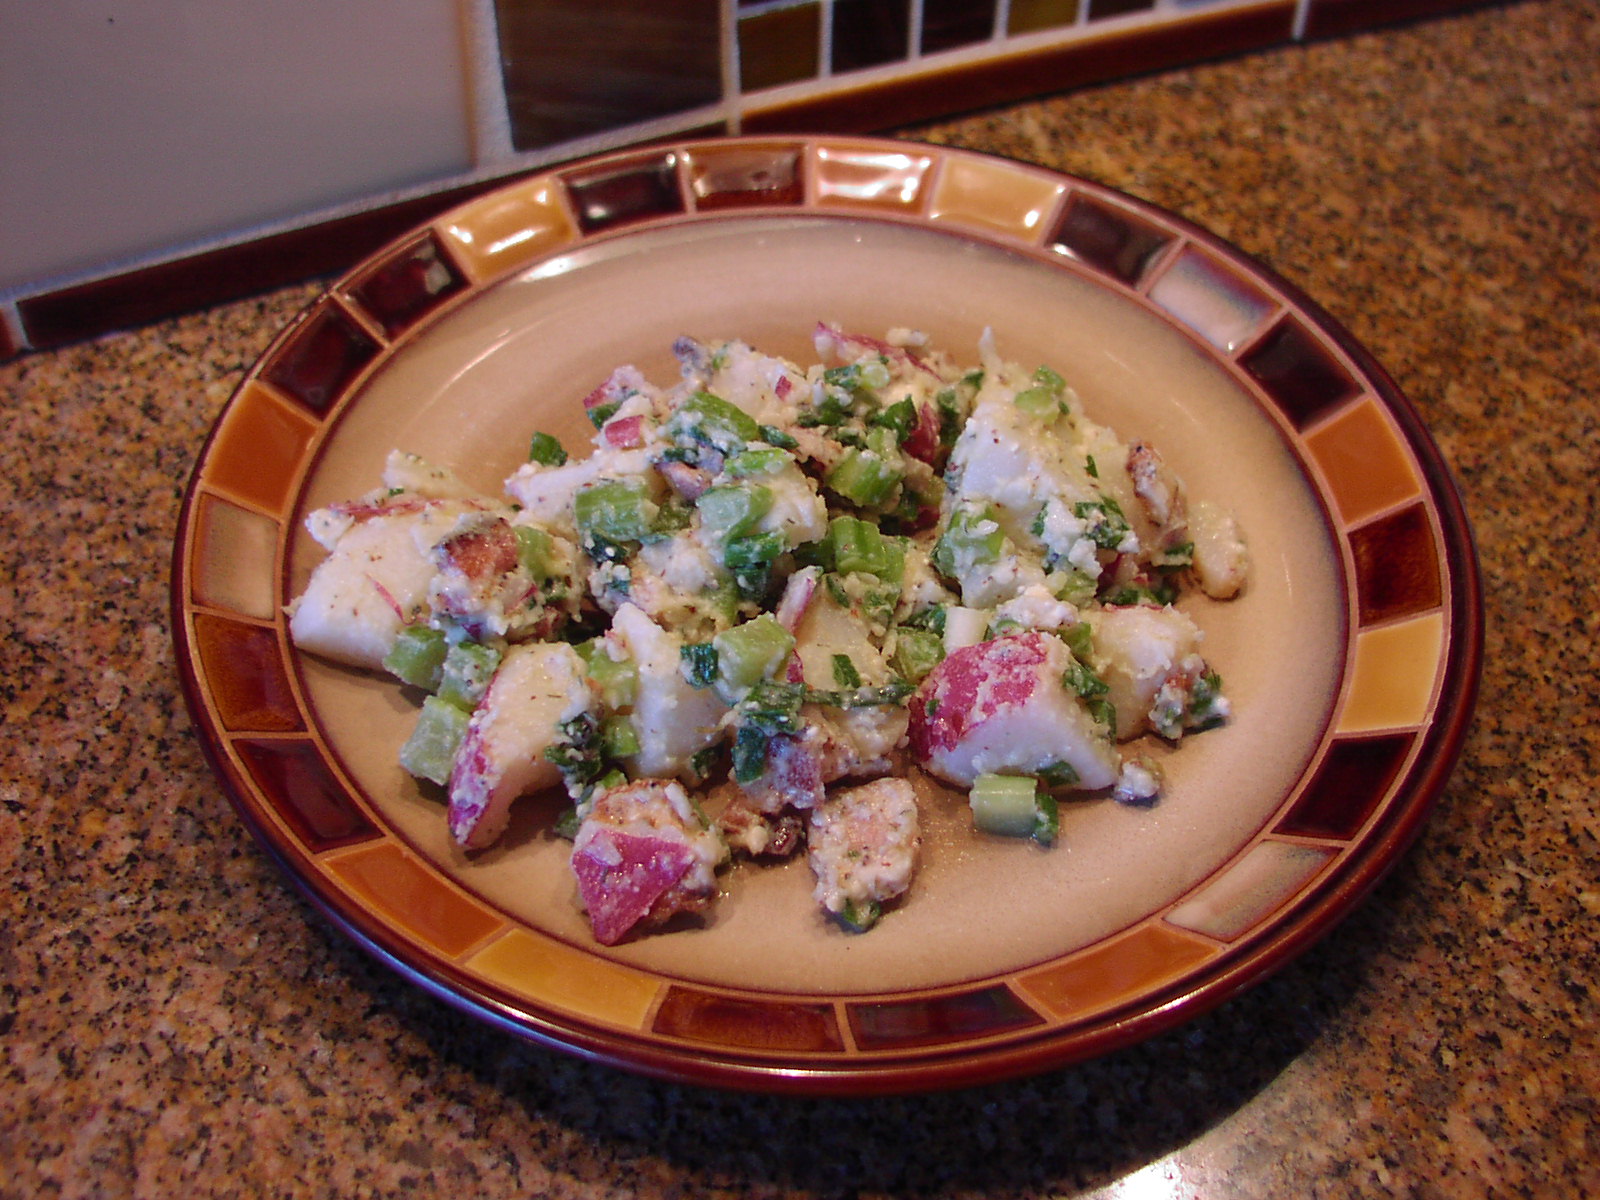
Cover the potatoes with water in a medium pot and bring to a boil, then season with salt, reduce heat, and cook for 12-15 minutes until tender. When the potatoes are done, drain and return to the hot pot and mash with black pepper and buttermilk to desired consistency. Add salt if necessary.
EMERIL’S ESSENCE CREOLE SEASONING
- 2½ T. paprika
- 2 T. salt
- 2 T. garlic powder or granulated garlic
- 1 T. freshly ground black pepper
- 1 T. onion powder
- 1 T. cayenne
- 1 T. dried oregano
- 1 T. dried thyme
Combine all the ingredients and store in an airtight container.
CREOLE SEASONING MIX (my recipe)
- 1½ tsp. onion powder
- 1½ tsp. granulated garlic
- 1 tsp. kosher salt
- 1 tsp. white pepper
- 1 tsp. freshly ground black pepper
- 1 tsp. paprika
- ½ tsp. dry mustard
- ½ tsp. dried thyme
- ½-1½ tsp. cayenne (depends on how much heat you like or can tolerate)
- ½ tsp. gumbo file
Combine all the ingredients and store in an airtight container.