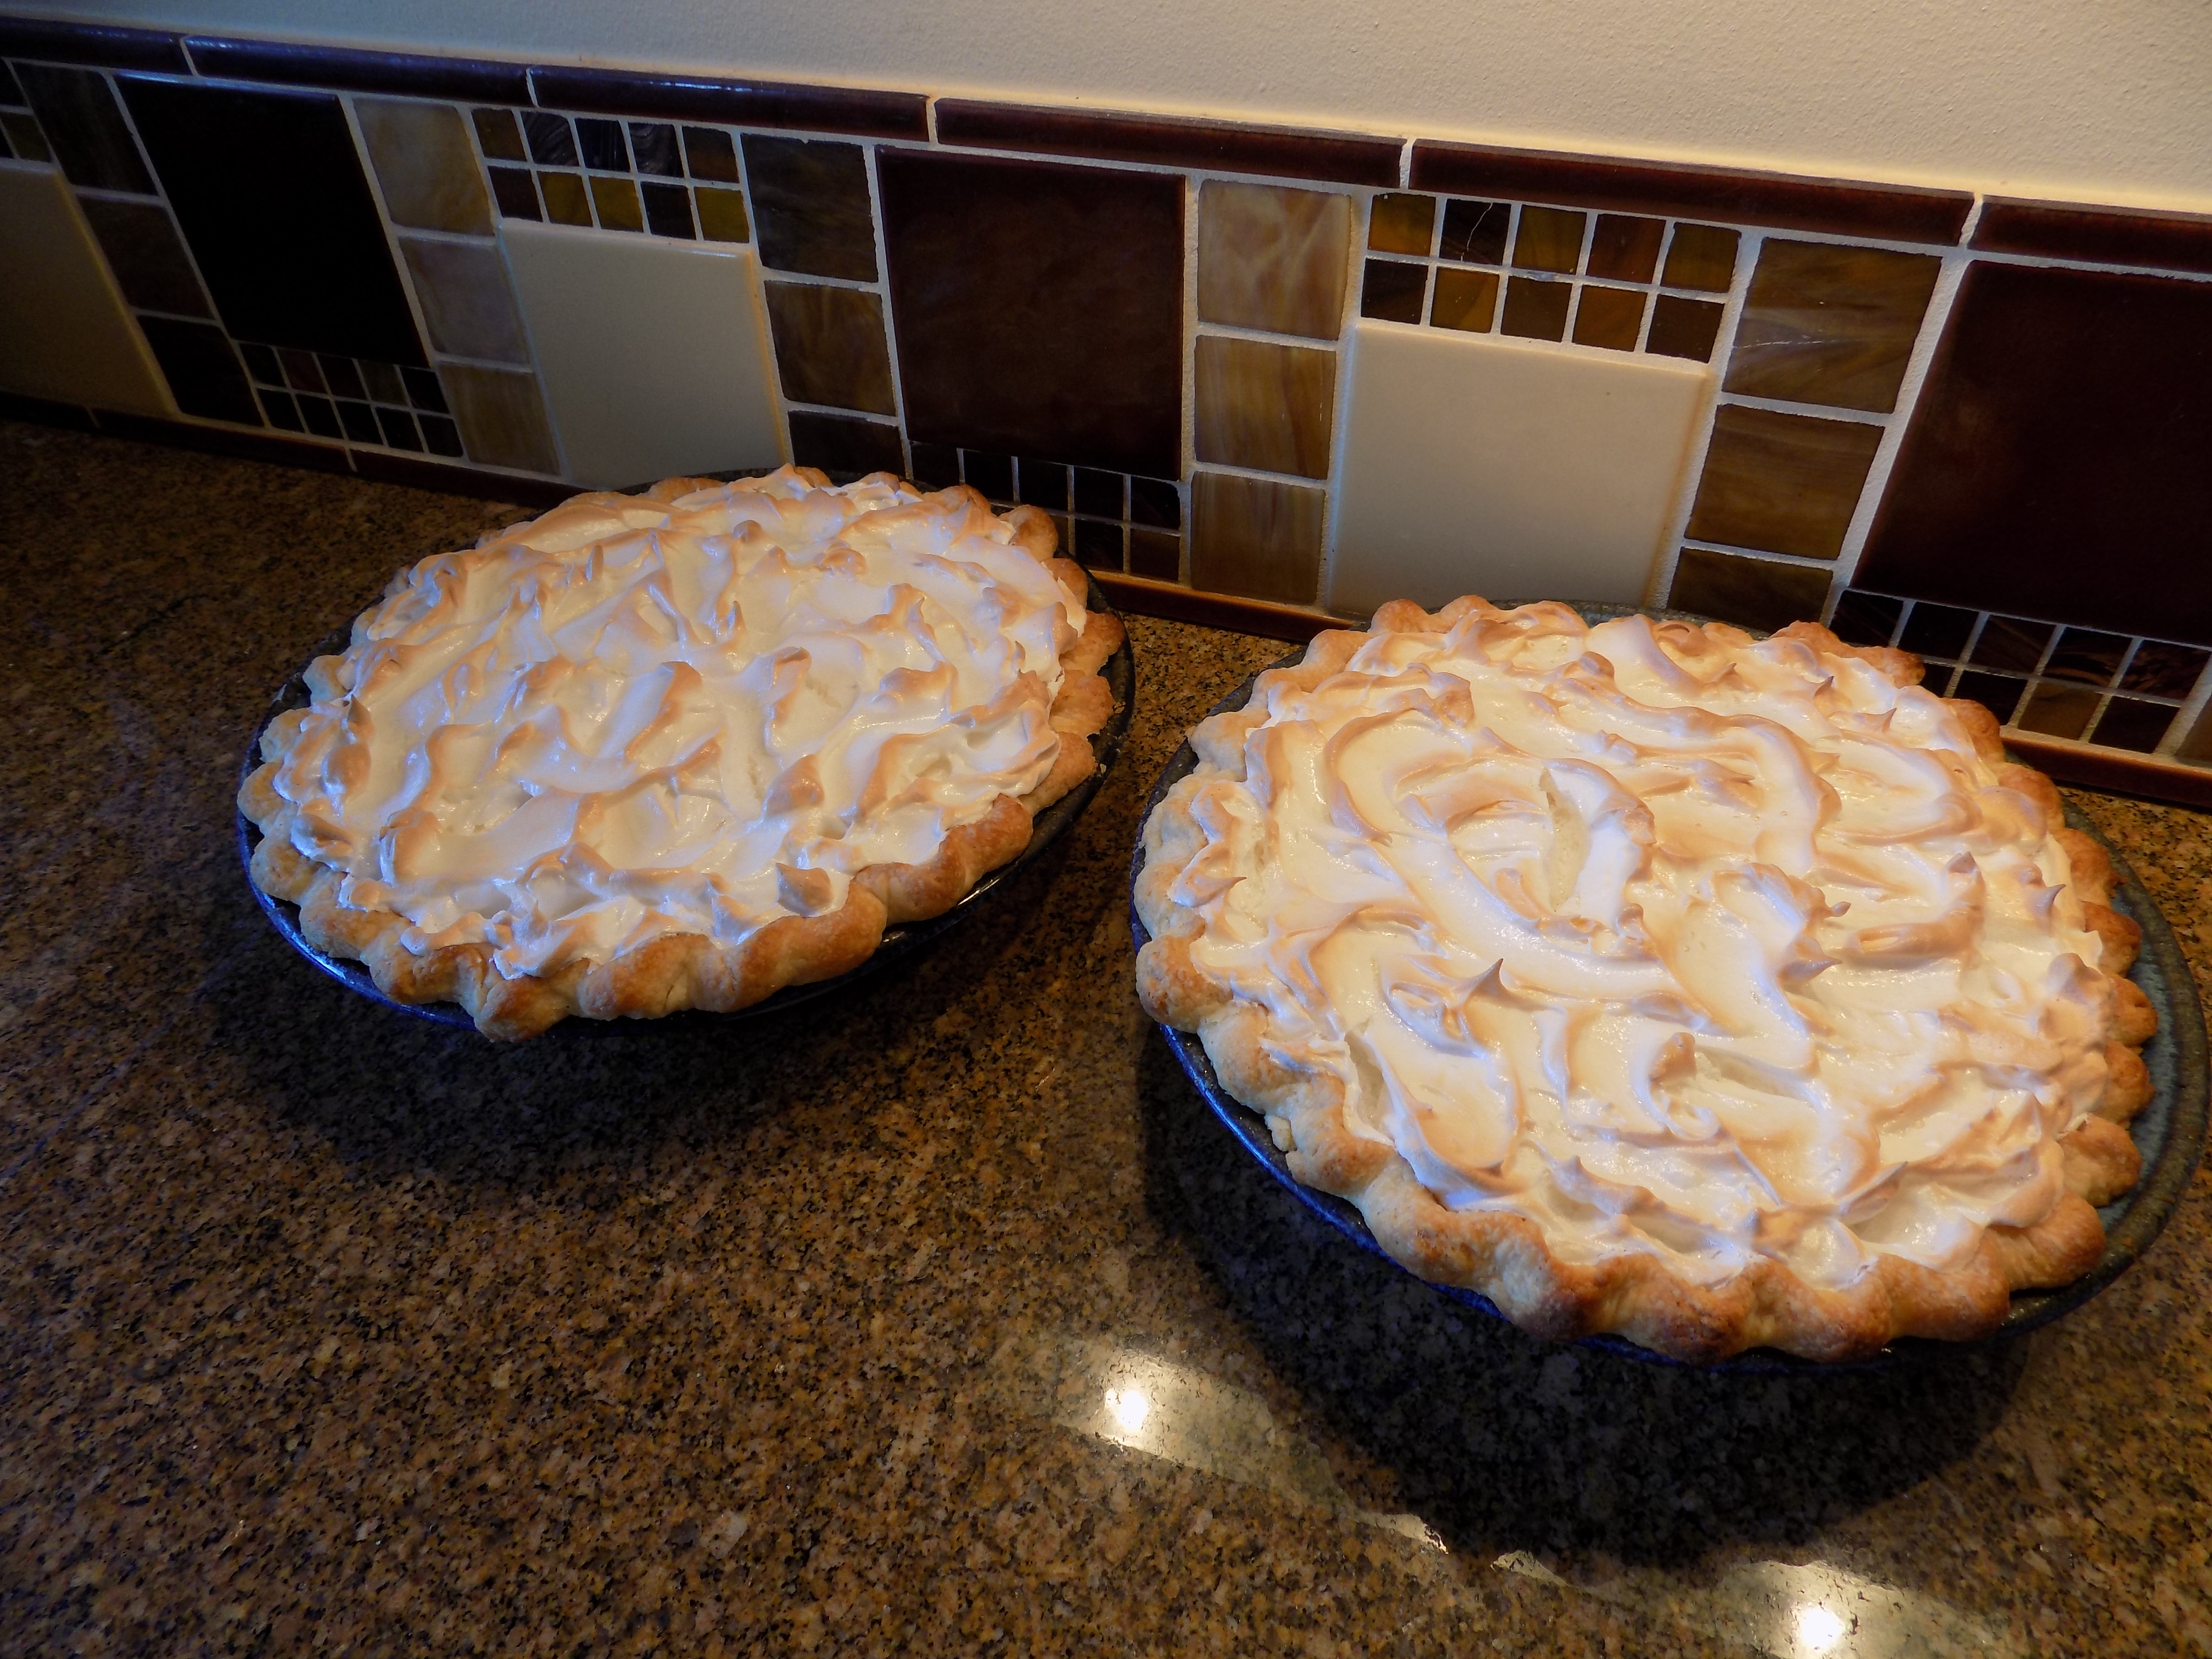
So, this is a plain, old fashioned lemon meringue pie recipe. No fancy frills. No new-age ingredients. No reduction in calories. No new nothin! Just your grandma’s lemon meringue pie.
So Patti, you might query, why bother posting a standard, easily obtainable recipe? Nice of you to ask. I am posting this recipe because you simply can’t improve on perfection. And Betty Crocker has had the filling and meringue part of Lemon Meringue Pie “right” for decades. So like I said, why mess with perfection?
Now as far as the crust part of this recipe, to the best of my knowledge Betty never prepared her pie crust in this manner. But I am here to tell you, this recipe always works, is light and tender, and very easy to make. It has never failed me. Never!
I had been dreaming about lemon pie for a long time. So when I was deciding what kind of dessert I wanted for my birthday dinner, there was simply no other choice. It had to be this nostalgic slice of sunshine that was such a special part of my childhood. When grandma made this pie, it was like the angels were singing right through every bite.
Now one thing you should know about pie if you are new to baking. It usually takes a couple of hours to build a pie or two, but only a few short minutes for your family and friends to devour your entire creation. So for the first time baker who has invested a lot of time in the preparation, it can cause considerable consternation to witness your pie or pies being devoured in less time than it takes to send a text message! (At least for me to send a text message!)
But for those of you like me, who have been baking pies for several decades, it’s just a matter of fact development that happens as often as you bake a pie. (Oh who am I kidding? It’s still hard to watch my piece de resistance evaporate before my very eyes only to be left with a few crumbs and an empty pie plate! All that work. Gone in mere minutes. Heavy sigh….) But if you are going to be a pie baker, it’s just the consequence of preparing a rare treat. And the first or next one you should prepare is this Lemon Meringue Pie.
So charm your family or friends with your culinary prowess, bake them a pie. Other pie recipes on this site that are delicious include Bourbon Pecan Pie with Bourbon Whipped Cream, French Apple Pie, and Chicken Pot Pie. OK, Chicken Pot Pie doesn’t quite fit in the dessert category, but it’s still darned good. Just don’t serve it for dessert. Just sayin’!
Pie Crust:
- ¼ c. very cold water
- 2 c. unbleached all-purpose flour
- 1 tsp. salt
- heaping 2/3 c. Crisco
Step 1 – Pour cold water into a small bowl.
Step 2 – Measure flour and salt into a mixing bowl.
Step 3 – Take 1/3 cup of the flour back out of the mixing bowl and stir it into the water. Make a paste. Set aside.
Step 4 – Add the Crisco (heaping 2/3 cup) to the flour and salt mixture. Mix together. (I use my KitchenAid mixer.)
Step 5 – Add the water/flour paste to the flour/shortening bowl and mix just until blended. Do not over-mix. Roll out dough and place in pie plate. Trim and flute the edges. (This recipe makes enough dough for a double crust pie if using a regular sized pie plate, or one large bottom crust with a little left over for a tart like the one described below.)
Prick the pie crust all over with a table fork. Bake in a pre-heated 425 degree oven until light golden brown, 8-10 minutes. Remove from oven and cool before pouring in the filling.
Helpful hint: Use a floured pastry cloth to roll out your pie crust. It really makes a difference. You can find pastry cloths in almost any kitchen wares shop. Well worth the $10 or so.
Lemon Filling:
- 1½ c. + 6 T. sugar, divided
- 1/3 c. cornstarch
- 1/8 tsp. kosher salt
- 1½ c. water
- 3 extra lg. egg yolks, slightly beaten (save the egg whites in the bowl of your mixer – set aside)
- 3 T. unsalted butter
- 1 T. finely grated lemon rind
- ¼ c. fresh lemon juice
Whisk the 1½ cups sugar and cornstarch together in a heavy, medium sized saucepan. Gradually stir in the water. Cook over medium heat, stirring constantly, until mixture thickens and boils. Boil one minute. Very slowly whisk half of the hot mixture into the slightly beaten egg yolks. Then pour the egg yolk mixture back into the saucepan and bring to a boil. Boil for one minute longer, stirring constantly. Remove from heat and continue stirring until smooth. Stir in butter, lemon rind, and lemon juice. Pour into baked pie crust and cover with meringue.
Meringue:
- reserved egg whites
- ¼ tsp. cream of tartar
- ½ tsp. vanilla
Beat egg whites and cream of tartar until stiff peaks form. Gradually add the remaining 6 tablespoons of sugar until the sugar is dissolved. Do not under-beat. (The secret to good meringue is to beat the heck out of the sugar.) Add the vanilla and pile the meringue onto warm pie filling, being careful to seal the meringue onto the edge of the crust to prevent shrinking or weeping. (Can’t have weeping meringue. We want our meringue to be happy, happy, happy!) Swirl or pull up points for decorative top.
Bake in a pre-heated 400 degree oven for 8-10 minutes or until the meringue is a light, golden brown. Remove from oven and cool in an area with no drafts. Eat the pie slowly as to savor every delicious morsel.
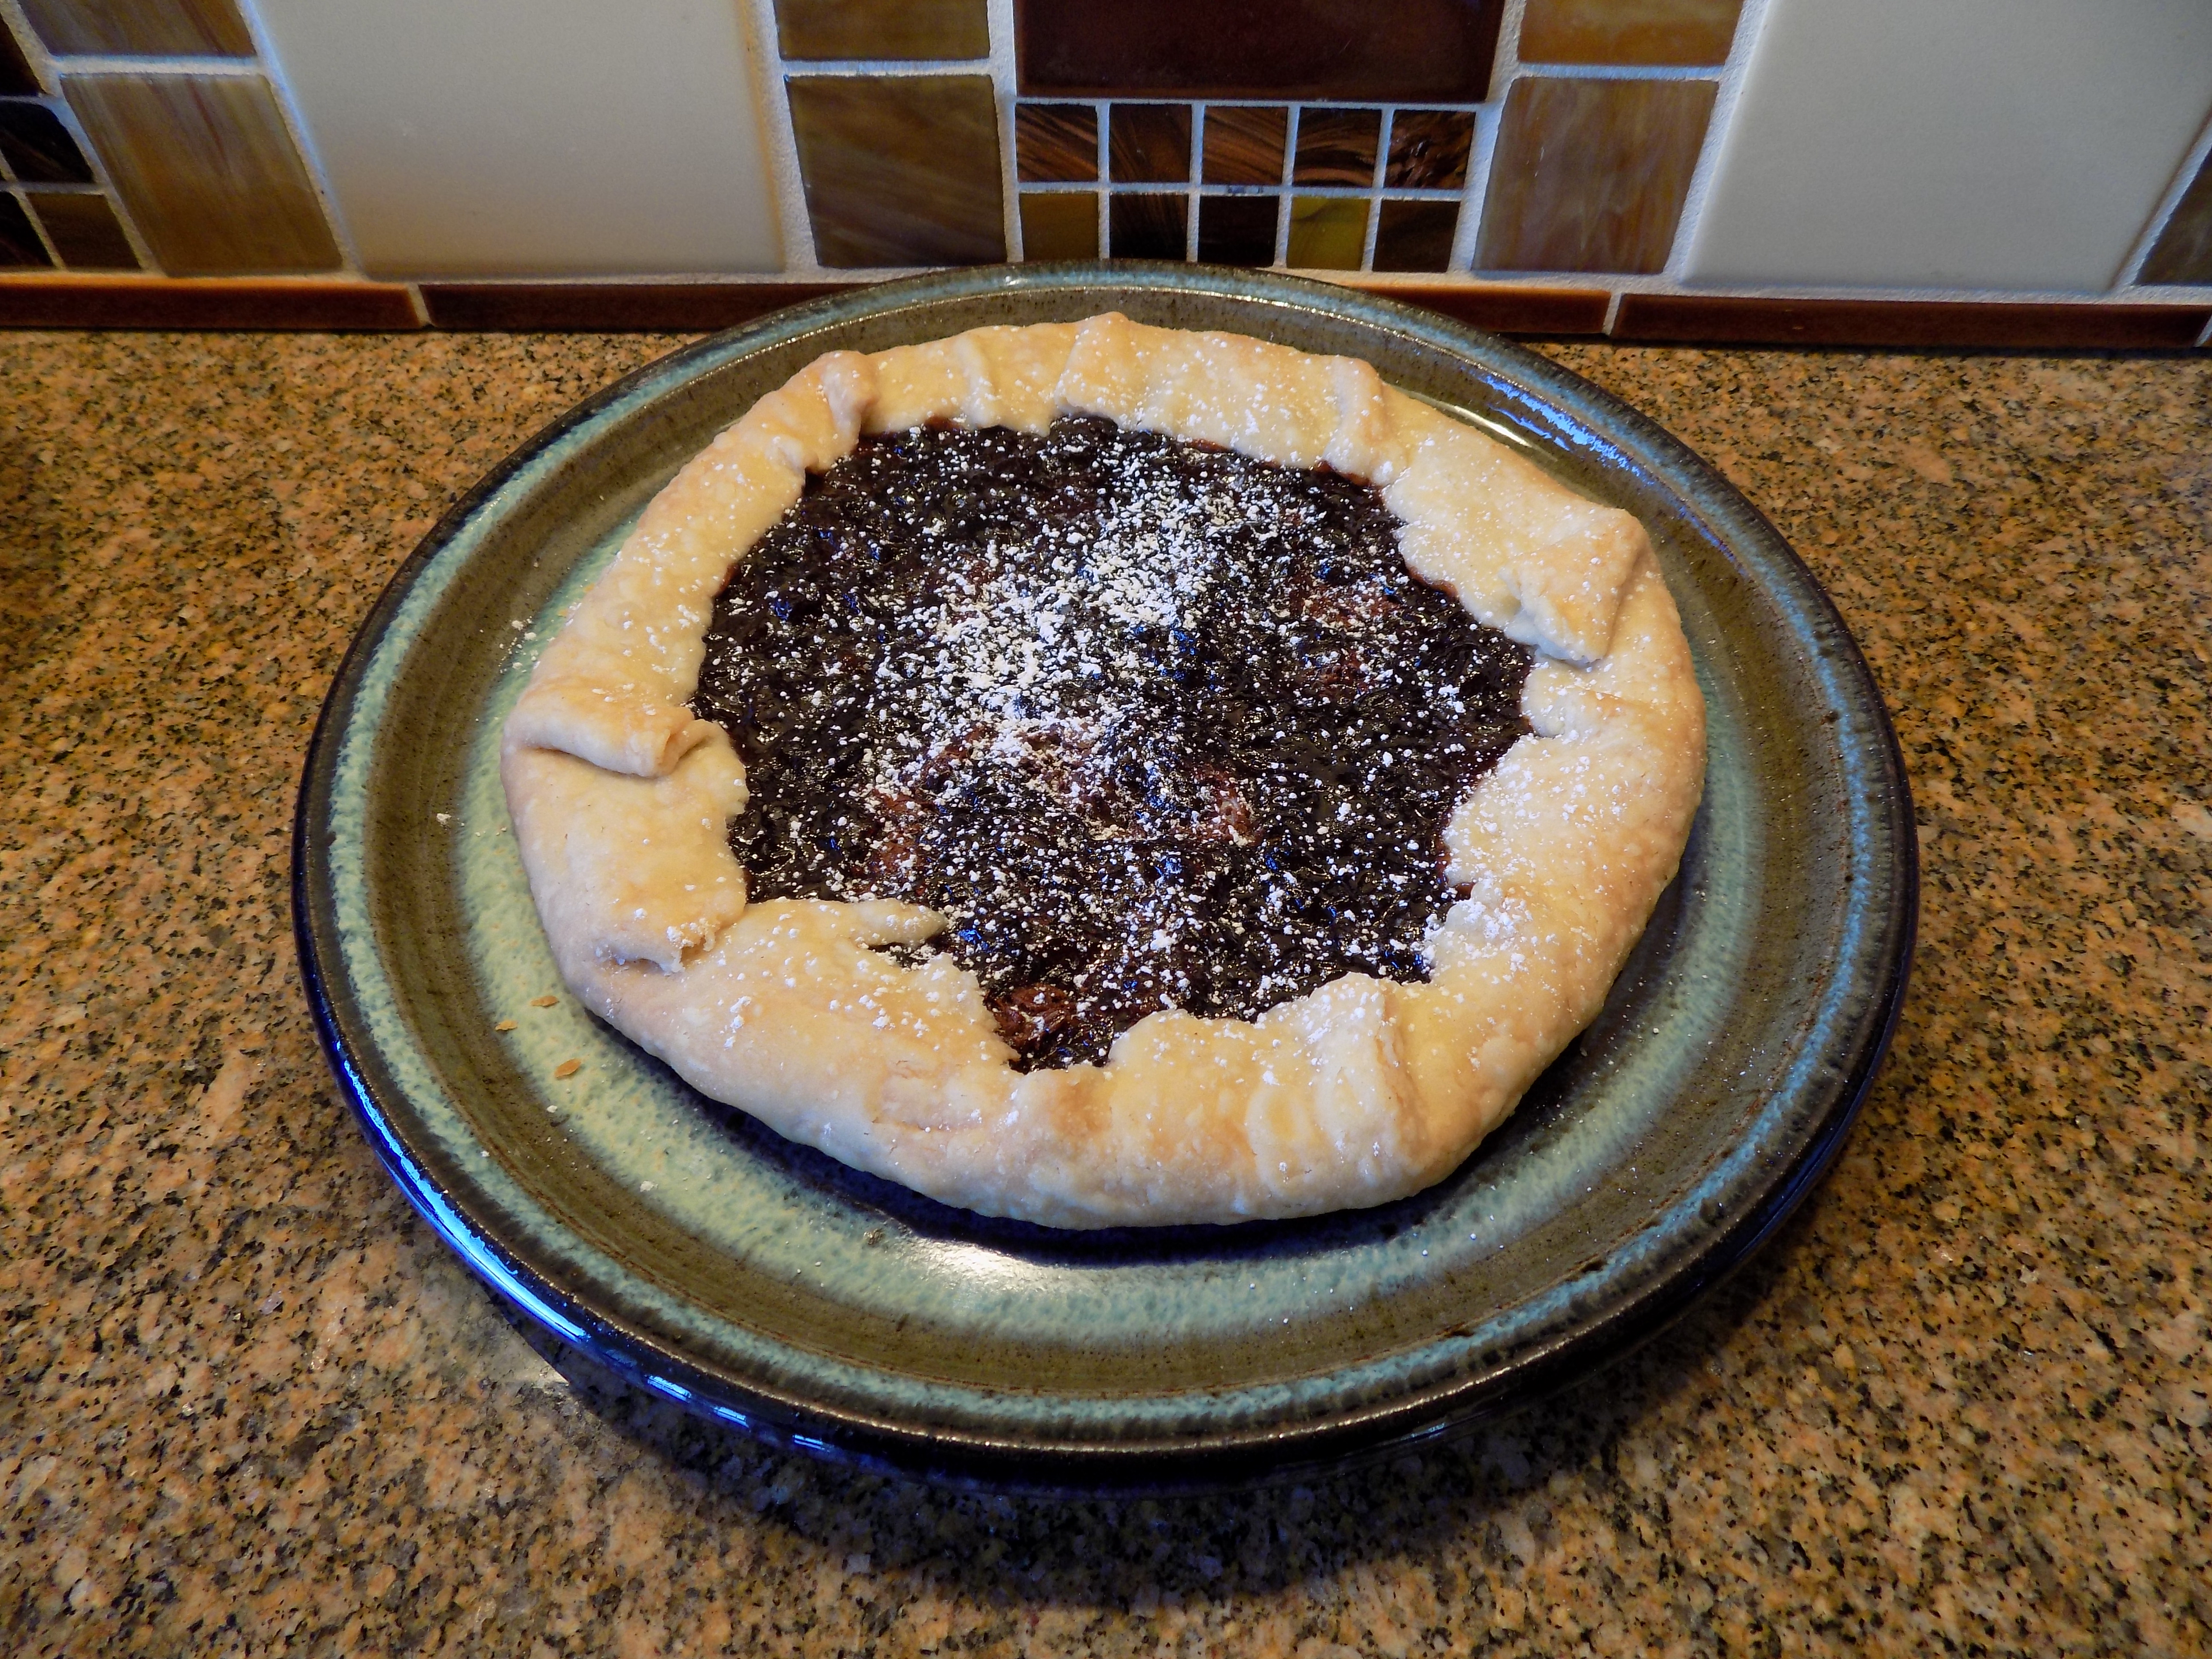
SOUR CHERRY AND CHOCOLATE TART
- pie crust
- Nutella
- sour cherry fruit spread or spread of choice
- powdered sugar
Roll your pie crust out to desired thickness. Place on baking sheet. Spread Nutella fairly thickly to within 1½ inches of edge. Spread a thin layer of fruit spread over the Nutella. Fold the edges over the filling.
Bake in a pre-heated 350 degree oven until the crust is light brown, about 30 minutes. Do not overbake. Remove from oven, cool, and lightly sprinkle with powdered sugar before serving.