Yes, I know. Berry season is just about over. So why am I publishing this recipe now rather than 2 months ago? Well the answer is simple. I didn’t have time to work on this recipe until now. (I have a life you know!) Besides, I mostly use frozen berries when I bake with berries anyway. So using fresh berries is not the least bit necessary. (I know I didn’t really need to explain myself on this issue, but sometimes I just like to set the record straight right up front.)
So – this is my spin on an averiecooks.com recipe. And why “pie” in the form of a bar cookie you might ask? Well, first of all – I love pie. But pie is a lot of work. And making enough traditional pies to serve a crowd would be a ridiculous use of my dwindling energy level. (Not that my guests aren’t worth the effort. I’m just not the energizer bunny I used to be.)
So last evening when we hosted a potluck dinner for our friends and neighbors who are on the board and committees of our homeowners association, our guests got their blueberry pie in the form of a blueberry pie bar. And I’m happy to report, no one complained about it either. (18 good people, each and every one!)
Now, if you have already glanced at the recipe below, you might be a little put off that there are 4 steps to compiling this delicious concoction. But in my defense, each step is very easy and takes no time at all. You don’t even need a mixer, which in my case means I don’t have to take my stand mixer off a shelf in the pantry and carry it to one of the counters in my kitchen. So anytime I can leave my mixer firmly planted to a pantry shelf, I am ever so delighted.
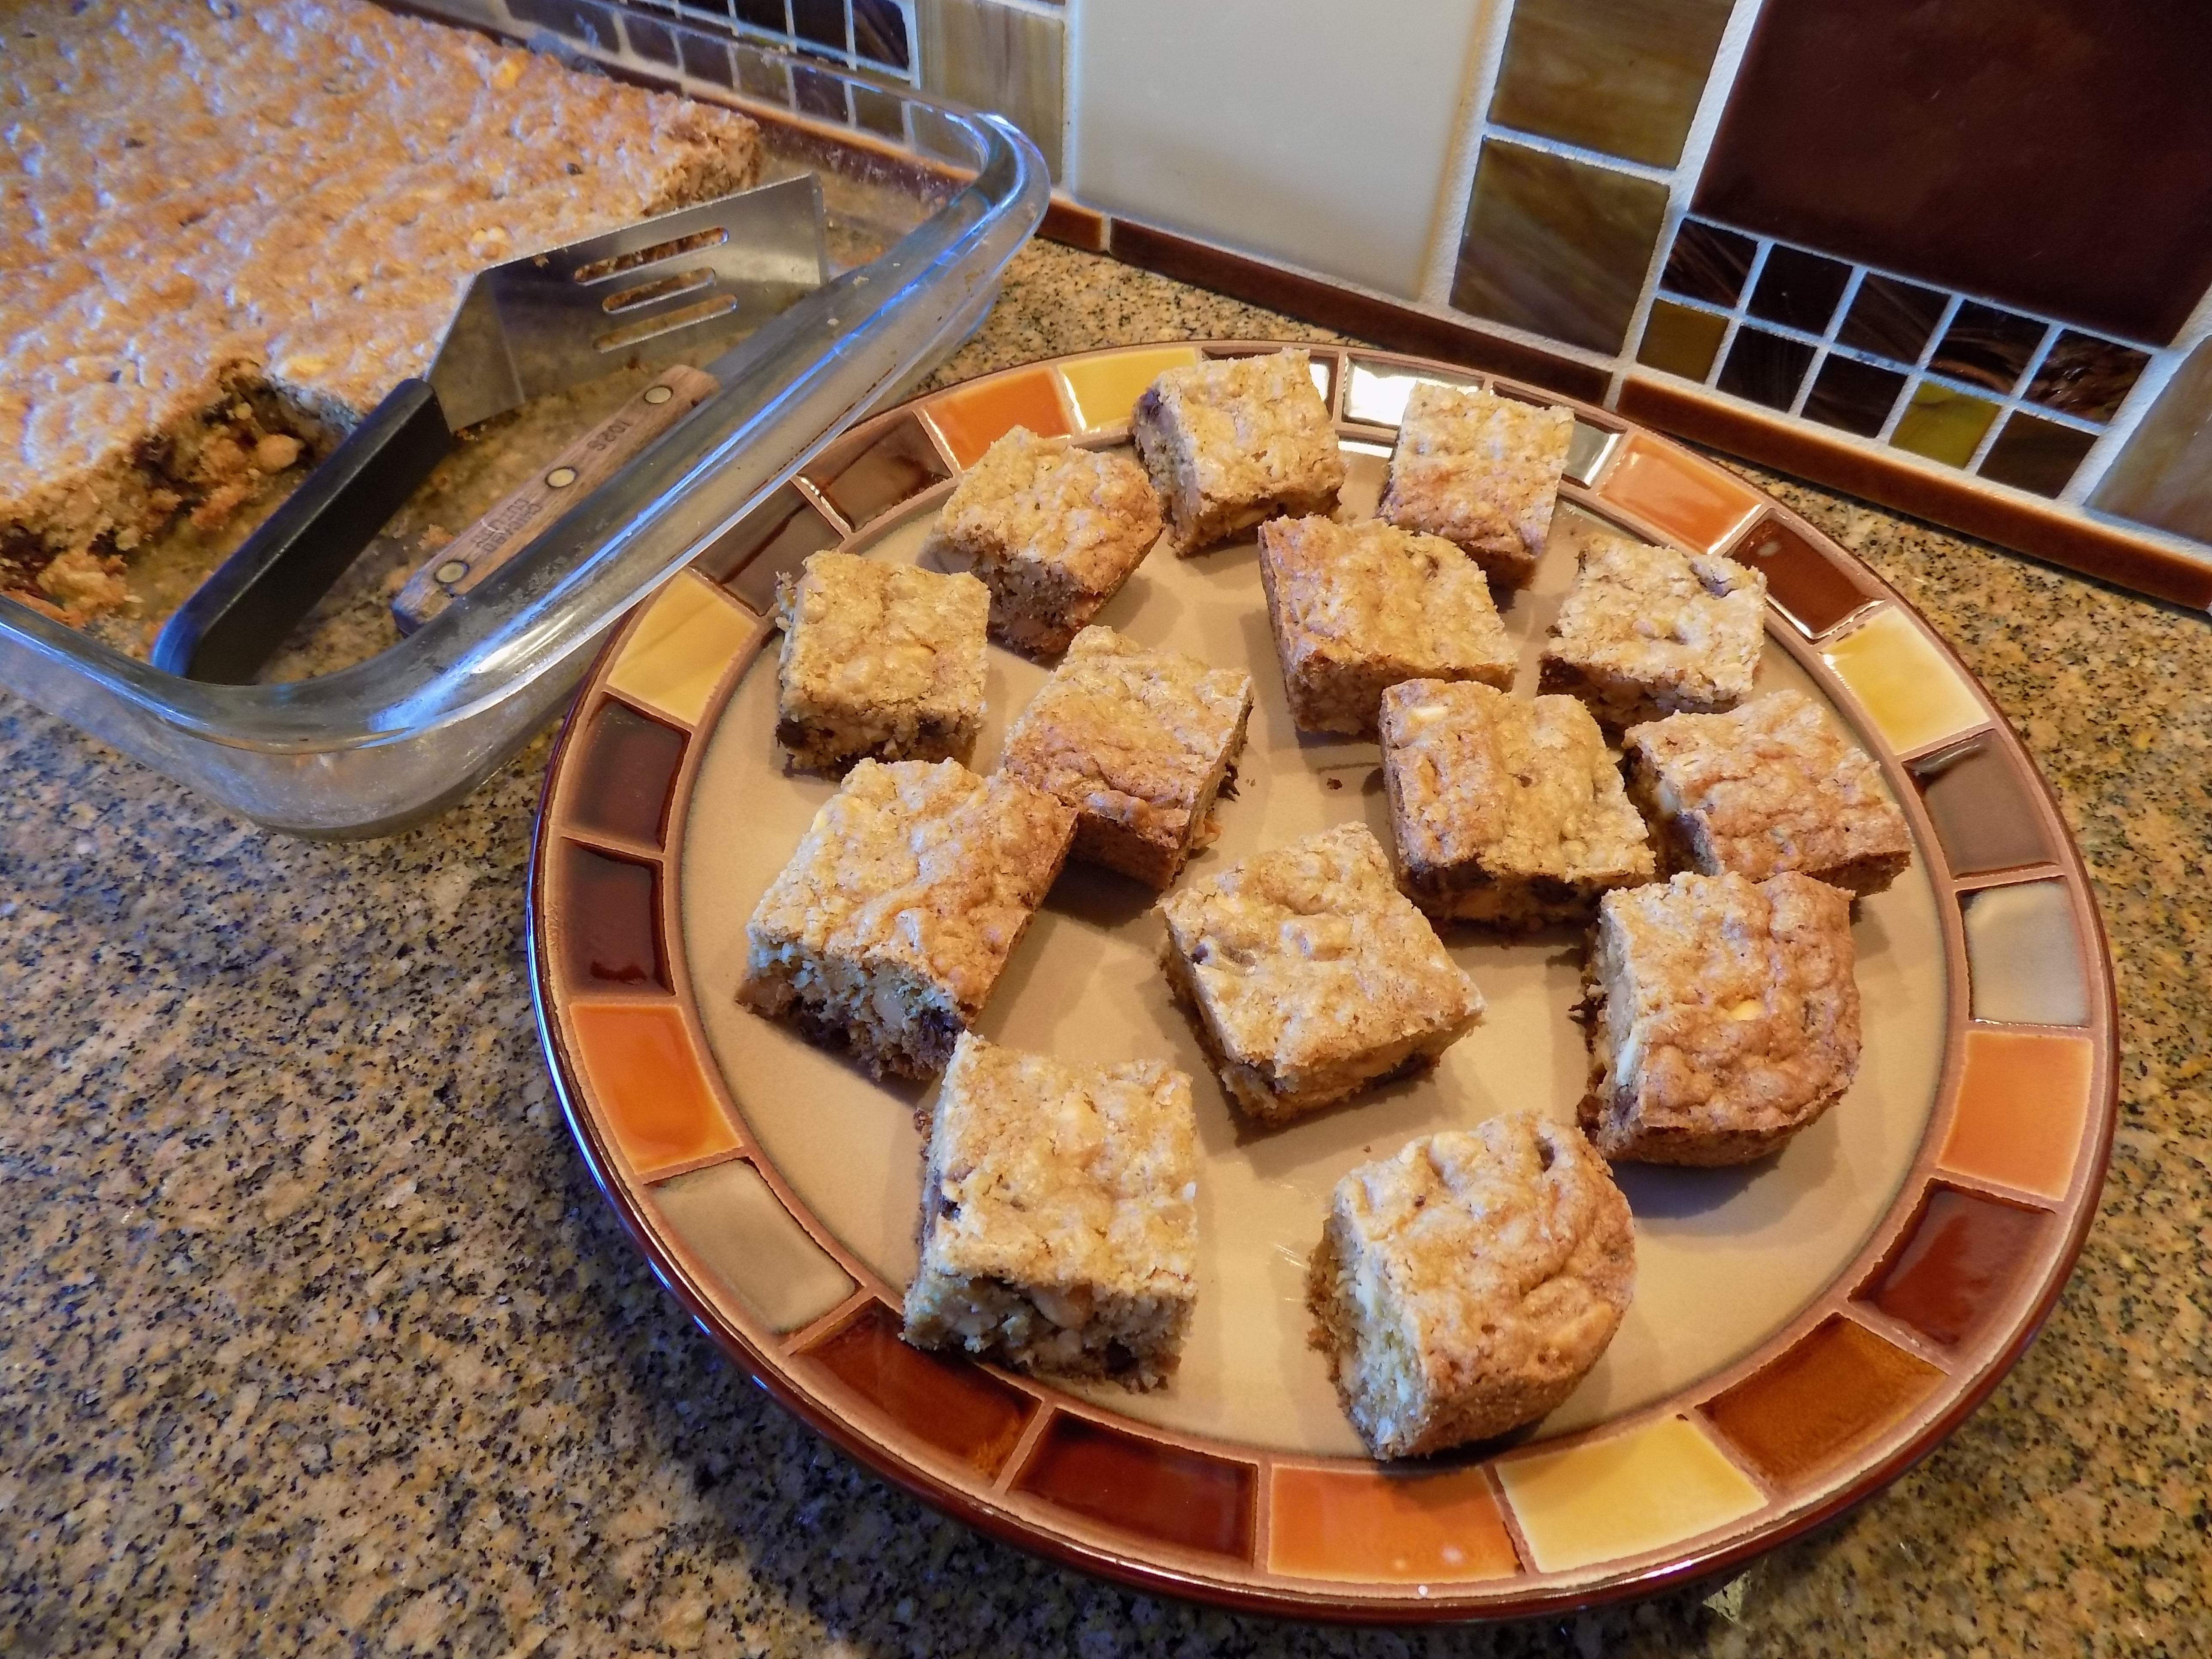
But back to these bars. OMG, what can I say? Well, to begin with, they are just plain delicious. The crust is crunchy, the filling isn’t runny, and the cinnamon flavored topping is as lovely to look at as it is to savor. So regardless of the fact that these bars don’t come in a round pie pan and cut into wedge shape pieces, they are still the essence of pie at its’ finest.
Just so you know, I actually do know how to build a pie. Search this site for my Lemon Meringue Pie, Bourbon Pecan Pie with Bourbon Whipped Cream, French Apple Pie, and Chicken Pot Pie. Ok, ok – maybe Chicken Pot Pie is a bit of a stretch, but it‘s still a pie, and delicious to boot! Enjoy them all.
Crust and Topping
- 1 c. (2 sticks) unsalted butter
- 1 c. granulated sugar
- ½ c. light brown sugar, packed
- pinch kosher salt
- 3 c. unbleached all-purpose flour
- 1 tsp. ground cinnamon
Melt the butter in a medium sized, microwave-safe bowl. Whisk in the sugars and salt. Add the flour; stir to combine. Set aside 2 cups to be used as the topping. (Before topping the dessert, add the cinnamon to the set-aside mixture. Don’t break up the crumbs as you incorporate the cinnamon. Its best if the cinnamon just coats the crumbs.
Transfer remaining mixture to a lightly buttered 9 x 13-inch baking dish. (I prefer glass.) Using your fingers, pack the mixture down hard to create an even crust slightly sliding up the sides of the pan. Set aside.
Filling
- 1/3 c. granulated sugar
- 1 T. unbleached all-purpose flour
- 1 lg. egg
- ½ c. plain Greek yogurt or sour cream
- 2 tsp. vanilla
In a medium bowl, whisk together the sugar and flour. Add the egg, yogurt, and vanilla. When thoroughly blended, pour the filling over the crust and tilt the pan to evenly cover the crust. Set aside.
Berry Layer
- 2/3 – 1 c. granulated sugar (use full cup if the berries are tart)
- 4 tsp. cornstarch
- 1-2 T. fresh lemon juice (depending on the tartness of your berries)
- 4 c. frozen or fresh berries – blackberries, Marionberries, blueberries, raspberries, etc. (no need to thaw frozen berries)
In a medium mixing bowl, whisk together the sugar and cornstarch. Add the lemon juice and stir well. Add the berries and lightly toss until the berries are thoroughly coated. Evenly distribute the berry mixture over the filling. Sprinkle the reserved crust/topping mixture over the berries.
Bake in a pre-heated 350 degree oven for 50-60 minutes, or until the berries are bubbling around the edges and the bottom crust is a nice golden brown. (That’s just one of the reasons I use glass baking pans! I can see the bottom crust. Thank you Pyrex.)
Remove from oven and cool on a wire rack for at least 2 hours before cutting into serving sized pieces. Great dolloped with whipped cream or a small scoop of vanilla ice cream.