For any of you who routinely hear “you should eat more vegetables” or say to yourself “hey dummy – you really need to start eating more vegetables”, this is the dish for you! This Greek favorite is sooooo tasty that you or any vegetable challenged family member or friend who might be partaking at your table won’t even notice that this dish contains 6 different types of vegetables and two healthy herbs. (Oregano – contains potent antioxidants and anti-bacterial properties, as well as fiber, iron, manganese, vitamin E, calcium, omega fatty acids, and vitamin K. Parsley – vitamin K, vitamin C, vitamin A, folate, and iron.) They will be so busy gulping it down, that before you can ask if they like the dish, they are going back for seconds.
And the best part, the dish is actually better the day after (or two or three days after) it is prepared. Perfect for someone who wants to do a bunch of cooking on the weekend for dinners throughout the week. Also perfect for dinner parties when other dishes you are planning might require last minute attention.
You just throw this dish in the oven for a short time before you plan to sit down to dinner. Lovely.
So do yourself and your family and friends a favor. Go Greek for an evening. Fix some Greek Ground Turkey Meatballs with Tzatziki, Hummus, Pita Bread, Briam, and Greek Marinated Olives. Spread your table with a cheerful table cloth, and sit down for a leisurely meal together. (No cell phones, etc. allowed!) If you can eat “al fresco” – all the better! And even if you make this dish just for yourself, consider yourself blessed. You get to eat every delicious morsel of this veggie dish all by yourself. (Kind of like me with fried zucchini. But that’s a story for another day!)
- ¾ c. extra-virgin olive oil, divided plus more for drizzling
- 1 lg. red onion, chopped
- 1 tsp. kosher salt
- freshly ground black pepper
- 4 garlic cloves, finely minced
- 1 (14.5-oz.) can diced tomatoes with juice (Italian, if possible)
- 2 tsp. tomato paste
- 2 tsp. dried oregano
- 2 T. finely chopped flat-leaf (Italian) parsley
- 2 peeled Yukon Gold potatoes, sliced 1/8-inch thick
- 2 medium sized zucchini, sliced ¼-inch thick diagonally
- 2 small eggplants, partially peeled, cut in half lengthwise, and sliced ¼-inch thick
- ½ basket cherry or grape tomatoes, halved
- crumbled feta
Heat ¼ cup of the olive oil over medium heat in a large skillet and add the onion. Cook gently until the onion is tender and translucent, about 20 minutes. Add the salt and pepper; stir in the garlic. Cook for another minute or two, until the garlic is fragrant. Remove from heat and whisk in remaining ½ cup olive oil, canned tomatoes, tomato paste, oregano, and parsley. Taste the sauce and adjust the seasoning. You may need more salt. (Don’t worry if the sauce appears oily. That’s what you need for this dish.)
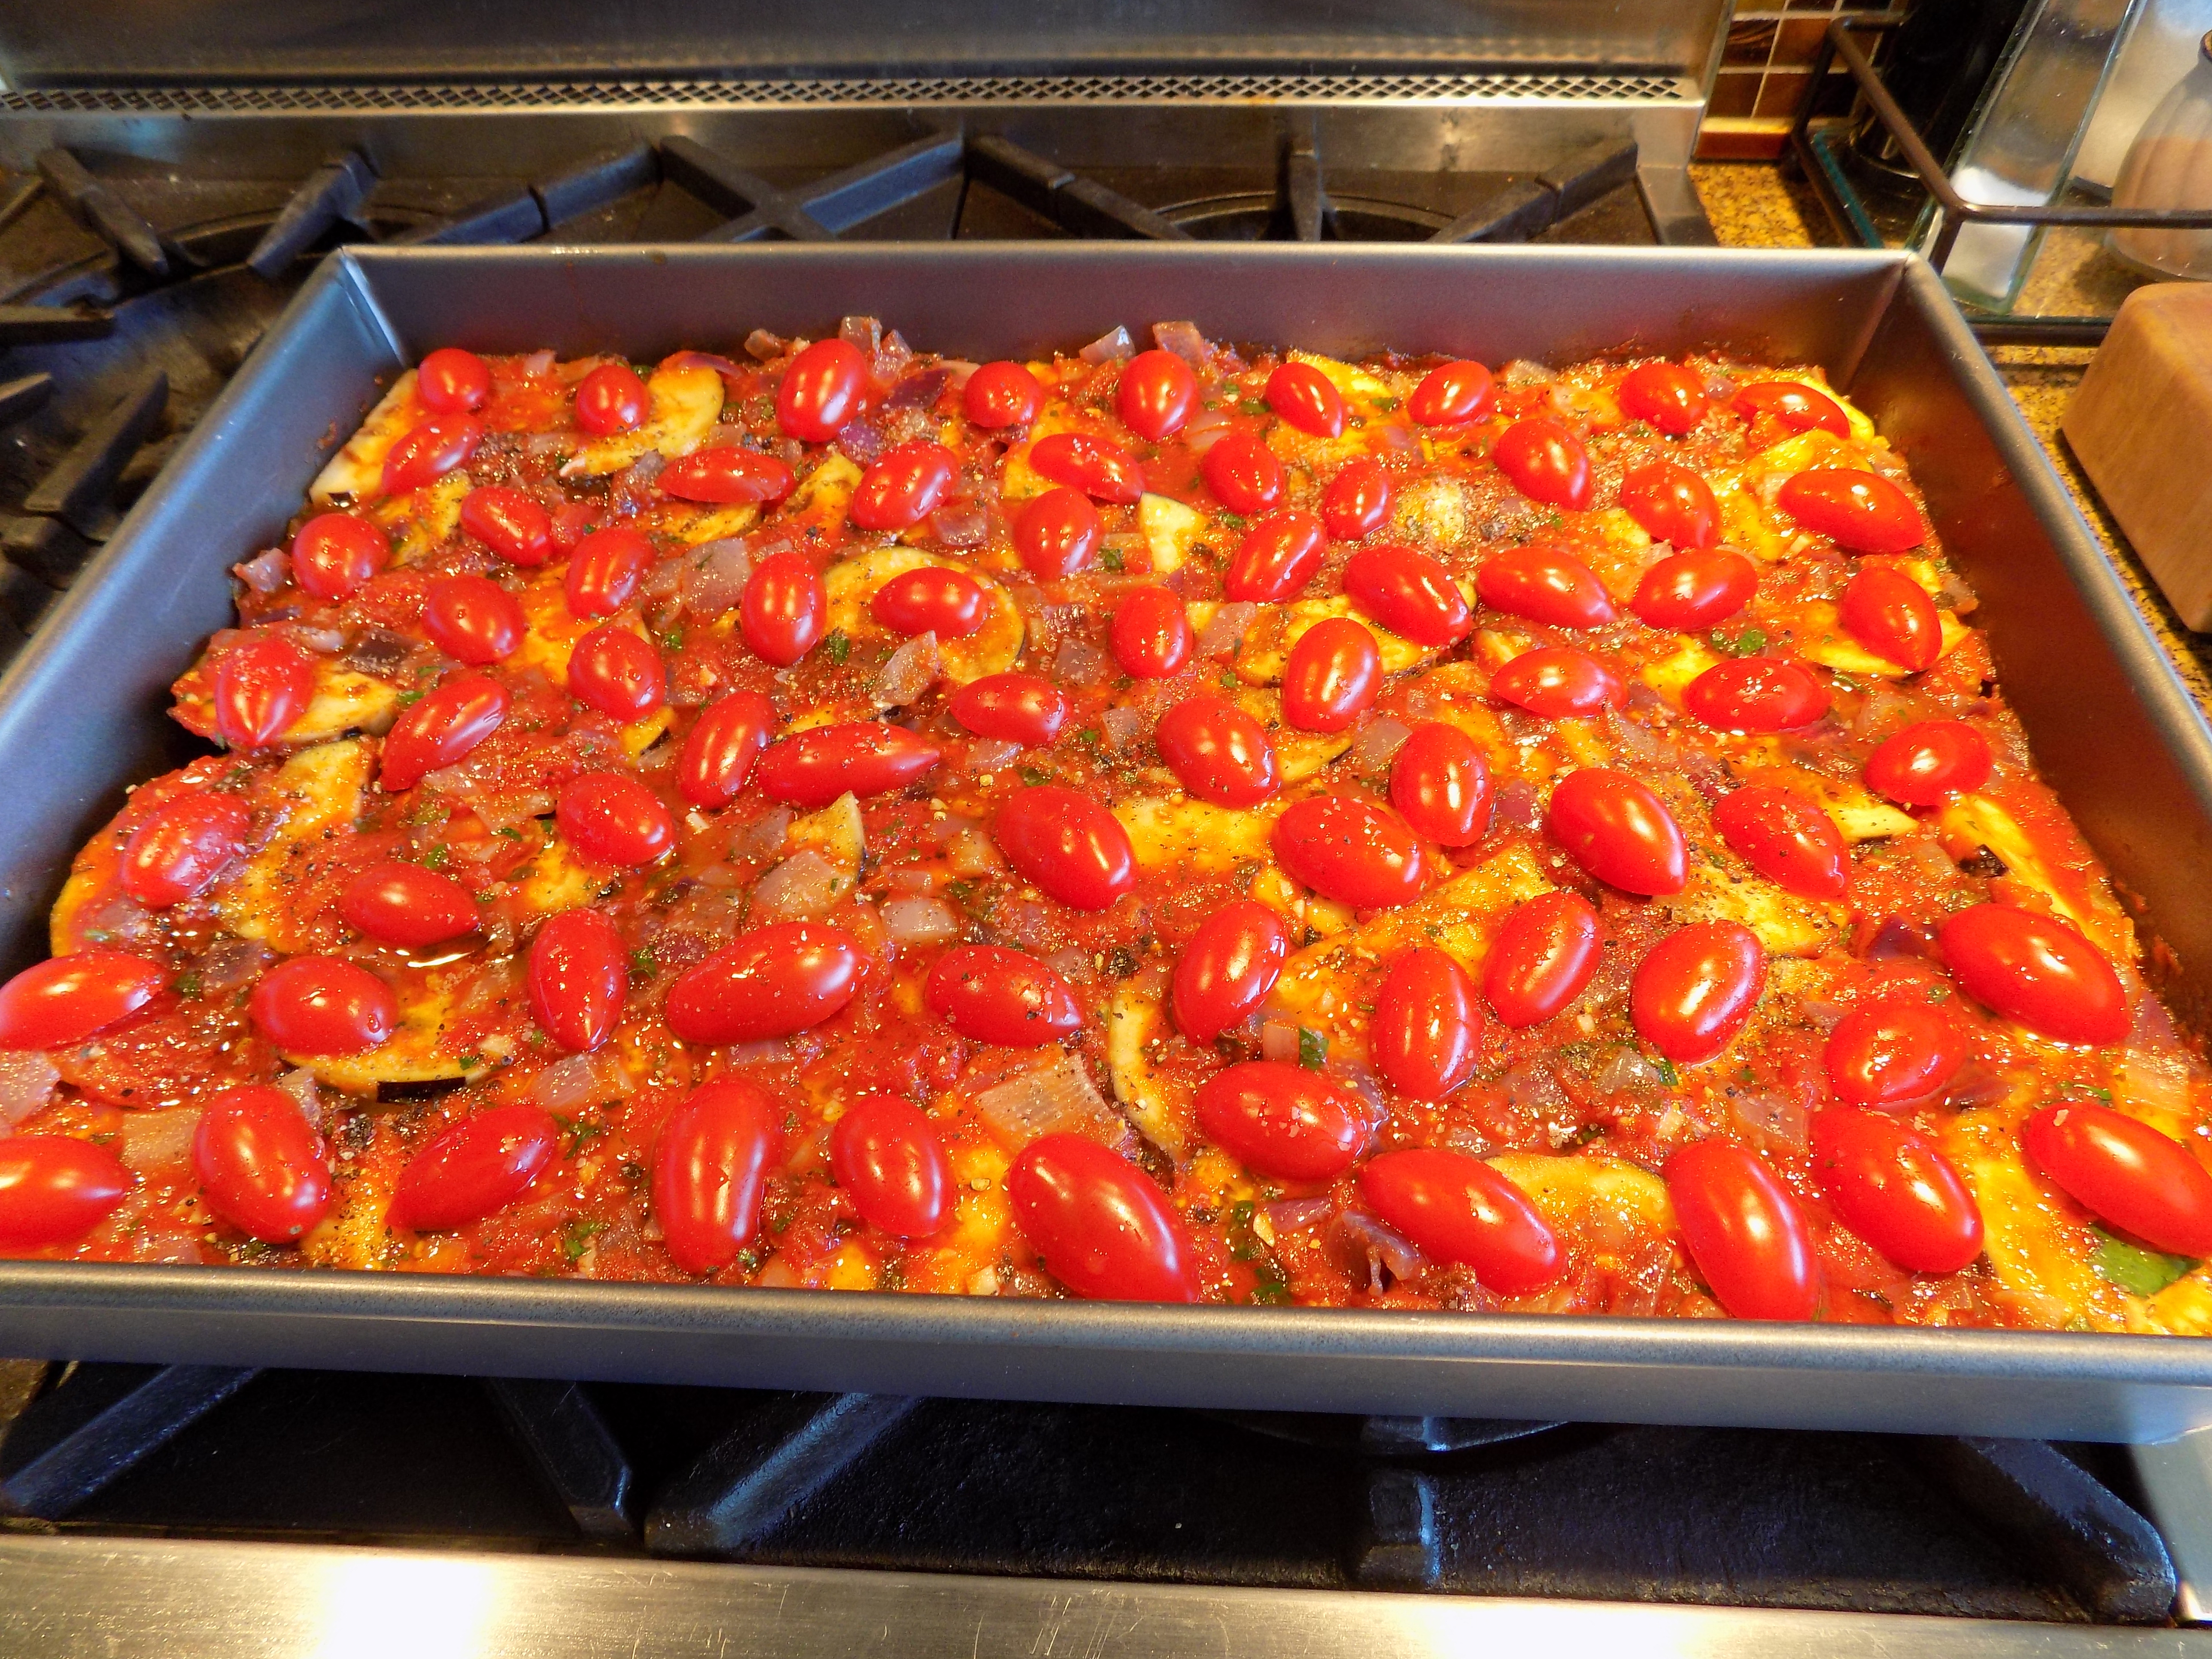
Lightly oil a deep (approximately 9×13-inch) baking dish. Spread a very thin layer of the tomato mixture in the baking dish and top with half of the potato slices, half of the zucchini, and half of the eggplant. Spread half of the tomato sauce over the veggies. Repeat the layering – again ending with the sauce. Arrange the halved cherry tomatoes over the top, cut side down. Finish by drizzling a small amount of olive oil over the cherry tomatoes, followed by a light seasoning of salt and pepper.
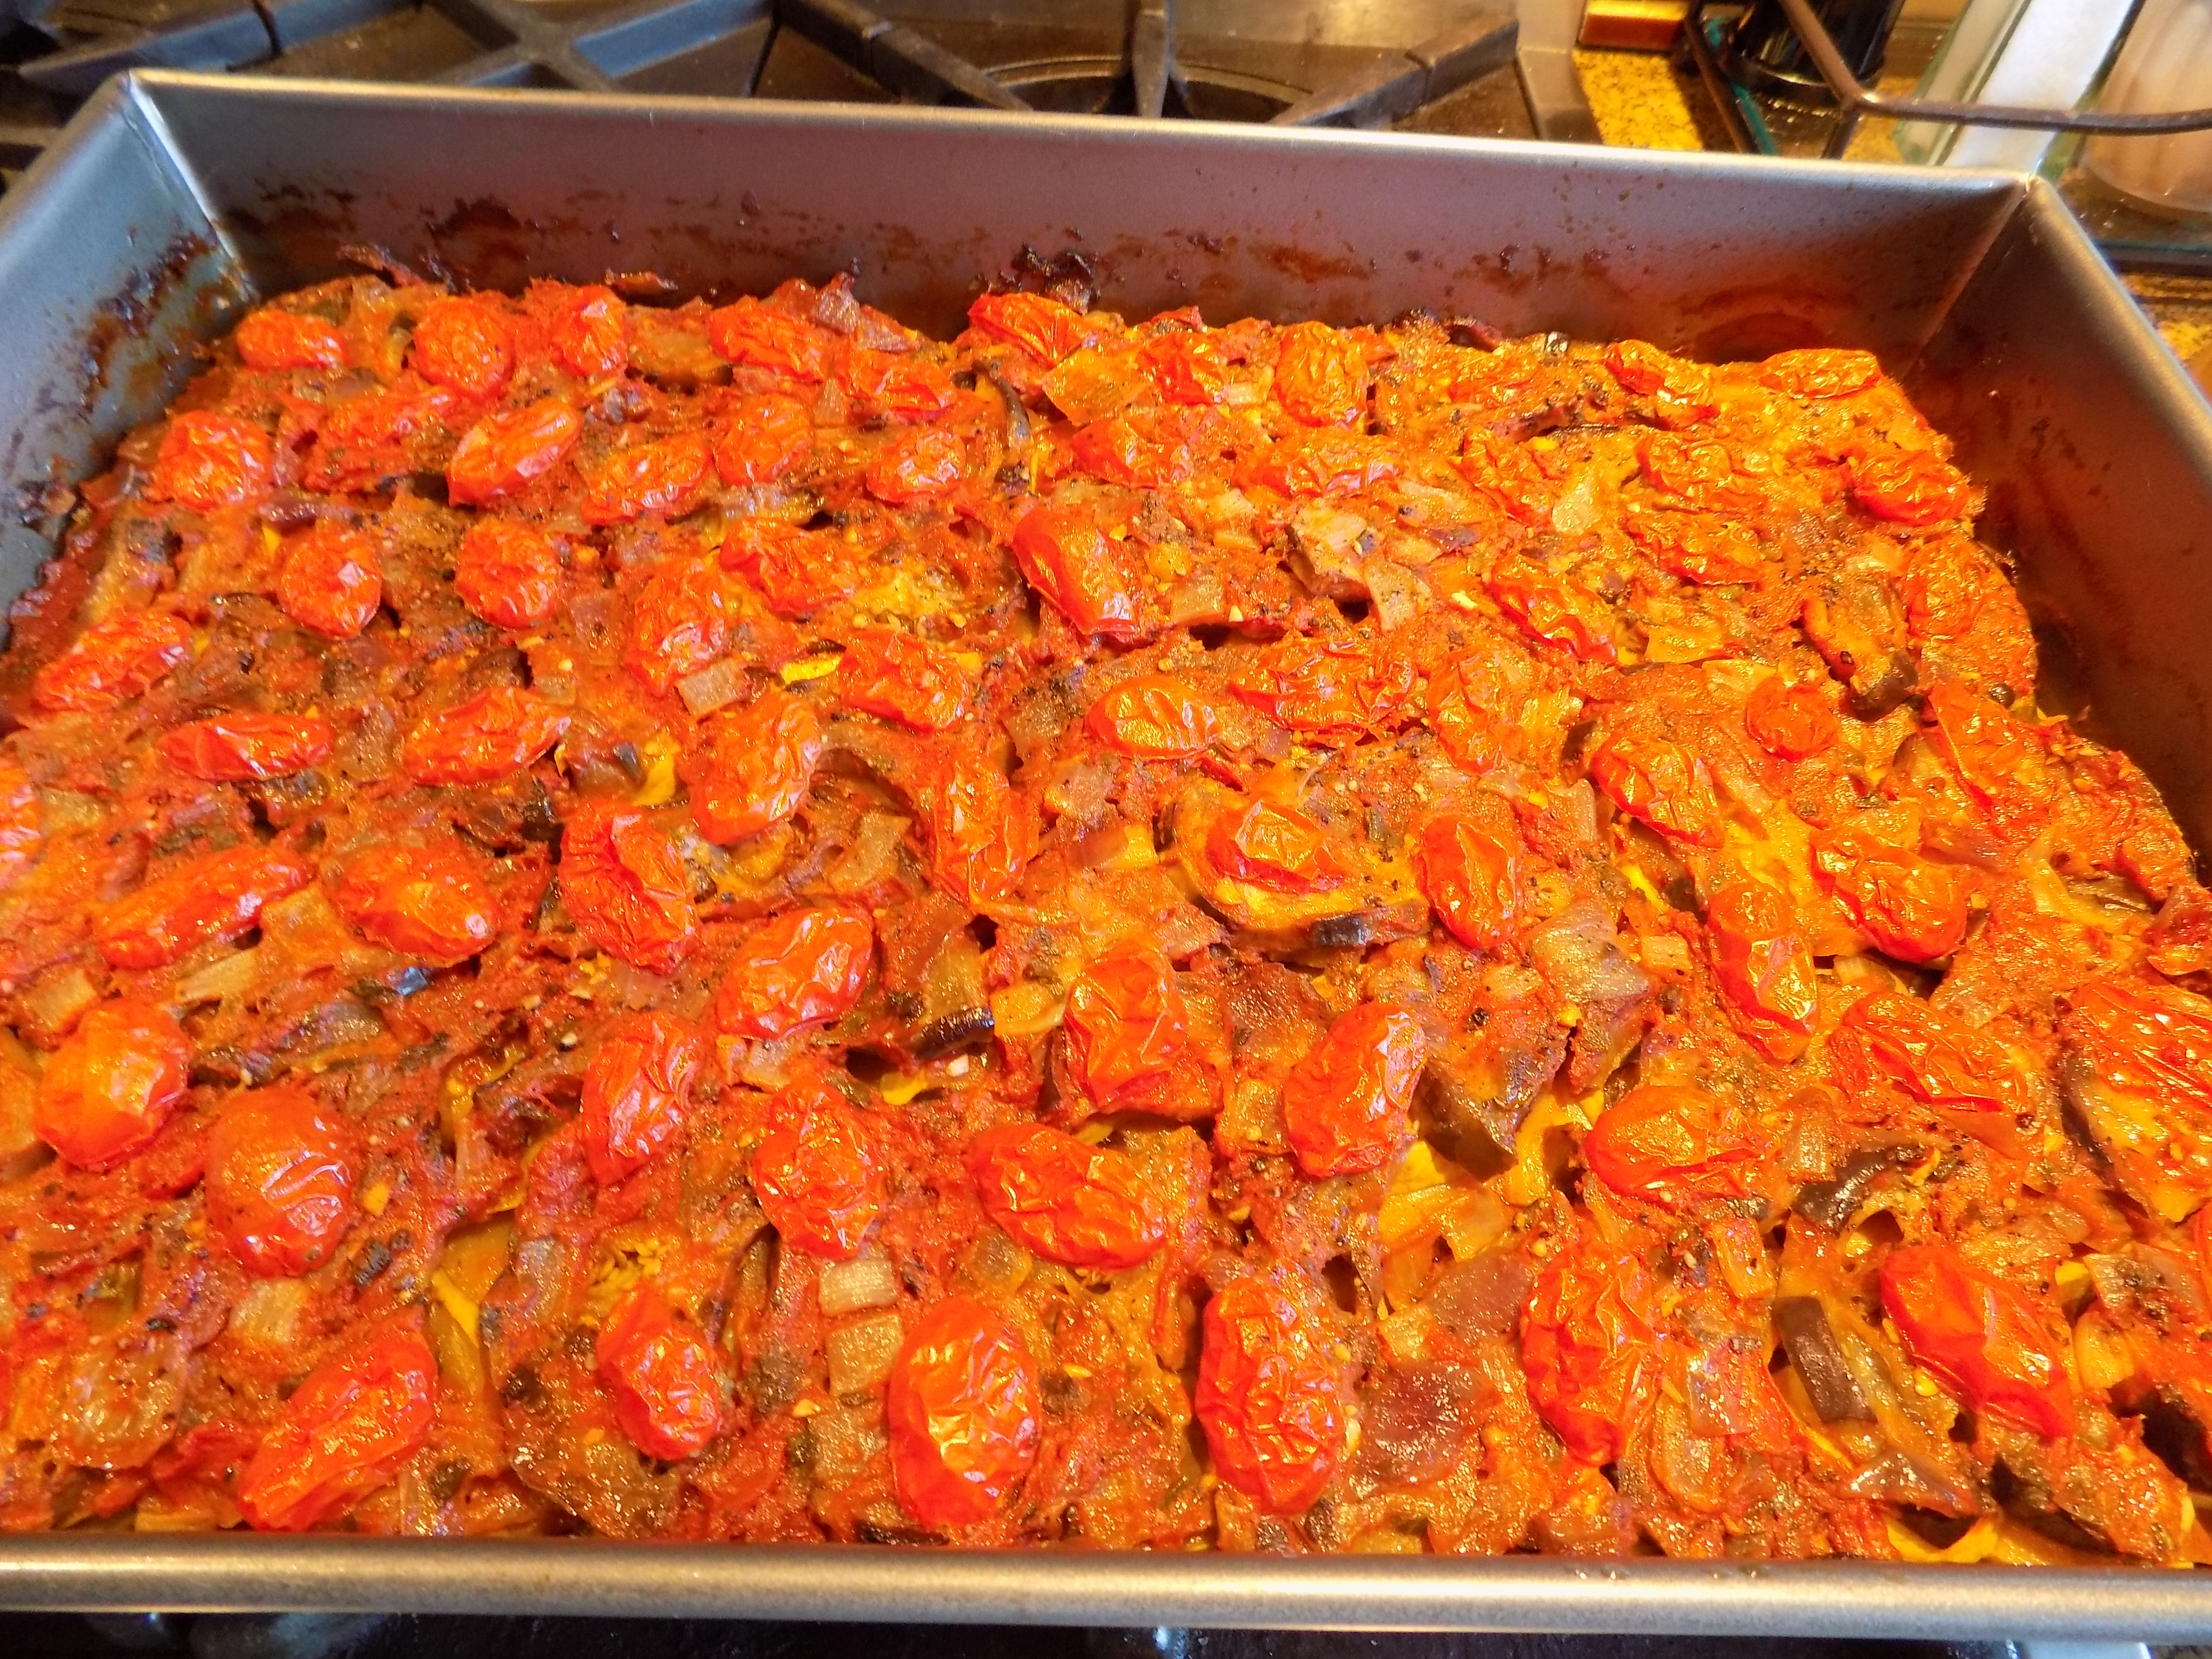
Cover with foil or a lid and bake in a pre-heated 350 degree oven for 75 minutes. Remove the foil or lid and bake uncovered an additional 30 minutes, or until the potato slices are tender.
Cool to just above room temperature and serve, or refrigerate overnight. (Best served slightly warmed the next day.)
Wonderful sprinkled lightly with crumbled feta cheese.