It’s late August and friends are gifting us zucchini faster than the fir trees are dropping their cones! Not that I’m complaining you realize, because I love zucchini, but if I don’t get around to using all my gifts, I feel guilty. (Comes from having parents who lived through the Great Depression.)
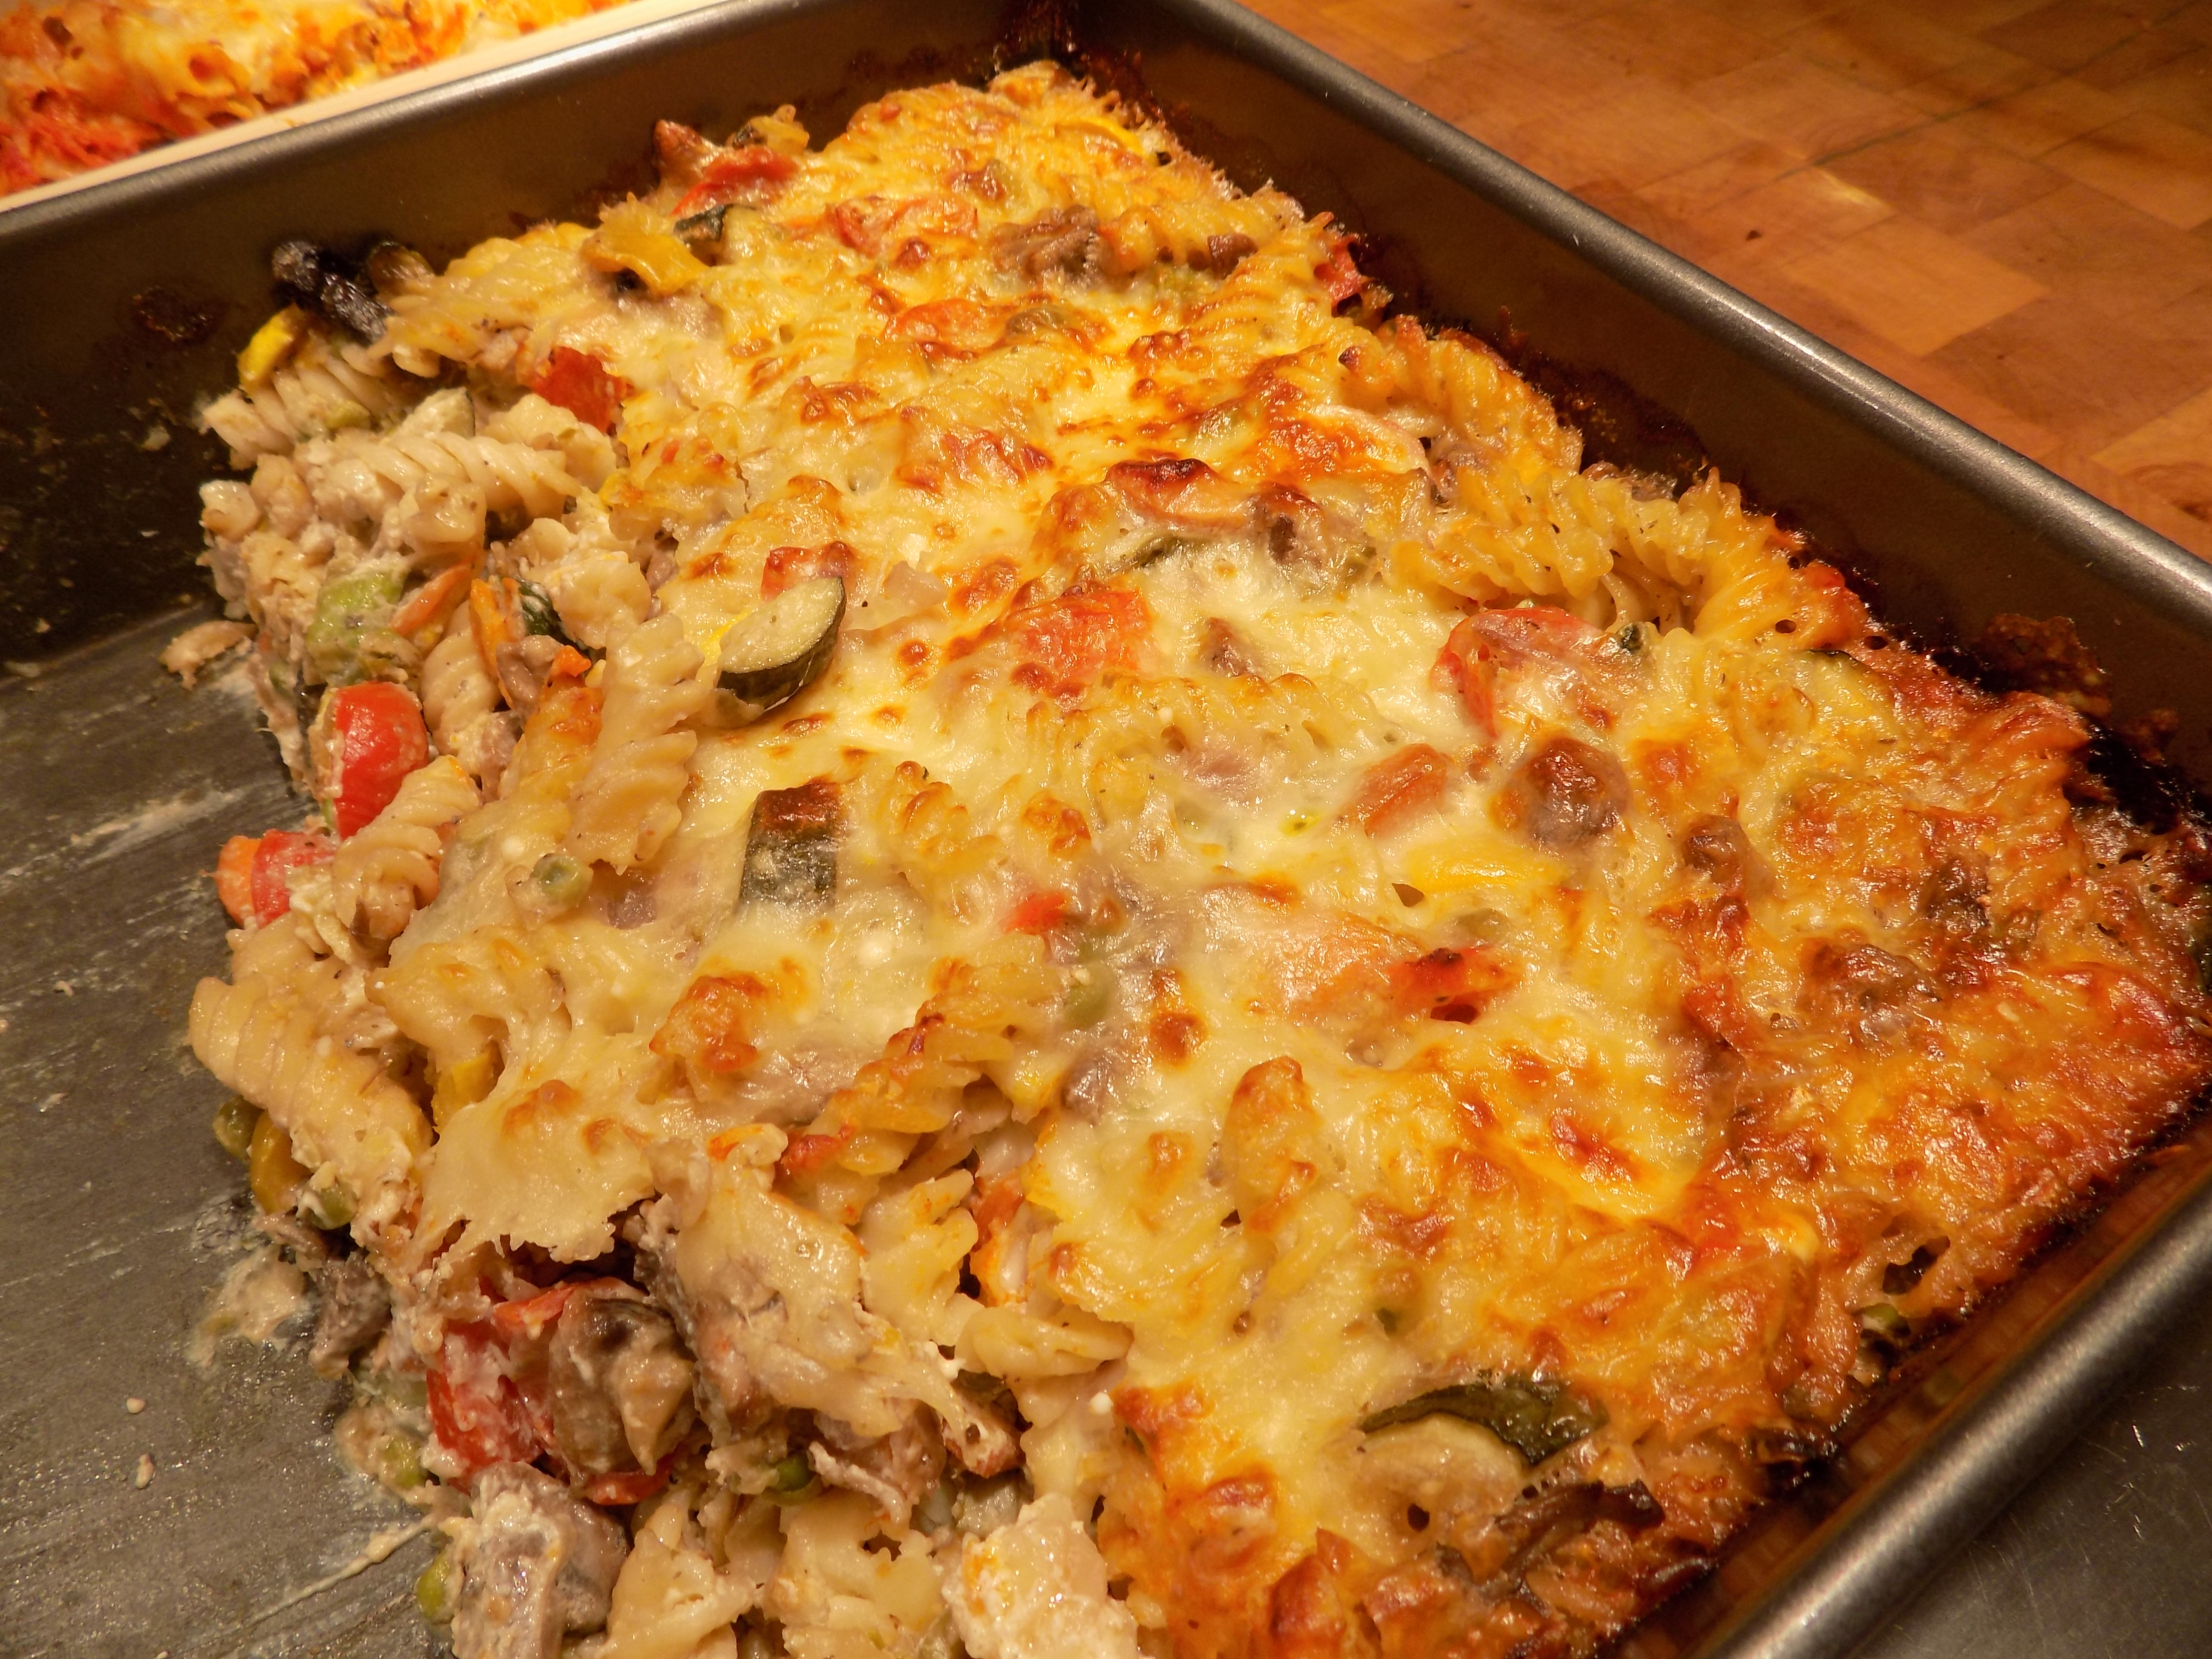
So when a friend recently gave us both a zucchini and a yellow squash, I decided to roast them along with the Campari tomatoes which were starting to get that “I’m almost past my prime and nobody loves me” look to them. So I decided roasted veggies were definitely going to be part of our evening meal in the very near future.
I also wanted to use some of the preserved lemon and black garlic I had recently prepared. (Recipes to follow.) And since Italian is probably my favorite ethnic cuisine, I added a wee bit of Italian seasoning and topped the whole mess with Parmesan cheese. Yummy, is all I can say!
I know I’m preaching to the choir here, but roasting or baking veggies together almost always results in great flavor. It’s like the whole dish is much better than the sum of its parts. (Well duh Patti, you could say that about almost any dish! But for me, its veggies that seem to profit the most from a little company.)
So the next time you are blessed with fresh zucchini from a friend, give this recipe a try. Of course, zucchini will never replace chocolate, but then when was the last time a friend or neighbor gave you chocolate from their garden? As my father used to say, “Be happy with what you have”. And I think fresh zucchini, or any kind of home grown veggie or fruit from a friend is a wonderful gift. You know the old saying, “if life gives you lemons make lemonade”, well in this case, if life gives you zucchini, make this dish.
Cheers to all the wonderful people out there who share their bounty with others. I, for one, appreciate your hard work and admire your gardening abilities. I can’t even grow zucchini, so anyone who can, automatically earns my respect! And if you give me one, you get my thanks too!
- 2 T. extra virgin olive oil
- 1 tsp. finely chopped preserved lemon
- 1 clove black garlic, finely minced
- 2 cloves garlic, finely minced
- ½ tsp. Italian seasoning
- ¼ tsp. kosher salt
- freshly ground black pepper
- 1 med. zucchini, sliced
- 1 med. yellow squash, sliced (you can use additional zucchini if you don’t have yellow squash)
- 3 Campari or Roma tomatoes, sliced
- ¾ c. finely grated Parmesan cheese
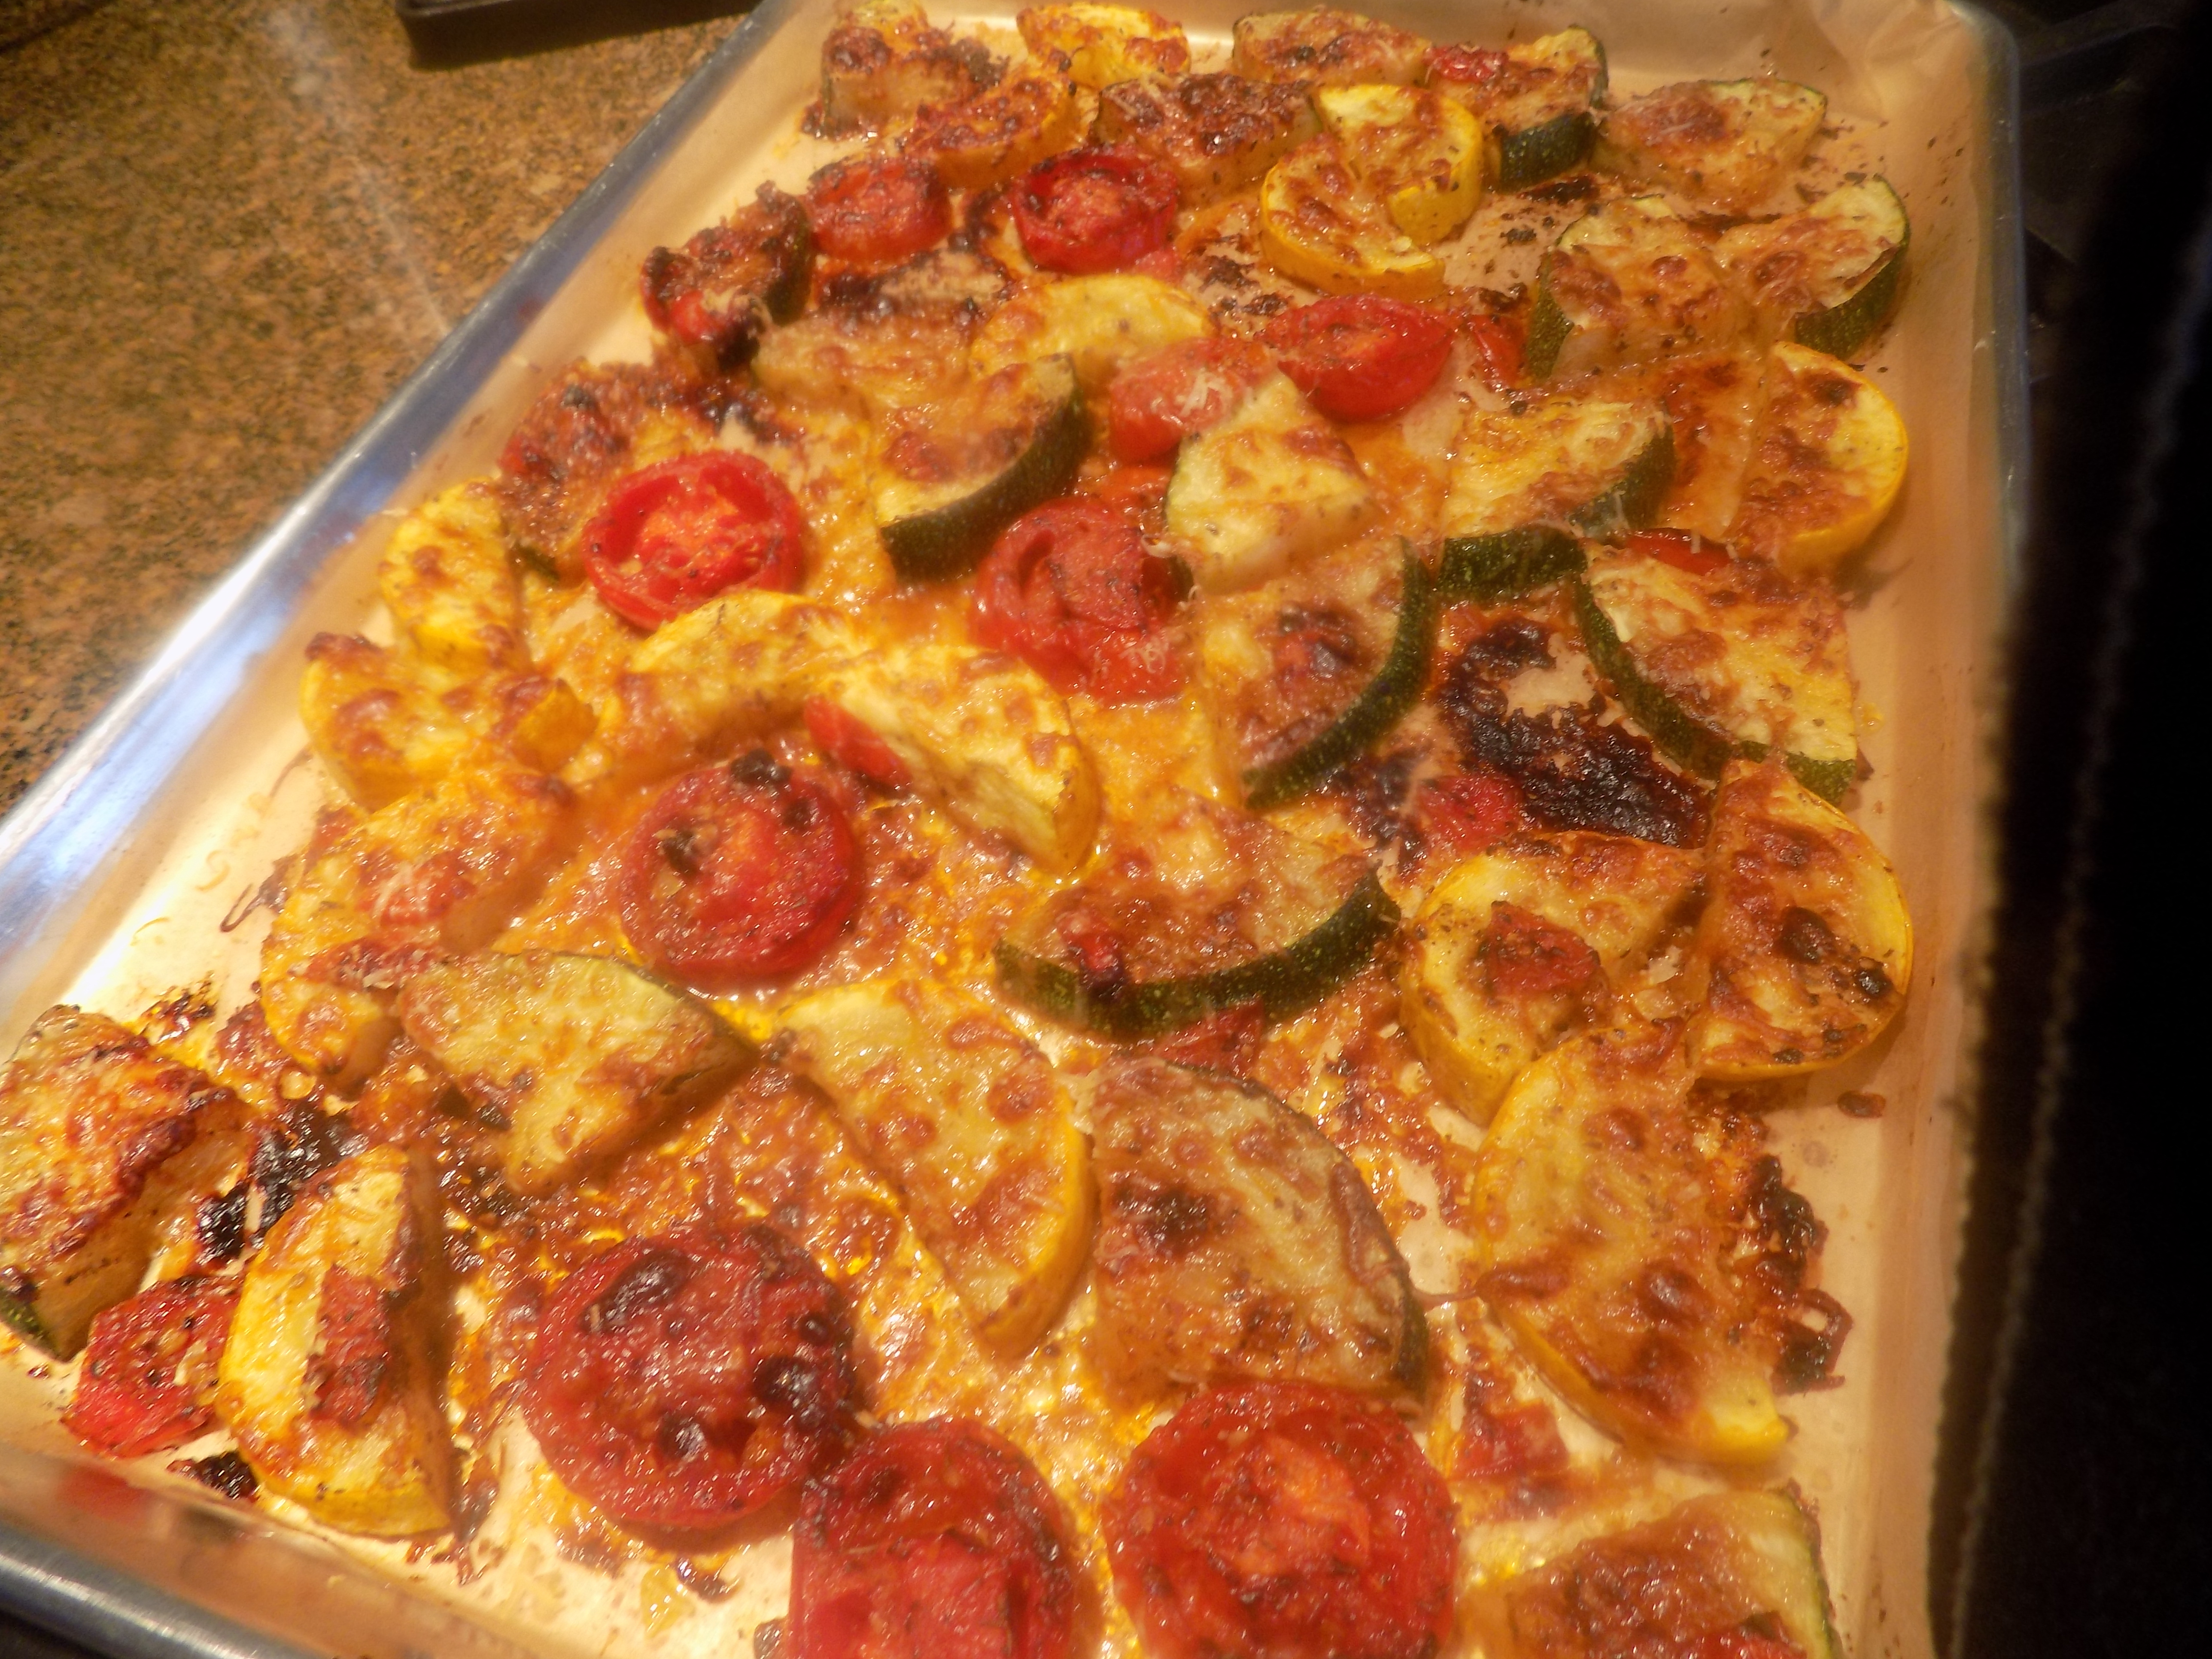
In a large bowl, whisk together the olive oil, preserved lemon, black garlic, regular garlic, Italian seasoning, salt, and pepper. Add the zucchini, yellow squash, and tomato slices. Gently toss together with your hands and place in a single layer on a large rimmed baking pan lined with parchment paper. Sprinkle Parmesan over the top.
Roast in a pre-heated 400 degree oven for 25-30 minutes, or until veggies are tender and the Parmesan is a lovely golden brown. Serve warm or at room temperature.