“Sensible shortcuts” is the way Mr. C refers to my recipes for the magnificent 5 classical French mother sauces. This statement came the day after we had watched the charming movie “The 100 Foot Journey” starring Helen Mirren. On the way home from the movie Mr. C had asked me all about these sauces. I knew for sure about Béchamel, Velouté, and Hollandaise, but I was unsure of the other two, although, as it turns out, I have been making all 5 of these sauces most of my adult life. Of course the way I prepare each sauce is not exactly the way they are prepared by a Michelin 3 star chef! You think! (And yes, I did read up on how to prepare these sauces in Mastering the Art of French Cooking.) As it turns out, my recipes are certainly close to how the masters prepare their sauces, but mine are easier. And since I have never really tasted the “real thing”, I find mine an acceptable substitute. (Well of course I do!)
But I do know how to use each of these mothers (sauces that is), and really, isn’t that the important thing! And I’m sure after you read the recipes for these 5 classics you will realize you have been making your own version of these recipes for years too. Every time you make a white sauce, you are making the French classic Béchamel Sauce. Each time you start a spaghetti sauce, you are making a version of the French classic Sauce Tomate. And good old fashioned chicken or beef gravy; your take on Velouté Sauce (chicken sauce/gravy) and Espagnole Sauce (beef sauce/gravy). And Hollandaise Sauce; merely an extremely rich and decadent butter and lemon emulsion.
So below, please find my way of preparing each of these classic sauces. Each one is lovely by itself, but fabulous as a base for an endless variety of flavors you can achieve through the inclusion of just a few additional key ingredients. With each recipe I have included a few of my favorite dishes starting with the basic sauce.
And for all you foodies out there, if you really want to treat your culinary senses to a non-edible gastronome experience, go see the movie. In truth the movie is more of a fable or fairy tale than a believable story, but the cooking scenes alone are worth the price of admission. Bon Appétit!
Béchamel Sauce (basic white sauce)
- 2 T. (¼ stick) unsalted butter
- 3 T. all-purpose flour
- 2 c. milk, heated to almost boiling (or more to reach desired thickness)
- ¼ tsp. kosher salt
- pinch white pepper
Melt butter in a heavy saucepan. Do not let the butter turn even the least bit brown. Whisk in the flour and cook slowly for about 2 minutes. Slowly stir in the hot milk, salt and pepper; let simmer gently for about 2 minutes or until thick and creamy.
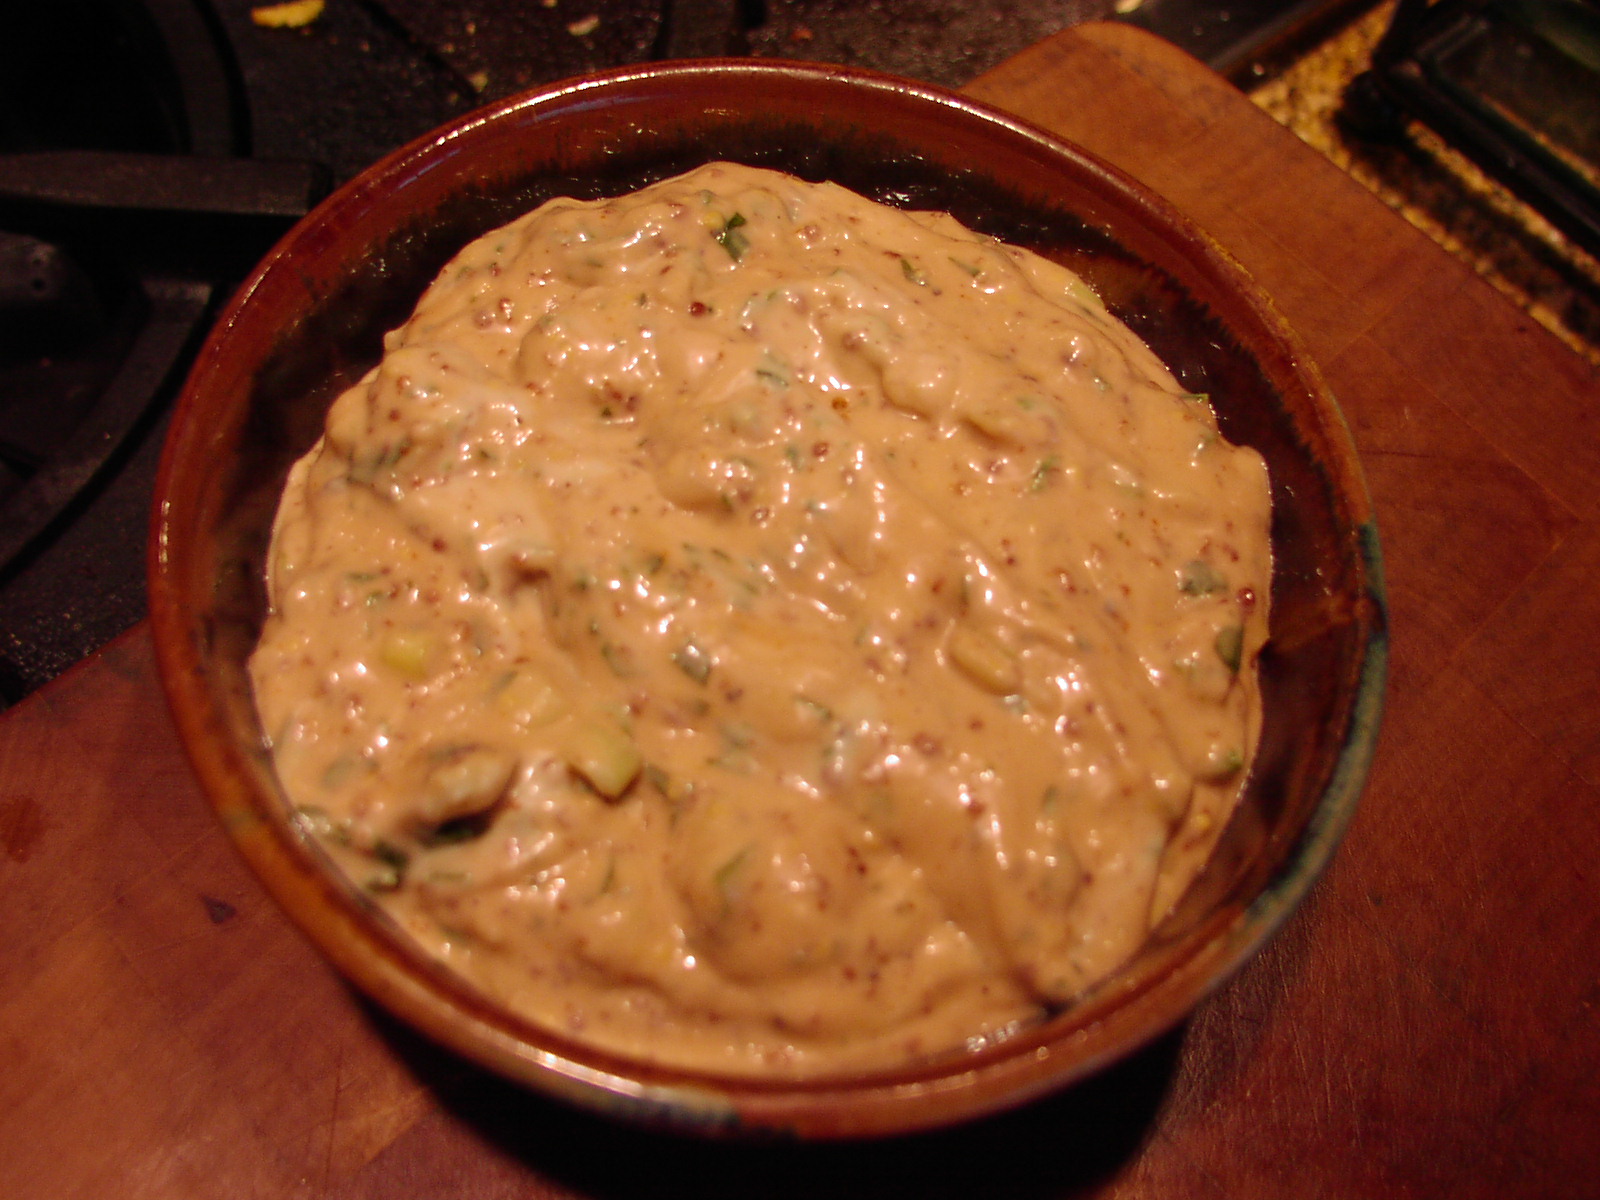
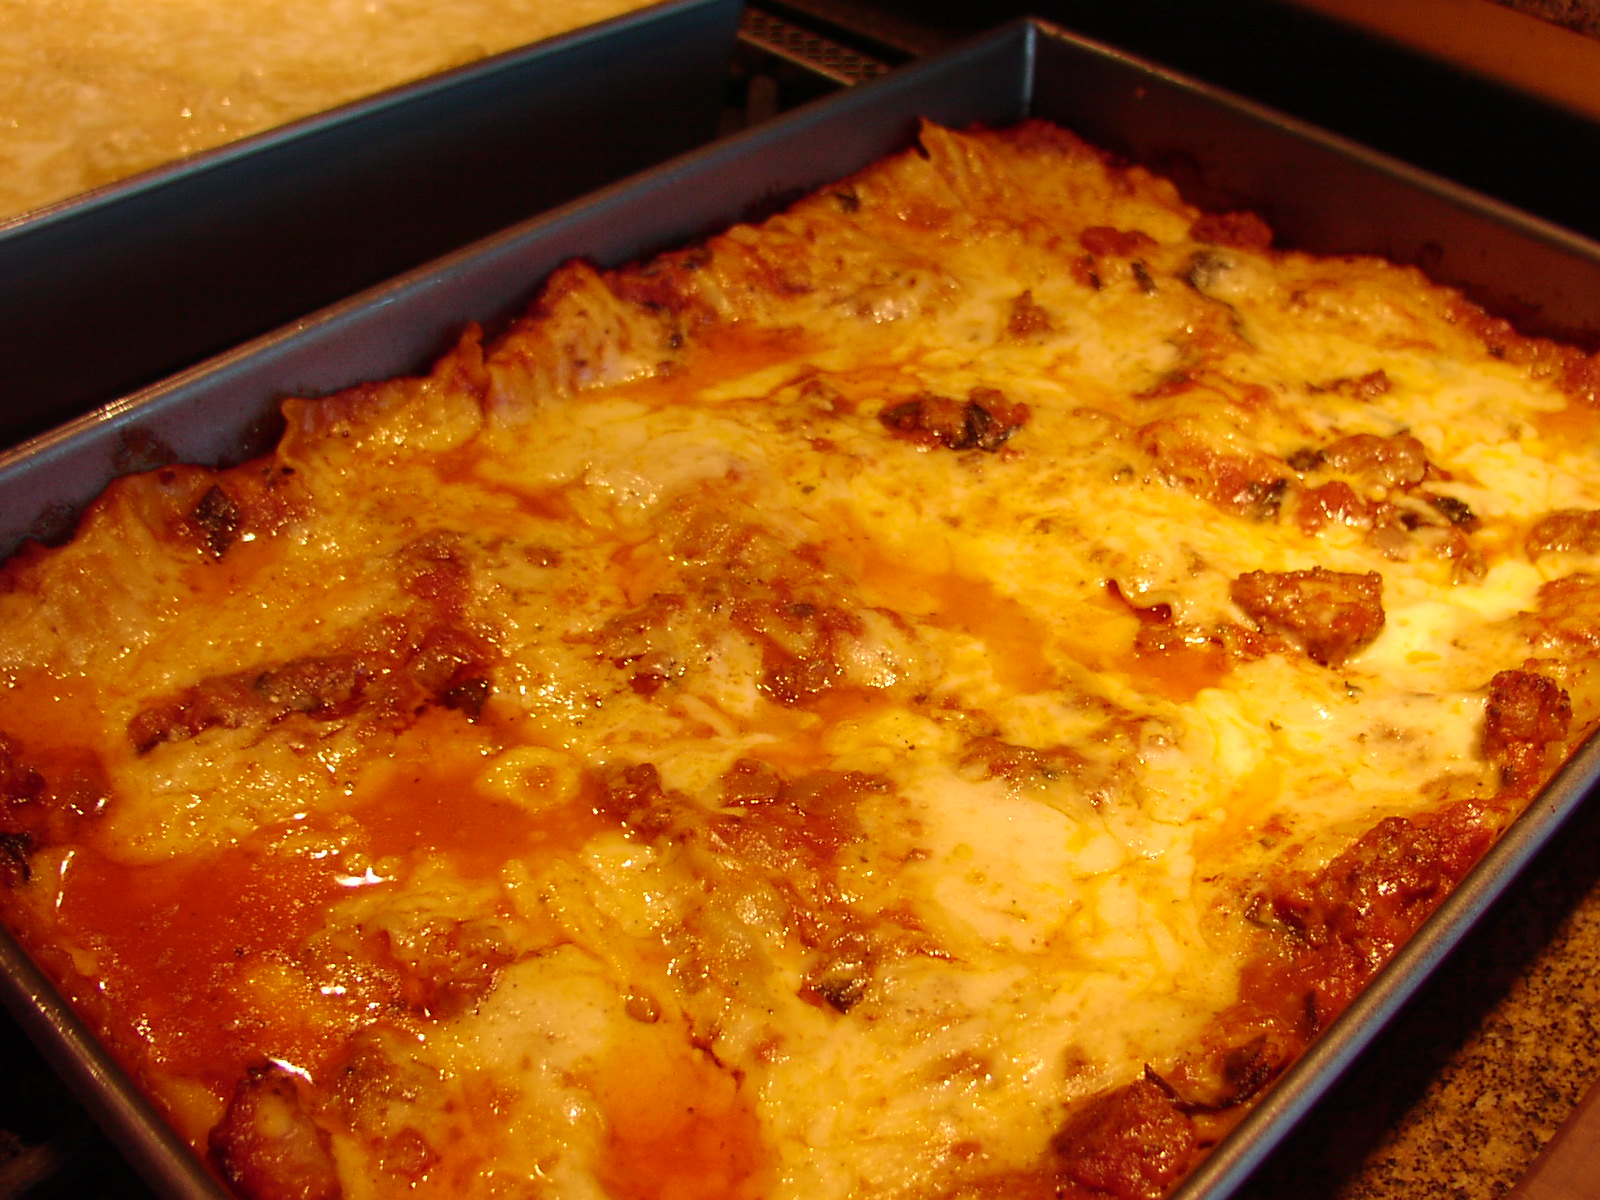
Common Uses: To prepare creamed vegetable dishes (always with a tiny bit of freshly grated nutmeg), base for cream soups, lasagna (my Lasagna Bolognese calls for Béchamel Sauce), cheese sauce for macaroni and cheese or fresh veggies, and mustard sauce to accompany roast meats (just add a little Dijon)
Lasagna Bolognese
Velouté Sauce (chicken flavored sauce)
- 2 T. unsalted butter
- 3 T. all-purpose flour
- 2 c. boiling chicken stock
- kosher salt to taste
- white pepper to taste
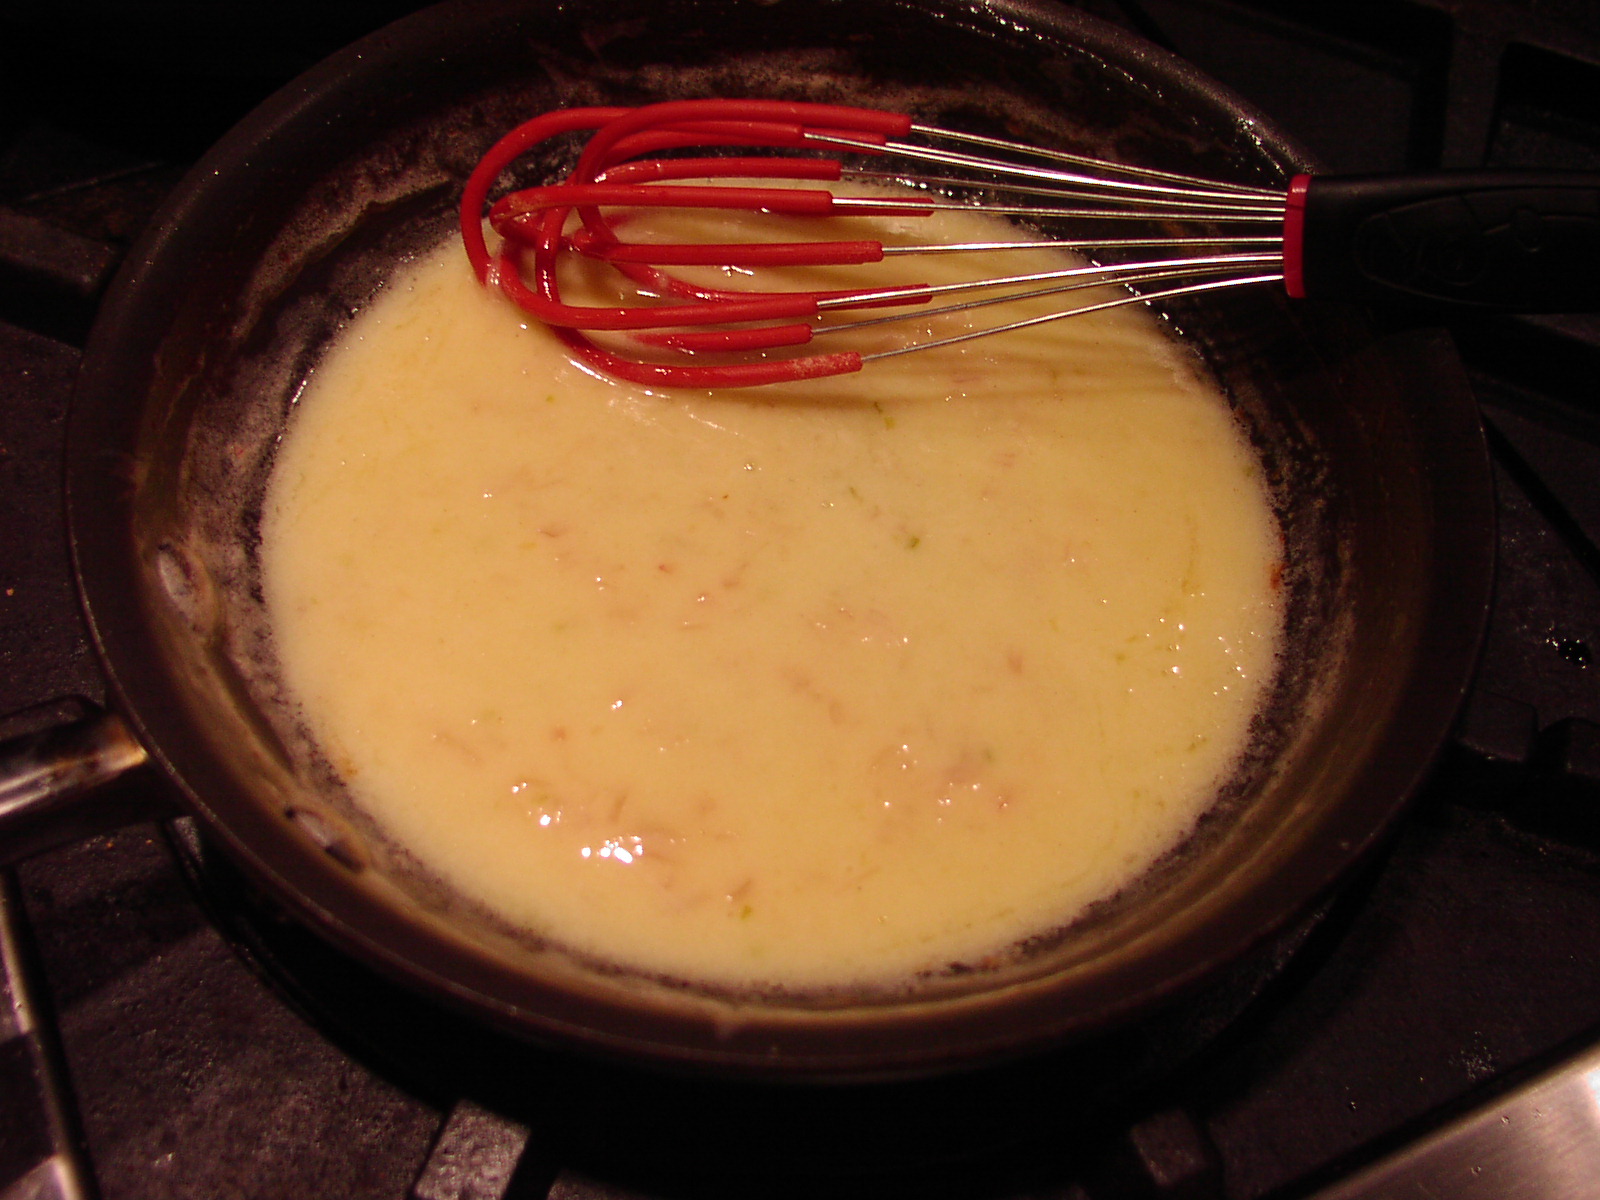
Melt butter in a heavy saucepan. Do not let the butter turn even the least bit brown. Whisk in the flour and cook slowly for about 2 minutes. Slowly whisk in the hot chicken stock and bring to a boil. Boil for 1 minute or until sauce is smooth and velvety. Remove from heat, taste, and add salt if necessary and a very small amount of white pepper. Remember: white pepper actually has a stronger flavor than black pepper, so use sparingly.
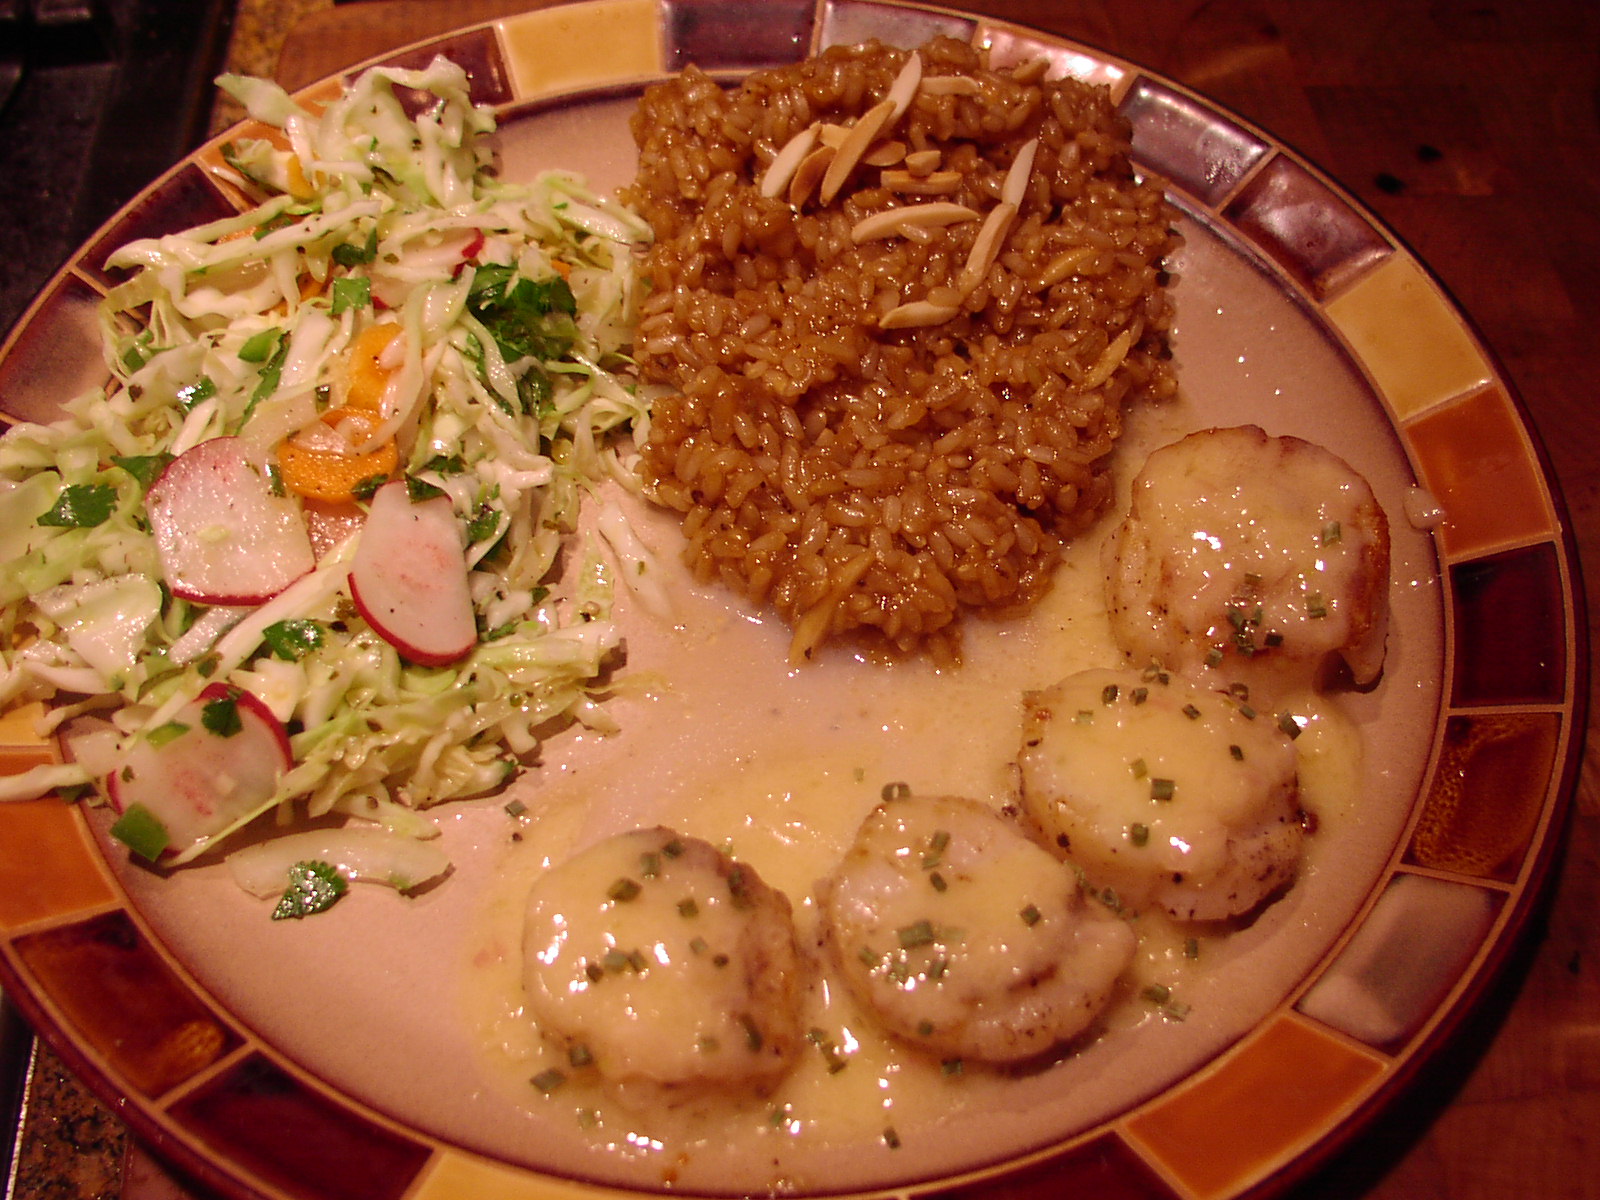
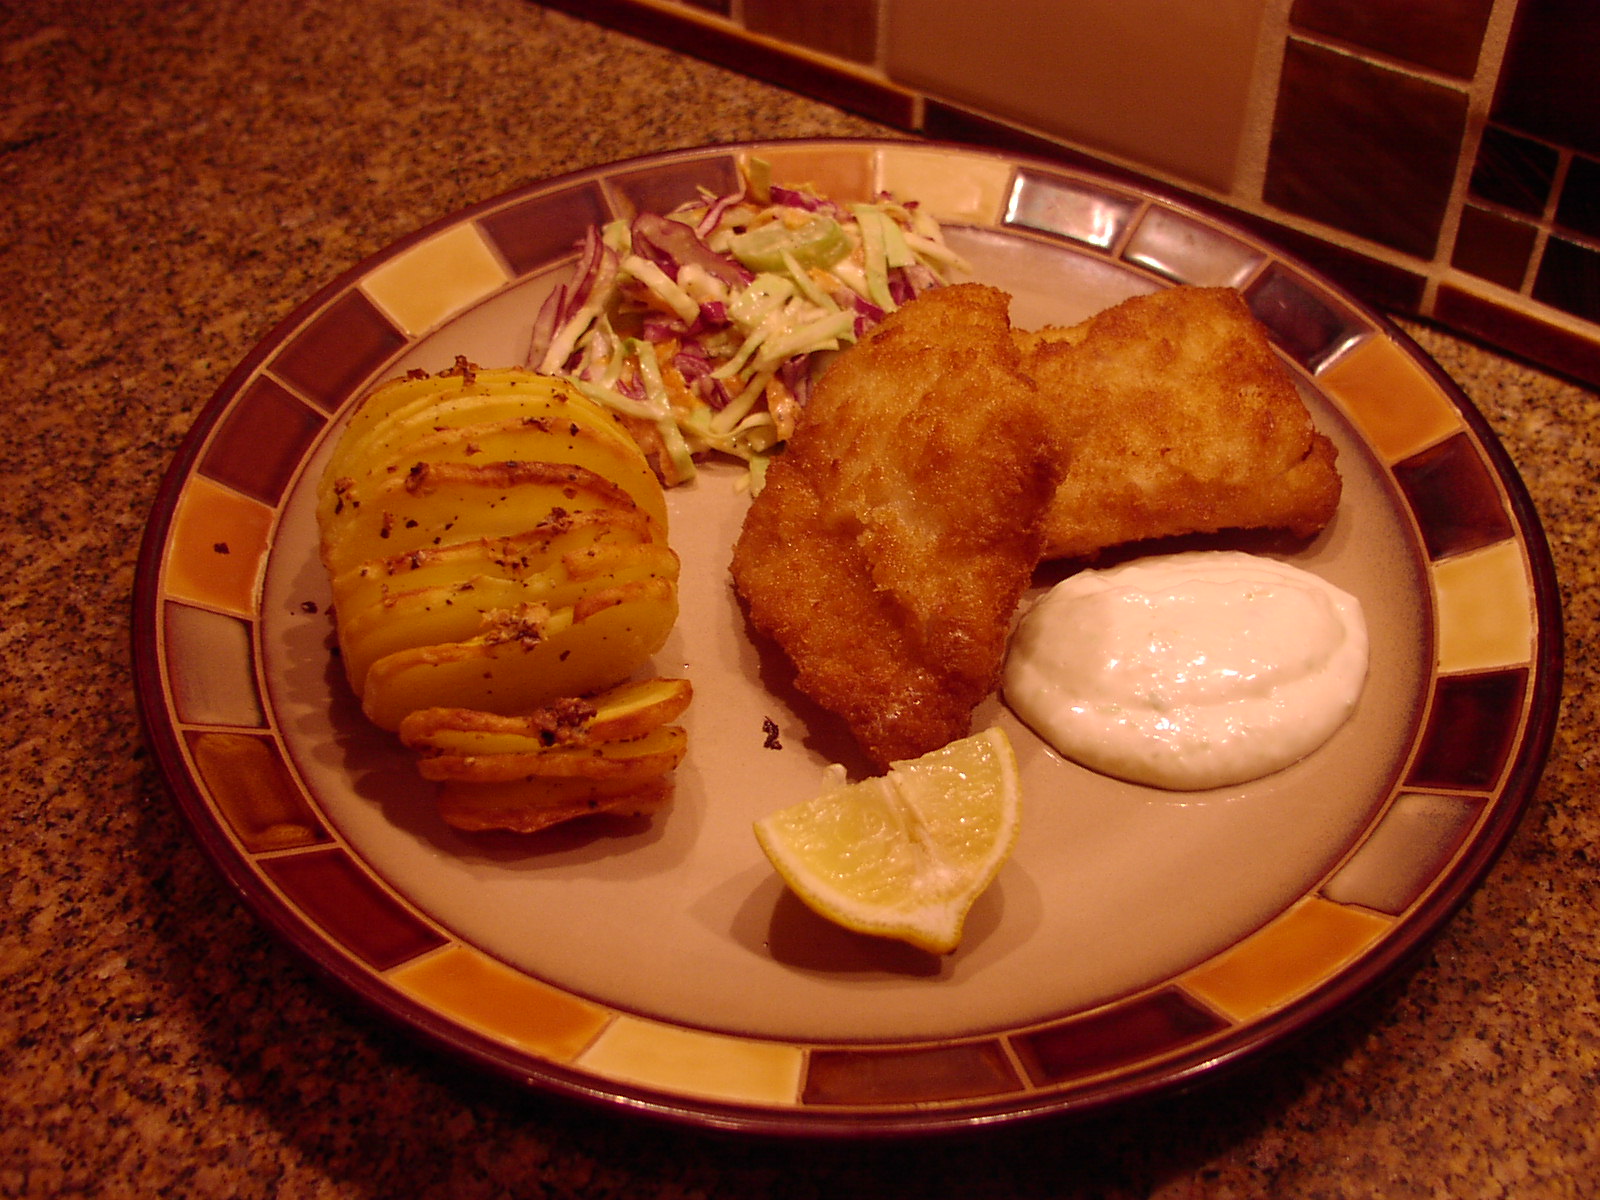
Common Uses: Mushroom sauce for pasta, shrimp sauce, base for chicken stew, chicken pot pie, chicken and biscuits, and gravy for roast chicken
Chicken Gravy
Espagnole Sauce (beef flavored sauce sometimes called Brown Sauce or Sauce Brune)
- 2 T. unsalted butter
- ½ c. diced onions
- ¼ c. diced carrot
- ¼ c. diced celery
- 2 T. all-purpose flour
- 3 c. commercially prepared or homemade beef stock (see recipe for homemade beef stock below)
- 2 T. red wine
- 1 T. tomato paste
- 1 bay leaf
- ½ tsp. dried thyme
- 1 T. chopped fresh parsley
In a heavy sauté pan, melt the butter over medium heat. Add the mirepoix (term for the combination of onion, carrot, and celery) to the butter and sauté for about 5 minutes or until the veggies are lightly browned. Whisk in the flour and cook for about 5 minutes or until the paste (roux) turns a lovely light brown. (Watch carefully so that it does not burn. It will smell kind of nutty when it is done.) Whisk in the beef stock, red wine, and the tomato paste. Bring to a boil, reduce heat, and add the bay leaf, thyme, and parsley. Simmer uncovered for about 45 minutes or until mixture has reduced by about one-third. Stir frequently. Discard bay leaf. If a smooth consistency is required, purée the sauce in a blender or food processor.
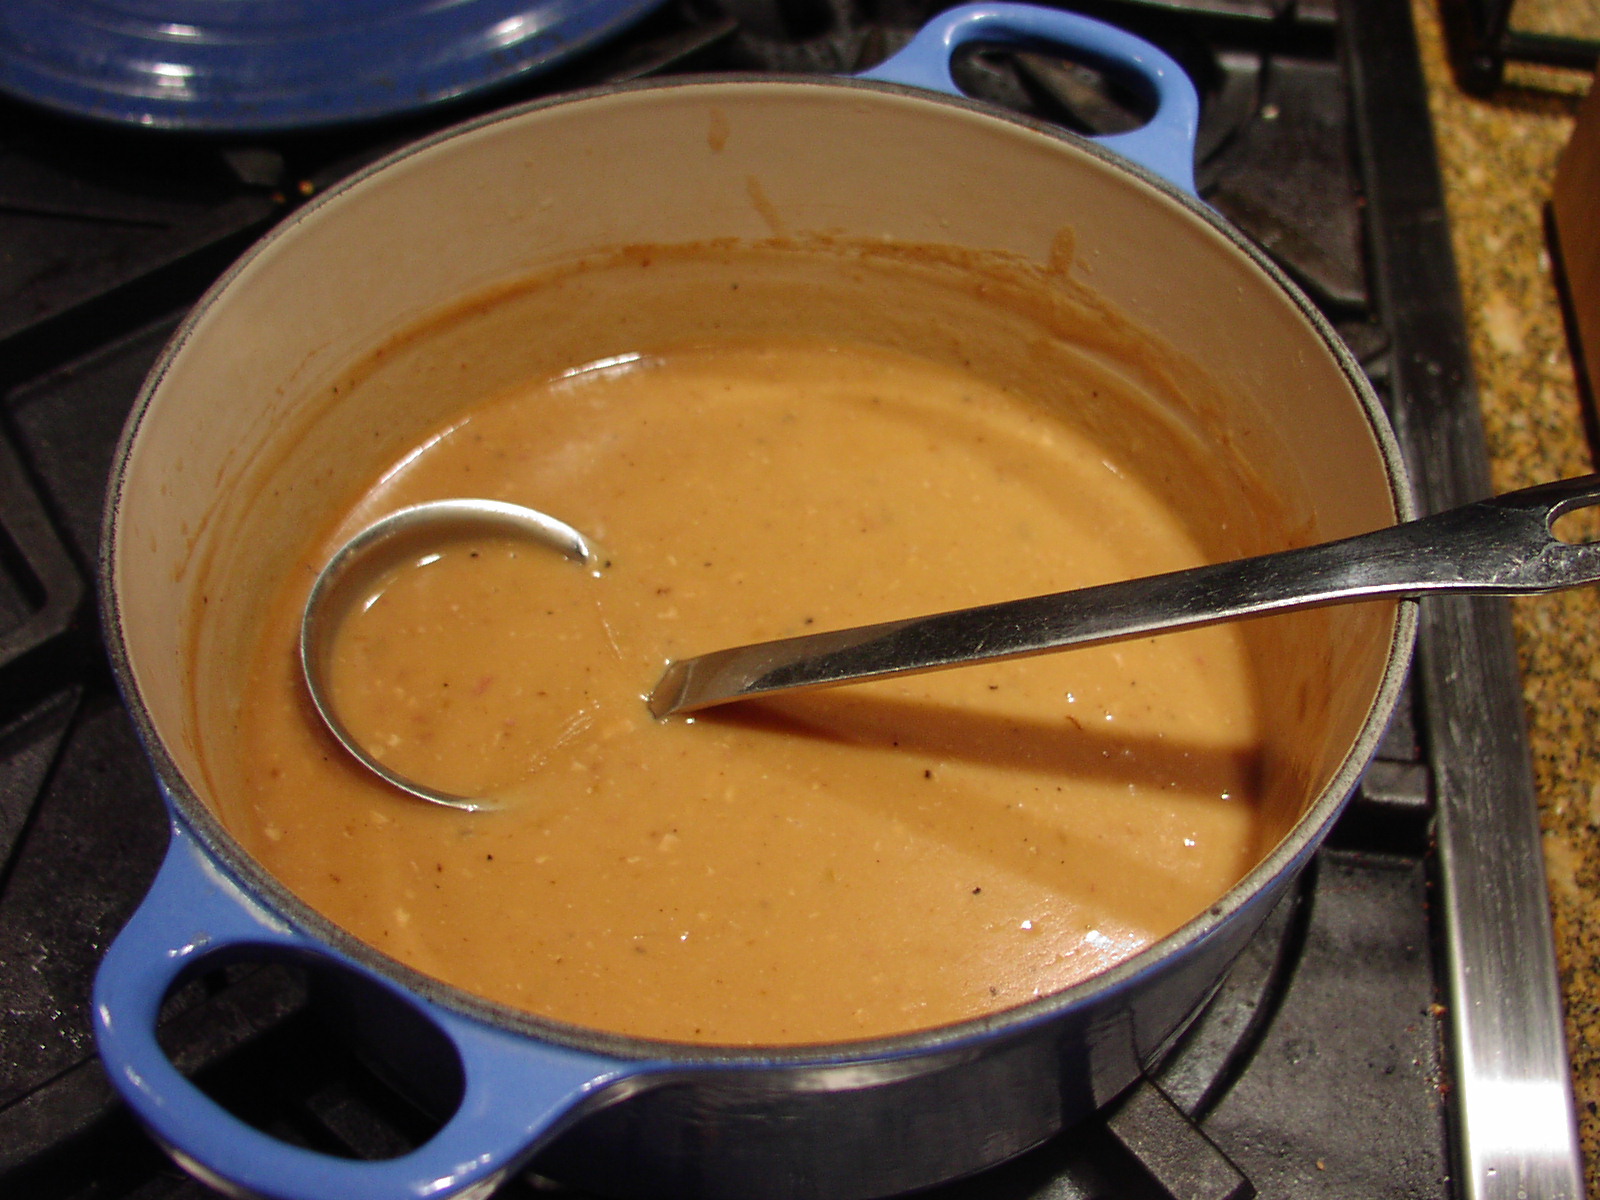
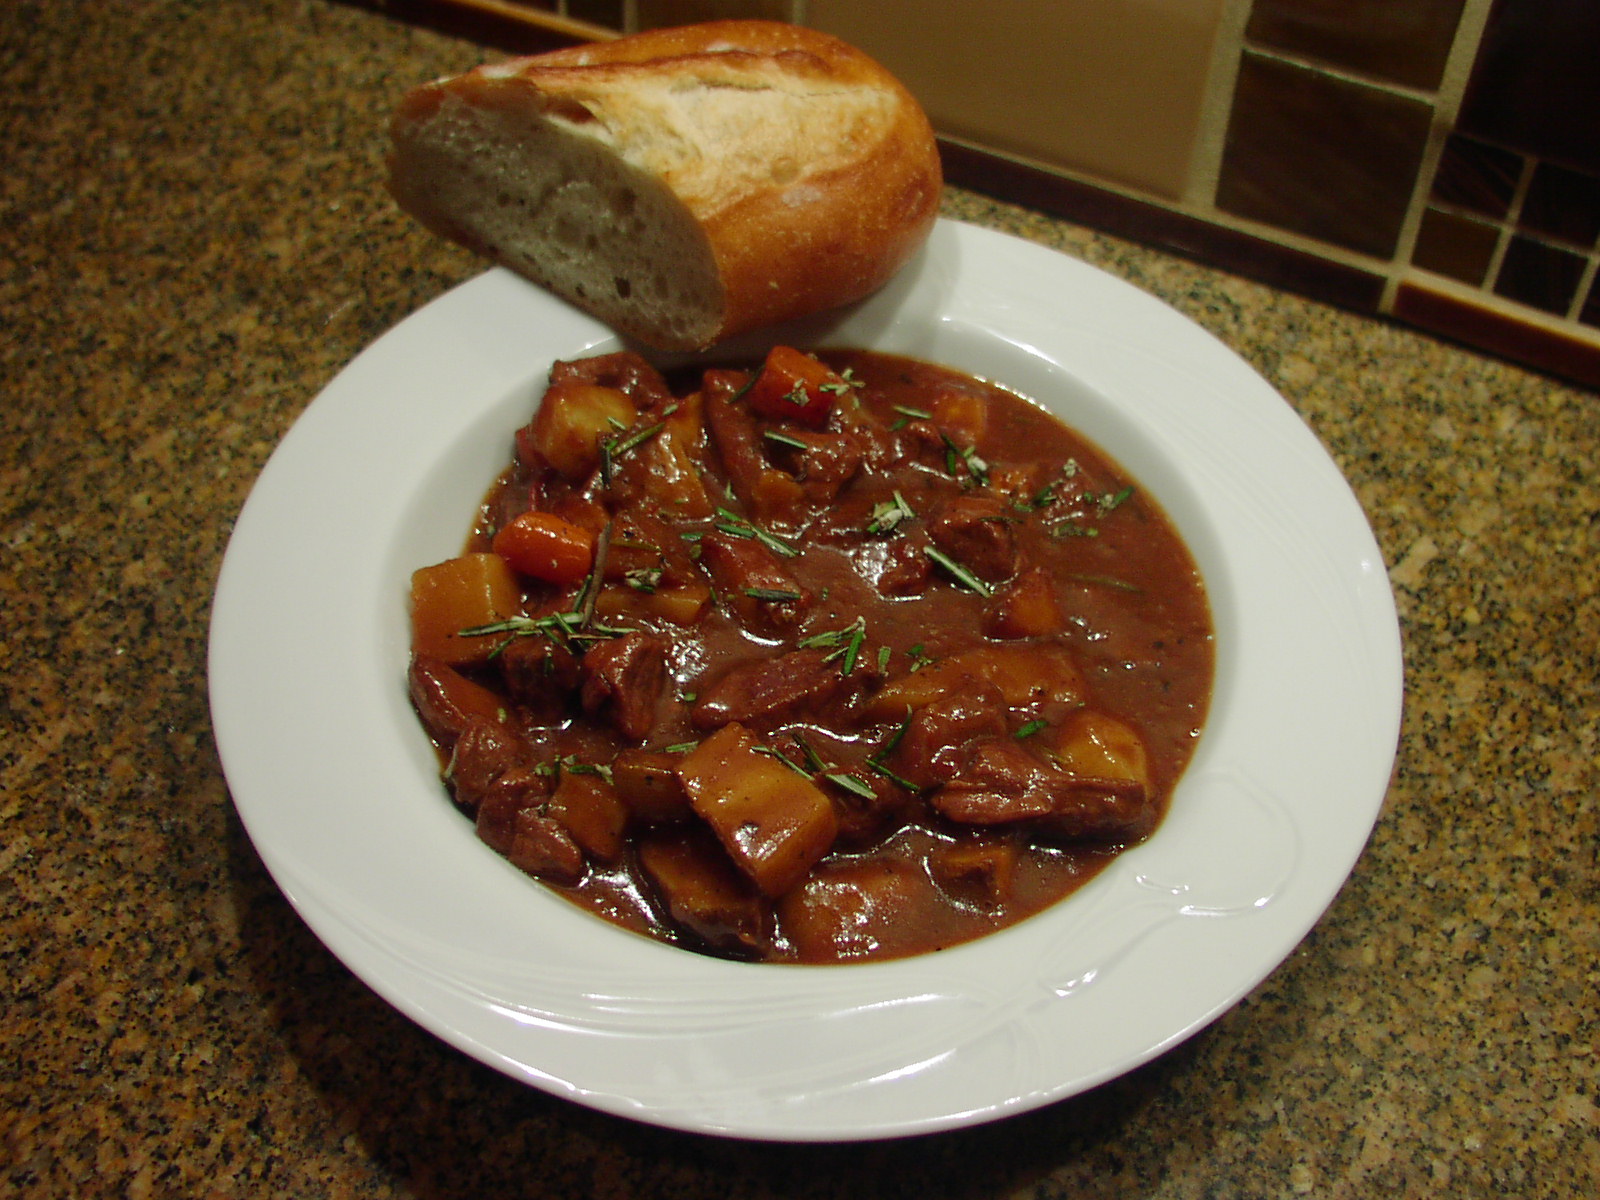
Common Uses: Base for beef stew, beef pot pie, beef gravy, Swiss steak, beef stroganoff, and as a delicious drizzle over grilled steak
Beef Stew
Homemade Beef Stock
- 3 lbs. beef and veal meat, bones and scraps
- 1 onion, chunked
- 1 carrot, chunked
- 2 sprigs parsley
- 6 black peppercorns
- 1 bay leaf
- 3 qt. cold water
Spread meat and bones out on a large rimmed baking pan. Bake at 400 degrees for about 45 minutes or until the meat, bones and scraps are well browned. Remove from oven and allow to cool for a few minutes. Transfer bones and all drippings to a large covered stock pot. With a small amount of water, lift all the browned bits off the bottom of the baking pan and add to stock pot. Add onion, carrot, parsley, pepper corns, bay leaf, and water. Bring liquid to a simmer, cover, and cook gently for about 4 hours. Remove from heat. Let cool for about 30 minutes. Slowly strain into another container. Discard bones and vegetables. Chill broth. (I usually refrigerate overnight.) Lift off as much of the fat as possible from the top of the now thin jelly like broth.
Hollandaise Sauce
- 4 egg yolks
- ½ tsp. kosher salt
- ½ tsp. dry mustard
- 1 T. fresh lemon juice (must be from a real, picked from a tree, lemon)
- dash hot sauce
- ½ c. (¼ lb.) butter
Put all ingredients in blender except butter. Cover and whirl for 30 seconds. Melt butter until very hot. Add to blender in a steady stream through the little lid in the big lid until mixture is completely emulsified. Serve warm or at room temperature.
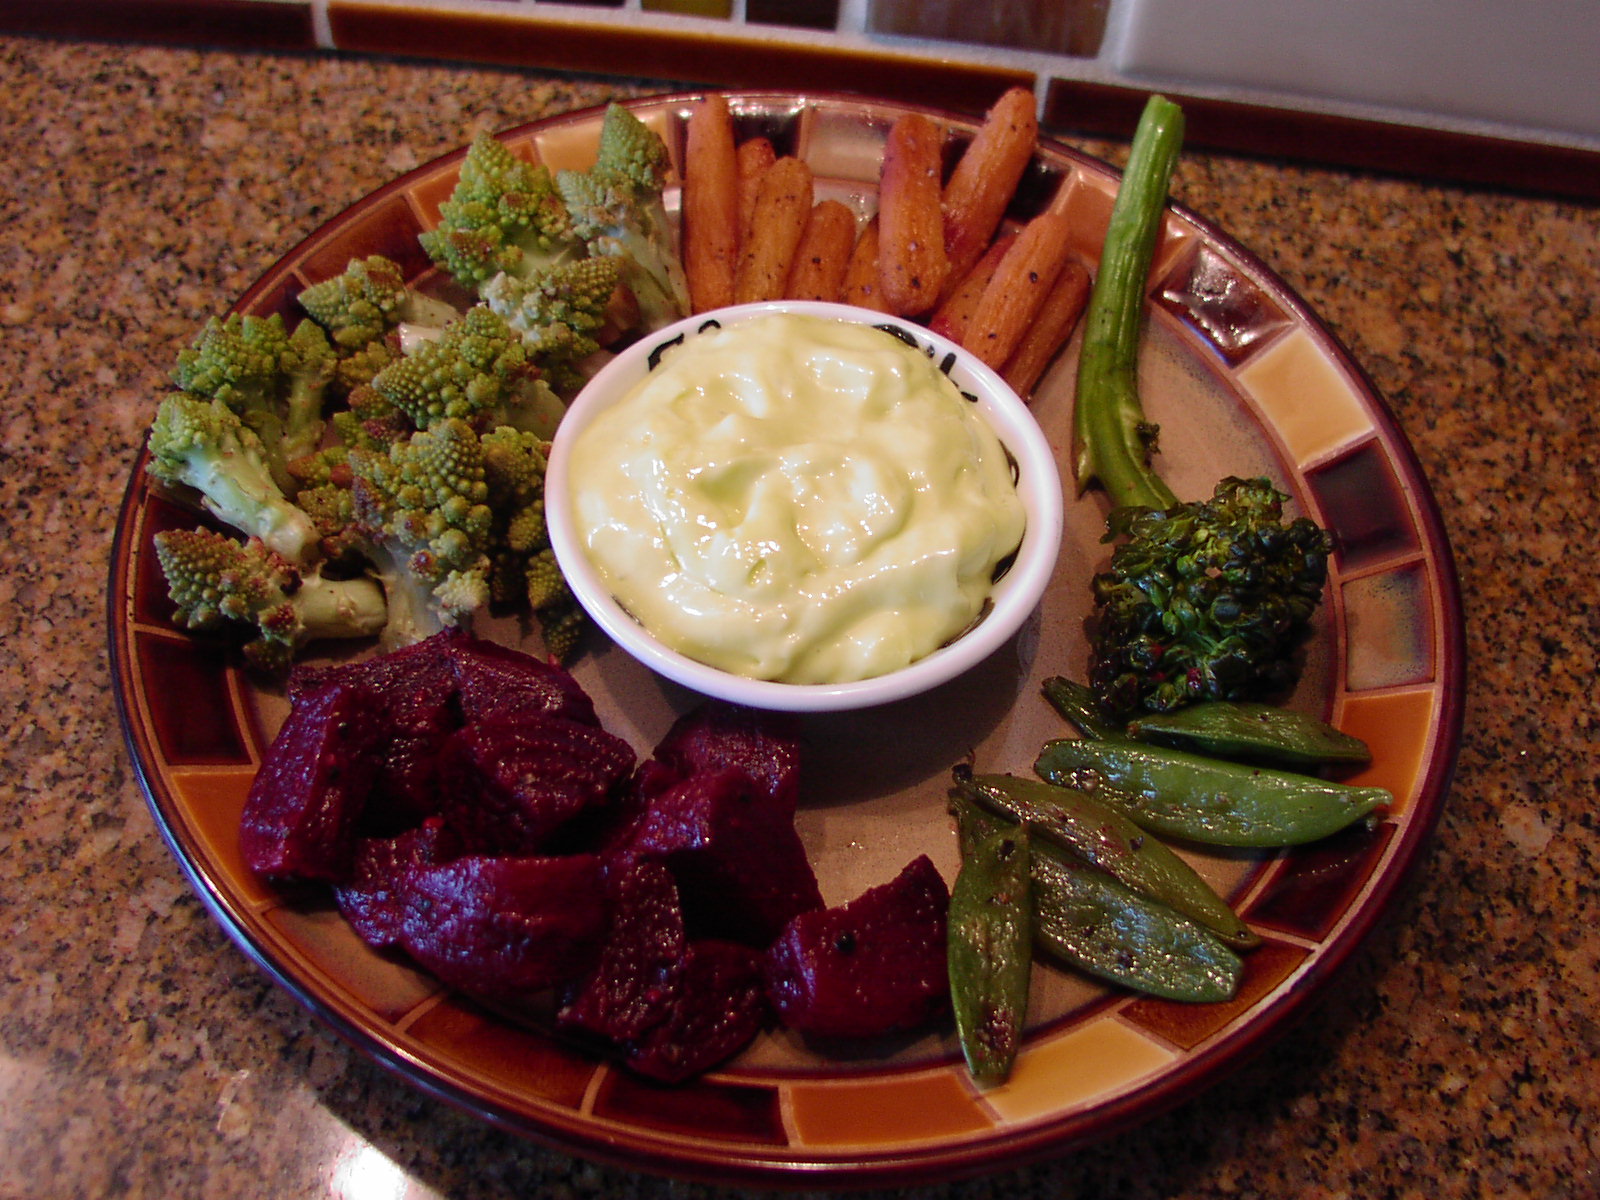
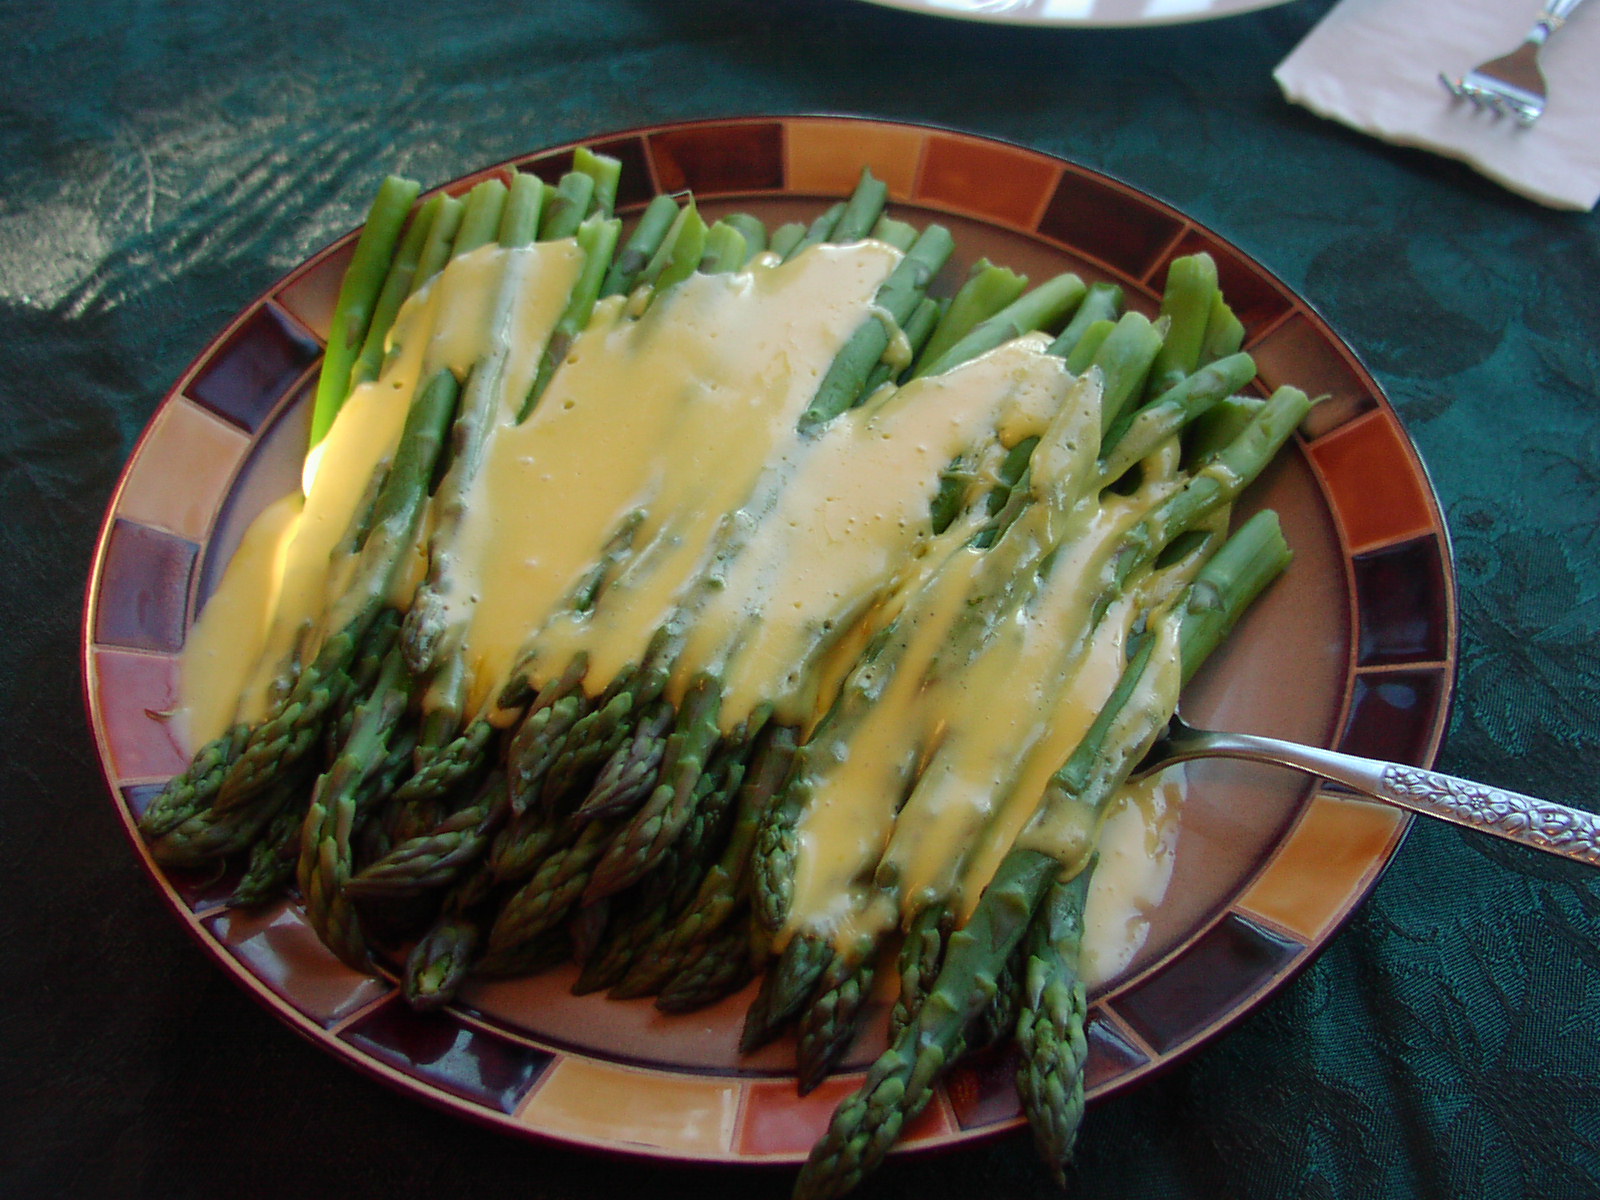
Common Uses: Eggs Benedict, slathered over cooked veggies (asparagus is our favorite), served over scrambled eggs that have been scooped onto cut croissants, and my personal favorite – dolloped onto any kind of baked, poached, or BBQ’d seafood. (Well actually, that’s not quite accurate. My all time favorite way to eat hollandaise is with a spoon, right out of the container in the refrigerator.)
Asparagus topped with Hollandaise
Sauce Tomate (basic tomato sauce – recipe number 1)
- 2 T. extra virgin olive oil
- 1 T. butter
- 1 medium yellow onion, chopped
- 1 lg. carrot, diced
- 1 c. chopped celery
- 2 cloves garlic, minced
- 2 (28-oz. cans) Italian tomatoes (chopped, diced, or whole – your choice)
- 2 c. chicken or beef stock
- ½ c. dry white wine
- 2 T. tomato paste
- freshly ground black pepper
- pinch sugar
- 1 bay leaf
- ½ tsp. dried thyme
- 2 T. chopped fresh Italian parsley
Pour olive oil and place butter into a large covered sauce pan. Add the onion, carrot, celery, and garlic and sauté until onion is tender. Stir in the canned tomatoes, stock, wine, tomato paste, pepper, sugar, bay leaf, thyme, and parsley. Cover pan and bring contents to a low boil. Reduce heat and simmer gently for about 2 hours. Stir frequently. Add water if mixture becomes too thick. After 2 hours, adjust seasoning. Discard bay leaf. Purée the sauce in a blender or food processor if a smooth consistency is required.
Note: If the sauce is not as thick as desired, mash 1 tablespoon flour into 1 tablespoon room temperature butter and whisk into sauce. Stir for about 2 minutes or until thick. Not thick enough; repeat process.
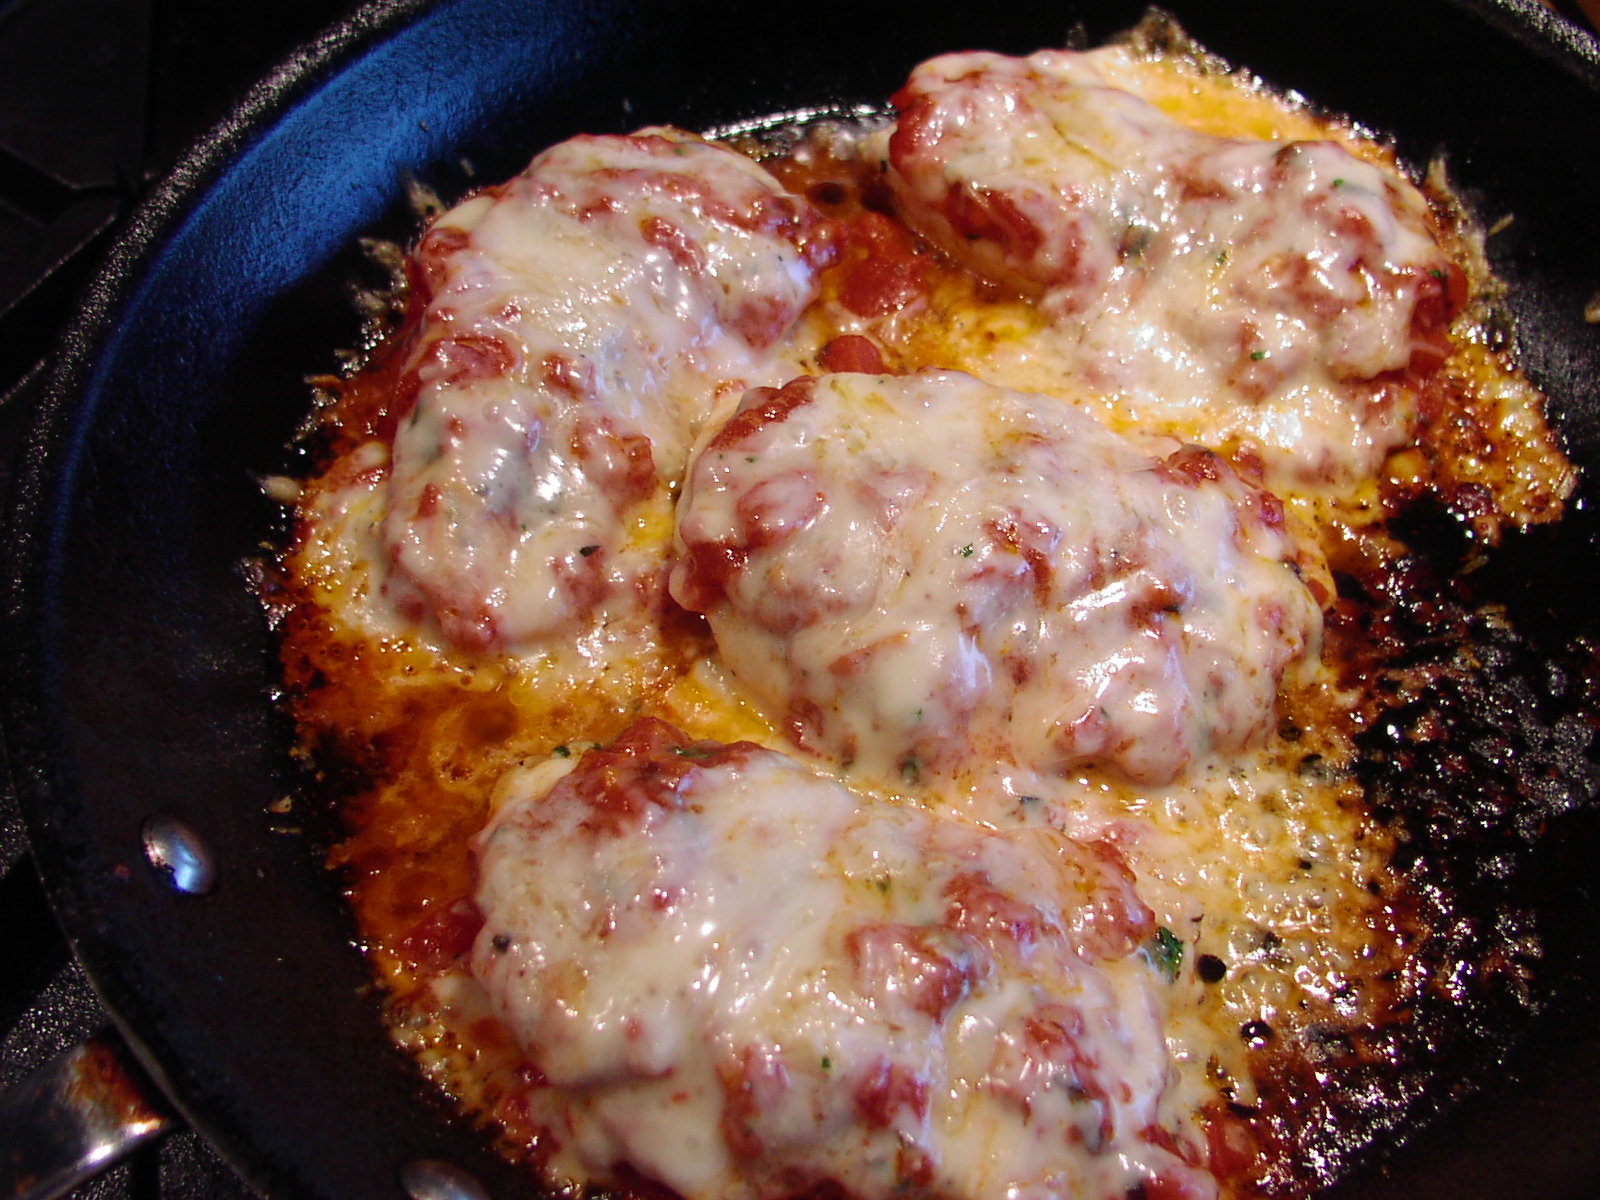
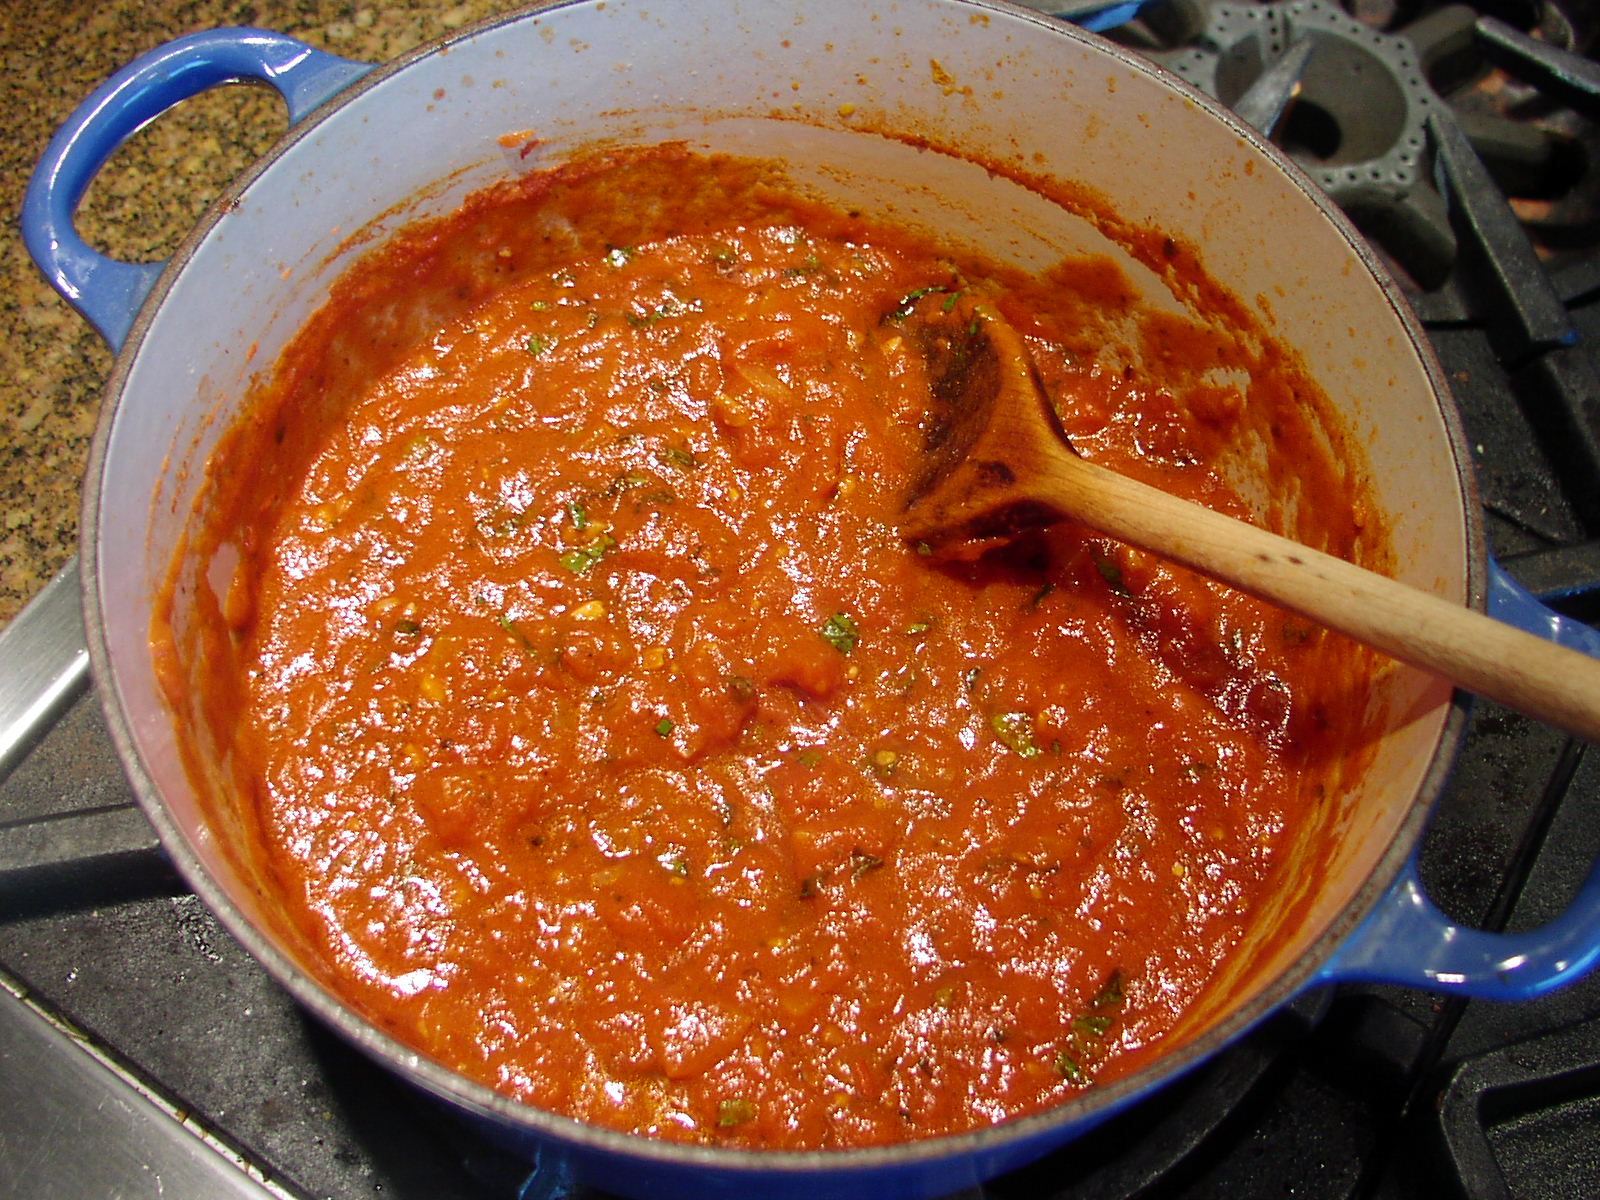
Common Uses: basic vegetarian base for any pasta dish calling for red sauce, eggplant Parmesan, chicken cacciatore, etc.
Sauce Tomate
Sauce Tomate – Classic Marinara Sauce (recipe number 2)
- 2 T. extra-virgin olive oil
- ½ c. chopped onion
- 2 cloves garlic, chopped
- 1 (28-oz.) can chopped or diced tomatoes (Italian tomatoes preferably)
- 1 bay leaf
- pinch crushed red pepper flakes
- 1 tsp. dried oregano
- ½ tsp. kosher salt
- freshly ground black pepper
- 3 T. chopped fresh basil leaves
- 1-2 T. butter, optional
In a large covered sauce pan, heat the oil over medium high heat. Add the onion and sauté until soft and translucent, about 6 minutes. Stir in the garlic and cook for an additional minute. Add the tomatoes, bay leaf, red pepper flakes, oregano, salt, and pepper. Stir to combine ingredients. Bring to a boil, reduce heat, cover, and simmer for about 30 minutes. (Take the lid off part way if the sauce is too thin.) Remove from heat, remove bay leaf, add basil and adjust seasoning. If the sauce tastes acidic, add butter 1 tablespoon at a time to round out the flavor.