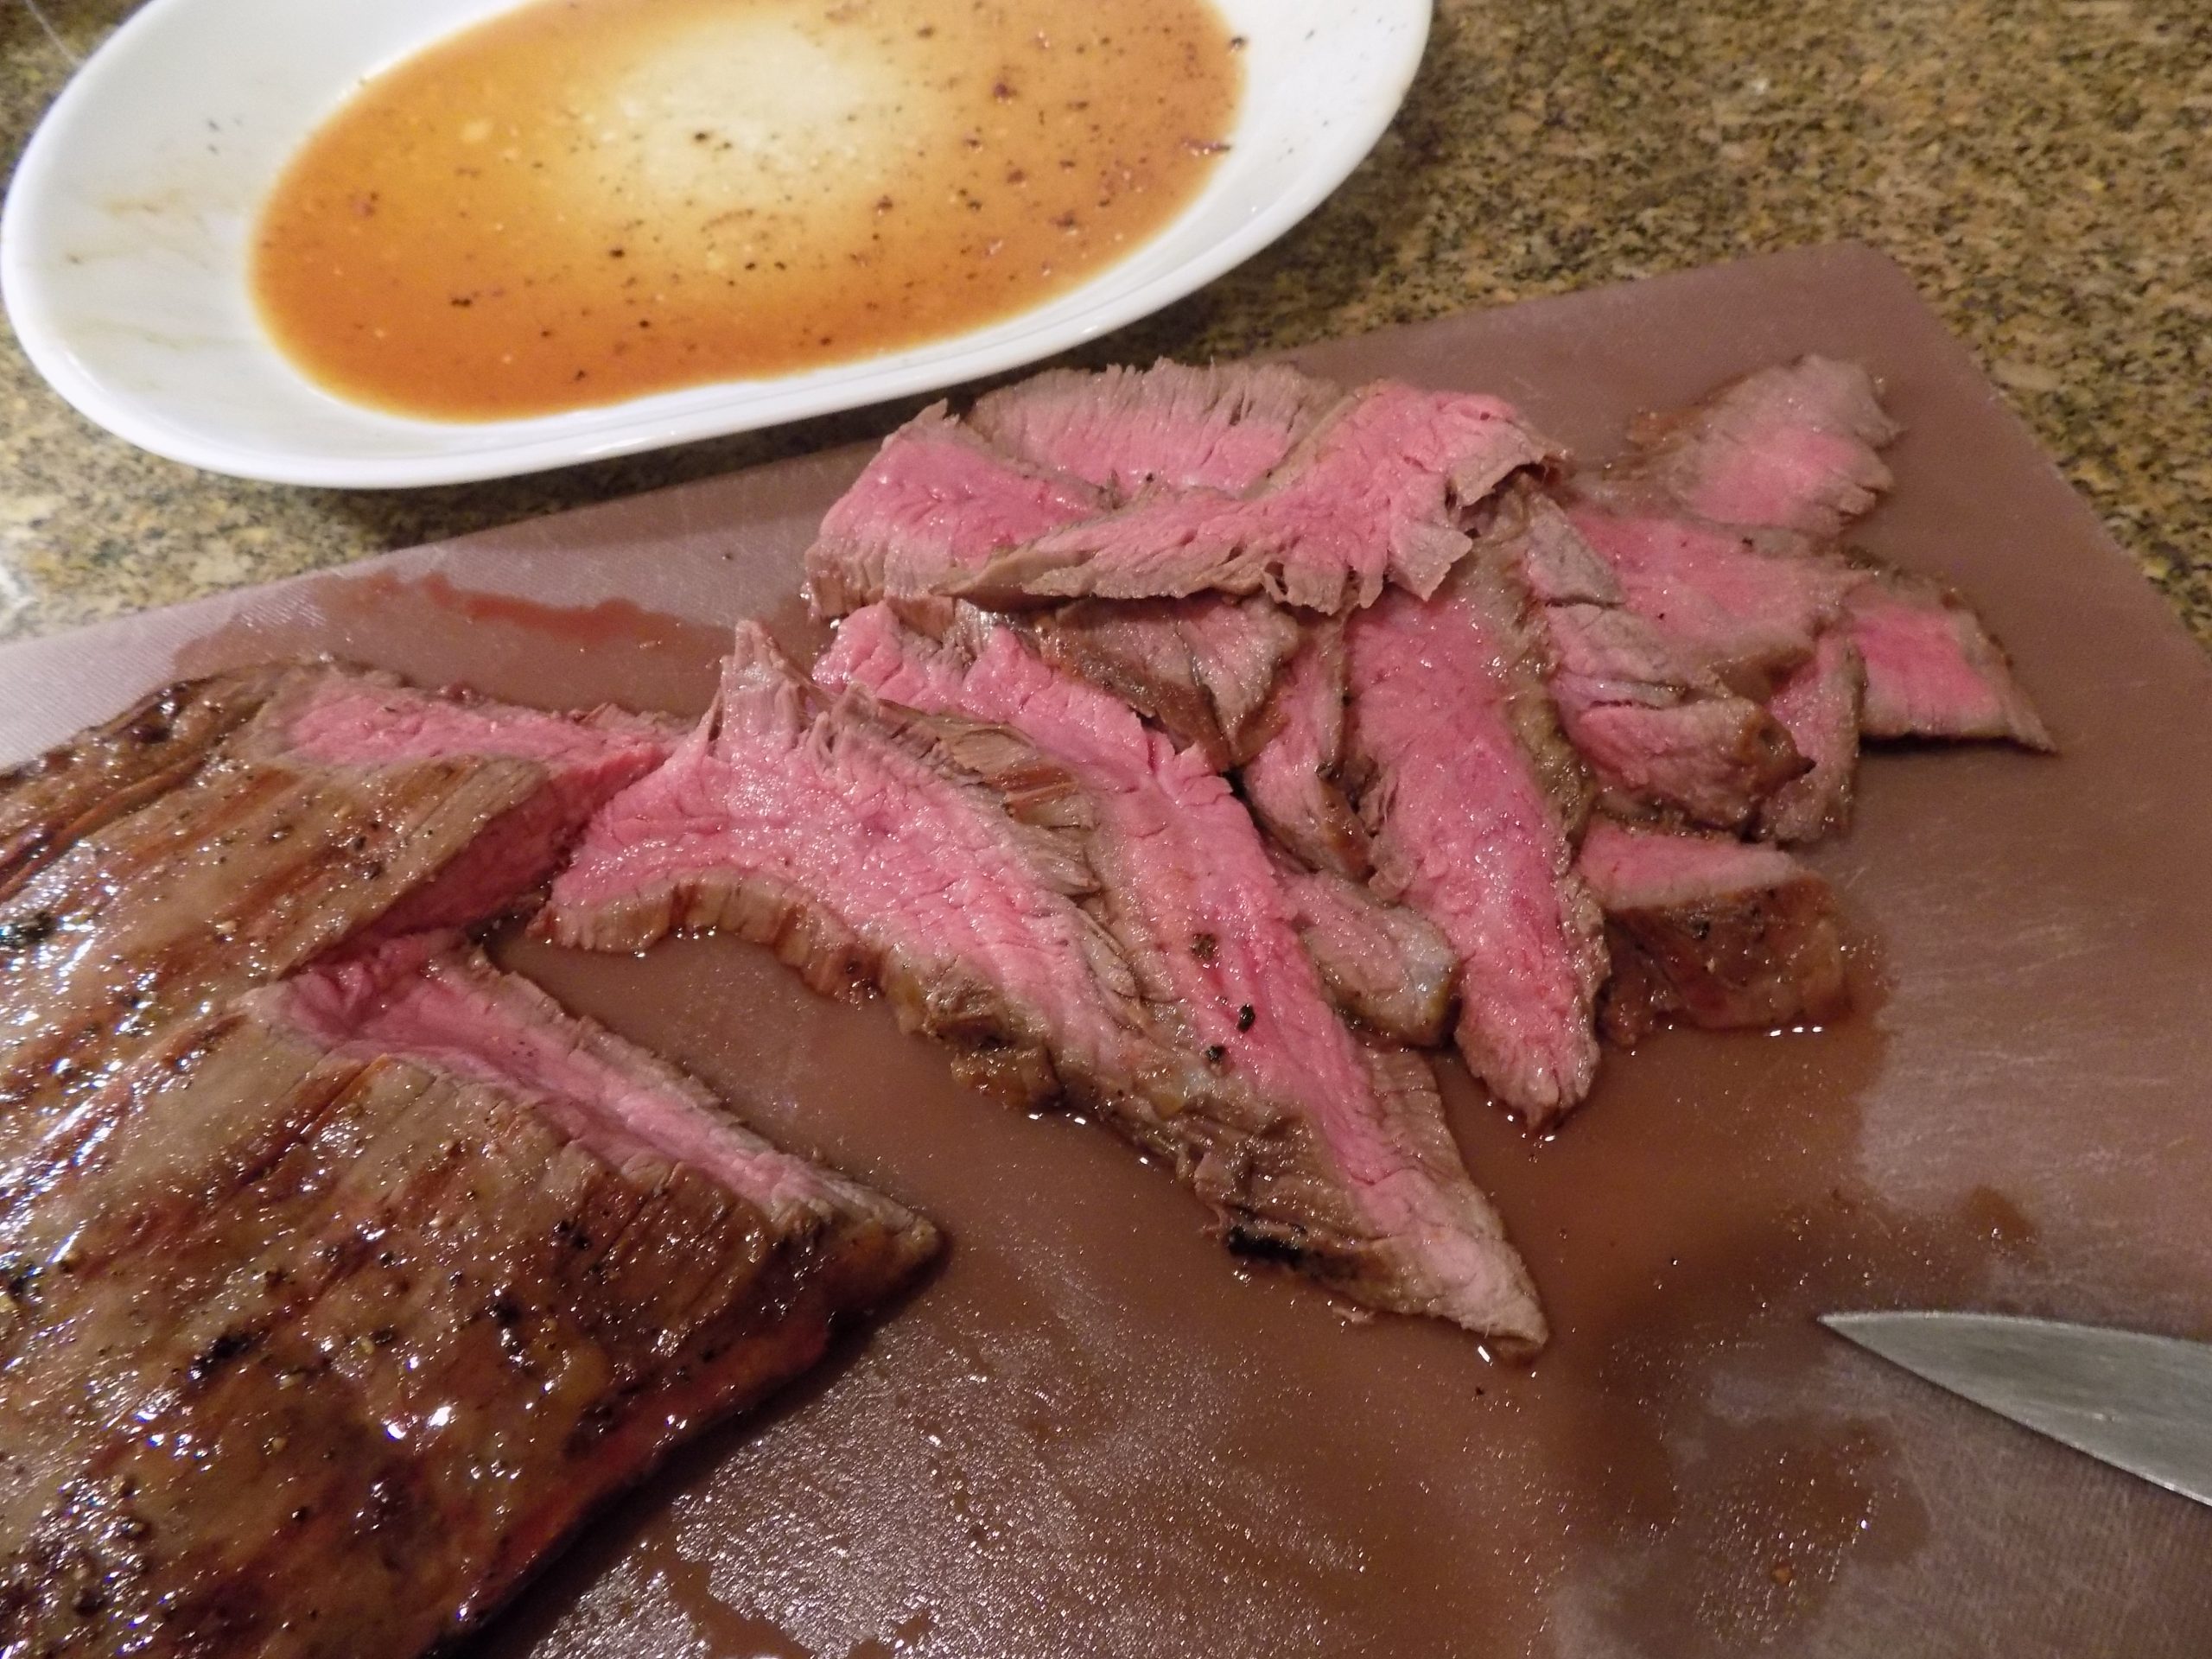
As a younger woman, I could routinely eat a beautifully rare 12 oz. steak and all the fixing’s and still have room for dessert. Now, I can’t even finish a 6-oz. steak, much less a baked potato. And I find this reality completely inequitable! When I was younger, I couldn’t afford to buy or order a really great piece of meat. And now that I am older, I can occasionally justify serving or enjoying a truly fabulous steak in a restaurant but don’t have the room to finish the whole darn thing! Where is the “fair” in this dilemma?
So, the other evening as three quarters of my delicious steak lay uneaten on my plate, I decided this perfect bit of meat could not go to waste. Plus, I had been promising Mr. C. Beef Stroganoff for quite some time. So, this became one of those aha times. Leftover Steak Stroganoff – here we come!
Using my old tried and true Beef Stroganoff recipe as a guidline, this recipe came into being. And what a wonderful way to use up leftover steak. As long as you only add the thinly sliced steak right at the last minute, you don’t have to worry about the rare steak becoming tough.
So, not only is this dish delicious, it’s very quick and easy to prepare. Served with a nice green salad or veggie, it’s perfect for a couple of older appetites, with leftovers the next day for lunch. Better and better.
Well that’s it for today. I don’t have the energy to write a long rant (diatribe really) about the state of our union, so consider yourself lucky.
Have a wonderful day. Be kind to everyone, including yourself. And remember, none of us had a choice in the color of our skin, the parents we were blessed or cursed with, or anything else that was given to us at birth. The only real choice we have is in how we use the blessing we were given to not only make life better for ourselves, but also for those around us.
Peace and love to all.
2 T. unsalted butter
½ sm. onion, diced
1 lb. sliced button mushrooms
2 garlic cloves, finely minced
2 T. unbleached all-purpose flour
1 c. water
1 tsp. beef base (I use Better Than Bouillon Beef)
¼ c. dry red wine
1 tsp. Worcestershire sauce
½ tsp. dried thyme
½ tsp. paprika
freshly ground black pepper
1 T. chopped fresh parsley
1 c. sour cream
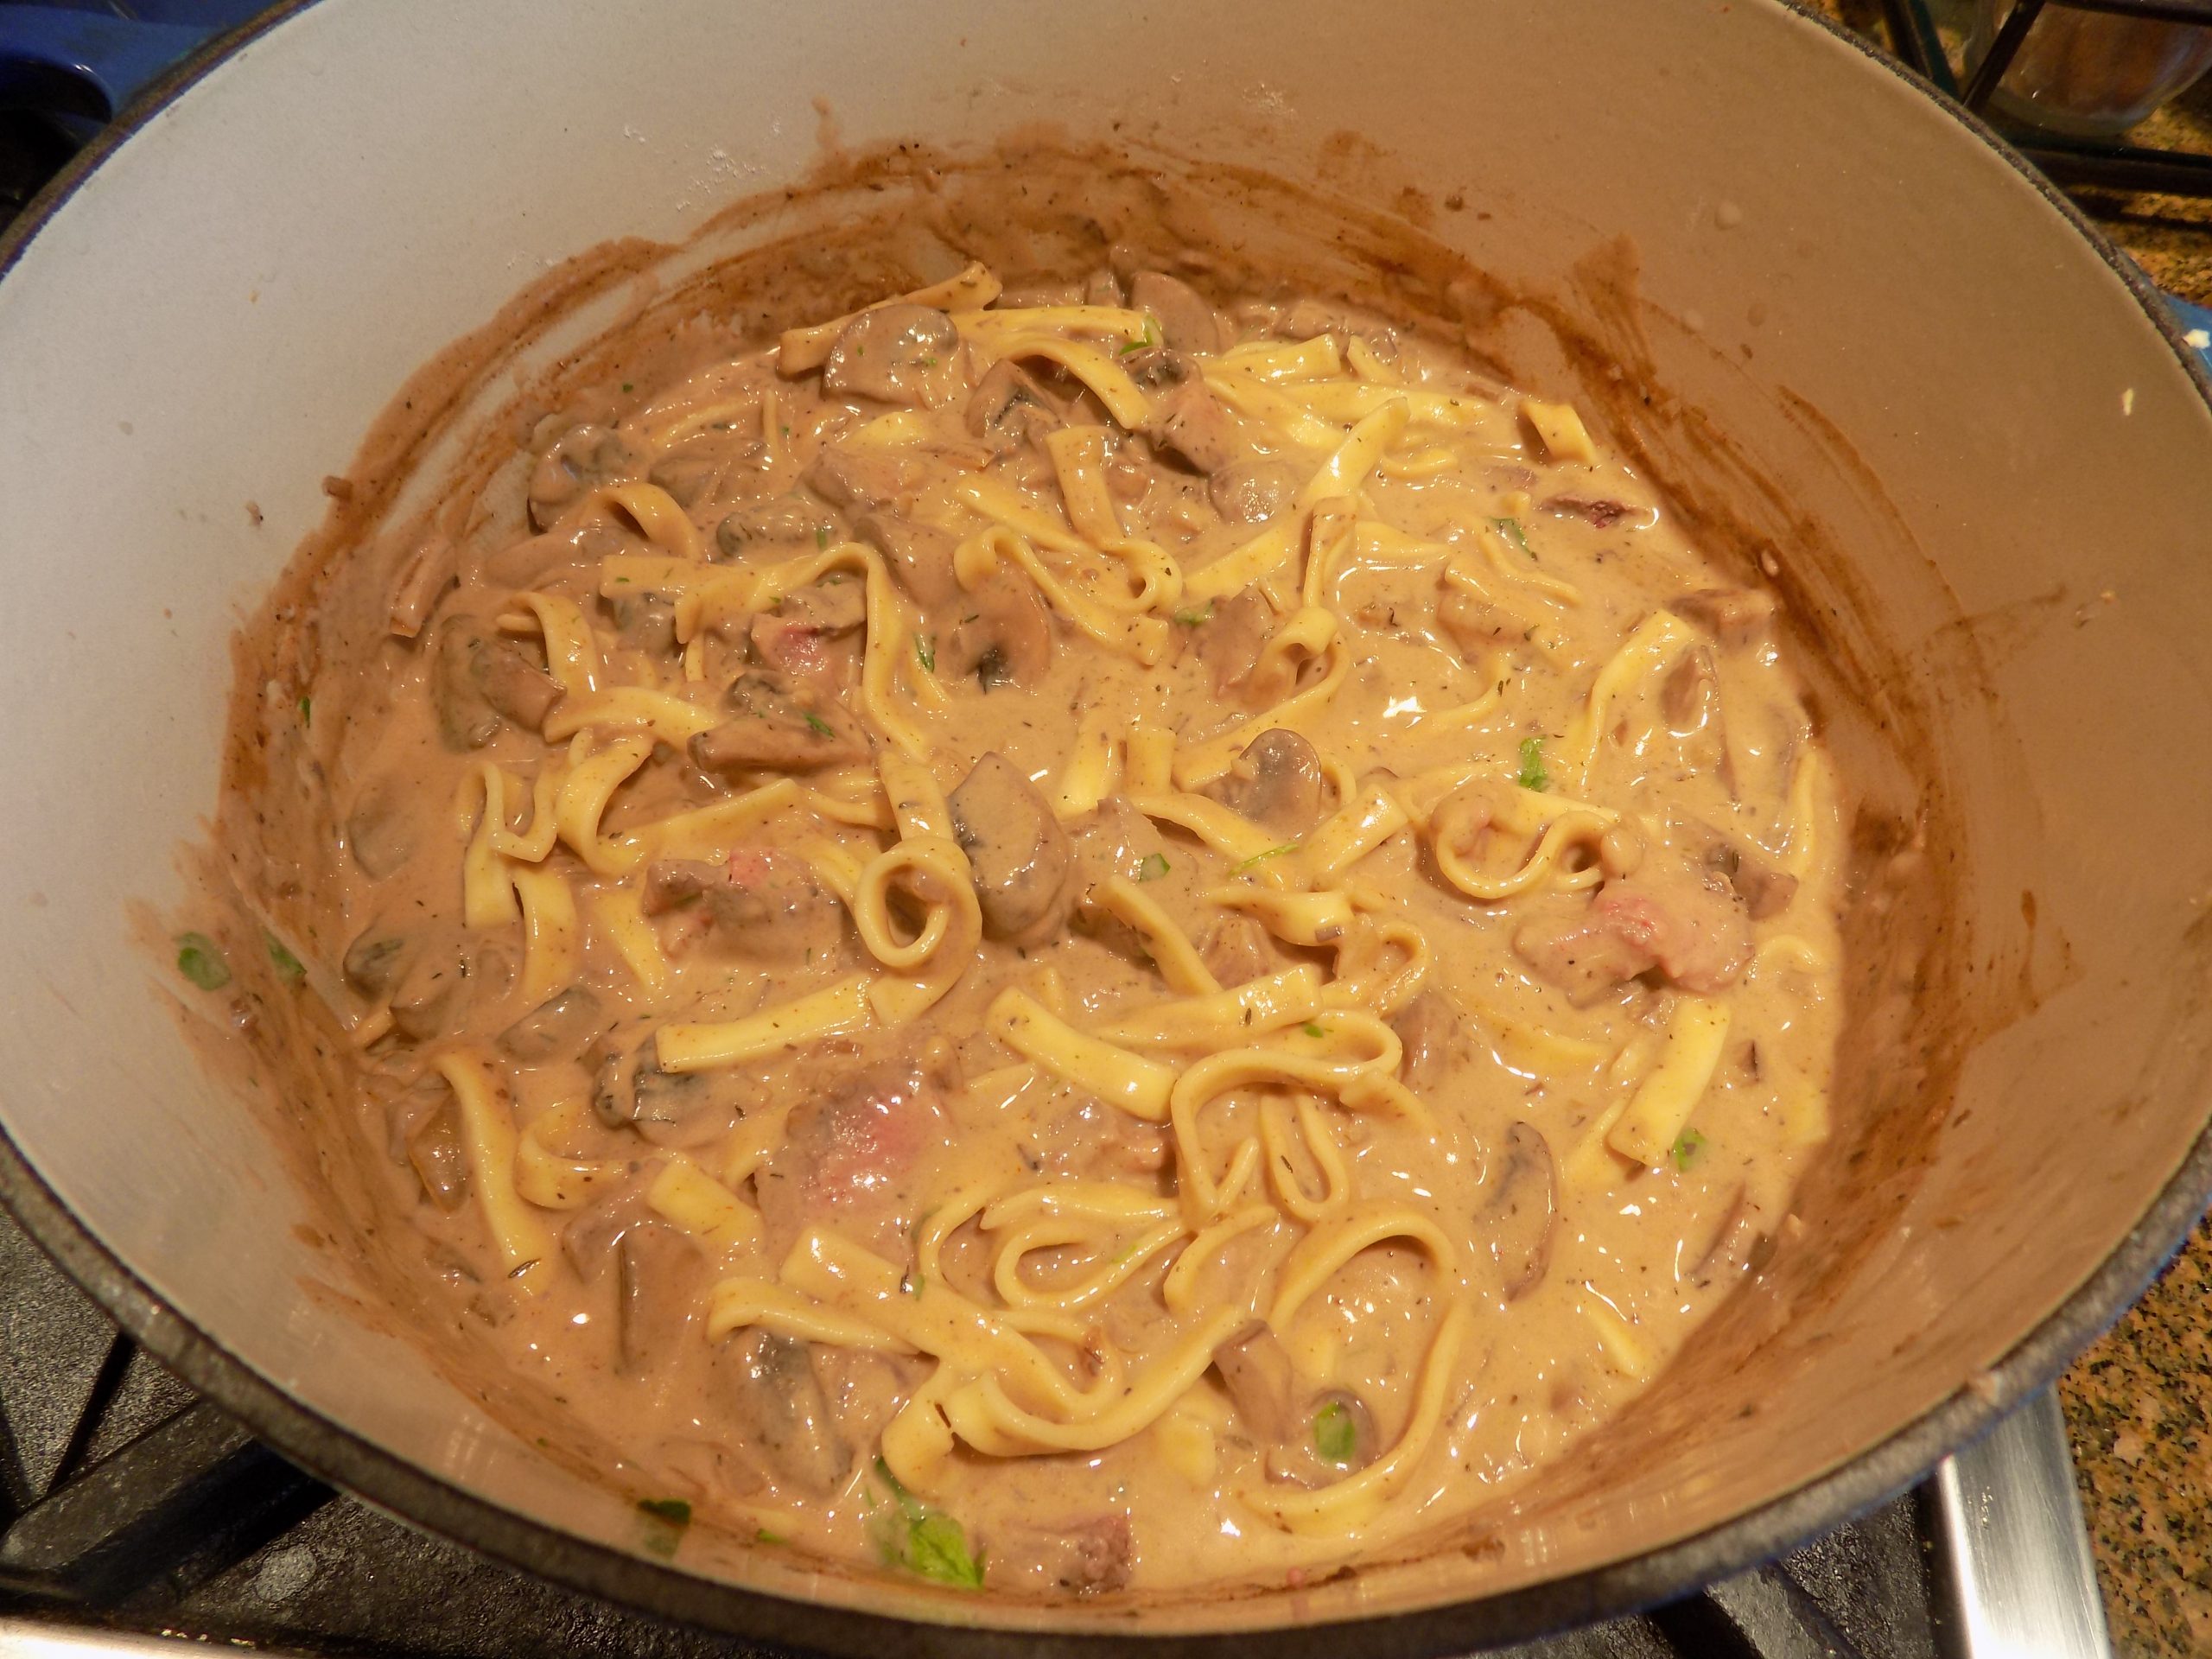
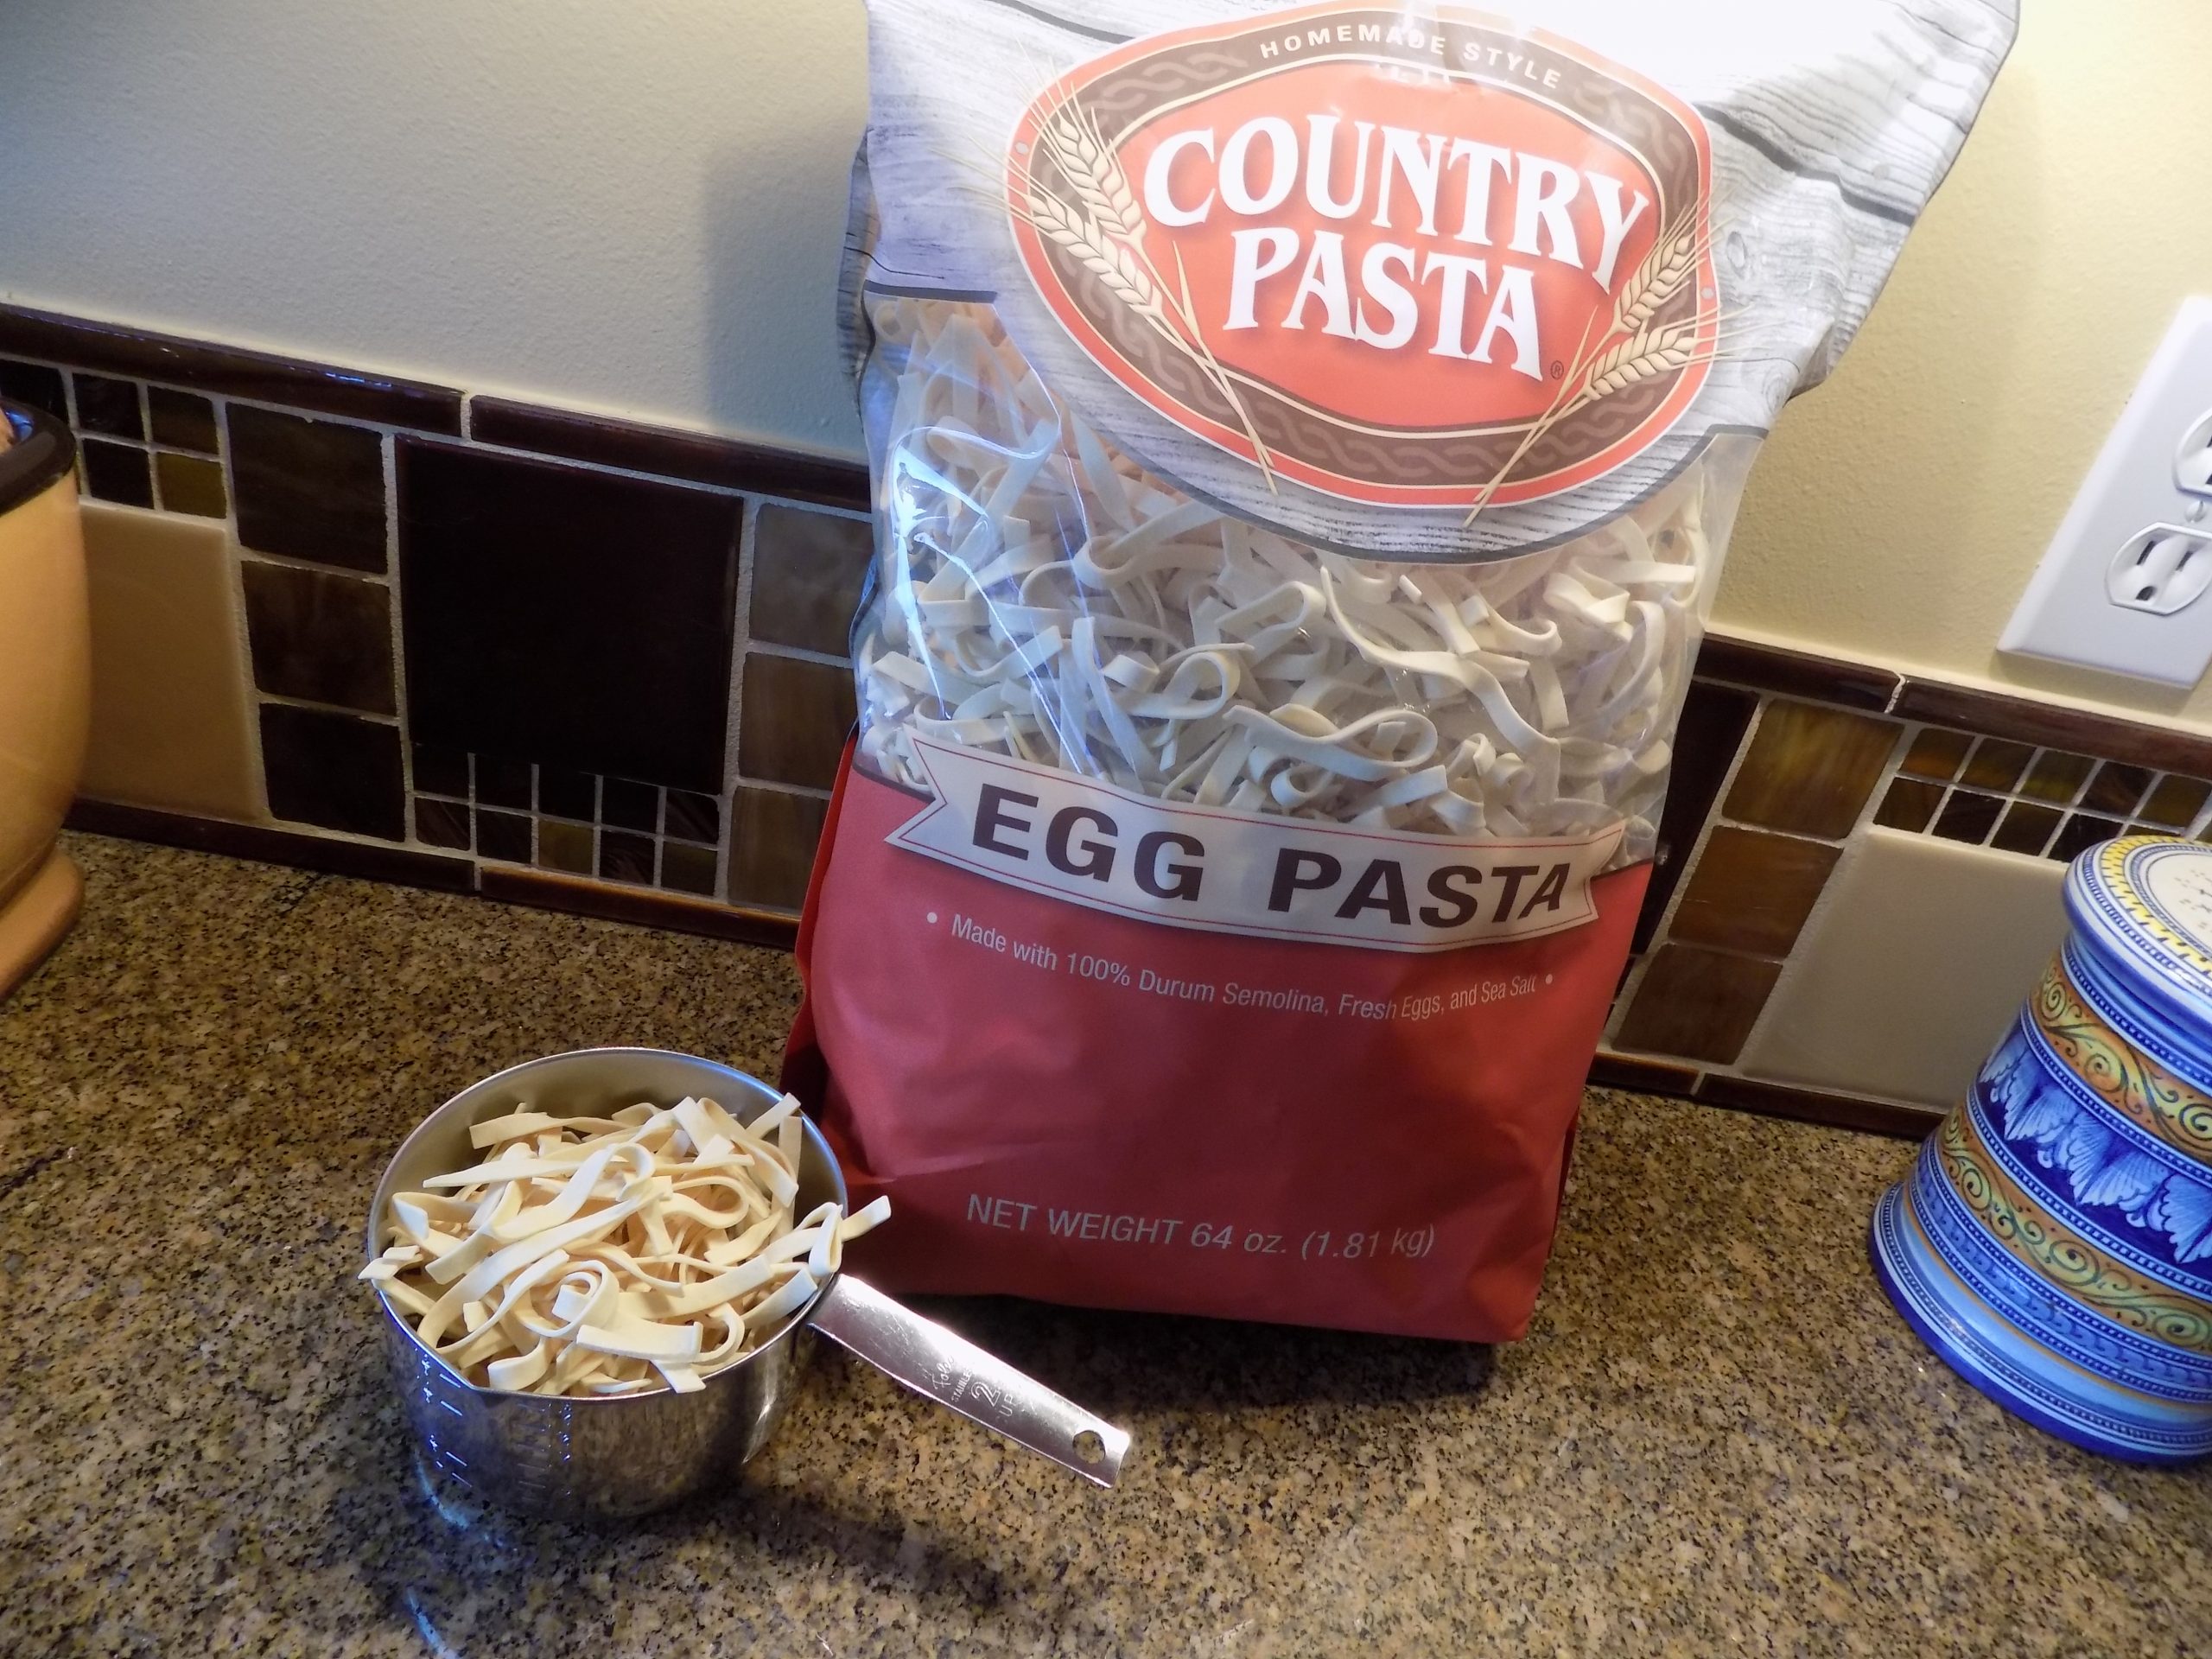
2 c. thick egg noodles, cooked al dente
⅓ – ½ lb. thinly sliced rare steak
Heat butter in a heavy frying pan. Add the onion and cook for about 5 minutes. Add the mushrooms, and sauté until nicely browned. Add the garlic and cook for 1 minute.
Stir in the flour and cook for 1 minute. Add the water, beef base, red wine, and Worcestershire sauce. Cook until the mixture starts to thicken. Add the thyme, paprika, black pepper, parsley, and sour cream. Bring just to a boil. Taste and adjust seasoning.
Stir in the cooked noodles and meat. Bring back to a gentle boil. Remove from heat and serve at once.