OK, not everyone has a neighbor that gifts them with a package of duck sausages just for the fun of it. But I do! (Vicki, my dear friend next door.) But then, what the heck to do with the sausages? So, bottom line, the poor sausages languished in our freezer for several months before I had the courage to use them in a dish. That, and Mr. C., who happens to have taken on the dubious task of “keeper of the freezer”, had grown weary of asking me when I planned to do something with the sausage. (Somebody has to make sure the freezer is always well stocked, and I am not that person. I am great at keeping the fridge and pantry in good supply. But I am terrible when it comes to the freezer. It lives in our garage, so out of sight, out of mind as the old saying goes! You know how it is!)
Anyway, I finally decided that the sausage would be perfect in soup. And where better to look for a recipe than on the site that sells all things duck – D’Artagnan. (Great site BTW!)
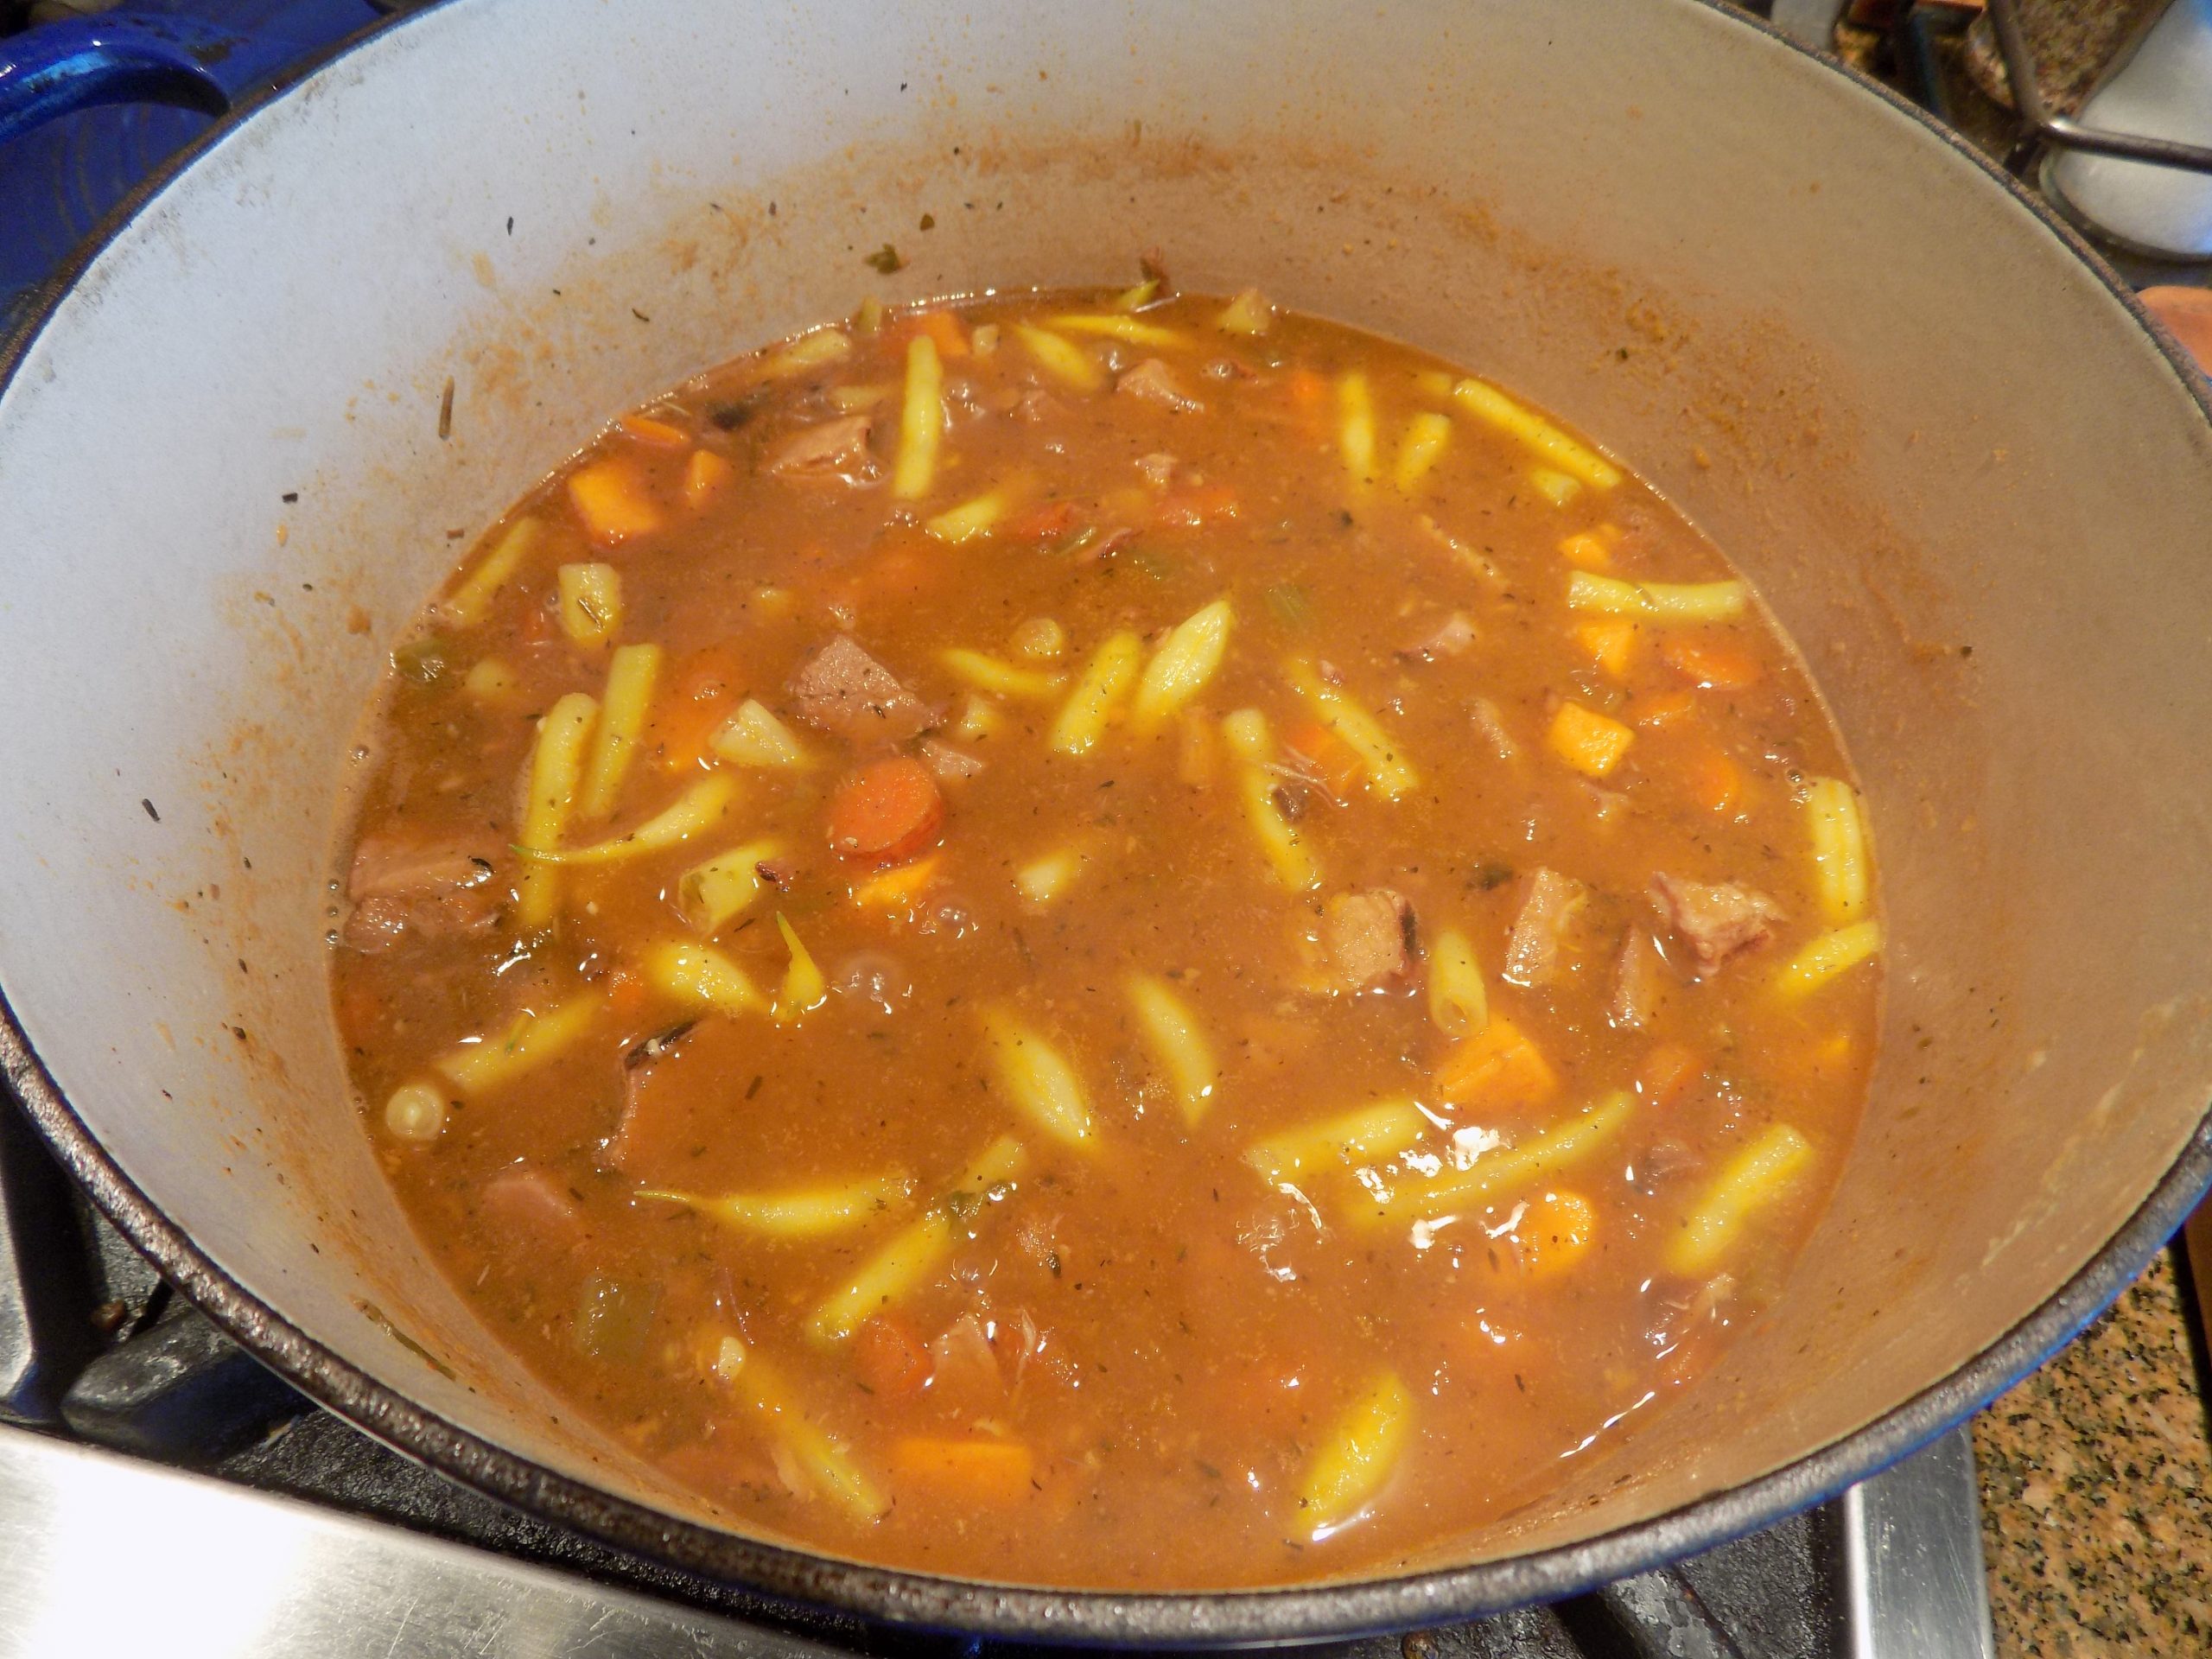
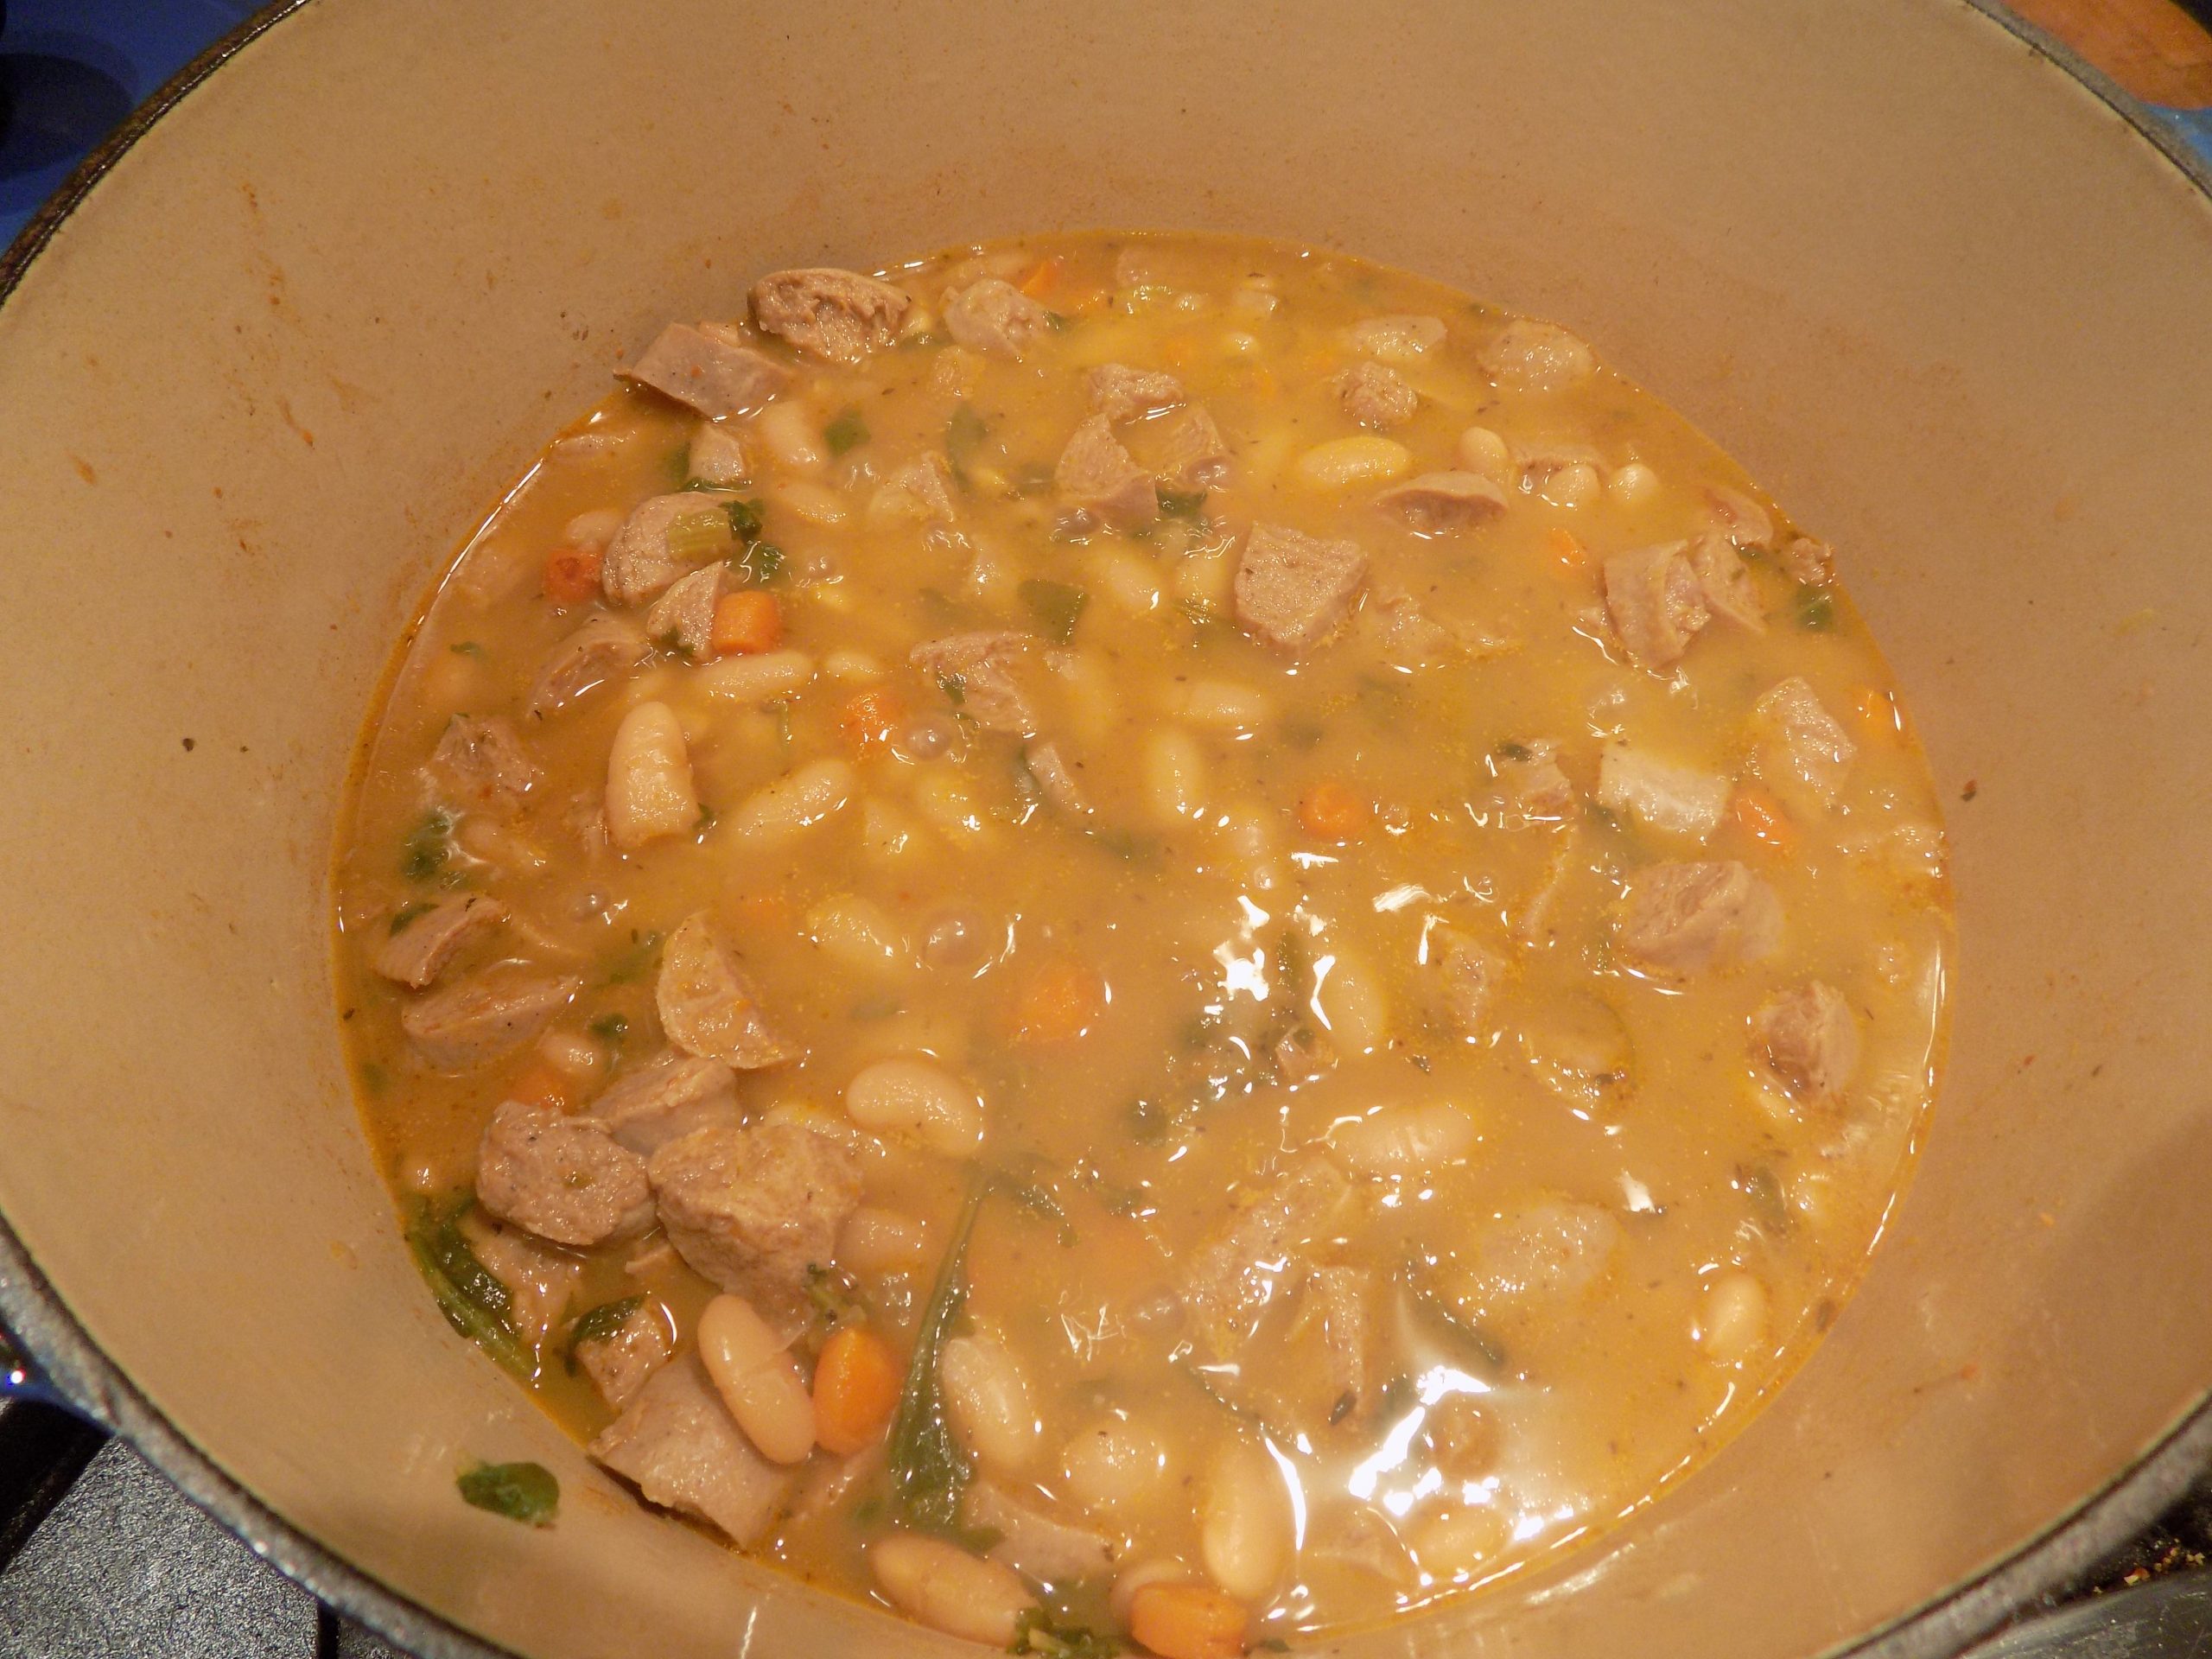
So, this is my version of D’Artagnan’s White Bean & Duck Sausage Soup. (Why do I always think of the Marx Brothers when I say duck soup?)
Anyway, the soup turned out to be quite delicious, and very easy to build. There is one difficult step however, but that step happens almost every time I make soup. It’s the waiting time while the soup burbles away to yummy perfection. Because all the time soup is cooking, great smells emanate from the kitchen. And this soup was no exception when it came to smelling delightful as it cooked.
So, if you too just happen to have some duck sausage laying around, make this soup. It is ever so nourishing and makes your mouth happy while filling your tummy. A perfect winter treat! If you don’t have any duck sausage on hand, then consider ordering some online. It is very rich and delicious. And an 8.5-oz. package goes a long way.
Well, that’s all for today. It’s very cold outside. And mother nature can’t decide whether to cover us with snow or torture us with the fact that the clouds could dump on us at any old time. So, we wait. And watch. And change a couple of appointments just in case. Never a dull moment. But then, that’s OK too!
Peace and love to all.
1 c. dry cannellini beans
2 T. extra virgin olive oil, divided
1 (8.5-oz.) pkg. Duck and Armagnac Sausage, removed from casings and cut into small dice (duck sausage available at D’Artagnan – on line)
1 lg. shallot, chopped
½ c. chopped onion
1 lg. carrot, chopped
1 rib of celery plus leaves, chopped
4 cloves garlic, finely minced
2 tsp. tomato paste
4 c. chicken stock
1 lg. bay leaf
¼ tsp. dried thyme
¼ tsp. kosher salt
freshly ground black pepper
½ tsp. Aleppo pepper or half Spanish paprika and cayenne or Piment d’Espelette
2 c. arugula, Swiss chard, kale, or baby spinach, finely chopped
2 tsp. cognac, opt.
The night before you plan to build the soup, rinse beans under cool running water then place in a large non-reactive container and cover with 2-inches of cool water. Let beans soak at room temperature overnight. Or, rinse the beans, cover with 3-inches of water, bring to a boil, remove from heat, cover, and let sit for 2-3 hours.
Heat 1 tablespoon of the olive oil in a covered large pot or Dutch oven over medium-high heat. Thoroughly brown the sausage then remove it to a small bowl. Set aside to cool then place in your refrigerator until called for.
Add the second tablespoon of olive oil to the pan along with the shallot, onion, carrot, and celery. Season with salt and pepper. Sauté vegetables until shallots are translucent and carrots start to soften slightly, about 7 minutes. Add the garlic and cook for 1 minute.
Stir in the tomato paste and cook for about 3 minutes. Add the chicken stock, stirring up any browned bits at the bottom of the pan. Add the bay leaf and thyme. Bring the mixture to a boil, then turn down the heat to medium-low, drain beans, rinse, then add to the pot. Cover the pot and simmer the mixture for about 2½ hours, or until beans are cooked through. Remove bay leaf.
When the beans are tender, stir in the sausage, arugula, and Aleppo pepper. Continue to cook over medium heat for 20 minutes. Adjust seasoning and add the cognac. Serve hot.
Olive Oil Drop Biscuits are great with this soup. Look for recipe on this site in the very near future.