I just couldn’t decide which recipe for chicken pot pie I liked the best. So I decided to share my three favorite recipes (Chicken Pot Pie, Chicken and Parmesan Pot Pie, and Chicken, Broccoli, and Cheddar Pot Pie) and let you peruse the ingredient list for yourself. Of course you could fix all three at once, but I would suggest just starting with one. After all, these babies are loaded with calories. (I’m not proud of this you realize. It’s just a matter of fact!) So why am I posting these recipes tempting you to be naughty? Because my dear friends, there’s a time and a place for comfort food. (To my thinking, it’s anytime and anyplace!) But even a foodie hedonist like myself, can’t advocate eating comfort food all the time. (I would of course if I were 25 and still had the metabolism of a pigmy shrew. But alas those days are long gone. Sigh…)
So once in a while, when Mr. C and I have been particularly good, I reward us with a comfort food. And isn’t that the way it should be? A little reward here and there to act as an incentive for good behavior? I know it always works well for our cats after we’ve trimmed their toenails. So I figure if it’s good enough for our kitties, it should be good enough for us! And then, of course, there are those times when life gets a little rough. You know. Like when your favorite sports team loses a game, or your favorite TV show gets preempted by a presidential debate. Rough times for sure!
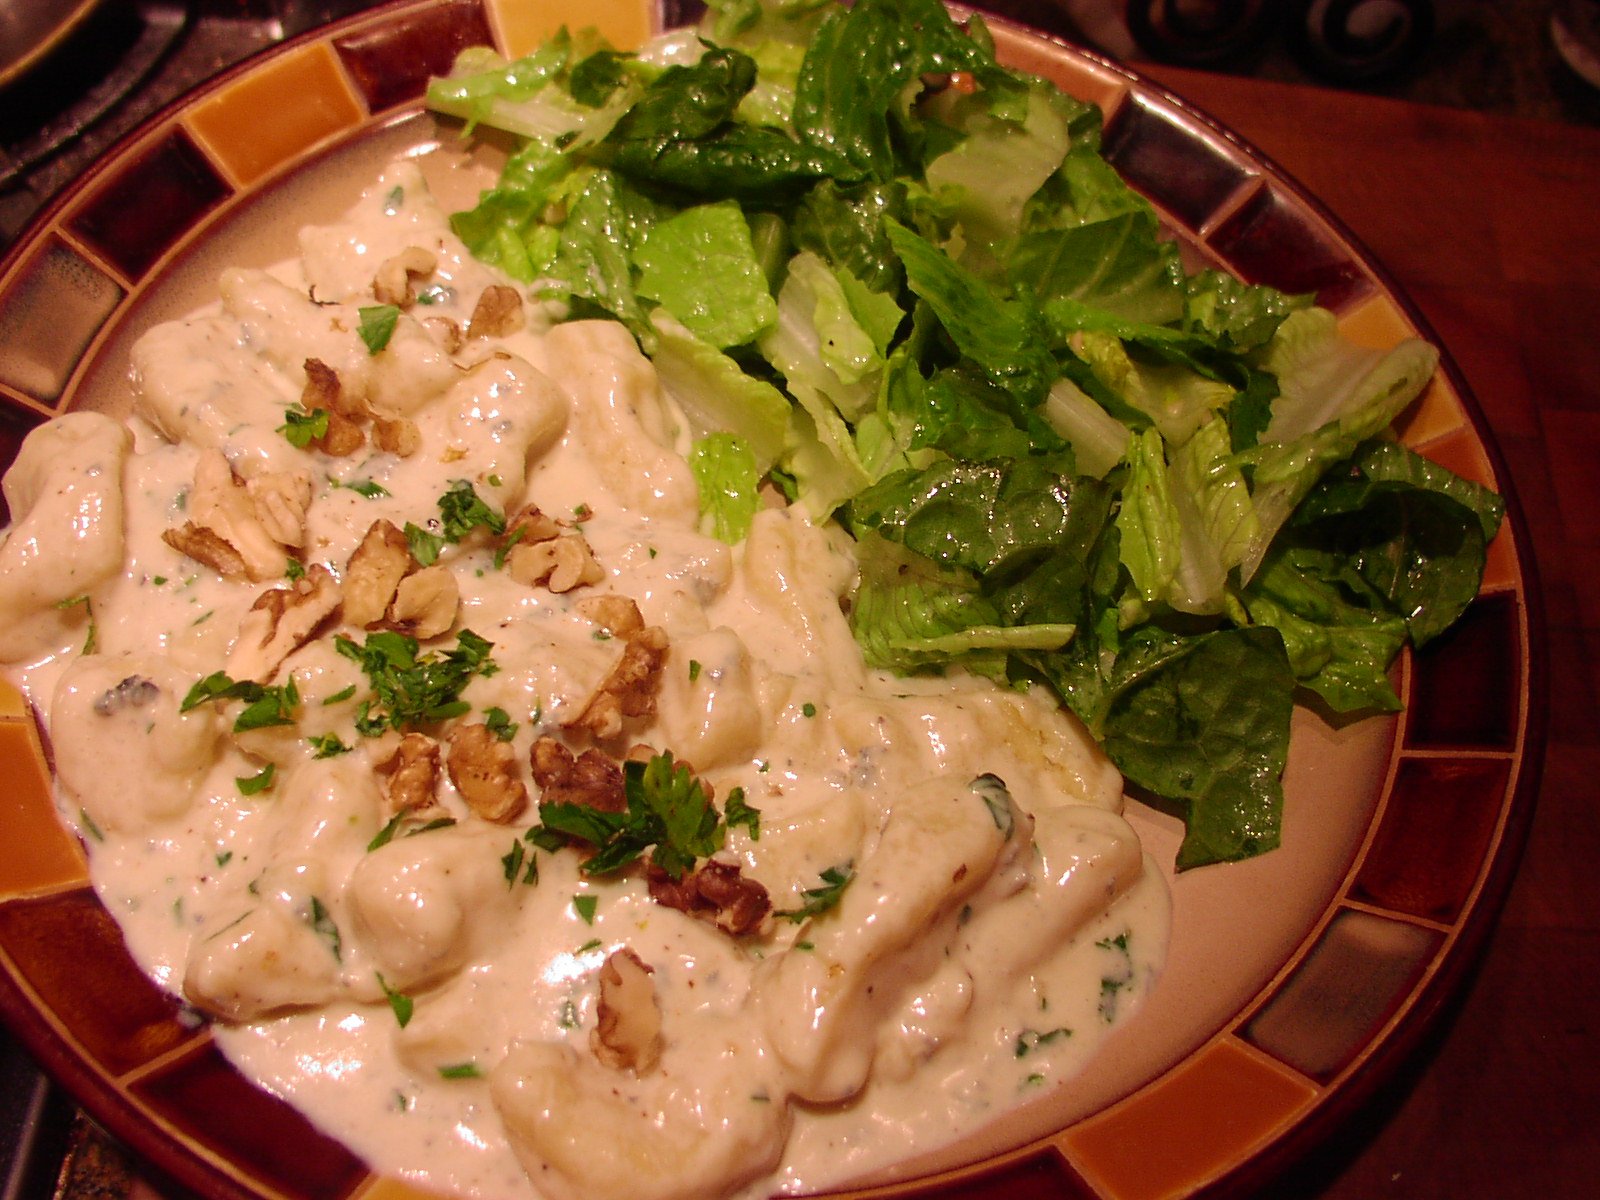
So when you too need a little comforting, bake yourself up one of these pies. They really are quite easy to build and absolutely fool proof. And if you are wondering why I mainly bake a big pot pie rather than a couple smaller ones, it’s my nod to being good. It’s much easier for me to cut myself a reasonable portion from a large pie, than to have a large individual pie in front of me that fairly demands to be eaten right down to the last crumb. That, and it’s a lot easier to build a large pie than several small ones. (The real reason is the latter, but the first reason sounded so virtuous, I just had to include it!)
CHICKEN POT PIE
- 1 c. chicken broth
- 2 boneless, skinless chicken breasts, diced
- ¼ c. unsalted butter
- 1 small onion, chopped
- 1 stalk celery, diced
- 1 medium carrot, chopped
- 1 medium potato, cubed
- 1/3 c. all-purpose flour
- 1 c. milk
- ½ tsp. kosher salt
- freshly ground black pepper
- 1/8 tsp. granulated garlic
- ¼ rounded tsp. dried rosemary, crushed
- ¼ rounded tsp. ground sage
- ¼ tsp. ground savory
- ½ c. frozen petite peas
- 2 T. chopped fresh Italian parsley
- 1 recipe Pie Crust (recipe given below)
- 1 egg
- 1 T. milk
Pour chicken broth into a small sauce pan. Add the chicken and cook only until the chicken is almost cooked through. Turn off heat. With a slotted spoon, remove chicken pieces to a small bowl. Set aside. (The chicken will finish cooking as it cools.) Reserve the broth.
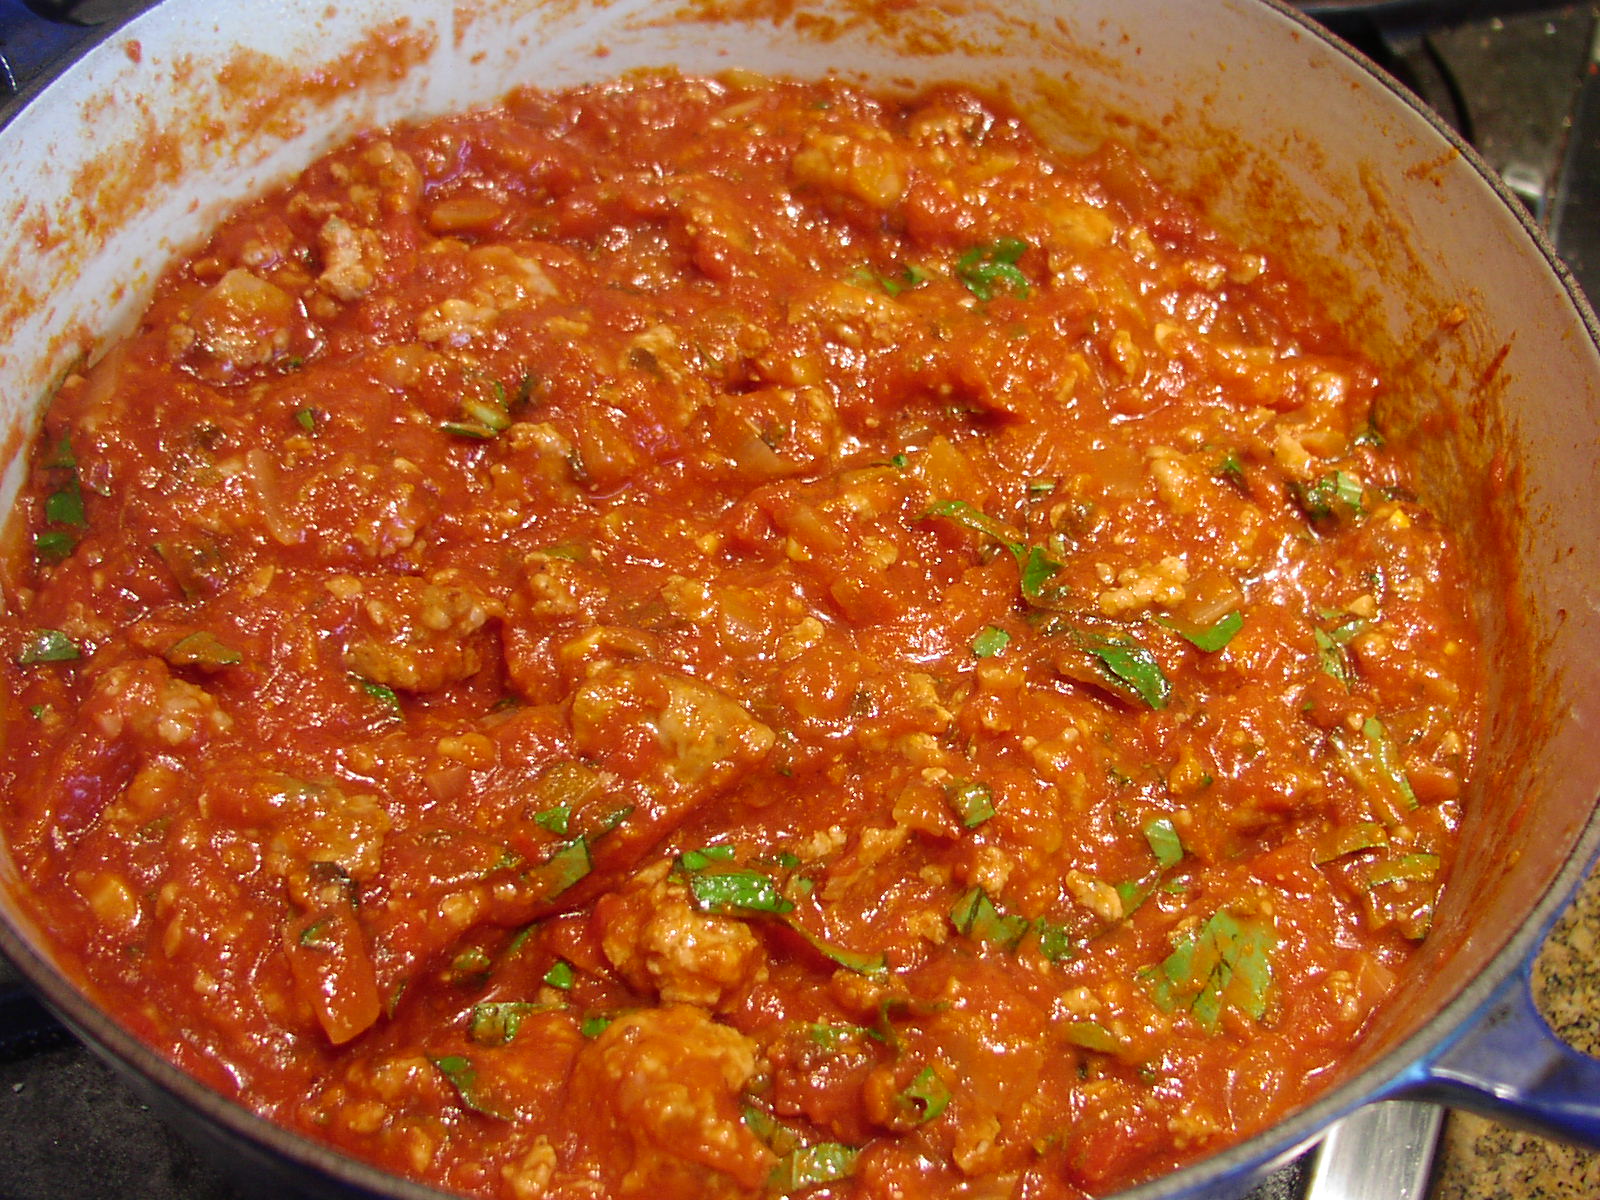
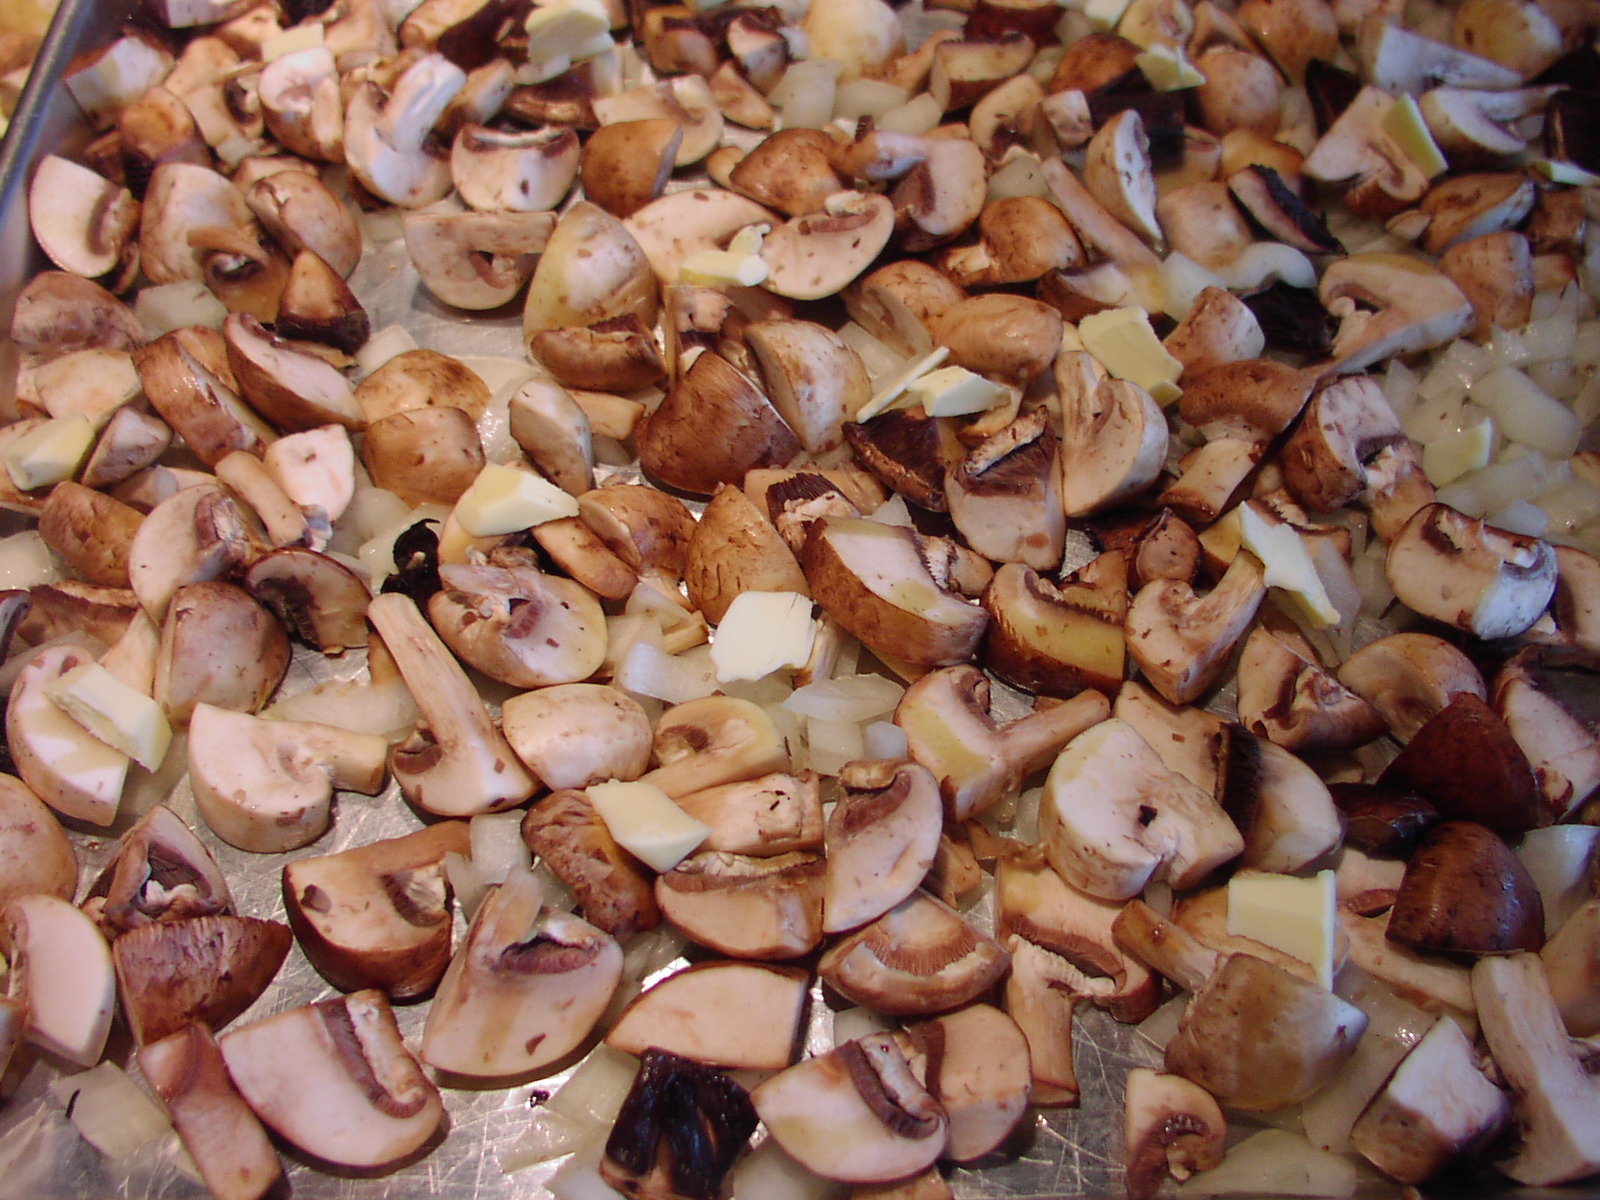
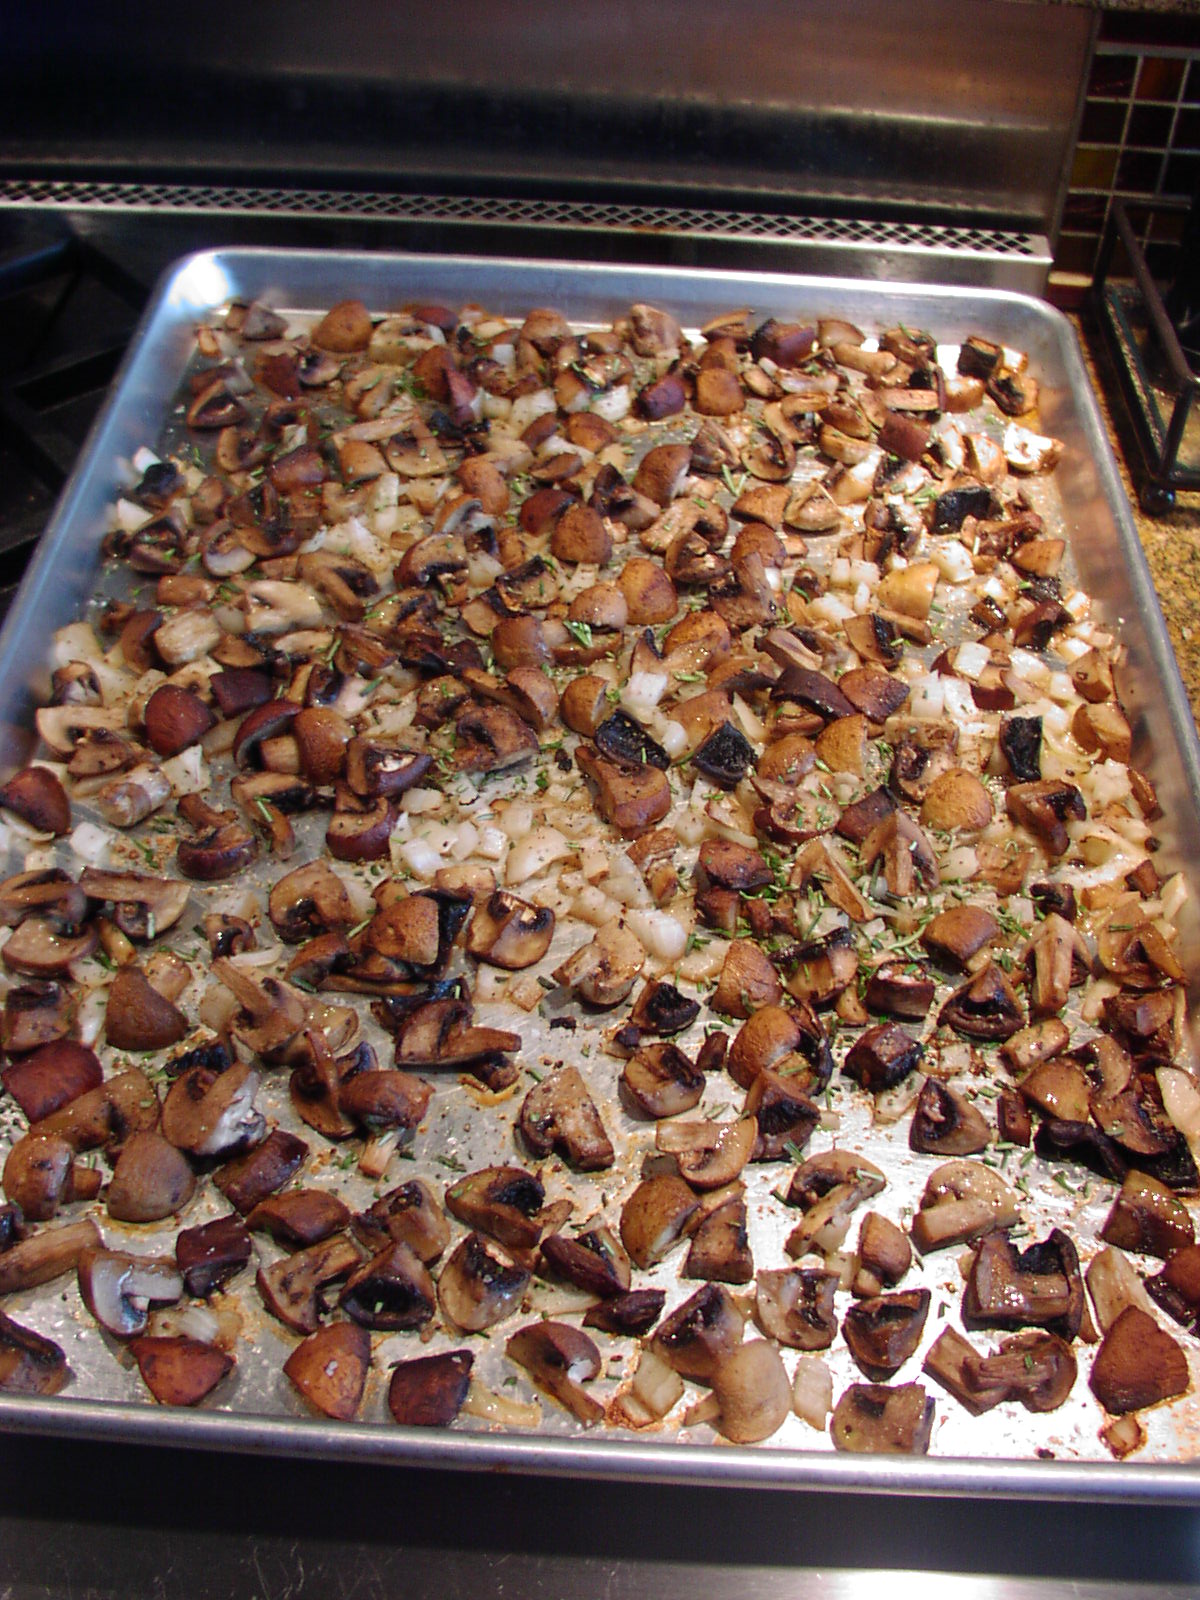
Meanwhile, melt the butter in a large saucepan over medium-low heat. Add the onion, celery, carrot, and mushrooms. Sauté until the onion is soft. Whisk in the flour and cook for a couple of minute. Add the reserved chicken broth and whisk to blend. As the sauce starts to thicken, add the milk, salt, pepper, granulated garlic, rosemary, sage, and savory. Add the reserved chicken and peas and cook until heated through. Remove from heat and stir in the parsley. Adjust seasoning.
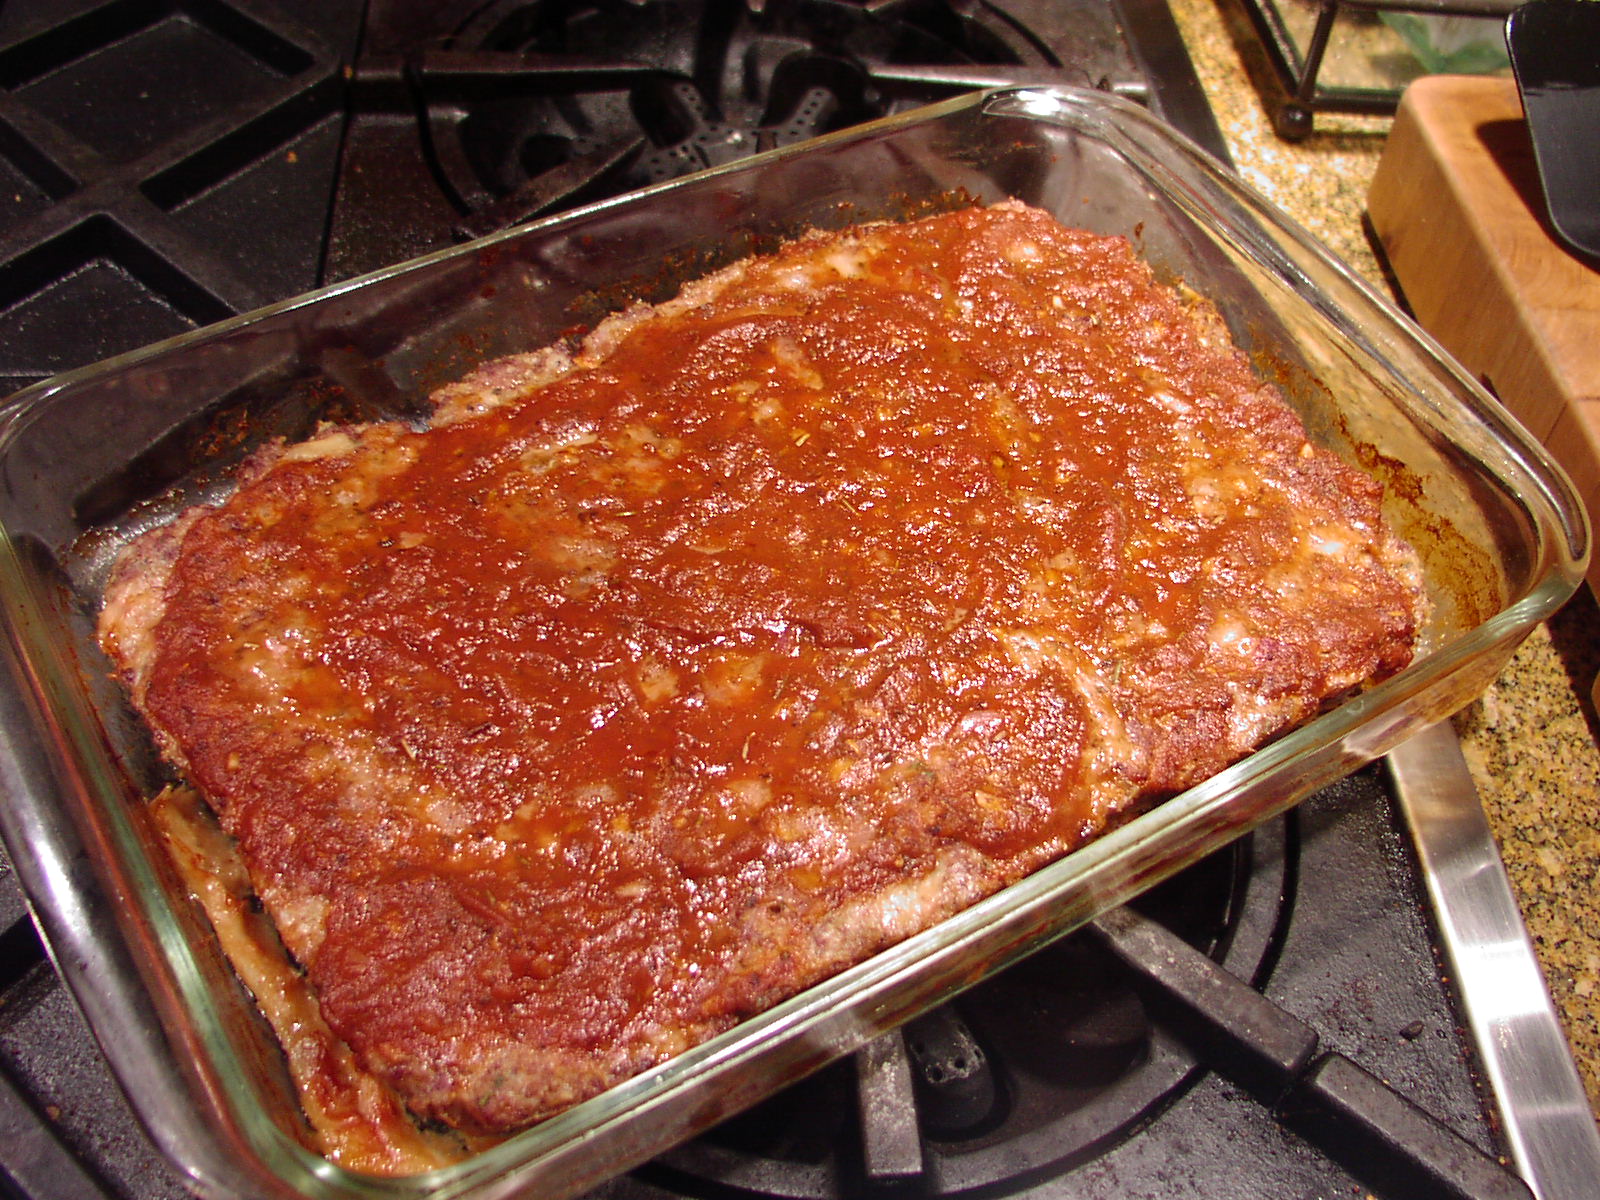
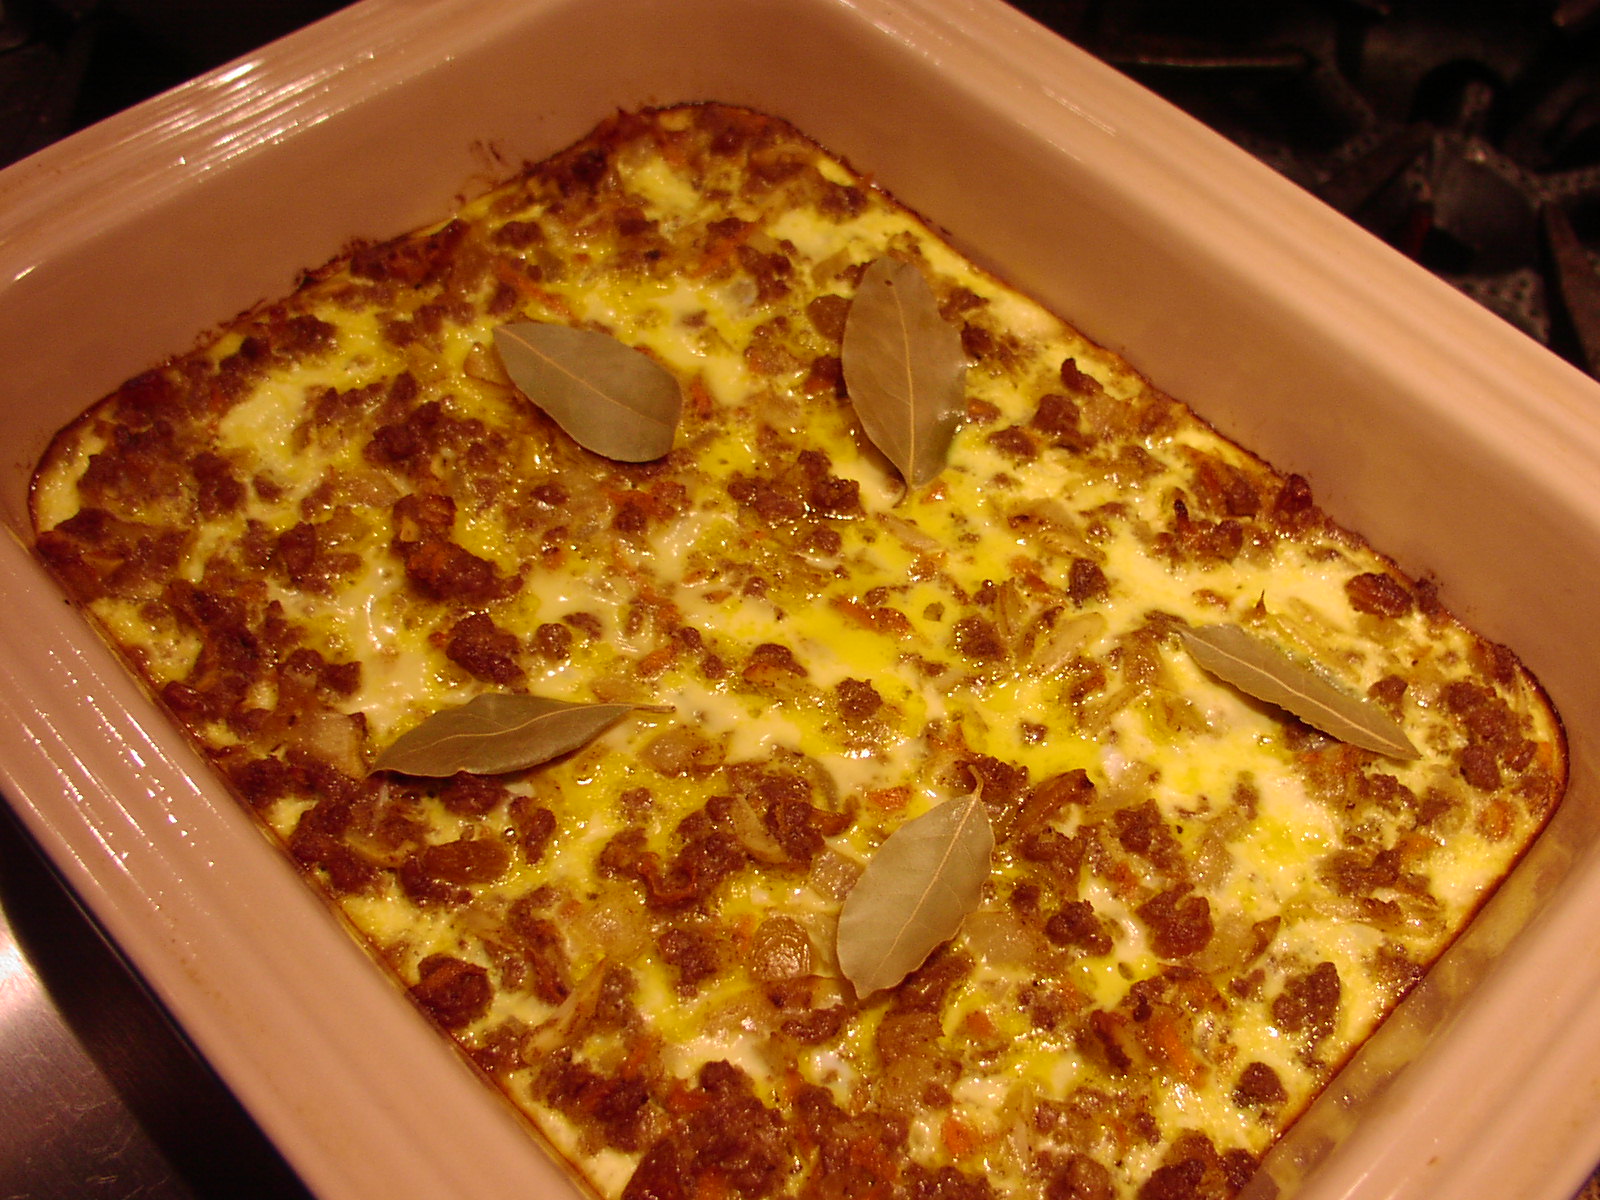
Butter a shallow casserole dish*. (I use a 9×11-inch casserole dish.) Pour the filling into the dish and smooth the top. Set aside while you prepare the crust.
CHICKEN AND PARMESAN POT PIE
- 1 c. chicken broth
- 2 boneless, skinless chicken breasts, diced
- ¼ c. unsalted butter
- ½ onion, chopped
- 1 stalk celery, diced
- 1 carrot, chopped
- 4-6- mushrooms, sliced
- 1/3 c. all-purpose flour
- 1 c. whole milk
- ½ tsp. kosher salt
- freshly ground black pepper
- ½ tsp. dried sage
- ½ tsp. dried thyme
- ½ c. frozen petite peas
- 1 c. finely grated Parmesan cheese, divided
- 2 T. chopped fresh Italian parsley
- 1 recipe Pie Crust (recipe given below)
- 1 egg
- 1 T. milk
Pour chicken broth into a small sauce pan. Add the chicken and cook only until the chicken is almost cooked through. Turn off heat. With a slotted spoon, remove chicken pieces to a small bowl. Set aside. (The chicken will finish cooking as it cools.) Reserve the broth.
Meanwhile, melt the butter in a large saucepan over medium-low heat. Add the onion, celery, carrot, and mushrooms. Sauté until the onion is soft. Whisk in the flour and cook for a couple of minute. Add the reserved stock and whisk to blend. As the sauce starts to thicken, add the milk, salt, pepper, sage, and thyme. Add the cooked chicken and peas and cook until heated through. Remove from heat and stir in ¾ cup of the Parmesan cheese and the parsley. Adjust seasoning.
Butter a shallow casserole dish*. (I use a 9×11-inch casserole dish.) Pour the filling into the dish and smooth the top. Sprinkle with the remaining ¼ cup Parmesan cheese. Set aside while you prepare the crust.
CHICKEN, BROCCOLI, AND CHEDDAR POT PIE
- 1 c. chicken broth
- 2 boneless, skinless chicken breasts, diced
- ¼ c. (½ stick) unsalted butter
- 1 small onion, chopped
- 1 stalk celery, diced
- 1 medium carrot, chopped
- ½ crown broccoli, cut in small pieces
- 1/3 c. all-purpose flour
- 1 c. milk
- ½ tsp. kosher salt
- freshly ground black pepper
- 1½ c. grated sharp cheddar cheese
- 2 T. chopped fresh Italian parsley
- 1 recipe Pie Crust (recipe given below)
- 1 egg
- 1 T. milk
Pour chicken broth into a small sauce pan. Add the chicken and cook only until the chicken is almost cooked through. Turn off heat. With a slotted spoon, remove chicken pieces to a small bowl. Set aside. (The chicken will finish cooking as it cools.) Reserve the broth.
Meanwhile, melt the butter in a large saucepan over medium-low heat. Add the onion, celery, and carrot. Sauté until the onion is soft. Add the broccoli and sauté for 2 minutes. Whisk in the flour and cook for a couple of minute. Add the reserved stock and whisk to blend. As the sauce starts to thicken, add the milk, salt, and pepper. Add the cooked chicken and cook until heated through. Remove from heat and stir in the cheddar cheese and parsley. Adjust seasoning.
Butter a shallow casserole dish*. (I use a 9×11-inch casserole dish.) Pour the filling into the dish and smooth the top. Set aside while you prepare the crust.
*Please note: If you prefer individual pot pies, just follow the directions except use smaller casserole dishes or ramekins. Then simply roll the pie crust to the appropriate size for the dishes you are using. Also, if you wish to freeze your pot pie(s), do so before baking. Then remove from freezer about 30 minutes before you stick it or them in the oven.
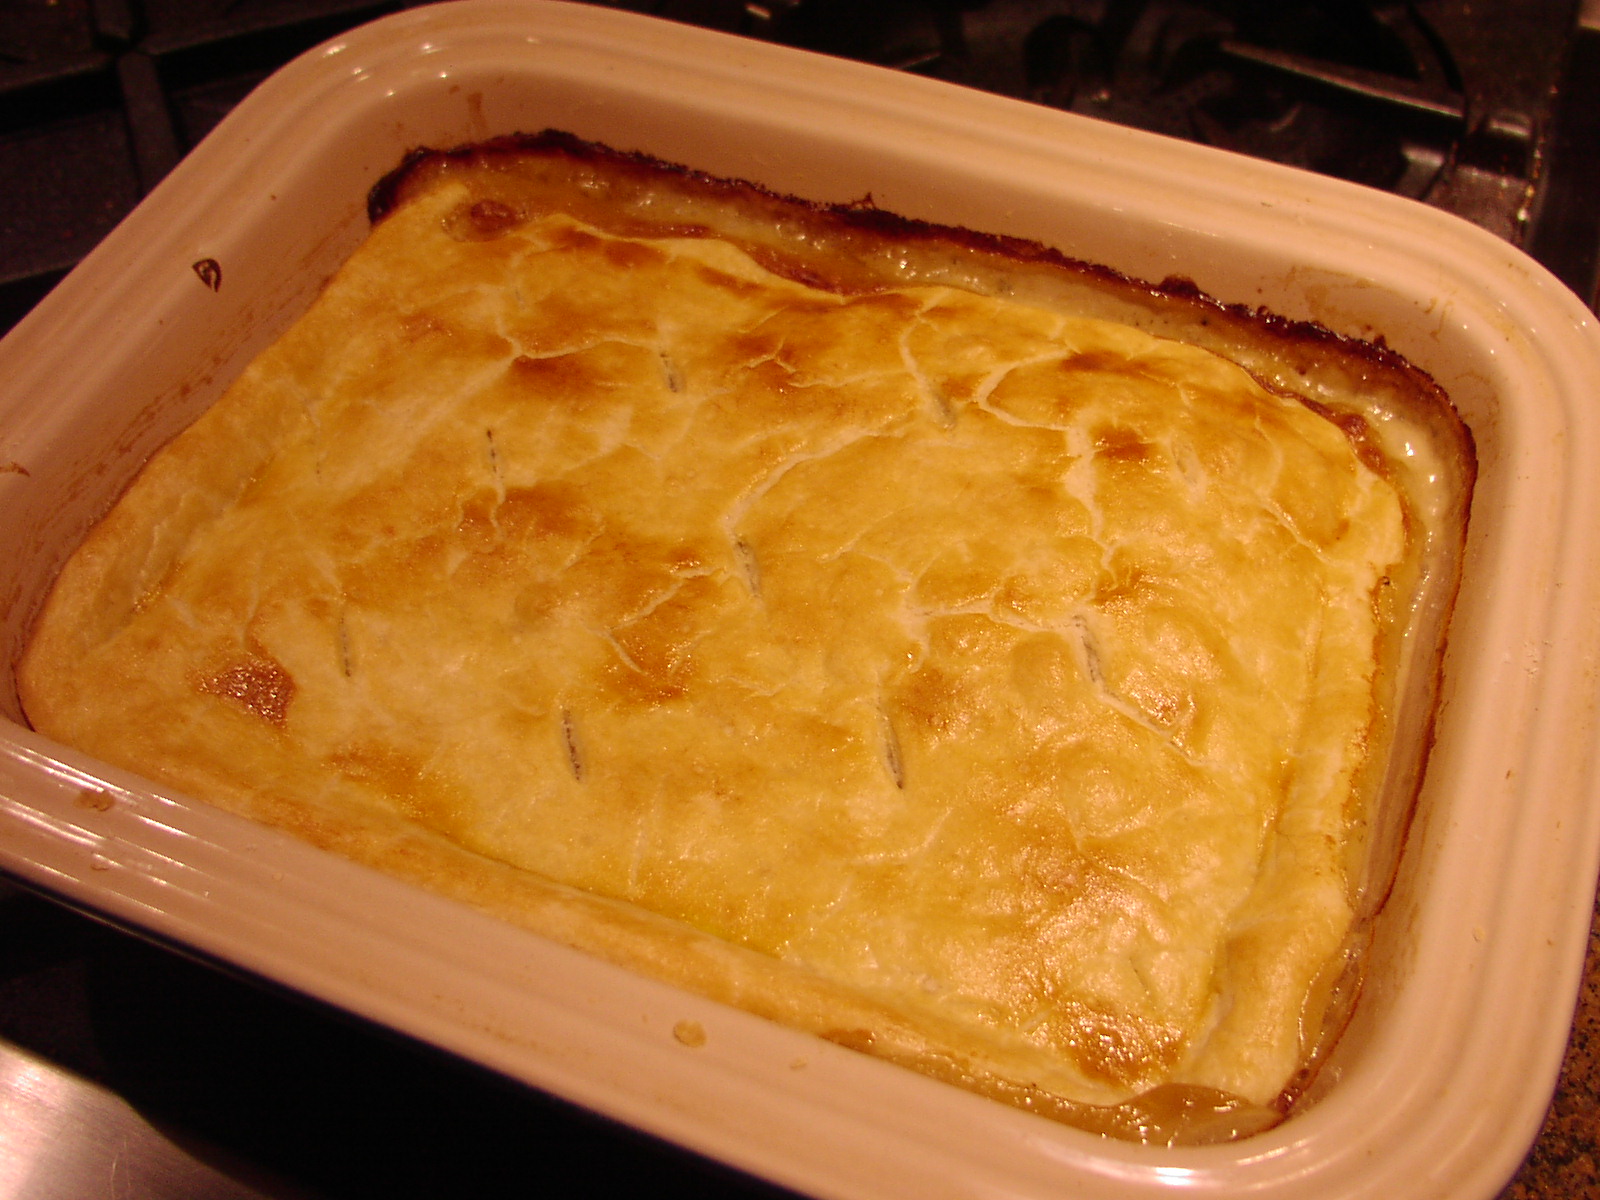
PIE CRUST
- ½ c. (1 stick) cold unsalted butter
- 1 1/3 c. unbleached all-purpose flour
- ¼ tsp. kosher salt
- 3 T. ice cold water
Cut the butter into 16 pieces and place in the bowl of your food processor with the sharpest blade you own. (The first time I made this I used the dull blade. Bad mistake. The cold butter just laughed at the blade and nothing really happened. So I swapped it out for the one I use when I’m pulverizing ingredients, and life got a lot better!) Add the flour and salt. Pulse about 10-15 times or until the mixture looks like small peas. With the processor running, add the water, 1 tablespoon at a time. Process until the dough begins to look like it might want to clump together. (The only way I know to make sure the dough is ready to form a decent ball, is to use my fingers and pinch a bit of the dough. If the dough ingredients feel like they might be growing fond of spending time together, I call it good!). Sprinkle a little flour on a pastry cloth or clean, dry surface. Pour the mixture on the floured surface and form it into a ball. Roll the dough out until it is about 1-inch on all sides larger than the casserole dish containing the filling. Gently set the crust on the filling. Tuck the pastry edges into the dish. With a paring knife, make several cuts, or steam vents, in the pastry. In a small bowl whisk together the egg and 1 tablespoon milk. Brush the pastry lightly with the egg glaze. (You will have extra glaze. I cover the bowl, add more eggs the next morning, and enjoy a nice dish of scrambled eggs. Frugal? Who me?) Bake the pot pie in a pre-heated 400 degree oven for 45-50 minutes or until the crust is golden brown and the filling is bubbly. Remove from oven and let sit about 10 minutes before serving.