On the rare occasions when I consider my kitchen “private enemy number one”, I become fixated on producing the easiest dish possible. And of course, because I know the Gods are probably having a field day watching my conundrum, they seem to take delight in instilling me with a burning desire for a savory meat dish. Which invariably takes a lot of prep time. Well, when this occurred a few days ago, I nixed their fun! I fixed this recipe!
I happened to have all the ingredients on hand. And this dish is super easy to prepare. And you could not ask for a more delicious and savory meat dish. (And I know. It’s not nice to fool Mother Nature or the Gods of “whatever”. And in all truth, I wasn’t trying to be duplicitous. But dang, when an old gal like me doesn’t feel like spending hours in the kitchen, she shouldn’t be needlessly tortured with a hankering for the type of dish that usually takes hours to prepare! That’s simply not fair! Anyway, that’s my story and I’m sticking to it!) But back to this recipe.
After the few minutes it took me to get the game hen in the oven, it occurred to me that maybe I should serve a little something with the game hen. But again, I wasn’t in the mood to go to any trouble. So, I whipped together a simple salad and baked a sweet potato. Done!
So, the next time you are feeling less than inclined to spend a hunk of time in your kitchen, but still want to give the illusion of having spent quality time slaving away on someone else’s behalf, give this recipe a try. And to make things even easier on myself next time I make this dish, I plan to cut up some regular potatoes and a sweet potato, coat all the pieces with a bit of olive oil, and place the potato chunks right on the pan with the game hen. Then if I still have a tad bit of energy, I might slice up a couple of tomatoes, slather them with olive oil, splatter them with a bit of kosher salt and freshly ground pepper, and decorate the whole mess with basil chiffonade. (That will complete the illusion of time and effort spent.) At which point, I will probably go sit down and read my book while the oven does the hard work. And no, you don’t have to wait to make this recipe until you are tired of your kitchen. Do make it any old time you want. You will be glad you did.
As always, live your life to the fullest. And if some days the “fullest” you feel you can tolerate is several hours spent reading a good book or listening to your favorite concertos or binge watching several seasons of Schitt’s Creek, then that is just fine. Everyone gets to define “fullest” their own way.
Peace and love to all.
1 T. unsalted butter, room temp.
1 T. extra virgin olive oil
1 tsp. dried parsley
2 garlic cloves, minced
¼ tsp. lemon zest
½ tsp. seasoned salt, plus more for sprinkling
freshly ground black pepper
1 (24-oz.) Cornish game hen
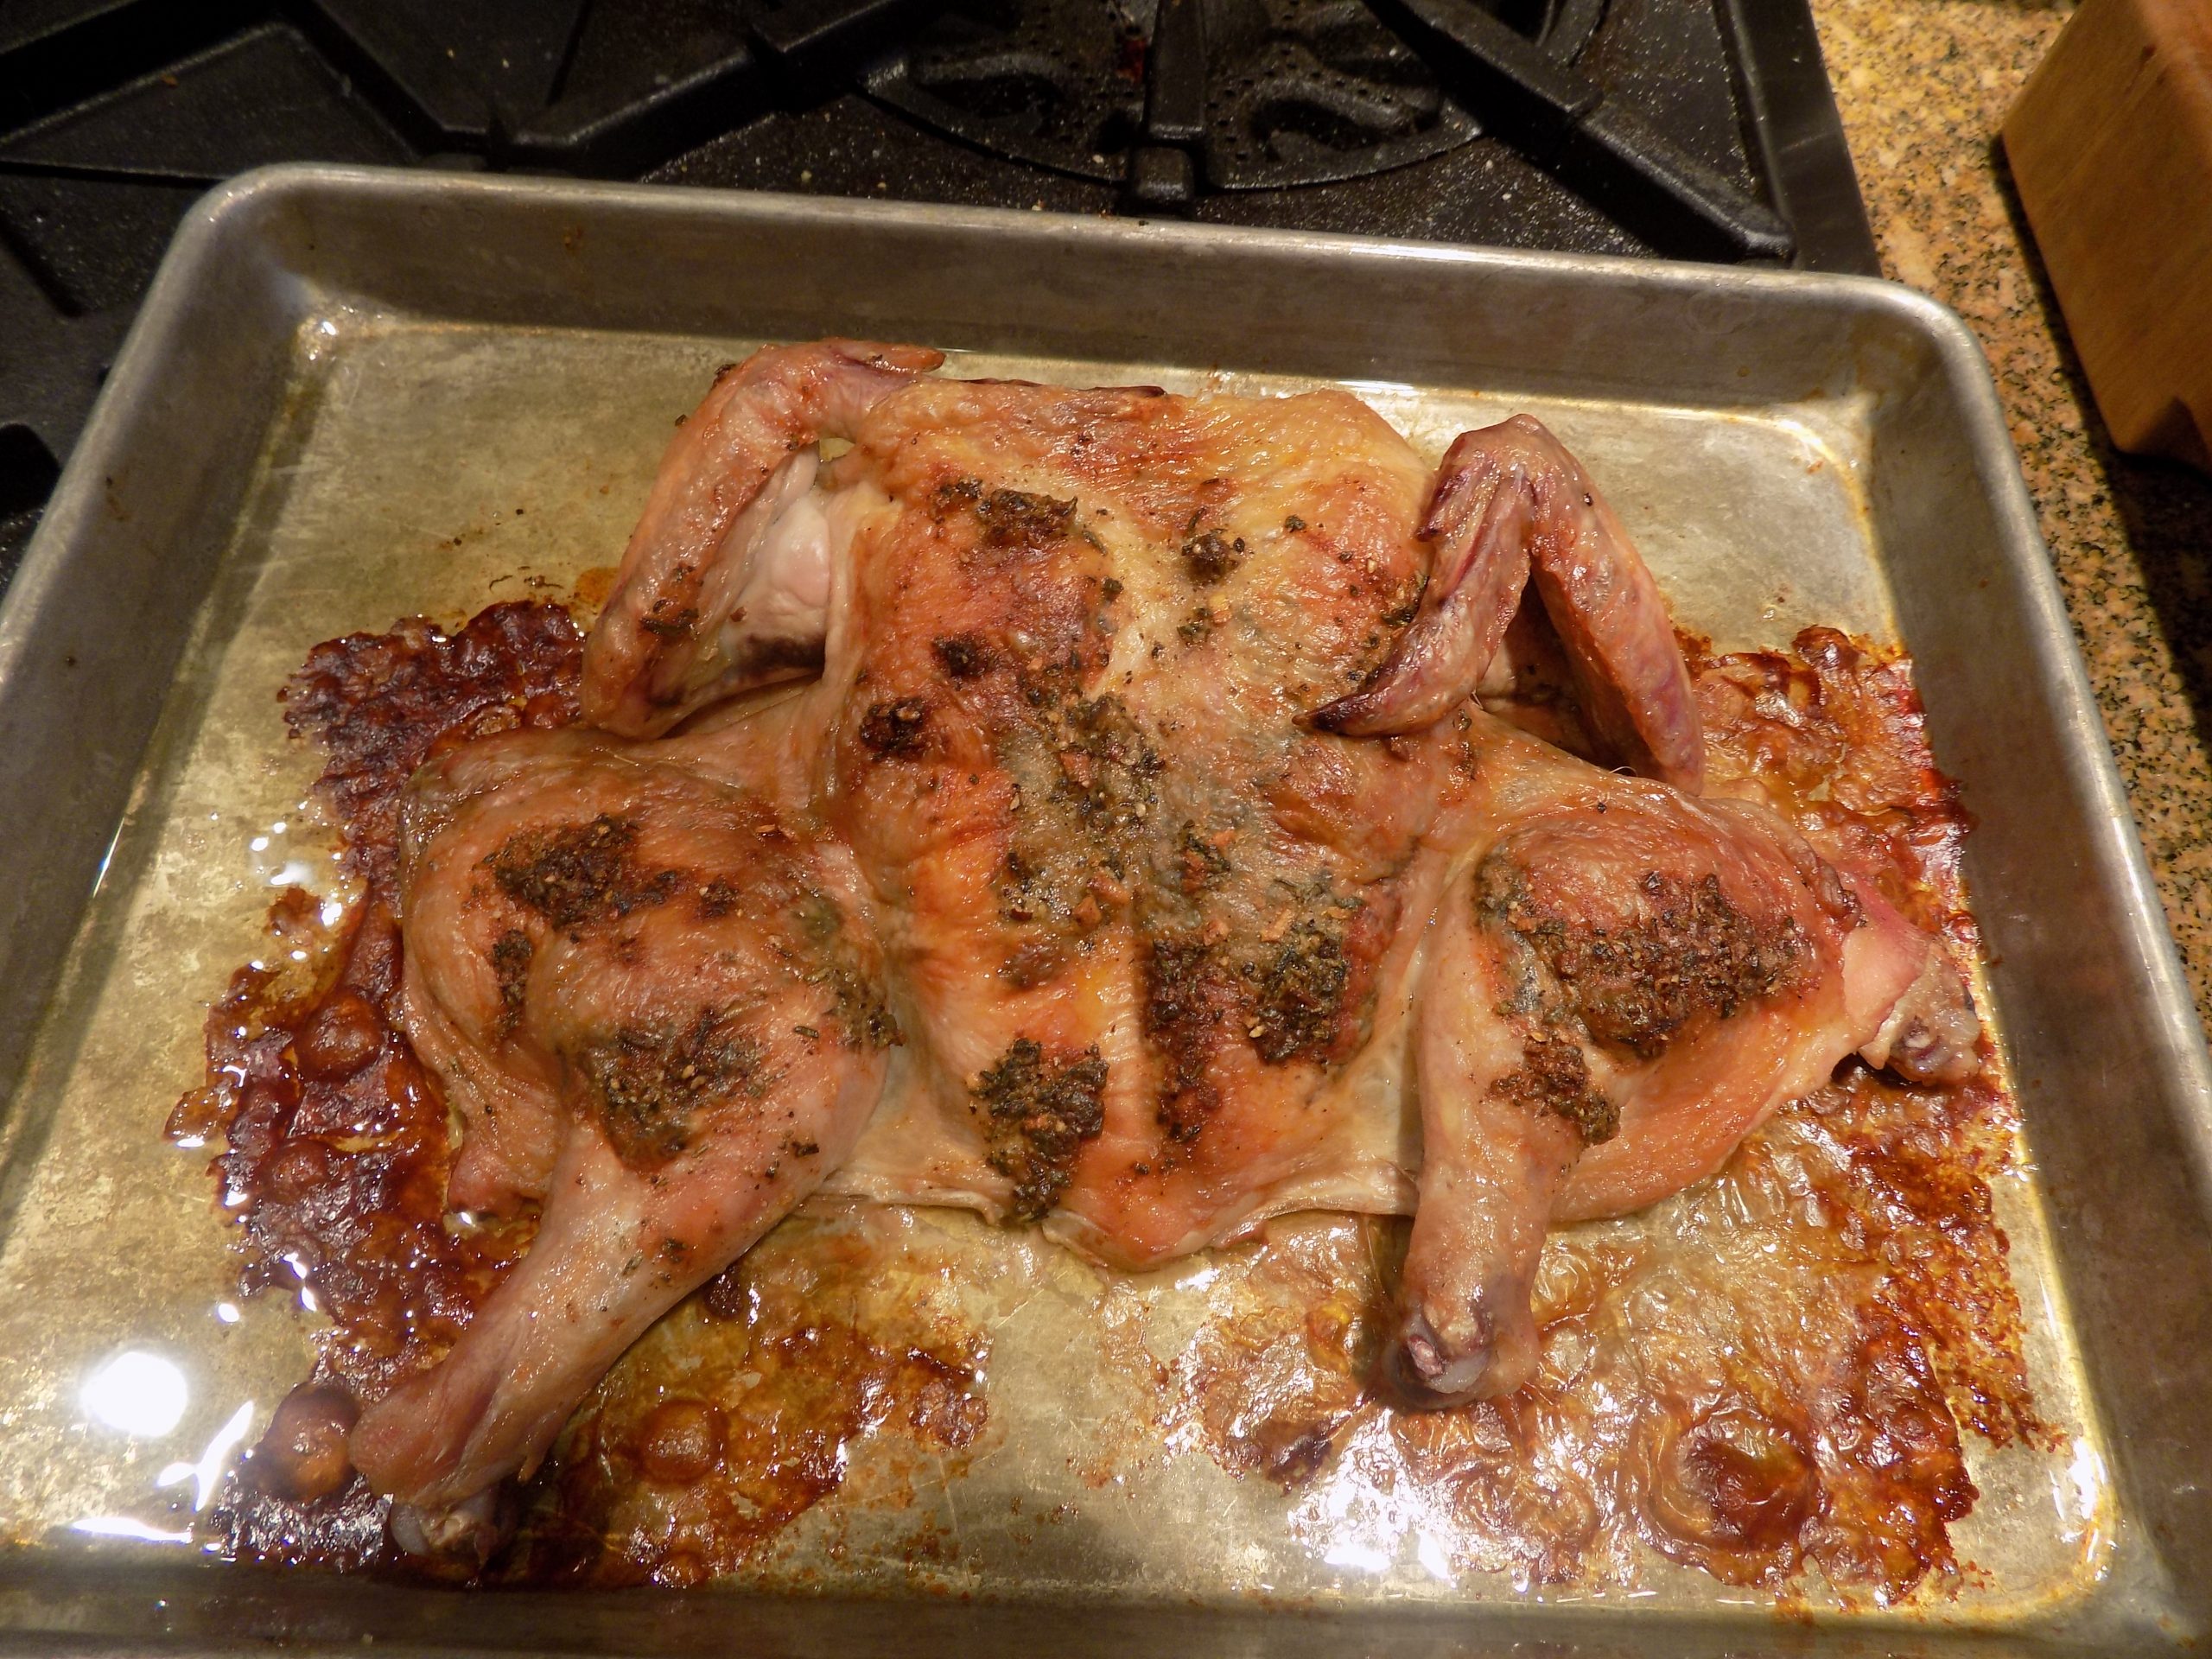
In a small bowl, mix the butter, olive oil, parsley, garlic, lemon zest, lemon juice, seasoned salt, and black pepper together. Place the spatchcocked hen on a small, rimmed baking sheet.
Using your fingers, loosen the skin from the breast and legs/thighs and stuff all but 1 tablespoon of the lemon-herb butter under the skin. Rub the remaining butter over the top of the hen. Lightly sprinkle with seasoned salt.
Bake in a pre-heated 375-degree oven for 1 hour or until the skin is golden brown and the internal temperature in the thigh reaches 160-degrees.
Remove from oven and let rest for 10 minutes before serving.
To spatchcock a game hen:
Wash and dry the hen and place on a cutting board, breast side down. Using sharp kitchen shears, cut down each side of the backbone, starting from the neck end down to the tail. Remove the backbone, pull open the hen, flip it over, then press down on the breast to open it out flat.