Category Archives: DESSERT RECIPES

MOIST AND TENDER LEMON SHEET CAKE WITH LEMON CREAM CHEESE FROSTING

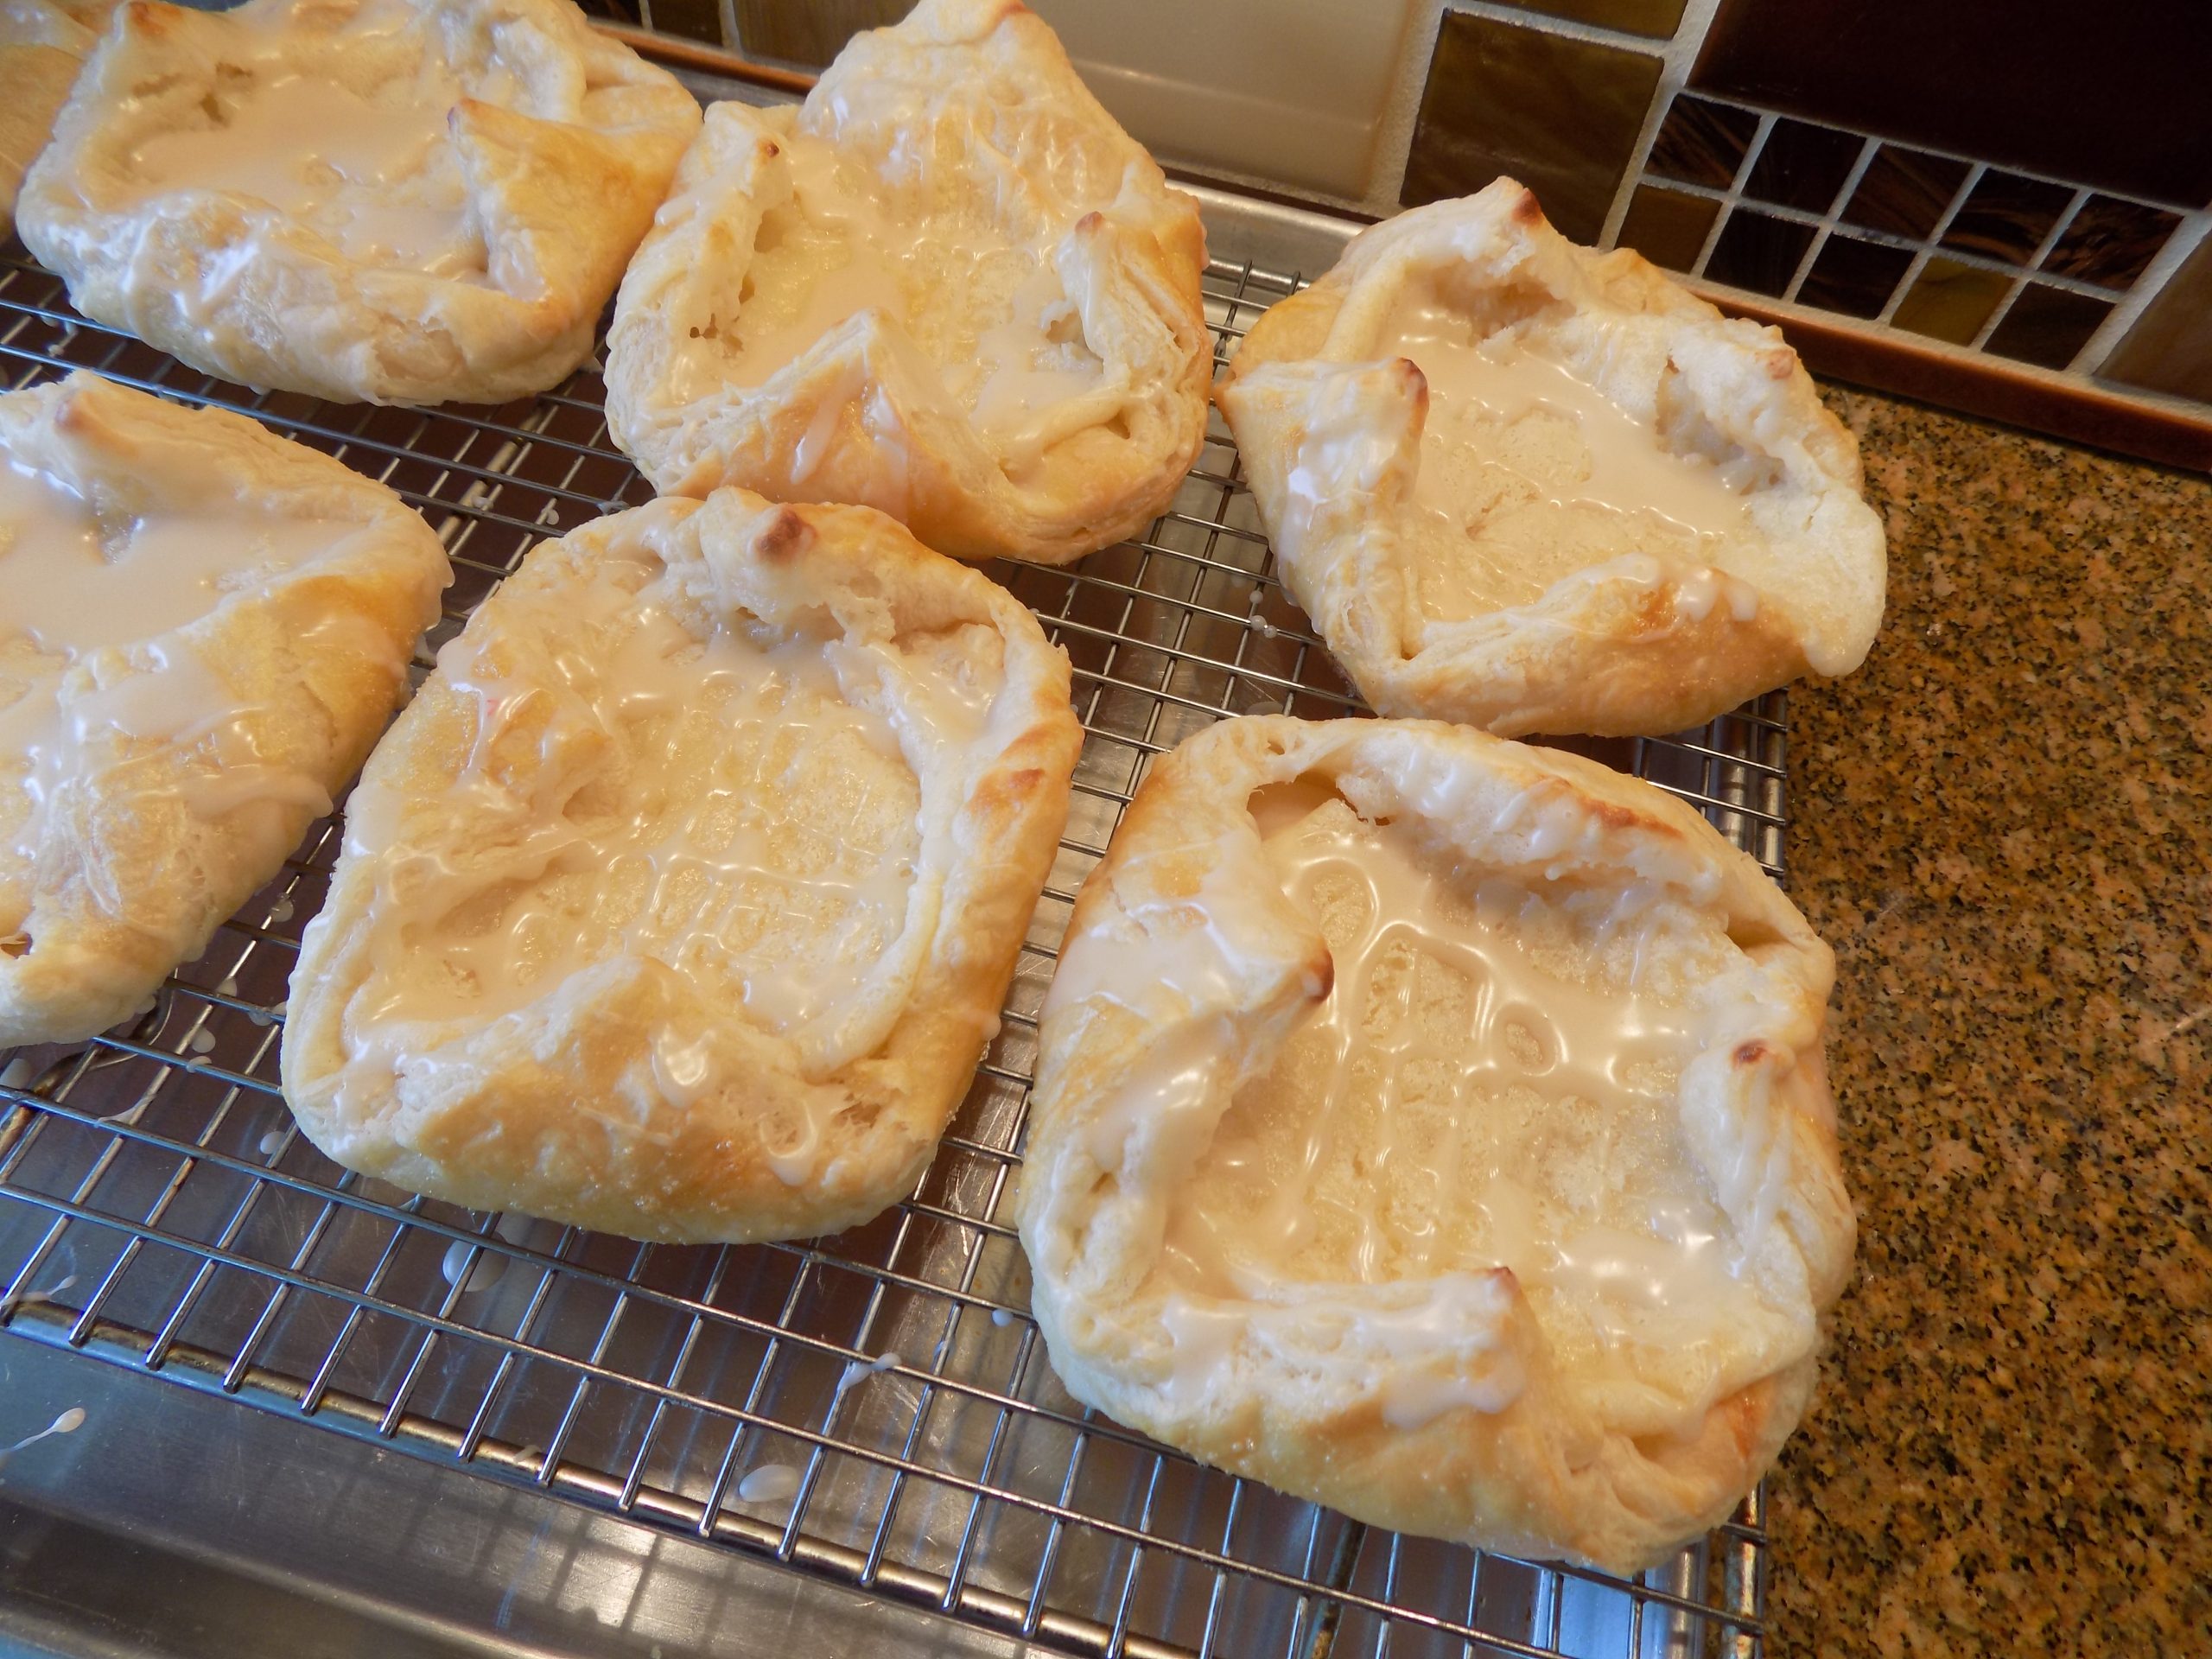
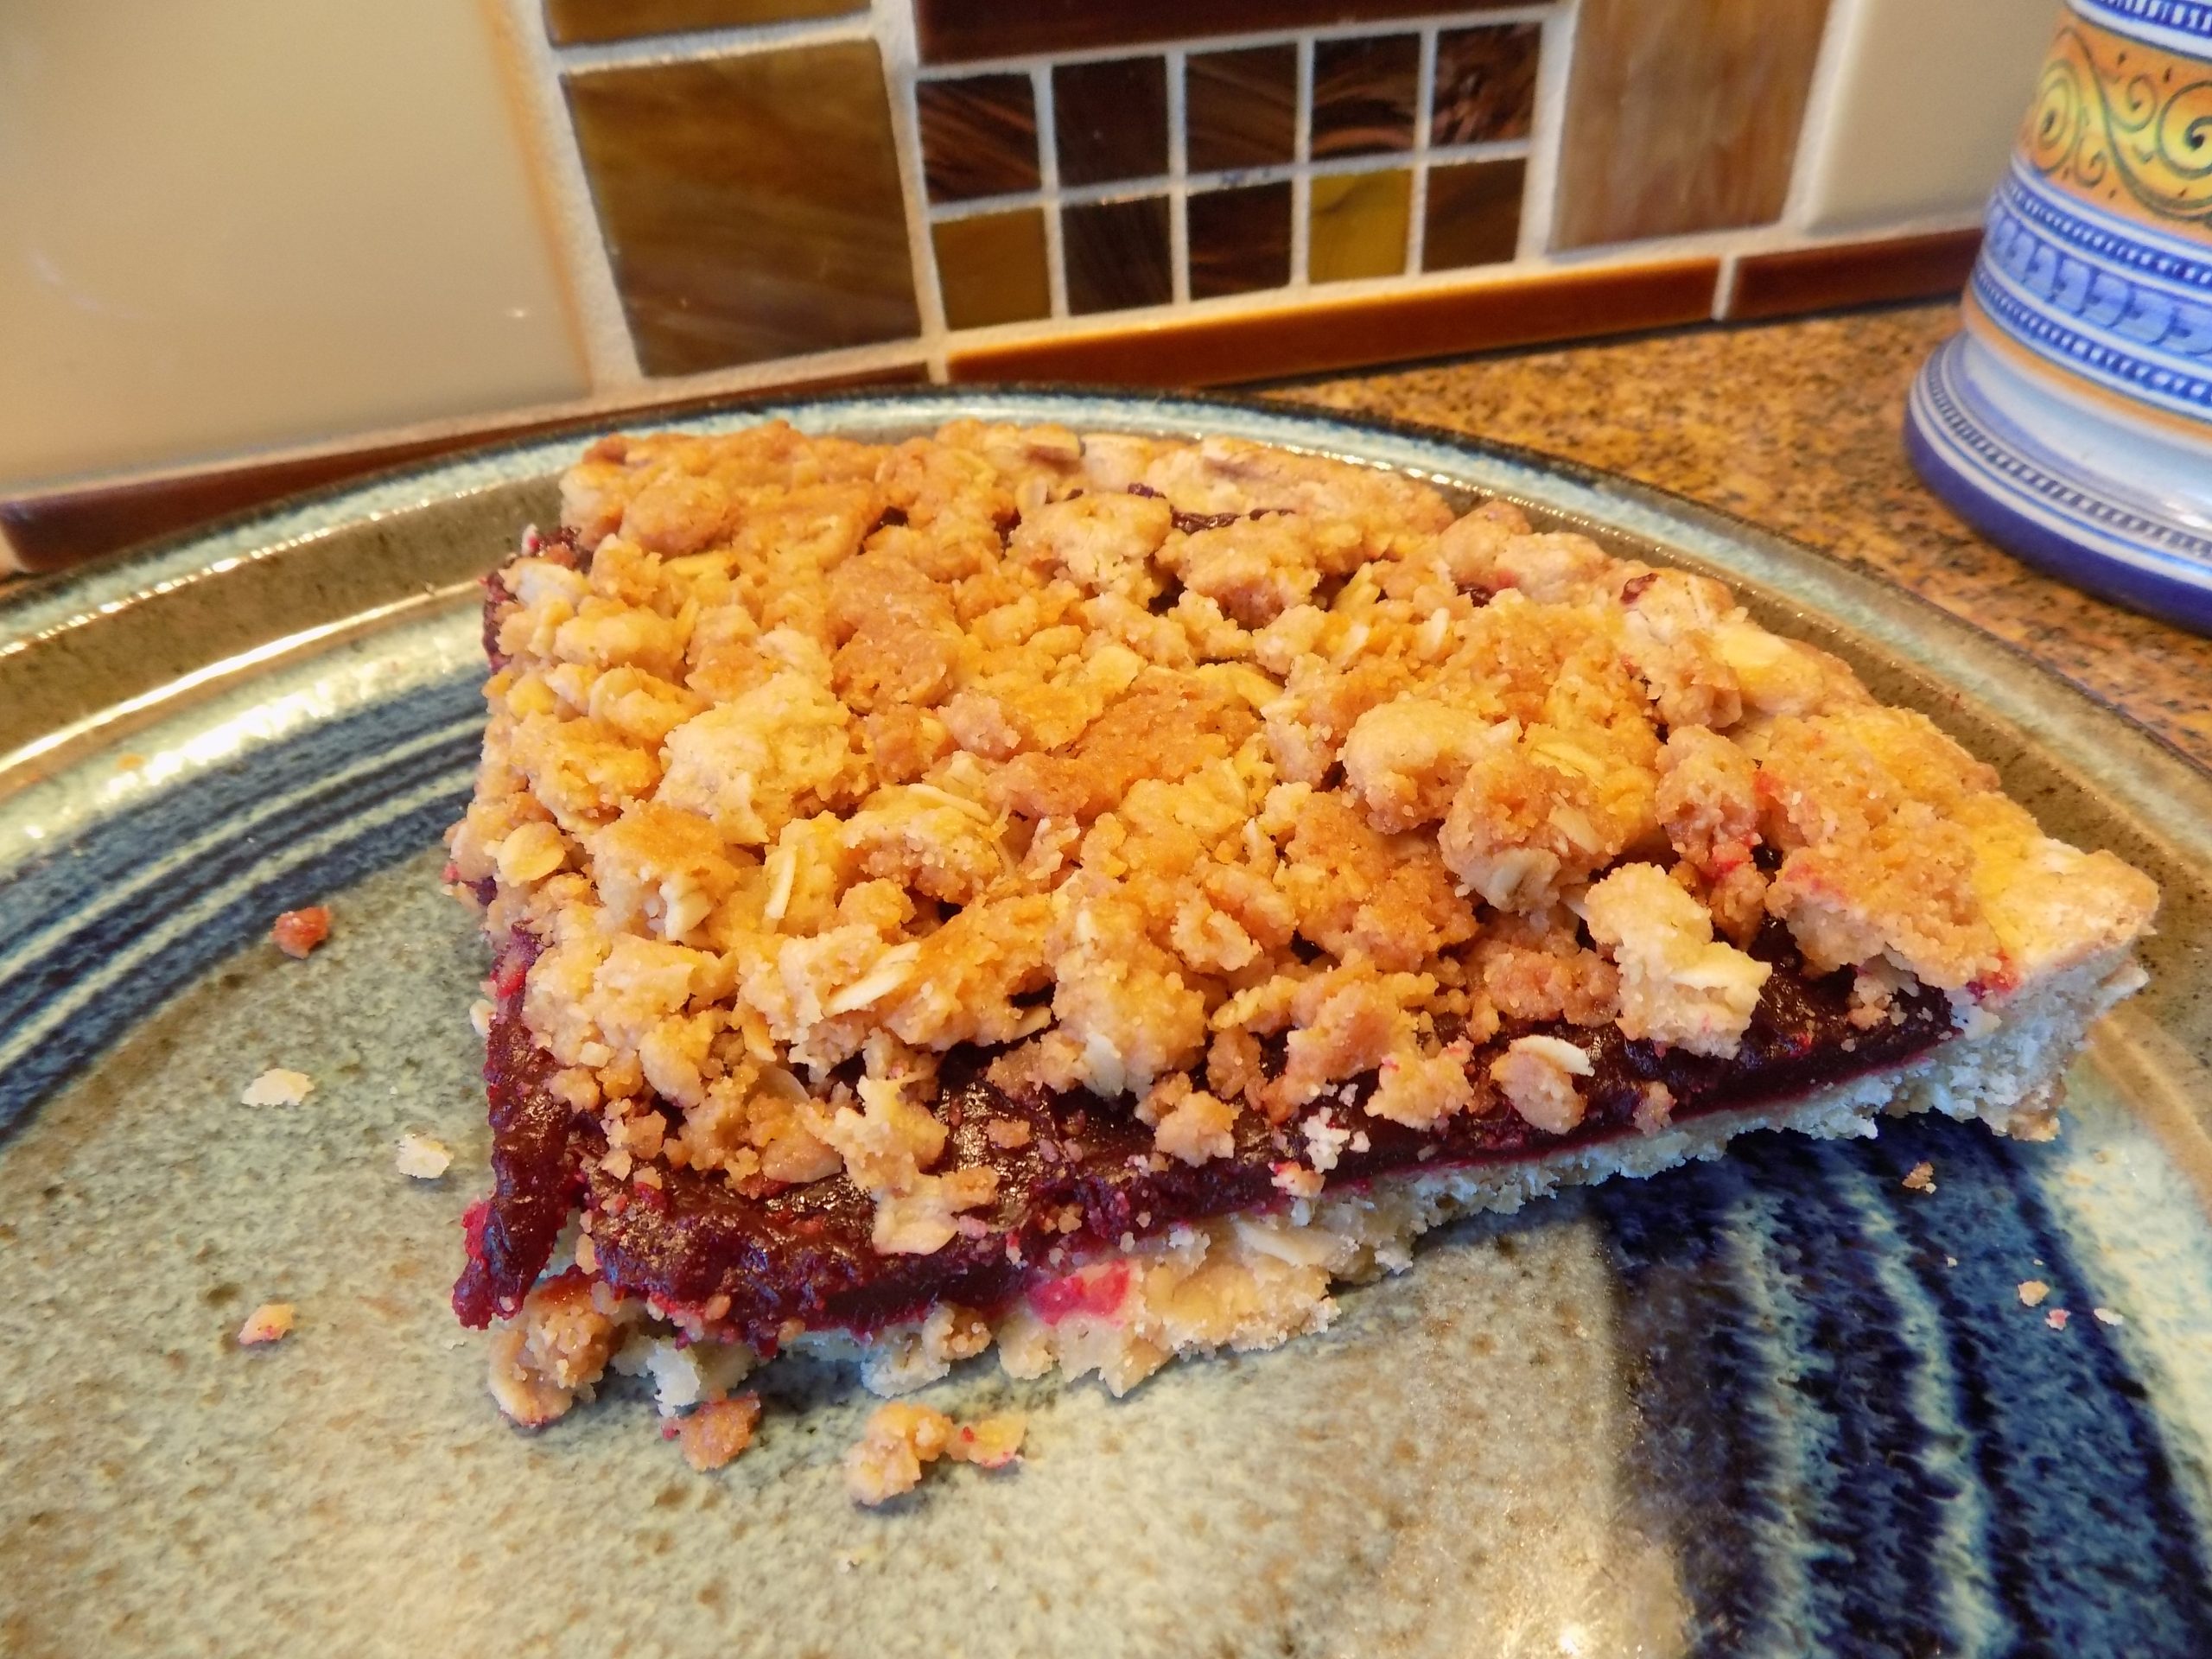
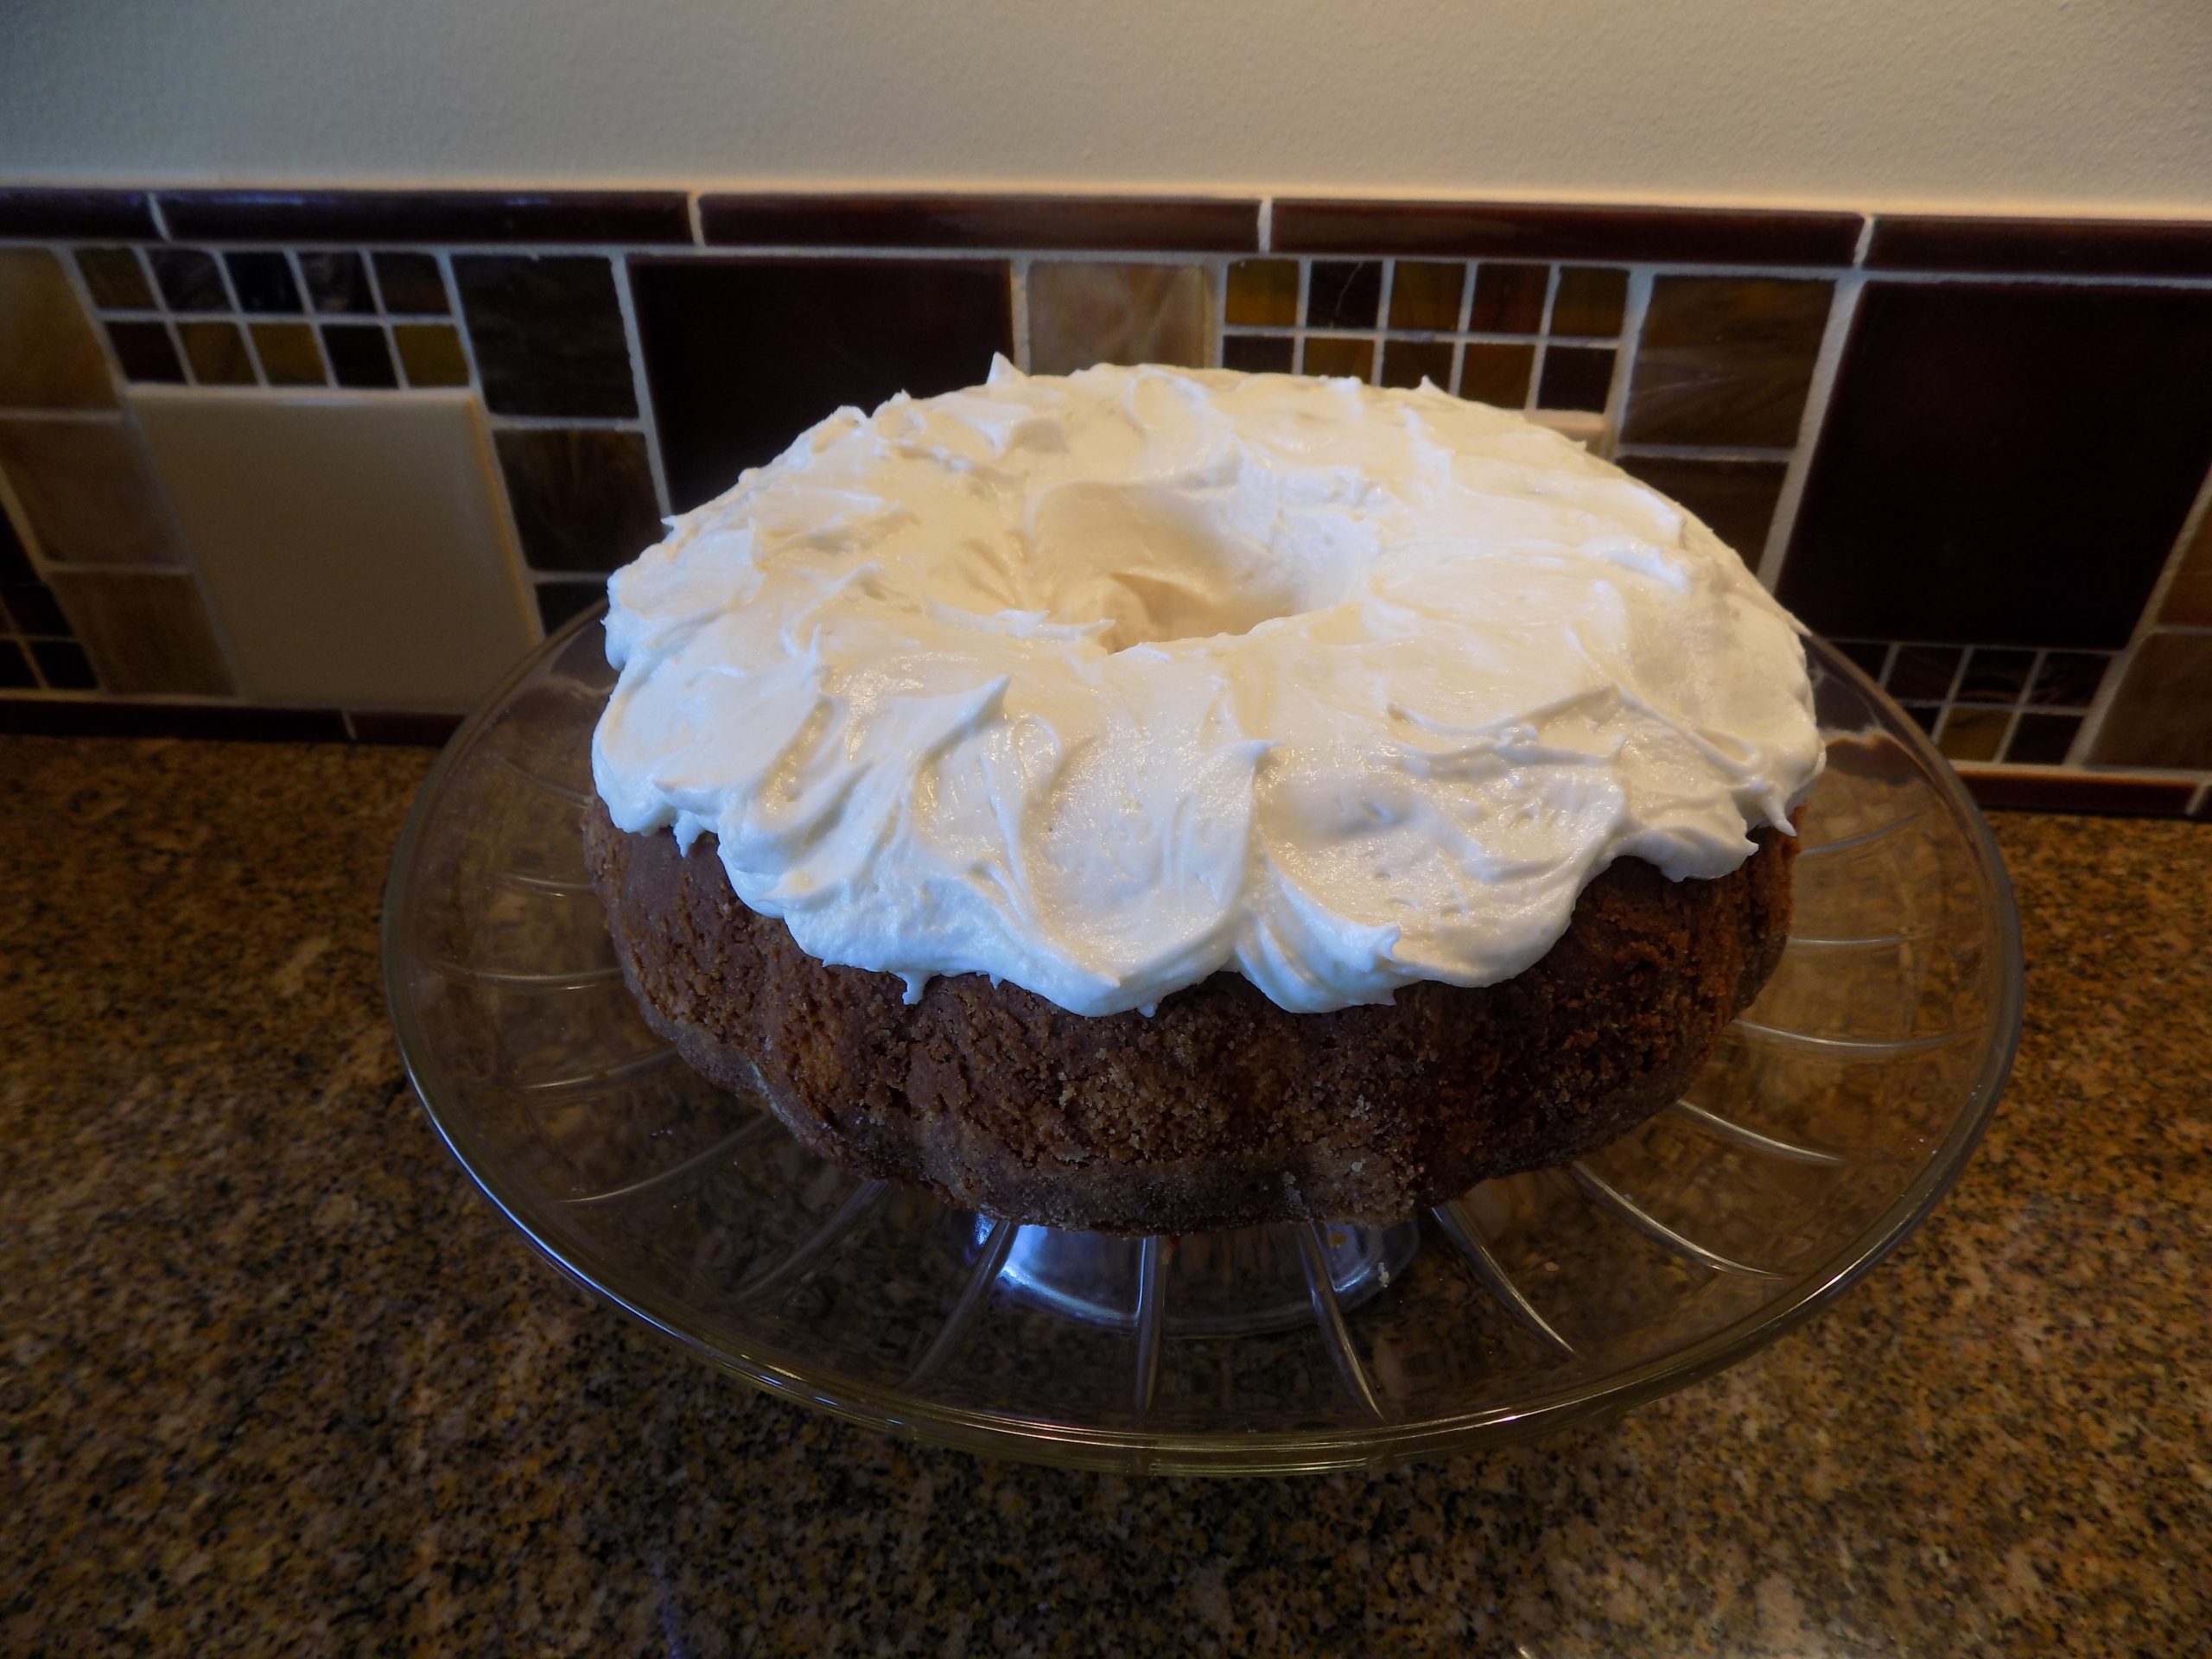
OK, confession time. You see that picture above, that was my attempt at making a lemon Bundt cake with a lemon drizzle. And as experienced as I am at baking Bundt cakes, this one came apart on me.

My first thought was that the cake must have fallen in love with the Bundt pan while they were in the warm, intimate environment of my oven. Because a good 1/8th of the cake was still clinging to the bottom of the pan as the rest of the cake lay topless on my cake dish. And even then, as I went after the recalcitrant bits, I almost destroyed the pan in the process! But I got even. I drowned the remaining bits and sent them down to visit Gritsner (the name I have given to our garbage disposal), and by now they are drowning in (never mind)!

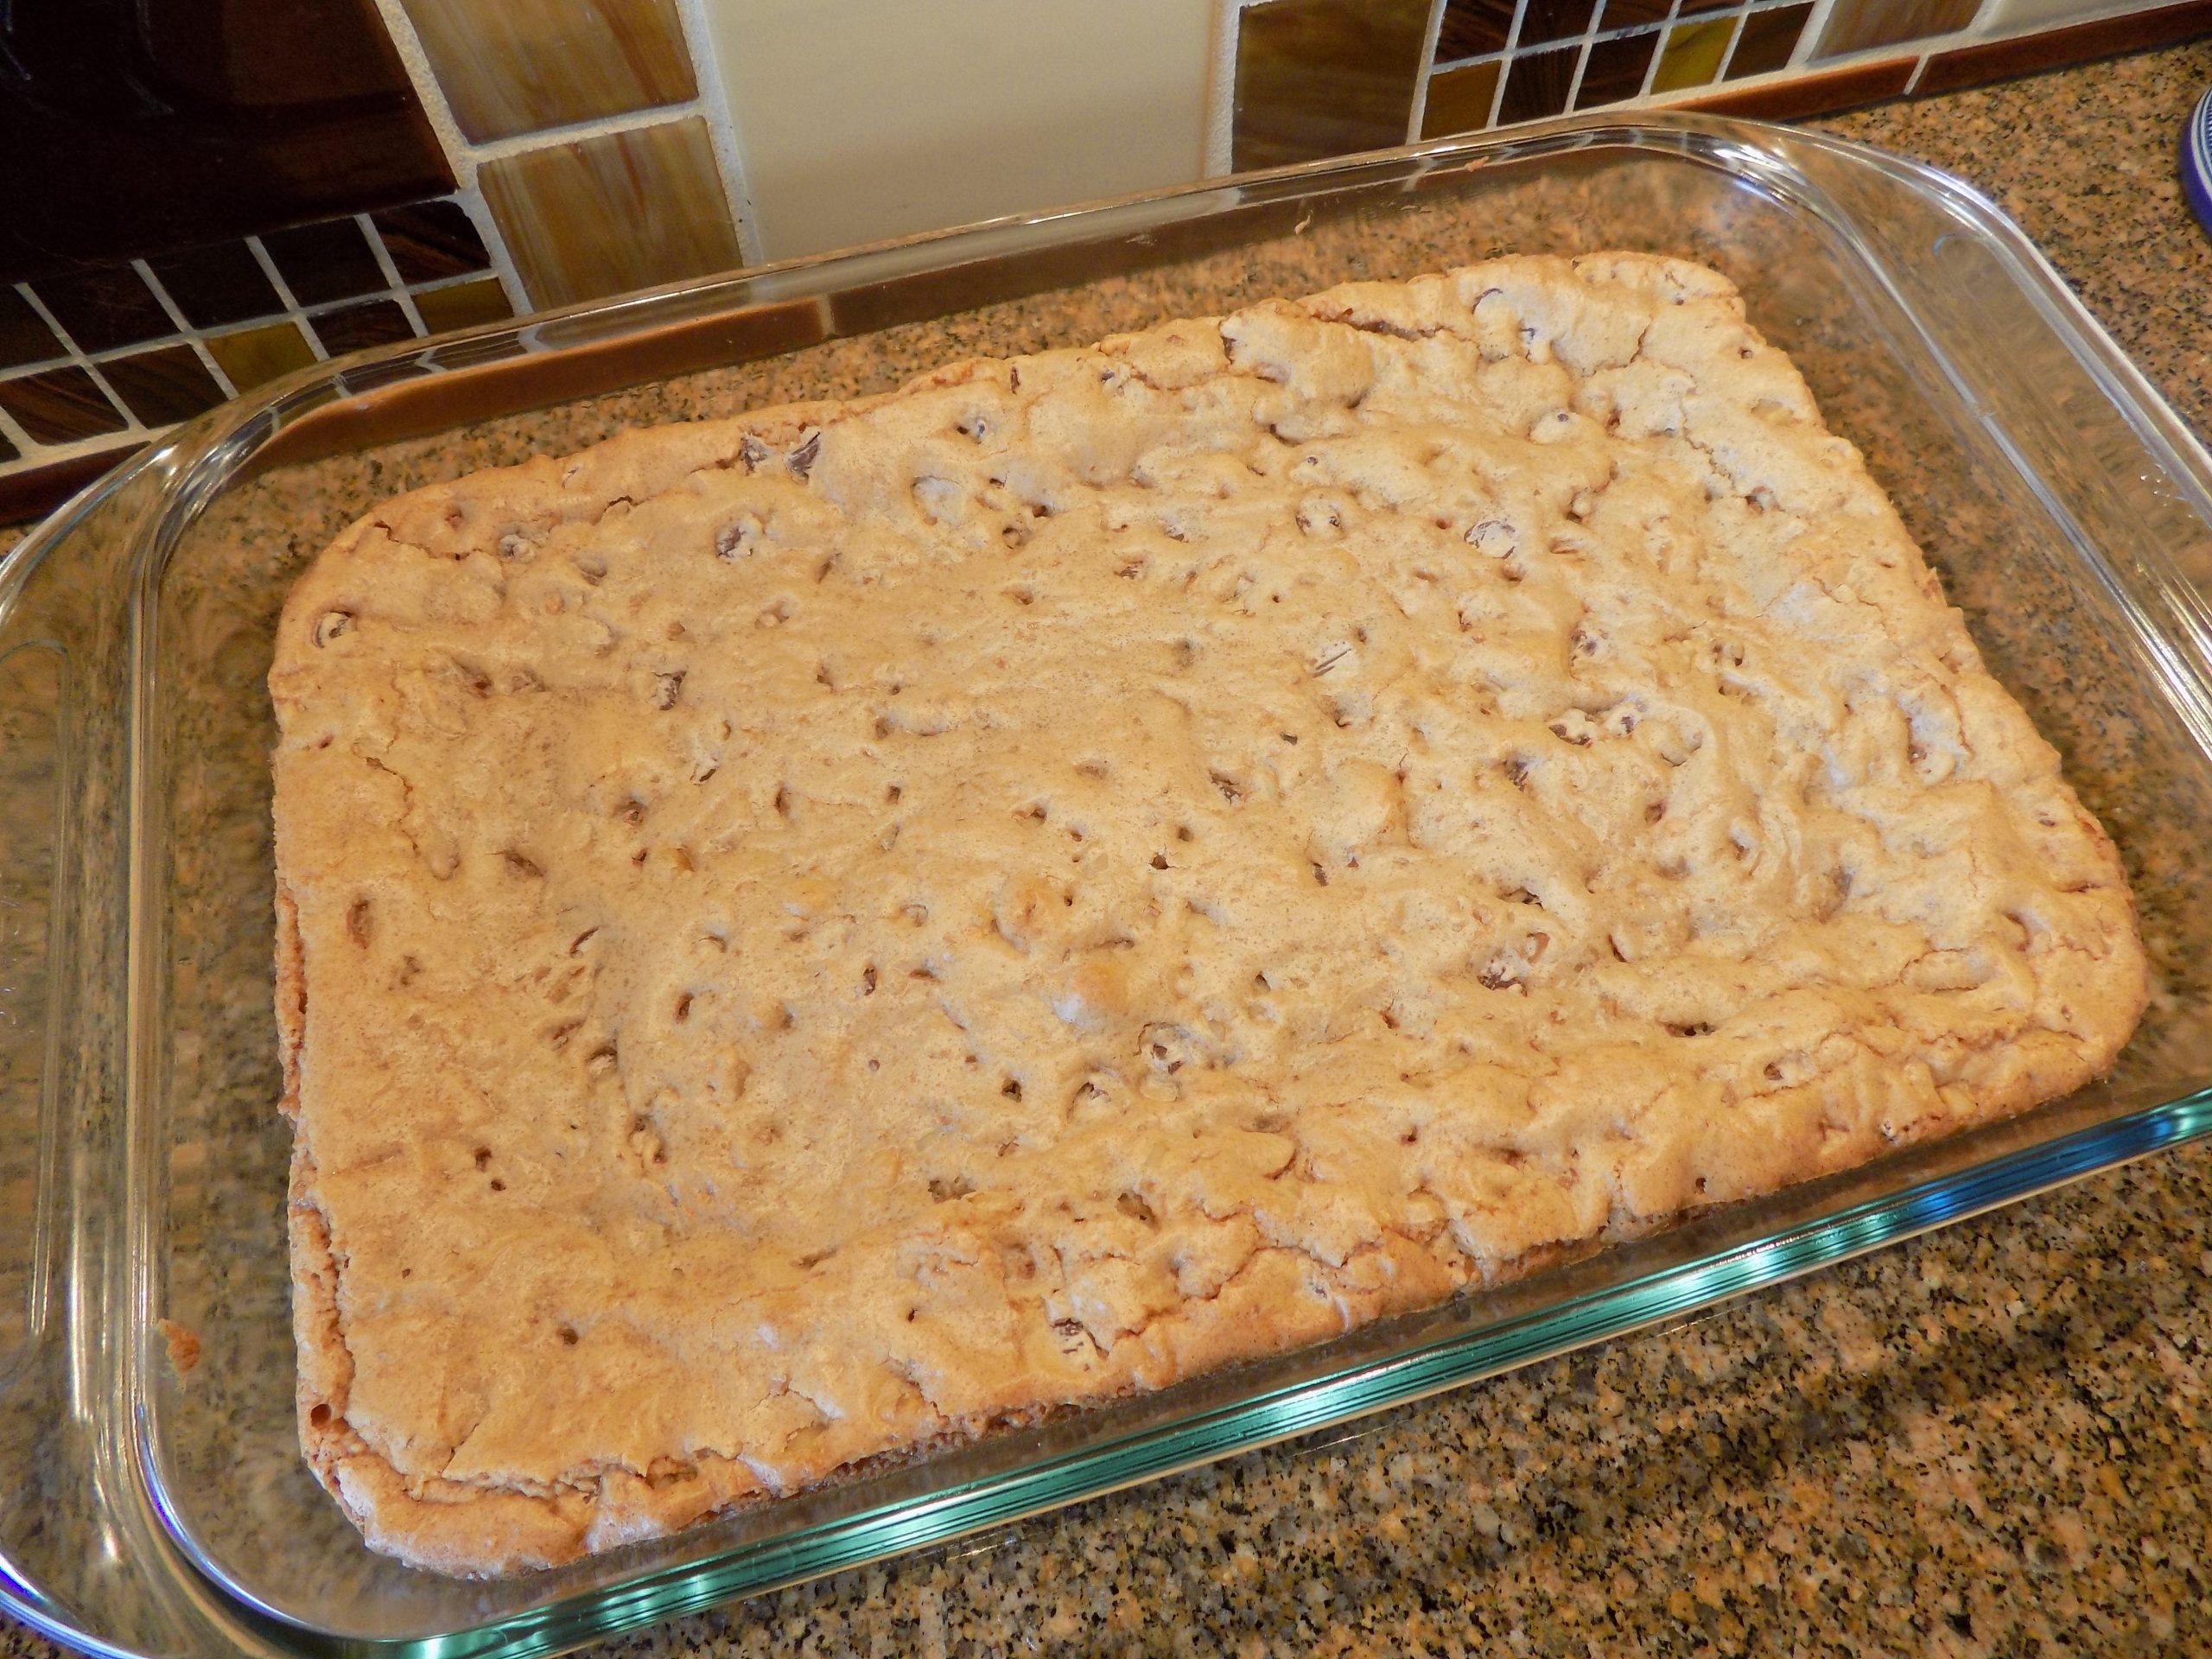
My more reasonable second thought about why my cake refused to cooperate was because I floured the pan with 7 or 8-year-old Wondra flour. I have subsequently learned that instead of using flour of any kind, I should have used finely ground nuts or granulated sugar. (You learn something new every day.) But I’m not taking any chances the next time I build this cake. (And believe me, there will be a lot more times I build this cake.) The batter is going into a 9×13-inch glass pan that I know I can use a heavy spatula if necessary to release pieces from their rectangular enclosure!

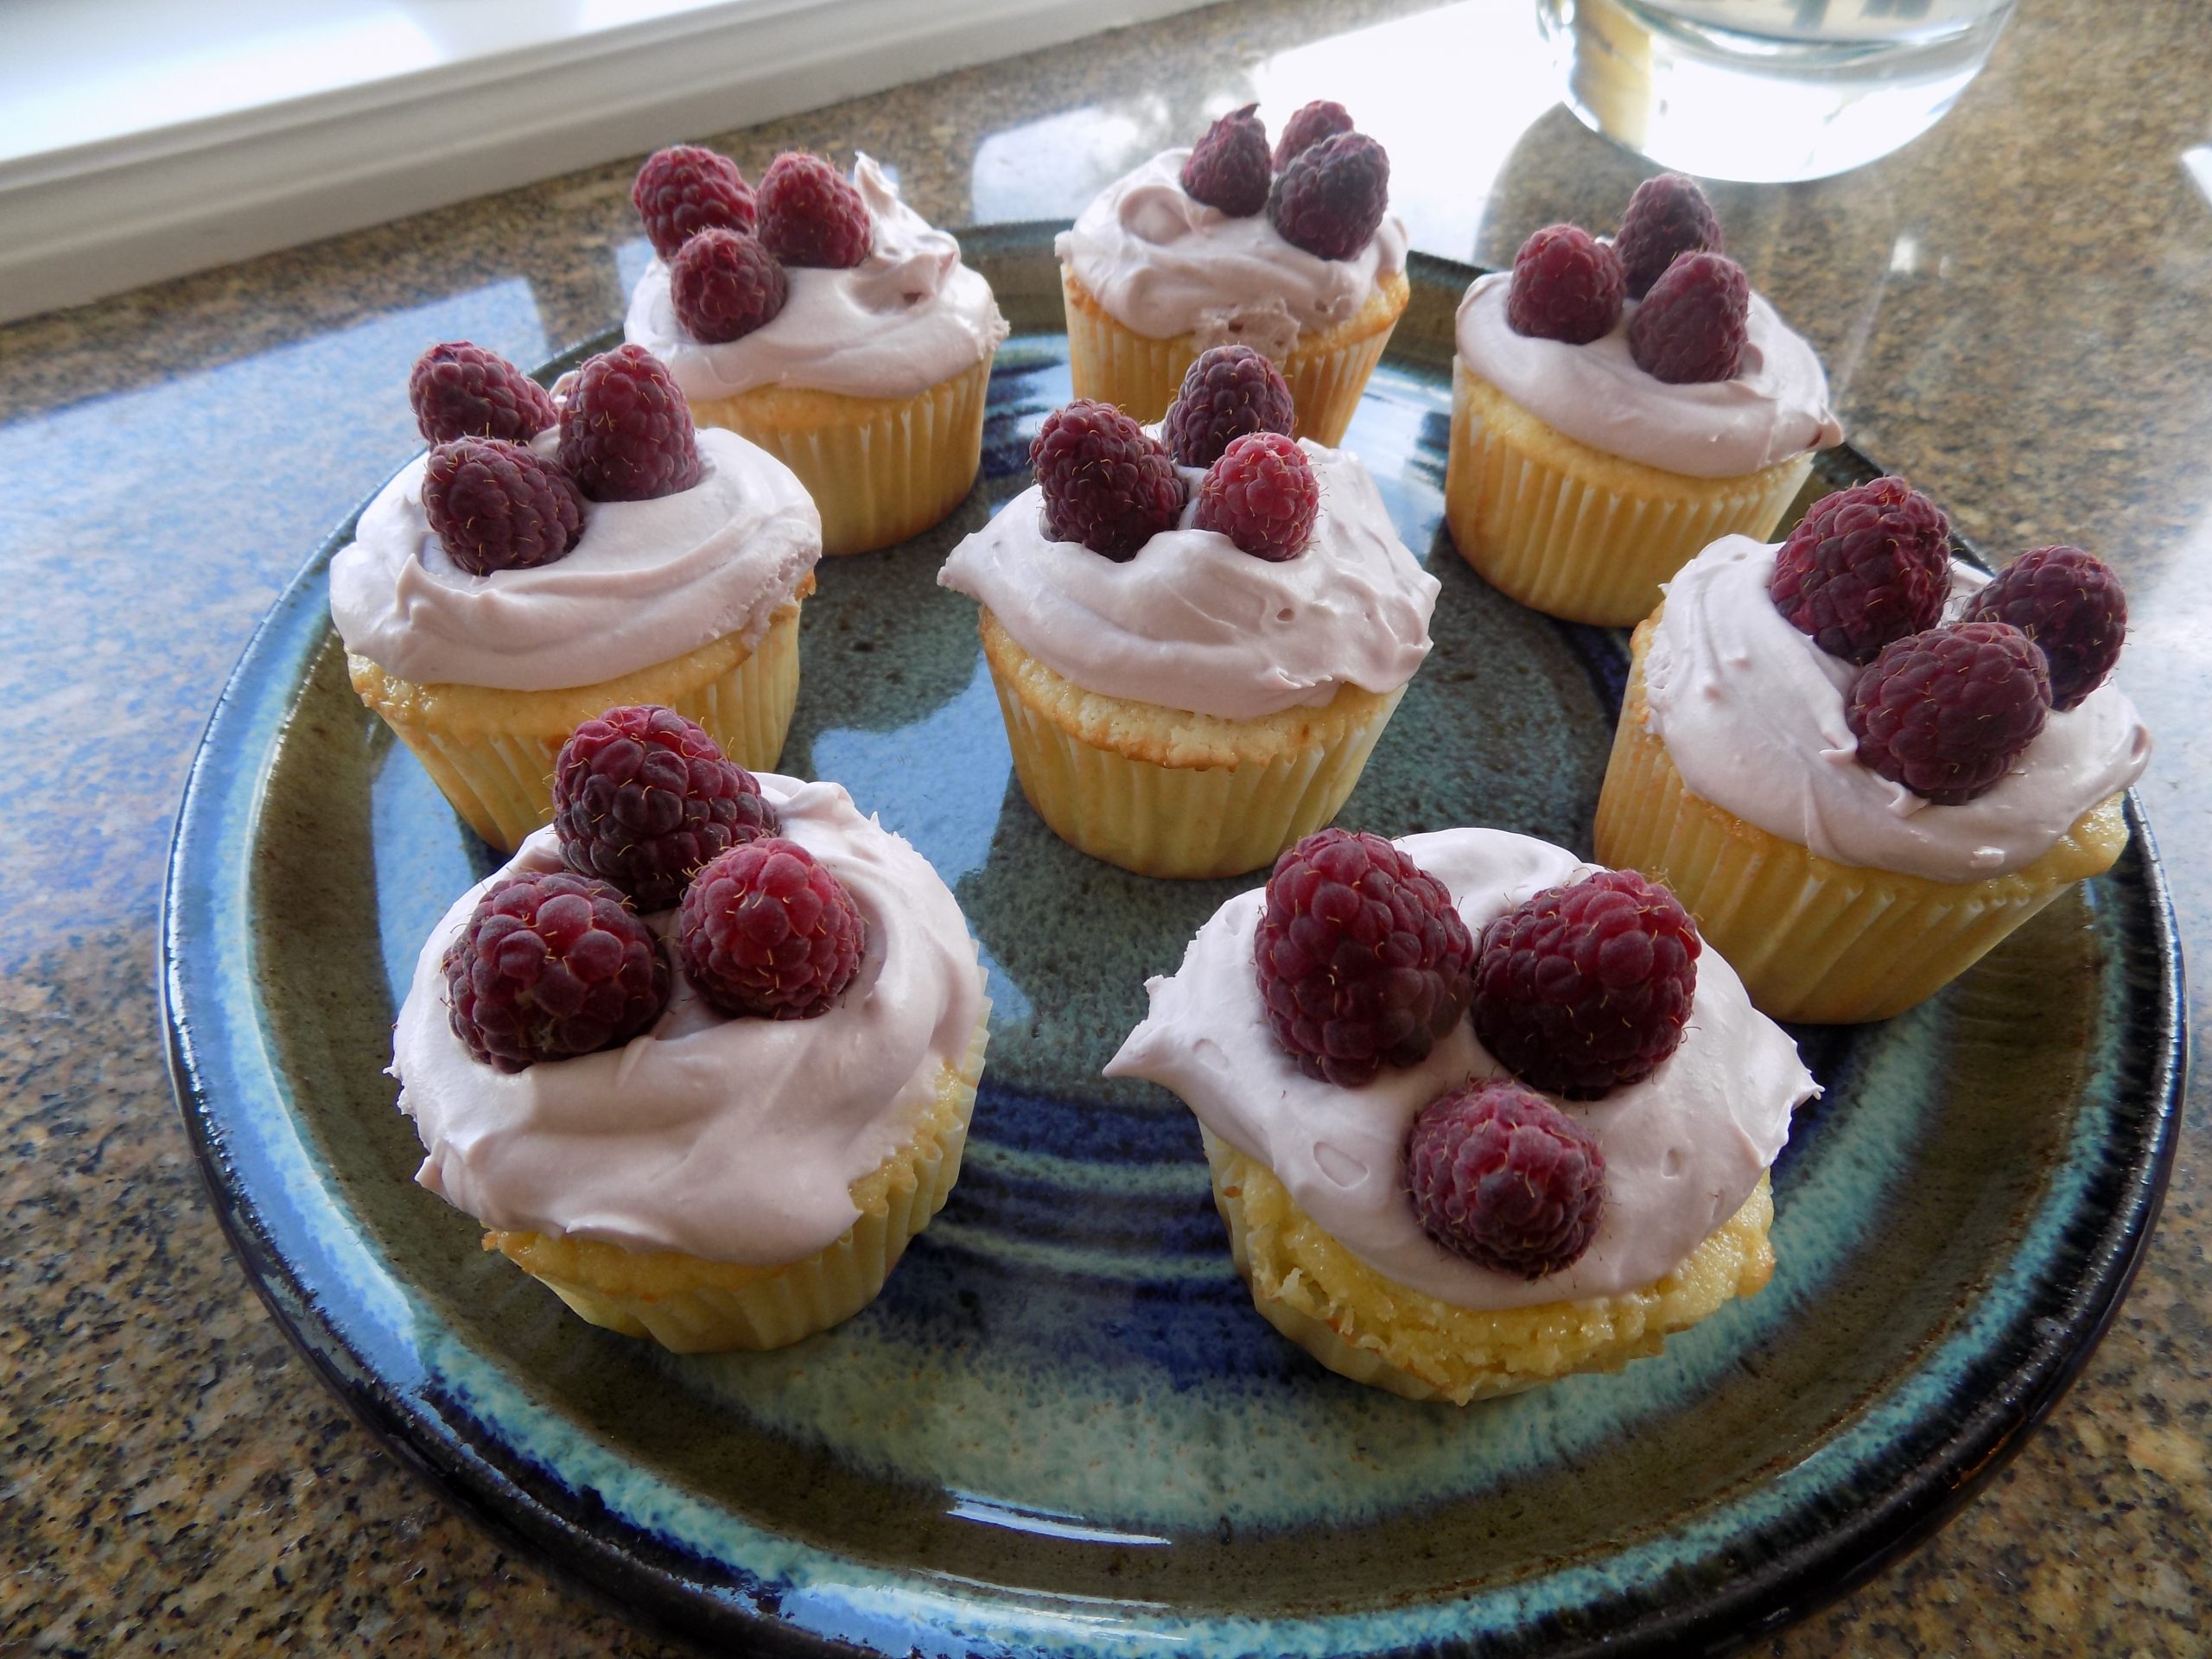
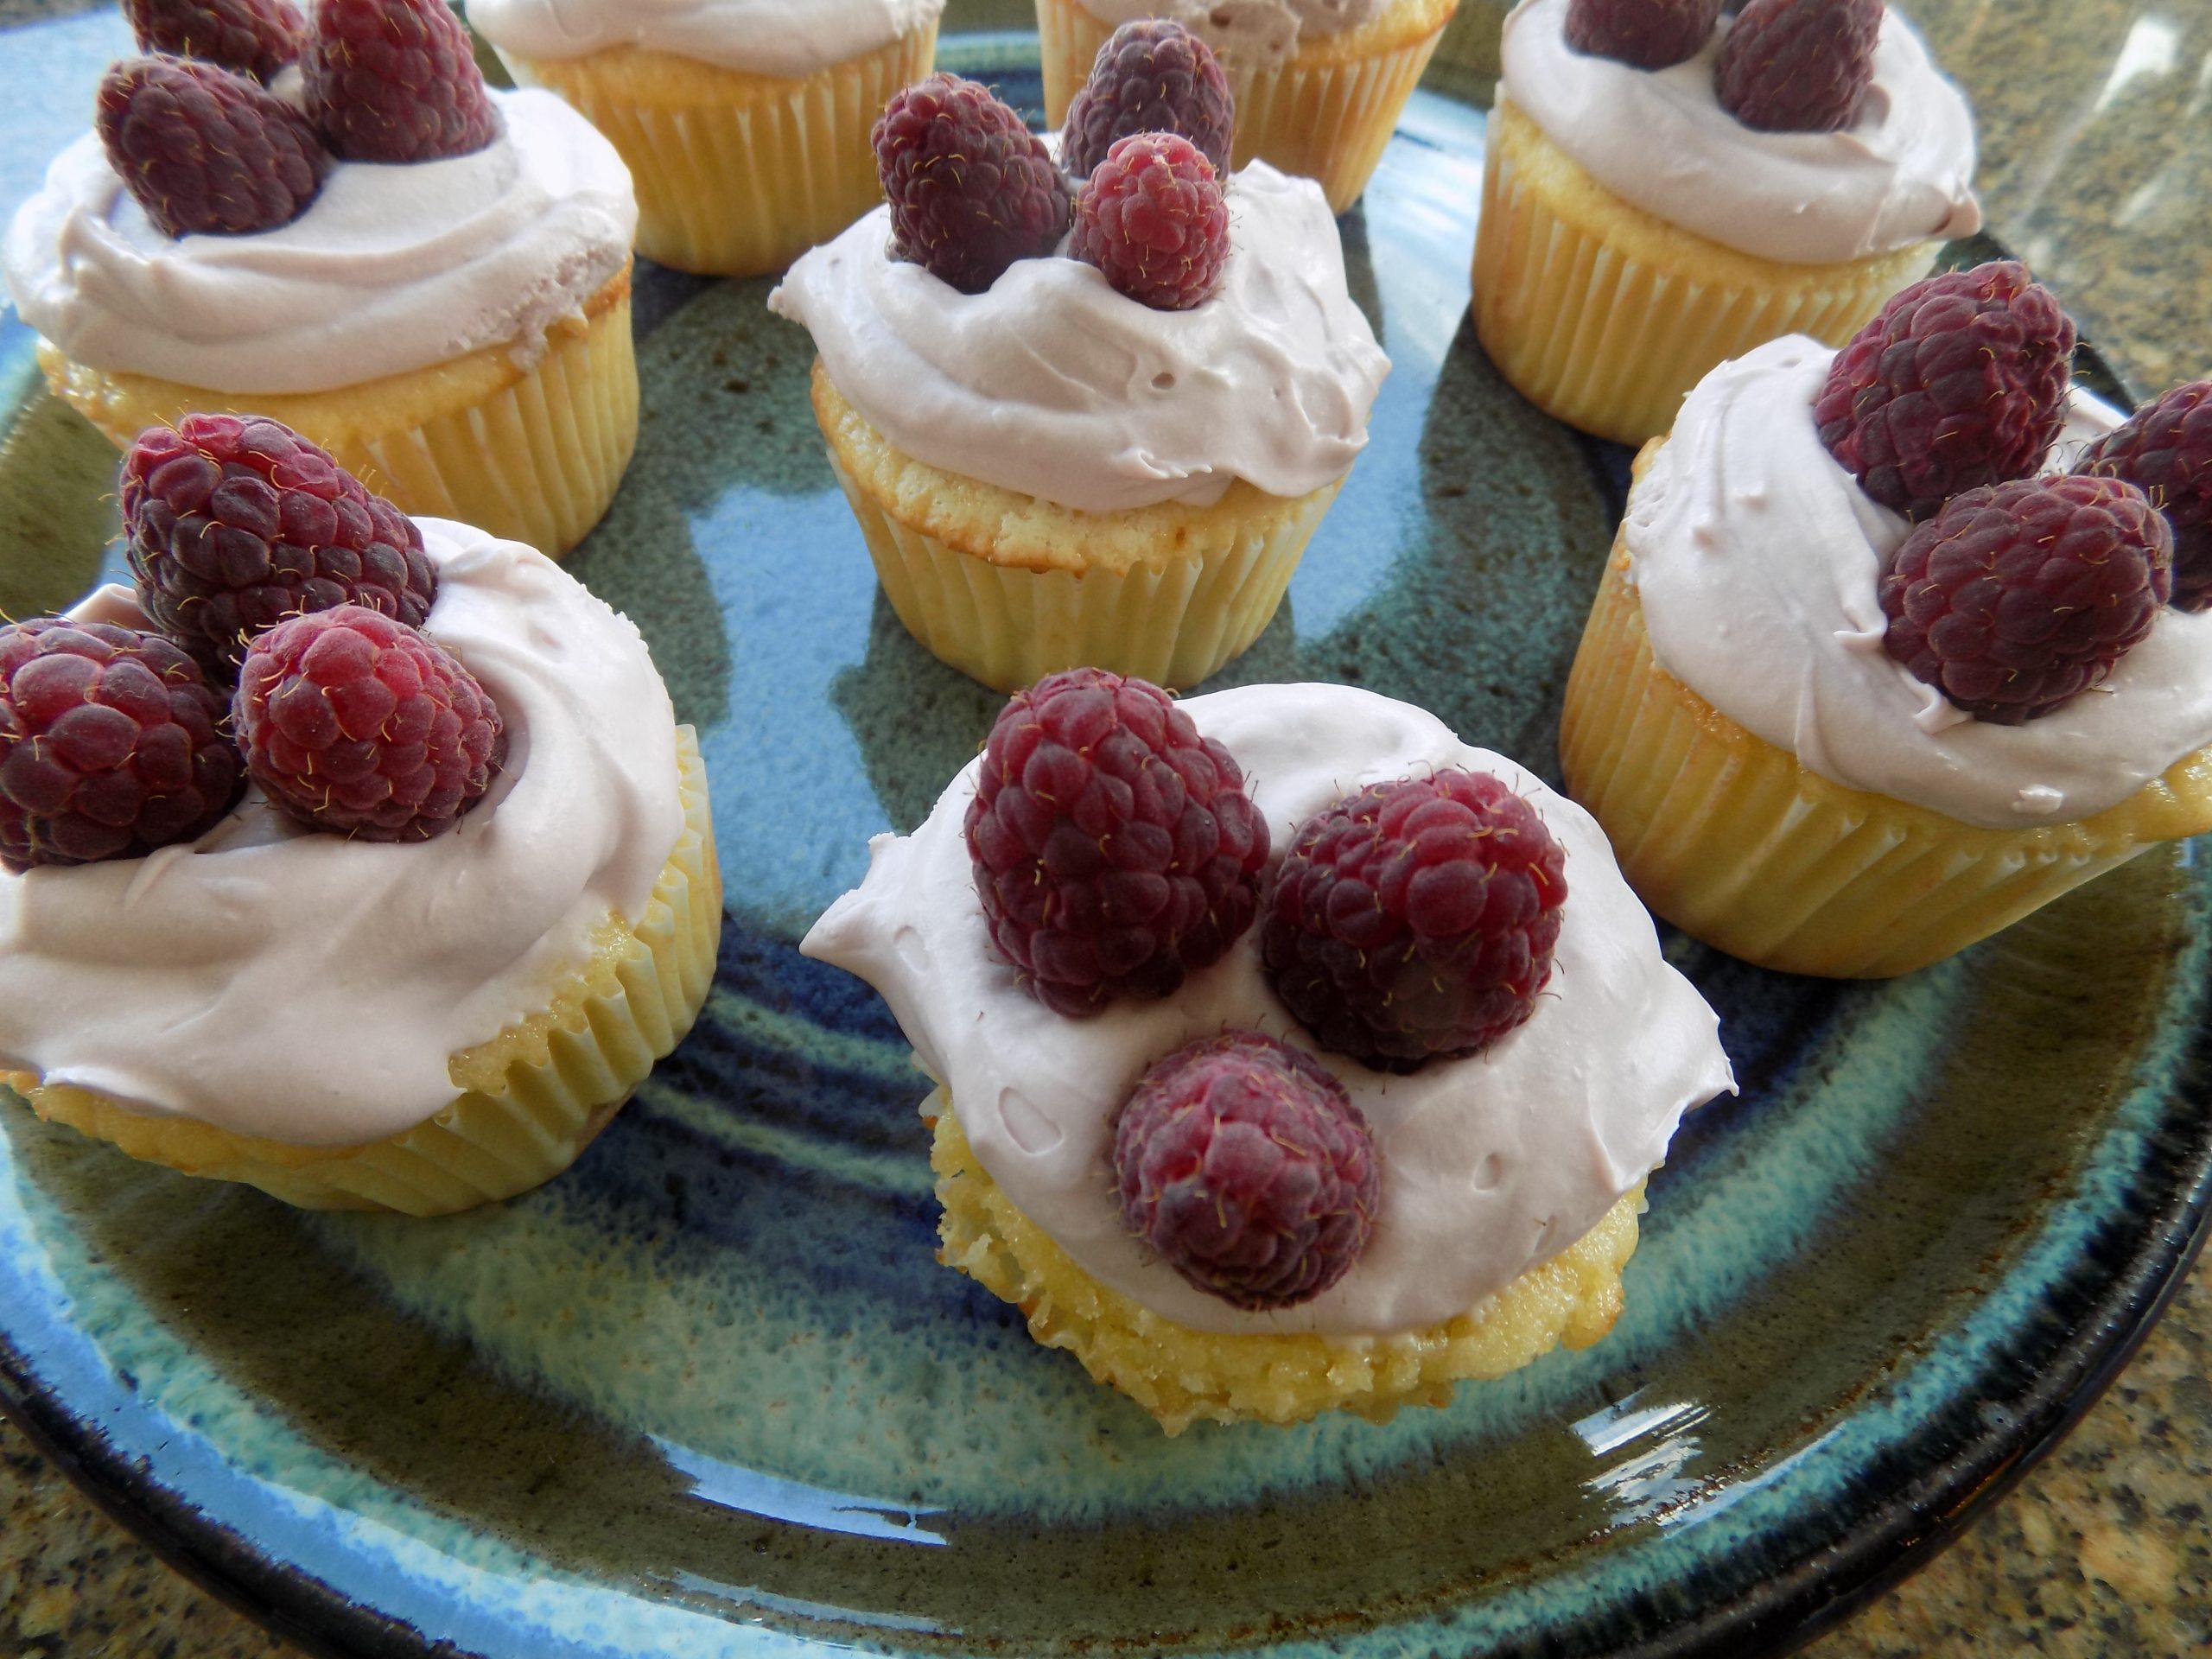
So, back to yesterday’s fiasco. You know what they always say about lemons: If life gives you lemons, make lemonade. Well, my version now goes like this: If a lemon glaze won’t cover up your Bundt cake disaster, make a thick creamy frosting instead. So, of course, that’s exactly what I did.

But even with all the trials and tribulations, the cake turned out to be very delicious. And with a perfect moist and tender crumb. And oh, so easy to prepare. And the frosting, well, I’d give myself 6 stars for this one.

As always, just when I started feeling a bit over pleased with myself, the God’s decided I needed a lesson in humility. And you know what? They must keep their eyes peeled on me all the time, because I get these lessons frequently. And for that I am extremely thankful. Because the last thing this world needs is another conceited (your word) taking up space. There are far too many (your word) already.

Peace and love to all. And please make this cake. It is really, really tasty.  

Lemon Cake:

1 c. (2 sticks) unsalted butter, room temp.

2 c. granulated sugar

3 lg. eggs

2 c. unbleached all-purpose flour , fluffed

2 tsp. baking powder

1 tsp. fine sea salt 

zest of 2 lg. lemons

1 c. sour cream

Preheat the oven to 325-degrees. Grease and flour a 9X13-inch baking pan. (Glass is best.) Set aside. 

Beat the butter and sugar together with an electric mixer until smooth and creamy, about 7 minutes. Add eggs, 1 at a time, beating well after each addition.

In a separate bowl, whisk the flour, baking powder, salt, and lemon zest together. Add the flour mixture to the butter mixture in 3 batches, alternating with sour cream, beating batter briefly after each addition. Don’t over-mix. Scoop batter into the prepared pan.

Bake for 25 to 35 minutes or until a toothpick inserted into the center comes out clean. (Check after 23 minutes to be sure.) Don’t over-bake.

Remove from oven and allow to cool on a wire rack before frosting.

Lemon Cream Cheese Frosting:

4 oz. (½ 8-oz. pkg.) cream cheese, softened

½ stick unsalted butter, softened

1 T. freshly squeezed lemon juice

½ – 1 tsp. lemon zest

½ tsp. vanilla extract

pinch kosher salt   

2 c. powdered sugar, or more to achieve desired thickness 

Using a stand mixer fitted with a paddle attachment or a hand mixer, beat the cream cheese and butter together on medium speed until smooth and no lumps remain, about 3 full minutes. Add the lemon juice, lemon zest, vanilla, and salt.

Reduce the mixer speed to low, then add the powdered sugar. Once the sugar begins to incorporate, increase the mixer to high speed and beat until soft and creamy. Add additional powdered sugar as needed. Frost the cake as soon as it’s completely cooled.


CREAM CHEESE DANISH WITH HOMEMADE PUFF PASTRY

Here I go again offering another recipe some of you would never consider building. But if truth be known, I love Danishes (OK, pastry of any kind), so I keep on trying new ones. And this recipe produces what is undoubtedly the best example of a true cheese Danish that I have ever prepared. (And yes, I think about cheese Danishes way too much!) And maybe that’s why I already have three Danish recipes (Individual Jam Filled Cream Cheese Danish Pastry, Cream Cheese Danish, Dried Cranberry and Almond Braided Danish) already on this site.

When I say I consider the results of this recipe to be a true Danish, it’s because it’s made with puff pastry. Homemade puff pastry. Now don’t panic! Believe me, if I can make this easy puff pastry, you can too. All you need is some flour, butter, and a willingness to try anything once! And trust me, after you’ve made this puff pastry, you will wonder what the big deal was all about. And granted, a “real” pastry chef would probably laugh at this recipe. Chuckle all you want, is all I have to say. Because this recipe produces a pretty darn good puff pastry. Of course, I have had better in Paris, but for homemade, it’s darned acceptable. And don’t even get me started on the puff pastry that comes from the frozen section of your grocery store. Not an ounce of real butter in the whole thing. (For more on the reality of what you are really getting when you buy frozen puff pastry, read my post for Cinnamon Twists.)

So, now that I have you chomping at the bit to build your own puff pastry, let me further tempt your taste buds with the filling. It’s luscious. There’s nothing more that needs to be said. And the tiny bit of drizzle over the whole pastry – yum!

As always, treat yourself every so often to a new or lovingly remembered treat. We are only on this planet for a very short time. Religiously restricting yourself to only foods that are healthy and good for you is not going to prevent the onset of old age or prevent you from getting a debilitating disease. Of course, using moderation or not eating something that is truly harmful to you is simply being responsible. But a pastry or French fries or a cookie once in a while, simply makes life worth living.

Peace and love to all.

And thank you Sam at sugarspunrun.com for this marvelous recipe. And sorry for the couple of minor changes I made.  

Homemade Puff Pastry: (equivalent of one box of puff pastry)

2¼ c. unbleached all-purpose flour, fluffed

1 T. granulated sugar

1 tsp. sea salt

1 c. (2 sticks) cold unsalted butter   

8-9 T. ice water, or more as needed

Whisk the flour, sugar, and salt together in a large bowl. Using a box grater, grate the butter into the flour mixture, briefly tossing the butter each time you’ve shredded about ½ stick so that it doesn’t clump together.

Once you’ve grated all of your butter, stir briefly until all of the butter is evenly mixed into the flour mixture. (A table knife works great for this step.)   

While stirring by hand, (do not use an electric mixer or over-mix this recipe) slowly drizzle ice water into the flour/butter mixture. Add just enough ice water so that if you pinch the dough it will hold its shape and not fall apart. (Start with 8 tablespoons.) All of the flour should be mixed into the dough, but the dough should still appear very dry and shaggy. If the mixture is still dry and crumbly and not sticking to itself when pressed after you have added 8 tablespoons, add additional water one teaspoon at a time. (My dough took 9 tablespoons.) Take care not to overwork the dough or it will be tough.

Transfer to a lightly floured surface and work the dough together with your palms to make dough cling together. Work (with your palm) into a 6×3” rectangle (it will almost look like a brick!). The dough will not look perfect. In fact, there should be chunks of butter showing. Cracks in the dough are fine too.  

Wrap dough with plastic wrap and chill for at least 30 minutes.

Once dough has chilled, roll into an 8×12-inch rectangle.

Fold dough into thirds (like you are folding a letter), rotate 90 degrees, and then roll dough into an 8×12-inch rectangle again. (Use as little flour on your rolling surface as possible,)

Fold into thirds again and repeat this process of folding and rolling until you have done four turns of your dough.

Wrap dough with plastic wrap and return to refrigerator to chill for at least 30 more minutes before using as directed below. While the pastry is resting, prepare the filling and egg wash.

Please note: This puff pastry may be stored in the refrigerator for several days or it may be frozen (make sure to wrap it well) for several months and then thawed in the refrigerator before using.

Filling:

8 oz. (1 pkg.) cream cheese, room temp.  

½ c. granulated sugar 

1 tsp. fresh lemon juice

¾ tsp. vanilla extract

Stir all the ingredients together until smooth. Set aside.

Egg Wash:

1 egg white

1 tsp. water

Whisk together. Set aside.

Build the Danishes:

Divide the puff pastry into 2 even parts (If using homemade puff pastry cut the dough widthwise. If using store-bought dough it will already be divided into two even sheets for you).

Roll first half of puff pastry into a 12×12” square (about 1/16” thick). Cut into 4 even-sized squares. (I use a pizza cutter for this step.)

Transfer squares onto a parchment paper lined baking sheet. Using a #30 ice cream scoop (teal handle), drop balls of filling onto the center of each square of dough. If you don’t have an ice cream scoop, dollop about two tablespoons filling into the center of each square. Spread the filling out a bit using the back of a spoon. Fold the corners over the center of the filling, leaving a space about ¼” thick in the center and between corners. Brush egg wash generously over the top of the puff pastry dough.

Place in a pre-heated 400-degree oven for 18-20 minutes or until light golden brown. Pastries will puff up considerably while baking but will settle as they cool. Repeat steps with second half of puff pastry dough. Meanwhile, prepare the glaze.

Remove from oven and allow to cool before drizzling with glaze.

Vanilla Glaze:

1 c. powdered sugar

½ tsp. vanilla extract

3-5 tsp. whole milk

Whisk the powdered sugar, vanilla, and enough milk together until you have reached desired thickness. Drizzle glaze generously over cooled cheese Danishes.

Chocolate Glaze:

1 c. powdered sugar

2 T. cocoa powder 

½ tsp. vanilla extract

3-5 tsp. whole milk

Whisk the powdered sugar, cocoa powder, vanilla, and enough milk together until you have reached desired thickness. Drizzle glaze generously over cooled cheese Danishes.


OATMEAL CHOCOLATE CHIP COOKIES WITH TOASTED COCONUT (Levain Bakery knockoff, if they made this kind of cookie)

One ingredient that rocks my socks is toasted coconut. Now I know, not everyone likes coconut, but I happen to love it. And remember, this site is really just all about me! And this recipe is absolute proof of that statement. And I figure you must like coconut too if you are even bothering to look at this recipe. But if you aren’t really interested in cookies, but are a friend just reading about our life here on Camano Island, hello, and love to all from Mr. C. and me. But if you are a devoted fan of chocolate chip oatmeal cookies and toasted coconut, have I got a deal for you.

Some of you know that I have already worked up knock off cookie recipes from the Levain Bakery in New York City. Even if I haven’t ever actually tasted one of their cookies. And I got to thinking, they should offer a coconut, chocolate chip oatmeal cookie. So, being the good gal that I am, I went ahead and glommed a recipe together for them. Was that not kind of me? I thought so too.

But because I am not as gifted as the bakers in New York City, I baked the cookies too long. Oh, they’re still delicious, but they don’t have that trademark crunchy outside, gooey middle that sets Levain Bakery cookies so far apart from your regular, run of the mill cookie. But I can learn, and you can profit from my mistake. Never, ever, under any circumstances, over-bake these cookies.

Oh, you will be tempted as I was today. But I should have trusted myself. I should have pulled them out of the oven after only 8 minutes, instead of 10 minutes. Sure, they would have been lightly browned and very soft to the touch after only 8 minutes. But they would have finished baking as they cooled. And then they would have been perfect.

So, if you too happen to over-bake them a bit, you are excused. I, on the other hand, should have known better. After all, I have baked hundreds of cookies over the 65 years I have been actively and religiously playing with cookie dough. But, in my defense, these cookies, and my other Levain Bakery knock-off cookies are decidedly different. And it’s that very difference that makes them the best cookies I have ever tasted. So, I hope you too enjoy this recipe. And don’t skip the step of toasting the coconut flakes. It truly does make a difference.

As always, have fun in your kitchen. Make every day a fun day. Laugh out loud. Smile at everyone you meet. (I know. Doesn’t really show when you’re wearing a mask!) But do it anyway. You will know you are smiling, and that matters to your own well-being.

Peace and love to all.

½ c. (1 stick) cold unsalted butter, cut into small cubes

½ c. brown sugar, packed

¼ c. granulated sugar

1 lg. egg

1 tsp. vanilla extract 

¼ c. cake flour (fluffed)

1 c. unbleached all-purpose flour (fluffed)

1½ tsp. cornstarch

½ tsp. baking soda

½ tsp. coarse sea salt

1 c. old-fashioned oats 

1 c. toasted coconut flakes (I use Bob’s Red Mill unsweetened coconut flakes)

1 c. semi-sweet chocolate chips

Place the butter, brown sugar, and granulated sugar in the bowl of your stand mixer. Using the paddle attachment, beat the butter and sugars on medium low speed until smooth and completely blended, 2-3 minutes. Add the egg and vanilla. Beat just until the egg and vanilla are incorporated with the butter/sugar mixture.

In a small mixing bowl, whisk the cake flour, all-purpose flour, cornstarch, baking soda, salt, and oats together. Add to the wet ingredients and mix only until combined. Add the coconut flakes and chocolate chips. Slowly mix until combined. Refrigerate dough for 30 minutes.  

Using an ice cream scoop (I use a #40, 1½ tablespoons, orchid handled scoop), place the balls of dough on a parchment paper lined cookie sheet 2 inches apart. 

Bake in a pre-heated 400-degree oven for 8-11 minutes or until the cookies appear dull and light golden brown on top.  Do not over-bake. The top should look done, but the cookies should not be fully set. 

Remove from oven. Cookies will continue to finish cooking as they set and cool on the baking sheets for at least 8 minutes before removing to a wire rack to cool completely. The cookies are quite delicate after just baking, so handle them carefully. They should still be plenty gooey inside.

Store in an airtight container.

Me in our kitchen last evening trying to decide if I would prefer a before dinner martini or a Margarita. Not an easy decision. But my apron made the decision for me. And please excuse the messy pantry. And of course, Miles had to be in the photo. His house, his rules!


ANISE BISCOTTI WITH SLIVERED ALMONDS (traditional Italian favorite)

When I think of biscotti, I always envision traditional anise flavored biscuits. Because I happen to be someone who truly loves a strong, licorice-like taste. But if you are familiar with this site, you know I have several biscotti recipes already posted that do not include anise. So, if you happen to fall in the category that is not anise addicted, I still have you covered. (Just search under “biscotti”, and all will be revealed.)

And I should mention that I already have an anise biscotti recipe on site that is the same as this one except for the addition of anise seed in this recipe. I could have simply updated the original recipe, but I thought it would be more fun to publish this version too. (After all, choices are always nice.) Anyway, these are now my new favorite traditional anise flavored biscotti.

So, lets talk a bit about how easy biscotti biscuits are to build. The dough is basically like many cookie doughs. Cream the butter and sugar together, add eggs and flavoring. Then whisk the flour, leavening (in this case baking powder), and salt together. Then combine the whole mess. But where in drop cookies you simply plop balls of dough on a baking sheet, or rolled cookies, where you cut the rolled-out dough into various shapes, with biscotti you form logs. Then you bake the logs for a short time, remove them from the oven, let them cool a bit, then cut the logs into slices, and bake them a second time until they are done. It may sound like more work then plopping or rolling, but it actually takes very little skill to make perfectly formed biscotti biscuits.

And I’m telling you true, there is just nothing better than a biscotto (singular of biscotti) dunked in your morning coffee or tea. So, you simply must give biscotti a try. And if you have been making biscotti for decades – Saluti!

As always, stay safe and stay focused on the well being of others. If you haven’t been vaccinated against covid, please consider the health of those with whom you make contact. You may be extremely healthy, but you can’t tell from just looking at someone whether or not they too share your good fortune. They could have an immune deficient condition that is not apparent. And even if they have been vaccinated, it would still be very unhealthy for them to contract the disease. So, please don’t make this all about you. Because it is not all about you or your personal rights or about your being a faithful member of your chosen political party! Politics has absolutely nothing to do with fighting a disease. Covid-19 has no affiliation with any political party. It has no political agenda. It’s only mission, if you care to define it as a mission, is to attack people’s lungs and possibly cause an overactive immune response which can lead to increased inflammation throughout our bodies. So, getting vaccinated is necessary if we hope to stop the spread of this deadly disease. Getting vaccinated is simply about saving lives! Yours included. Nothing else. Please do your part.

Peace and love to all.

½ c. unsalted butter, room temperature

1 c. granulated sugar

3 lg. eggs, room temp.

1 tsp. vanilla extract

1 tsp. good anise extract

2 tsp. ground anise seed

3 c. unbleached all-purpose flour

1 T. baking powder

½ tsp. kosher salt

1 c. slivered almonds, lightly toasted  

Cream butter and sugar together until light and creamy. Add the eggs, vanilla, anise extract, and ground anise seeds. In a separate bowl, whisk together the flour, baking powder, and salt. Combine with butter mixture. Stir in the slivered almonds.

Using your hands liberally coated with flour, divide the dough into 4 pieces on a floured surface. Pat each piece into a 12×1½-inch rectangle. Place on a large lightly greased baking sheet about 4 inches apart. (Use more than one baking sheet if necessary.) Bake the logs in a pre-heated 350-degree oven for about 20 minutes, or until a light golden brown. Remove from oven.

Cool for 15 minutes. Then cut each roll on a slight diagonal into ¾-inch thick slices. Turn the slices cut side down on the baking sheet. Bake for 10-13 minutes or until each piece is firm and nicely browned. Remove from oven and cool on the baking sheet(s). Cool completely before storing in an airtight container.

Note: I suggest baking biscotti with straight oven heat. Convection baking browns them too quickly.  


SWEET AND SALTY SHORTBREAD COOKIES

Ok, I’m going to mess with your perceived ideas about Scottish shortbread a wee bit. We all know how wonderful traditional shortbread is with its crunchy, buttery goodness. But what if you added a bit more powdered sugar and coarse kosher salt to the mix? Well, you’d get this cookie, that’s what would happen! And I have to say, for a new way of enjoying plain shortbread, this is so very tasty. The extra sweetness combined with the tiny bits of coarse salt, is a fun new taste sensation. Especially since no one’s taste buds are expecting the cookies to be as sweet or as salty. (And isn’t that fun!)

So, I guess the only thing left to say is – next time you want to prepare a simple shortbread cookie that will be a hit with your family and friends, give this recipe a try.

And if you are wondering why I chose to make tiny heart shape shortbread cookies, well, they were for a very special event. The marriage of my son Sven to Jill, a truly wonderful woman and just the perfect fit for my son. Both being intelligent, athletic, successful, delightful and caring people, and devoted parents. I could not be happier for either of them. (Or for me, if truth be known.)

As always, have fun in your kitchen and always keep thinking positive thoughts. Things do have a way of working out, even if it appears to the contrary as you wait for some type of resolution. So, practice patience. Not easy, I’ll grant you that. But if you continue to have hope, most often, time will take care of whatever situation has held you in its grip.

And again – congratulations to Sven and Jill. And to the many family members on both sides who attended the wedding – thank you for being a part of this special celebration. I love you, one and all.

Peace and love to all.

1 c. (2 sticks) unsalted butter

1 c. powdered sugar

1 tsp. vanilla

½ tsp. kosher salt

¼ tsp. baking powder

2 c. unbleached all-purpose flour, fluffed

Cream the butter, powdered sugar, and vanilla together until light and creamy. Whisk the salt, baking powder, and flour together in a separate bowl. Add to the butter mixture just until well combined. Form dough into a ball.

Place on a lightly floured surface and roll to approximately ⅓-inch thick. Cut into your favorite shapes.

Place on an ungreased cookie sheet and bake in a pre-heated 350-degree oven for 17-18 minutes or until the bottom of the cookies are a nice golden brown. Don’t under-bake. (Please note: the cookies will not expand very much, so they can be placed quite close together on your baking sheet.)

Remove from oven and cool completely on a wire rack. Store in an airtight container.   


CHOCOLATE CHIP AND NUT BLONDIES

Sometimes I’m almost embarrassed to post a recipe as simple as this one. But maybe, just maybe, you never thought of putting chocolate chips in your blondies either. I say either, because I never thought to do so until our good friend Keith made some to sell at his wife Sheila’s choir fund raiser. One taste told me that I had been missing out on a really good thing. And as some of you well know, I’m getting quite lazy in my golden years. So, a butterscotch flavored chewy bar cookie that is very simple to build, (no mixer required), chocolaty, and crunchy is excellent in every regard! (Including the short amount of time this cookie takes to prepare.)

Absolutely perfect to feed hungry children and starving musicians. (I don’t have kidlets in the house any longer, but sometimes jazz musicians can be found huddled around the baby grand in our living room. And of course, they must be fed frequently to ensure that they keep up their strength. And for whatever reason, cookies and strong coffee are their preferred method of securing sustenance. Imagine that!)

Anyway, these bar cookies are terrific. And like I mentioned above, very easy to make. And I promise not to be offended, in any way, if you already have a favorite blondie recipe you would prefer to use. Just add some chips (chocolate, mint chocolate, peanut butter, white chocolate, M&Ms, etc.) and whatever nut you happen to have around (or not), and you have a whole new bar cookie with which to thrill and delight your family and friends. Drum roll please!  

So, as always – have fun in your kitchen. Make some cookies. Because cookies are the only food group that everyone, of every age enjoys. And I know cookies aren’t the healthiest thing to feed your children. But as an occasional treat, there is nothing finer.

Peace and love to all.

½ c. (1 stick) unsalted butter, melted

2 c. brown sugar, packed

2 lg. eggs

2 tsp. vanilla extract

2 tsp. baking powder

1 tsp. kosher salt

2 c. unbleached all-purpose flour, fluffed

1½ c. semisweet chocolate chips

1 c. chopped walnuts, lightly toasted pecans, hazelnuts, etc.  

Stir the melted butter, brown sugar, eggs, vanilla, baking powder, and salt together using a whisk. Using a rubber spatula, stir in the flour just until combined. Stir in the chocolate chips and walnuts.

Spread the dough out evenly in a lightly buttered 9×13-inch pan (glass is best). Bake in a pre-heated 325-degree oven (350-degrees if you are using a metal pan) for 30-35 minutes or until a toothpick inserted in the center comes out clean or with just a few fudgy crumbs and the top looks set. Resist overbaking.   

Remove from oven and cool on a wire rack. Cut into whatever size pieces you want. Store in an airtight container at room temperature or freeze for longer storage.


PISTACHIO-ORANGE BISCOTTI

I wish I could say I first tasted biscotti on one of my trips to Italy. But alas, that is not the case. In fact, I don’t believe I ever saw biscotti offered on a menu. Of course, it probably was available, and my eyes just skipped over it because there were so many other choices that I knew I wouldn’t find when I returned home. Like a licorice flavored gelato or bomboloni (a traditional Italian pastry similar to a doughnut and filled with a rich vanilla cream). All I know is that I never actually enjoyed a biscotto (the singular of biscotti) while traveling. But that’s OK, because I so love making these little darlings and filling our very own biscotti jar with one type or another of these beloved biscuits.

Our very own biscotti jar brought home from Italy in our luggage many years ago.

When and by whom I was first introduced to biscotti, I have absolutely no recollection. All I know is that I have been making biscotti for many years. Decades, actually!  

I think one of the main reasons I enjoy baking this very traditional Italian delight is because they are just so stinkin’ easy to build. Plus, this double baked cookie stays fresh much longer than most cookies. And biscotti is dunkable. (And who isn’t into dunking their food?!) In fact, biscotti is designed to be dunked in your favorite beverage. Absolutely perfect dunked in coffee or Vin Santo*, or as Mr. C. recently discovered, a wee dram of really great Scotch. (Our good friend Jim will back Mr. C. up on the joys of dunking biscotti in Scotch!) But if you are the one in a billion who doesn’t like to dunk your food, you can always just gnaw away on a biscotto until only tiny crumbs remain. Your cookie, your choice!

As always, take delight in the food you concoct for yourself and others. Be open to new ingredients and new dishes, but don’t forget about those foods that you and your family love. For most of us, we live to eat. We don’t just eat to live. So, continue to make healthy and nutritious food, but don’t forget about those special once in a while treats either. Now, if you will excuse me, I’m off to build a new comfort food from a recipe I threw together yesterday. Baked Egg Noodles in a Creamy Garlic, Spinach, and Cheese Sauce. Wish me luck!    

Peace and love to all.

2 c. all-purpose flour, fluffed

1½ tsp. baking powder

½ tsp. kosher salt

½ c. (1 stick) unsalted butter, room temperature

¾ c. granulated sugar

zest of 1 lg. orange

1 tsp. vanilla   

2 lg. eggs, room temperature

1 c. raw unsalted pistachios, lightly toasted and coarsely chopped

coarse decorating sugar, opt.

Whisk the flour, baking powder, and salt together in a small mixing bowl.  

Using an electric mixer, beat the butter, granulated sugar, orange zest, and vanilla until light and fluffy. Beat in the eggs, 1 at a time, beating well after each addition. Add the flour mixture in 3 batches with the mixer on low speed. Beat just until blended. Stir in the pistachios. Cover the bowl and refrigerate for 60-90 minutes.

On a well-floured surface, using your hands (also well-floured if you know what’s good for you), divide the dough into 4 pieces. Roll each piece into a log 1-inch in diameter. Place at least 3-inches apart on a parchment paper lined baking sheet. Lightly sprinkle with coarse sugar.

Bake in a pre-heated 350-degree oven until light golden, about 20-25 minutes. Remove from oven and allow to cool for 20 minutes. (Keep the oven on go.)  

Place the logs on a cutting board. Using a sharp knife (I use my big old butcher knife, but a serrated knife works well too), cut the logs on a slight diagonal into ¾-inch thick slices. Arrange cut side down back on the baking sheet. Bake until a nice golden brown, about 20 minutes.

Remove from oven and allow to cool right on the baking sheet. Store in an airtight container at room temperature for up to 2 weeks.

*Vin Santo is a late-harvest Italian dessert wine generally produced in Tuscany from white grapes, namely Trebbiano or Malvasia. After picking, the grapes are semi-dried before being pressed and fermented. Then the wines are stored in small barrels for up to 10 years, usually in attics which turn hot and cold with the seasons. There is a wide diversity in Vin Santo styles, from sweet dessert to dry, Sherry-like versions.


CRUMBLE TOPPED RASPBERRY TART IN AN OATMEAL CRUST

Now, a couple things you should know before I expand on the glories of this recipe. This is not a fancy-schmancy dessert. So, if you are entertaining the queen, your boss, or Helen Mirren, choose something else to serve. But if you are feeding your family and/or friends, this is a simple dessert that looks beautiful and tastes really, really good.

The second thing I should reveal, is that making the raspberry preserve for this tart is a real pain in the patootie. (And yes, patootie is a real word.) But the good news is – you can replace the raspberry preserve with any kind of jam, jelly, preserve, compote, fruit butter, or curd that suits your fancy. Cool, huh?!

So, now that I have been perfectly frank with you about this dessert’s limitations, let’s get on to why you should make one of these tarts at your earliest convenience.

As I stated above, this tart is mighty tasty. And if you use an already prepared filling, like most rational and intelligent people would choose to do, this dessert comes together with very little effort.

But if you are as passionate as I am about preparing most of the food you eat, and truly believe that everything homemade is intrinsically of higher quality, then I hope you will make the raspberry preserve too. Because with the tartness and intense flavor the preserve brings to the mix, it provides a perfect counterbalance to the sweetness of the crust and crumble. But regardless of my pleading and high handed rhetoric regarding preparing the raspberry preserve filling from scratch, just make the damn tart. And make it any old way you want.

So, as always, have a blast in your kitchen. Keep trying new dishes. Keep striving for excellence. And above all, keep enjoying your life.

I know we all get hung up on the bad that is happening around the world. But please don’t forget to embrace the good that is happening too. Look around you. Most people are decent human beings. They care and they make sacrifices, just like you do. So, do what’s right. Lift them up in any way you can. Even if its’ just by offering up one of your beautiful smiles. You never know how much just that simple gesture can mean to someone in need.

Peace and love to all.  

Raspberry Preserve Filling:

4 c. fresh or frozen raspberries  

¾ c. granulated sugar  

2 tsp. lemon zest  

1 T. fresh lemon juice  

½ c. water, divided    

¼ c. cornstarch  

Place the raspberries, granulated sugar, lemon zest, lemon juice, and ¼ cup of the water in a heavy saucepan. Heat over medium high heat. Stir the mixture until it begins to boil. Lower the heat to medium-low and allow the filling to simmer for 10-15 minutes.

Remove from heat and pour the filling into a metal strainer suspended over a medium sized bowl. Using a spatula and a decent amount of pressure, push the liquid through the sieve. You should be left with a little over ½ cup of seedy pulp. Discard the pulp. Pour the strained liquid back into the pan.

In a separate small bowl, whisk the remaining ¼ cup of water with the cornstarch together until the cornstarch has fully dissolved in the water. Add to the strained raspberry filling; stir until well combined. 

Over medium heat, stir the filling constantly to prevent burning. Cook until the mixture begins to boil, then reduce the heat to low. Continue cooking for about 1 minute. Remove from heat and set aside while you prepare the other parts of this recipe.

Please Note: If you want to make the preserve ahead of time, remove from heat and pour into a bowl to cool. Cover with plastic wrap and place in the fridge.   

Oatmeal Crust (and ingredients for crumble) 

1 c. rolled oats, divided

1¾ c. unbleached all-purpose flour, divided

1/8 tsp. kosher salt

½ c. brown sugar, packed, divided

¾ c. (1½ sticks) unsalted butter, divided

1 T. water

1 tsp. vanilla

Mix ¾ cup of the oats, 1¼ cups of the flour, salt, and ¼ cup of the brown sugar together. Melt ½ cup (1 stick) of the unsalted butter, then stir in the water and vanilla. Add to the oat mixture until well combined.

Press the mixture into a 9-inch tart pan with a removable bottom. Make sure there is about a ¼-inch rim around the edge.   

Bake in a pre-heated 375-degree oven for 12 minutes or until a light golden brown. Remove from oven and allow to cool for about 15 minutes.

Spread the raspberry preserve over the bottom crust making sure there’s complete coverage. The filling should be about ¼-inch thick. Bake at 375-degrees for about 30-35 minutes. The outside crust should be a nice golden brown when the tart is ready to come out of the oven.

Remove from oven and sprinkle with the baked oatmeal crumble. (See recipe below.) Press the baked crumble gently into the hot filling so it will have a better chance of actually sticking to the surface of the tart.

Allow tart to cool before serving with Chambord Whipped Cream (see recipe below) or vanilla ice cream and fresh raspberries for decoration.   

Oatmeal Crumble

While the tart is baking, mix the remaining ¼ cup rolled oats, remaining ½ cup flour, remaining ¼ cup brown sugar together. Using your fingers, cut the remaining ¼ cup (½ stick) butter into the oat mixture until the mixture resembles coarse crumbs. Squeeze the crumbs together to form larger clumps before placing on a small, ungreased baking sheet.

Bake at 375-degrees for 12 minutes. Then using a spatula, beak up the crumble and allow to bake for 3 more minutes. Remove from oven and allow to cool. Use as directed above.  

Chambord Whipped Cream

1 c. heavy whipping cream

2 T. powdered sugar

2 tsp. Chambord (black raspberry liqueur), opt.

Whip the cream to stiff peaks. Add the powdered sugar and Chambord and whip until well combined. Refrigerate until ready to serve the tart.

Additional Note: If you should choose to use a different filling (jam, jelly, curd, etc.), you will need between 1½ and 2 cups.

RASPBERRY (OR STRAWBERRY) DREAM CUPCAKES (or 8-inch layer cake)

First of all, you should know that this recipe produces the best yellow cake I have ever tasted. EVER! And through the years, I have baked a lot of cakes. But until my dear friend Vicki made her amazing Southern Caramel Cake for one of our JazzVox concerts, I had no idea a yellow cake could taste so good. And be so tender. And I should know, because I have tried many recipes for yellow cake that have left me wanting. Wanting everything this recipe delivers – in spades. So, the really good news is that now you too have a recipe for the perfect yellow cake. Because really and truly, where other cake recipes might be considered mandatory only as the excuse for eating frosting, this yellow cake can hold its own with pride.

And just because I chose to frost the cupcakes in this post with raspberry cream cheese frosting, doesn’t mean that other frostings wouldn’t be equally delicious. I just wanted a raspberry frosting this time.   

And luckily, both the cake part and the raspberry frosting are very easy to prepare. No fancy ingredients in the cake, but you need to plan-ahead and purchase some freeze-dried raspberry or strawberry powder for the frosting. (Trader Joe’s carries the powder at a reasonable price.)

So, as always, keep playing in your kitchen. And even if you think you don’t like yellow cake because you often find it dry and tasteless, you need to build these cupcakes or cake to realize how delightful a truly great piece of yellow cake can be!

Peace and love to all.  

Cake Batter:

½ c. (1 stick) unsalted butter, room temperature  

3 T. vegetable oil

1¼ c. granulated sugar

3 lg. eggs, room temperature

1 lg. egg yolk, room temperature

1 T. pure vanilla extract

1½ c. fluffed up or sifted cake flour

½ tsp. baking powder

¼ tsp. salt

½ c. sour cream

In the bowl of your stand mixer, cream the butter, oil, and granulated sugar on high until light and fluffy, about 5-6 minutes. (Do not skimp on the time for this step. Very important.)

Add eggs and egg yolk one at a time until well incorporated. Scrape the bowl as needed. Add in the vanilla extract and mix until well combined.

In a medium sized bowl whisk the cake flour, baking powder, and salt together.   

With mixer on low speed, alternate adding in flour mixture and sour cream. Do not over mix.

Cupcakes:

Using a #16 (¼ cup, 2-oz.) ice cream scoop, drop batter into cupcake lined muffin tins 7/8 full. (Makes about 16 cupcakes.)

Bake in a pre-heated 350-degree oven for about 18 minutes, or until a toothpick inserted in the center comes out clean and the internal temperature reaches 210-degrees. Don’t over-bake.

Remove from oven and let cupcakes cool in the pan for 5 minutes before transferring to a wire rack to cool completely before frosting each cupcake. Store in the refrigerator. Decorate with fresh berries just before serving. 

Layer Cake:

Grease and flour two 8-inch round cake pans. Pour the batter evenly into the pans. Shake to help even off the batter.

Bake in a pre-heated 350-degree oven for 18-20 minutes or until a toothpick stuck into the middle of the pan comes out clean and the internal temperature reaches 210-degrees. Do not overbake. Check after 17 minutes to be sure.   

Remove pans from oven and place on cooling racks for 10 minutes. Then gently remove cakes from pans and allow to cool completely before icing.

To frost the cake, place one of the cakes upside down on your cake plate.   Spread icing over layer. (Not too much.) Add the top layer and frost just the top. Store in refrigerator. When ready to serve, decorate with fresh berries.  

RASPBERRY (OR STRAWBERRY) CREAM CHEESE FROSTING

 ¼ c. (½ stick) unsalted butter, room temperature

4 oz. cream cheese, room temperature

3 T. freeze-dried raspberry or strawberry powder

pinch salt

1 tsp. Chambord (black raspberry liqueur), opt.

1¾ c. powdered sugar, plus more if required

fresh raspberries or strawberries, for decoration

Cream butter, powdered sugar, and freeze-dried raspberry powder together until light and fluffy. Add the salt, Chambord, and enough powdered sugar to make a firm but not stiff consistency. Beat until smooth and easy to spread. Spread as described above.   


STRAWBERRY SHORTCAKE

OK, I know most of you already know how to make strawberry shortcake. But for those of you who have yet to master this classic American dessert, have I got a simple yet exceedingly delicious recipe for you. The biscuits themselves are yummy without being too sweet. And the bit of turbinado sugar baked on top of each biscuit gives them just a lovely little crunch that is super appealing. And the orange liqueur is just heavenly combined with the strawberries and as an additive in the whipped cream. Transforms the whole dessert from ordinary to amazing. And the best part – this entire dessert is totally easy to prepare. Even for a complete novice. And each part (the biscuits, berries, and topping) can be prepared ahead. So, when it comes time to serve the dessert, all you have to do is split the biscuits, heap on lots of berries and juice, and dollop the whole mess with the flavored whipped cream. Nothing could be easier or produce yummier results. And since strawberries are at their finest right now, I say – go for it.  

As always, have fun preparing food. And don’t ever be intimidated by any culinary skills you feel you lack. None of us was born knowing how to do anything in the kitchen, even a supposedly simple task like frying an egg. But please consider, we all had to break that first egg and plop it in a pan. And then get it back out of the pan without breaking the yolk. If you figured out how to do something as skillful as frying a perfect over easy egg, you are going to have no trouble developing other culinary skills. Because most recipes, even though they may contain a lot of ingredients and at first glance appear to be difficult, take much less finesse than getting that egg you fry every morning on a plate intact.

Peace and love to all.

Shortcake Biscuits:  

2 c. unbleached all-purpose flour, fluffed

1 T.  baking powder

¼ tsp. baking soda

1 T. granulated sugar

½ tsp. kosher salt

6 T. cold unsalted butter, cut into small pieces

1 c. buttermilk (I use full fat Bulgarian style buttermilk)   

turbinado sugar (or any coarse finishing sugar)

In a large bowl, whisk together the flour, baking powder, baking soda, granulated sugar, and salt.

Add the pieces of cold butter. Using your fingertips, rub the butter into the dry ingredients until the mixture resembles coarse crumbs with pea-sized clumps of butter within. Add the buttermilk and stir with a regular table knife until the dough comes together into a sticky, shaggy mess. Do not overmix.

Using a #24 (1.75 oz.) ice cream scoop, form the dough into balls (really shaggy blobs) and place on a parchment paper lined baking sheet. (If you don’t have an ice cream scoop, use a large serving spoon. The blobs should be bigger than golf balls but smaller than tennis balls.) Don’t worry about making them perfect. It’s best if they are a little rough around the edges. (That gives the baked shortcakes more nice crispy bits.) (And do not be tempted to pat the blobs down. They will flatten nicely as they bake.) Sprinkle the tops liberally with turbinado sugar.

On the middle rack of your oven, bake the biscuits for 16 to 18 minutes in a pre-heated 425-degree oven. The biscuits will be a nice golden brown when they are done, and the internal temperature should register between 205-210 degrees.

Remove from oven and place the biscuits on a rack to cool completely. Store in an airtight container until ready to use.  

Strawberry Mixture:

2 T. granulated sugar

2 T. Cointreau or other orange-flavored liqueur, or more to taste

6 c. sliced fresh strawberries

Combine the sugar and Cointreau in a covered bowl. Add the strawberries, cover the bowl, and place in your refrigerator for a couple of hours.

Whipped Cream:

1-pint heavy whipping cream

3 T. powdered sugar

1-2 tsp. vanilla bean paste or vanilla extract

1 T. Cointreau, or more to taste

Whip the cream to stiff peaks. Whip in the powdered sugar, vanilla bean paste, and Cointreau. Cover the mixing bowl and place in refrigerator until needed.

Put it all together:

Using a serrated knife, split the biscuits in half horizontally and transfer the bottoms to rounded dessert plates or bowls. Spoon the macerated berries and their juice evenly over the biscuit bottoms. Let some of the berries spill out onto the plate or bowl. Top with a generous dollop of whipped cream and cover with the biscuit tops. Spoon more berries and whipped cream over the tops and serve immediately.