So, I have to tell you, starting a pot of baked beans without first frying up about a half pound of bacon just felt sick and wrong. I mean really, how could baked beans taste right without this quintessential ingredient? But I wanted a vegetarian side dish that could, if need be, stand in as the compulsory protein if one of my guests didn’t eat meat. So I took my standard recipe and simply left out the first ingredient.
So if you too would like to step over to the dark side, I suggest you give this recipe a try as written. It produces absolutely lovely baked beans and I promise you will not miss the bacon in the slightest. Even Mr. C, whose middle name actually should have been “bacon” loved the beans and didn’t miss it in the least.
So next time you invite the gang over for a backyard BBQ, include these beans in your menu planning. They are perfectly delicious and the best part – they are truly at their finest when they have had a day or two to mellow out in the refrigerator. So, for you, that means one less dish to prepare on the day of the event. (As you know, I am just crazy about dishes that can and really should be prepared ahead of time.)
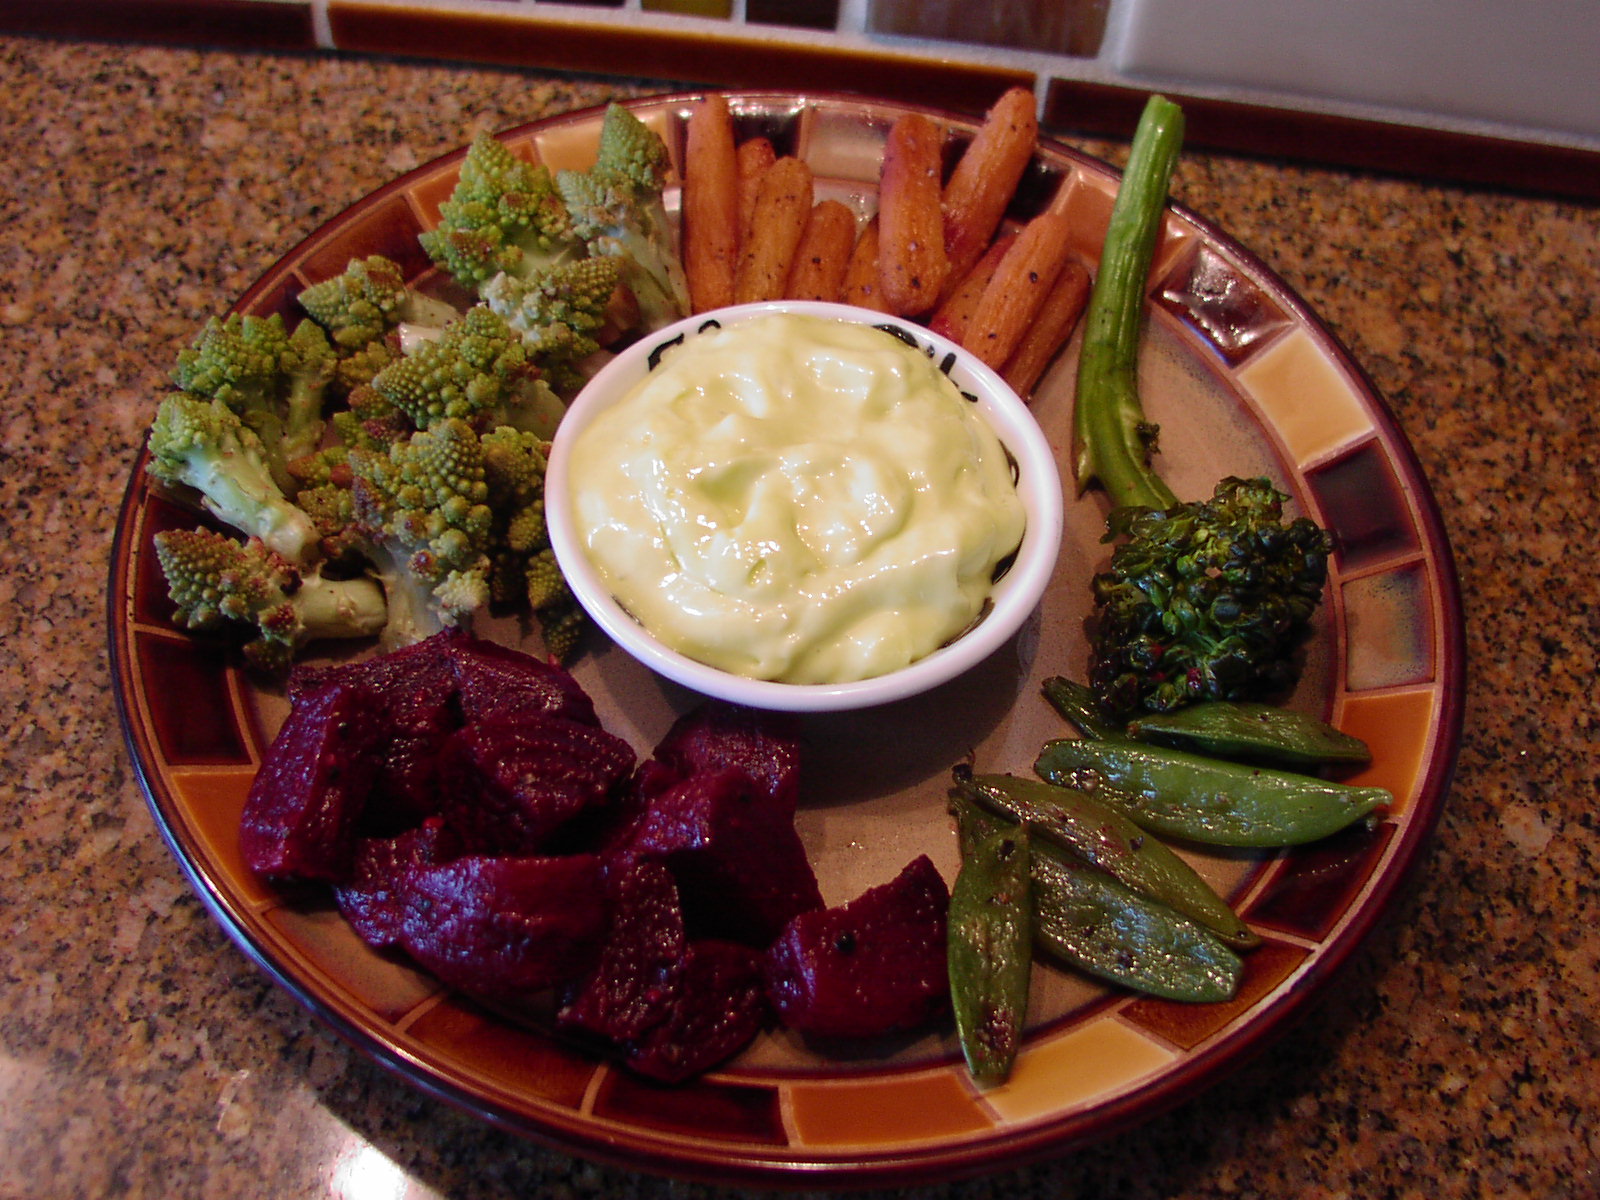
For additional recipes that are fun to serve at a picnic/BBQ, search under the heading BBQ & PICNIC RECIPES. Cheers to the lazy, hazy, crazy days of summer!
And for a sad story about baked beans, see my story below. Sigh……
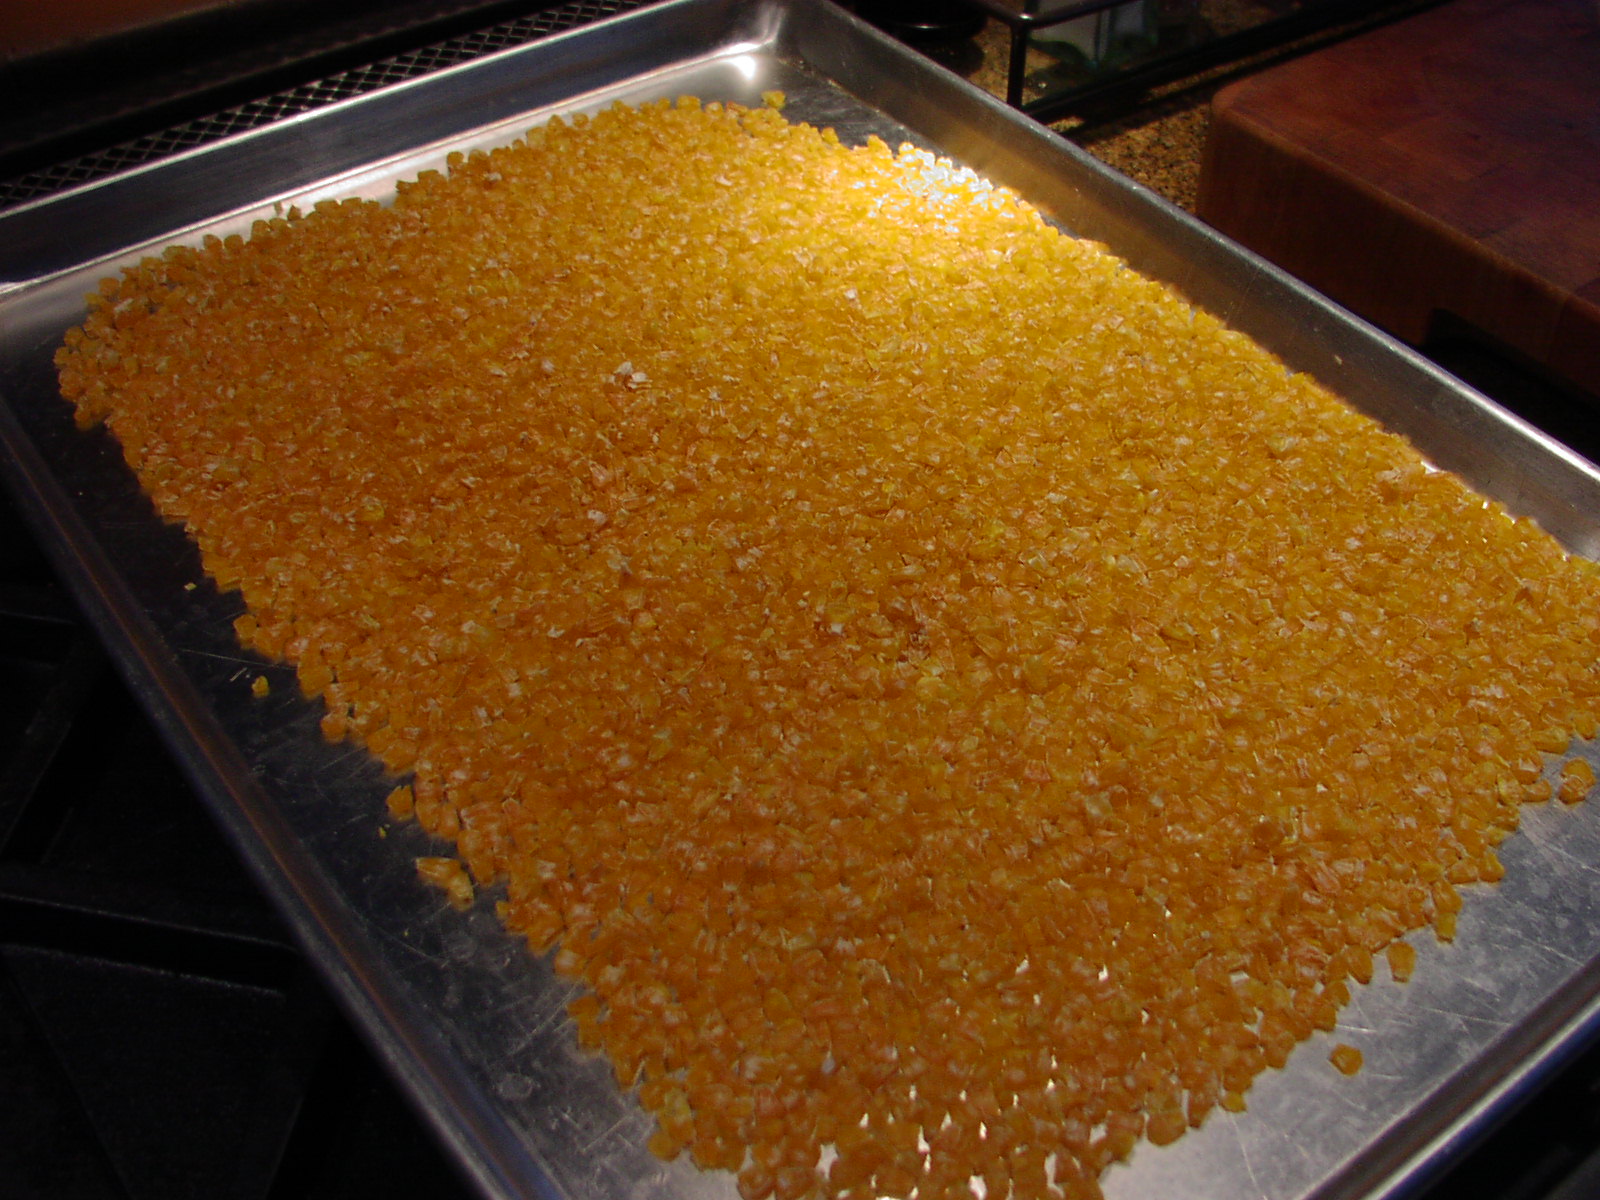
- 1 lb. small navy beans
- water
- ¼ c. maple syrup (the real stuff!)
- 1 c. brown sugar
- ½ c. molasses, or more to taste (regular or part black strap)
- 1 small can tomato paste
- 1 24-oz. bottle of ketchup
- ¼ c. yellow mustard
- ¼ c. Worcestershire sauce
- 1 T. kosher salt, or more to taste
- freshly ground black pepper
- 1 yellow onion, chopped
Carefully wash the beans removing any matter that doesn’t look like a healthy, fat dried bean. Place in a large bowl and cover with water by about 3 inches. Place in refrigerator overnight. Next day, rinse and drain the beans.
Place in a covered pot with enough water to cover the beans by about 3 inches. Bring to a boil, reduce heat, and simmer gently until the beans are tender, about 40-45 minutes. (Do not worry that the beans will become mush while they are spending their time in a low oven. They will be just fine!)
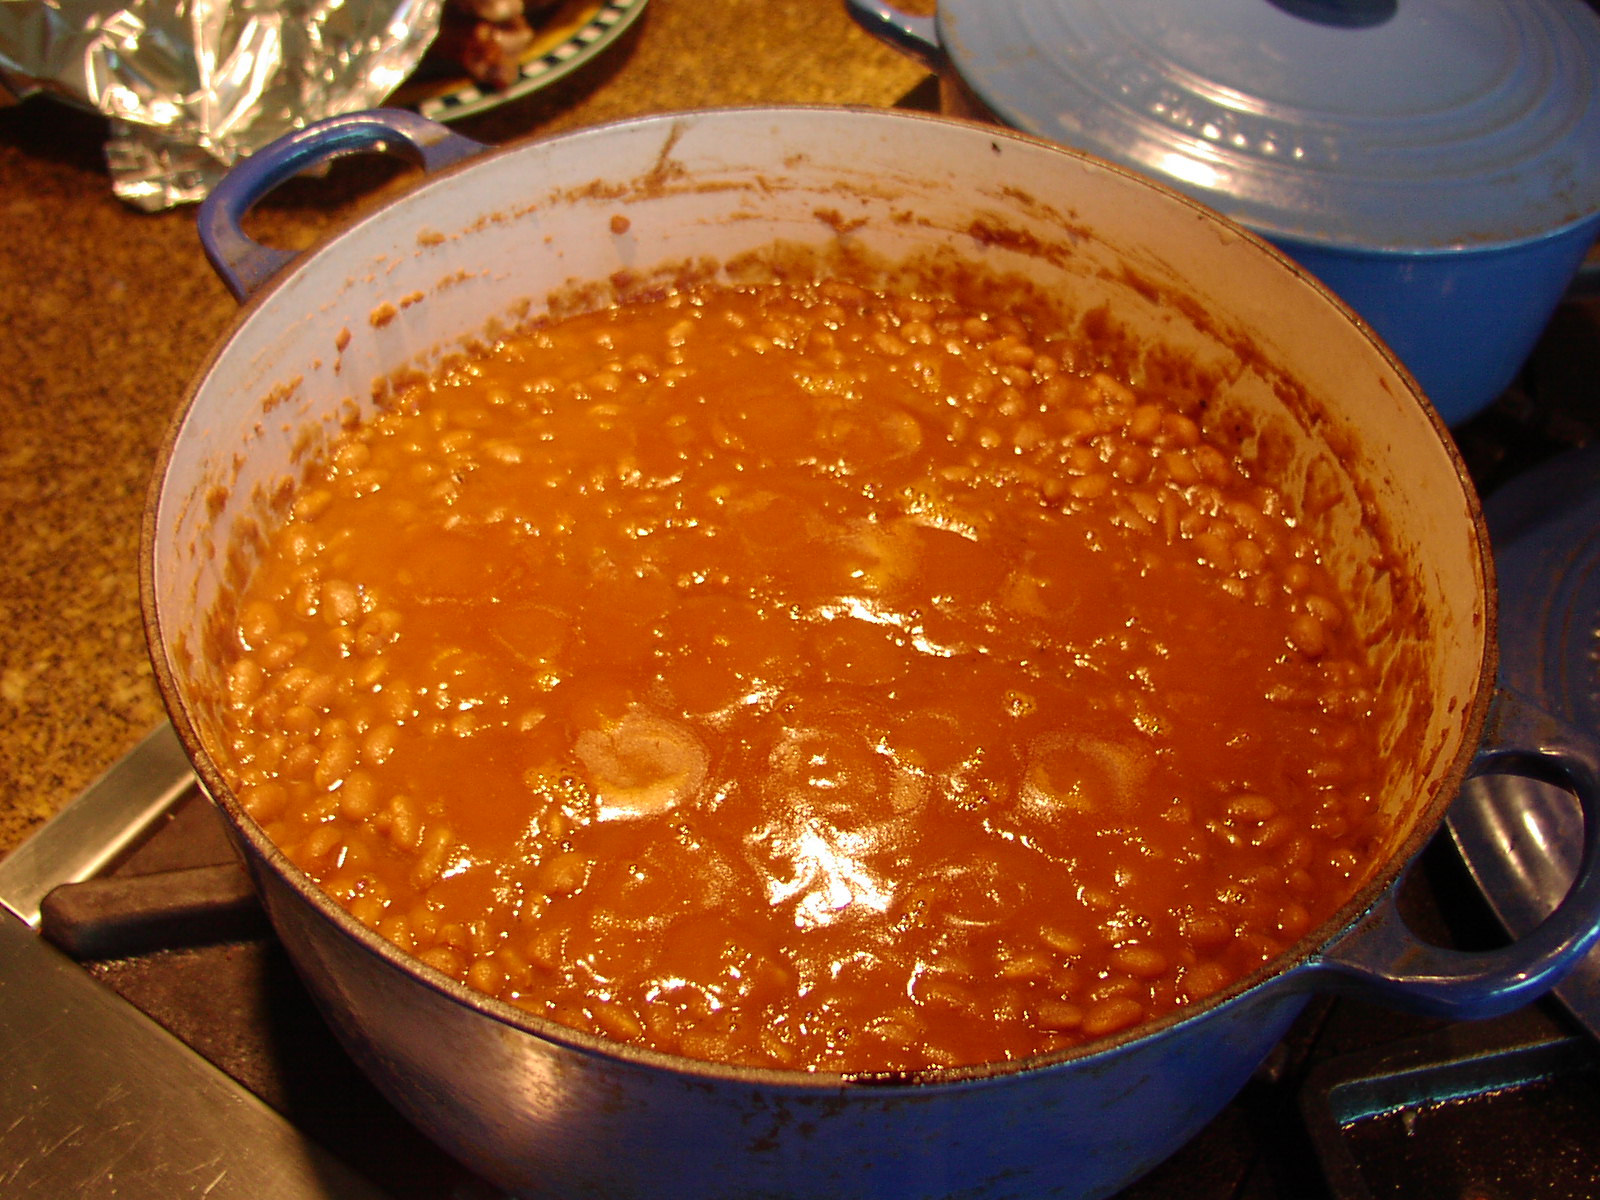
Drain the cooked beans and place in a Dutch oven. (The main thing here is that the beans must be covered as they bake. If you don’t have a Dutch oven, you can bake them in any kind of pan, as long as the pan is covered, even if it’s covered with aluminum foil. However, it may take a longer baking time if you use aluminum foil rather than a tight cover. Sad story to follow.)
In a medium sized bowl whisk together the maple syrup, brown sugar, tomato paste, ketchup, yellow mustard, Worcestershire sauce, salt, and pepper. Add the mixture to the beans along with the chopped onion. (I usually rinse out the ketchup bottle with a little water and then throw the liquid in with the other ingredients.)
Bring to a boil, cover, and bake in a pre-heated 225 degree oven for 3-4 hours. (Check the beans periodically to make certain they are not getting too dry. While you have the lid off, give them a little stir. Add water as needed.) Uncover the beans the last hour to brown them up a bit. Best made the day ahead and either re-warmed or served at room temperature.
Sad story:
So here it is, 3 days before I plan to serve baked beans to our home concert (JazzVox) guests, and I place 4 pounds of beans to soak. (quadruple recipe) Next day I cook the beans in water for a short time, but not long enough. Then I throw the rest of the recipe together in a large pan and cover the whole mess with aluminum foil. Seven (7) flippin’ hours later the beans are still in the oven and they are still crunchy! There is obviously no hope for these beans. So I did what any self-respecting cook would do. I tossed the whole shebang into the yard waste barrel, sent a little invocation to the Gods of yard waste asking for their help with the next batch, and started all over again. Sad, right?
And just to prove that this girl obviously can’t learn from her mistakes or that the Gods were watching the World Cup while I was requesting assistance, the second batch of beans still didn’t have that wonderful creamy mouth feel that should be the hallmark of really good baked beans. Once again, I simply didn’t cook the beans long enough on the stove top before adding the other ingredients. So once again, the beans were in the oven about 7 hours. OK, this time they weren’t crunchy. They tasted fine, but I knew they could be better.
So the moral of my sad story is to cook your beans until they are tender. Not over cooked, but perfect. And when you figure out how to do that, would you please let me know!