Category Archives: COOKIE RECIPES

ITALIAN DRIED CHERRY AND ALMOND CHRISTMAS COOKIES

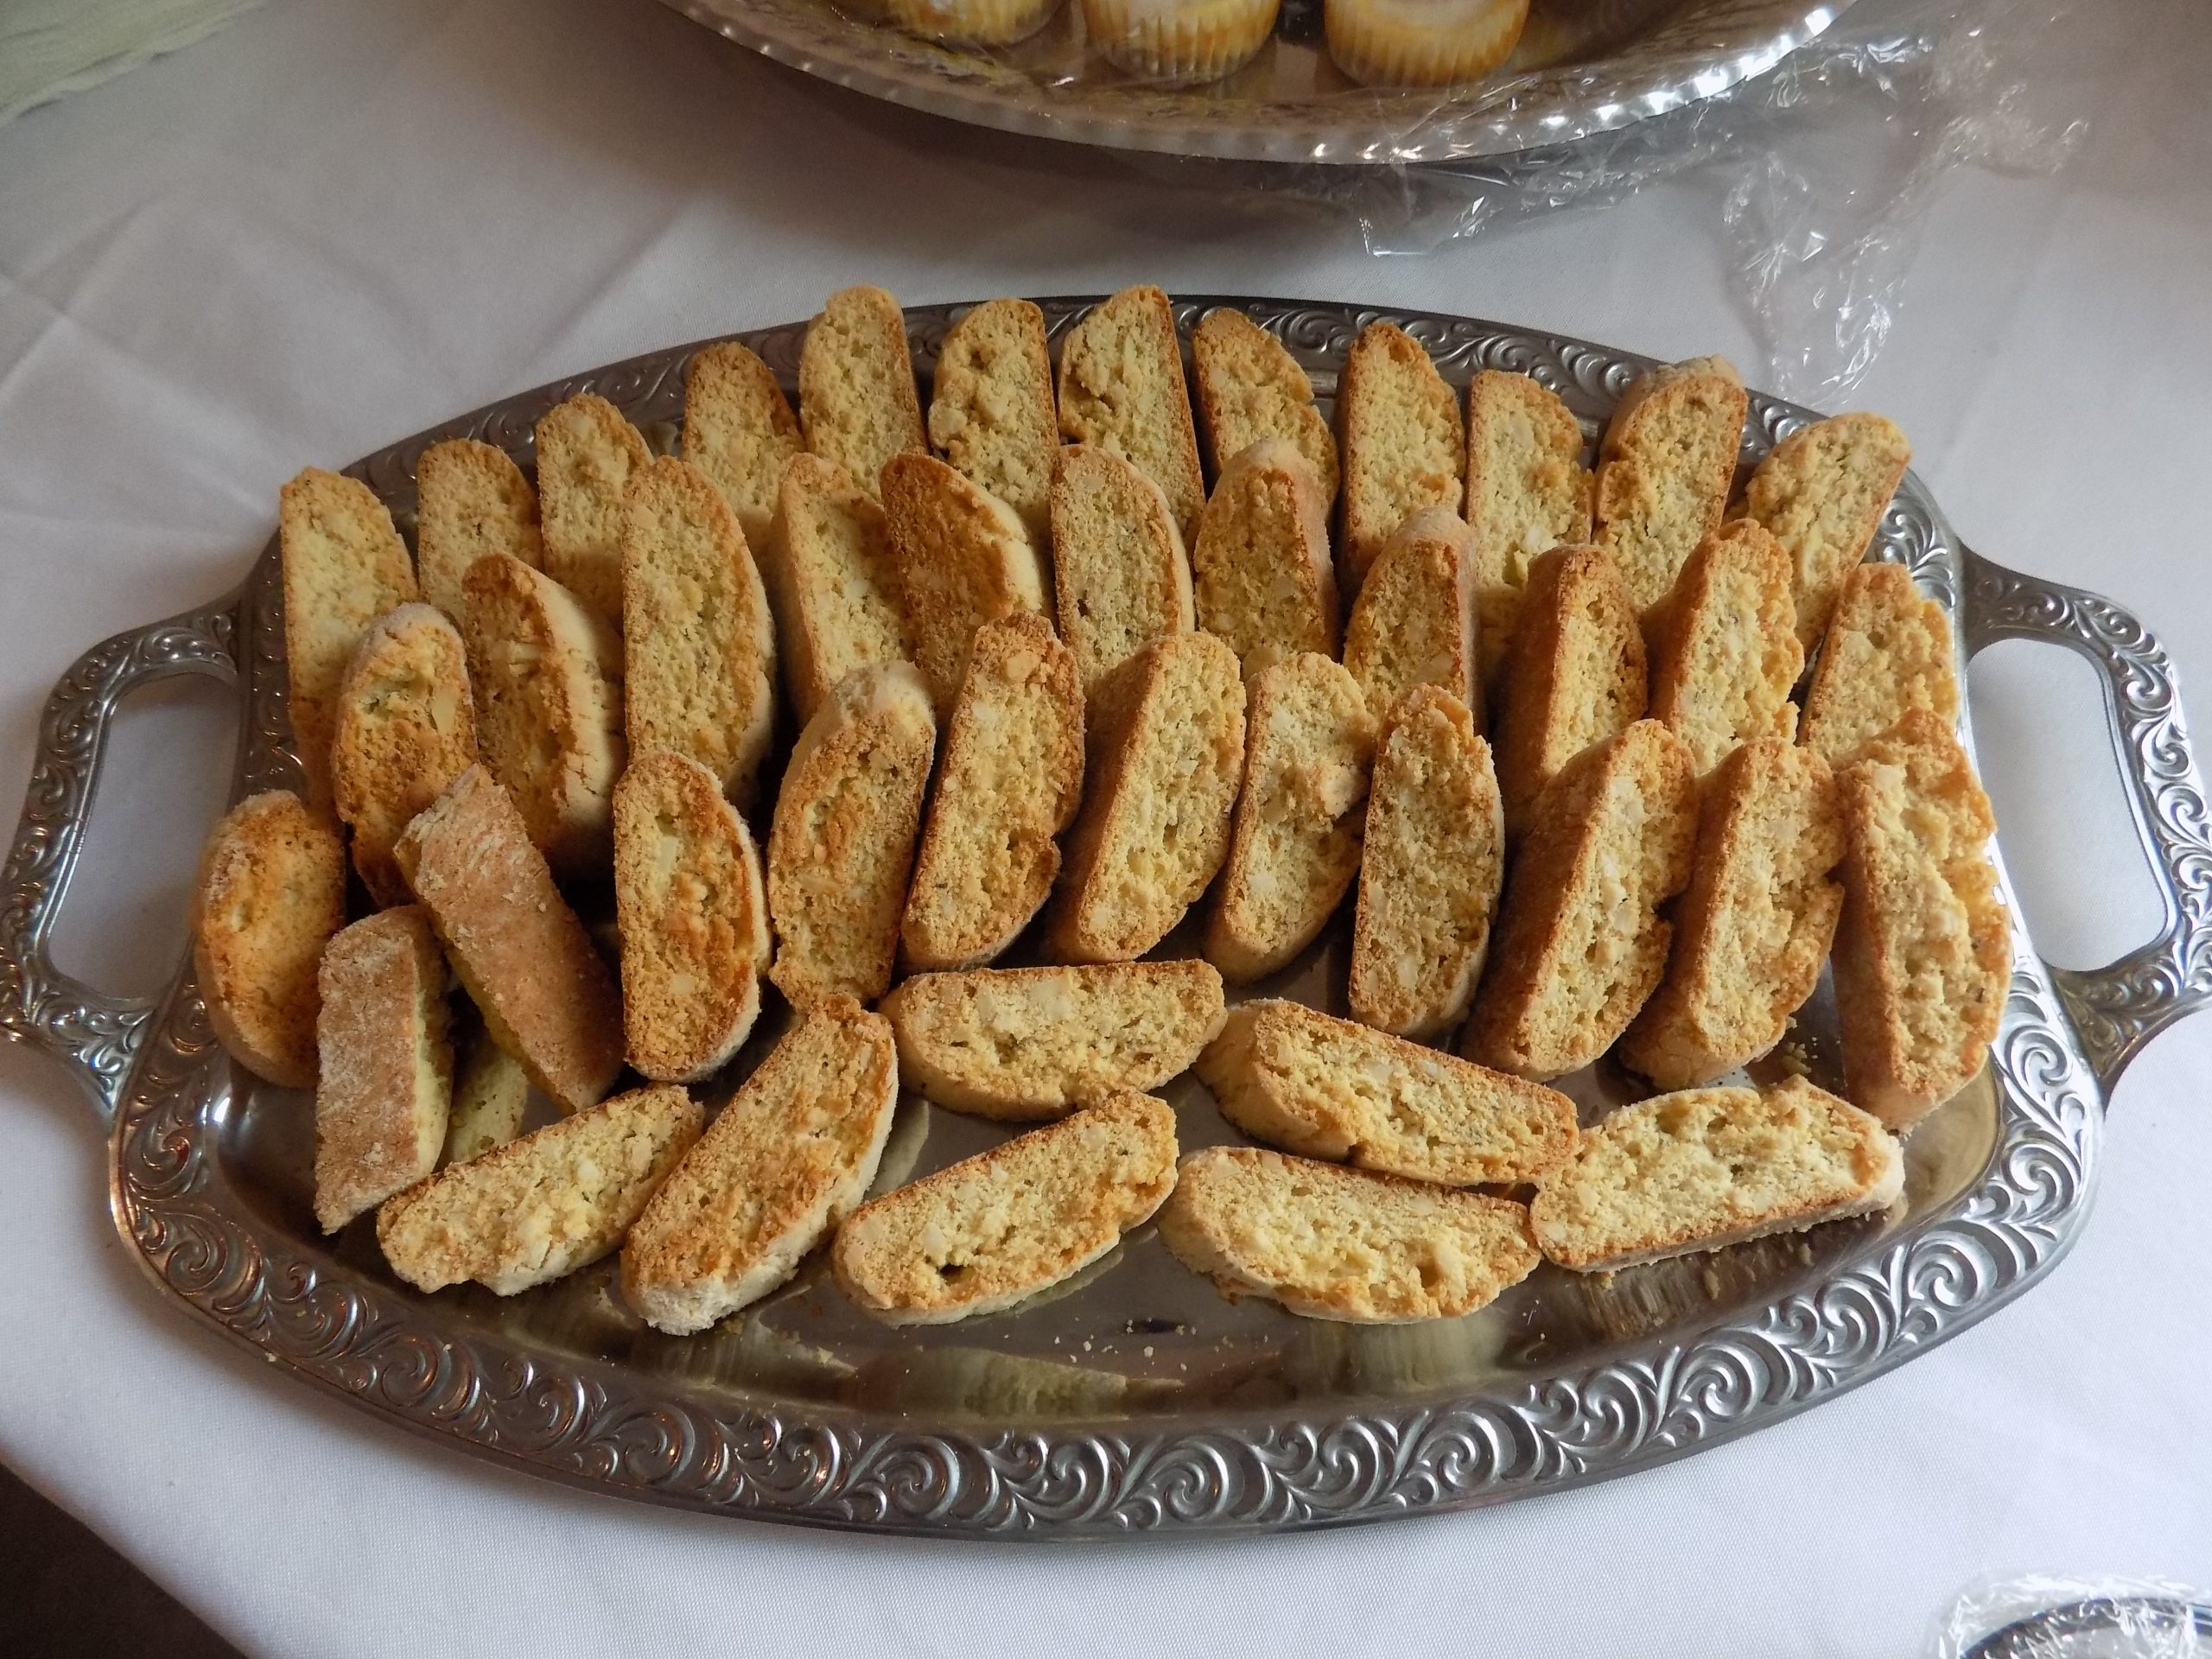
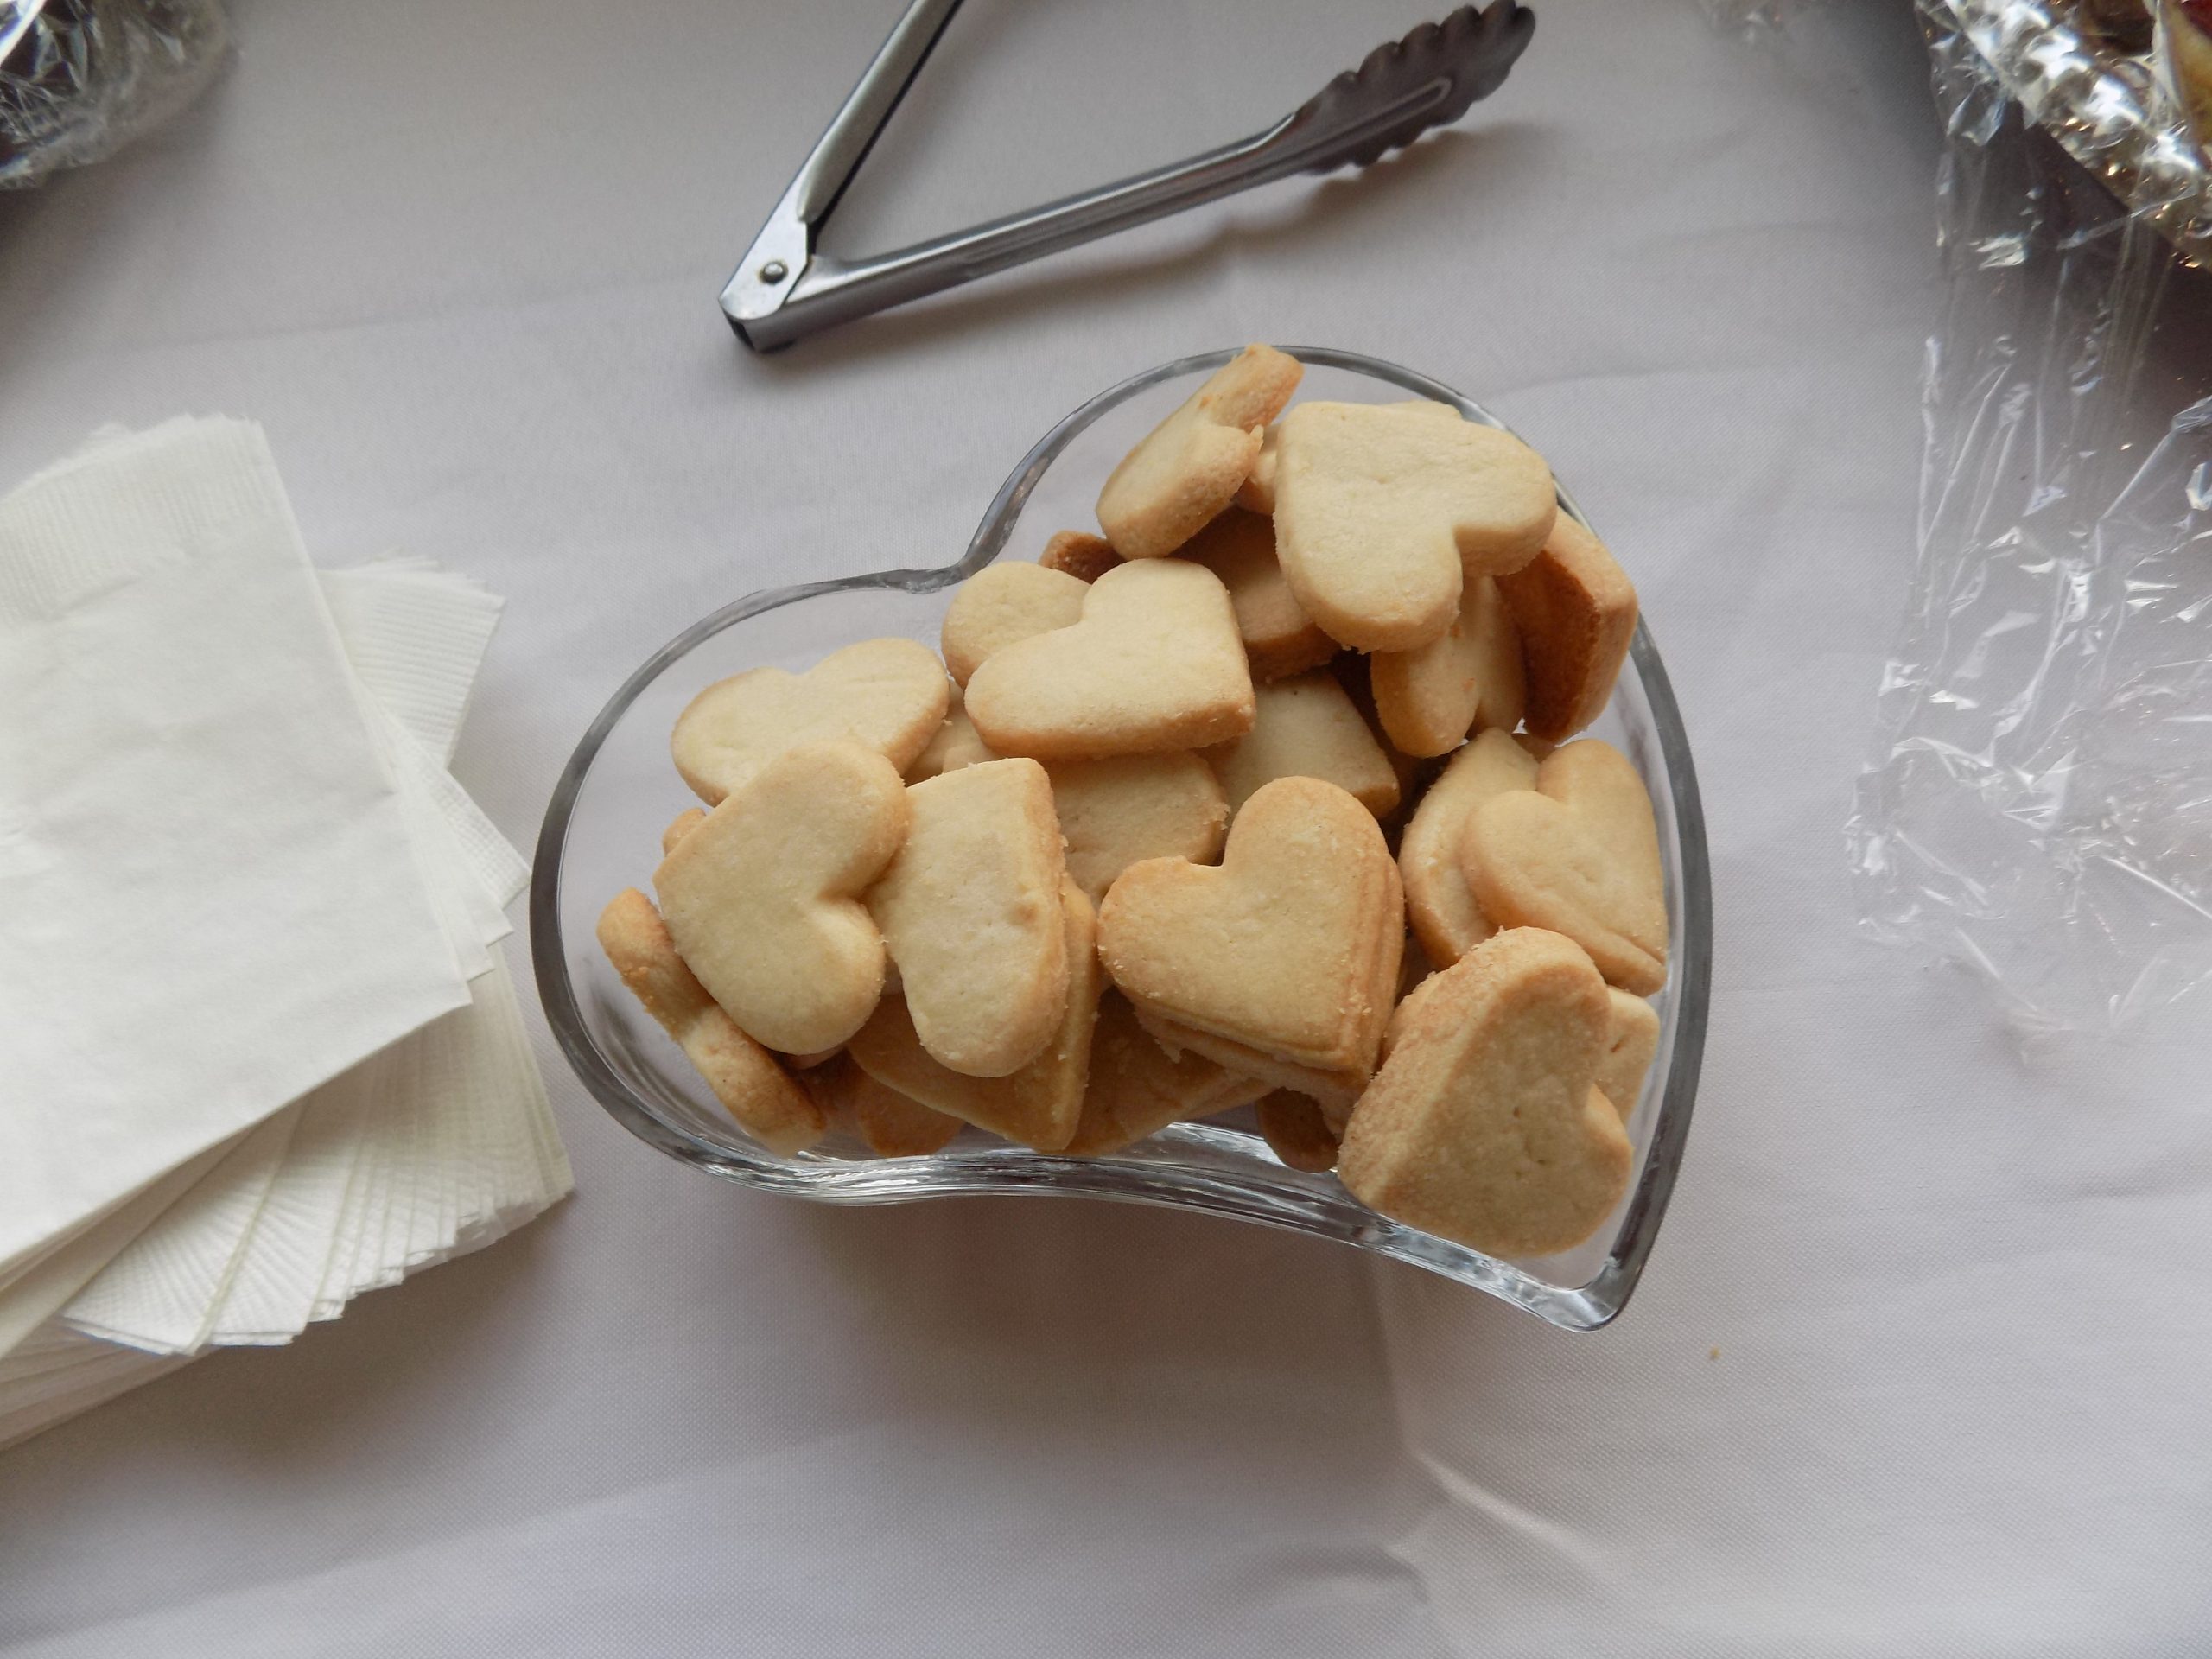
OK, I renamed these wonderful cookies, recipe compliments of Giada de Laurentiis, because they definitely smack of all things Italian, and in my estimation, are the perfect cookie to include in a gift box of Christmas goodies. (Giada named them – Dried Cherry and Almond Cookies with Vanilla Icing.) But whatever name you choose to use to pay tribute to these amazing cookies, you are sure to bring smiles to anyone who is lucky enough to bite into one of these babies. They are not only beautiful to look at, they’re absolutely delicious with their hint of amaretto flavor in every bite. (Amaretto is an Italian liqueur with a sweet almond/cherry flavor with just a touch of agreeable bitterness.)

Another wonderful thing about these cookies is that they have a different consistency than many of the “shortbread” style cookies many of us make for the holidays. Instead of being crisp like a fine shortbread cookie should be, they are more dense and chewier. So, very pleasing not only for their fabulous flavor but also for the textural variety they bring to any array of holiday cookies, sweet breads, and confections.

So, do I like these cookies? Absolutely not! I LOVE these cookies! And I can’t wait to share them with my kids this year through the magic of UPS.

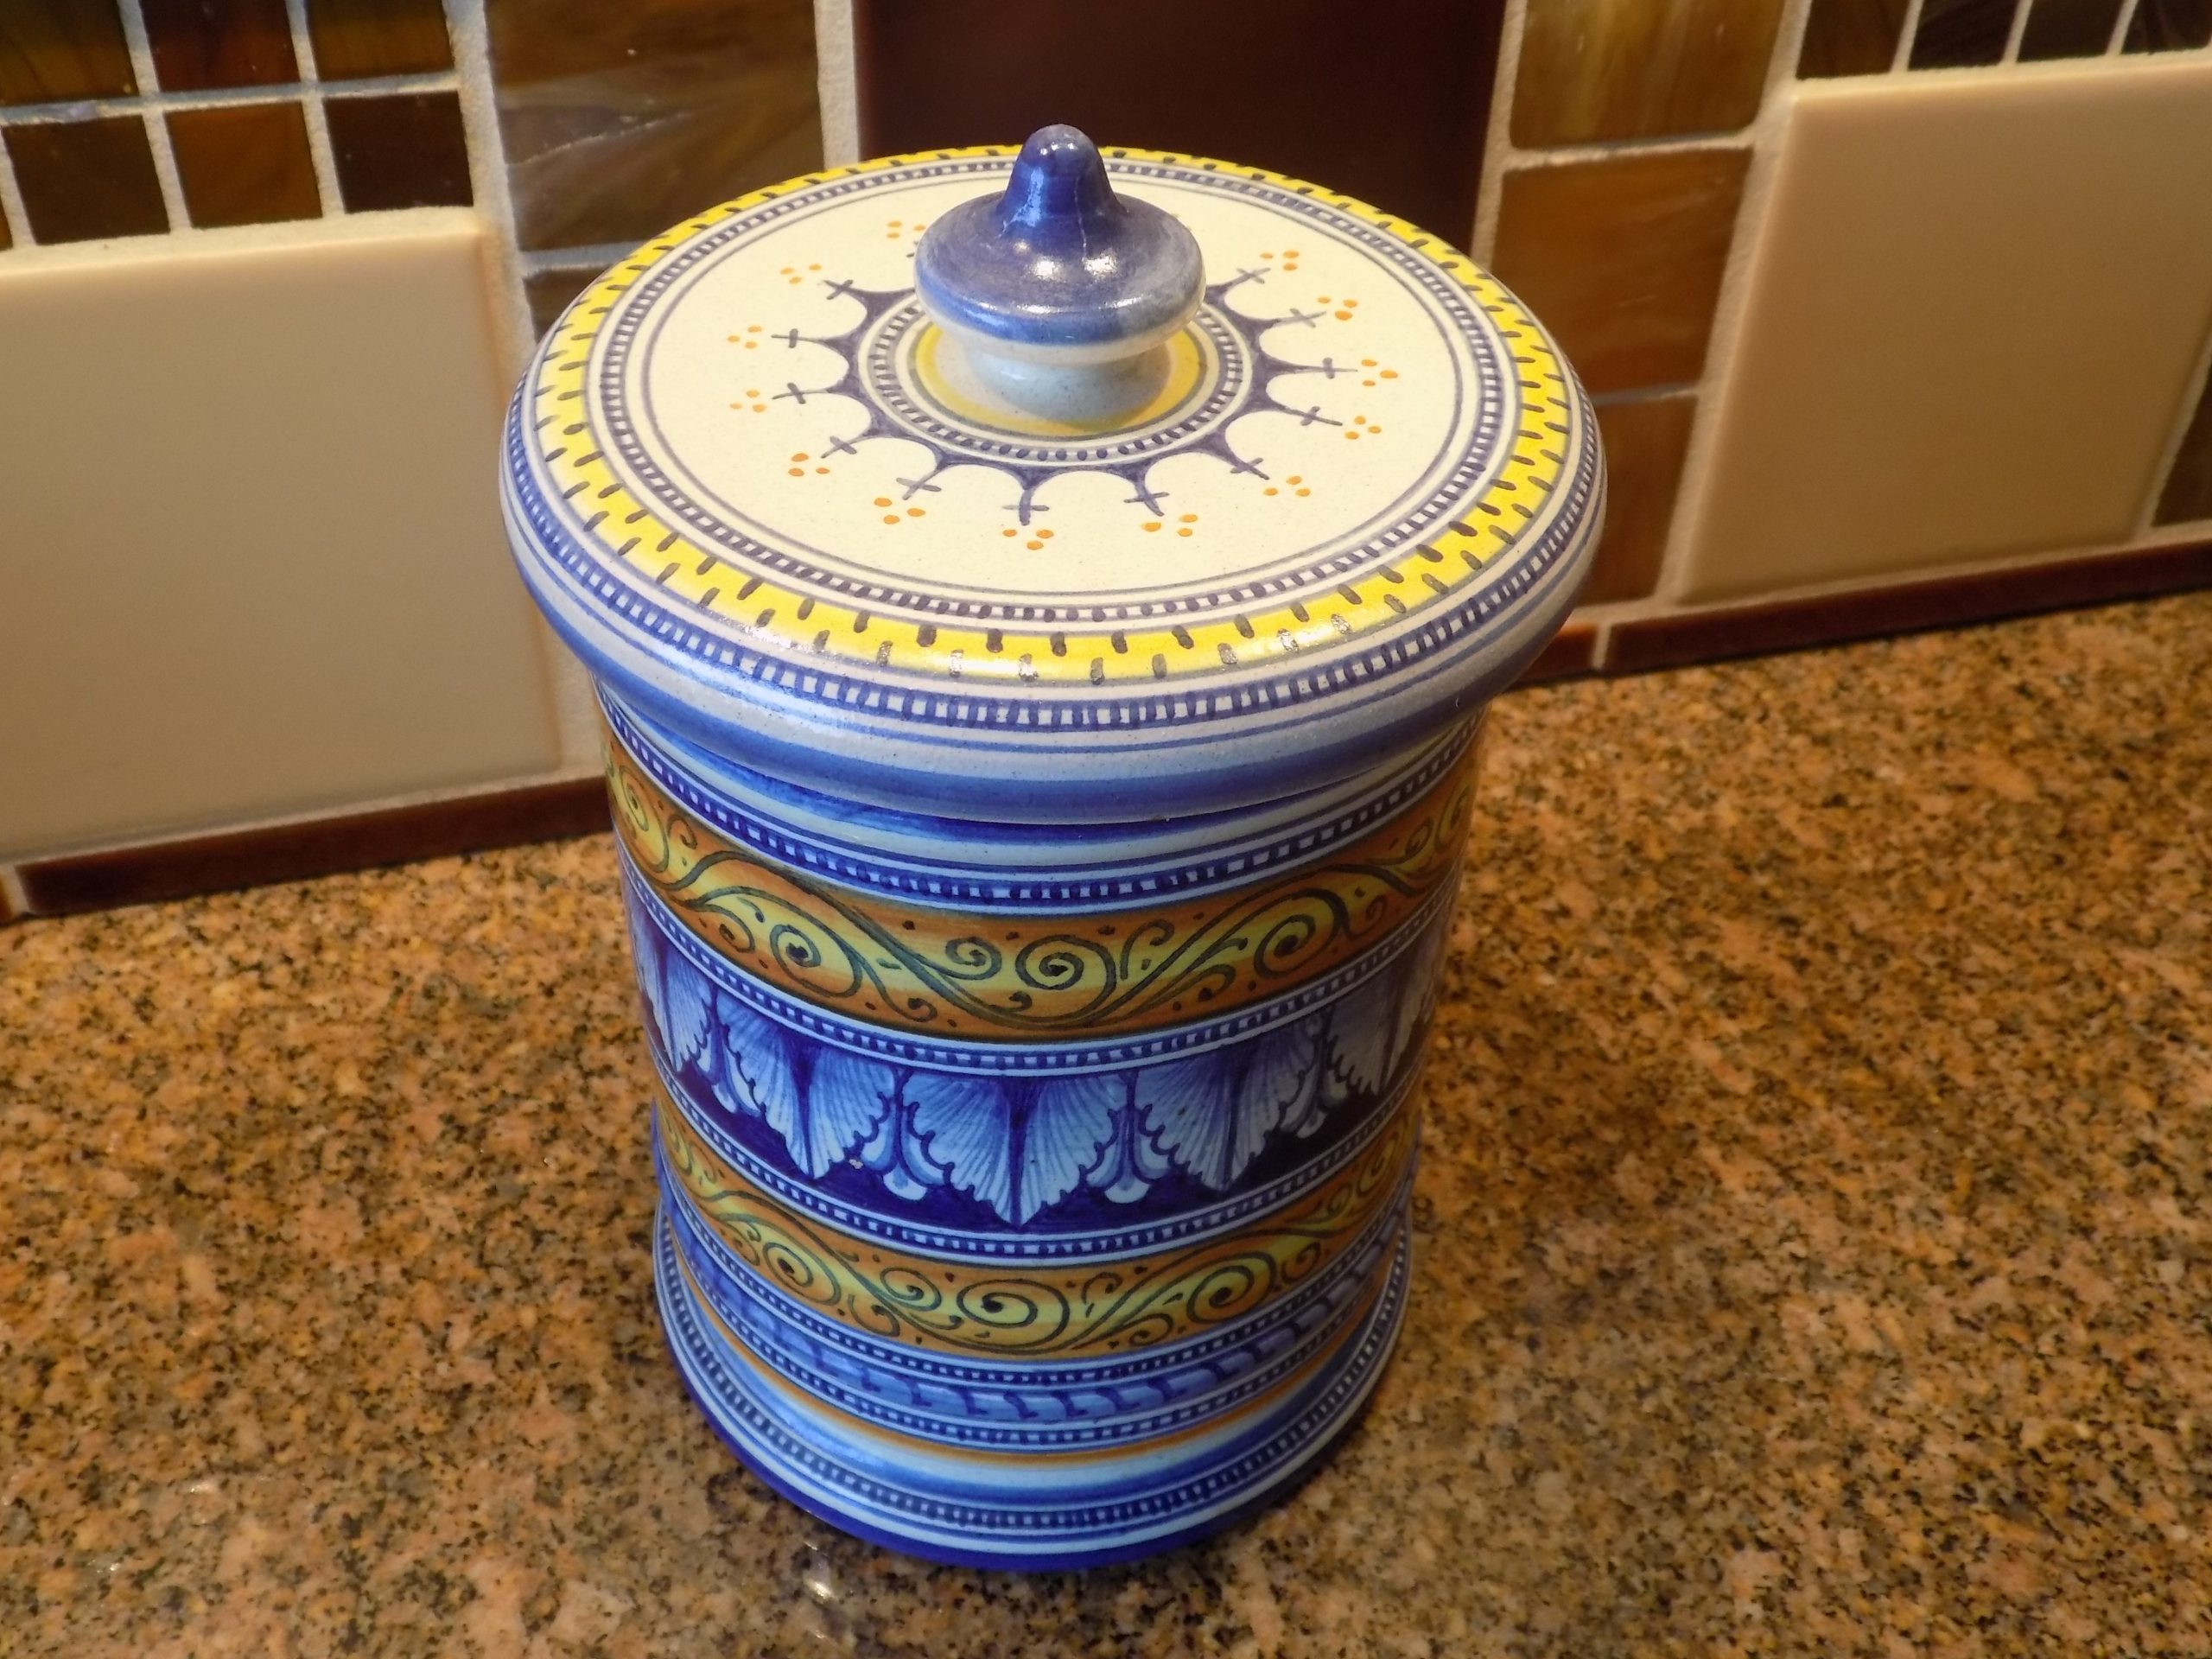
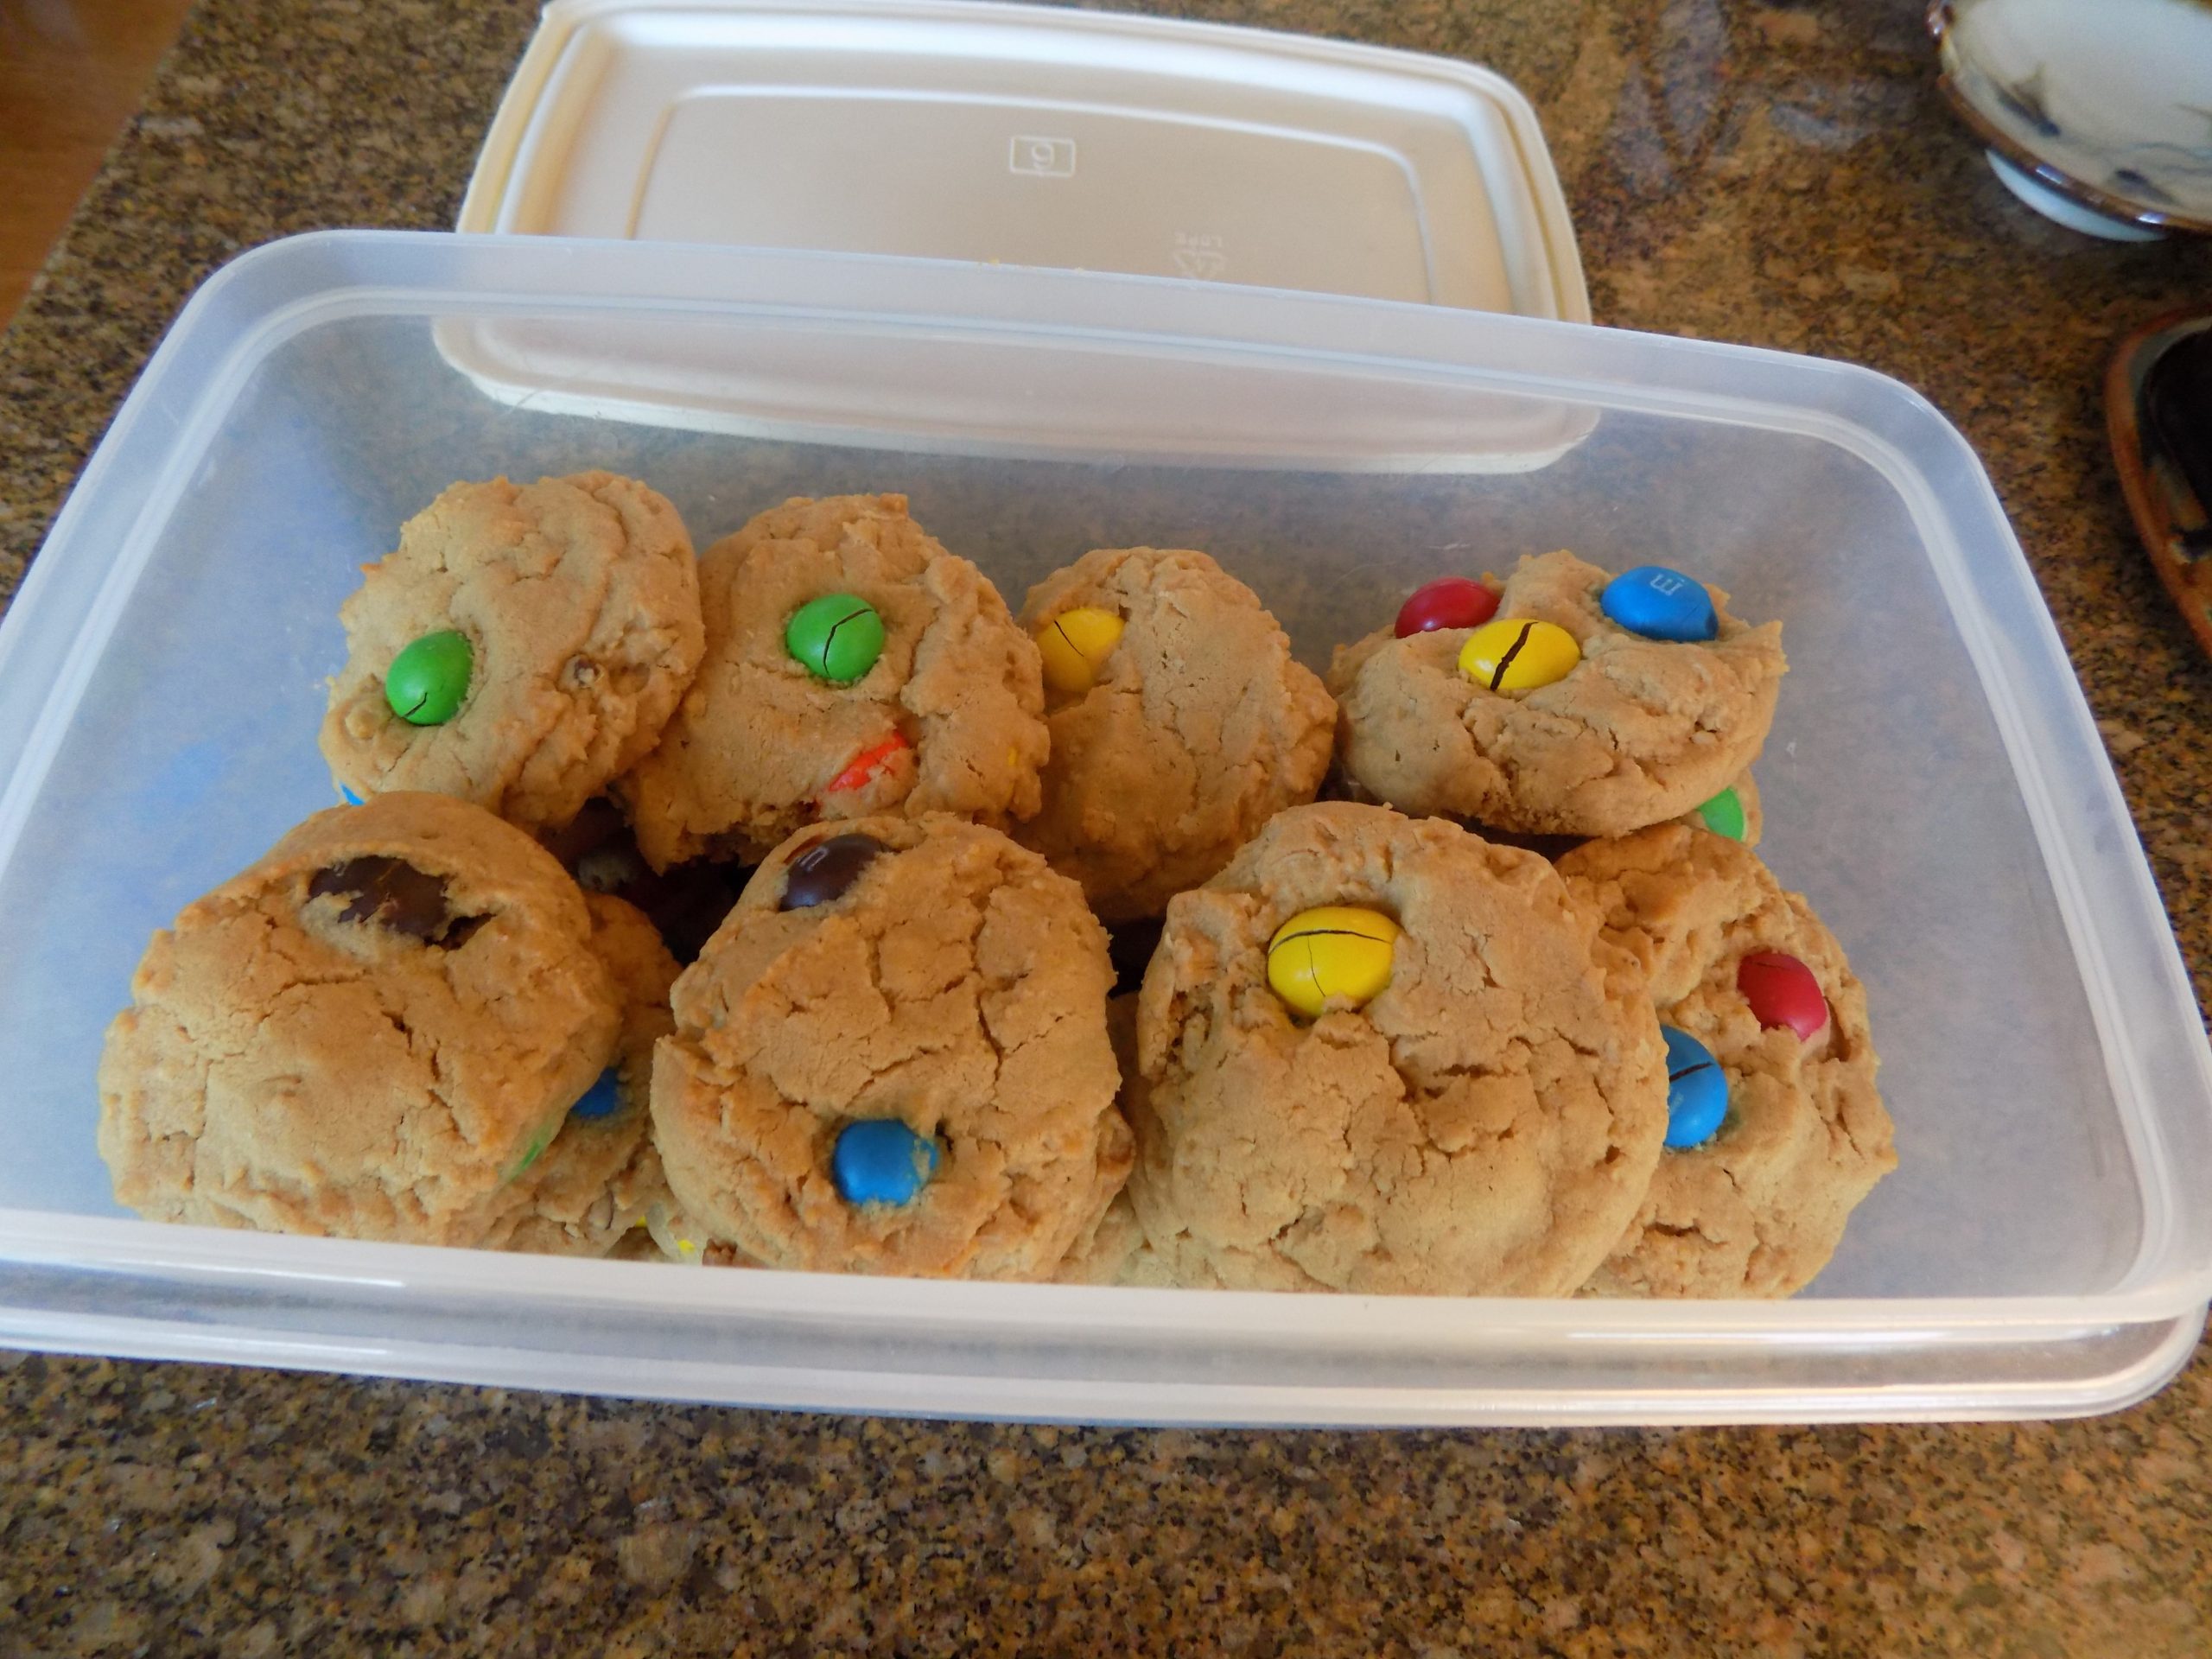
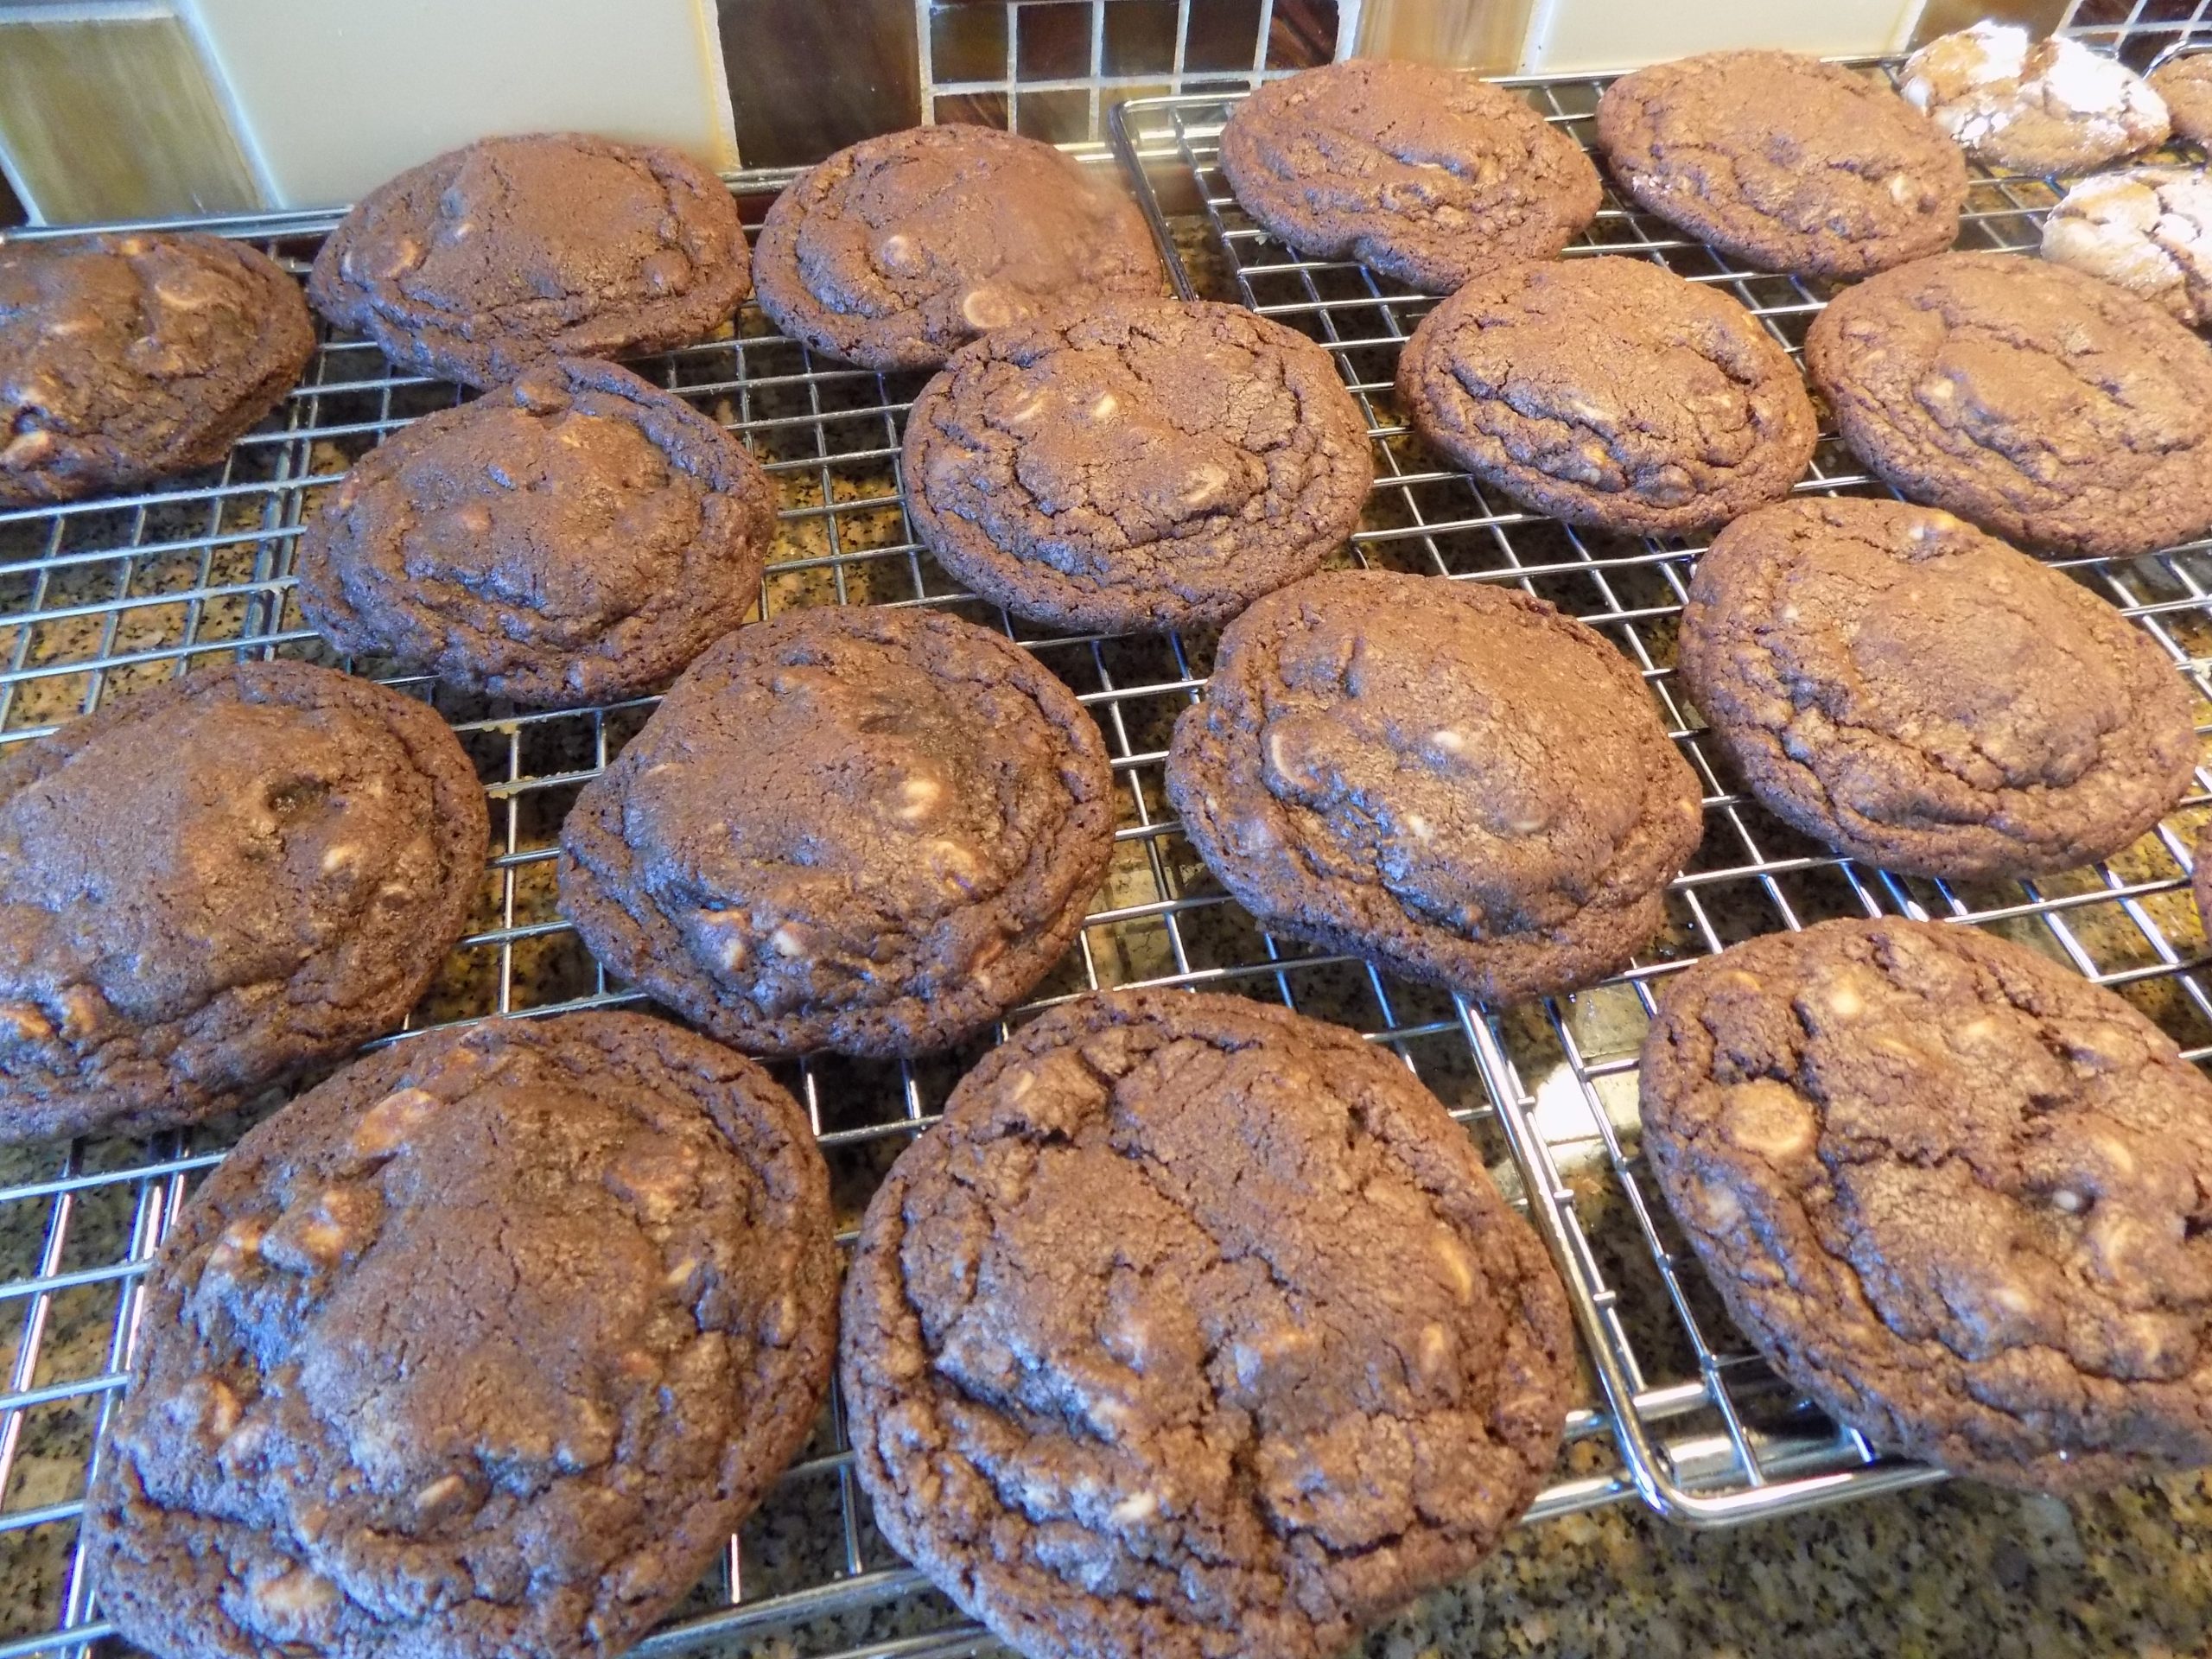
Every year I make a different selection of fun things to include in my kid’s goodie packages. Everything from a variety of cookies and candy, maybe a fruit cake, sometimes party mix or flavored nuts, etc. etc. Then I place small packages of everything I bake or build in boxes I have saved from the many deliveries we get throughout the year. Then when all the boxes are wrapped up tight enough to withstand a flood, hurricane, major earthquake, or swarm of locusts, using more packing tape then is required by the FAA to hold an airplane wing in place, either Mr. C. or I take the packages to our local UPS store. Then of course we have to say goodbye to the packages, and trust that the capable hands of the UPS will take extra-special-care with our packages. (Hey, they have in the past, so I’m hoping the same is true this year!) (And yes, I still believe in Santa and the Easter Bunny, too.)

Anyway, I suppose I should close for now and get back to the kitchen. Not that I’m not excited about building all these fun things for my kids. I am. Because I know how much they look forward to this tradition. As do I. I figure, if we can’t all be together for the holidays, we can all still be enjoying the same holiday treats.

So, I encourage you to start or continue your own traditions. There is just something really comfortable about tradition. And to my thinking, food traditions are the best.

Peace and love to all.

1 c. (2 sticks) unsalted butter, room temperature

1¼ c. granulated sugar

1 tsp. + 1 drop pure vanilla extract, divided*

1 tsp. almond extract*

½ tsp. ground cinnamon

½ tsp. fine sea salt

2 lg. eggs

2½ c. unbleached all-purpose flour

1½ c. coarsely chopped dried tart cherries   

1 c. slivered almonds, toasted** and coarsely chopped   

¾ c. powdered sugar, or more as needed

2-3 tsp. water, or more as needed

In the bowl of your stand mixer, beat the butter, sugar, the 1 teaspoon of vanilla extract, almond extract, cinnamon, and salt together until light and fluffy, about 4 minutes. Next, beat in the eggs, one at a time.

Add the flour and beat on the lowest speed until just blended. Using a regular table knife, stir in the dried cherries and almonds. Transfer the dough to sheets of plastic wrap and shape the dough into logs about 12-inches long and 1½-inches in diameter.

Then wrap the dough logs in the plastic wrap and refrigerate for at least 2 hours. (Dough can be made up to 3 days in advance and held in your refrigerator. If you make it well in advance, freeze the logs. When you are ready to bake the cookies, defrost the logs before cutting into slices.)

Arrange an oven rack in the center of the oven. Pre-heat the oven to 350-degrees. Line 2 large heavy baking sheets with parchment paper. Cut the log crosswise into ½-inch thick slices. Transfer the dough slices to the prepared baking sheets, spacing them about 1-inch apart.

Bake until the cookies are golden around the edges and slightly puffed, about 15 minutes. Remove from oven and transfer the cookies to a wire rack to cool completely before icing.

While the cookies cool, whisk the powdered sugar, remaining drop of vanilla or almond extract, and water together, 1 teaspoon of water at a time, until the mixture becomes drizzling consistency.

Place the cooled cookies on a wire rack set over a baking sheet. Using a spoon or a fork, drizzle the cookies with the icing. Allow the frosting to set completely before storing in an airtight container at room temperature.

*If you prefer, use a drop of almond extract in the icing rather than a drop of vanilla.

**To toast the almonds, place in a single layer on a rimmed baking sheet. Bake in a pre-heated 350-degree oven for 6-8 minutes until lightly toasted. Cool completely before using.


EASY LAYERED OATMEAL BARS

Oh, to have the energy and stamina again to spend hours in the kitchen. Not that I don’t enjoy cooking any longer, it’s just that my body doesn’t appreciate being subjected to hours on my feet. And really, who can blame my old feet. They’ve been holding up this “filled to the brim of slimness” body for lots of years now. So, they richly deserve to be treated with respect and consideration. So, an hour or two cooking and then a 10-minute break are my new reality. Then back on my feet and on to the next task.

So, when getting ready for our most recent trailer trip, and deciding that two kinds of cookies were better than one, these easy to make cookies were a blessing. And for more than just the ease of preparation. They are really delicious. And keep very well in a freezer. So, even at the end of our trip they were a delightful treat.

Now you may wonder why I am posting this recipe when I basically already posted one entitled Fruit Filled Oatmeal Bars. Simple really. The aforementioned recipe uses an 8X8-inch pan. Or if you double the recipe, a 10×16-inch pan. This recipe is for a 9×13-inch pan. So, I’ve got you covered regardless of what size pan you wish to use. Plus, this is such a fabulous recipe, it bears repeating.

Well, it’s raining here on Camano Island, so I think I’ll hunker down with a book until it’s time to cook dinner. Sounds like the perfect way to spend a dreary day.

And do make these cookies. Your family will love them.

Peace and love to all.  

2¼ c. unbleached all-purpose flour, fluffed   

1½ tsp. baking powder

¾ tsp. kosher salt

1½ c. firmly packed brown sugar

2¼ c. old-fashioned oats

1 c. (2 sticks) cold unsalted butter

15-18 oz. jam, jelly, curd, preserves, etc.  

Combine the flour, baking powder, and salt in a mixer bowl. Add the brown sugar and mix until well blended. Add the oats and cold butter and beat until medium sized bits start sticking together. Press half of the mixture into a well buttered 9×13-inch baking pan. (Glass is best.) Spread jam evenly over the bottom crust.

Sprinkle remaining oat mixture evenly over the jam.

Bake in a pre-heated 325-degree oven for 35-40 minutes or until the filling is bubbly and the top crust is a nice golden brown. (You might want to check after 25 minutes to make sure the top isn’t getting too brown. If so, cover with aluminum foil for the last few minutes.) Do not over-bake. Let cool completely before cutting.

Note: if using a metal pan set your oven to 350 degrees and check after 20 minutes.

These bars freeze beautifully, and you don’t need to thaw before eating. They are great frozen.  

CHOCOLATE CHIP AND PEANUT BUTTER CHIP COOKIES

OK, you know you are getting old when a simple surgical procedure kicks your keister! And therein lies the reason, or at least half of the reason, why I haven’t been posting new recipes at my normal prodigious publication rate! The other half of my excuse is an almost month-long trailer trip. And when we are vacationing, my writing time is spent on a travel log. (Soon to be published BTW.)

But until that riveting commentary on life in a trailer is published, you will have to make-due with this cookie recipe.

Every trailer trip food plan begins with what cookies to bake for the upcoming adventure. (Proves I still have my priorities straight! Right?!) So, for this just completed trip I made a batch of these delightful cookies and a batch of Strawberry Dream Oatmeal Bars. (Recipe to be published after I finish the travel log.)

Both types of cookies were quite delicious and stayed fresh throughout the entire trip. OK, the dream bars traveled nestled in the trailer freezer between 2 pints of homemade chili and 2 mini meatloaf that I had prepared before we left on our trip. And I must say, the dream bars were really tasty when straight out of the freezer. But more about these bars when I get around to writing up the post and expounding on the wonders of these simple to make bar cookies.

Because I have only been combining peanut butter and chocolate chips together now for approximately 70 years, why is it until I reached the fine old age of 77, did it never occur to me to just put both kind of chips in a simple cookie batter. I realize my question is rhetorical, but I am still amazed at myself for being so dense. I guess I should just be thankful that any kind of new idea can still happen in my addled brain. Anyway – I did eventually think to put the two types of chips together and it did make for a very delicious cookie.

So, if you too like the combination of peanut butter and chocolate in a really delicious vanilla base, make a batch of these cookies at your earliest convenience.

And do read my travel write-up when it comes out in a few days. We are extremely lucky to be able to see our wonderful country first-hand, and it is my pleasure to share our adventures with you all.

I have missed trying out new recipes and sharing the ones that work with you all. So, get ready for more recipes and my random thoughts on subjects that should not be expounded upon by a person who is old enough to know better!

And as always – peace and love to all.

1 c. (2 sticks) unsalted butter, room temperature  

1 c. granulated sugar  

1 c. brown sugar, packed  

2 lg. eggs

2 tsp. vanilla

3 c. unbleached all-purpose flour, fluffed 

1 tsp. baking soda  

½ tsp. baking powder  

1 tsp. kosher salt  

1 c. semi-sweet or dark chocolate chips

1 (10-oz.) pkg. peanut butter chips   

Cream the butter and sugars together until soft. Add the eggs and vanilla; beat until fluffy.

In a separate bowl whisk the flour, baking soda, baking powder, and salt together. Add to the butter mixture and beat just until combined. Add the chocolate chips and peanut butter chips; mix well.

Using a #30 (2 tablespoons) ice cream scoop, plop cookies 2-inches apart on parchment paper lined baking sheets.

Bake in a pre-heated 375-degree oven for approximately 8-10 minutes. Take them out when they are just barely starting to turn brown and let sit on the baking pan for 2 minutes before removing to a cooling rack. Store in an airtight container.

Note: DO NOT OVERBAKE THESE COOKIES. They will not look done when you remove them from the oven. That is exactly how they should look!

Max and Miles on their new “desk bed”

OATMEAL CHOCOLATE CHIP COOKIES WITH TOASTED COCONUT (Levain Bakery knockoff, if they made this kind of cookie)

One ingredient that rocks my socks is toasted coconut. Now I know, not everyone likes coconut, but I happen to love it. And remember, this site is really just all about me! And this recipe is absolute proof of that statement. And I figure you must like coconut too if you are even bothering to look at this recipe. But if you aren’t really interested in cookies, but are a friend just reading about our life here on Camano Island, hello, and love to all from Mr. C. and me. But if you are a devoted fan of chocolate chip oatmeal cookies and toasted coconut, have I got a deal for you.

Some of you know that I have already worked up knock off cookie recipes from the Levain Bakery in New York City. Even if I haven’t ever actually tasted one of their cookies. And I got to thinking, they should offer a coconut, chocolate chip oatmeal cookie. So, being the good gal that I am, I went ahead and glommed a recipe together for them. Was that not kind of me? I thought so too.

But because I am not as gifted as the bakers in New York City, I baked the cookies too long. Oh, they’re still delicious, but they don’t have that trademark crunchy outside, gooey middle that sets Levain Bakery cookies so far apart from your regular, run of the mill cookie. But I can learn, and you can profit from my mistake. Never, ever, under any circumstances, over-bake these cookies.

Oh, you will be tempted as I was today. But I should have trusted myself. I should have pulled them out of the oven after only 8 minutes, instead of 10 minutes. Sure, they would have been lightly browned and very soft to the touch after only 8 minutes. But they would have finished baking as they cooled. And then they would have been perfect.

So, if you too happen to over-bake them a bit, you are excused. I, on the other hand, should have known better. After all, I have baked hundreds of cookies over the 65 years I have been actively and religiously playing with cookie dough. But, in my defense, these cookies, and my other Levain Bakery knock-off cookies are decidedly different. And it’s that very difference that makes them the best cookies I have ever tasted. So, I hope you too enjoy this recipe. And don’t skip the step of toasting the coconut flakes. It truly does make a difference.

As always, have fun in your kitchen. Make every day a fun day. Laugh out loud. Smile at everyone you meet. (I know. Doesn’t really show when you’re wearing a mask!) But do it anyway. You will know you are smiling, and that matters to your own well-being.

Peace and love to all.

½ c. (1 stick) cold unsalted butter, cut into small cubes

½ c. brown sugar, packed

¼ c. granulated sugar

1 lg. egg

1 tsp. vanilla extract 

¼ c. cake flour (fluffed)

1 c. unbleached all-purpose flour (fluffed)

1½ tsp. cornstarch

½ tsp. baking soda

½ tsp. coarse sea salt

1 c. old-fashioned oats 

1 c. toasted coconut flakes (I use Bob’s Red Mill unsweetened coconut flakes)

1 c. semi-sweet chocolate chips

Place the butter, brown sugar, and granulated sugar in the bowl of your stand mixer. Using the paddle attachment, beat the butter and sugars on medium low speed until smooth and completely blended, 2-3 minutes. Add the egg and vanilla. Beat just until the egg and vanilla are incorporated with the butter/sugar mixture.

In a small mixing bowl, whisk the cake flour, all-purpose flour, cornstarch, baking soda, salt, and oats together. Add to the wet ingredients and mix only until combined. Add the coconut flakes and chocolate chips. Slowly mix until combined. Refrigerate dough for 30 minutes.  

Using an ice cream scoop (I use a #40, 1½ tablespoons, orchid handled scoop), place the balls of dough on a parchment paper lined cookie sheet 2 inches apart. 

Bake in a pre-heated 400-degree oven for 8-11 minutes or until the cookies appear dull and light golden brown on top.  Do not over-bake. The top should look done, but the cookies should not be fully set. 

Remove from oven. Cookies will continue to finish cooking as they set and cool on the baking sheets for at least 8 minutes before removing to a wire rack to cool completely. The cookies are quite delicate after just baking, so handle them carefully. They should still be plenty gooey inside.

Store in an airtight container.

Me in our kitchen last evening trying to decide if I would prefer a before dinner martini or a Margarita. Not an easy decision. But my apron made the decision for me. And please excuse the messy pantry. And of course, Miles had to be in the photo. His house, his rules!


ANISE BISCOTTI WITH SLIVERED ALMONDS (traditional Italian favorite)

When I think of biscotti, I always envision traditional anise flavored biscuits. Because I happen to be someone who truly loves a strong, licorice-like taste. But if you are familiar with this site, you know I have several biscotti recipes already posted that do not include anise. So, if you happen to fall in the category that is not anise addicted, I still have you covered. (Just search under “biscotti”, and all will be revealed.)

And I should mention that I already have an anise biscotti recipe on site that is the same as this one except for the addition of anise seed in this recipe. I could have simply updated the original recipe, but I thought it would be more fun to publish this version too. (After all, choices are always nice.) Anyway, these are now my new favorite traditional anise flavored biscotti.

So, lets talk a bit about how easy biscotti biscuits are to build. The dough is basically like many cookie doughs. Cream the butter and sugar together, add eggs and flavoring. Then whisk the flour, leavening (in this case baking powder), and salt together. Then combine the whole mess. But where in drop cookies you simply plop balls of dough on a baking sheet, or rolled cookies, where you cut the rolled-out dough into various shapes, with biscotti you form logs. Then you bake the logs for a short time, remove them from the oven, let them cool a bit, then cut the logs into slices, and bake them a second time until they are done. It may sound like more work then plopping or rolling, but it actually takes very little skill to make perfectly formed biscotti biscuits.

And I’m telling you true, there is just nothing better than a biscotto (singular of biscotti) dunked in your morning coffee or tea. So, you simply must give biscotti a try. And if you have been making biscotti for decades – Saluti!

As always, stay safe and stay focused on the well being of others. If you haven’t been vaccinated against covid, please consider the health of those with whom you make contact. You may be extremely healthy, but you can’t tell from just looking at someone whether or not they too share your good fortune. They could have an immune deficient condition that is not apparent. And even if they have been vaccinated, it would still be very unhealthy for them to contract the disease. So, please don’t make this all about you. Because it is not all about you or your personal rights or about your being a faithful member of your chosen political party! Politics has absolutely nothing to do with fighting a disease. Covid-19 has no affiliation with any political party. It has no political agenda. It’s only mission, if you care to define it as a mission, is to attack people’s lungs and possibly cause an overactive immune response which can lead to increased inflammation throughout our bodies. So, getting vaccinated is necessary if we hope to stop the spread of this deadly disease. Getting vaccinated is simply about saving lives! Yours included. Nothing else. Please do your part.

Peace and love to all.

½ c. unsalted butter, room temperature

1 c. granulated sugar

3 lg. eggs, room temp.

1 tsp. vanilla extract

1 tsp. good anise extract

2 tsp. ground anise seed

3 c. unbleached all-purpose flour

1 T. baking powder

½ tsp. kosher salt

1 c. slivered almonds, lightly toasted  

Cream butter and sugar together until light and creamy. Add the eggs, vanilla, anise extract, and ground anise seeds. In a separate bowl, whisk together the flour, baking powder, and salt. Combine with butter mixture. Stir in the slivered almonds.

Using your hands liberally coated with flour, divide the dough into 4 pieces on a floured surface. Pat each piece into a 12×1½-inch rectangle. Place on a large lightly greased baking sheet about 4 inches apart. (Use more than one baking sheet if necessary.) Bake the logs in a pre-heated 350-degree oven for about 20 minutes, or until a light golden brown. Remove from oven.

Cool for 15 minutes. Then cut each roll on a slight diagonal into ¾-inch thick slices. Turn the slices cut side down on the baking sheet. Bake for 10-13 minutes or until each piece is firm and nicely browned. Remove from oven and cool on the baking sheet(s). Cool completely before storing in an airtight container.

Note: I suggest baking biscotti with straight oven heat. Convection baking browns them too quickly.  


SWEET AND SALTY SHORTBREAD COOKIES

Ok, I’m going to mess with your perceived ideas about Scottish shortbread a wee bit. We all know how wonderful traditional shortbread is with its crunchy, buttery goodness. But what if you added a bit more powdered sugar and coarse kosher salt to the mix? Well, you’d get this cookie, that’s what would happen! And I have to say, for a new way of enjoying plain shortbread, this is so very tasty. The extra sweetness combined with the tiny bits of coarse salt, is a fun new taste sensation. Especially since no one’s taste buds are expecting the cookies to be as sweet or as salty. (And isn’t that fun!)

So, I guess the only thing left to say is – next time you want to prepare a simple shortbread cookie that will be a hit with your family and friends, give this recipe a try.

And if you are wondering why I chose to make tiny heart shape shortbread cookies, well, they were for a very special event. The marriage of my son Sven to Jill, a truly wonderful woman and just the perfect fit for my son. Both being intelligent, athletic, successful, delightful and caring people, and devoted parents. I could not be happier for either of them. (Or for me, if truth be known.)

As always, have fun in your kitchen and always keep thinking positive thoughts. Things do have a way of working out, even if it appears to the contrary as you wait for some type of resolution. So, practice patience. Not easy, I’ll grant you that. But if you continue to have hope, most often, time will take care of whatever situation has held you in its grip.

And again – congratulations to Sven and Jill. And to the many family members on both sides who attended the wedding – thank you for being a part of this special celebration. I love you, one and all.

Peace and love to all.

1 c. (2 sticks) unsalted butter

1 c. powdered sugar

1 tsp. vanilla

½ tsp. kosher salt

¼ tsp. baking powder

2 c. unbleached all-purpose flour, fluffed

Cream the butter, powdered sugar, and vanilla together until light and creamy. Whisk the salt, baking powder, and flour together in a separate bowl. Add to the butter mixture just until well combined. Form dough into a ball.

Place on a lightly floured surface and roll to approximately ⅓-inch thick. Cut into your favorite shapes.

Place on an ungreased cookie sheet and bake in a pre-heated 350-degree oven for 17-18 minutes or until the bottom of the cookies are a nice golden brown. Don’t under-bake. (Please note: the cookies will not expand very much, so they can be placed quite close together on your baking sheet.)

Remove from oven and cool completely on a wire rack. Store in an airtight container.   


CHOCOLATE CHIP AND NUT BLONDIES

Sometimes I’m almost embarrassed to post a recipe as simple as this one. But maybe, just maybe, you never thought of putting chocolate chips in your blondies either. I say either, because I never thought to do so until our good friend Keith made some to sell at his wife Sheila’s choir fund raiser. One taste told me that I had been missing out on a really good thing. And as some of you well know, I’m getting quite lazy in my golden years. So, a butterscotch flavored chewy bar cookie that is very simple to build, (no mixer required), chocolaty, and crunchy is excellent in every regard! (Including the short amount of time this cookie takes to prepare.)

Absolutely perfect to feed hungry children and starving musicians. (I don’t have kidlets in the house any longer, but sometimes jazz musicians can be found huddled around the baby grand in our living room. And of course, they must be fed frequently to ensure that they keep up their strength. And for whatever reason, cookies and strong coffee are their preferred method of securing sustenance. Imagine that!)

Anyway, these bar cookies are terrific. And like I mentioned above, very easy to make. And I promise not to be offended, in any way, if you already have a favorite blondie recipe you would prefer to use. Just add some chips (chocolate, mint chocolate, peanut butter, white chocolate, M&Ms, etc.) and whatever nut you happen to have around (or not), and you have a whole new bar cookie with which to thrill and delight your family and friends. Drum roll please!  

So, as always – have fun in your kitchen. Make some cookies. Because cookies are the only food group that everyone, of every age enjoys. And I know cookies aren’t the healthiest thing to feed your children. But as an occasional treat, there is nothing finer.

Peace and love to all.

½ c. (1 stick) unsalted butter, melted

2 c. brown sugar, packed

2 lg. eggs

2 tsp. vanilla extract

2 tsp. baking powder

1 tsp. kosher salt

2 c. unbleached all-purpose flour, fluffed

1½ c. semisweet chocolate chips

1 c. chopped walnuts, lightly toasted pecans, hazelnuts, etc.  

Stir the melted butter, brown sugar, eggs, vanilla, baking powder, and salt together using a whisk. Using a rubber spatula, stir in the flour just until combined. Stir in the chocolate chips and walnuts.

Spread the dough out evenly in a lightly buttered 9×13-inch pan (glass is best). Bake in a pre-heated 325-degree oven (350-degrees if you are using a metal pan) for 30-35 minutes or until a toothpick inserted in the center comes out clean or with just a few fudgy crumbs and the top looks set. Resist overbaking.   

Remove from oven and cool on a wire rack. Cut into whatever size pieces you want. Store in an airtight container at room temperature or freeze for longer storage.


PISTACHIO-ORANGE BISCOTTI

I wish I could say I first tasted biscotti on one of my trips to Italy. But alas, that is not the case. In fact, I don’t believe I ever saw biscotti offered on a menu. Of course, it probably was available, and my eyes just skipped over it because there were so many other choices that I knew I wouldn’t find when I returned home. Like a licorice flavored gelato or bomboloni (a traditional Italian pastry similar to a doughnut and filled with a rich vanilla cream). All I know is that I never actually enjoyed a biscotto (the singular of biscotti) while traveling. But that’s OK, because I so love making these little darlings and filling our very own biscotti jar with one type or another of these beloved biscuits.

Our very own biscotti jar brought home from Italy in our luggage many years ago.

When and by whom I was first introduced to biscotti, I have absolutely no recollection. All I know is that I have been making biscotti for many years. Decades, actually!  

I think one of the main reasons I enjoy baking this very traditional Italian delight is because they are just so stinkin’ easy to build. Plus, this double baked cookie stays fresh much longer than most cookies. And biscotti is dunkable. (And who isn’t into dunking their food?!) In fact, biscotti is designed to be dunked in your favorite beverage. Absolutely perfect dunked in coffee or Vin Santo*, or as Mr. C. recently discovered, a wee dram of really great Scotch. (Our good friend Jim will back Mr. C. up on the joys of dunking biscotti in Scotch!) But if you are the one in a billion who doesn’t like to dunk your food, you can always just gnaw away on a biscotto until only tiny crumbs remain. Your cookie, your choice!

As always, take delight in the food you concoct for yourself and others. Be open to new ingredients and new dishes, but don’t forget about those foods that you and your family love. For most of us, we live to eat. We don’t just eat to live. So, continue to make healthy and nutritious food, but don’t forget about those special once in a while treats either. Now, if you will excuse me, I’m off to build a new comfort food from a recipe I threw together yesterday. Baked Egg Noodles in a Creamy Garlic, Spinach, and Cheese Sauce. Wish me luck!    

Peace and love to all.

2 c. all-purpose flour, fluffed

1½ tsp. baking powder

½ tsp. kosher salt

½ c. (1 stick) unsalted butter, room temperature

¾ c. granulated sugar

zest of 1 lg. orange

1 tsp. vanilla   

2 lg. eggs, room temperature

1 c. raw unsalted pistachios, lightly toasted and coarsely chopped

coarse decorating sugar, opt.

Whisk the flour, baking powder, and salt together in a small mixing bowl.  

Using an electric mixer, beat the butter, granulated sugar, orange zest, and vanilla until light and fluffy. Beat in the eggs, 1 at a time, beating well after each addition. Add the flour mixture in 3 batches with the mixer on low speed. Beat just until blended. Stir in the pistachios. Cover the bowl and refrigerate for 60-90 minutes.

On a well-floured surface, using your hands (also well-floured if you know what’s good for you), divide the dough into 4 pieces. Roll each piece into a log 1-inch in diameter. Place at least 3-inches apart on a parchment paper lined baking sheet. Lightly sprinkle with coarse sugar.

Bake in a pre-heated 350-degree oven until light golden, about 20-25 minutes. Remove from oven and allow to cool for 20 minutes. (Keep the oven on go.)  

Place the logs on a cutting board. Using a sharp knife (I use my big old butcher knife, but a serrated knife works well too), cut the logs on a slight diagonal into ¾-inch thick slices. Arrange cut side down back on the baking sheet. Bake until a nice golden brown, about 20 minutes.

Remove from oven and allow to cool right on the baking sheet. Store in an airtight container at room temperature for up to 2 weeks.

*Vin Santo is a late-harvest Italian dessert wine generally produced in Tuscany from white grapes, namely Trebbiano or Malvasia. After picking, the grapes are semi-dried before being pressed and fermented. Then the wines are stored in small barrels for up to 10 years, usually in attics which turn hot and cold with the seasons. There is a wide diversity in Vin Santo styles, from sweet dessert to dry, Sherry-like versions.


PEANUT M&M PEANUT BUTTER OATMEAL COOKIES

OK, I know I should not be eating cookies, but I always build a batch (or two) before we leave on a trailer trip. And of course, this time was no exception. There was a difference, however. We didn’t go on our planned outing. Not because of health concerns, thank goodness, but because our destination was in Eastern Washington and the predicted weather while we would be camping in the desert was somewhere around 112-degrees. Yikes! That is just too hot to be sitting in our travel trailer waiting for the air conditioning or the motor on our refrigerator to experience a full-on meltdown. Not to mention that if that happened, I’d be right there with our appliances having my own tearful meltdown! (I do not do well in hot weather.) And hiking or even taking a nice leisurely walk would have been completely out of the question. Not to mention the conniption fit my dermatologist would have thrown had he found out that I had spent 12 hours a day in a lake, even with 50 SPF sunscreen slathered all over my body! (I simply can’t be in the sun more than 2 minutes anymore. I have become a sensitive flower in my golden years. Not by choice, believe me. But by necessity. Grrrr) Anyway, we cancelled our trip. Which of course left us with an abundance of these amazing cookies calling my name every time I got within 10 feet of our home cookie jar.

But I must say, if I have to be corrupted by cookies, I’d like it to be by the likes of these cookies. Because they are wonderful. Full of peanut butter and Peanut M&Ms. And who can resist Peanut M&Ms? Not me, that’s for darn sure!

So, next time you want to treat your friends or family to homemade cookies, I would advise giving this recipe a try. You will not be unhappy with the results. And to their credit, these delicious cookies contain a bit of rolled oat action. Even though you would be hard pressed to find anyone who could discern the presence of anything as healthy as rolled oats in the mix. But no one could possibly miss the abundance of Peanut M&Ms. They are forefront for all to appreciate.

As always, tackle your culinary endeavors with zest and zeal. Appreciate the fact that you not only have a kitchen, but the knowledge and skill to provide delicious and nutritious food for not only yourself, but also for your family and friends. Cooking takes time and effort, but the rewards far outweigh any alternative such as most prepared food found at your local grocery store or frequent visits to local restaurants. At least for me, going out to eat is great about once a week. More than that, and I find myself thinking about the quality of the food I can produce at home, compared to what we can find in most of our local dining establishments. And even as I am eating out, I often torture myself by wondering why I didn’t just stay home and cook dinner in the first place. (And yes, I am an enigma.) But then I must acknowledge that I probably like to cook more than a lot of folks. So, I’ll get off my high horse now and just stick to once again telling you how great these cookies are and how much you would enjoy biting into one. (Or two, if you’re like me.)

Peace and love to all.   

½ c. rolled or quick oats (see note below)

½ c. (1 stick) unsalted butter, room temperature

½ c. brown sugar, packed

¼ c. granulated sugar

¾ c. creamy peanut butter (not natural)

1 lg. egg

1 tsp. vanilla extract

1¼ c. unbleached all-purpose flour

½ tsp. baking soda

¼ tsp. kosher salt

2 c. Peanut M&Ms (I use the 10.57 oz. Fun Size for this recipe)

In the bowl of your stand mixer, cream the butter, brown sugar, and granulated sugar together until light and fluffy. Add the peanut butter and mix until well combined. Add the egg and vanilla and mix until well combined.

In a separate bowl, whisk the flour, baking soda, salt, and oats together. Add to the wet mixture just until incorporated. Do not overmix. Gently mix in most of the Peanut M&Ms.  

Form the dough into about 2-inch diameter balls. (I use my #30 teal blue-handled ice cream scoop to form the balls.) Place on a parchment paper lined cookie sheet and gently press the balls down slightly. (They won’t spread very much while baking, so they can be placed fairly close together. About 1½ inches apart works fine.) If there are any of the cookies that appear to need an additional Peanut M&M or two, gently poke the remaining M&Ms into the dough balls. (We want all our cookies to look pretty, now don’t we!) Place the cookie sheet in the refrigerator for about 30 minutes before baking in a pre-heated 350-degree oven for 13-16 minutes. (Cookies will be a bit soft and look undone. But don’t fret. They will firm up nicely as they cool.)

Remove from oven and allow to cool a couple minutes on the cookie sheet before transferring to a wire cooling rack to cool completely. Store in an airtight container at room temperature. Makes about 35 cookies.

Note: If using regular rolled oats, place in a food processor. Pulse a few times to break the oats down a bit. Set aside. Or use quick oats. (Quick oats don’t have to be messed with at all.)

KNOCKOFF LEVAIN BAKERY DARK CHOCOLATE PEANUT BUTTER CHIP COOKIES

KNOCKOFF LEVAIN BAKERY DARK CHOCOLATE PEANUT BUTTER CHIP COOKIES

And yes, I am a copy-cat. But the Levain Bakery knockoff cookies I have made so far are all the best in class as far as I’m concerned. (And isn’t it really just all about me?) Of course, it is! (Believe me, excluding various recipes for adult beverages which Mr. C. happens to like that I wouldn’t drink even if I could replace some of the jerks in Washington DC with intelligent, well informed, capable people of my choice, I would never consider posting recipes for dishes I don’t like myself and hope to enjoy again in the future!) So, yes absolutely – it’s really just all about me! And these cookies are the best chocolate peanut butter cookies I have ever tasted!

Anyway, just trust me. These cookies are amazing, and very easy to build. Of course, you must love chocolate and peanut butter. And in combination. But then if you didn’t like this terrific duo, you wouldn’t be reading this recipe to begin with. So, never mind. The only thing left to say is – make these ASAP.

I made a batch for the trailer trip we just completed, and they were a smashing success. The smashing primarily happening because, for the trip, I stored them in a gallon freezer bag. Not my best idea. So, I certainly would not recommend that you store them the same way. A nice sturdy box like airtight container would have been such a better choice. In the bag they became a bit crumbled while riding in the microwave. (One of the areas in our trailer used for storage until such time as the original purpose is required.) But Mr. C. assures me the crumbs were wonderful on ice cream. (I wasn’t offered a taste, so I only have his word on the subject. Ahem. But I trust his judgement, so I’ll take his word for it. This time!)

Anyway – make these cookies, you will be glad you did.

As always, take joy in whatever you are doing. We have such a short time on earth, and then, well who knows? If there is a heaven, and I sincerely hope there is, I plan to bake and eat cookies every day. (I’ve heard you can’t gain weight in heaven.) So, I figure I had better have a few great recipes, like this one, memorized for all eternity. Because my plan is to make and eat these babies on a regular basis. (My idea of heaven!)

Peace and love to all.    

1 c. (2 sticks) cold unsalted butter, cut into small cubes

1 c. brown sugar

½ c. granulated sugar

2 lg. eggs 

1 tsp. vanilla

½ c. good dark cocoa powder

1 c. cake flour, fluffed 

1½ c. unbleached all-purpose flour, fluffed

1 tsp. cornstarch

¾ tsp. baking soda

1 tsp. coarse sea salt

1½ c. peanut butter chips (I use a 10-oz. pkg. Reese’s Peanut Butter Chips)

Place the butter, brown sugar, and granulated sugar in the bowl of your stand mixer. Using the paddle attachment, beat the butter and sugars on medium low speed until smooth and completely blended, about 4 minutes. Add the eggs and vanilla. Beat just until the eggs are incorporated with the butter/sugar mixture.

In a small mixing bowl, whisk the cocoa powder, cake flour, all-purpose flour, cornstarch, baking soda, and salt together. Add to the wet ingredients and mix only until combined. Add the peanut butter chips, and again, mix only until combined. Chill the dough for 10 minutes.

Divide the dough into 16 equal parts, about 3-ounces each, or as equally portioned as possible. I cheat. I slightly round the dough in my #16 (¼ cup) ice cream scoop. (My scoop has a green handle.)

Drop dough onto parchment paper or silicone mat lined baking pans about 3 inches apart. (I use three half sheet (roughly 18 x 13-inch) baking pans. Six cookies on sheets 1 & 2. Four cookies on sheet number 3.) Refrigerate for about an hour. (To make life easier on myself, and because I don’t have room in my refrigerator for 3 sheet pans, I plop the balls of dough close together on one of the parchment paper lined pans. Then I refrigerate the whole mess. When I’m ready to bake the little darlings, I take 6 from the fridge and place on another of the parchment paper lined baking sheets. The others dough balls I just leave in the fridge until I am ready to bake them off.)  

Press down ever so gently on the top of each cookie before baking in a pre-heated 400-degree oven for 9-11 minutes or until the top looks set. The inside will still feel quite soft or under-baked. That’s exactly what you want.

Remove from oven and let the cookies rest for at least 10 minutes before transferring to a wire rack to cool completely.

Store in an airtight container at room temperature.