Category Archives: CANDY RECIPES

CHOCOLATE PECAN BOURBON BALLS

Bourbon balls are an easy and delightful gift to give to those special people in your life who truly love bourbon. My recipe calls for shortbread cookie crumbs. But if you are pressed for time, you can always use vanilla wafer crumbs. (Nabisco Nilla Wafers) But be warned, using shortbread cookie crumbs should always be your first choice.

Now a word to the wise. These bourbon balls are not for sissies! You can’t just kinda sorta like bourbon to enjoy these delicacies. You’ve got to full on love bourbon for these round balls of spendiferousness to put a smile on your face and send your taste buds to their happy place. If you’re a take it or leave it bourbon person, don’t even take one out of the container. Leave the candy for a true bourbon aficionada.

So in our home, Mr. C. loves these balls, while I could have nothing left in the house to eat, and I still wouldn’t give them a taste! But the leftover shortbread cookies – now that’s a totally different story. They are my idea of the perfect not-too-sweet cookie. So actually, this recipe provides both of us with a special treat for the holidays. I call that a win/win situation. Happy Ho Ho Ho to you and yours.

Shortbread Recipe:

1½ c. (3 sticks) unsalted butter, room temperature

1½ c. powdered sugar

1½ tsp. vanilla extract

¾ tsp. salt  

3 c. unbleached all-purpose flour

With an electric mixer, beat butter, sugar, vanilla, and salt until smooth.  With your mixer on low speed, add flour, mixing just until dough forms. Place dough on a long piece of plastic wrap. Using your hands, wrap the dough into the plastic wrap gently shaping it into a round log about 1½ inches wide.  Refrigerate for 1 hour.

Preheat oven to 350 degrees. Un-wrap log and using a sharp knife, slice dough 3/8-inch thick. (If dough feels really hard, leave at room temperature for 5 to 10 minutes).

Arrange slices, about 1-inch apart on parchment paper lined baking sheets. Prick each cookie about 3 times with a fork.

Bake until lightly golden around the edges, 15 to 20 minutes. (Do not under-bake.) Cool on baking sheets 1 to 2 minutes before transferring to a wire rack to cool completely. Crush enough cookies* to make 4 cups. (I place several cookies into a gallon Zip lock freezer bag, then crush them with my rolling pin.) Set aside. Store the remaining cookies in an airtight container.

*You can use vanilla wafers in this recipe if you don’t have time to make the shortbread.  

Bourbon Ball Recipe:

½ c. good bourbon whiskey  

3 T. light corn syrup

2 T. cocoa powder (I use Ghirardelli Premium Cocoa Powder)

1 c. powdered sugar 

4 c. shortbread cookie crumbs  

1 c. finely ground toasted pecans

additional powdered sugar

Whisk the bourbon and corn syrup together in a medium sized bowl. Add the cocoa and powdered sugar. Mix until completely blended. Stir in the shortbread crumbs and the pecans. Shape into ¾-inch balls, roll in powdered sugar, and store in an airtight container in your refrigerator.

(Theoretically these little babies will last for months in your refrigerator, but don’t count on that happening. Not if you have a bourbon lover around like I do!)


FLEUR DE SEL CHOCOLATE NUT BARK

This has got to be the easiest, most delicious, and forgiving candy I have ever made. No boiling, no candy thermometer, no pouring a hot mixture in a hot heavy pan into another pan.

Just melt some good quality chocolate chips, stir in some espresso powder, vanilla extract, and assorted nuts. Then scoop the whole shebang into a pan. Sprinkle lightly with fleur de sel and refrigerate for a short time, then cut into desired sized pieces. Final product doesn’t even need to be refrigerated. Totally easy to prepare and even easier to eat.

So if you need a quick and easy candy to give as a gift to your neighbors, kid’s teacher, dog walker, butcher, baker, or candlestick maker, this is the recipe for you. And let’s be honest here. If you or someone in your family is a chocolate nut candy bar fanatic, this is the way to go from an economic standpoint. This recipe makes a lot of candy bark. Make a batch, cut it into reasonably sized pieces and store in your freezer. Then anytime you, or one of your family members requires a chocolate nut candy bar fix, you need only visit your local freezer rather than running to your local grocery store.

Merry Christmas and Happy New Year to all.  

3 c. (18 oz.) semi-sweet chocolate chips (I use Guittard chocolate chips that I find at Bartell’s Drug Store or Ghirardelli)

2 c. (12 oz.) milk chocolate chips (Ghirardelli or Guittard here too)

rounded ¼ tsp. espresso powder (I use Medaglia D’Oro Instant Espresso Coffee)

1 tsp. vanilla extract

3 c. toasted, roughly chopped mixed nuts (almonds, hazelnuts, walnuts, pecans, macadamia nuts, etc. – any combination – salted or unsalted)

fleur de sel or course sea salt

Line a 10×16-inch rimmed baking pan with foil. (Take care to avoid wrinkles.) Spray very lightly with PAM.

Melt the semi-sweet and milk chocolate chips in your microwave. Remove from microwave and quickly stir in the espresso powder and vanilla. Stir in the nuts and scrape the mixture into the prepared pan.

Level the top with an offset spatula. Lightly sprinkle with fleur de sel. Place the pan on a wire rack in your refrigerator for about 15 minutes. Remove from refrigerator and transfer the bark and foil to a cutting board. Remove the candy from the foil. Using a long, heavy, sharp knife, cut the bark into desired sized pieces. Store in an airtight container at room temperature, or in your refrigerator or freezer.  


FUDGE!!

When I was a much younger adult (or want-a-be adult), I went through a phase of loving Snickers. So much so, that I even kept a supply in my friends Dick and Eloise’s freezer. I just never knew when a “snickers attack” was going to hit, and I spent a lot of time with my friend’s at their water-front home in Medina. So having Snickers bars in their freezer made perfect sense to all three of us!

Well as in most things, my passion for Snickers bars eventually ebbed only to be replaced by an absolute devotion to See’s buttery brown sugar caramels with a touch of maple sugar and California almonds enrobed in smooth milk chocolate. And as of this writing, I still adore really good caramels studded with nuts and encased in creamy milk chocolate. I also happen to love fudge.

So when a friend gave me the first recipe on this post several years ago, I immediately recognized a homemade version of my favorite kind of candy.

In addition to the Chocolate Fudge with Caramels and Peanuts recipe, I am also including 5 other wonderful fudge recipes. I hope you try them all. They are all sinfully delicious, easy to prepare, and perfect for sharing with others at Christmas time, on Wednesday’s, after skiing, to impress your fellow workers, or …………. Oh heck, they’re good any old time!

So that you don’t have to go so far as to read this entire post, I have listed the names of all the recipes provided in order of appearance:

CHOCOLATE FUDGE WITH CARAMELS AND PEANUTS

CHOCOLATE AND PEANUT BUTTER FUDGE

ROCKY ROAD FUDGE

PEPPERMINT FUDGE (previously posted)

FUDGE WITH BRANDIED CHERRIES AND WALNUTS (previously posted)  

PEANUT BUTTER FUDGE (previously posted)

I hope you enjoy all of these wonderful fudge recipes. And BTW – Happy New Year


CHOCOLATE FUDGE WITH CARAMELS AND PEANUTS

  • ½ c. (1 stick) unsalted butter
  • 1/3 c. unsweetened cocoa powder (I use Ghirardelli Majestic Premium Cocoa Powder. I purchase it at Cash & Carry.)
  • ¼ c. packed brown sugar
  • ¼ c. milk
  • 3½ c. powdered sugar
  • 1 tsp. vanilla extract
  • 30 vanilla caramels, unwrapped
  • 1 T. water
  • 2 c. salted peanuts
  • ½ c. semisweet chocolate chips*
  • ½ c. milk chocolate chips*

Melt butter in a heavy medium sized saucepan. Stir in the cocoa, brown sugar, and milk. Bring mixture to a boil. Boils for about 2 minutes stirring the entire time. Remove pan from heat and stir in the confectioners’ sugar and vanilla until well blended. Pour into a buttered 9-inch square baking dish.

In another heavy pan, heat the caramels and water until caramels are melted. Stir in peanuts; spread over chocolate layer. Microwave chocolate chips until melted; spread over caramel layer. Chill until firm. Cut into small squares. Store in refrigerator. Serve at room temperature.

*You can use all semi-sweet or all milk chocolate if you prefer

CHOCOLATE AND PEANUT BUTTER FUDGE

  • 10 T. unsalted butter, divided
  • 1½ c. brown sugar
  • 1¾ c. powdered sugar
  • 1½ c. chunky peanut butter (not the old-fashioned kind)
  • 1 c. milk chocolate chips or semi-sweet chocolate chips (I use a combination)

In a large microwave-safe dish, melt 5 tablespoons of the butter. Remove from microwave and stir in the brown sugar, powdered sugar, and peanut butter. Mix well and press into a lightly buttered 9-inch square pan.

Wipe out the microwave-safe dish and heat the chocolate chips and remaining 5 tablespoons of butter stirring frequently until the mixture is smooth. Pour over the peanut butter crust and spread evenly with a small offset spatula.

Chill the bars for several hours until completely firm. When ready to serve, let stand at room temperature for 10 minutes before cutting into 1-inch squares. Store remaining candy in refrigerator. Recipe from the Culinary Hill web site.

ROCKY ROAD FUDGE

  • 2½ c. granulated sugar 
  • ½ c. (1 stick) unsalted butter
  • 1 can (5 oz.) evaporated milk (2/3 cup)
  • 1 jar (7 oz.) marshmallow crème (2 cups) 
  • 2 c. semisweet chocolate chips  
  • 1 c. chopped walnuts  
  • 1 tsp. vanilla 
  • 2 c. miniature marshmallows 

In a medium sized heavy saucepan, cook sugar, butter, and evaporated milk over medium heat, stirring constantly, until mixture comes to a boil. Boil 5 minutes, stirring constantly. Remove from heat.

Stir in the marshmallow crème and chocolate chips until smooth. Stir in the walnuts and vanilla. Stir in marshmallows (marshmallows should not melt completely). Quickly spread in a lightly buttered 13×9-inch pan. Cool completely, then refrigerate until firm, about 1 hour.

Cut into serving sized squares. Store in refrigerator.

PEPPERMINT FUDGE (sorry no picture)

  • 3 c. sugar
  • ¾ c. (1½ sticks) butter
  • 1 small can (5-oz.) evaporated milk (2/3 cup)
  • 1½ c. chocolate chips
  • 1 7-oz. jar marshmallow crème
  • 1 tsp. real vanilla extract
  • ½ tsp. good peppermint extract
  • heaping ¼ c. crushed good peppermint candy (preferably King Leo or See’s, not inexpensive candy canes)

Heat sugar, butter, and evaporated milk to a full rolling boil in a heavy saucepan over medium heat, stirring constantly. Boil until candy thermometer reaches 234 degrees, stirring constantly to prevent scorching; about 4 minutes. Remove from heat and stir in chocolate chips and marshmallow crème until melted. Add the vanilla and peppermint extracts. Spread immediately into a lightly buttered 9×9-inch pan. Top with peppermint candy, pressing in slightly. Cool at room temperature for about 4 hours. Cut into small squares and store in an airtight container in your refrigerator.

OLYMPUS DIGITAL CAMERA

FUDGE WITH BRANDIED CHERRIES AND WALNUTS

  • 2 T. cherry brandy or cherry flavored liqueur (like kirshwasser)
  • ¾ c. whole dried cherries
  • 3 c. sugar
  • ¾ c. (1 ½ sticks) butter
  • 1 small can (5-oz.) evaporated milk (2/3 cup)
  • 1 ½ c. chocolate chips
  • 1 7-oz. jar marshmallow crème
  • 1 c. chopped walnuts
  • 1 tsp. vanilla

Place cherry liqueur and cherries in a small heavy pan. Bring just to a boil and take off the heat. Set aside while you prepare the fudge. Heat sugar, butter, and evaporated milk to a full rolling boil in a heavy saucepan on medium heat, stirring constantly. Boil on medium heat until candy thermometer reaches 234 degrees, stirring constantly to prevent scorching; about 4 minutes. Remove from heat and stir in chocolate chips and marshmallow crème until melted. Add reserved brandied cherries, walnuts, and the vanilla. Spread immediately into a lightly buttered 9×9-inch pan. Cool at room temperature for about 4 hours. Cut into small squares and store in an airtight container in the refrigerator.

OLYMPUS DIGITAL CAMERA

PEANUT BUTTER FUDGE

  • 1 c. butter
  • 1 lg. can (1 2/3 c.) evaporated milk
  • 4 c. sugar
  • 1 pt. (7-oz.) marshmallow crème
  • 1 c. crunchy peanut butter

Combine butter, evaporated milk, and sugar in a heavy medium sized saucepan. Bring mixture to 240 degrees stirring continuously over medium heat. Remove from heat and stir in marshmallow crème and peanut butter. Pour into a lightly buttered 9×13-inch pan. Refrigerate for a few minutes, then cut into 1-inch squares. Store in the refrigerator.


PEPPERMINT FUDGE

OK, I know. It’s way too early to start publishing recipes for Christmas. But I decided that this was such a great recipe, you all should know about it early enough that you could include it on your Christmas list of goodies to fix for family and friends. And I know all of you are as crazy as I am about sharing the holiday spirit by preparing way too many cookies and more candy than is necessary. OK, maybe you’re not as crazy as I am in that regard, but even if it’s only one thing you prepare, it should possibly be this recipe.

First of all, it’s an easy recipe to prepare. Plus, who do you know that doesn’t like peppermint and chocolate together? And, well, it’s just a delicious fudge. So put this recipe on your Christmas baking/candy making list. Santa will thank you.

And sorry for not including a picture. Somehow last Christmas I failed to take a picture before all the candy went into my kids Christmas goodie packages, or someone else (not going to mention any names here) got to it before I had a chance to immortalize the fudge on film. (Like anyone uses film anymore. But the whole image of immortalization on film sounded so delightful, I just had to step back a few years to a more romantic time and savor the whole concept.)

Speaking of savoring, I hope you give this recipe a try. And no, you don’t have to wait for Christmas to make this fudge. Somehow making homemade fudge has been relegated to “just for the holidays” fare. Come to think of it, what’s with that? You go to any touristy town and you can practically be guaranteed at least one shop that specializes in fudge. So by all means, don’t wait for Christmas. Treat your family and friends now. (Note to self: that means you too, Patti!)

Just know that you are setting yourself up for a great deal of future fudge building. But things could be worse, demanding fudge is one thing; demanding homemade pickled herring is another matter entirely. Speaking of which, I should share my recipe for pickled herring with you all. Look for it in the near future.

In the meantime, enjoy this recipe. For another great fudge recipe, try my Fudge with Brandied Cherries and Walnuts also on this site. Cheers  


  • 3 c. sugar
  • ¾ c. (1½ sticks) butter
  • 1 small can (5-oz.) evaporated milk (2/3 cup)
  • 1½ c. chocolate chips
  • 1 7-oz. jar marshmallow crème
  • 1 tsp. real vanilla extract
  • ½ tsp. good peppermint extract
  • heaping ¼ c. crushed good peppermint candy (preferably King Leo or See’s, not inexpensive candy canes)

Heat sugar, butter, and evaporated milk to a full rolling boil in a heavy saucepan over medium heat, stirring constantly. Boil until candy thermometer reaches 234 degrees, stirring constantly to prevent scorching; about 4 minutes. Remove from heat and stir in chocolate chips and marshmallow crème until melted. Add the vanilla and peppermint extracts. Spread immediately into a lightly buttered 9×9-inch pan. Top with peppermint candy, pressing in slightly. Cool at room temperature for about 4 hours. Cut into small squares and store in an airtight container in your refrigerator.


THE TROUBLE WITH TRUFFLES

OLYMPUS DIGITAL CAMERA

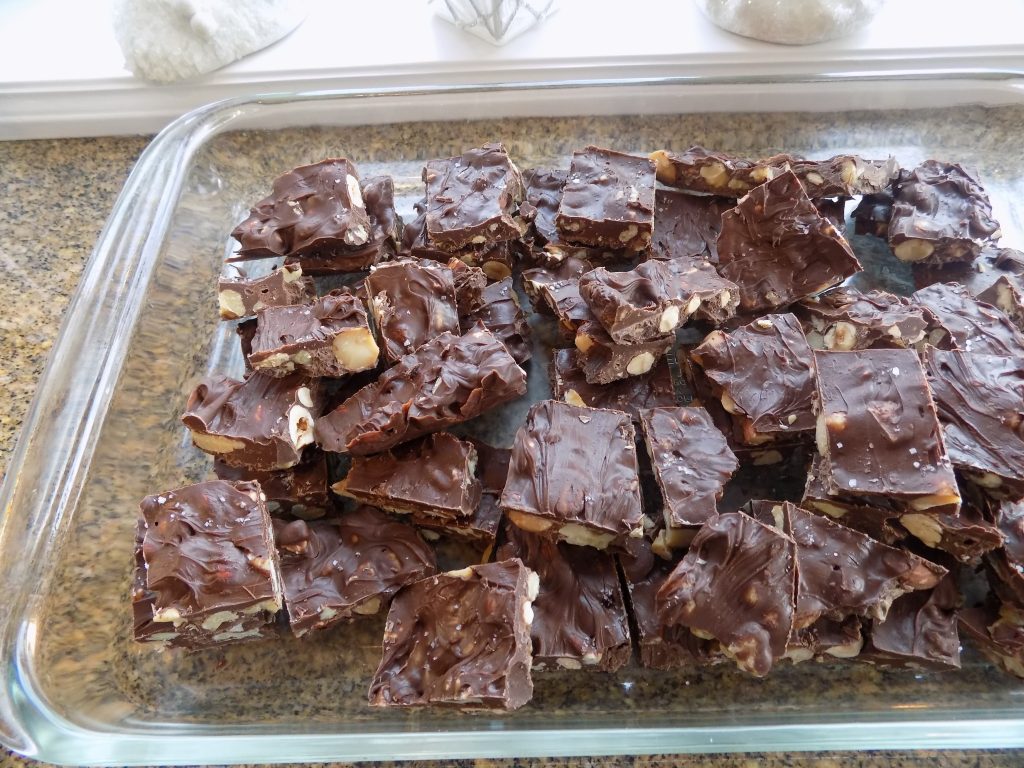
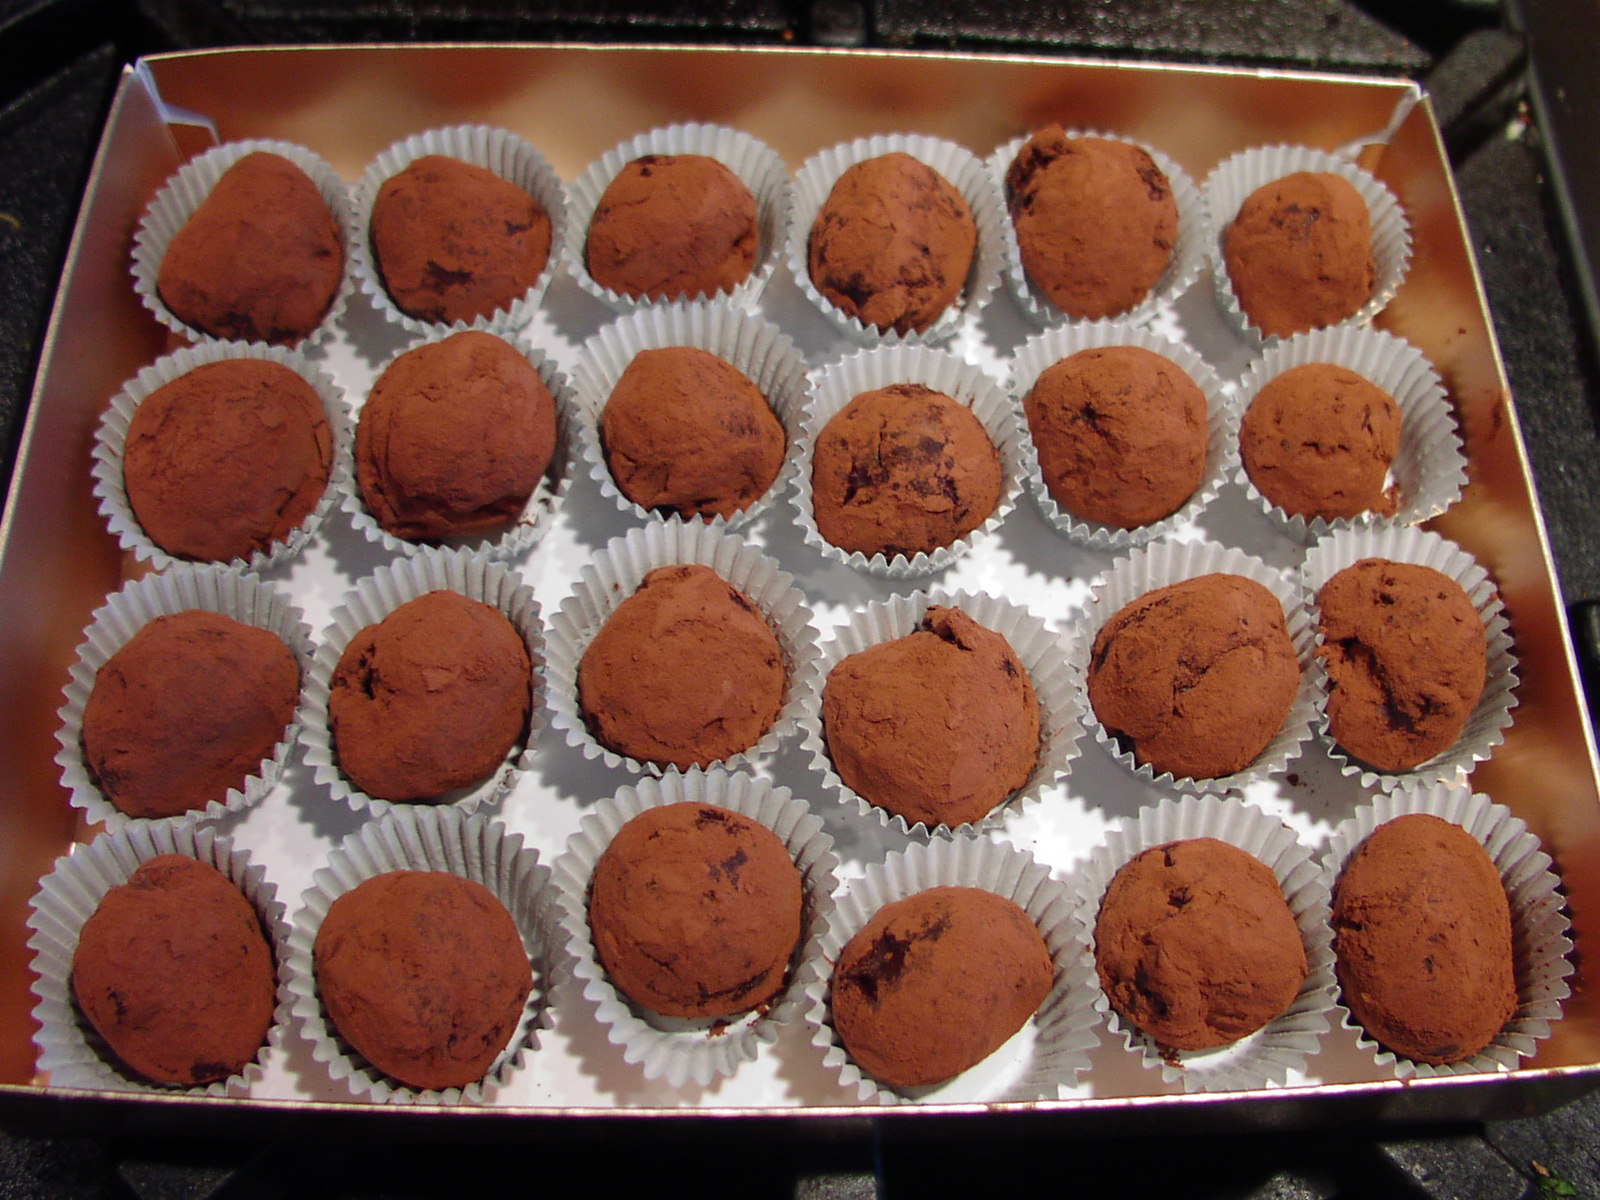
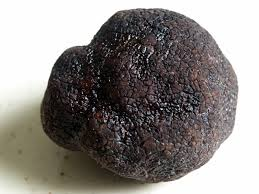
The trouble with truffles (the candy) is that if they are prepared “correctly”, they look like (let’s see, how do I say this politely), they look like truffles (the mushrooms). And as you can see from the attached photograph, truffles (the mushrooms) ain’t exactly pretty!

truffle

Apparently truffles (the candy) originated in France in the late 1800s. Balls of chocolate ganache (heated heavy cream poured over chopped chocolate) and dusted with cocoa, so resembled truffle mushrooms that the French gave this new taste sensation the same name as their beloved woodland delicacy. Now, to further visualize how an actual truffle mushroom looks, think of a small ball of chocolate ganache rolled and dipped in cocoa by a three year old! Which, by-the-way, describes exactly how my homemade truffles look! (No offense to any three years olds out there who might be reading my blog.)

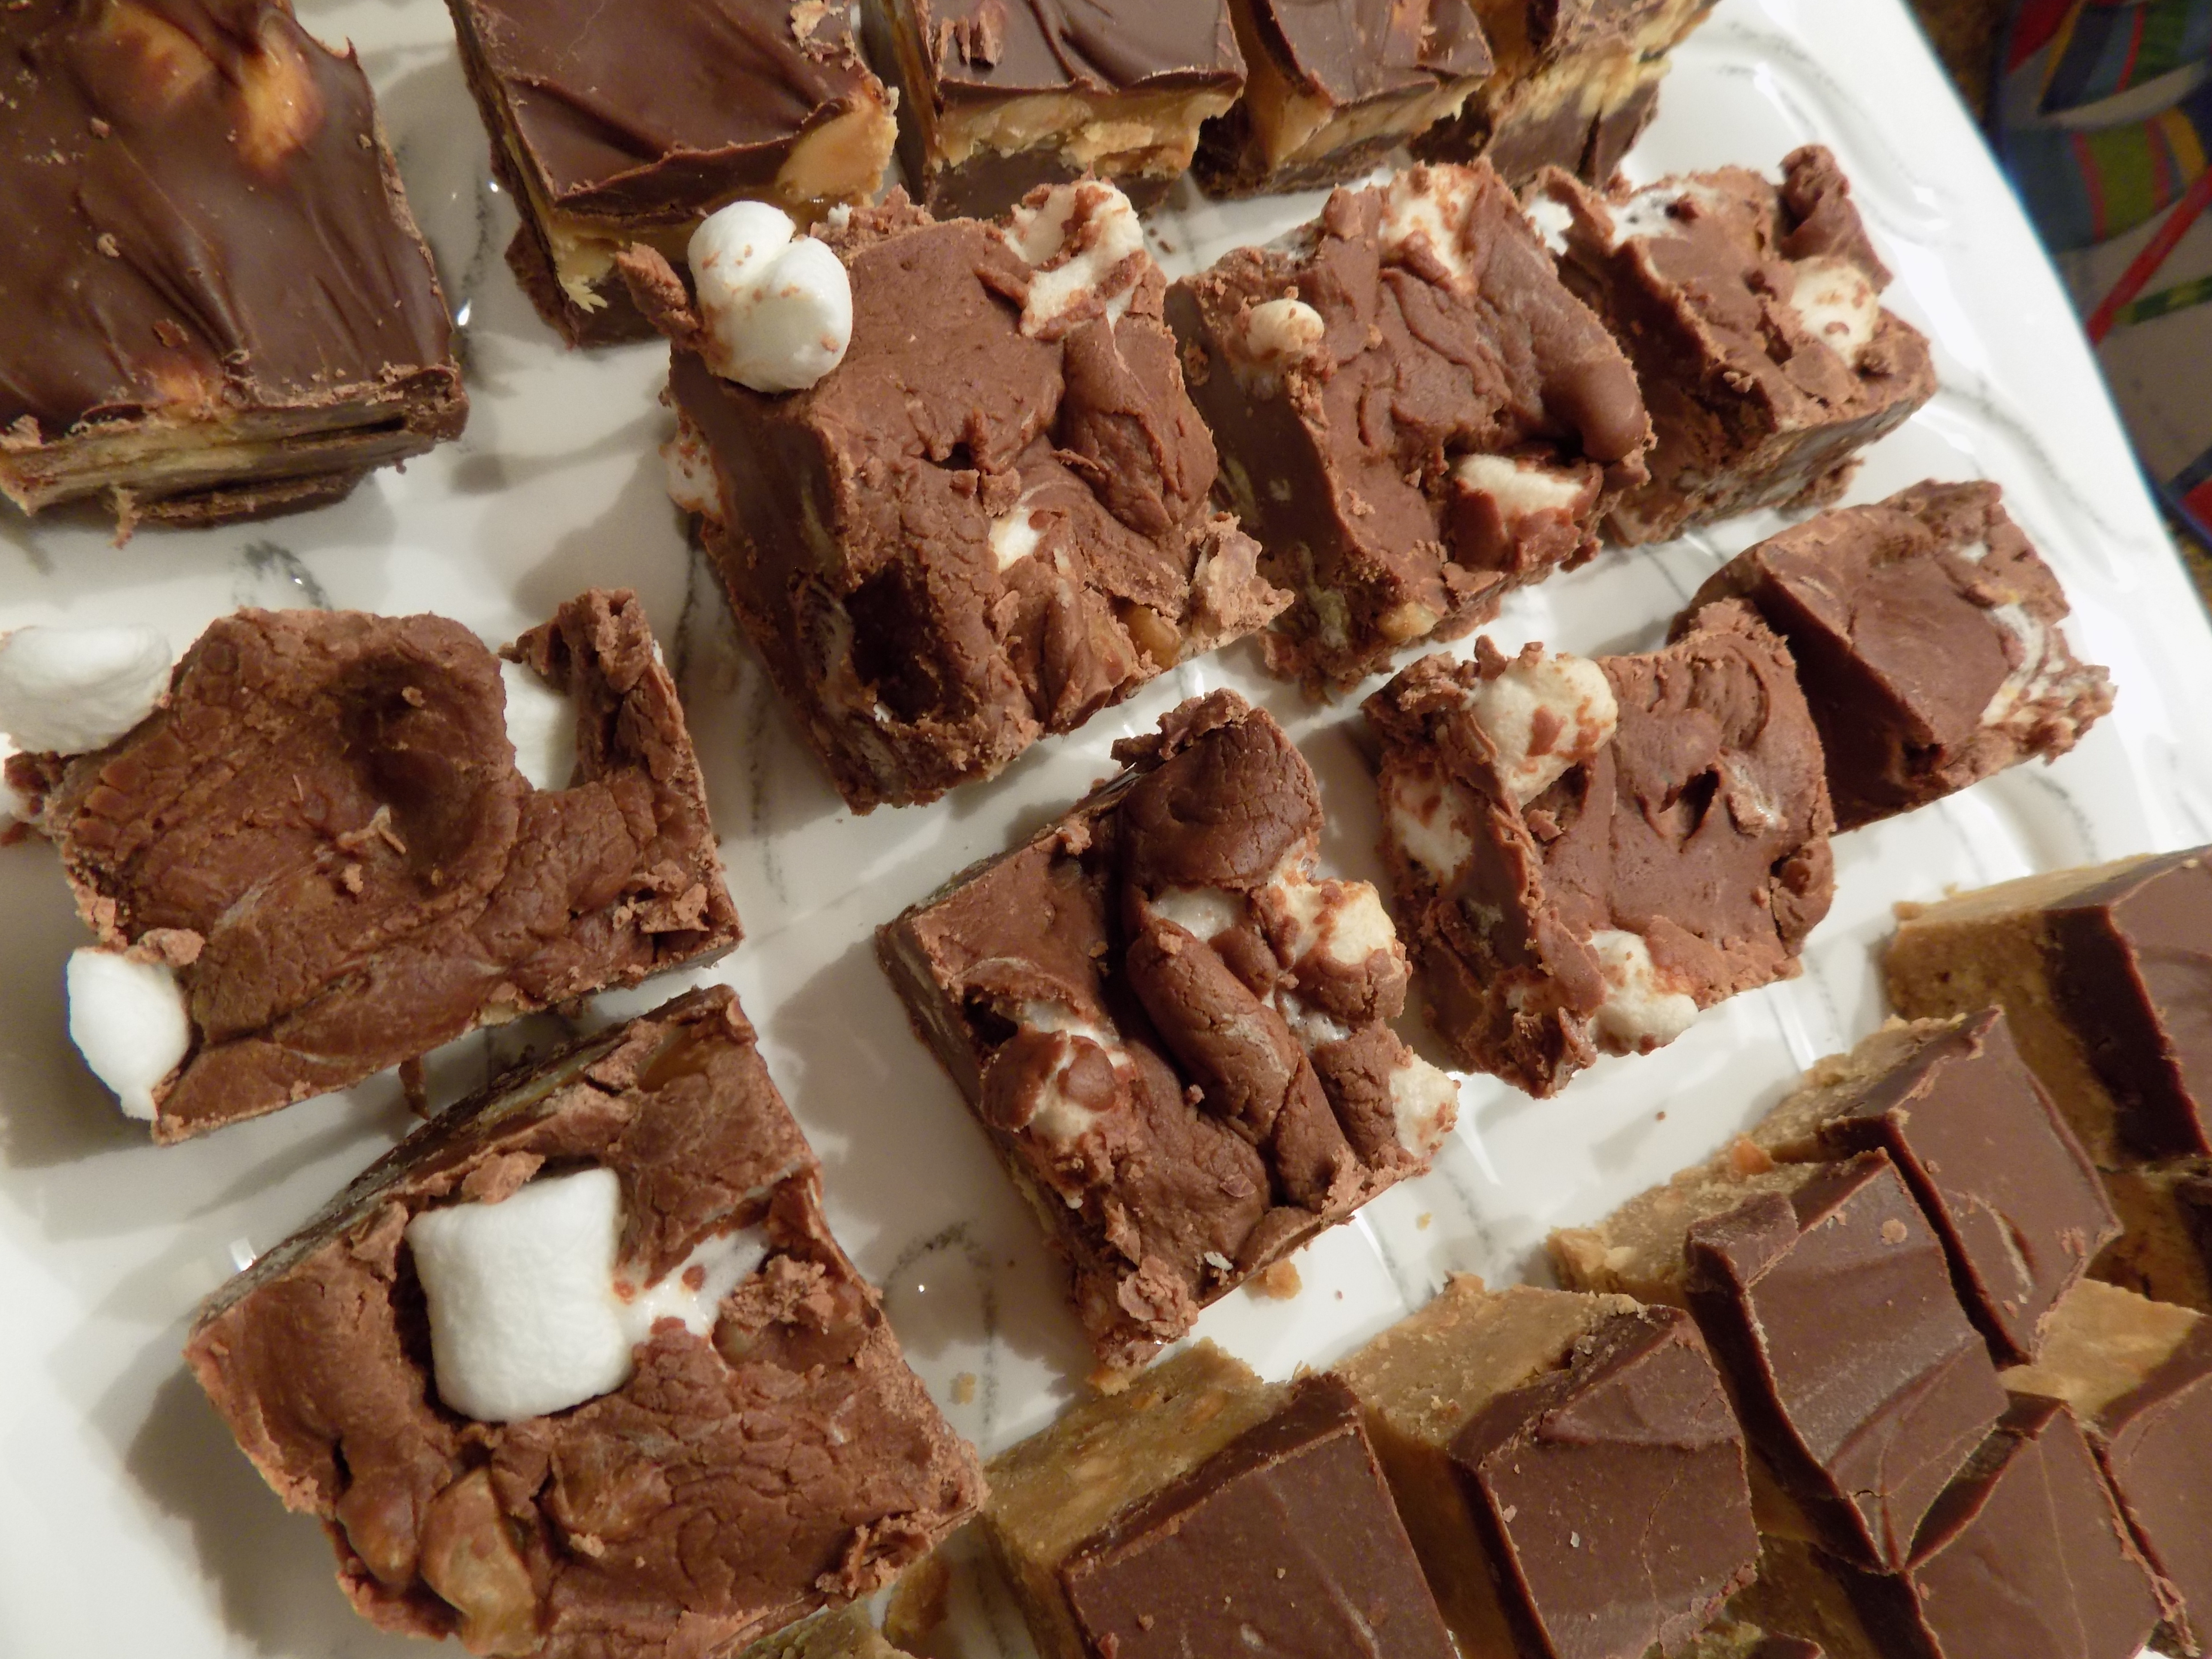
So those perfect pieces of candy all beautifully dipped in chocolate and looking like they were formed by a machine are not in the true spirit of the original candies. Ha! Now don’t get me wrong. I still love the perfect “truffles” that can be purchased for about the same amount of money as a truffle mushroom. But when I can produce a truly delicious and more authentic piece of candy at home for about a tenth of the price, I can forgo beauty for authenticity any old time. (And yes, I too deviate from the original looking truffles by dipping some of the truffles I make in chocolate or nuts or whatever happens to take my fancy. But I stick to the original plan in that they never look like they were made by a machine. In fact, some of them actually look like they too could have just been dug up by a highly trained pig!) Never-the-less, they still taste good.

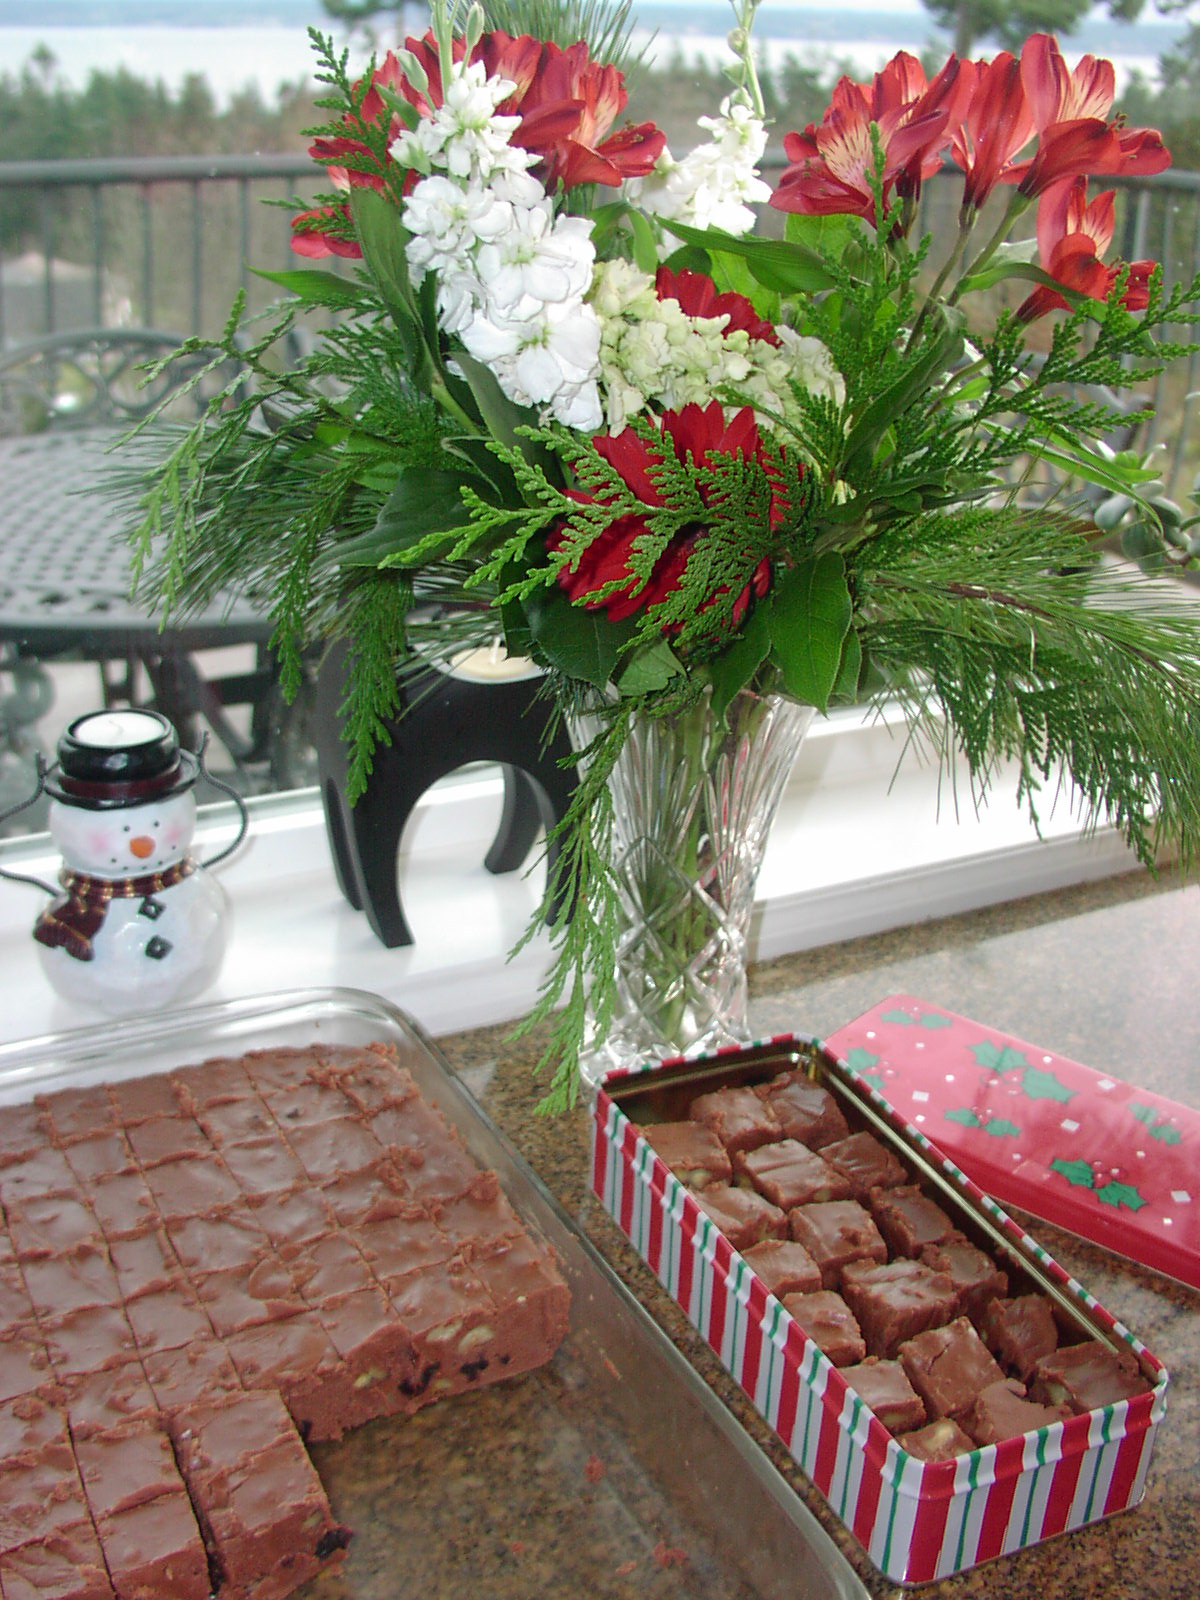
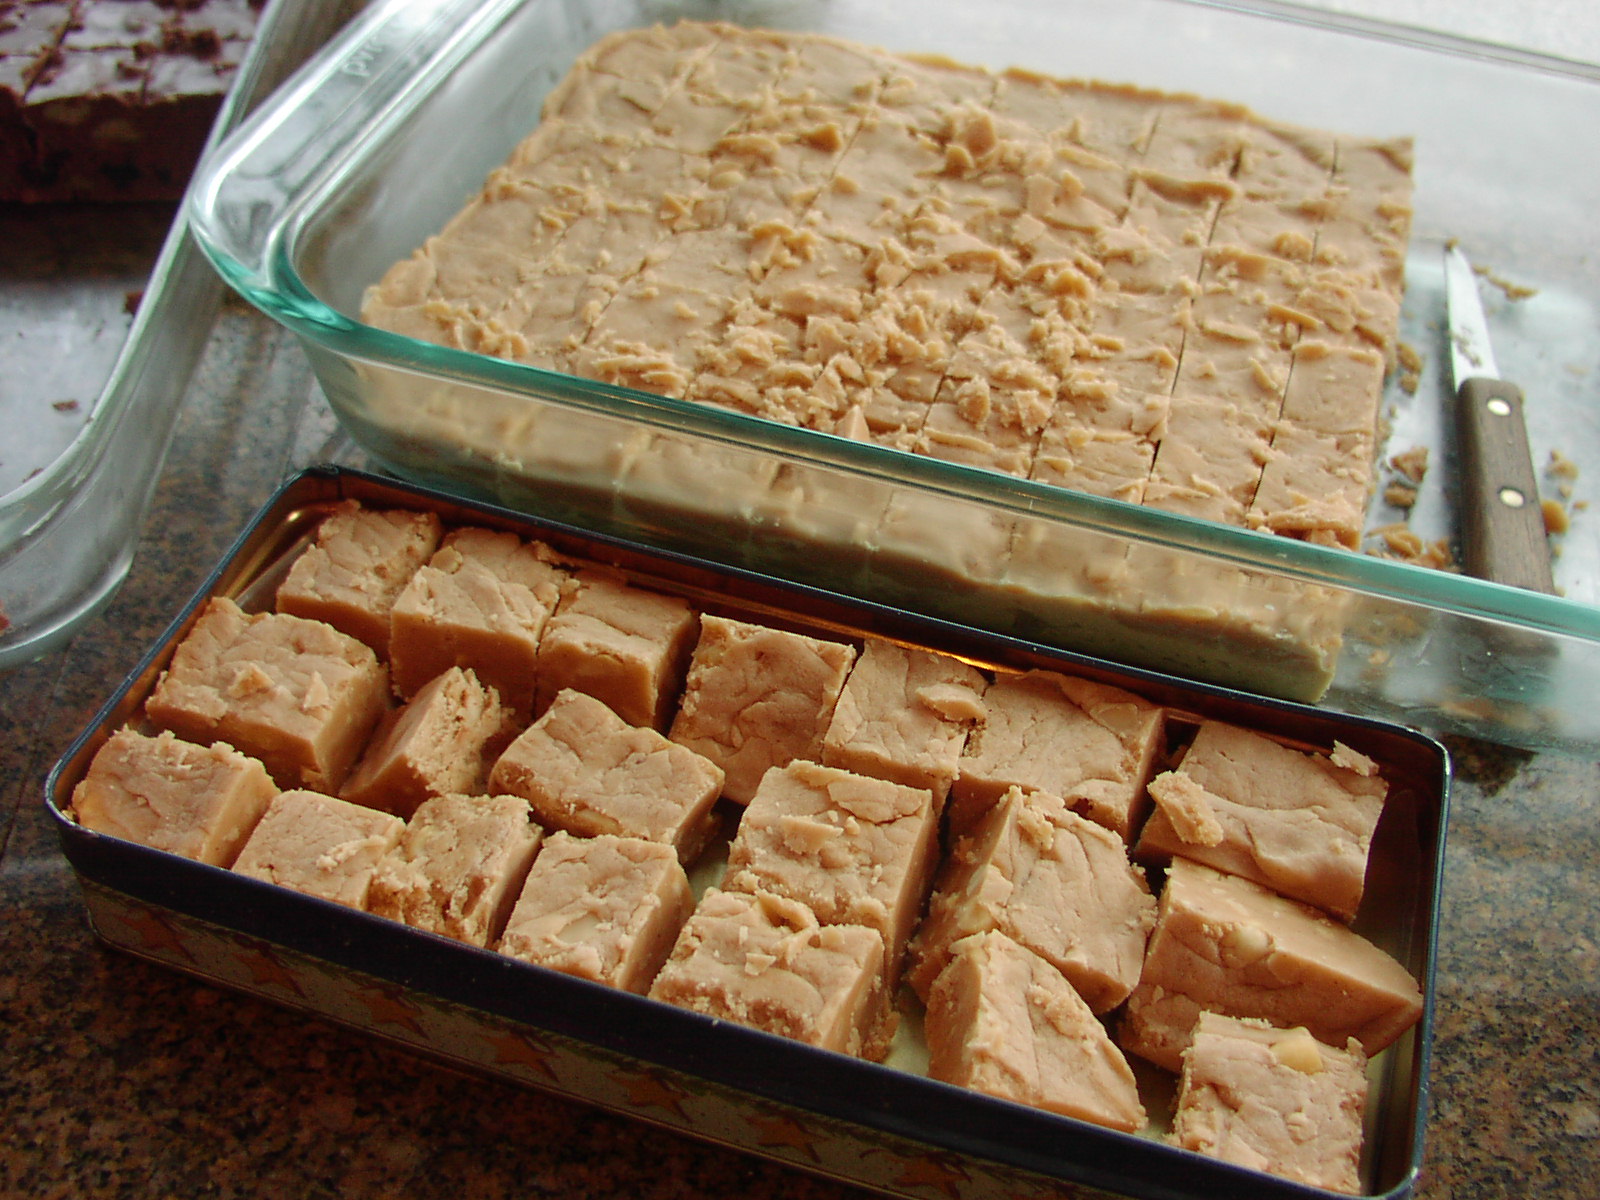
Now, I’m not going to tell you truffles are easy to build, because that would not be kind. And I pride myself on having a kind nature. But they aren’t screaming difficult either. They just take a little time and persistence. And even though your mother and father undoubtedly told you not to play with your food, I’m going to countermand that order when it comes to truffle making! Roll those babies in cocoa, powdered sugar, nuts, chocolate sprinkles or melted chocolate, or dip just a small portion of each truffle in a “little something”. Decorate them however you want. Make it fun. Because however you coat your truffles, they are going to taste delicious. And believe it or not, the more you play with ganache and truffle building, the easier it becomes. In fact, if you start now you should have the whole process down to a science by the time Christmas rolls around. And who do you know that wouldn’t love to receive a box of homemade truffles for Christmas?

So have fun with the following recipes. They are all quite delicious and just the beginning of the many flavor variations you can use to make these delightful candies. Vive la France!

CHOCOLATE HAZELNUT TRUFFLES

  • ½ lb. bittersweet chocolate, finely chopped* (I use a heavy butcher knife)
  • ½ lb. good semisweet chocolate chips
  • 1¼ c. whipping cream
  • 2 T. hazelnut liqueur (Frangelico)
  • ½ tsp. vanilla extract
  • ¾ c. ground toasted hazelnuts
  • 2 c. finely chopped toasted hazelnuts

Place chocolate in the bowl of your electric mixer. Bring cream to a heavy simmer in a saucepan. Pour over chocolate; let stand 2 minutes. Beat until smooth. Mix in liqueur and vanilla. Cool completely, stirring occasionally. Beat cooled chocolate mixture until fluffy and lighter in color, about 4 minutes. Mix in the 3/4 cup ground hazelnuts. Cover bowl and refrigerate truffle mixture until firm, about 2 hours. Line a baking sheet with parchment paper. Place chopped nuts on a small plate. Form truffle mixture into small balls (I use a very small ice cream scoop) and roll in chopped nuts. Place on prepared baking sheet. Chill until firm. Keep refrigerated in an airtight container until ready to serve. Serve at room temperature. Makes about 60 truffles.

*As with all chocolate, if you can’t get it finely chopped, rough chop it first then finish the job with a food processor. It’s not cheating, it’s called “being creative”.

CHOCOLATE ORANGE TRUFFLES

  • ½ lb. good bittersweet chocolate, finely chopped
  • ½ lb. good semisweet chocolate chips
  • 1 c. heavy cream
  • 2 T. Cointreau or Grand Marnier (orange flavored liqueur)
  • ¼ tsp. espresso powder
  • ½ tsp. real vanilla extract
  • finely grated zest of 1 orange
  • cocoa powder

Place the finely chopped chocolate in a heat-proof mixing bowl. Heat the cream in a small saucepan until it just boils. (The cream will really bubble up when it reaches a boil, so be careful.) Pour the cream into the bowl with chocolate. Using a wire whisk, slowly stir the cream and chocolates together until the chocolate is completely melted. Whisk in the Cointreau, espresso powder, vanilla, and orange zest. Set aside at room temperature for 1 hour.

With 2 teaspoons or an extra small ice cream scoop, spoon round balls of the chocolate mixture onto a baking sheet lined with parchment paper. Refrigerate for 30 minutes, until firm. Roll each mound of chocolate into a ball with your hands. Roll in cocoa powder and place in candy paper cups. Will keep refrigerated in an airtight container for weeks. Serve at room temperature. Makes about 60 truffles.

MOCHA CHOCOLATE TRUFFLES

  • ½ lb. good bittersweet chocolate, finely chopped
  • ½ lb. good semisweet chocolate chips
  • 1 c. heavy cream
  • 2 T. Kahlúa or other coffee flavored liqueur
  • ½ tsp. espresso powder
  • ½ tsp. real vanilla extract
  • 1 c. melted milk chocolate, or more as needed (Winco)
  • 60 coffee beans, more or less

Place the bittersweet and semisweet chocolate in a heat-proof mixing bowl. Heat the cream in a medium saucepan until it just boils. (The milk will really bubble up when it reaches a boil, so be careful.) Pour the cream into the bowl with chocolate. With a wire whisk, slowly stir the cream and chocolate together until the chocolate is completely melted. Whisk in the Kahlúa, espresso powder, and vanilla. Refrigerate for 1 hour or until set.

With 2 teaspoons or an extra small ice cream scoop, spoon round balls of the chocolate mixture onto a parchment paper lined baking sheet. (For whatever reason, this mixture seems to take the most time to set. Sometimes I actually have to roll a few balls from the top surface, then place the bowl back in the refrigerator and repeat the process until all of the ganache is rolled.)

Refrigerate for one hour, or until firm. Then, roll each mound of chocolate into a ball with your hands. Place back on the cookie sheet and return to the refrigerator for at least 2 hours or until good and cold. When cold, stick a toothpick into the top of each ball and using a spoon, coat the truffles with the melted milk chocolate. Place back on the parchment paper lined pan and cover the toothpick holes with a coffee bean. Return to refrigerate for yet another hour or until the outside candy shell is hard. Transfer to an airtight container and keep in the refrigerator until ready to serve. To serve, place each truffle in a candy cup (can be purchased at kitchen stores), plate, and serve at room temperature. The truffles will keep refrigerated in an airtight container for weeks. Makes about 60 truffles.

WALNUT AND TOASTED COCONUT TRUFFLES

  • 1 lb. good semisweet chocolate chips
  • 1 c. heavy cream
  • 2 T. dark rum
  • ½ tsp. real vanilla extract
  • 1 c. finely chopped walnuts
  • ½ c. toasted coconut, chopped
  • cocoa powder

Place the chocolate in a heat-proof mixing bowl. Heat the cream in a medium saucepan until it just boils. (The cream will really bubble up when it reaches a boil, so be careful.) Pour the hot cream into the bowl with the chocolate. With a wire whisk, slowly stir the cream and chocolates together until the chocolate is completely melted. Whisk in the rum and the vanilla; then stir in the walnuts and coconut. Refrigerate for about 1 hour or until set.

With 2 teaspoons or an extra small ice cream scoop, spoon round balls of the chocolate mixture onto a parchment paper lined baking sheet. Refrigerate for 30 minutes, until firm. Roll each scoop of chocolate into a ball with your hands. Roll in cocoa powder and place back on the baking sheet. Refrigerate for an hour and then store in an airtight container and keep refrigerated. Serve at room temperature. Makes about 60 truffles.

WHITE CHOCOLATE GINGERBREAD TRUFFLES

  • 1 lb. white chocolate, finely chopped (I use Ghiradelli white chocolate which I purchase in bulk at Winco)
  • ½ c. heavy whipping cream
  • ¾ tsp. ground cinnamon
  • ¼ + 1/8 tsp. ground ginger
  • ¼ tsp. ground cloves
  • 1 c. melted semi sweet chocolate chips, or more as needed

Place the white chocolate in a heat-proof mixing bowl. Heat the half cup cream in a small saucepan until it just boils. Pour the cream into the bowl with the chocolate. With a wire whisk, slowly stir the cream and chocolate together until the chocolate is completely melted. Add the spices by placing them in a fine meshed sieve (to break up any clumps in the spices) and whisk well to combine all ingredients. Refrigerate about 1 hour until the mixture is firm but pliable. With 2 teaspoons or an extra small ice cream scoop, spoon round balls of the chocolate mixture onto a parchment paper lined baking sheet. Refrigerate for one hour, or until firm. Then, roll each mound of chocolate into a ball with your hands. Place back on the cookie sheet and return to the refrigerator for at least 2 hours or until good and cold. When cold, stick a toothpick into the top of each ball and using a spoon, coat the truffles with the melted semi-sweet chocolate. Place back on the parchment paper lined pan and smooth over the toothpick holes. Return to the refrigerator for yet another hour or until the outside candy shell is hard. Transfer to an airtight container and keep in the refrigerator until ready to serve. To serve, place each truffle in a candy cup (can be purchased at kitchen stores), plate, and serve at room temperature. The truffles will keep refrigerated in an airtight container for weeks. Makes about 60 truffles.


FUDGE WITH BRANDIED CHERRIES AND WALNUTS

OLYMPUS DIGITAL CAMERA

A few years ago I decided to add a new dimension of flavor to my favorite fudge and came up with this recipe. I have been making it ever since. It still has the lovely creamy texture that is so desirable in a truly wonderful fudge. But now there is also a bit of chewiness from the dried cherries and a lovely crunch from the walnuts. All together a very satisfying piece of candy.

So next time you want a quick and easy candy to serve for a special occasion (think Christmas) or want to create a beautiful and delicious culinary gift for a loved one, make a batch of this fudge. Just don’t be surprised when your husband or wife questions you about purchasing a whole bottle of cherry liqueur for a recipe that only requires 2 measly tablespoons. Just say what I say to Mr. C. when he looks at me with that “are you out of your mind” look. I tell him in my most sincere way that I consider him worth any price. And that I intend to continue making him (whatever it happens to be) every year because I know how much he enjoys (whatever it is). Then I hand him a piece of (whatever it is). Works every time!


  • 2 T. cherry brandy or cherry flavored liqueur (like kirshwasser)
  • ¾ c. whole dried cherries
  • 3 c. sugar
  • ¾ c. (1 ½ sticks) butter
  • 1 small can (5-oz.) evaporated milk (2/3 cup)
  • 1 ½ c. chocolate chips
  • 1 7-oz. jar marshmallow crème
  • 1 c. chopped walnuts
  • 1 tsp. vanilla

Place cherry liqueur and cherries in a small heavy pan. Bring just to a boil and take off the heat. Set aside while you prepare the fudge. Heat sugar, butter, and evaporated milk to a full rolling boil in a heavy saucepan on medium heat, stirring constantly. Boil on medium heat until candy thermometer reaches 234 degrees, stirring constantly to prevent scorching; about 4 minutes. Remove from heat and stir in chocolate chips and marshmallow crème until melted. Add reserved brandied cherries, walnuts, and the vanilla. Spread immediately into a lightly buttered 9×9-inch pan. Cool at room temperature for about 4 hours. Cut into small squares and store in an airtight container in the refrigerator.


PEANUT BUTTER FUDGE

OLYMPUS DIGITAL CAMERA

OK, I know. The holidays are over and it’s time to honor all those New Year’s resolutions about cutting down on sugar, losing weight, working out more, ad nauseum. But I still have some amazing holiday recipes to share with you. And if I don’t get the sweet recipes on to my blog and out of my head, I am going to break my number one resolution for this year. And that is to stop eating sugar in the form of cookies, cake, candy, you know, the food that makes life worth living. I already gave up wine (I do still have a glass once in awhile) and beer (almost never) because of the sugars. (A good start!)

So, never having had a sweet tooth, I thought it would be easy to give up sweets altogether. Well, I’m finding it’s not as easy as I supposed it would be. Because I can’t treat myself with any of the leftover Christmas cookies and candy, they seem to be conspiring against me. I hear them calling my name both day and night. (Before I started my “stay off sugar and see what happens” gig, they could shout at me from their beautiful Christmas tins and I could ignore them. I knew I could always have one if I wished.) But now, because I can’t partake, they are calling louder than ever. (It’s as if they know I can’t eat sugar and they are terribly upset by my decision!) I’ve tried telling them it’s nothing personal. After all, aren’t I the one that brought them into this world in the first place? Shouldn’t they cut me some slack for that very fact alone? But somehow, they appear to feel that I have rejected them. And in their defense, it’s true. But gee whiz, don’t they realize I’m just trying to feel better and live longer?

My solution is to share a few of my favorite candy recipes with you. Perhaps if my leftover sweets (that are happily being reduced daily by my dear husband) know I am sharing my recipe for them with the world they will stop feeling so abused. Wish me luck on that one!

  • 1 c. butter
  • 1 lg. can (1 2/3 c.) evaporated milk
  • 4 c. sugar
  • 1 pt. (7-oz.) marshmallow crème
  • 1 c. crunchy peanut butter

Combine butter, evaporated milk, and sugar in a heavy medium sized saucepan. Bring mixture to 240 degrees stirring continuously over medium heat. Remove from heat and stir in marshmallow crème and peanut butter. Pour into a lightly buttered 9×13-inch pan. Refrigerate for a few minutes, then cut into 1-inch squares. Store in the refrigerator.

POPCORN BRITTLE

When I start to think about food for a trailer trip, the first thing my mind naturally gravitates to is snack food. I’m not quite sure why that is, but it always happens. Maybe it’s a throw back to when I was planning camping vacations or trips to our cabin with the kids. The children seemed to get along better when there was a little “something” they could eat to prevent what they claimed was eminent starvation! But regardless of the reason, the first food items that always top the list are the munchables. And popcorn brittle is one of the little nibbles I like to bring along on our trips. It is absolutely fabulous eaten late at night around a camp fire. It’s sweet and salty and perfect for a late night munch. Of course popcorn brittle will never take the place of s’mores*, especially the way Mr. C. and I make them, but it is still right there at the top of the list.

We also bring snacks for our evening celebration of the sun safely going over the yardarm (wherever we are the sun always goes over the yardarm at 5:00pm). So to enhance our daily ritual, I always pack flavored nuts, lovely cheeses, spreads and dips for crackers and chips, and assorted veggies.  All of these items store well in either the refrigerator or the storage bins and help make our little celebratory “yardarm” tradition that much more enjoyable. (For those of you unfamiliar with the term “sun over the yardarm”, according to a post on Harbour Guides.com “The expression is believed to have originated in the north Atlantic where the sun would rise above the upper mast spars (yards) of square sailed ships around 11am. This coincided with the forenoon ‘stand easy’ when officers would go below and enjoy their first rum tot of the day. Eventually the phrase was adopted universally as meaning it is a suitable time to have an alcoholic beverage.”)

Now, before I get any comments asking whether we ever eat anything resembling “real” food on our trips; rest assured. We eat 3 squares a day that are pretty much just like what we would eat at home. We have salad every night, but instead of me cleaning all the veggies and making my own salad dressing, we usually just buy one of the “salads in a bag”. They are actually quite good and for ease of preparation, they can’t be beat. And wonder of wonder, they are available at even the most remote of locations. (Often times, salads in a bag are the only choice available if we want “fresh” vegetables! Sad, but true!) So along with our salad of the day, we share a piece of meat and another veggie or a pasta dish or chili. All the normal foods that make for happy campers (so to speak)!

So next time you head out on an adventure and want to take along a little something to keep both your energy and your families spirits in the happy zone, build a batch of this brittle. But be advised: if you have children, they are going to dive into this brittle faster than a marmot can dive underground when there is a fox in the area!

  • 1 ½ c. sugar
  • ½ c. light corn syrup
  • ½ c. water
  • 1 T. butter
  • 1 ½ tsp. baking soda
  • 1/2 tsp. vanilla
  • 10 cups plain popped corn (no added salt or butter)
  • 1-2 c. cashews or peanuts, opt.

Line a baking sheet with foil; coat foil with cooking spray. Set aside. Mix sugar, corn syrup, and water in a medium large heavy sauce pan. Bring to a boil stirring constantly. (I think a wooden spoon is the best implement for the task. It doesn’t conduct heat and candy gets very, very hot.) Cover pan, reduce heat slightly, and continue cooking for 3 minutes. (Don’t lift the lid during this time.) Remove lid and while stirring constantly, continue cooking for another 2-4 minutes or until candy turns a light golden brown. Remove from heat and carefully add butter, soda, and vanilla. (Candy will foam when you add the butter, soda, and vanilla.) Quickly stir in the popped corn and nuts. Spread on the prepared pan with the back of a wooden spoon coated with cooking spray. Allow to cool completely before breaking into serving size pieces. Store in an airtight container. (This is a variation of a recipe I found in Cooking Light.)

General rule: Don’t make candy when it’s raining. Candy “sets up” best when the humidity is low. So wait for a dry day so your brittle will be crisp, not chewy.  And no, I don’t have any idea why humidity should make a difference. It just does!

*Bonus recipe for the ultimate adult s’more experience: squares of a Cadbury Dairy Milk Chocolate with Caramel bar and perfectly roasted, gooey centered, golden brown marshmallows sandwiched between really good graham crackers (none of this store brand substitute). Serve immediately with a side of your favorite bourbon. (Chocolate and bourbon were simply meant for each other!)