OK, Christmas is over, New Year’s Eve has come and gone, and all that’s left to do is undecorate the house, finish eating the Christmas goodies, and prepare for the long, cold, dreary days of winter. Sounds depressing, right? But it need not be. Because this is also the season of soup and bread. And of course, I mean homemade soup and homemade bread. And as much as I enjoy the lovely long and warm days of summer, I really think I prefer the stormy and rainy days of winter. It’s the coziness I love. Fireplace on go, no watering the yard responsibilities, and more of my favorite dishes, all in the “comfort food” category. So, for me, there is nothing like a hot bowl of soup and a slice of homemade bread to put me in my comfort zone. And I especially love a bread that is hearty and full of flavor. And this bread should be the poster child for the perfect bread to go with a big old steaming bowl of soup, or chowder, or chili.
And the best part, this is a very easy bread to prepare. In fact, most breads are easy to prepare if you get right down to it. They require time, but most of the time is taken up in allowing the little yeasty beasties to gobble up the sugars in the flour, which in turn releases the carbon dioxide that makes the dough rise. But the actual assembly time is only a matter of minutes.
And I know, you are probably tired of me expounding on the virtues of homemade bread. I do it only because I find homemade bread to be one of life’s simple pleasures. It’s not expensive to make, and if eaten in moderation, even someone with type 2 diabetes can enjoy the right kind of bread. The American Diabetes Association (ADA) puts it this way: “Starchy foods can be part of a healthy meal plan, but portion size is key. Breads, cereals, pasta, rice (whole-grain options are better), and starchy vegetables like potatoes, yams, peas, and corn can be included in your meals and snacks.”
And I know, for those of you who still work for a living, bread baking may only be accomplished on your days off. I get that. So, bake bread on your day off. Then work the rising and baking around the housework, laundry, grocery shopping, yard work, etc. etc. that also requires attention on your day(s) off. (Never forget, I’ve been there too.) But what a treat it will be for your family to sit down to dinner (oh yes, there’s dinner also to be made on your day(s) off) with homemade bread to fill all those hollow places in your kid’s legs.
Anyway, I know I am obsessed with bread baking. But I’d rather have a mania for bread baking than, say, gambling or watching Fox News. So, if you too love a great slice of bread, give this recipe a try.
As always, have fun in your kitchen. Keep trying new recipes. And always endeavor to eat healthy and if possible, locally sourced ingredients. And use your herbs and spices with shear abandon. Spicing dishes up a bit is rarely a bad thing.
Peace and love to all.
1 c. room temperature sourdough starter discard
1½ c. lukewarm water
1 pkg. or 1 scant T. active dry yeast
1 T. granulated sugar
2½ tsp. kosher salt
2 c. bread flour
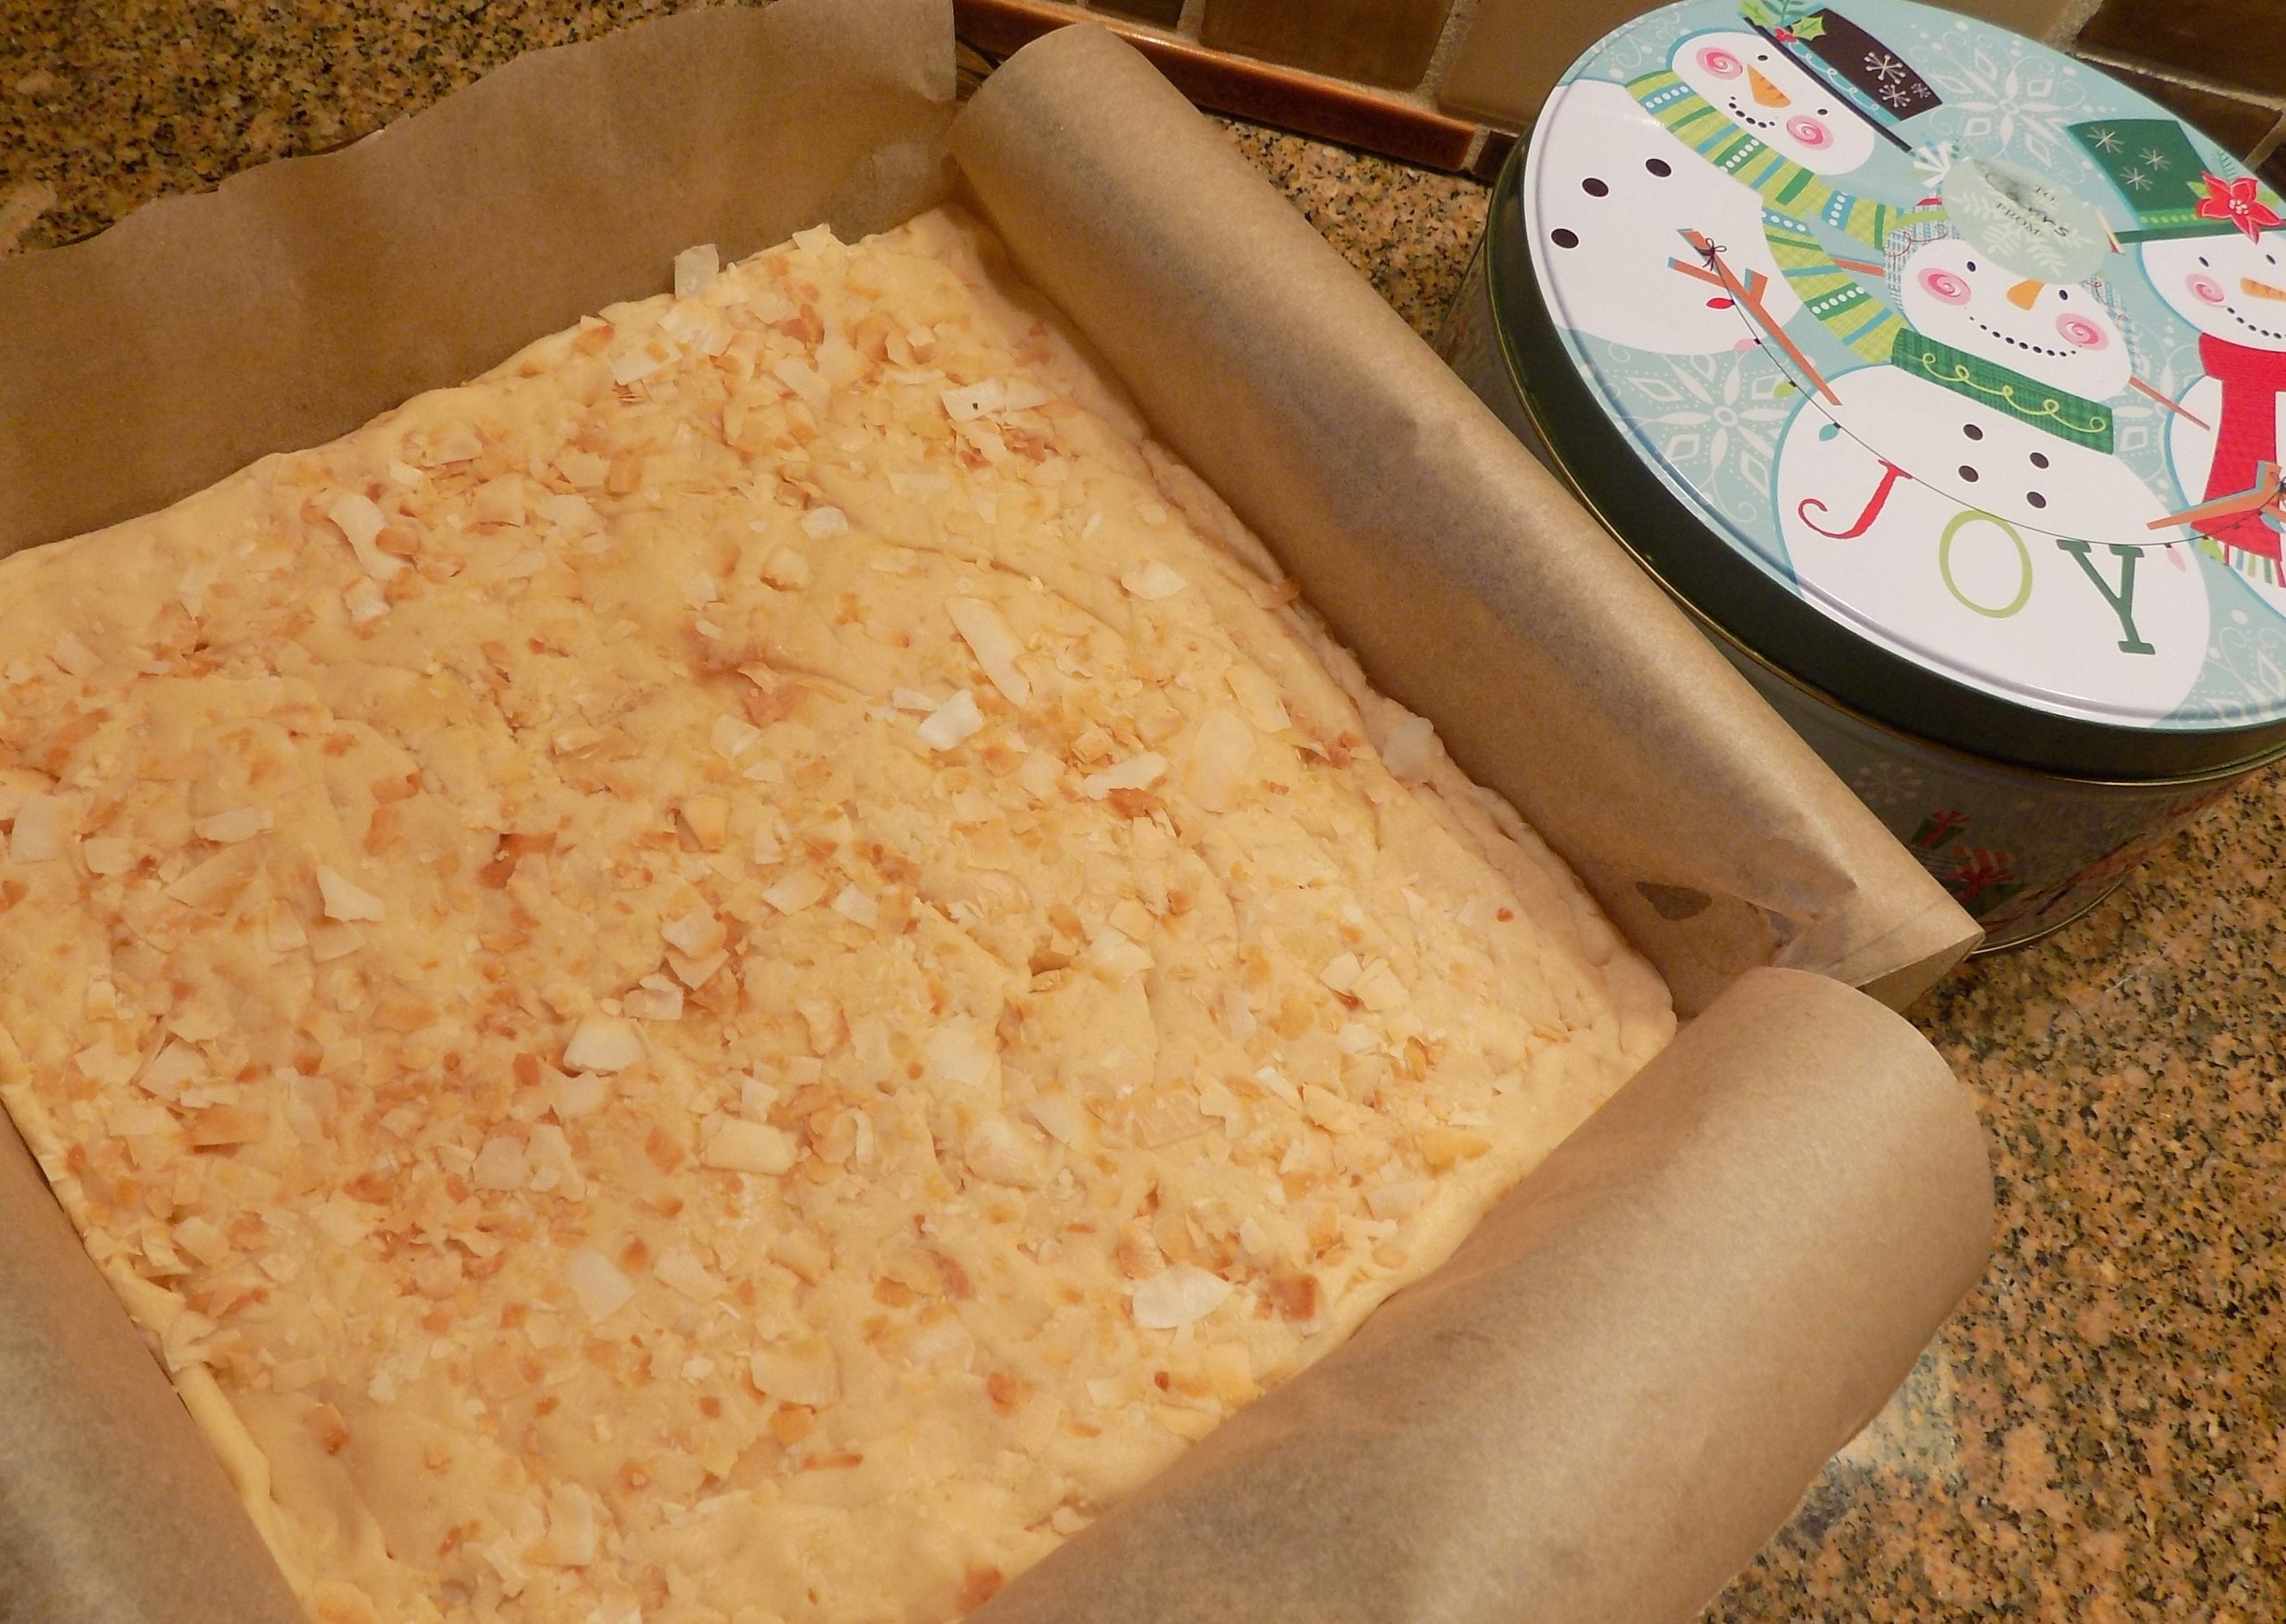
1¾ c. whole wheat flour, plus more as needed
olive oil
Combine the room temperature sourdough starter, water, yeast, and sugar; let sit for 5 minutes. Add the salt, bread flour, and about 1½ cups of the whole wheat flour in the bowl of your stand mixer fitted with the dough hook.
Knead on slow speed until a smooth dough forms, about 4-6 minutes. Add additional bread flour as required. (If you are used to bread dough that forms a nice clean ball around the dough hook, pull back a little on the amount of flour you usually use. This dough is a bit different. It is perfect when you touch it with your finger and it’s not sticky, while some of the dough is still clinging to the bottom of the mixing bowl.)
Pour a bit of olive oil over the dough and using your hands and a stiff spatula, form a ball completely coated in the oil. Cover the bowl loosely with plastic wrap, and allow to double in size, about 60 minutes. (Could need up to 30 minutes more.)
Punch down the dough. Form into a boule, then place the dough ball, smooth side up on a piece of parchment paper long enough to allow you to lower the dough into a Dutch oven or cloche (clay baker). Cover the dough with greased plastic wrap and let rest for 60 minutes. (It should just about double as it rises.) Near the end of the rising time, place your Dutch oven or clay baker (cloche), lid and all, in your oven and pre-heat to 425-degrees.
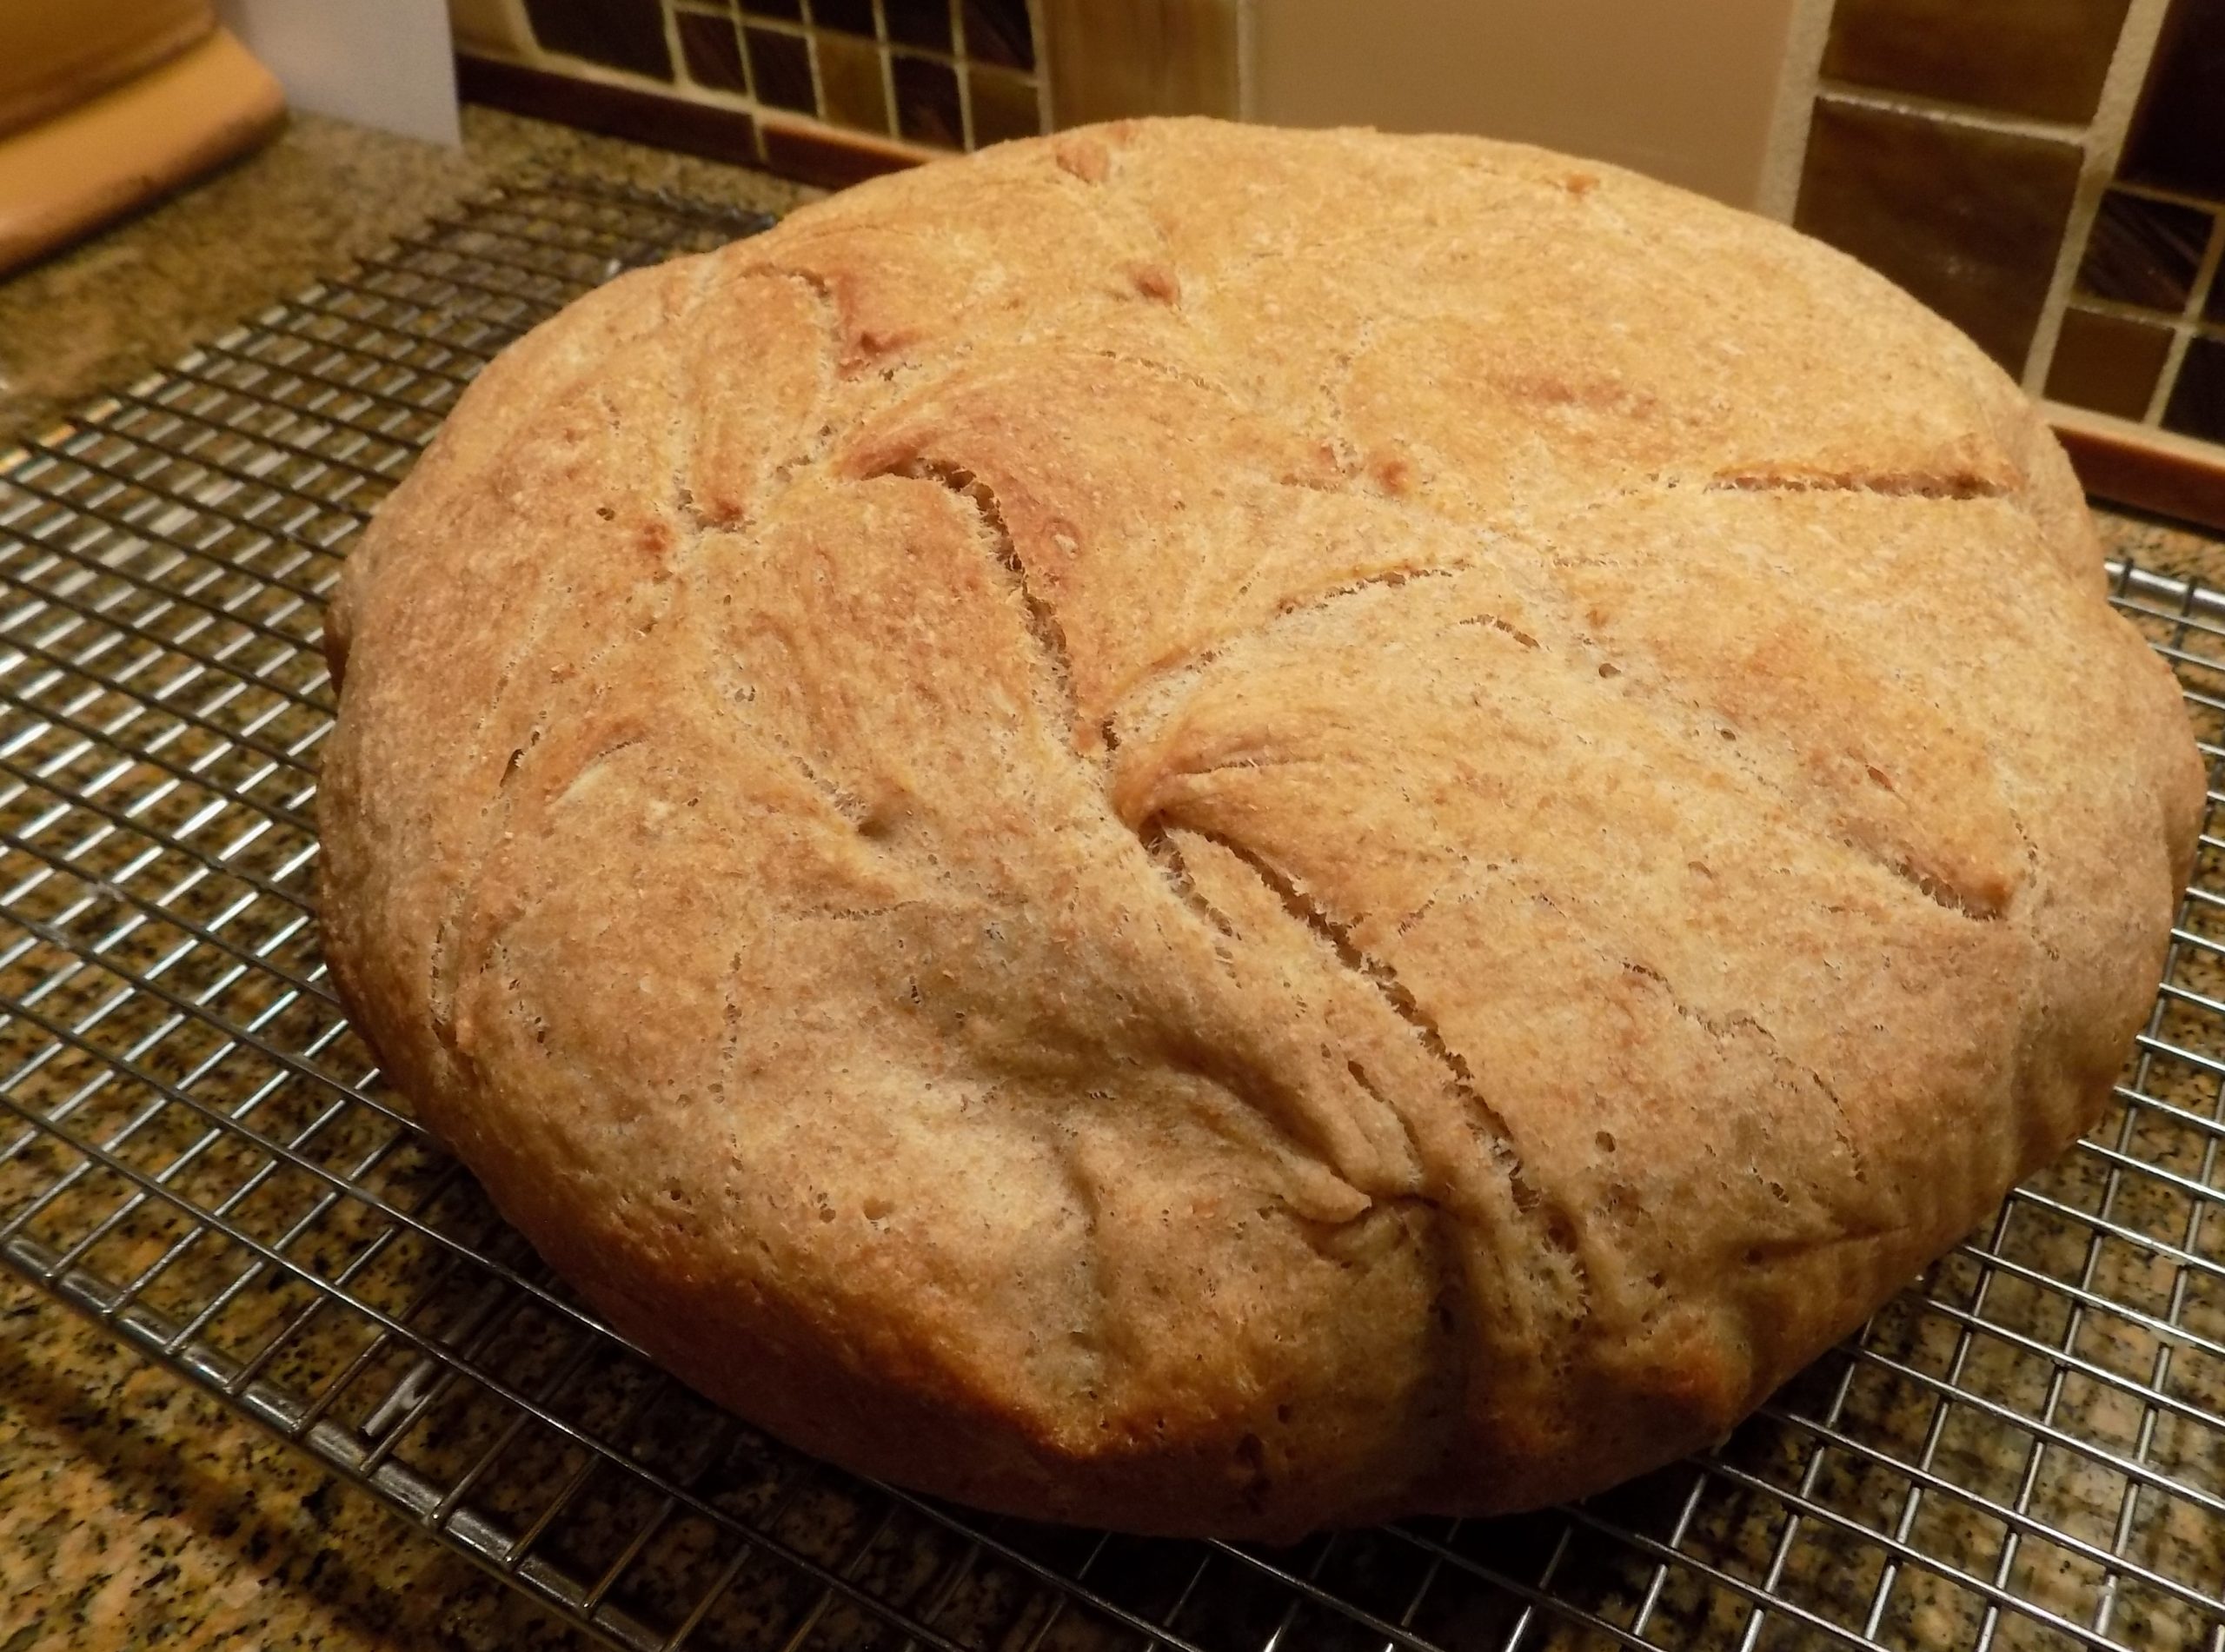
When the dough has risen sufficiently, carefully remove the Dutch oven or clay baker from the hot oven. Immediately use a sharp knife or lame blade to score an X about ¼-inch deep into the surface of the bread dough. This allows the bread to expand without tearing as it bakes. (Don’t press down too hard. You don’t want to deflate the dough ball.)
Carefully remove the lid of the Dutch oven or cloche and place the parchment paper and loaf in the bottom of your Dutch oven or on the bottom portion of your cloche. Then cover and place in the pre-heated 425-degree oven for 30 minutes. Remove the lid and continue baking for an additional 10-13 minutes or until the crust is nicely browned and the loaf sounds hollow when tapped. (Your instant read thermometer should read between 200 to 205-degrees.)
Remove from oven and carefully transfer to a cooling rack. Cool completely before slicing.