OK, I know. Most lentil soups are vegetarian. But I felt compelled to make certain, right from the onset, that you knew that this soup contained no meat or meat products. Mainly because most of the main dish recipes I post contain meat as the primary protein. But not this recipe. Lentils are the protein star of this show. And in fact, according bbcgoodfood.com “Lentils are a rich source of protein making them a great alternative to meat or fish. As much as a third of the calories from lentils comes from protein, which makes lentils the third highest in protein, by weight, of any legume or nut”.
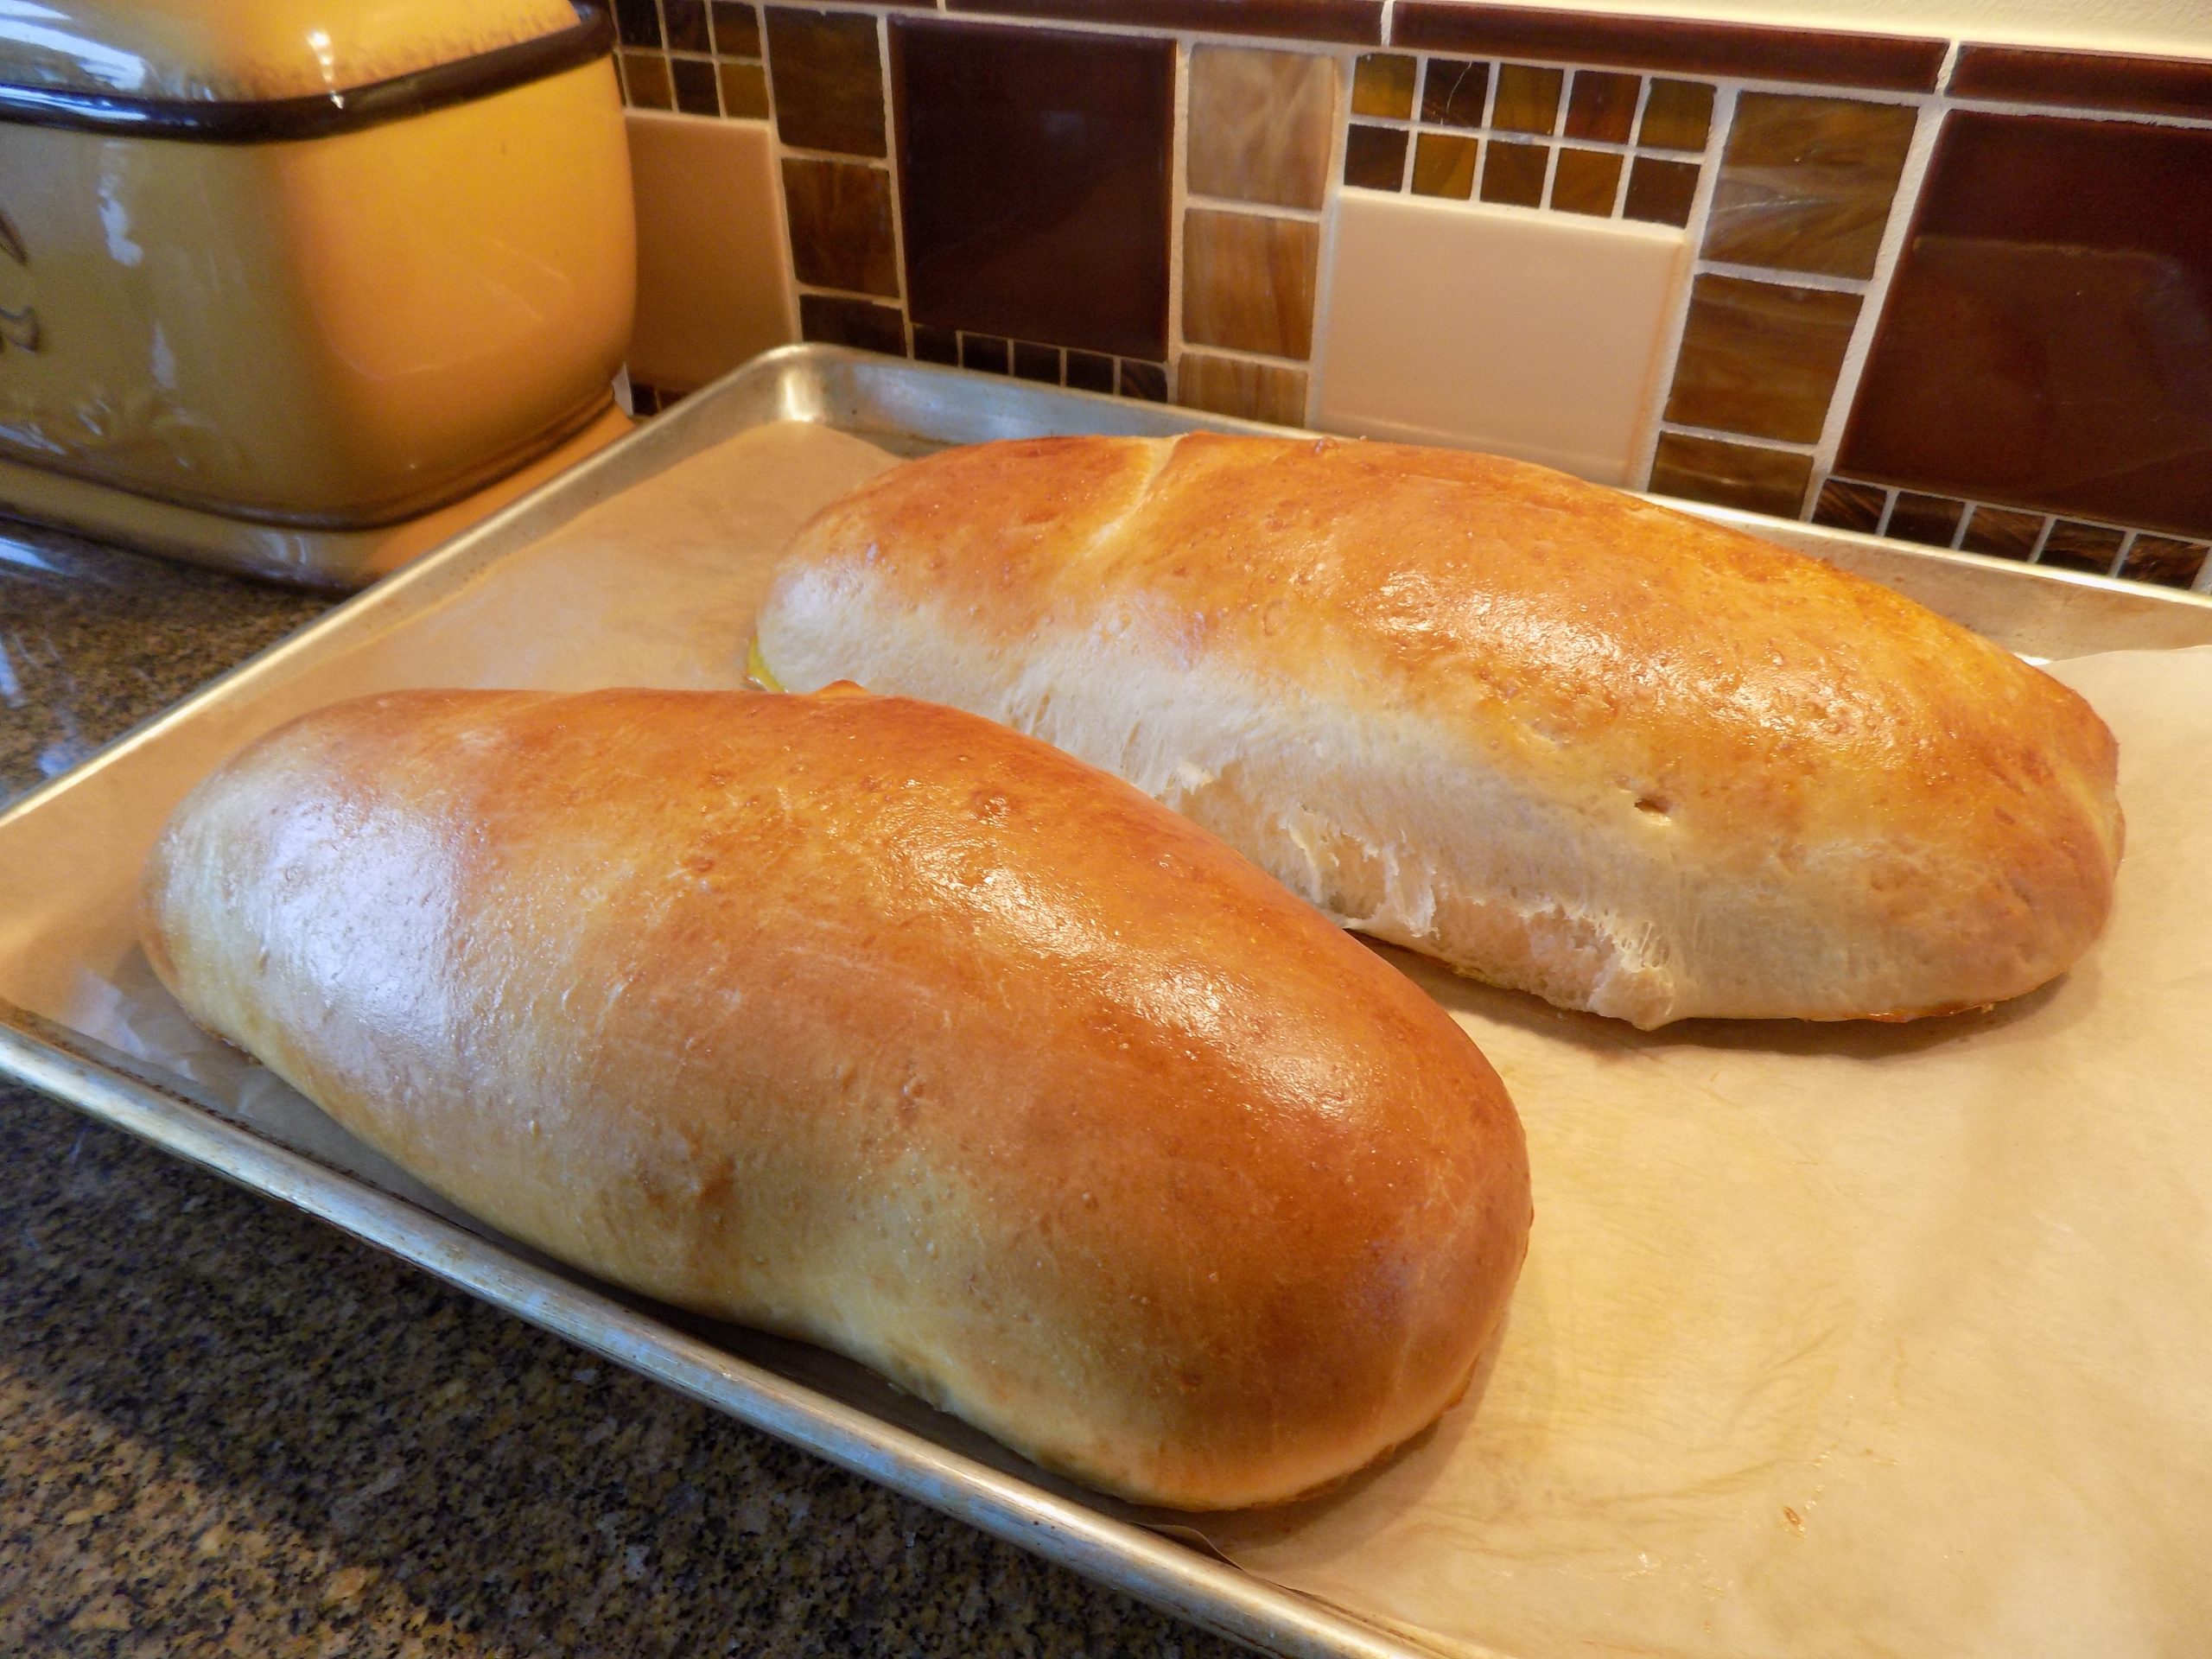
In addition to the lentils being super good for us, all the veggie action happening in this soup makes it a very healthy, high fiber choice to serve for lunch or dinner. Plus, it tastes really, really good. Of course, I can never leave well enough alone. I had to bake some cornbread to go with the soup. But the cornbread – Classic Buttermilk Cornbread (recipe to be posted in the near future) contains no added sugar. So, at least I get points for serving my new recipe for cornbread in place of some of our other favorites containing sugar. (Mr. C. and I both loved the cornbread. Plus, it was darned easy to build. As was the soup BTW.)
So, if you too love a great bowl of lentil soup, give my version of a recipe I found on the cookieandkate.com site a try. (Great site BTW.) And, trust me, you will not miss meat in the least when you savor the wonderful flavor and heartiness of this soup. And as far as serving this healthy soup with cornbread, well, life is short my friends. And good food is one of life’s greatest pleasures. So, if I stick to the old aphorism “all things in moderation”, serving a modest sized piece of cornbread along with the soup is well within reason! (My story, and I’m sticking to it!)
Peace and love to all.
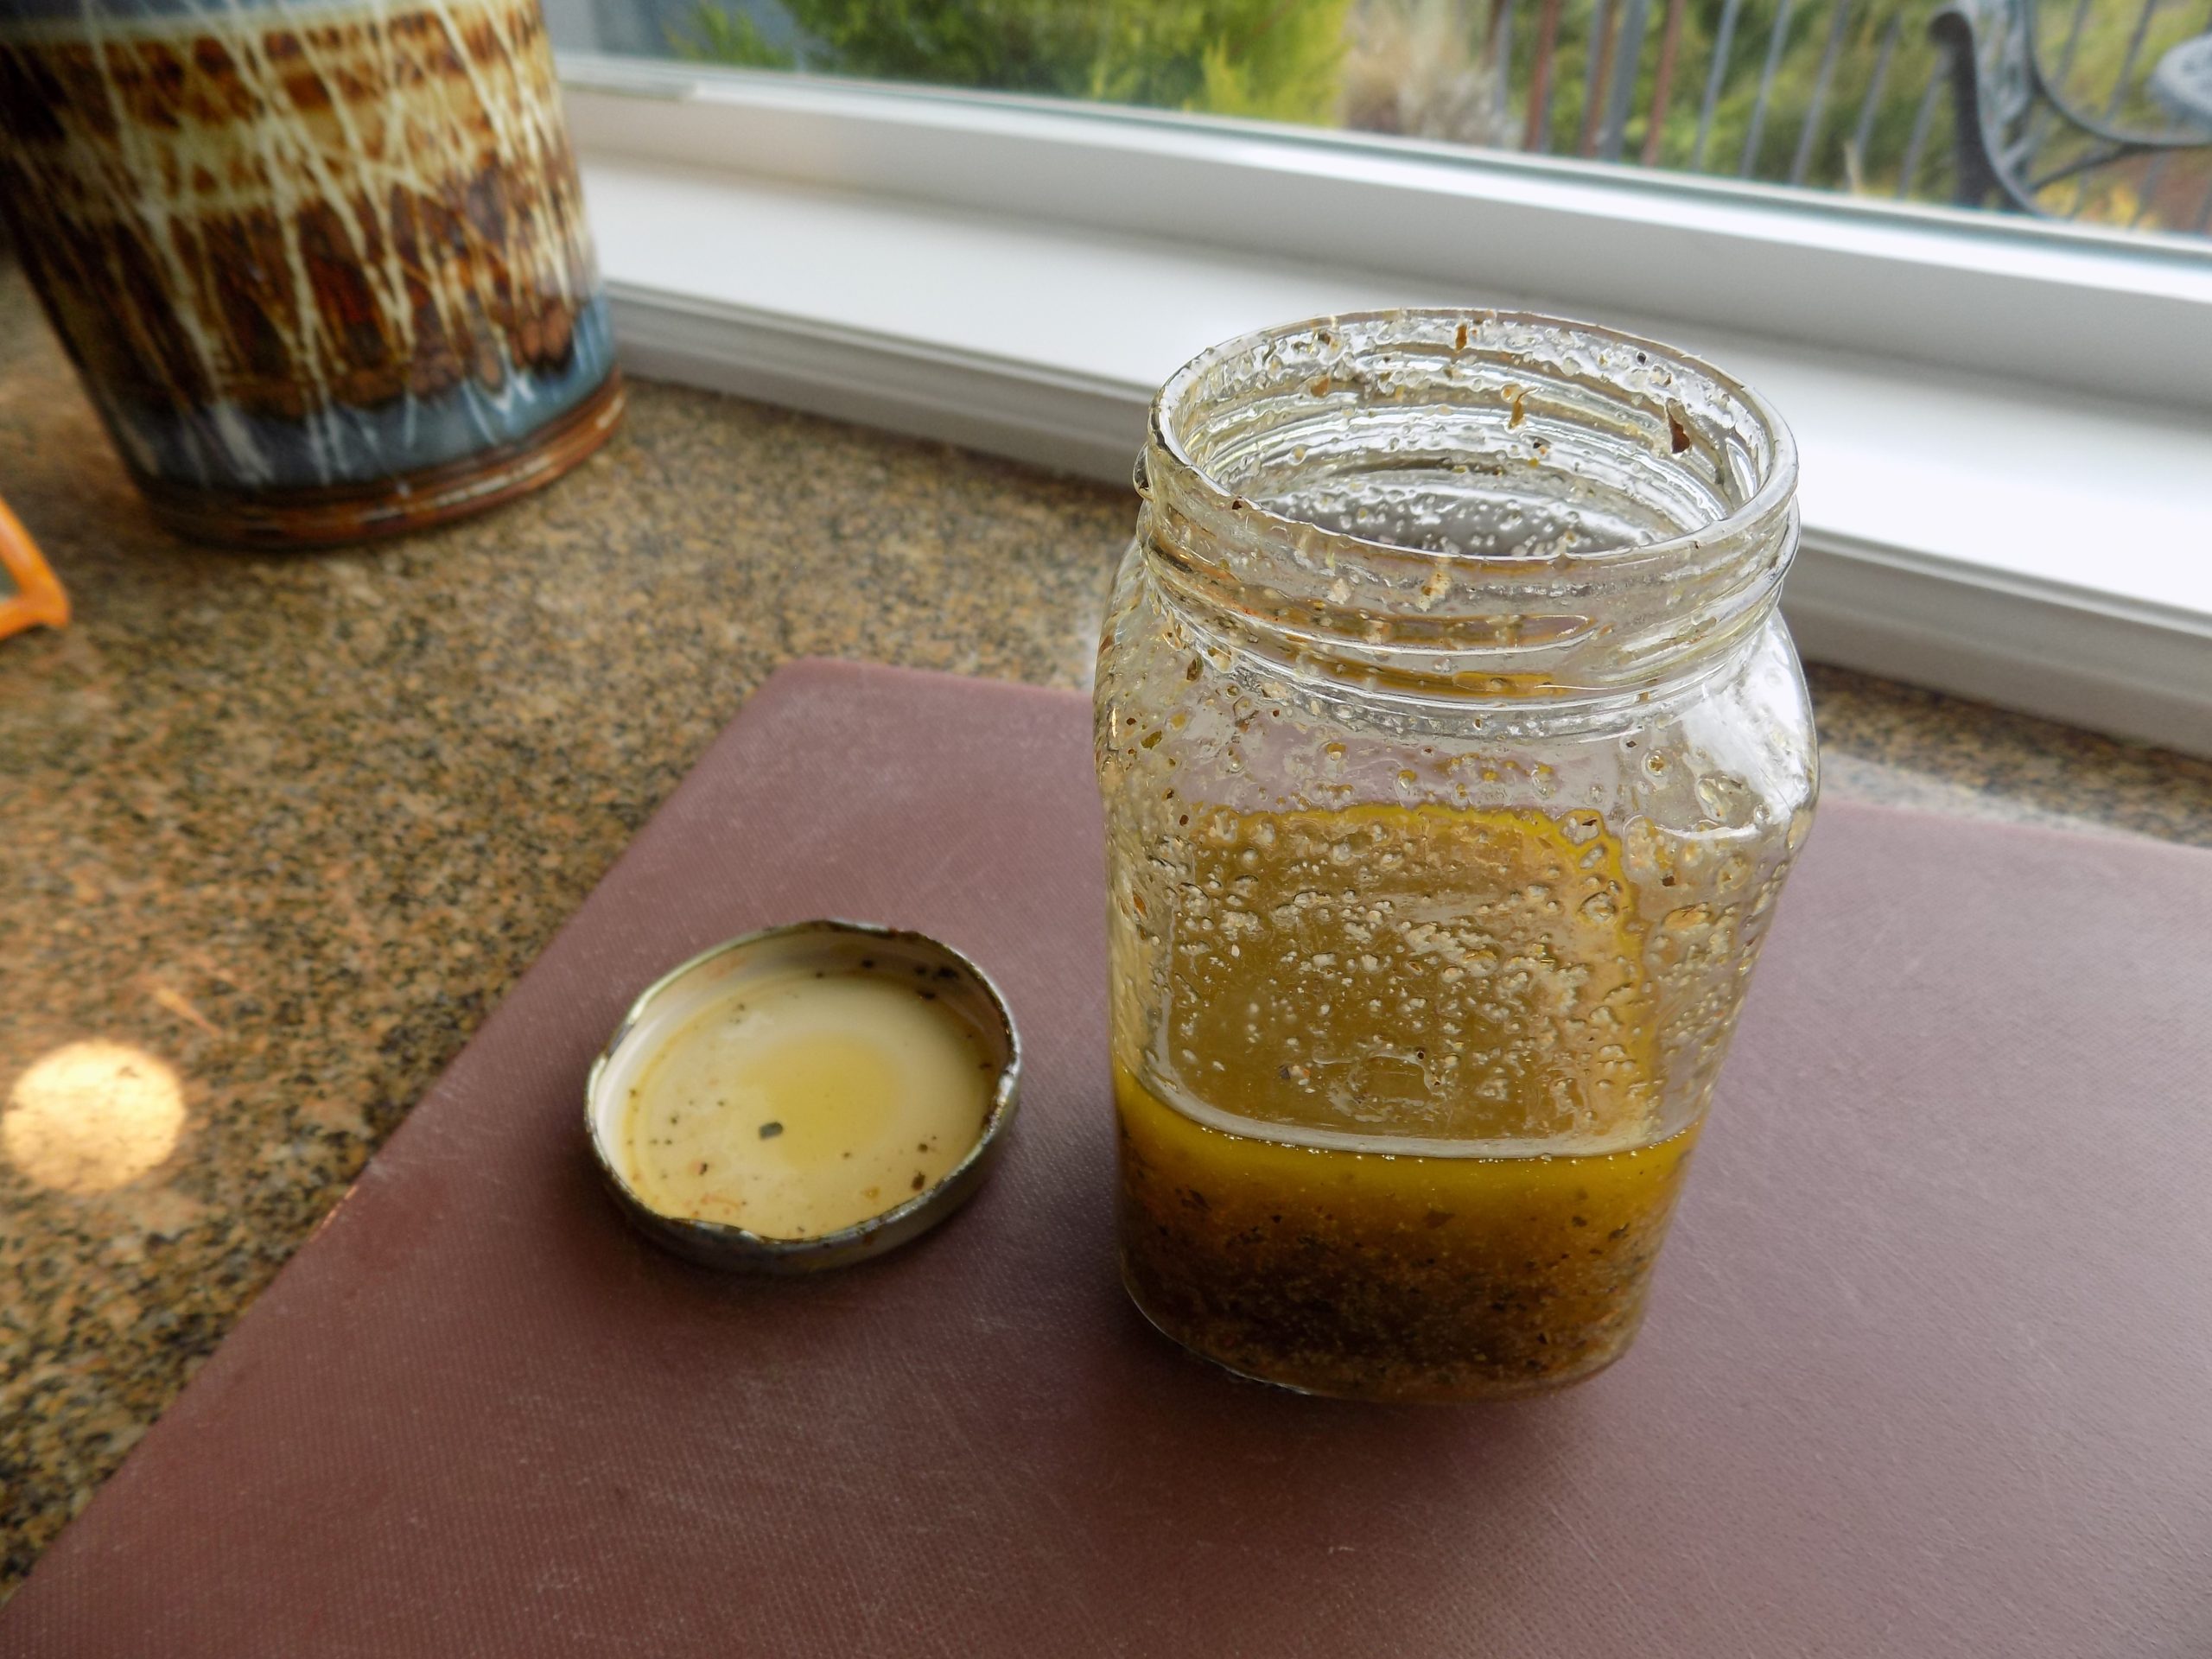
¼ c. extra virgin olive oil
1 med. onion, chopped
2 carrots, diced
2 stalks celery, diced
4 garlic cloves, finely minced
2 tsp. ground cumin
2 tsp. curry powder
½ tsp. dried thyme
1 tsp. seasoned salt
pinch crushed red pepper flakes
freshly ground black pepper
1 (14-oz.) can tomatoes (Italian preferably)
6 c. water
2 T. vegetable base (I use Better Than Bouillon Vegetable Base)
1 c. brown or green lentils, rinsed and picked over
2 c. chopped fresh spinach, collard greens, or kale
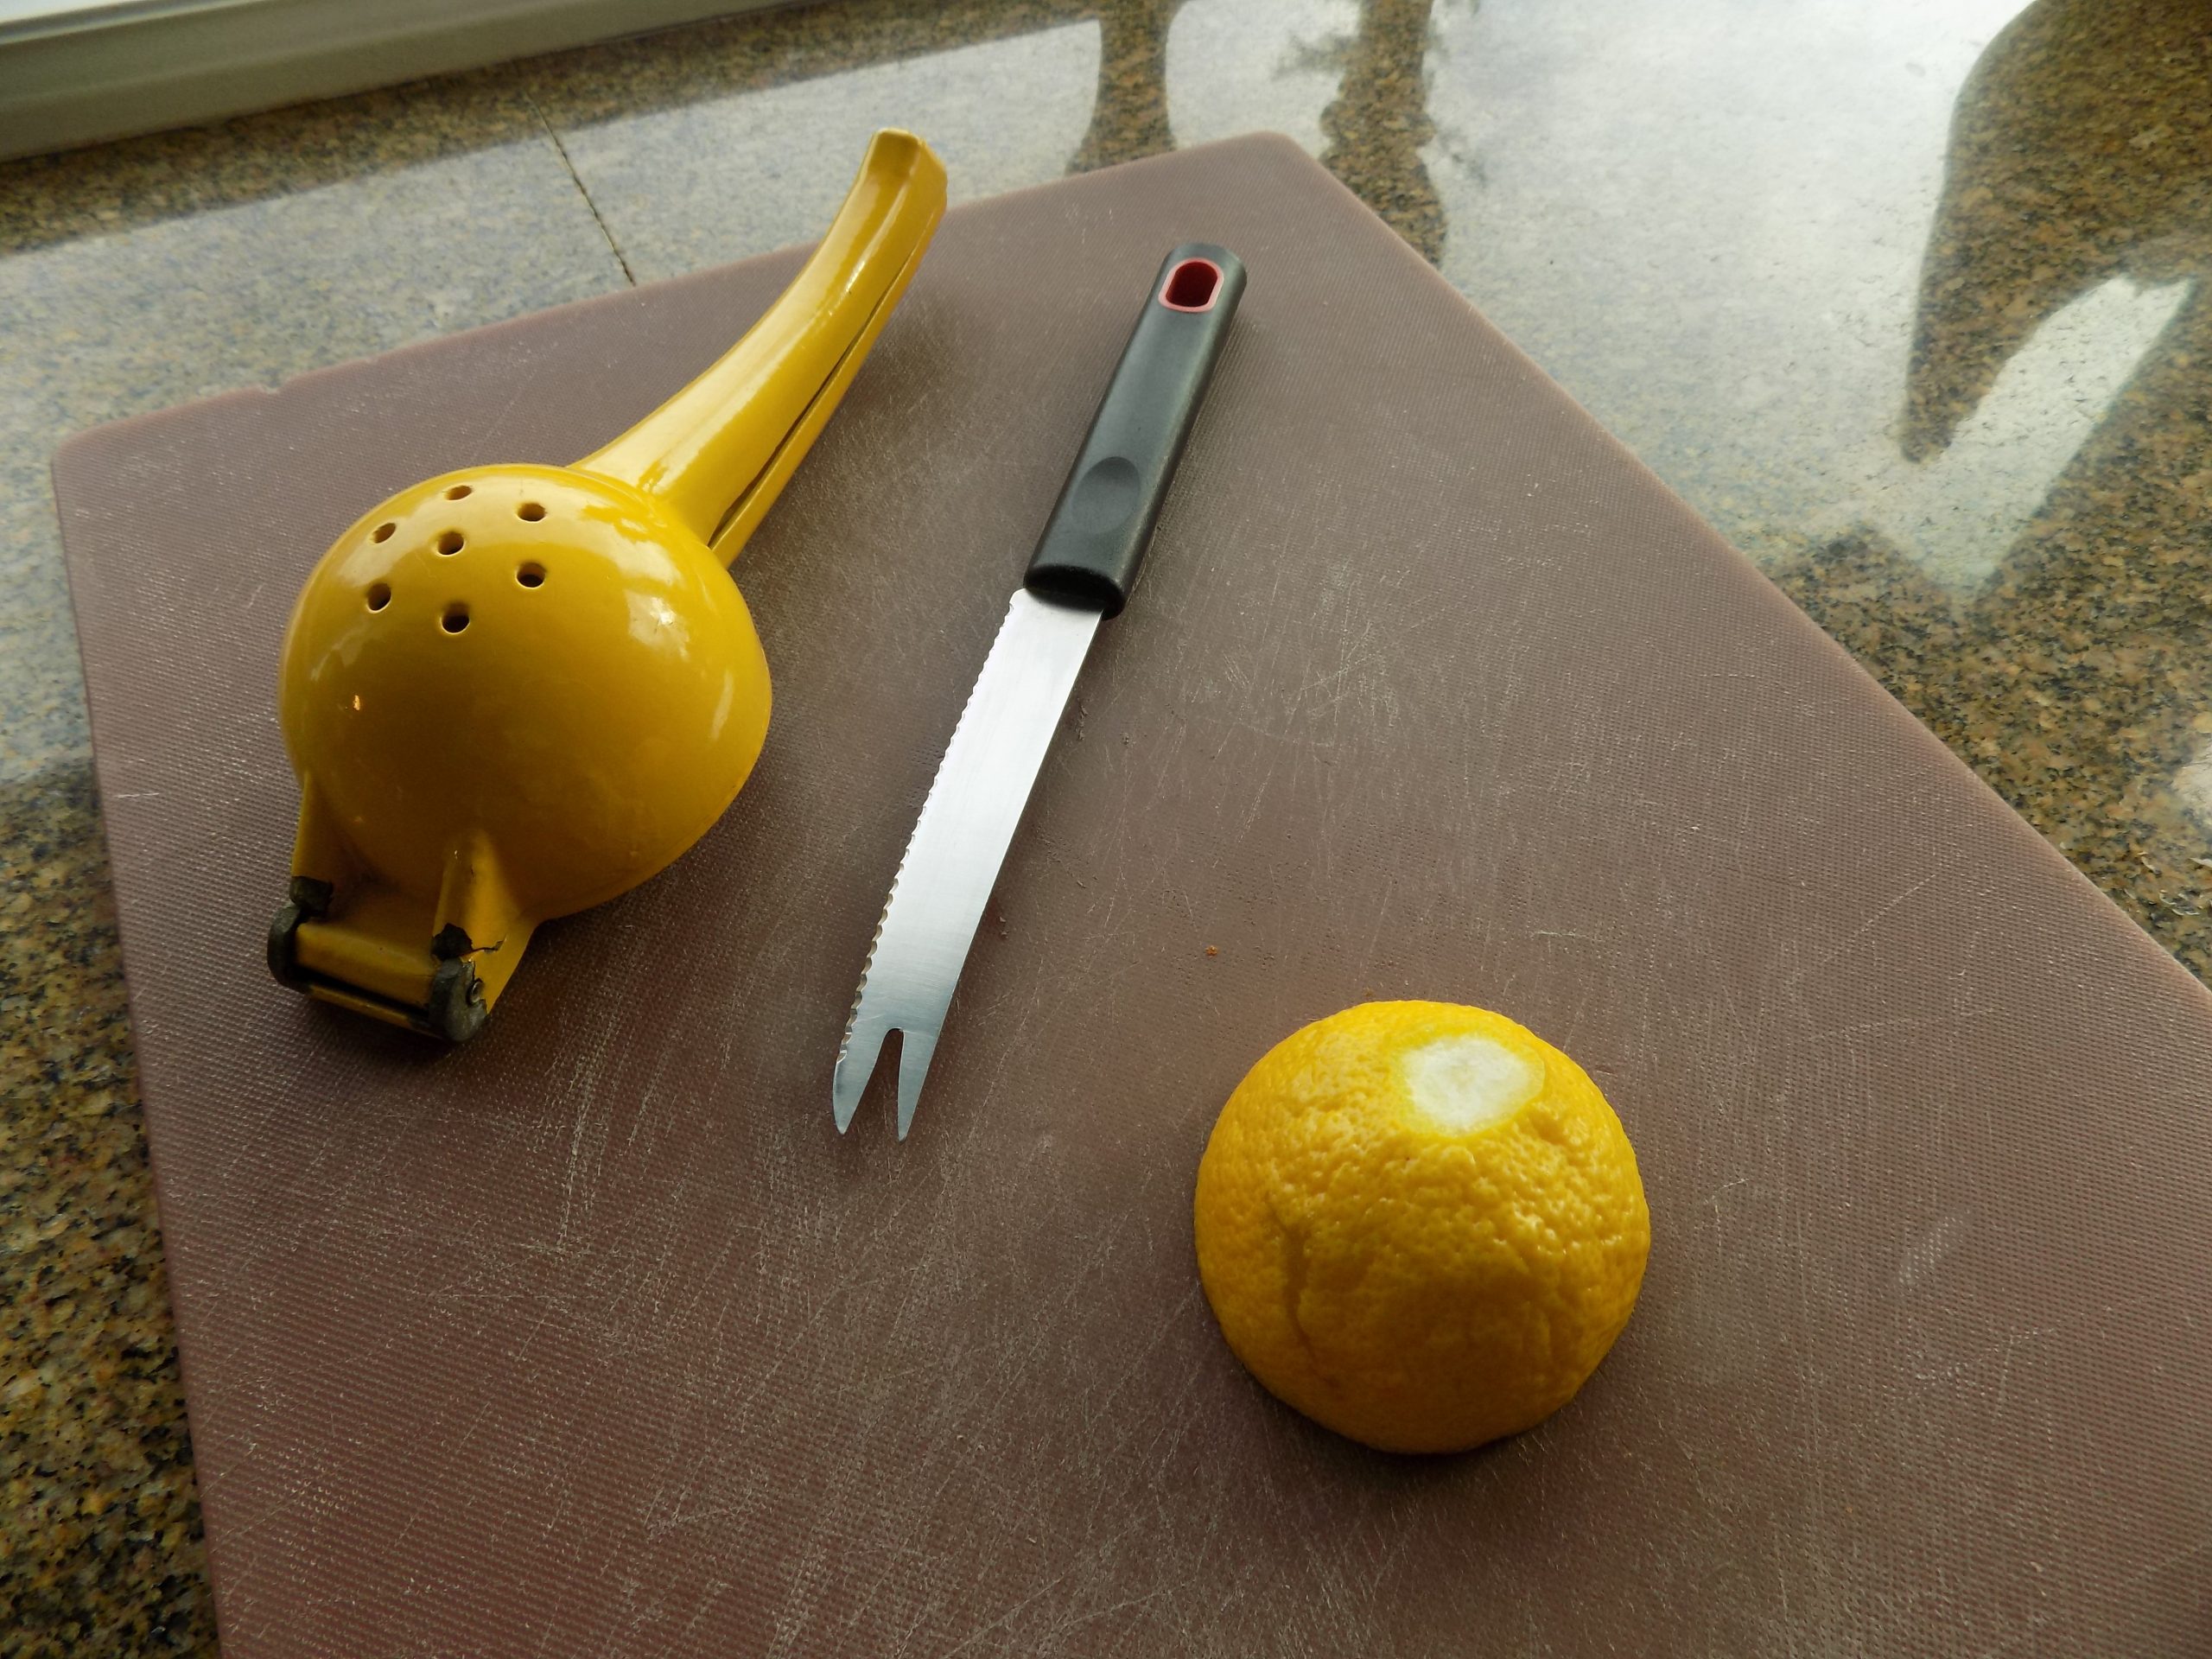
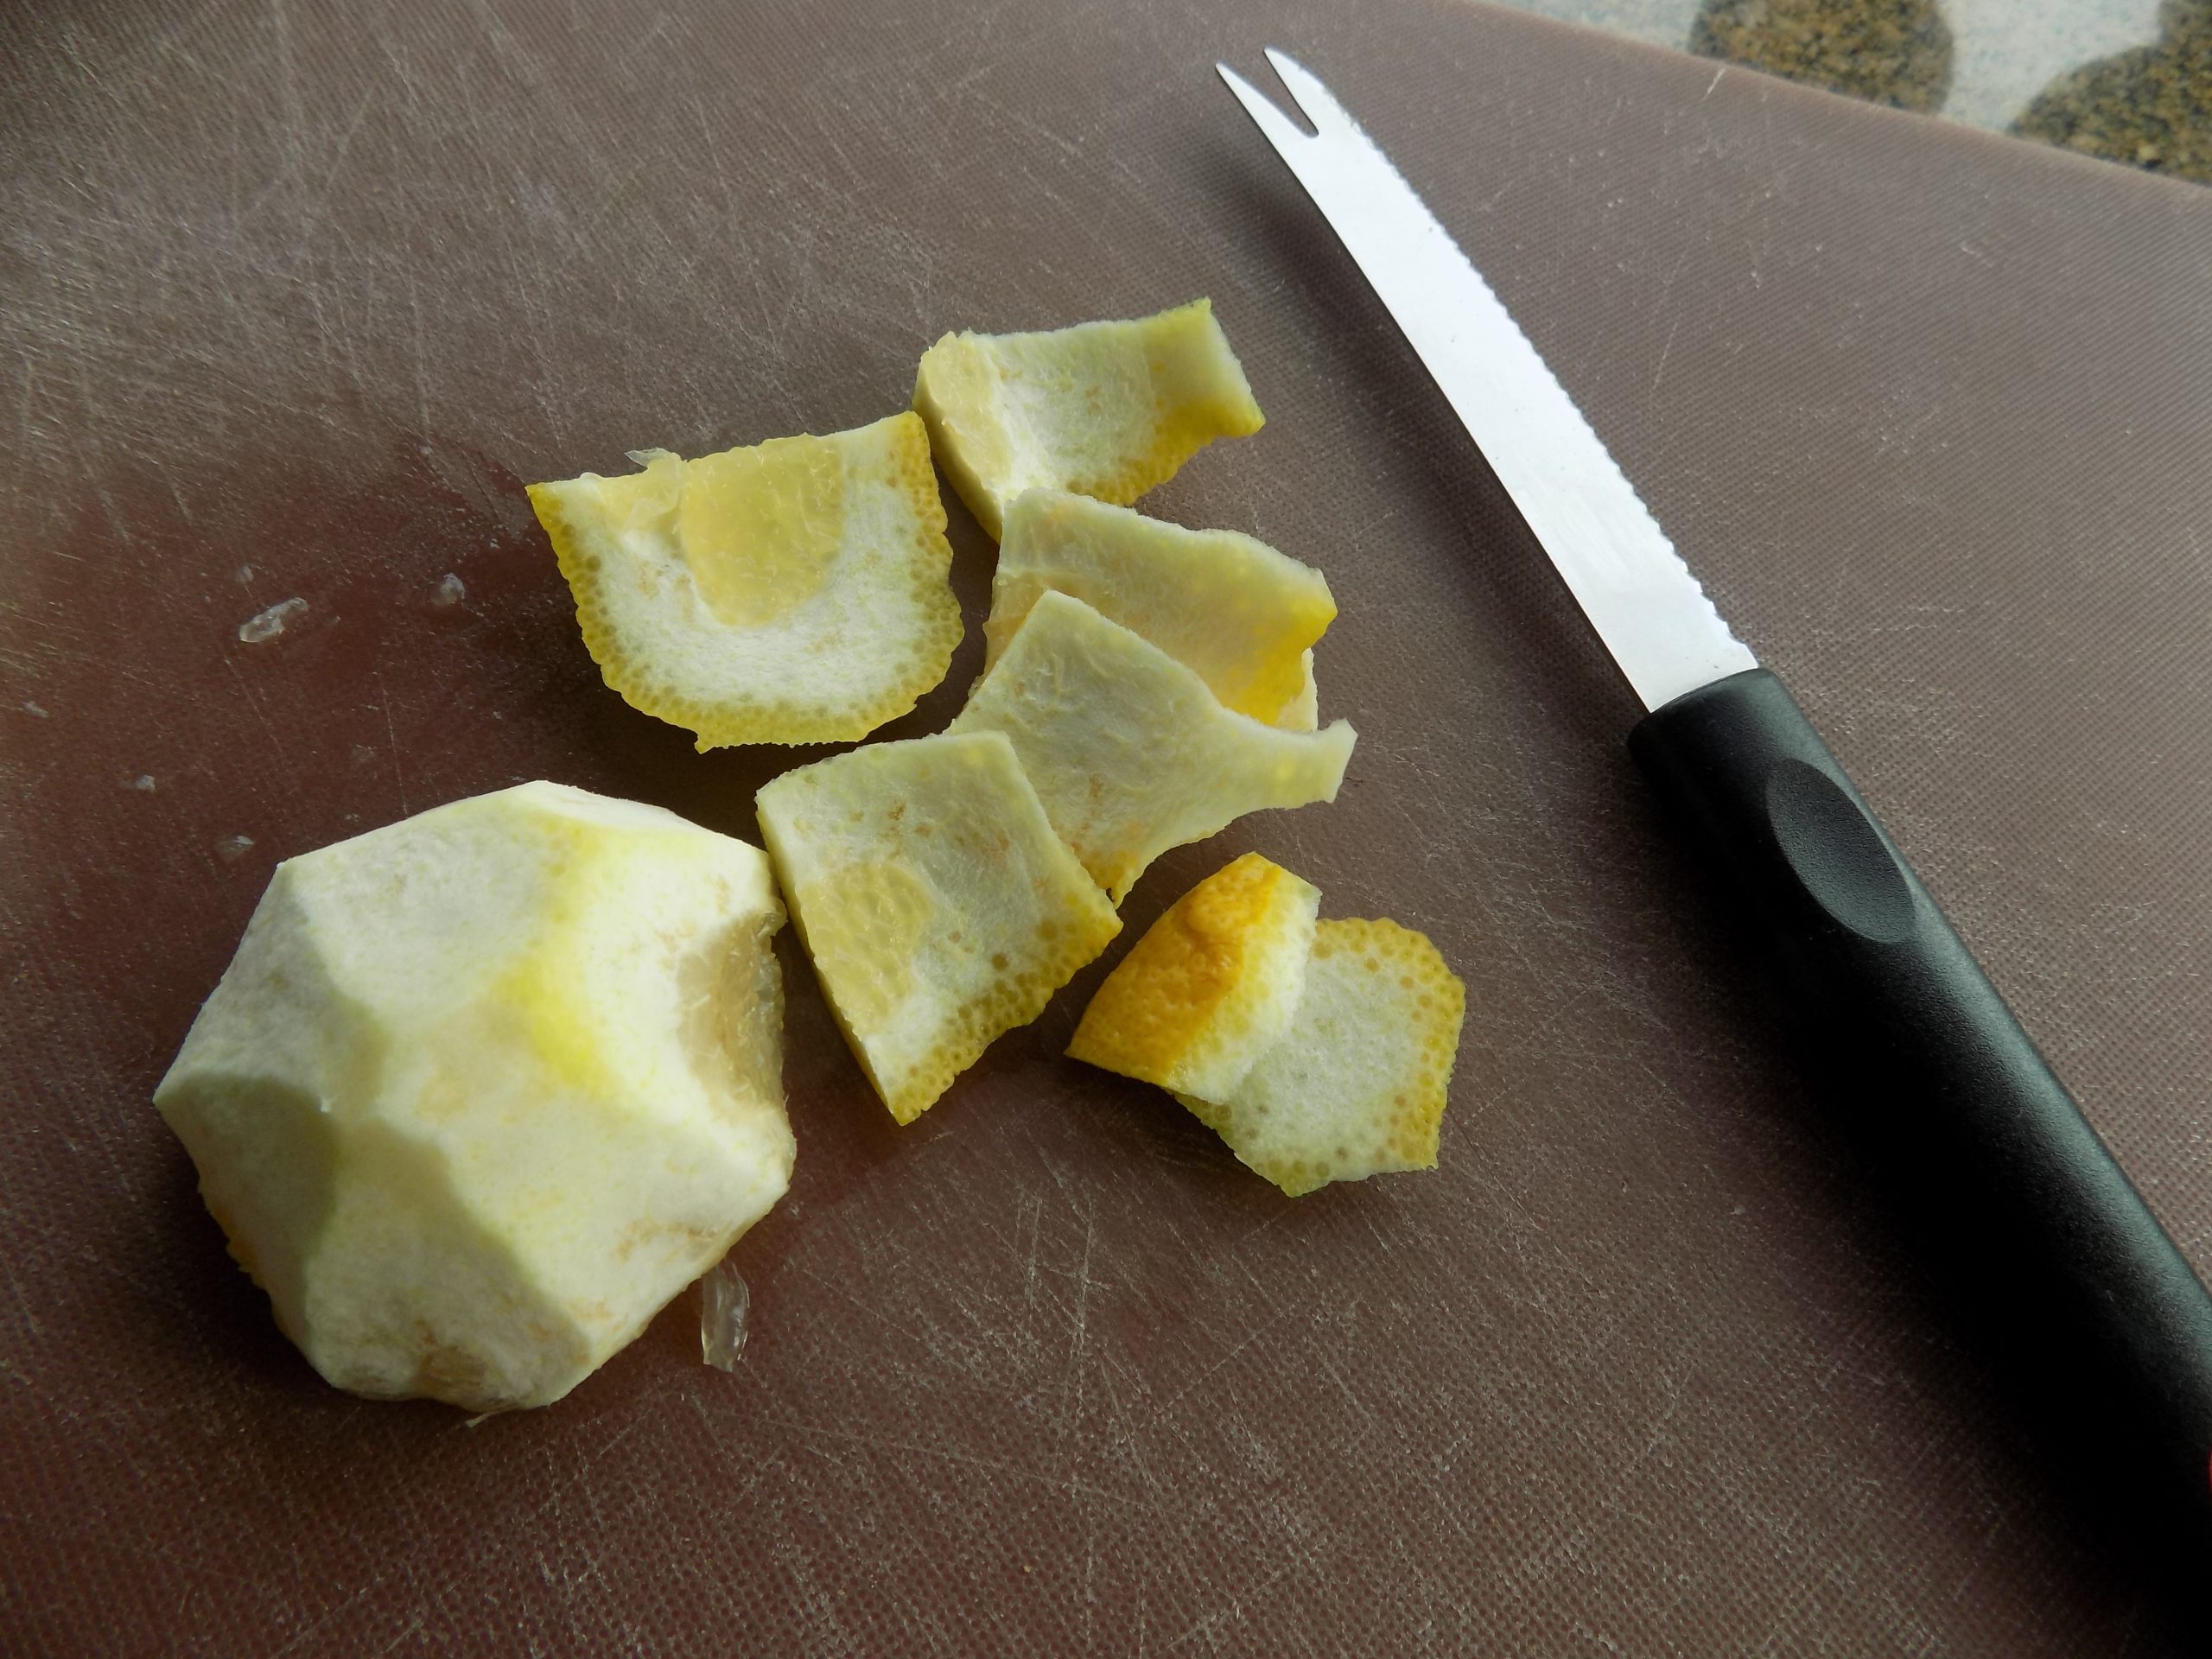
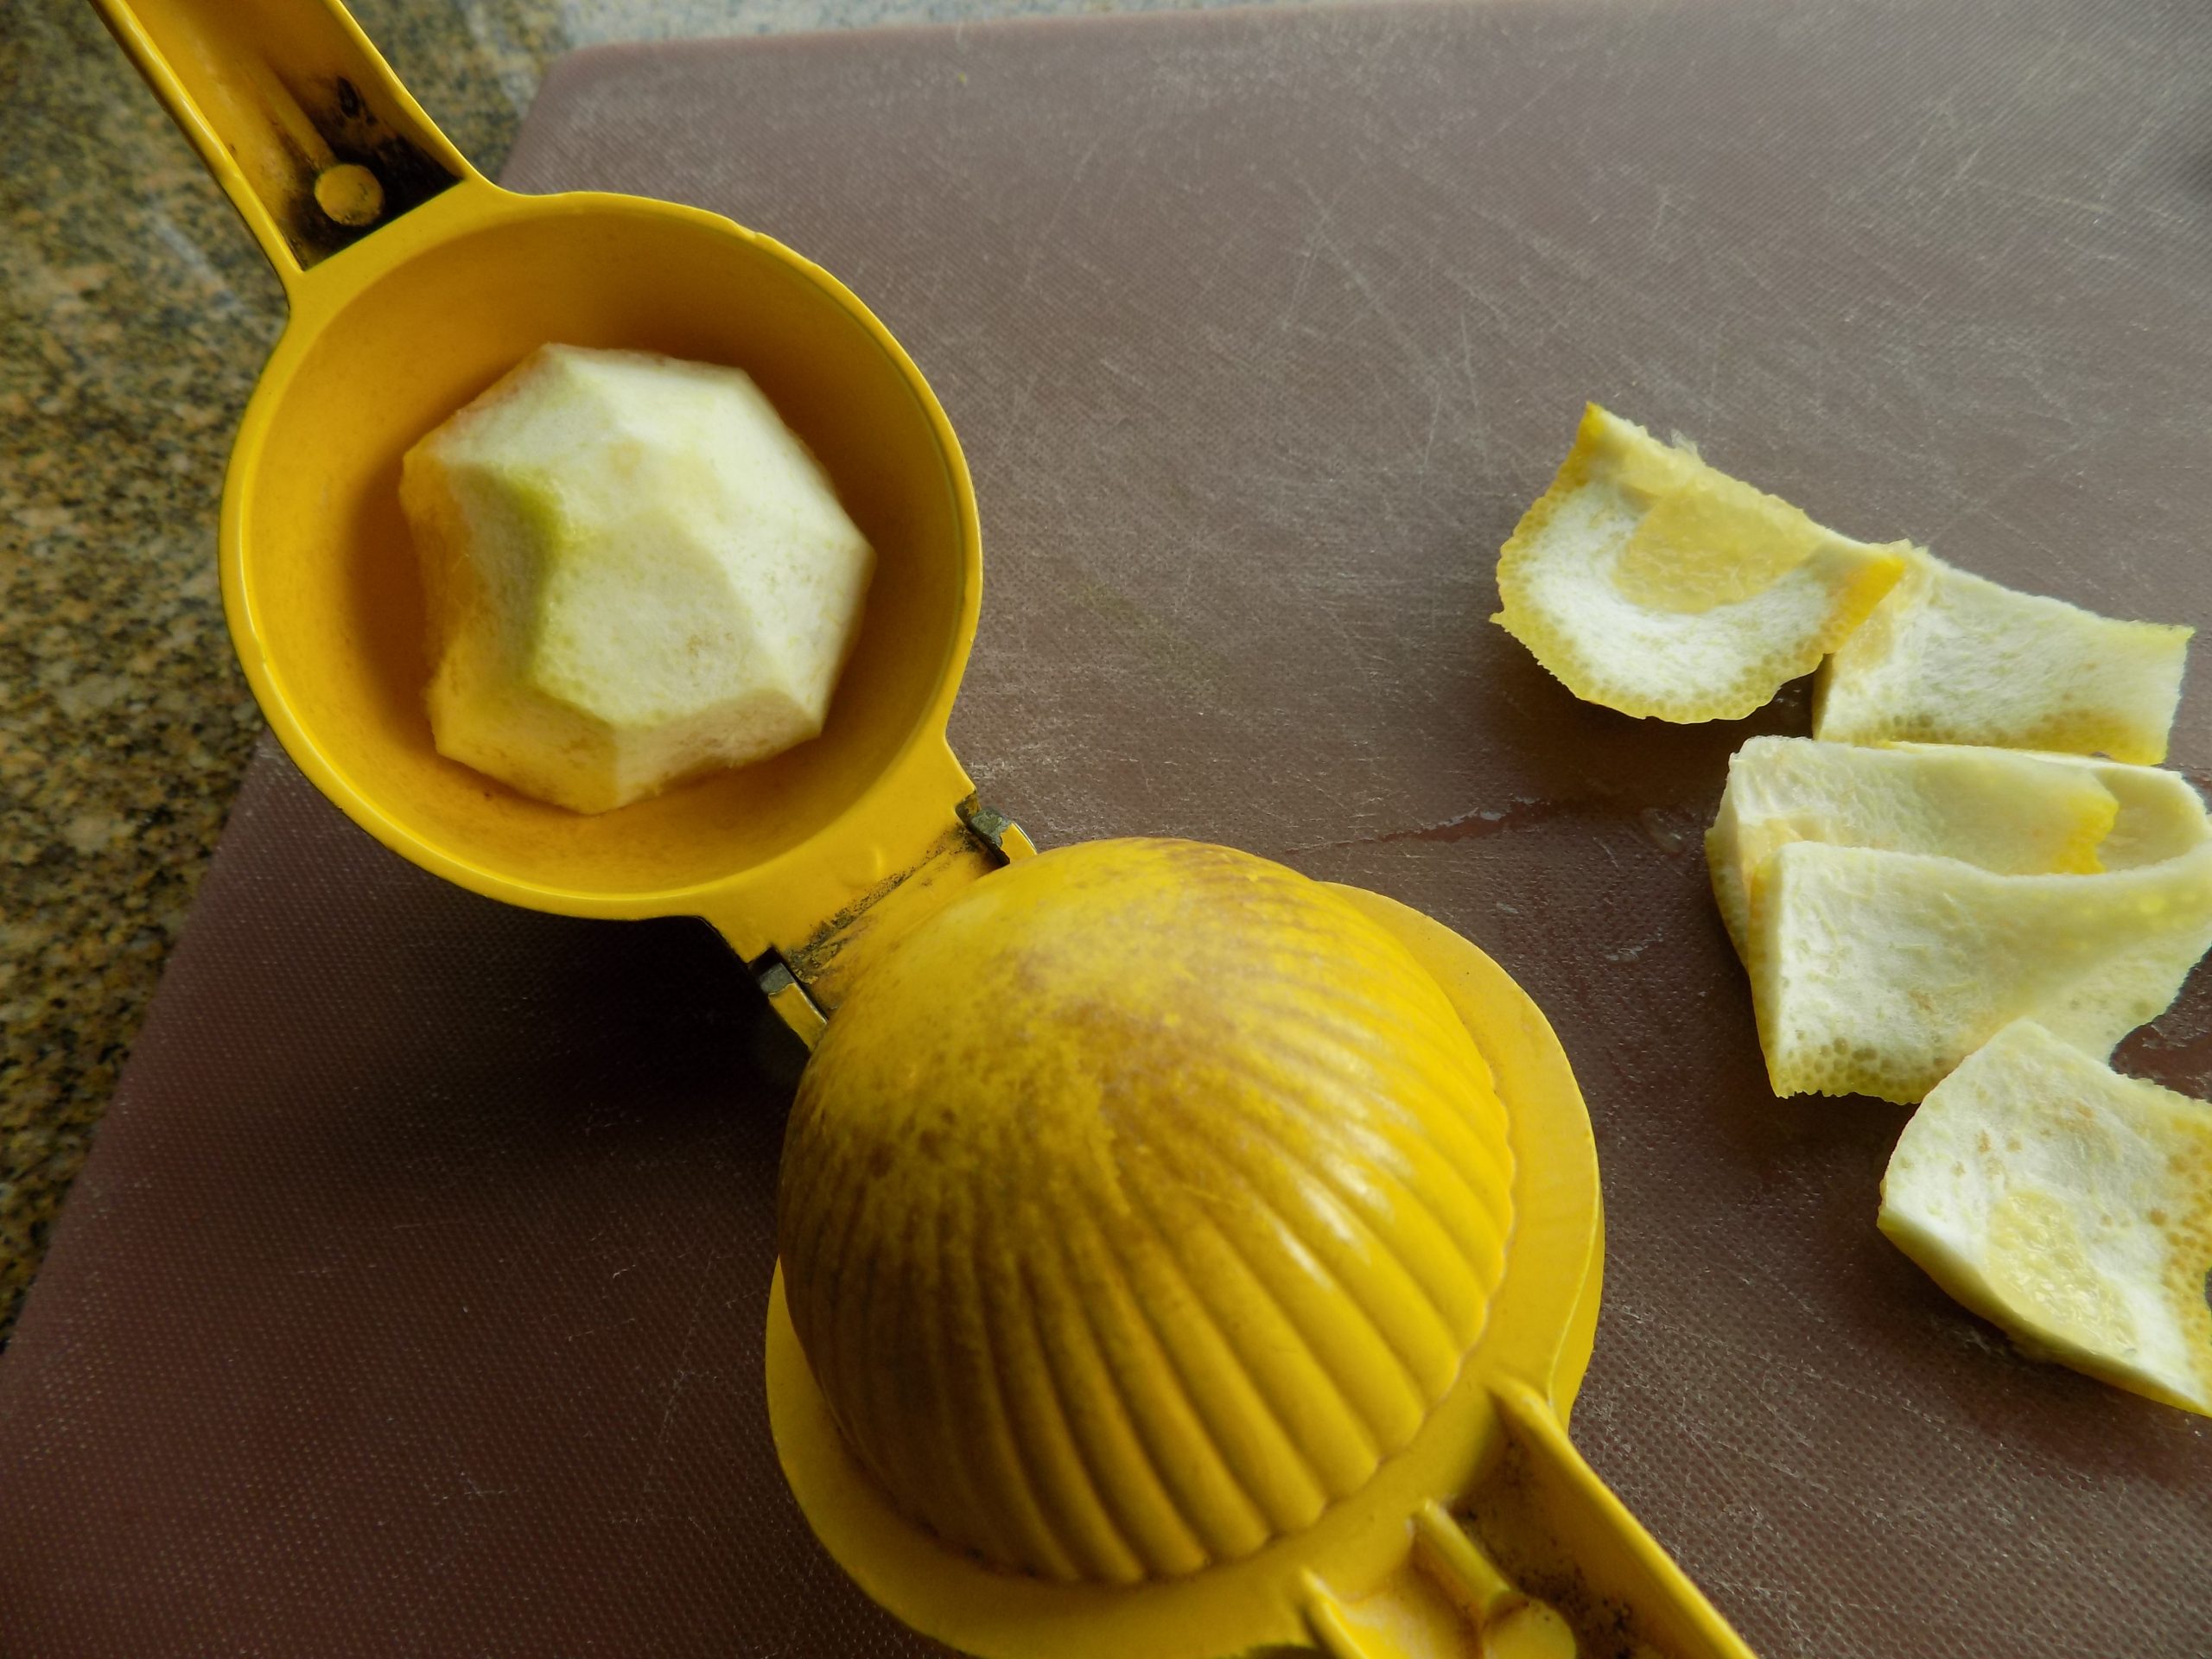
2 T. fresh lemon juice, or more to taste
crumbled feta cheese, opt.
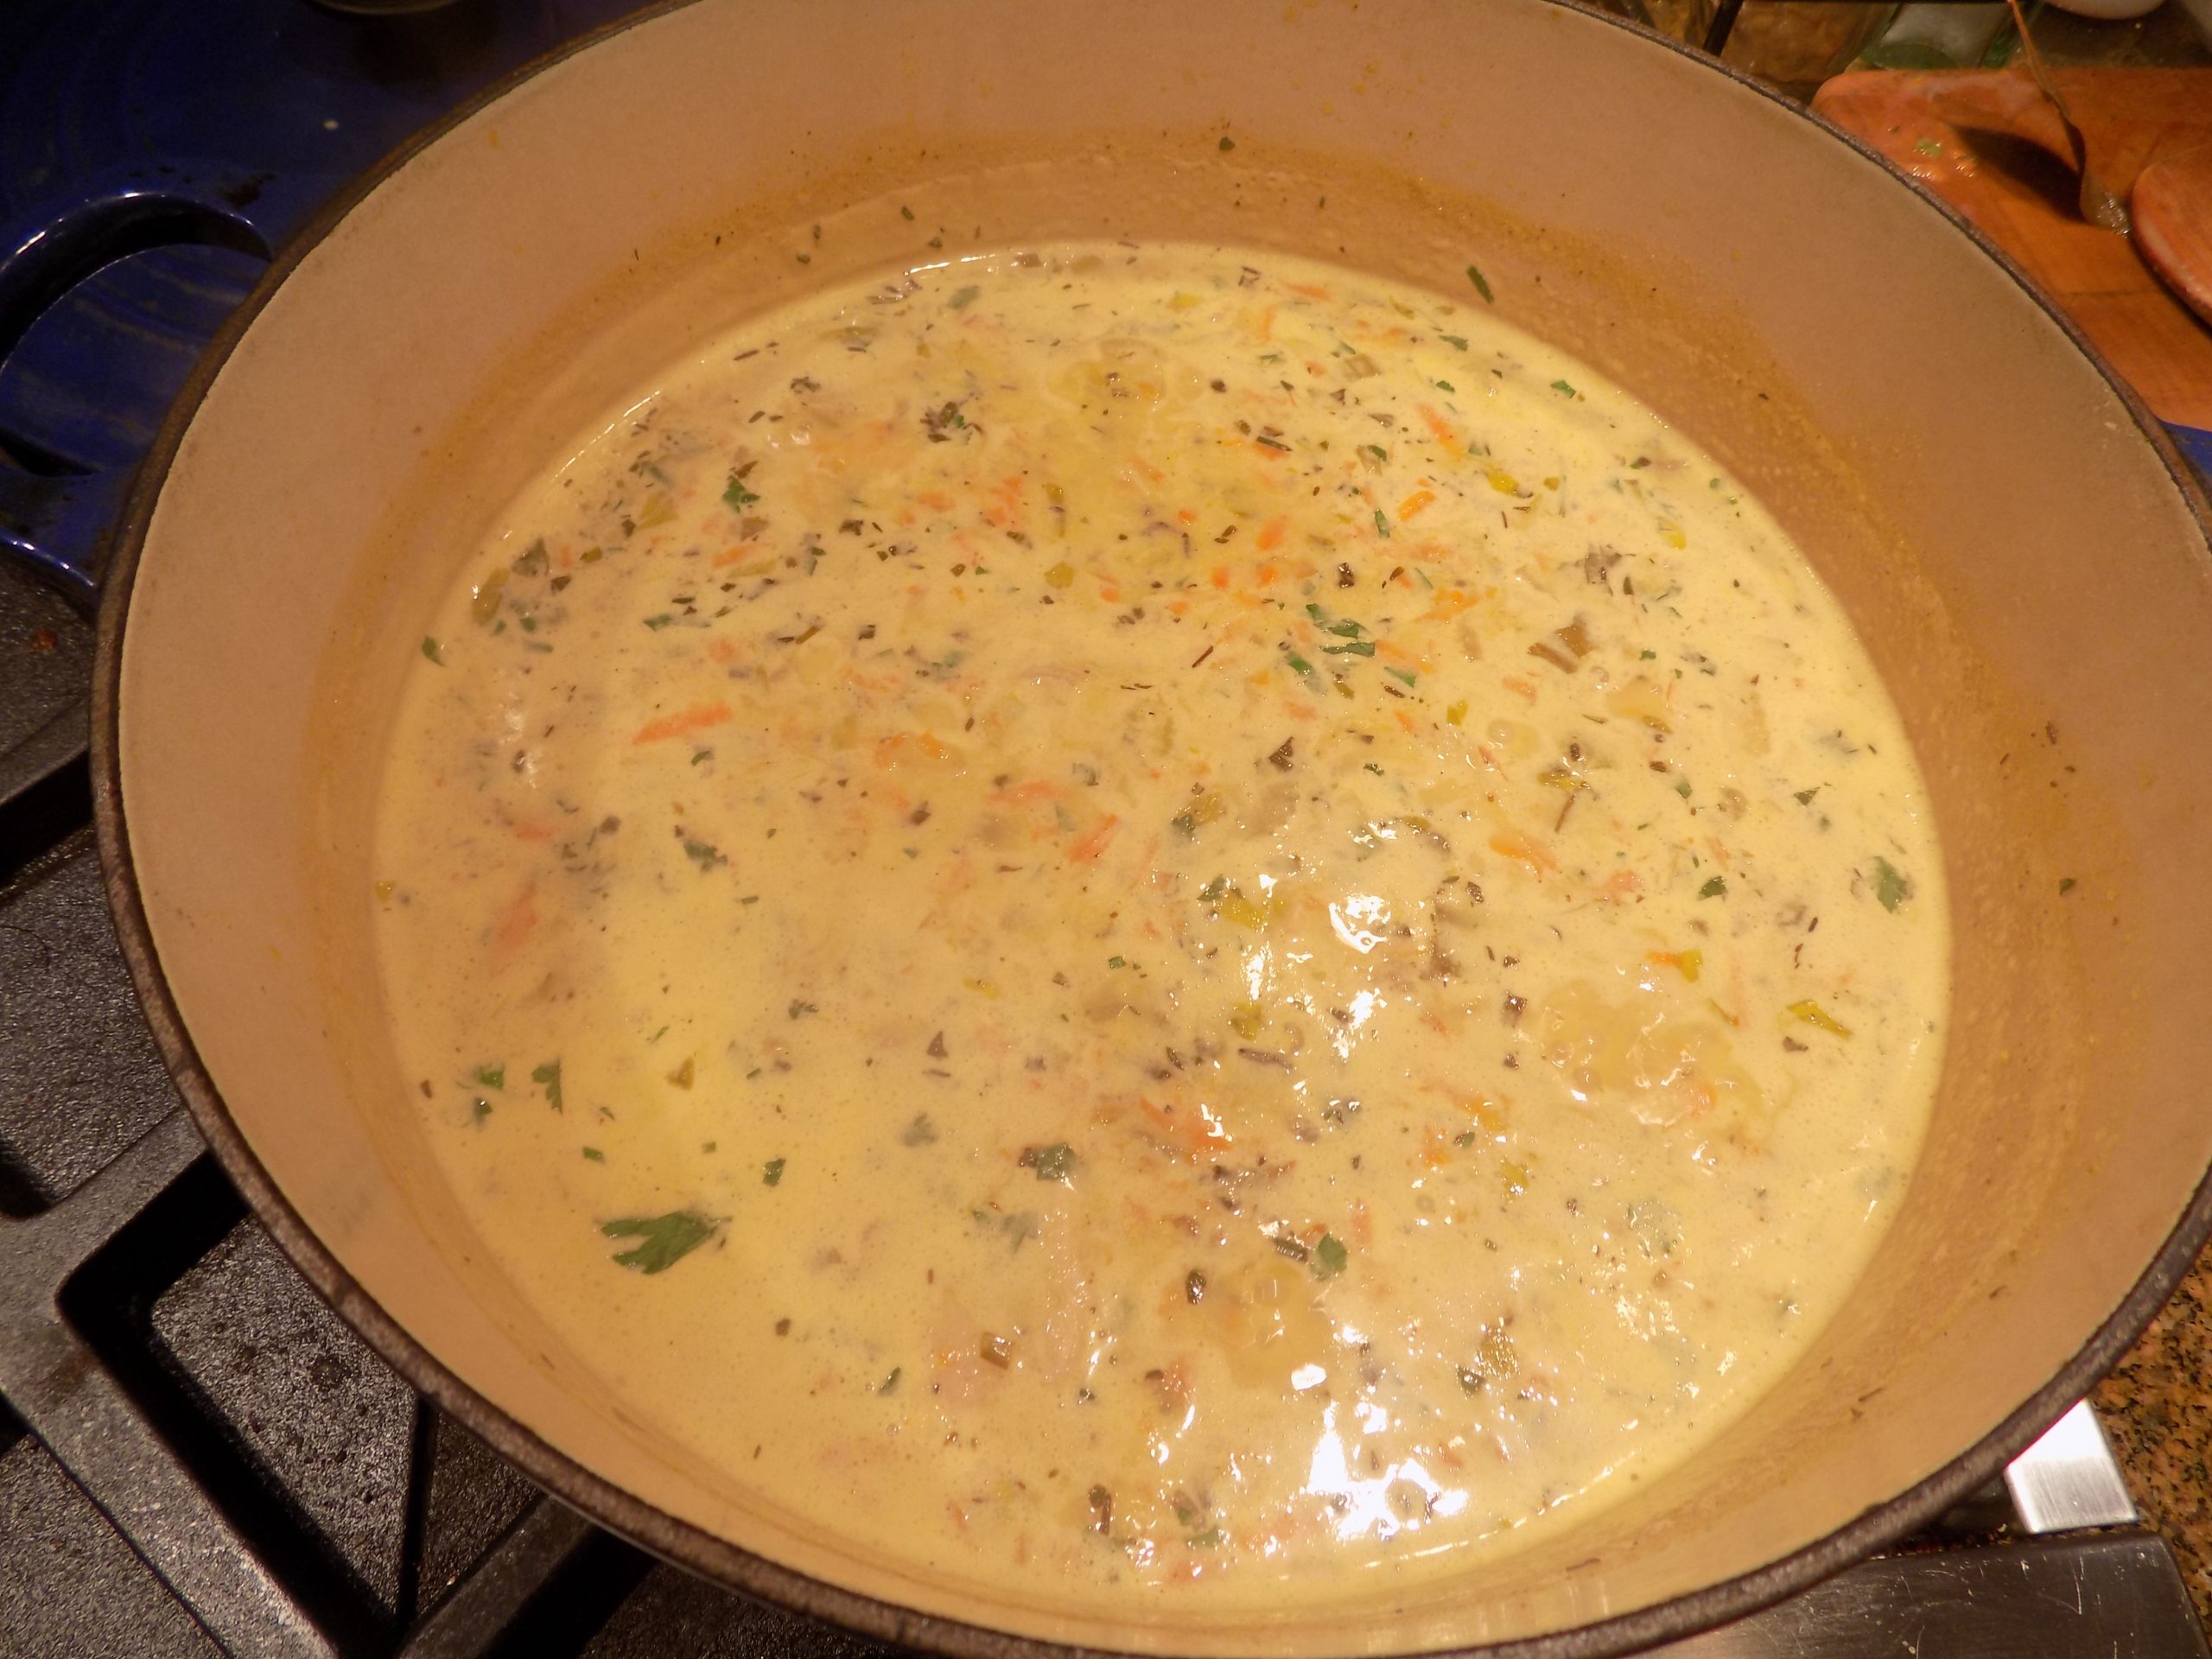
Heat the olive oil in a large covered Dutch oven or pot over medium heat. Add the onion, carrot, and celery. Cook, stirring often, until the onion has softened and is turning translucent, about 5 minutes.
Add the garlic, cumin, curry powder, thyme, seasoned salt, crushed red pepper flakes, and lots of black pepper. Cook for 1 minute. Add the canned tomatoes, breaking up any large chunks (if any), and cook for a few more minutes. Stir in the water and vegetable base.
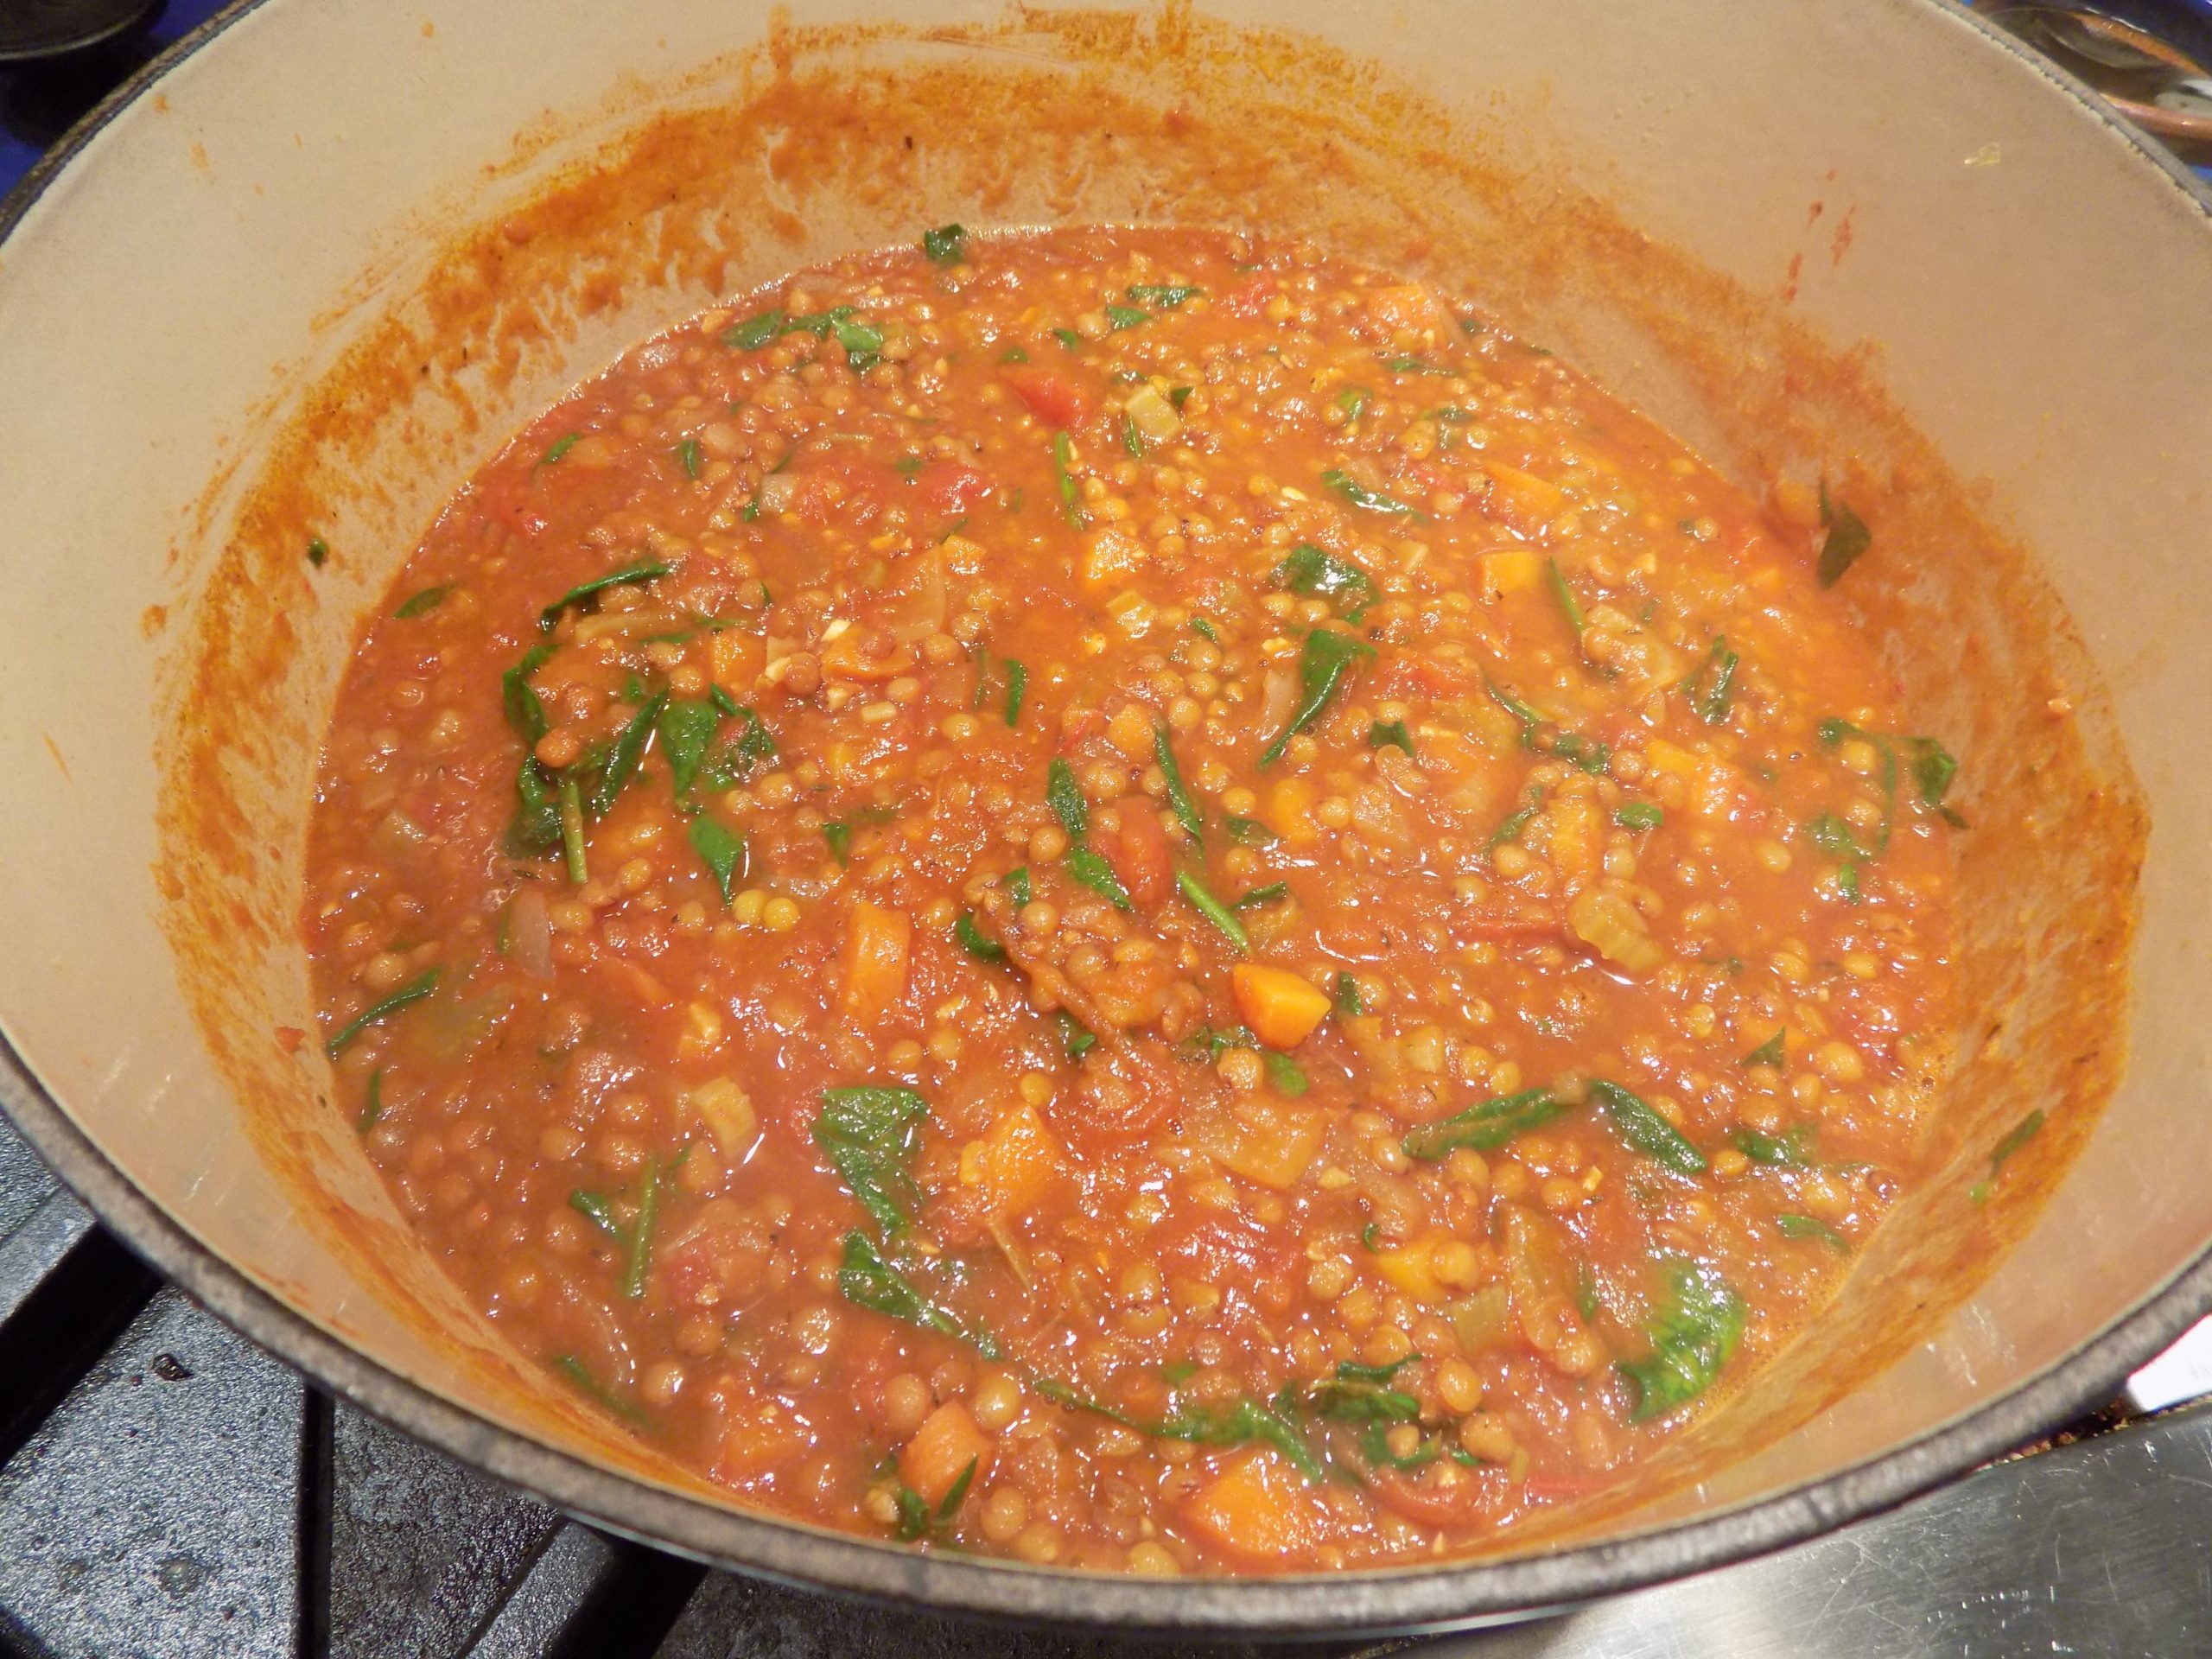
Bring to a boil, cover the pot, and reduce the heat to maintain a gentle simmer. Simmer for about 30 minutes. Add the lentils, and cook for 30 to 40 minutes, or until the lentils are tender but still hold their shape.
Add the chopped greens and cook for about a minute. Remove from heat and stir in the lemon juice. Taste and adjust seasoning, including more curry powder if you are a true curry lover.
Great topped with a bit of crumbled feta.