This recipe is for our good friend Mike – wonderful singer and guitarist and house painter extraordinaire, who introduced us to Chocolate-Ginger-Spice cookies, one of the delightful cookie offerings at the Breadfarm in Bow, Washington. (Great bakery BTW.)
So, of course I had to try and duplicate this incredible Breadfarm cookie. Mine aren’t exactly like the bakeries, but they will most certainly do in their stead.
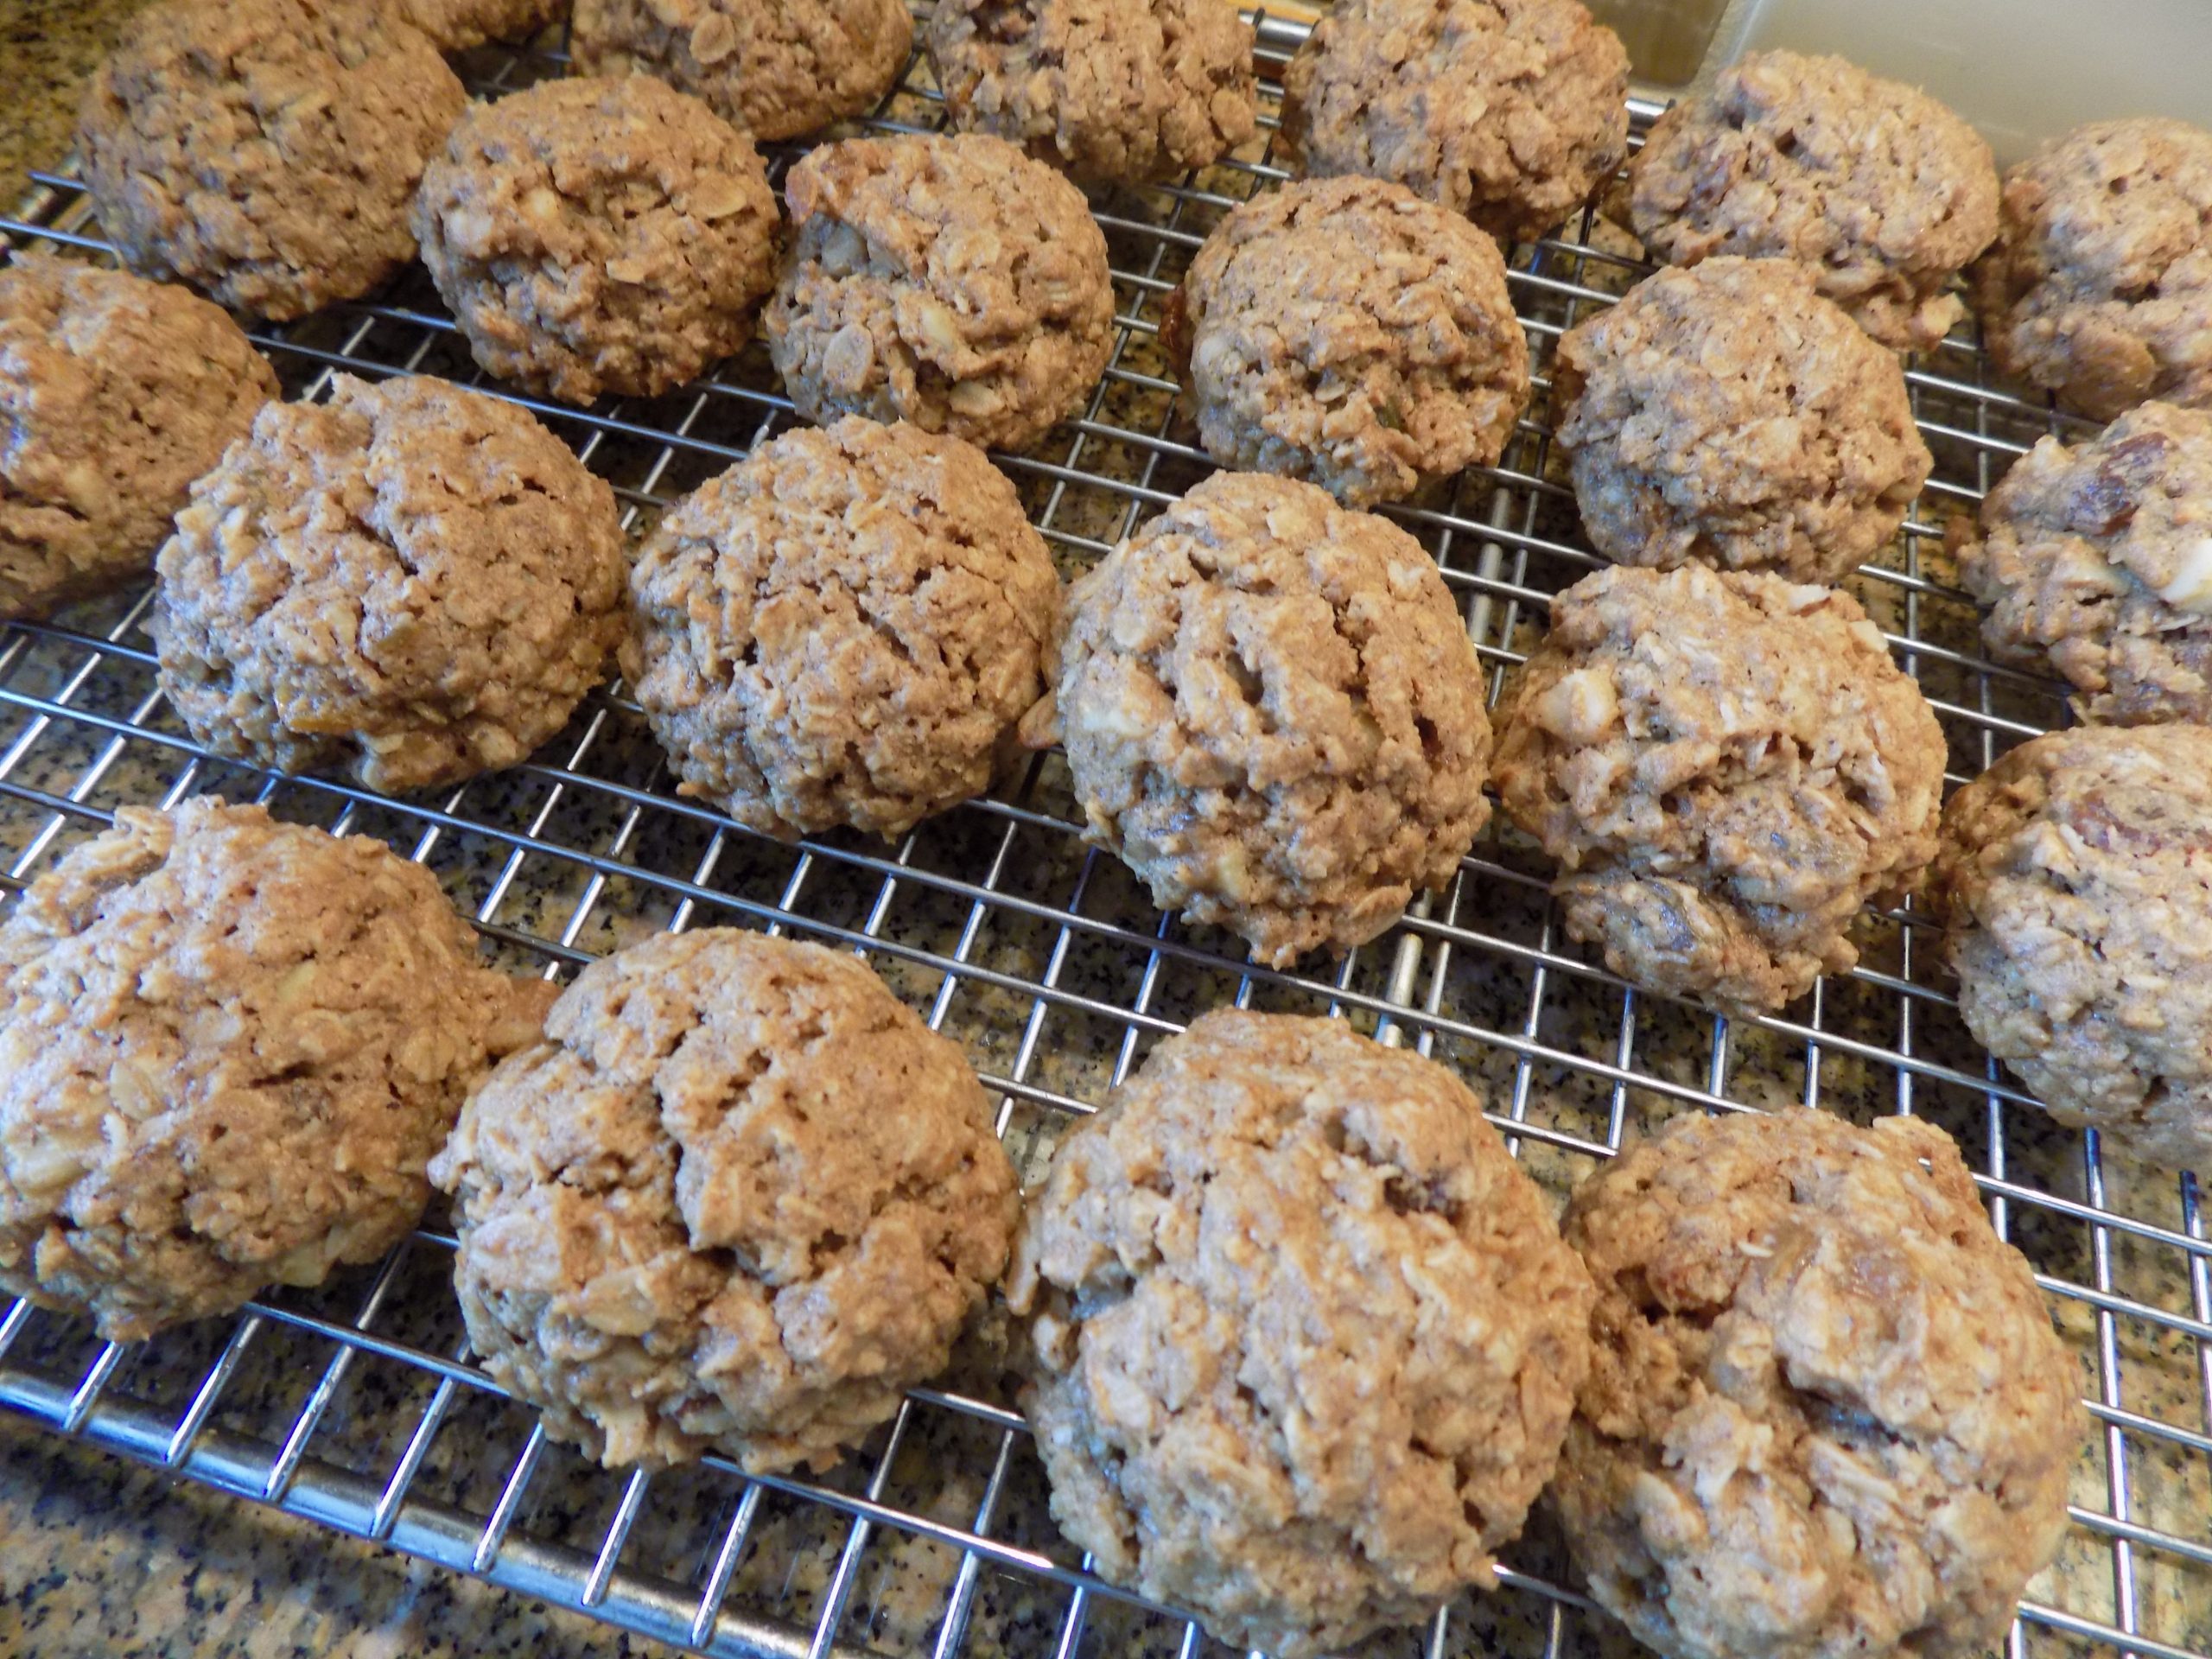
Now, you should know that I have been baking cookies like a maniac lately. All with the intention of foregoing white flour and reducing the amount or changing the type of sugar in the dough. A couple of the recipes I have tried produced a terrific product and have already been posted on this site. (GF Peanut Butter Oatmeal Cookies Made with Coconut Palm Sugar and Healthier Oatmeal Raisin Nut Cookies.) Others, well suffice it to say, they did not make the cut. But this recipe from the prettysimplesweet.com site, with a few changes from me, is a winner. And therefore, blog worthy.
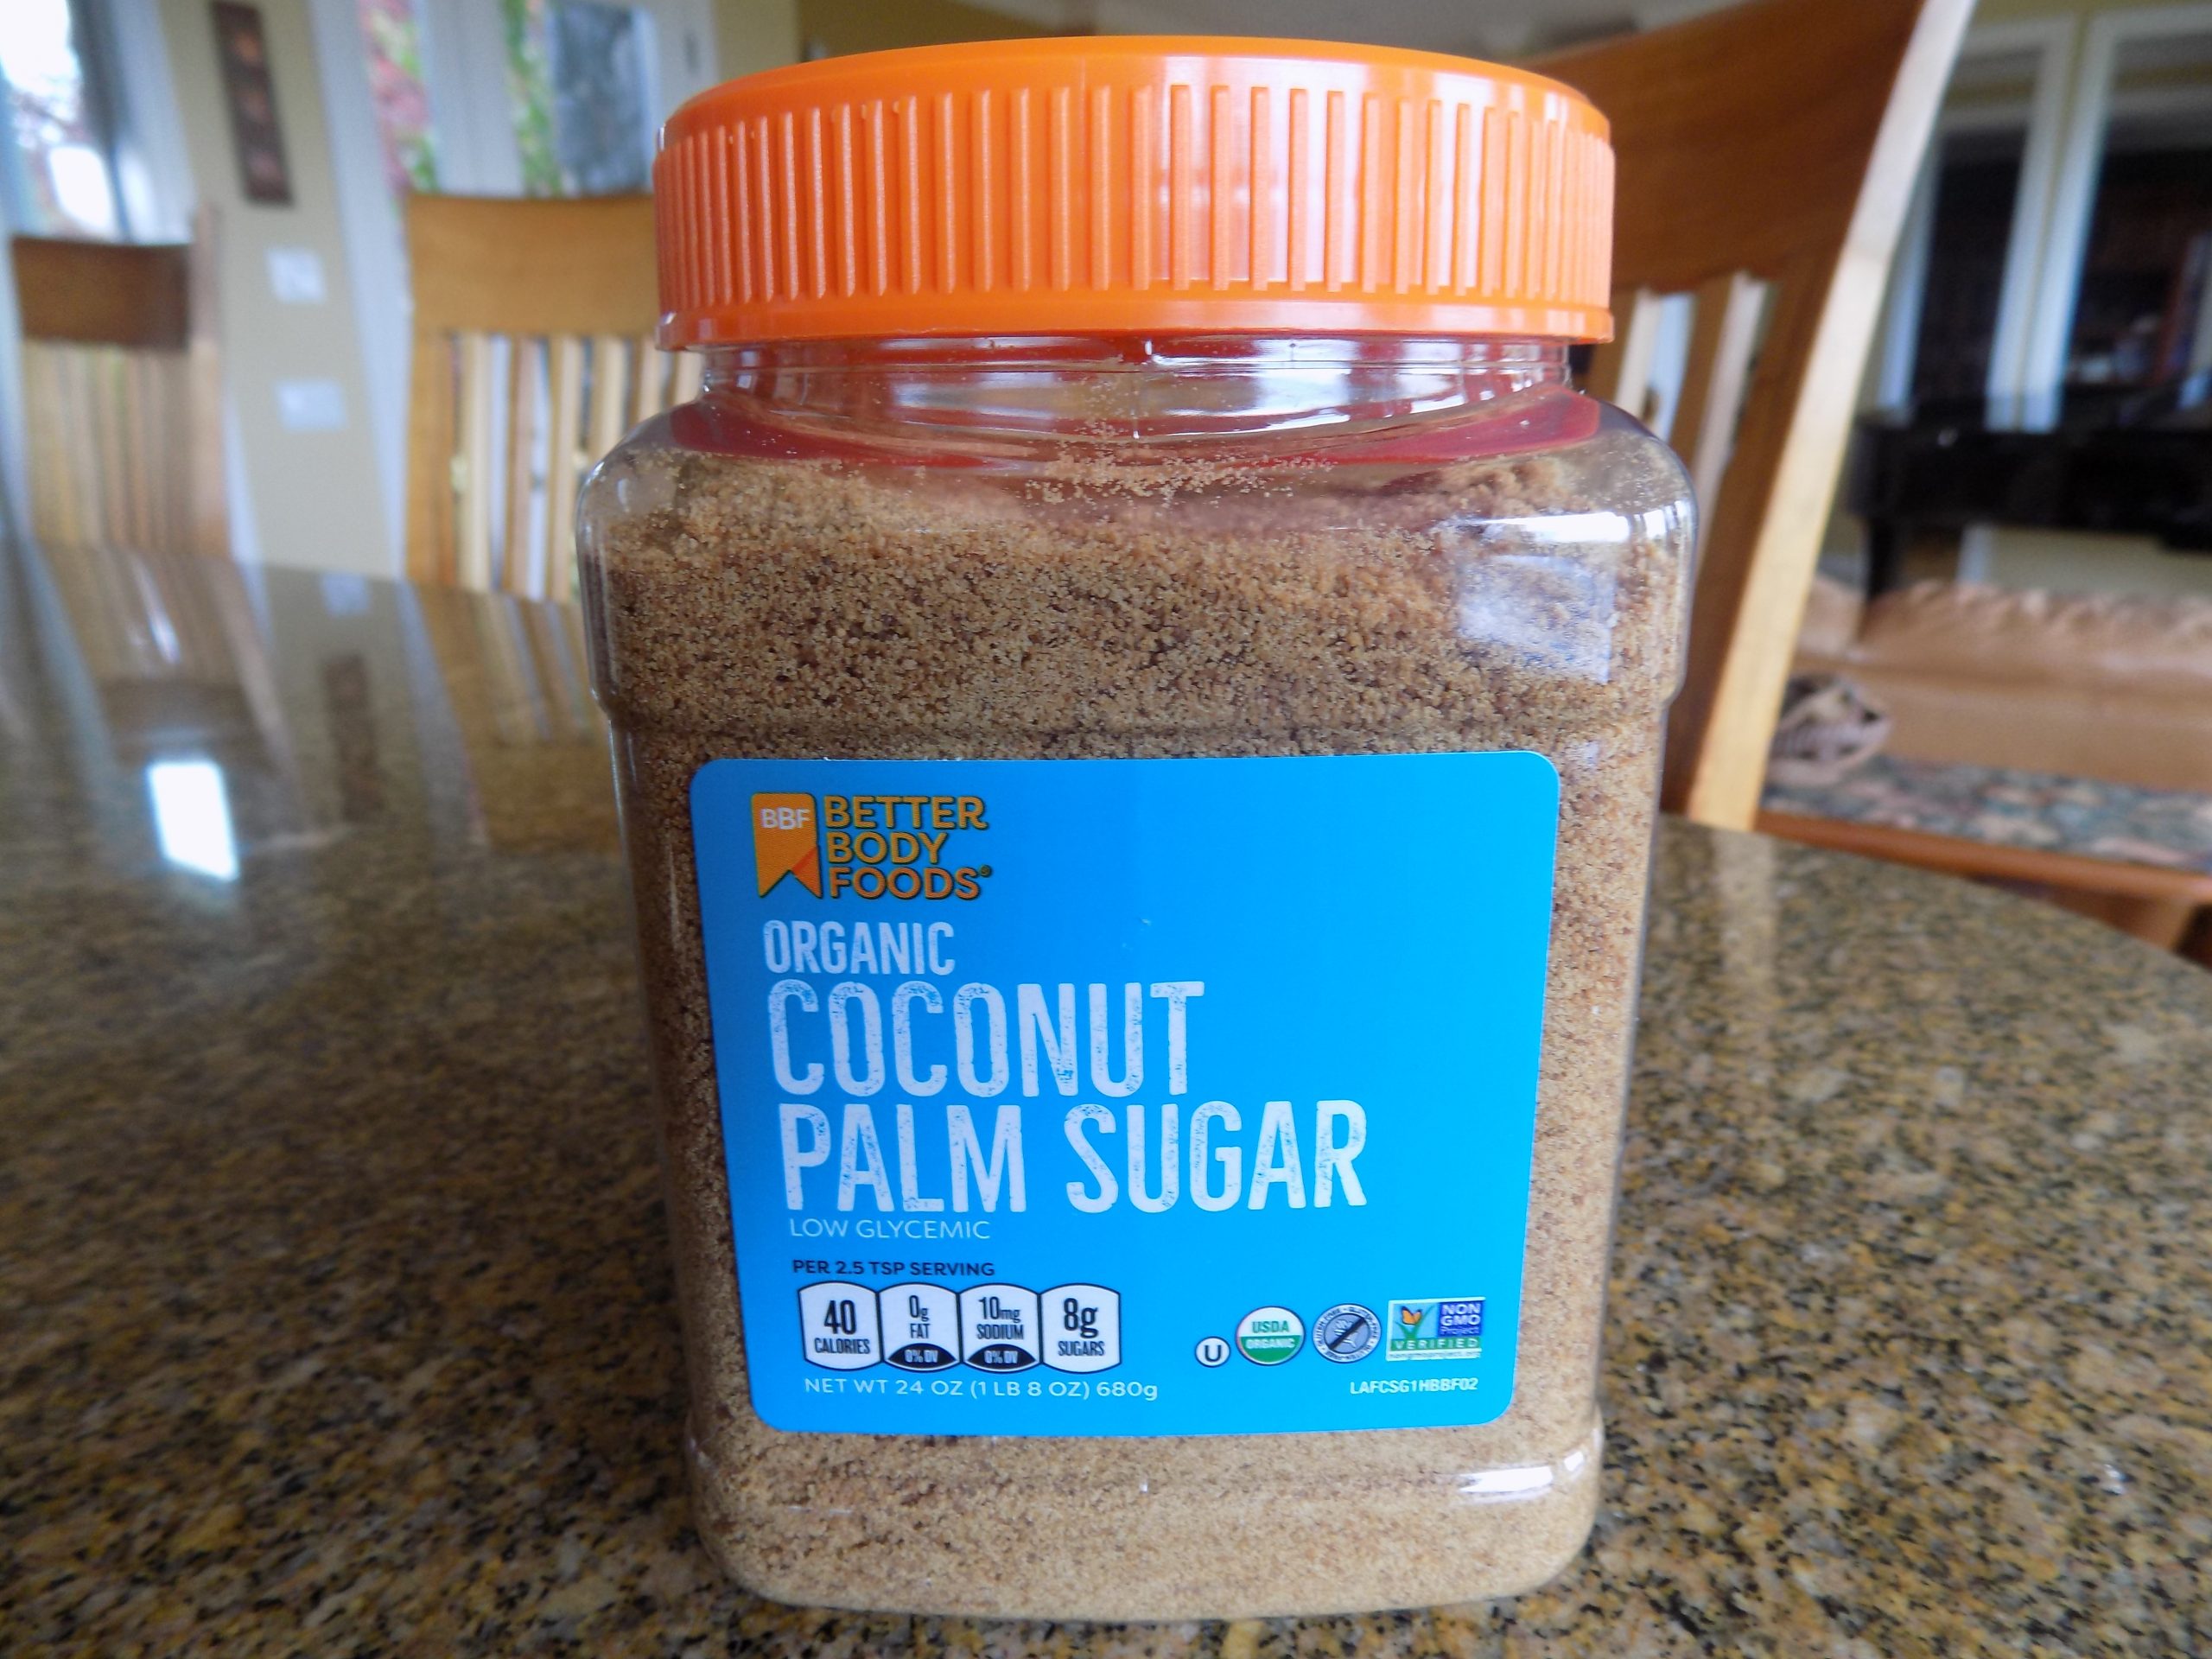
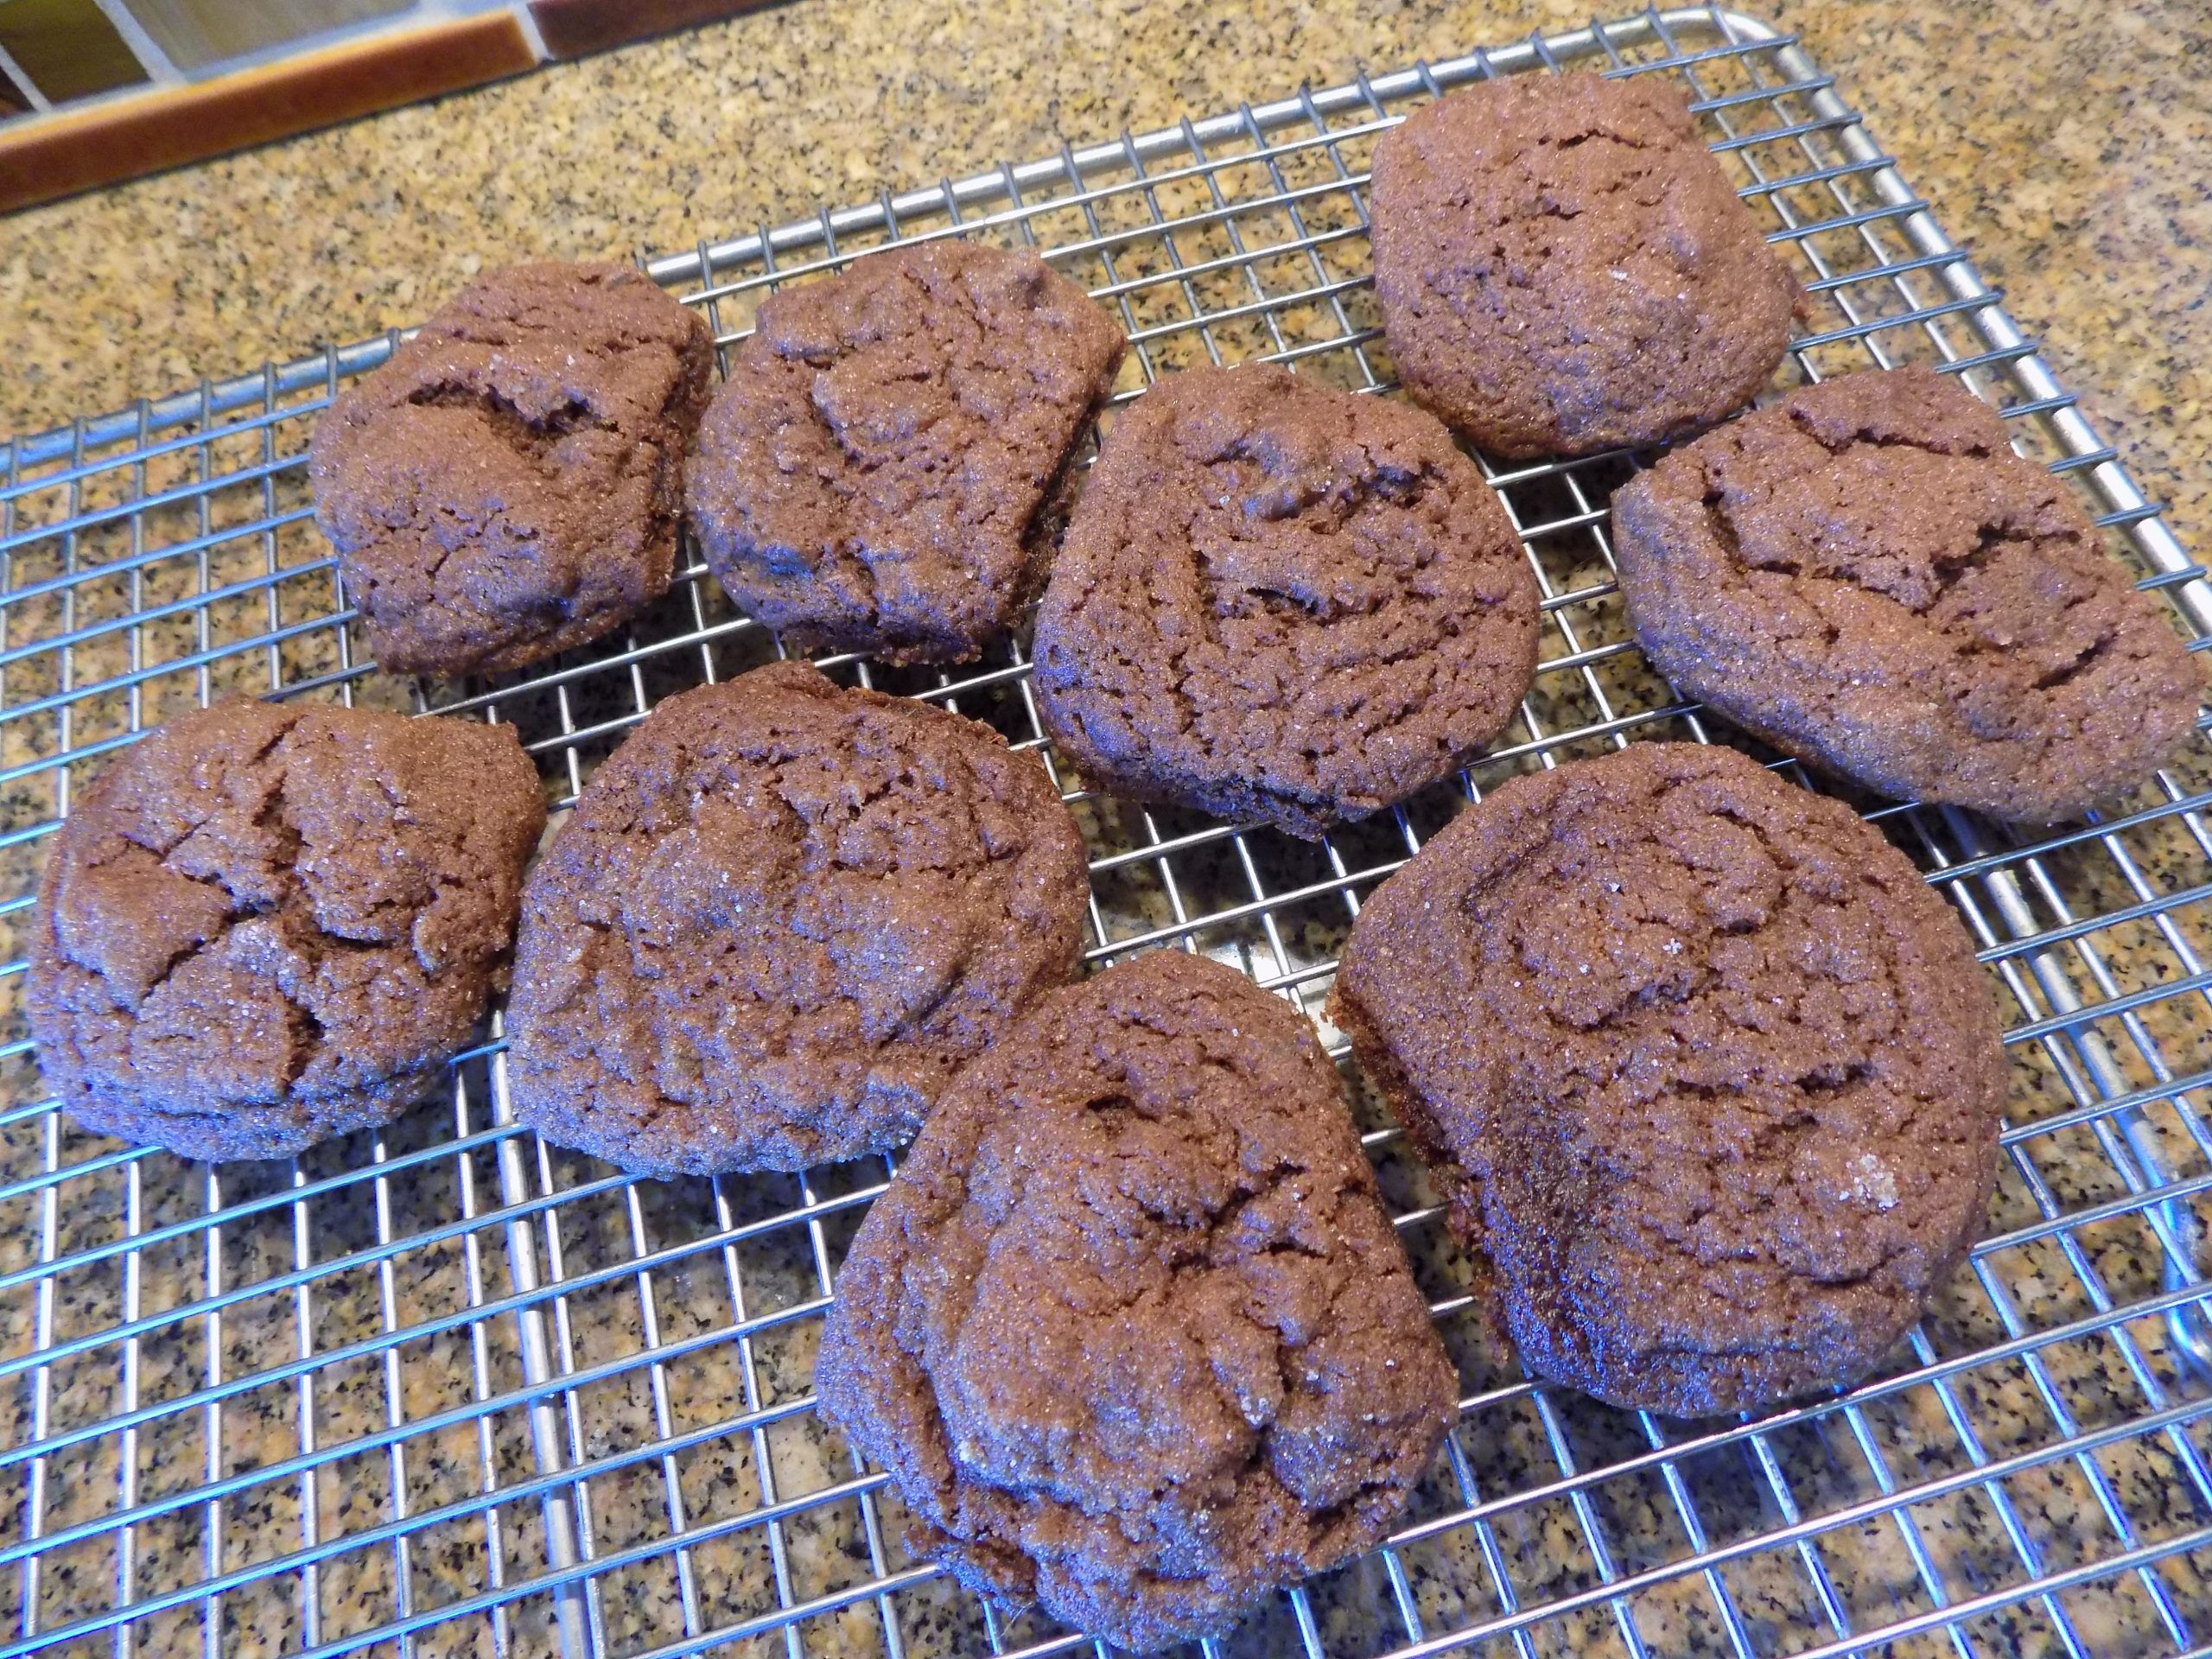
Now just because there is no white flour in this recipe, and I have used coconut palm sugar (lower glycemic index than granulated or brown sugar) doesn’t mean that I can eat these cookies like they were peanut butter stuffed celery sticks. I can’t. But, as a once in a while treat, they are absolutely perfect. Chewy, ginger laced, chocolate infused bites of yum.
So, if you too would like to try a ginger cookie that is just a bit different, give this recipe a try. And no, I never would have thought chocolate in a ginger cookie was a good idea. But as with many things, I have learned to not knock it till I’ve tried it! And now that I have tried it, there is no going back. These are my new favorite chewy ginger molasses cookies!
Well, that’s it for now. I’m going to continue messing with cookie recipes and I’m going to spend a bunch of time researching recipes that include zucchini. I love zucchini and have decided I want to feature it in more dishes. And later today, I’m going to make a 1908 recipe for rye biscuits that I think might serve as a nice change of pace from toast in the morning. The biscuits use only rye flour and just 2 tablespoons of butter. And not a bit of sugar. May the force be with me!
Peace and love to all.
1½ c. whole wheat flour
1¼ tsp. ground ginger
1 tsp. ground cinnamon
¼ tsp. ground cloves
¼ tsp. ground nutmeg
1 tsp. baking soda
½ tsp. kosher salt
1 T. unsweetened cocoa powder
½ c. (1 stick) unsalted butter, room temperature
1 T. freshly grated peeled ginger (I use my microplane)
½ c. coconut palm sugar or brown sugar
½ c. molasses
⅓ c. finely chopped candied ginger
½ c. dark chocolate chips
granulated sugar
Line a medium sized baking sheet with parchment paper.
In a medium sized bowl, whisk the flour, ground ginger, cinnamon, cloves, nutmeg, baking soda, salt, and cocoa powder together.
In the bowl of your electric mixer fitted with the paddle attachment, beat the butter and fresh ginger together. Add the coconut sugar and beat until well combined. Add the molasses and beat until combined.
Add the flour mixture to the butter mixture, then beat just until combined. Don’t overmix. Stir in the candied ginger and dark chocolate chips.
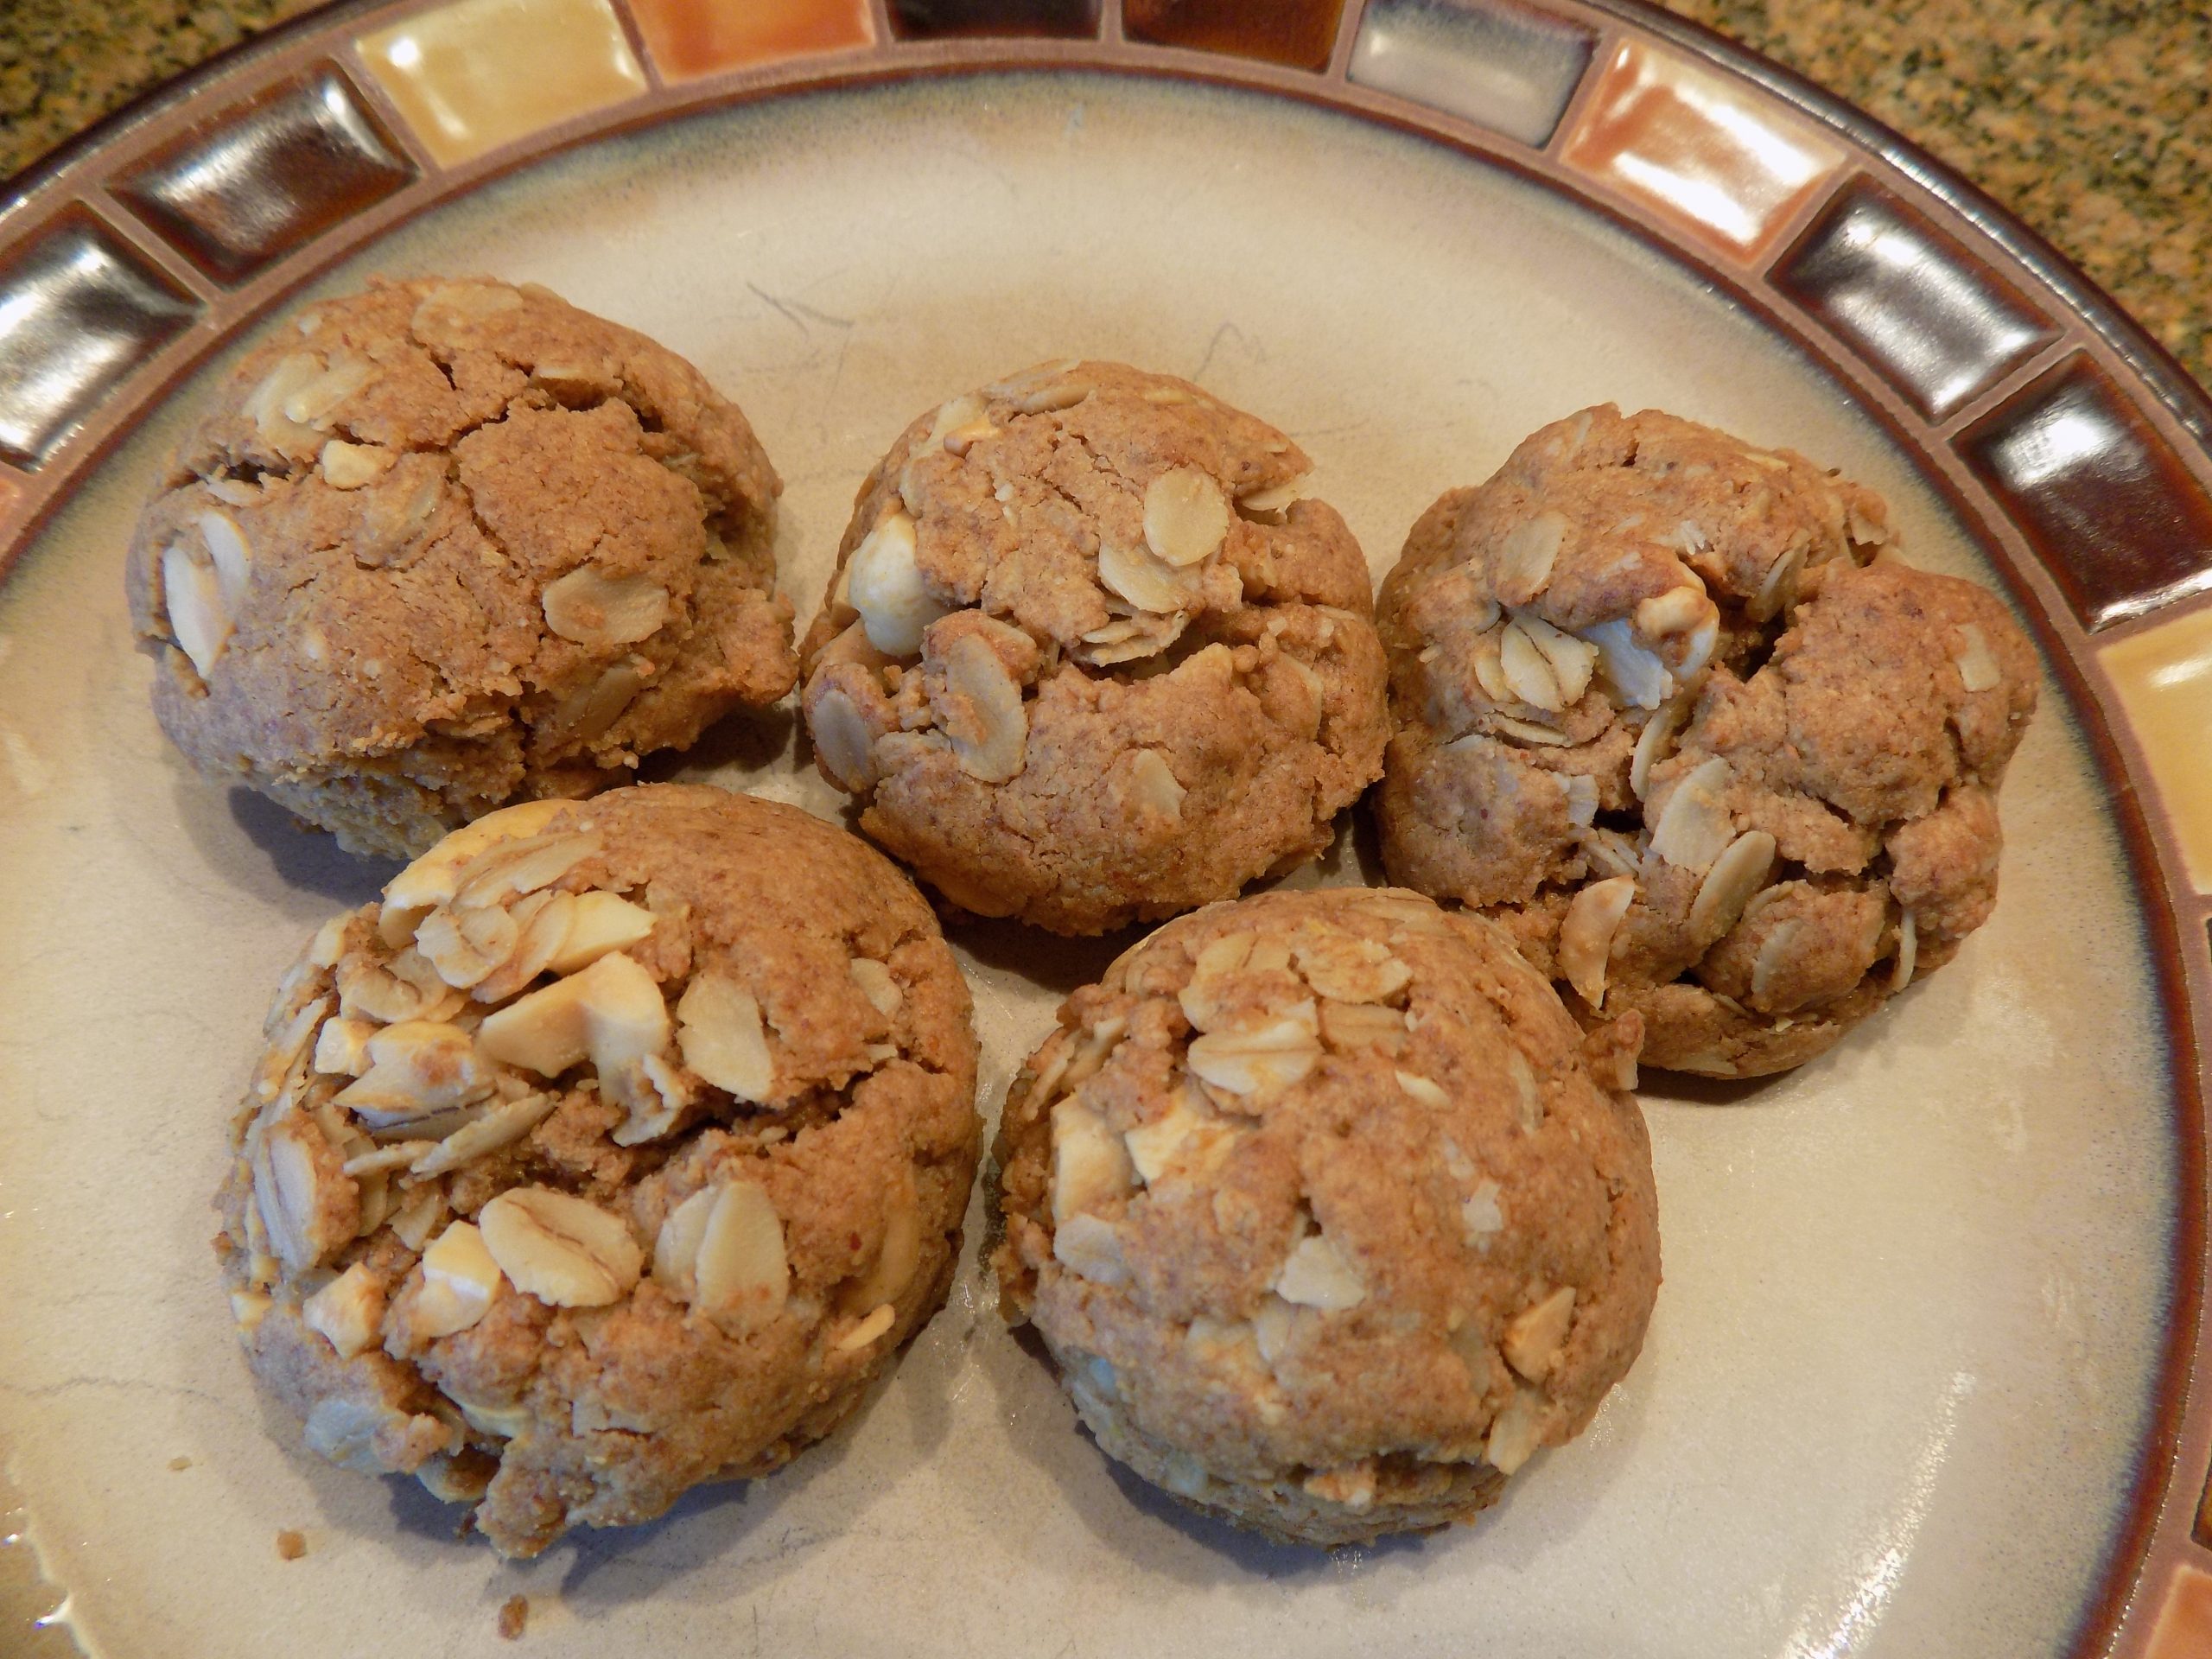
Pour a bit of granulated sugar in a flat-bottomed pan. (I use an 8-inch cake pan). Using a #40 (1½-inch diameter) ice cream scoop, plop balls of dough into the sugar and turn to coat all sides. Then place on the prepared baking sheet. Refrigerate for at least 2 hours. (Better if refrigerated overnight.)
Read below why you should almost always refrigerate cookie dough before baking.
Remove from refrigerator and make sure the cookies are at least 1½ inches apart on the baking sheet. If not, you may wish to use a second parchment paper lined baking sheet for the rest of the cookies.
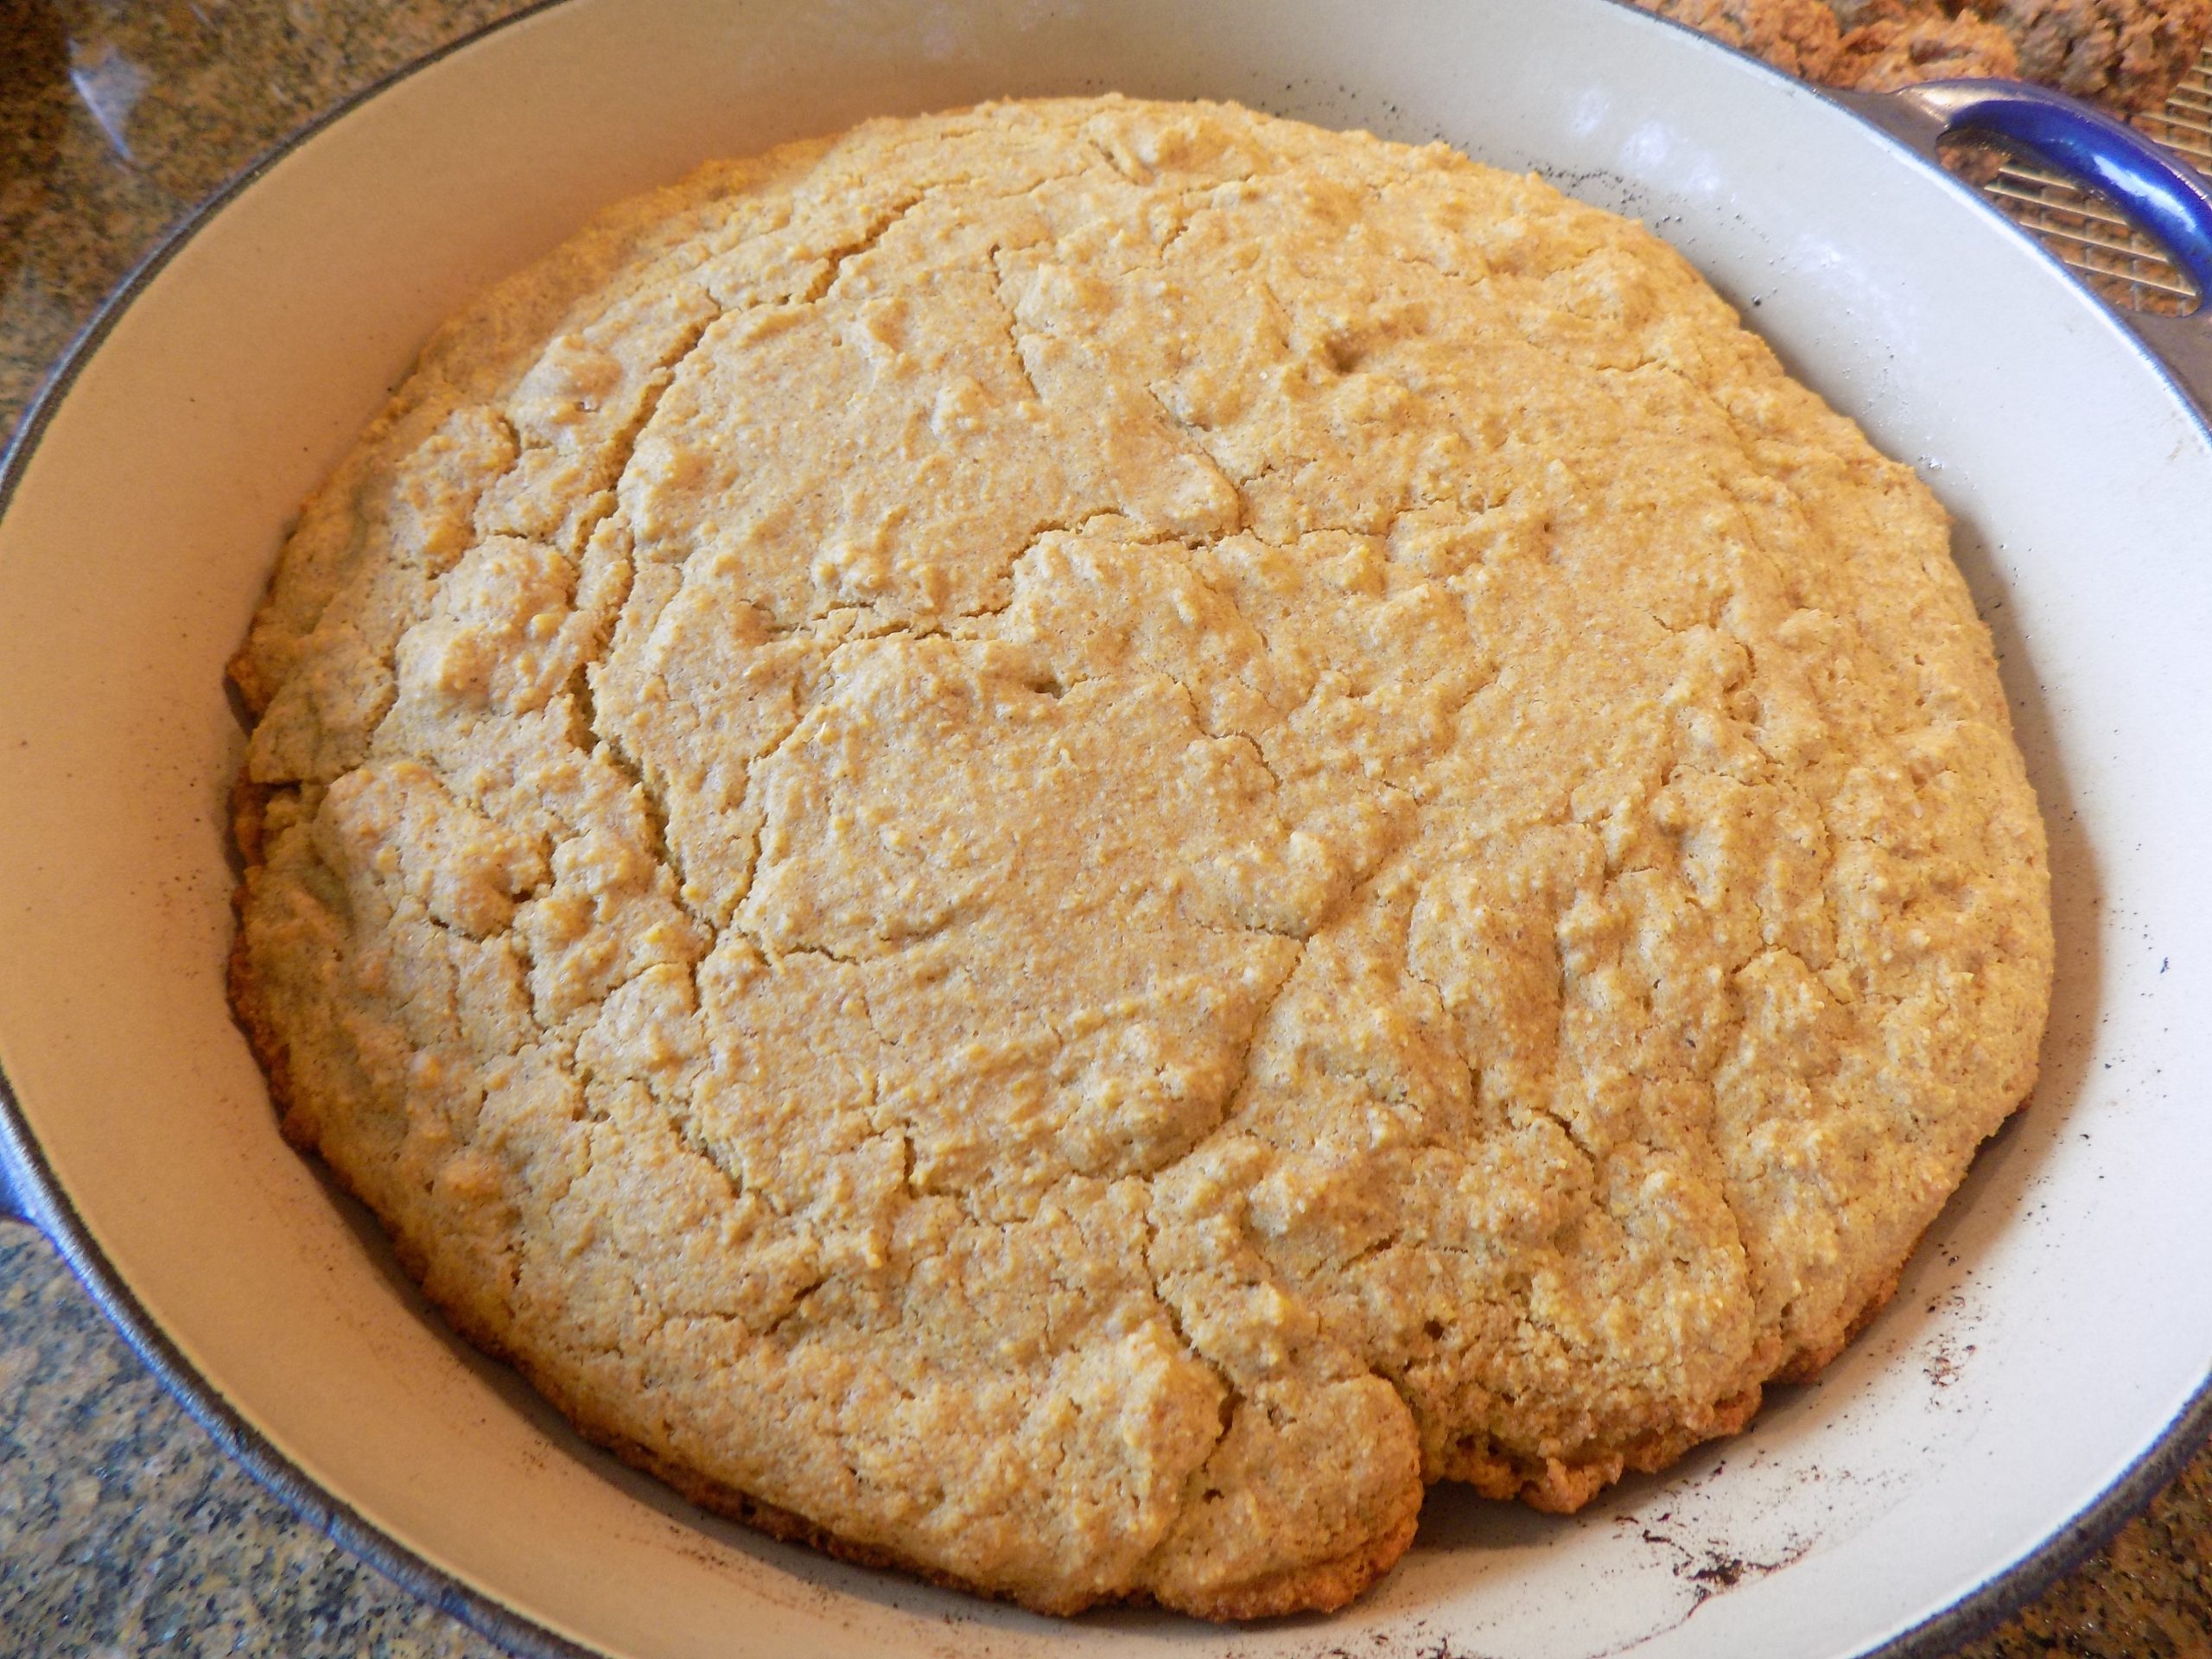
Bake in a pre-heated 325-degree oven until surfaces just begin to crack, 13-14 minutes. Do not over bake. Remove from oven and let cool 10 minutes before transferring to a wire rack to finish cooling.
Store in an airtight container at room temperature for up to 5 days.
Why refrigerate cookie dough?
Chilling cookie dough before baking solidifies the fat in the cookies. As the cookies bake, the fat in the chilled cookie dough takes longer to melt than room-temperature fat. And the longer the fat remains solid, the less cookies spread. If you skip the chilling step, you’re more likely to wind up with flat, sad disks instead of lovely, chewy cookies. So, anywhere from 24 to 72 hours is best. And the longer you chill the dough, the more flavor will develop. The flour will also absorb more of the moisture helping insure a thicker and chewier cookie.