Well, I’m at it again with yet another bread recipe. It all started with deciding to serve Sloppy Joes (recipe on this site) as one of the entrées for an upcoming classical pre-concert luncheon at our home. And as with all the dishes served before concerts at our home, the entrées and side dishes must not only be different each time, but they must also be easy to eat. No knives required. So, I decided on Sloppy Joes and Rotolo al Forno (recipe also on site). And usually for sloppy Joes, I just use homemade sandwich bread. But to make the Joes more authentic, I decided to serve the hamburger mixture on buns. (BTW, the way God intended Joes to be served.) But then, I wanted a really soft and tender bun, so it was easy to cut with a fork. And this is the recipe I found. But for the life of me, I can’t remember which site provided this terrific and very easy to prepare recipe. (If I don’t write things down right away, they are often gone forever. My bad!)
Anyway, these buns were so easy to build and so absolutely perfect for what I wanted. And tasty too.
So, the next time you decide to serve Sloppy Joes or hamburgers for dinner, may I recommend making your own buns. And I know, I would have bought buns too if I were still a working mom. But if you are retired or trying to save money, baking your own bread is really cost effective.
Well, that’s it for today. And it’s 1:15 pm and I still haven’t figured out what to cook for dinner. So, I better post this and then pay a visit to our freezer.
I sincerely hope that one of these days I will get my act together and make a meal plan for the coming week. Of course, I have been saying this for years, and at the ripe old age of 80, I doubt that I will be able to change my ways. But we haven’t starved yet, so maybe it’s not that important anyway. Frankly I have a lot more work to do on myself that has nothing to do with food. I am very much engaged in learning to forgive and remain civil with people who do not agree with me politically. I simply can’t understand the sh-t storm that is emanating to and from our country. Not only is our country suffering, but we have subjected other countries with the consequences of our exceedingly bad behavior. I can only offer my profuse apology.
Peace and love to all.
¼ c. whole milk
1⅓ c. warm water
1 T. instant yeast
4 tsp. granulated sugar
2 lg. eggs, divided
2 tsp. kosher salt
4½ c. unbleached all-purpose flour, plus more as needed
¼ c. (½ stick) unsalted butter, room temp.
veggie oil, for greasing the bowl
1 T. water
Place the milk, warm water, yeast, sugar, 1 of the eggs, salt, flour, and butter in the bowl of your stand mixer and mix until everything comes together, and all the flour is incorporated into the dough. Start kneading the dough and add enough extra flour to form dough that is very sticky. Some of the dough will stick to the bottom of the bowl and the rest will pull away from the sides of the bowl like it is sheeting. Don’t be tempted to add too much flour. Then continue to knead the dough at a low speed for about 5 minutes.
Pour about a tablespoon of veggie oil on the side of the mixing bowl and use a stiff spatula and your hands to shape the dough into a greased ball. Cover the bowl with plastic wrap or a damp tea towel and place it in a warm place for about 45 minutes.
Punch it down and form the buns in one of two ways.
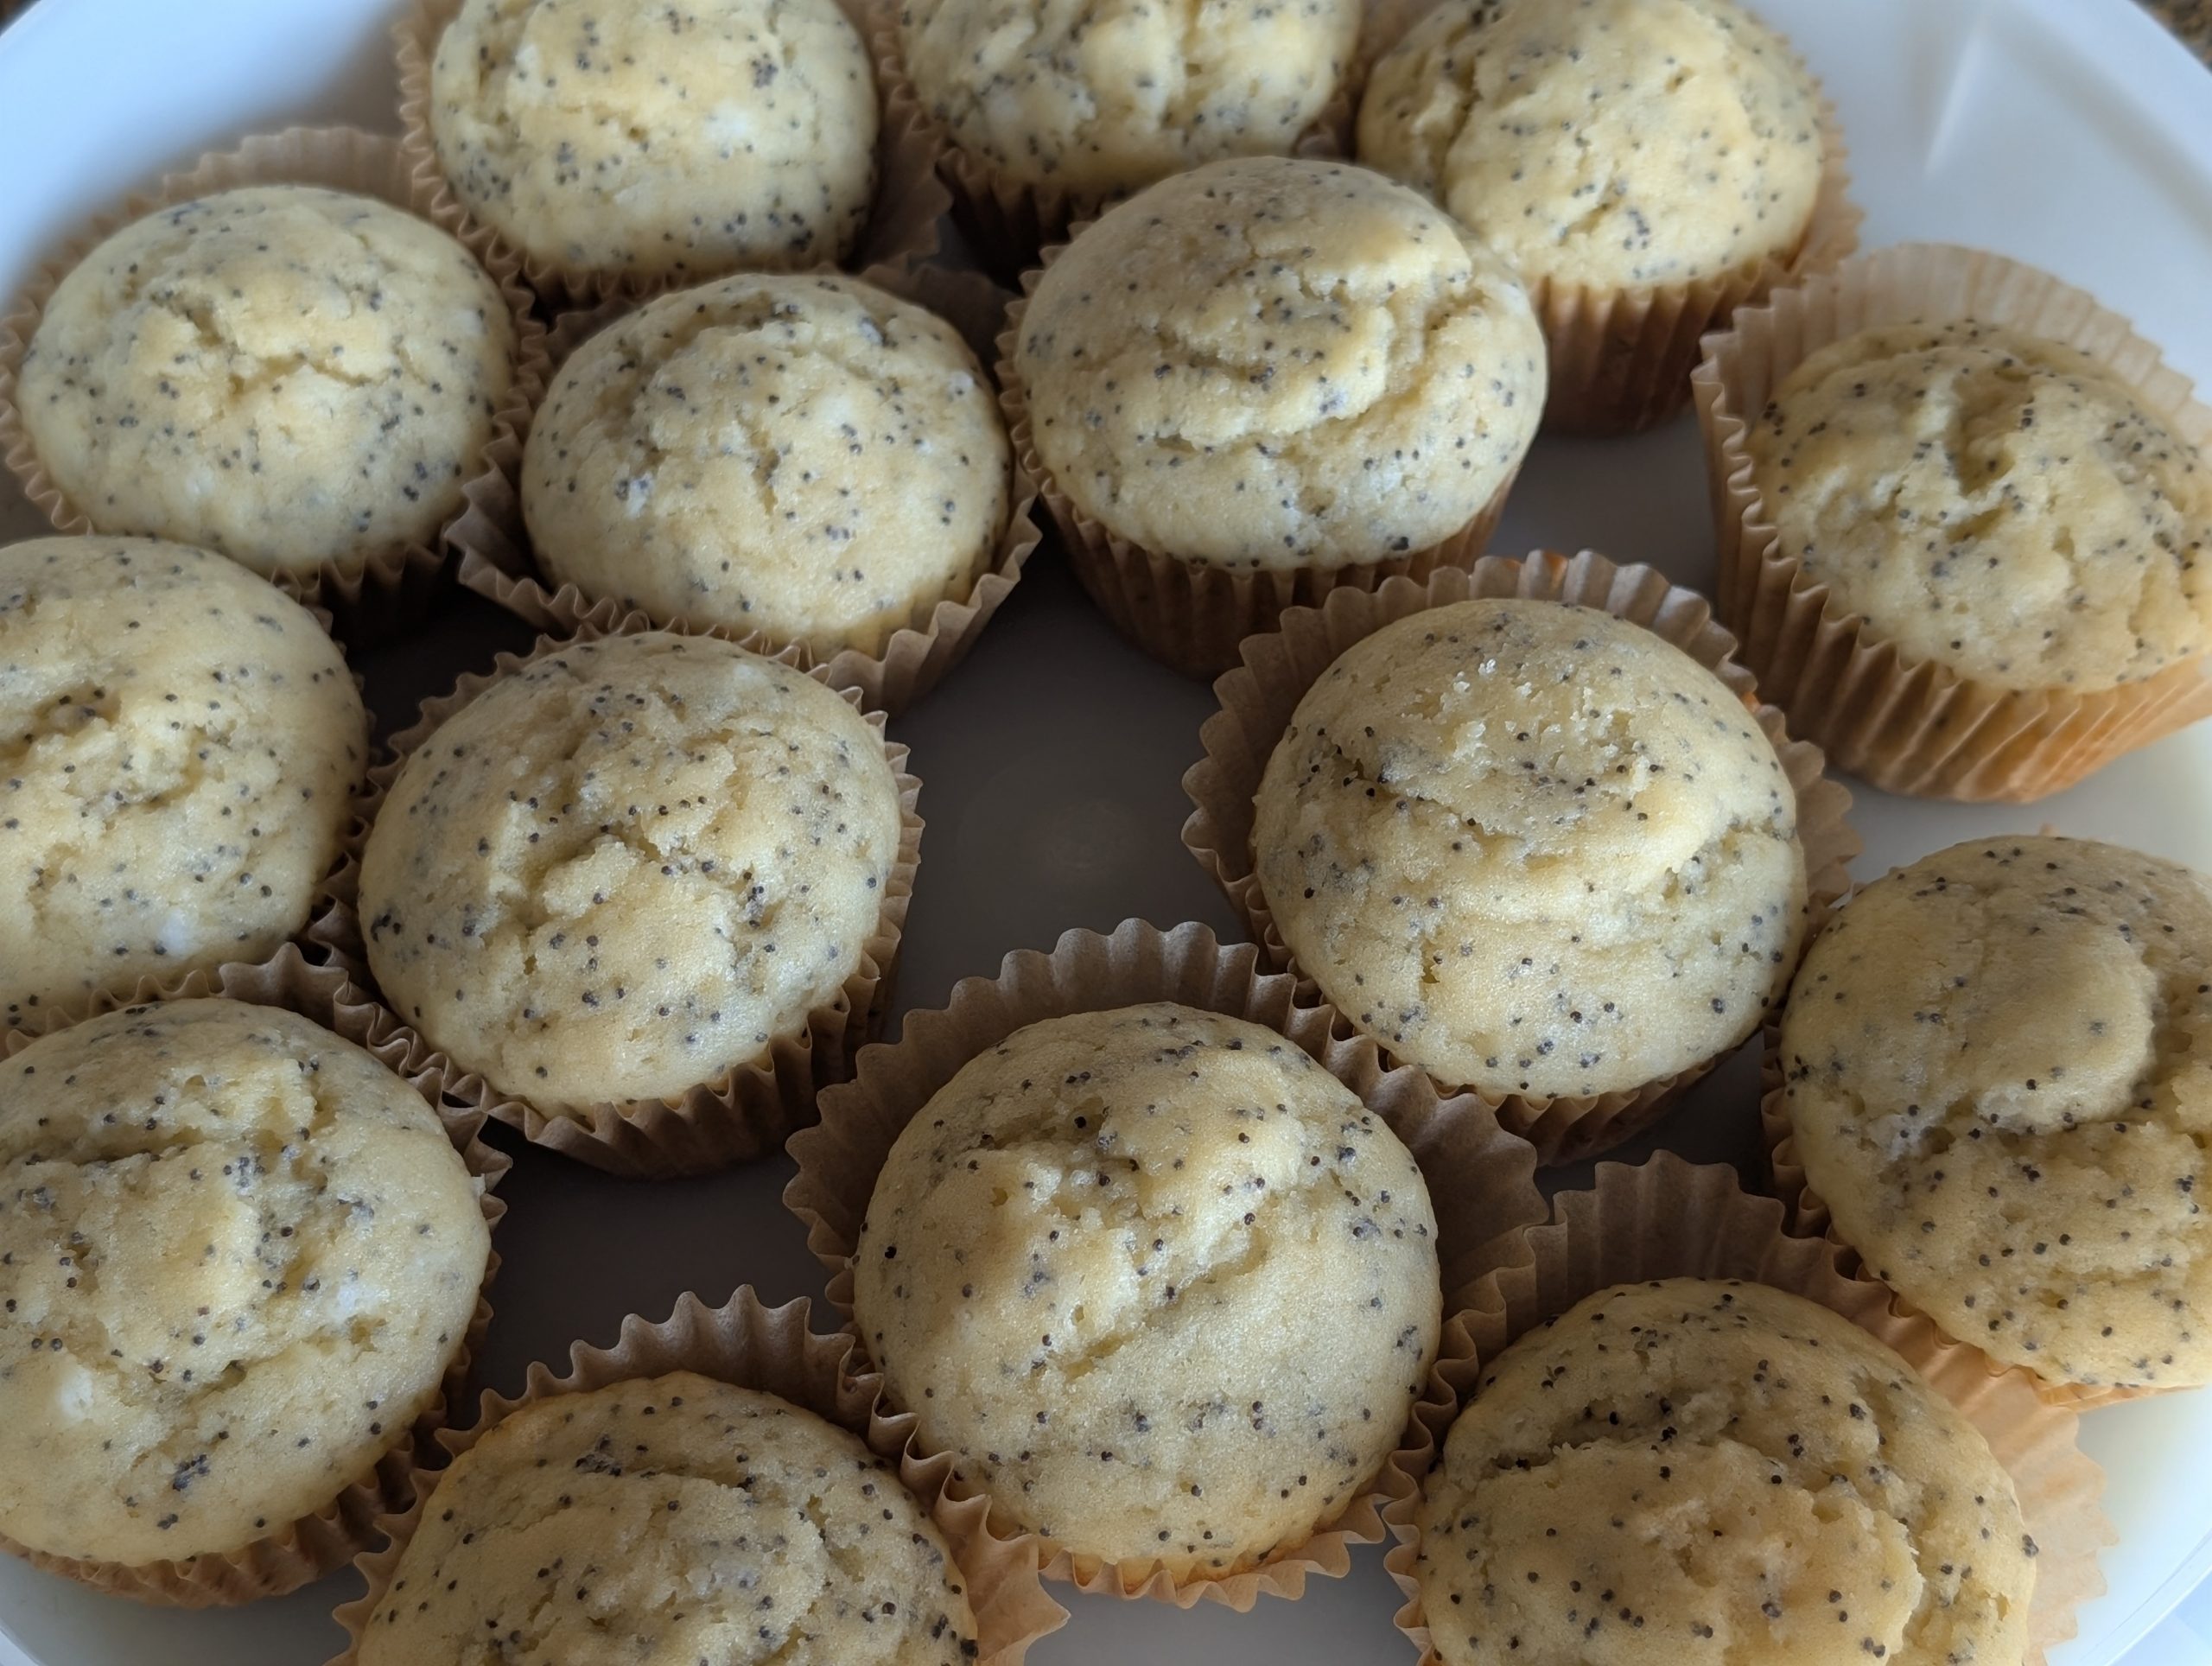
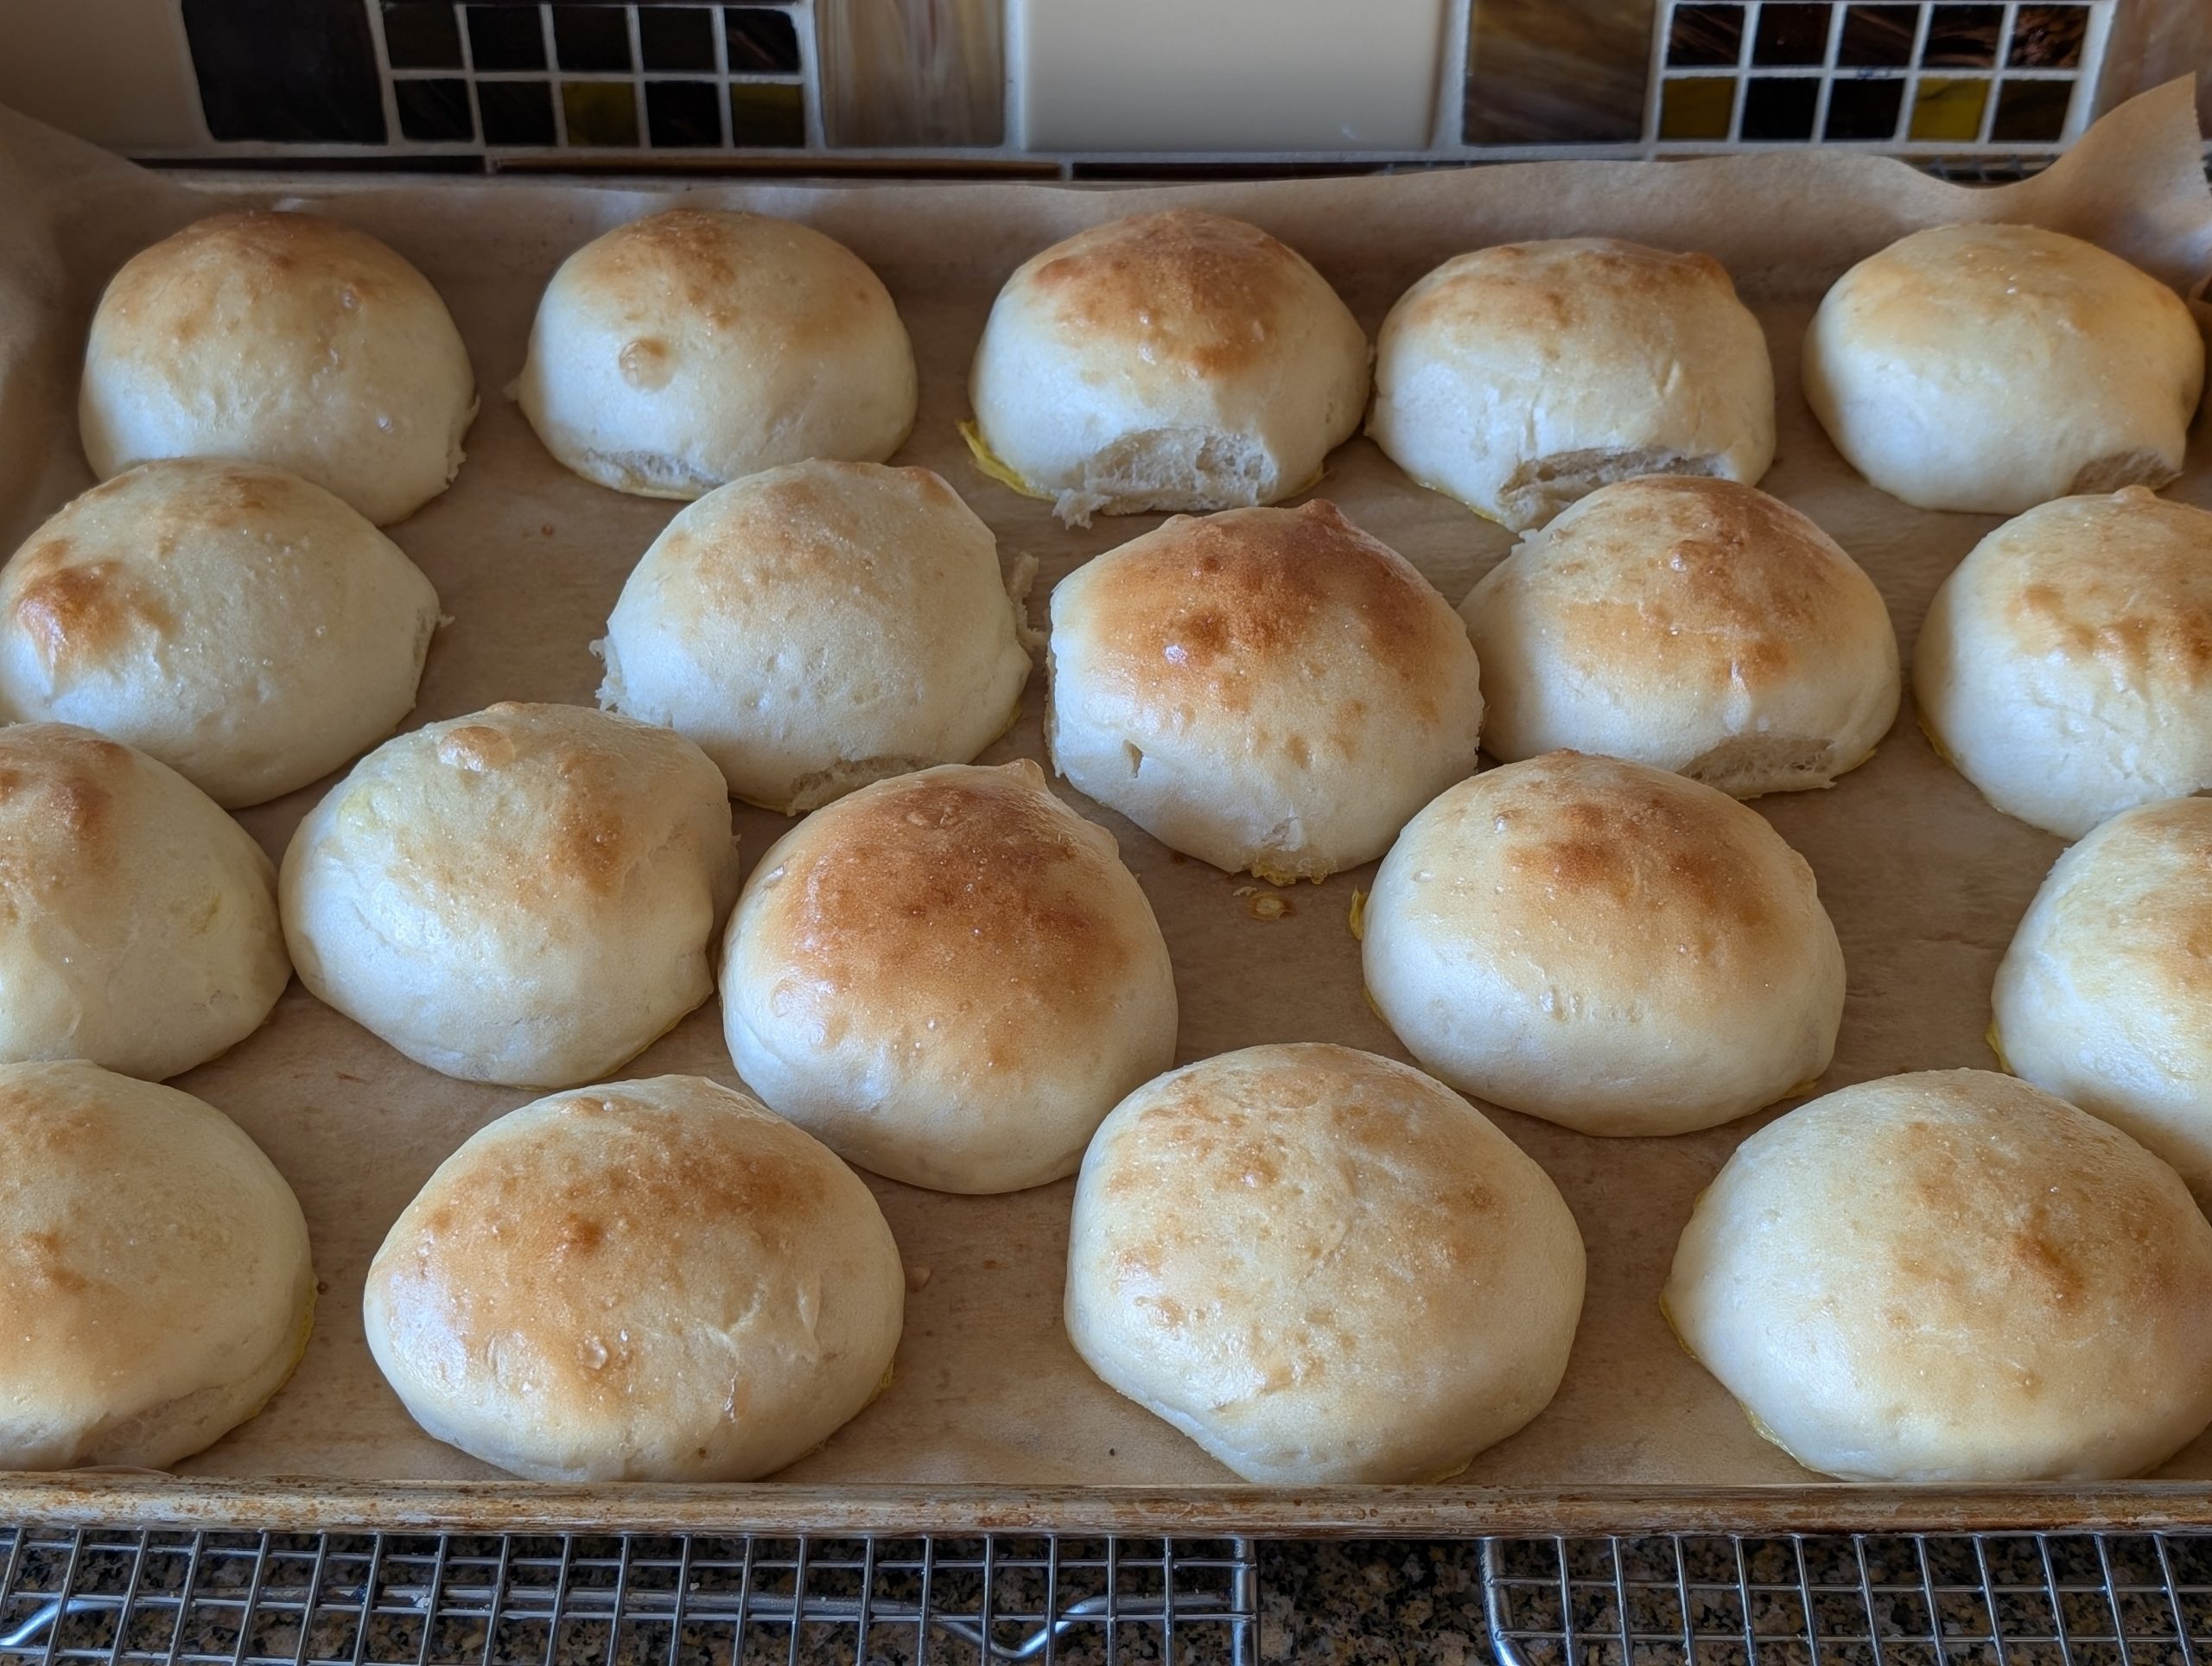
First method (my way). Using a #16 ice cream scoop that has been coated with cooking spray, squeeze off balls of dough and push them into the scoop. Too much dough, remove a bit. Too little dough, add a bit. Then, plop the dough balls at least 2 inches apart on a parchment paper or greased baking sheet. When you are finished forming all the dough, lift each dough ball and shape it with your hands by rolling the dough outward and under to form a smooth top. Place each bun back on the parchment paper, cover with greased plastic wrap, and let rise for 45 minutes before baking. This method produces about 19 rolls.
After 45 minutes, whisk the remaining egg and water together and brush the tops of the buns with the egg wash.
Bake in a pre-heated 425-degree oven for 11-12 minutes or until the tops are golden brown and the internal temperature reaches at least 205-degrees.
Remove from oven, and cool completely before storing the buns in an airtight container.
Second method. Turn the dough out onto a clean counter or floured pastry cloth. Divide with a sharp knife or bench scraper into 18 equal pieces and shape each piece of dough into a tight ball.
Place on a parchment paper lined or greased baking sheet about 2 inches apart, cover with greased plastic wrap, and let rise for 45 minutes before baking.
After 45 minutes, whisk the remaining egg and water together and brush the tops of the buns with the egg wash.
Bake in a pre-heated 425-degree oven for 11-12 minutes or until the tops are golden brown and the internal temperature reaches at least 205-degrees.
Remove from oven, and cool completely before storing the buns in an airtight container.