
So here it is, Sunday morning, with 30 people coming for a JazzVox pre-concert meal at 1:00, and I have bread rising that just doesn’t look “right”. It isn’t rising the way it should. It’s not doubling in bulk, or looking like any other bread dough I have ever made. I’m muttering to myself, our guest artist is wondering around, I’m sure thinking the whole time she is in the home of a maniac, and Mr. C is generously offering to go to the store and buy a couple baguettes.
But because this recipe came from the “a bread a day” website, one of my favorite bread recipe sites BTW, I’m stubbornly reluctant to give up on this bread and resort to desperate measures. So I figure there is plenty of food without the bread and besides, worst case scenario, I can always serve the caponata with crackers.
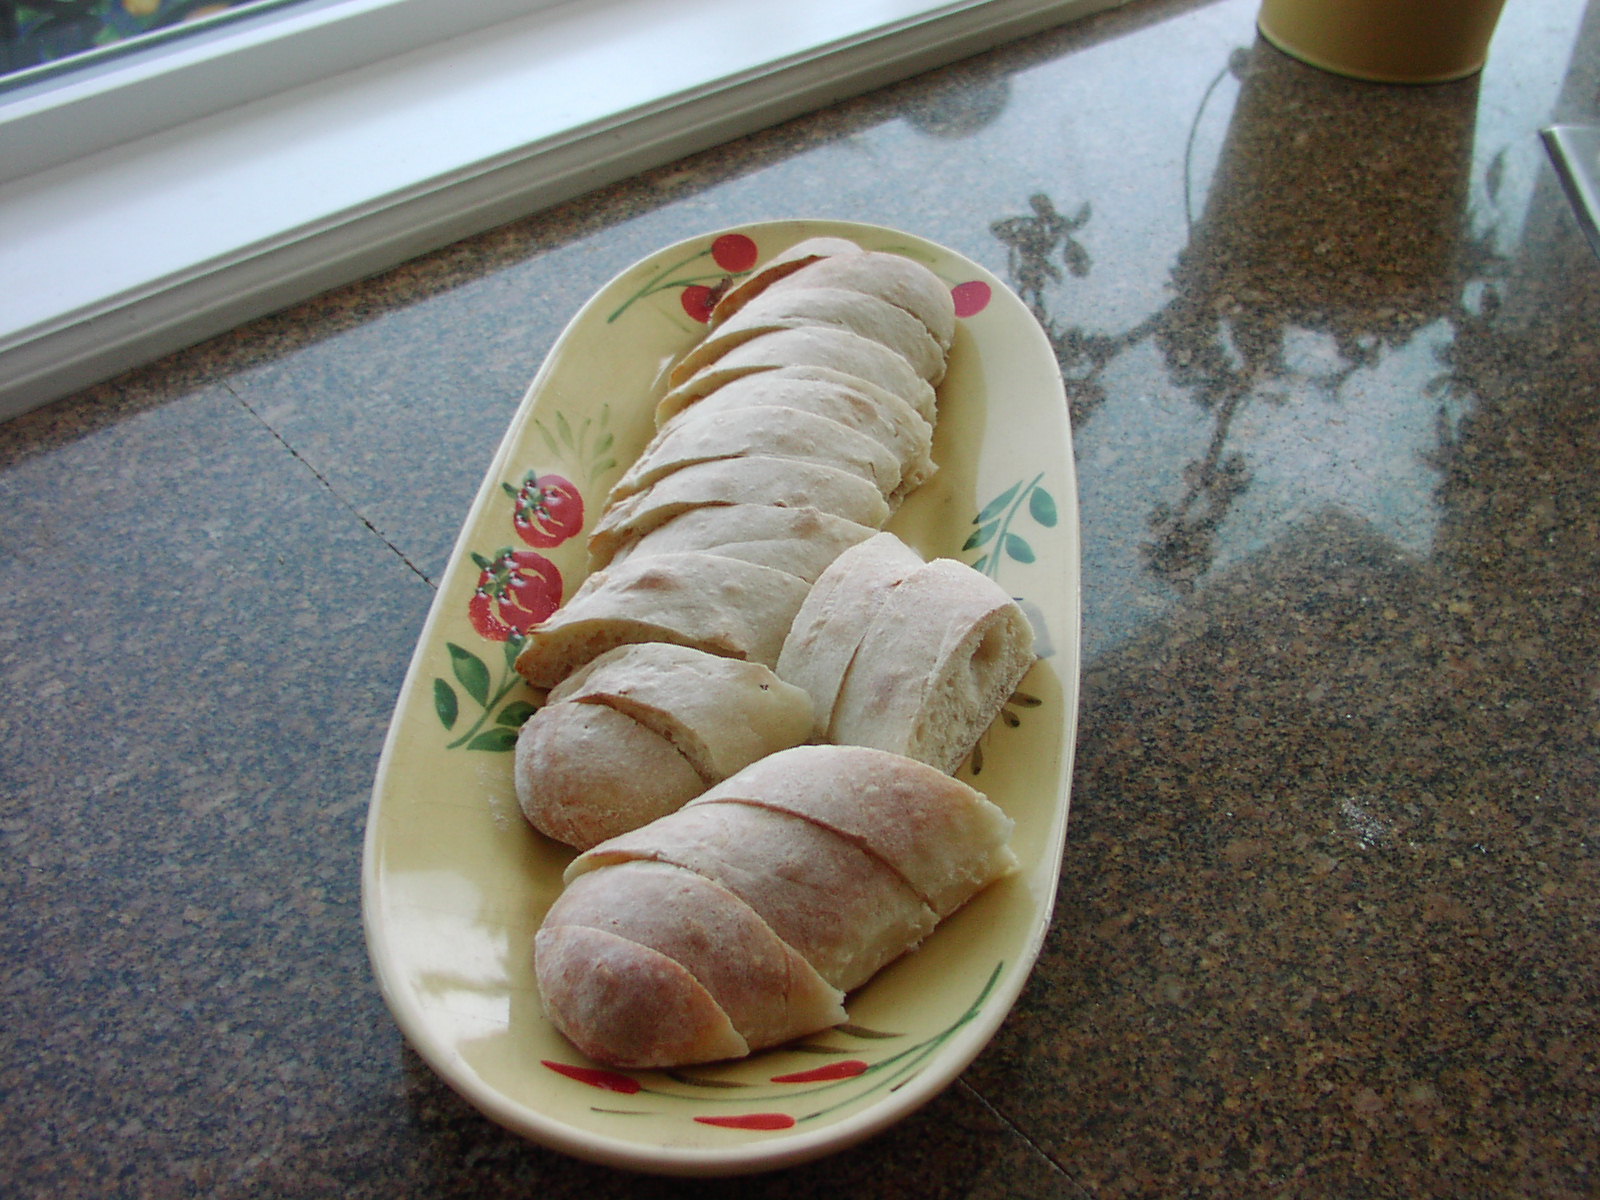
So I place the bread in the oven, follow the baking instructions to a tee, and watch as the serrated cuts reflected in the original recipe all but disappear, the golden brown color as shown on the website is a wimpy blond color, and the loaves have all just kind of melded together. But at this point I simply don’t have any more time to mess with bread. I have 2 pasta casseroles that must go in the oven – now! I also have the finishing touches on all the rest of the meal to get assembled and set out. So I take the bread out of the oven, set it on cooling racks, say a little prayer, and continue with all my other tasks.
At about 2 minutes before the bread is needed to go with the appetizers, I cut my first slice. Absolutely perfect crumb (inside structure of the bread). So at least that much about the bread is fine. So I cut the rest, throw it in a basket, set it beside the appetizers and walk away. Pretty soon everyone is raving about the bread. Best bread they ever tasted, perfect with the caponata, etc. etc. Holy cow! And I had been worried. Silly me! So before the bread was all gone, I snuck a bite for Mr. C and myself. Delicious! My guests were right. While it lasted, it was perfect bread. (People were still asking for more bread during the intermission!)
So in final analysis, the bread was a hit, and I had reinforced my belief in a couple of areas. 1) Trust the recipes that are posted on really good cooking blogs. 2) Trust your own judgment when it comes to recipes, and 3) don’t prepare a new recipe for guests without first giving it a test run. (Now if I could only follow my own advice, number 3 that is, I would save myself so much anxiety and frustration. But the odds of that ever happening are about as likely as us winning the lottery. And since we never buy a ticket, what are the odds?!!)
So even if you aren’t into gambling either, I suggest you take a chance on this recipe. And I know, cake flour in a bread recipe just seems sick and wrong. But I’m here to tell you, it works! I don’t honestly know why or how it works, but it does. (This is the part about trusting recipes on really good sites.)
BTW, the recipe for Caponata on this site is heavenly, especially with this bread. Actually the caponata is so delicious it would probably be great served on shoe leather. But shoe leather can be kind of hard to find, so I would go with baguette slices if I were you!
- 3¼ c. unbleached bread flour, or more as needed for dough and dusting
- 1½ c. cake flour
- 2 tsp. kosher salt
- 1½ c. + 2 T. cold water
- 1 tsp. active dry yeast
- ½ c. sourdough starter (see recipe below)
- olive oil for greasing the bowl
In the bowl of your stand mixer, add the flours, salt, and water. Using the dough hook, mix the dough until smooth, about 1 to 2 minutes, scraping down the bowl as needed. Cover with plastic wrap and let rest for 15 to 20 minutes.
Add the yeast and starter to the mixture in the bowl. Knead for 4 to 6 minutes at medium-low speed, adding additional flour as needed to form a soft ball. The dough should not be too firm, so don’t add too much extra flour.
Pour a small amount of olive oil on the dough, and using your hands, roll the dough so it is completely covered with the oil. (It is going to be very sticky and fight you over being greased.) Cover with plastic wrap and refrigerate overnight. The next day, bring the dough to room temperature before proceeding. (Between 2-3 hours.)
Line a one sided baking sheet with parchment paper. Sprinkle with plenty of flour. Turn the dough out onto a well-floured surface. Do not knead the dough. Divide the dough into 4 equal pieces. Pressing on the dough to deflate it, form the pieces into 15-inch* long skinny ropes by lifting and stretching the dough, and rolling it under your palms. (Don’t obsess about getting the baguettes exactly 15-inches long.) Place the baguettes evenly spaced on the floured parchment paper. Dust the loaves well with flour, cover loosely with lightly oiled plastic wrap, and let rise for 1½ hours. (They probably are going to end up touching each other. That’s just fine!)
Place your baking stone, if you have one, on the second to lowest rack in your oven. Preheat the oven to 450 degrees one hour before baking. About 10 minutes before your baguettes have risen the 1½ hours, place a heavy pan or rimmed baking sheet on the lowest rack of the oven.
Using your one sided baking sheet in much the same way you would use a pizza paddle, carefully slide the parchment paper onto the heated stone. If you aren’t using a baking stone, just place the baking sheet in the oven. Immediately place 8-10 ice cubes into the pre-heated pan on the bottom rack. Bake the baguettes for 10 minutes. Remove the “ice cube” pan and continue baking the bread an additional 10 minutes or until a pale golden brown and sounds hollow when thumped with your fingers.
Transfer the bread to a wire rack to cool completely before slicing. Wrap and freeze any bread not eaten that day.
*You can make your baguettes longer or shorter, whatever works for you. I make mine 15-inches long because my baking stone is 16-inches wide and 14-inches deep, so 15-inch baguettes are perfect for my needs.
Basic Sourdough Starter Recipe:
- 2 c. unbleached all-purpose flour
- 2 T. sugar
- 1 T. active dry yeast
- ½ tsp. kosher salt
- 2 c. warm water
Combine all ingredients in a plastic juice pitcher using a wooden or plastic spoon. (Don’t worry about lumps because the little yeasty beasties will make short work of dissolving the lumps!) Cover with lid, turning strainer in lid to pouring lip. (This allows air to reach the starter.) Let ferment 2 to 3 days at room temperature, stirring several times daily. After the third day, transfer starter to a covered glass container and refrigerate.
To use, remove desired amount for recipe and replenish starter by stirring in equal amounts of flour and water or follow the instructions for the particular bread you are making. Let stand at room temperature overnight. Return to refrigerator.