Last Sunday morning I decided I wanted to go out for dinner. But then, for whatever reason, I changed my mind and decided instead that I just wanted to stay home and have homemade pizza. Mr. C. immediately agreed with my idea and offered to go to the store for any ingredients I needed. (We both love homemade pizza.)
So, off he went to procure pepperoni, bulk sausage, mushrooms, and mozzarella cheese.
And since I was desirous of keeping life as simple as possible for myself, I decided to wing it and try making a pizza crust that took little effort. And the recipe you find below is what I came up with.
Now one of the problems I have always had with making homemade pizza is that the crust never seems to get done before the toppings are hot and the cheese is melted and nicely browned. That’s because I am never skimpy with the amount of topping I use. In fact, I usually add way more than is necessary. So, I decided this time to pre-bake the crust for a few minutes before adding all the yummy toppings. And it worked.
So, if you too love homemade pizza, I think you should consider making this crust.
And since I’m sure you wondered what I put on this crust, find my recipe for Easy Pizza Sauce below along with the toppings I chose to use on this pizza.
1 c. warm water
1 tsp. granulated sugar
1 T. instant or active dry yeast
1 tsp. fine sea salt
1 T. extra virgin olive oil
2 c. unbleached all-purpose flour, or more as needed
Combine warm water, sugar, and yeast in the bowl of your stand mixer and stir to combine. Let mixture sit for 5 minutes, or until it becomes bubbly. Add salt, olive oil, and 2 cups of flour.
Using your dough hook, kneed until a ball begins to form (dough will be very sticky). Add more flour as needed to create a soft dough. (Part of the dough will cling to the bottom of the bowl, but that’s exactly what you want.)
Cover the bowl with plastic wrap and let it rise for a few minutes or up to an hour. Then plop the dough out of the mixing bowl and spread it onto a lightly greased baking pan in whatever shape or thickness your heart desires. (I use a half-sheet pan 17.9″L x 12.9″W x 1″H.) I just use my fingers to force the dough into the whole pan with the edges thicker than the main part of the crust.
Bake unadorned in a pre-heated 475-degree oven for 7-8 minutes. (This allows the crust to be done at the same time as the toppings are hot and the cheese is melted.)
Remove from the oven and add sauce and any toppings you desire.
Place back in the oven until the crust is golden brown (14-15 minutes) and the cheese has melted and a nice golden brown.
Remove from oven and let sit for 5-7 minutes before serving.
EASY PIZZA SAUCE
2 T. tomato paste
3 T. extra virgin olive oil
2 tsp. chopped dehydrated onion
1 tsp. Italian Seasoning
¼ tsp. granulated garlic
freshly ground black pepper
pinch fine sea salt
tiny pinch crushed red pepper flakes, opt.
⅓ c. finely diced fresh tomatoes, opt.
Stir altogether. Spread on pizza dough after the first baking.
My Favorite Toppings (as pictured above)(and in that order)
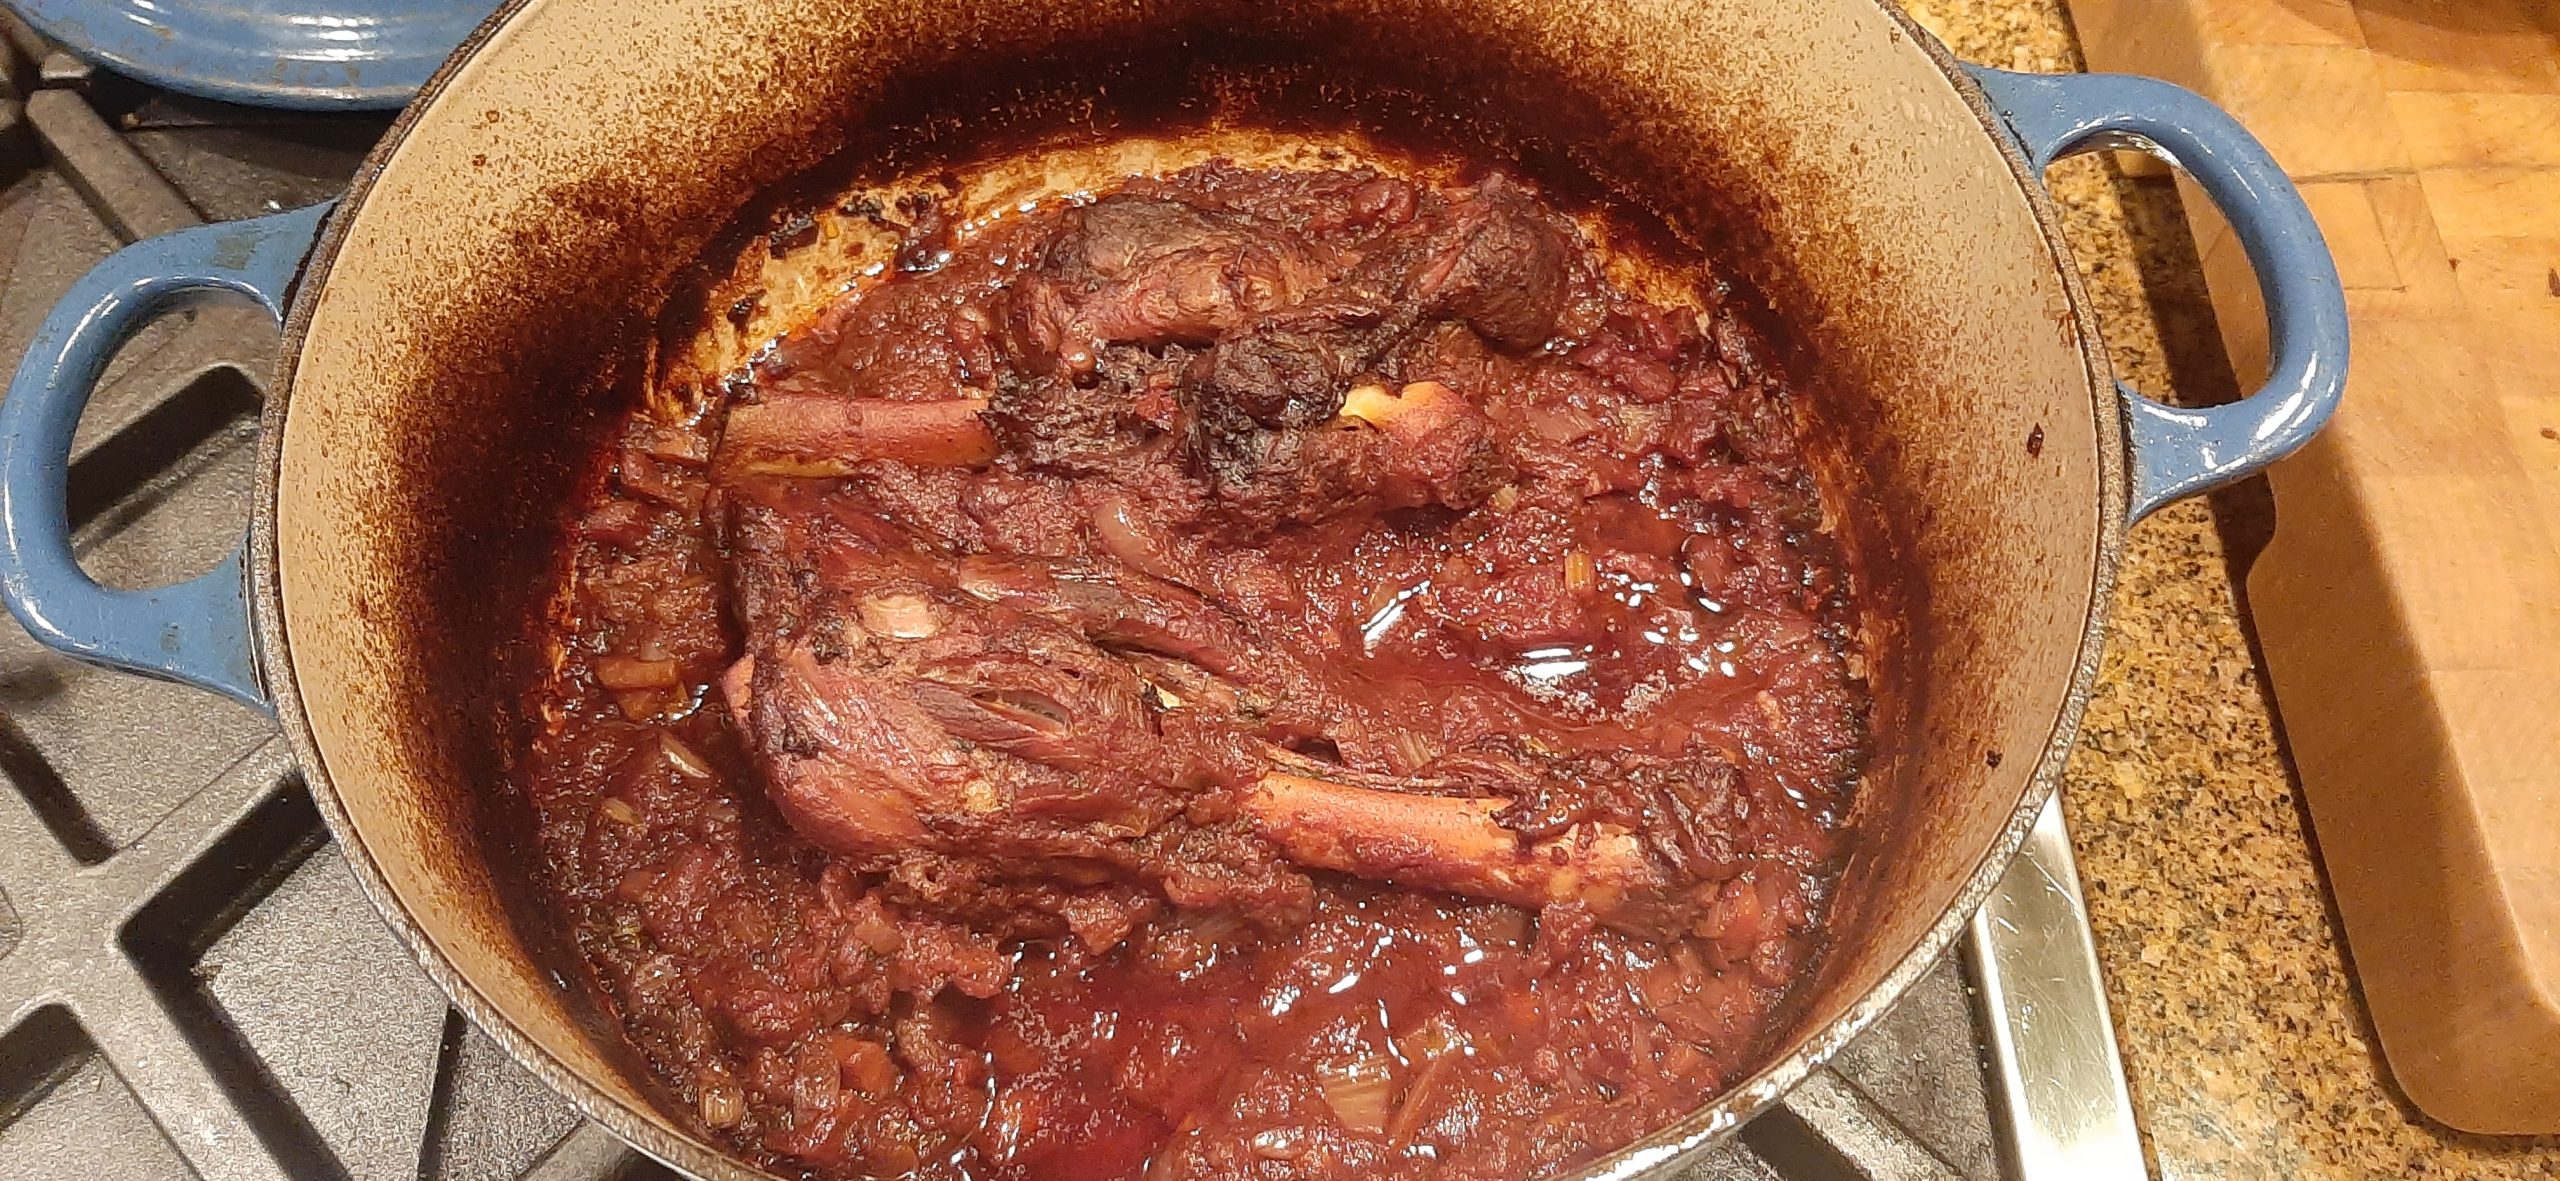
So, confession time. Until yesterday I had never cooked a shank. And for the life of me, I couldn’t tell you why. Maybe because, best to my recollection, I had never eaten a shank until last year when we were served braised lamb shanks prepared by my sister-in-law Katie. I was blown away by the wonderful flavor and tenderness of the meat. And then just before Christmas, our dear friend Phyllis served braised beef shanks at a small dinner party we were fortunate enough to attend. And it finally dawned on me that shanks were just braised meat. Duh. Basically, as simple as that!
So, after that, I bought a couple of lamb shanks and tucked them in our freezer.
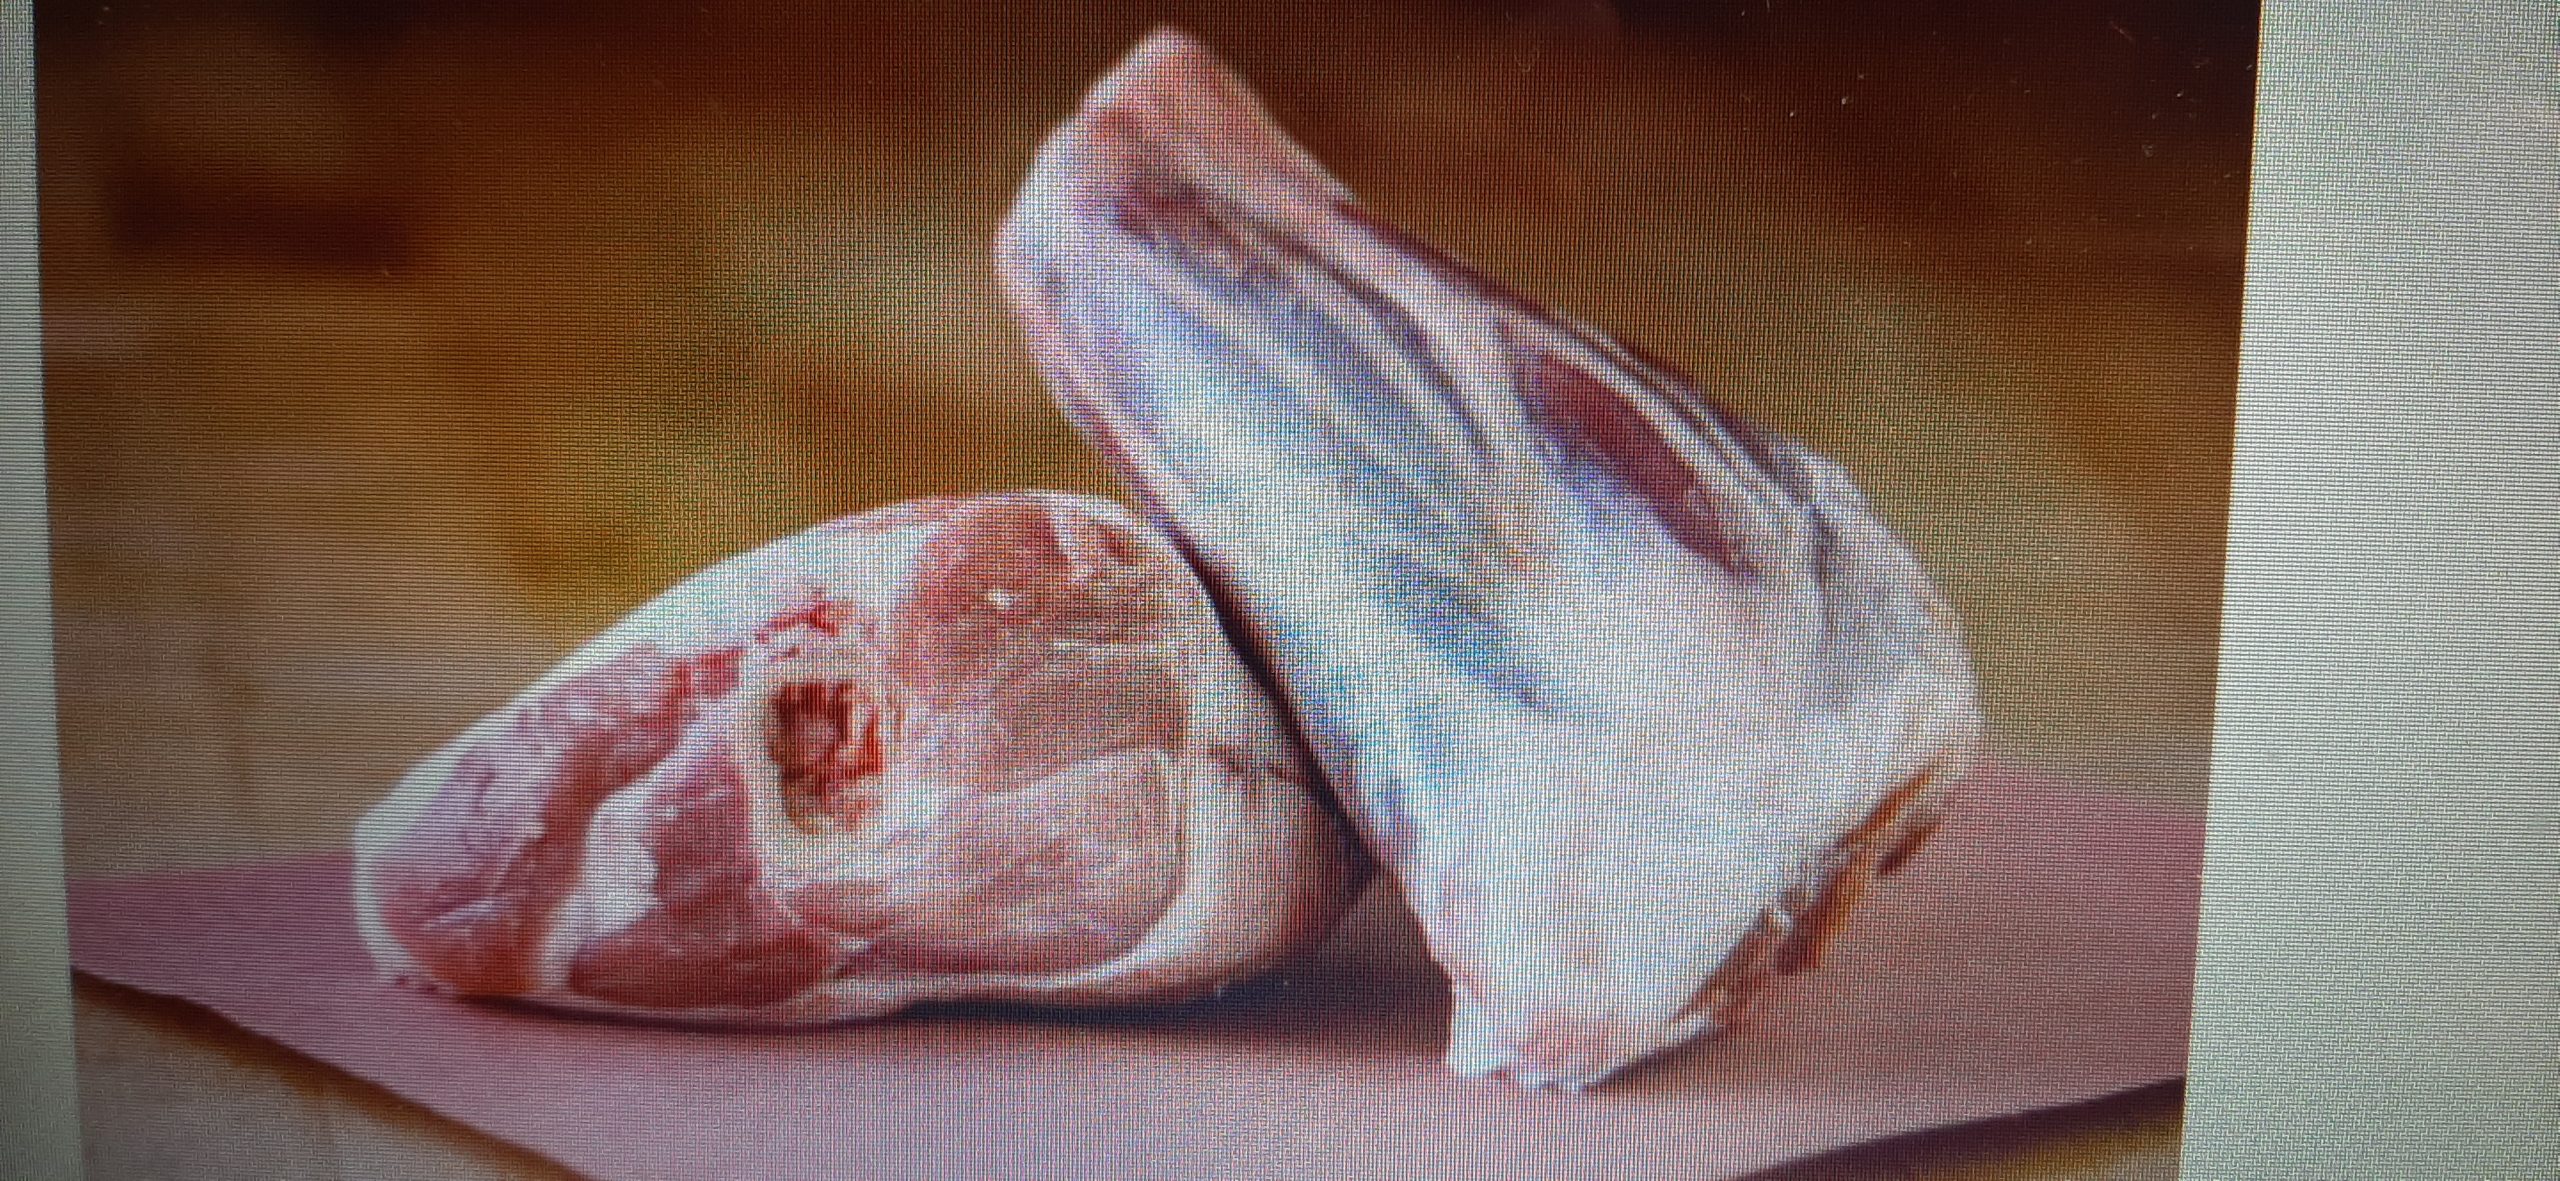
Jump forward a few weeks, and our dear friend Todd posted about fixing lamb shanks and that did it! I had to venture into braised shanks land. And oh, my goodness. Braised shanks ARE REALLY EASY TO PREPARE. All I can say is “where have braised shanks been all my life?” (And thank you recipetineats.com for this wonderful recipe.) (And sorry for all the changes.) And just because I’m sure you too were wondering, a lamb ‘shank’ is the lower part in the rear leg. The same joint in pork is the ‘hock’ and in beef, the ‘leg’. The equivalent joints on the front legs are ‘fore shanks’ for lamb, ‘knuckles’ for pork, and ‘shins’ for beef. And since you too may never have seen either lamb or beef shanks sold at your local grocery store, lamb shanks look like this.
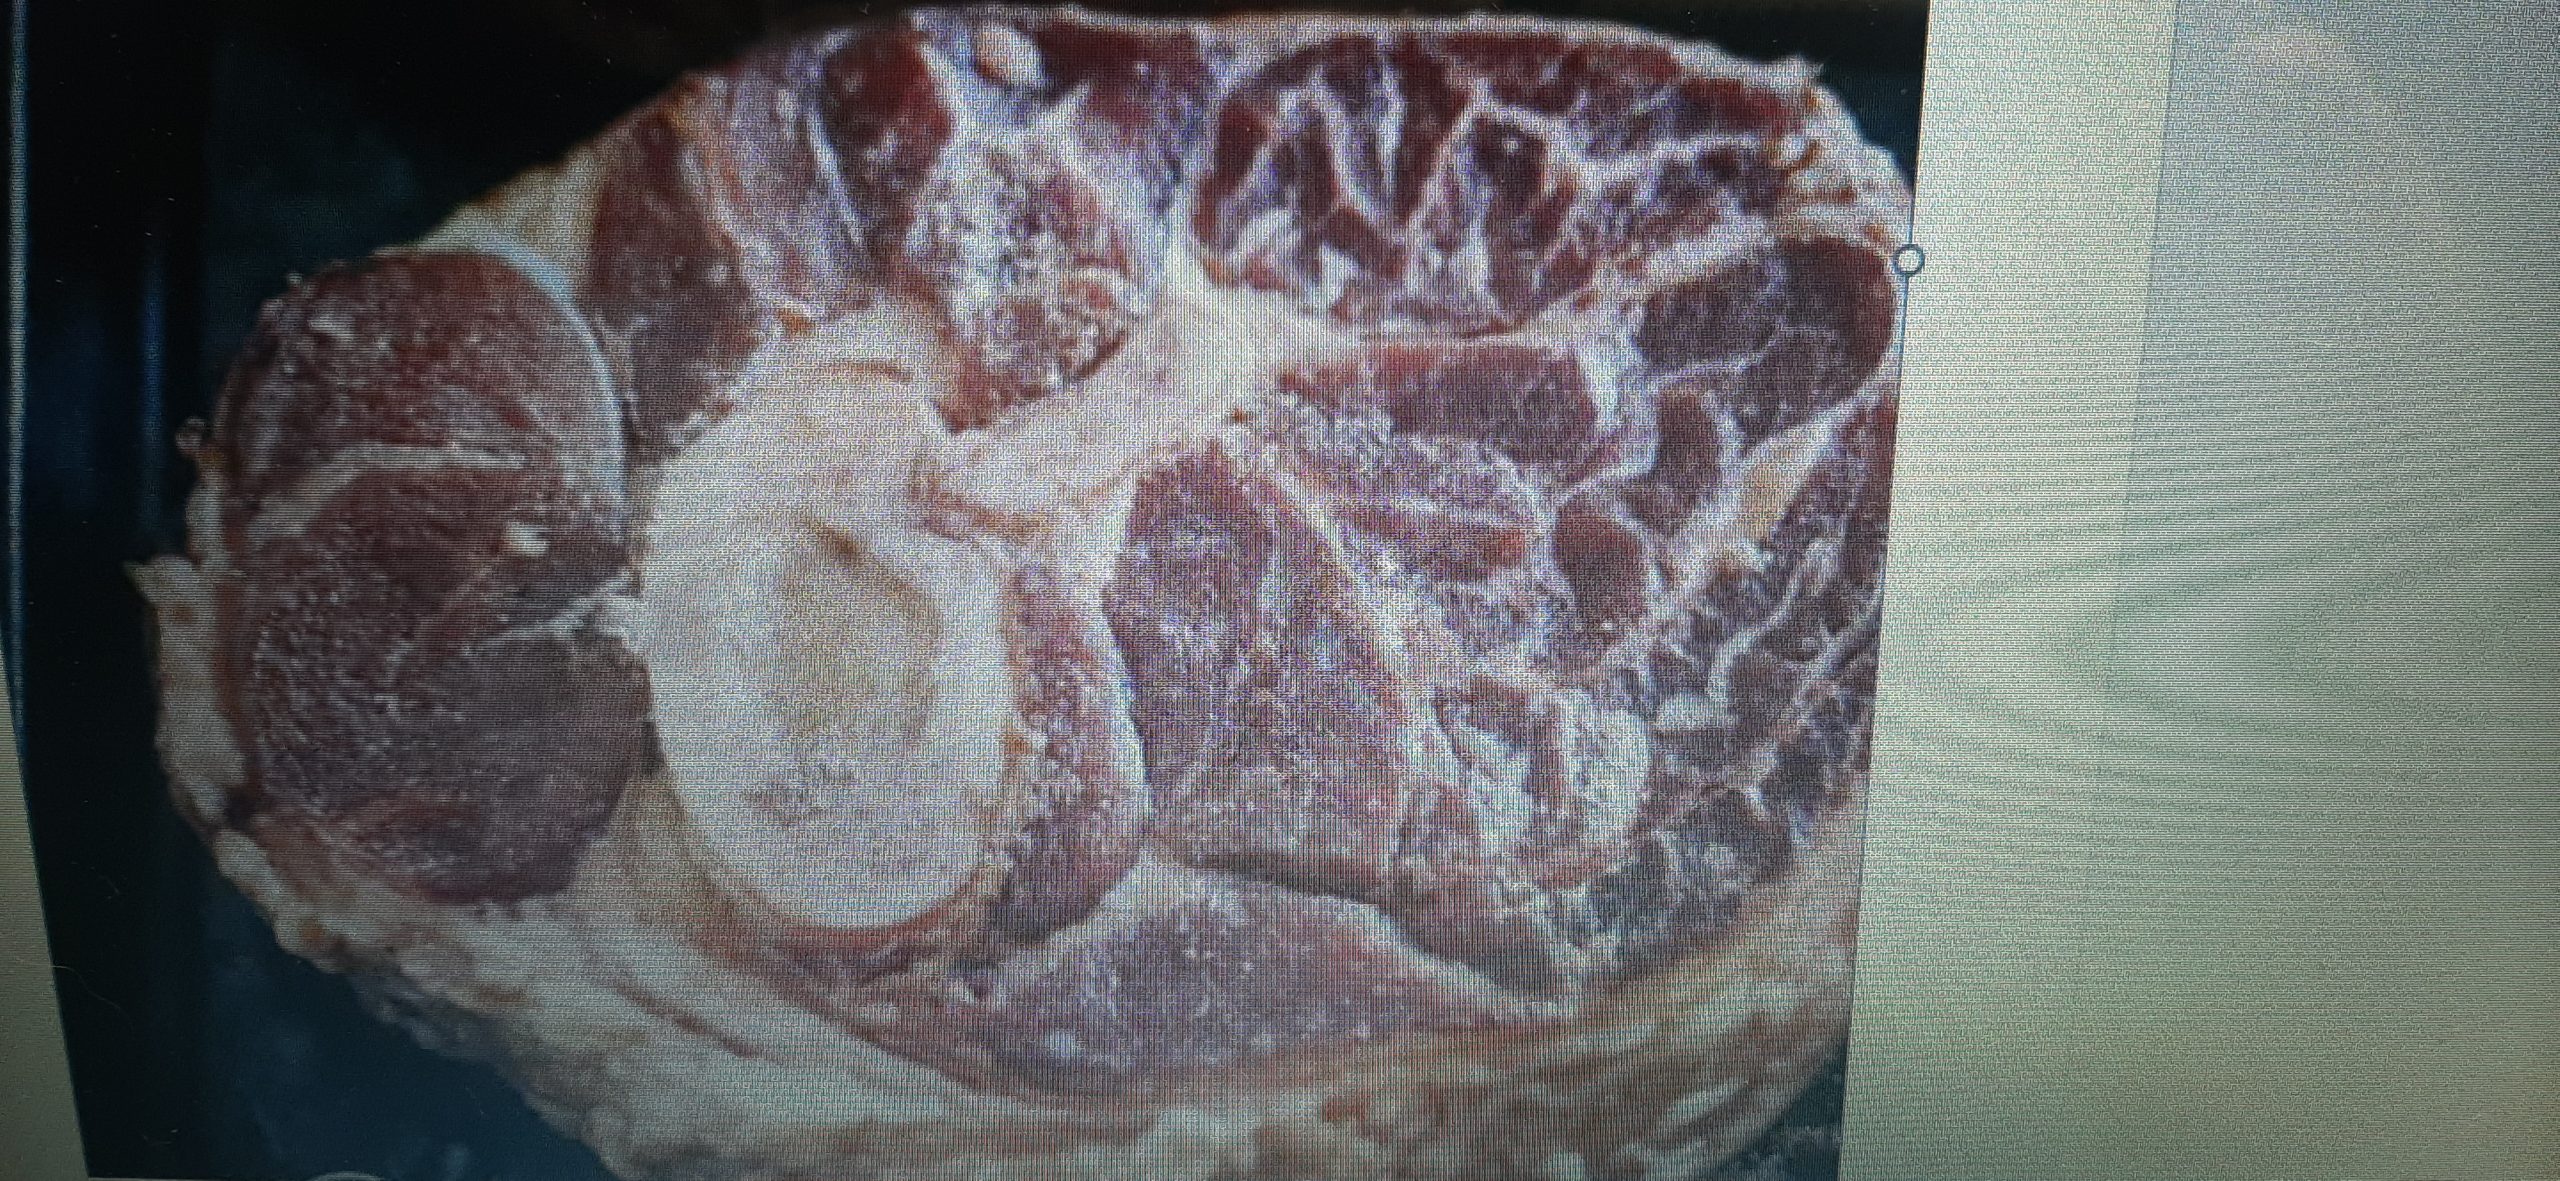
Beef shanks are large, round cuts of beef with a bone running through the middle, between 2-3 inches thick, from the lowest part of a cow’s leg, just above the hoof. Beef shanks look like this.
So, if you too have had your head buried in sand while everyone around you has been enjoying shanks, then take my word that lamb shanks are easy to prepare and absolutely delicious. And no, I haven’t prepared beef shanks yet. But you can count on me to do so in the next couple of weeks. And when I find a great recipe, I will pass it on to you. As far as where you can purchase lamb or beef shanks, I’m afraid you are on your own. Bug the butcher at your local grocery store. That’s what I plan to do!
And as always, peace and love to all.
2 lamb shanks
½ tsp. kosher salt
freshly ground black pepper
2 T. extra virgin olive oil
½ onion, finely diced
½ c. finely diced carrot
½ c. finely diced celery
2 garlic cloves, minced
1¼ c. dry red wine
1 (14 oz.) can diced tomatoes (preferably Italian)
1 T. tomato paste
1 c. chicken stock
1 tsp. dried thyme
1 bay leaf
Pat the lamb shanks dry and sprinkle with salt and pepper.
Heat olive oil in a heavy based pot over high heat. (I use my Le Creuset Dutch oven.) Sear the lamb shanks until brown all over, for about 5 minutes. Remove lamb onto a plate and set aside.
Turn the heat down to medium low. Add the onion, carrot, and celery. Cook for 5 minutes or until the onion is translucent. Add the garlic and cook for 1 minute.
Add red wine, diced tomatoes, tomato paste, chicken stock, thyme, and bay leaves. Stir to combine.
Place the lamb shanks into the pot. Turn the stove up, bring liquid to a boil. Remove from heat, cover, and transfer to a pre-heated 350-degree oven for 2 hours.
After 2 hours,remove the lid, and check to make sure the lamb meat is ultra tender. If not, cover and keep cooking. (Ideal is tender meat but still just holding onto bone.)
Remove lamb onto plate and keep warm.
Pick out and discard bay leaves and thyme.
If required, bring veggie mixture to a simmer over medium heat and reduce slightly to a syrupy consistency. Or, if it is too thick, add a bit more chicken broth or water. Taste and adjust seasoning if needed.
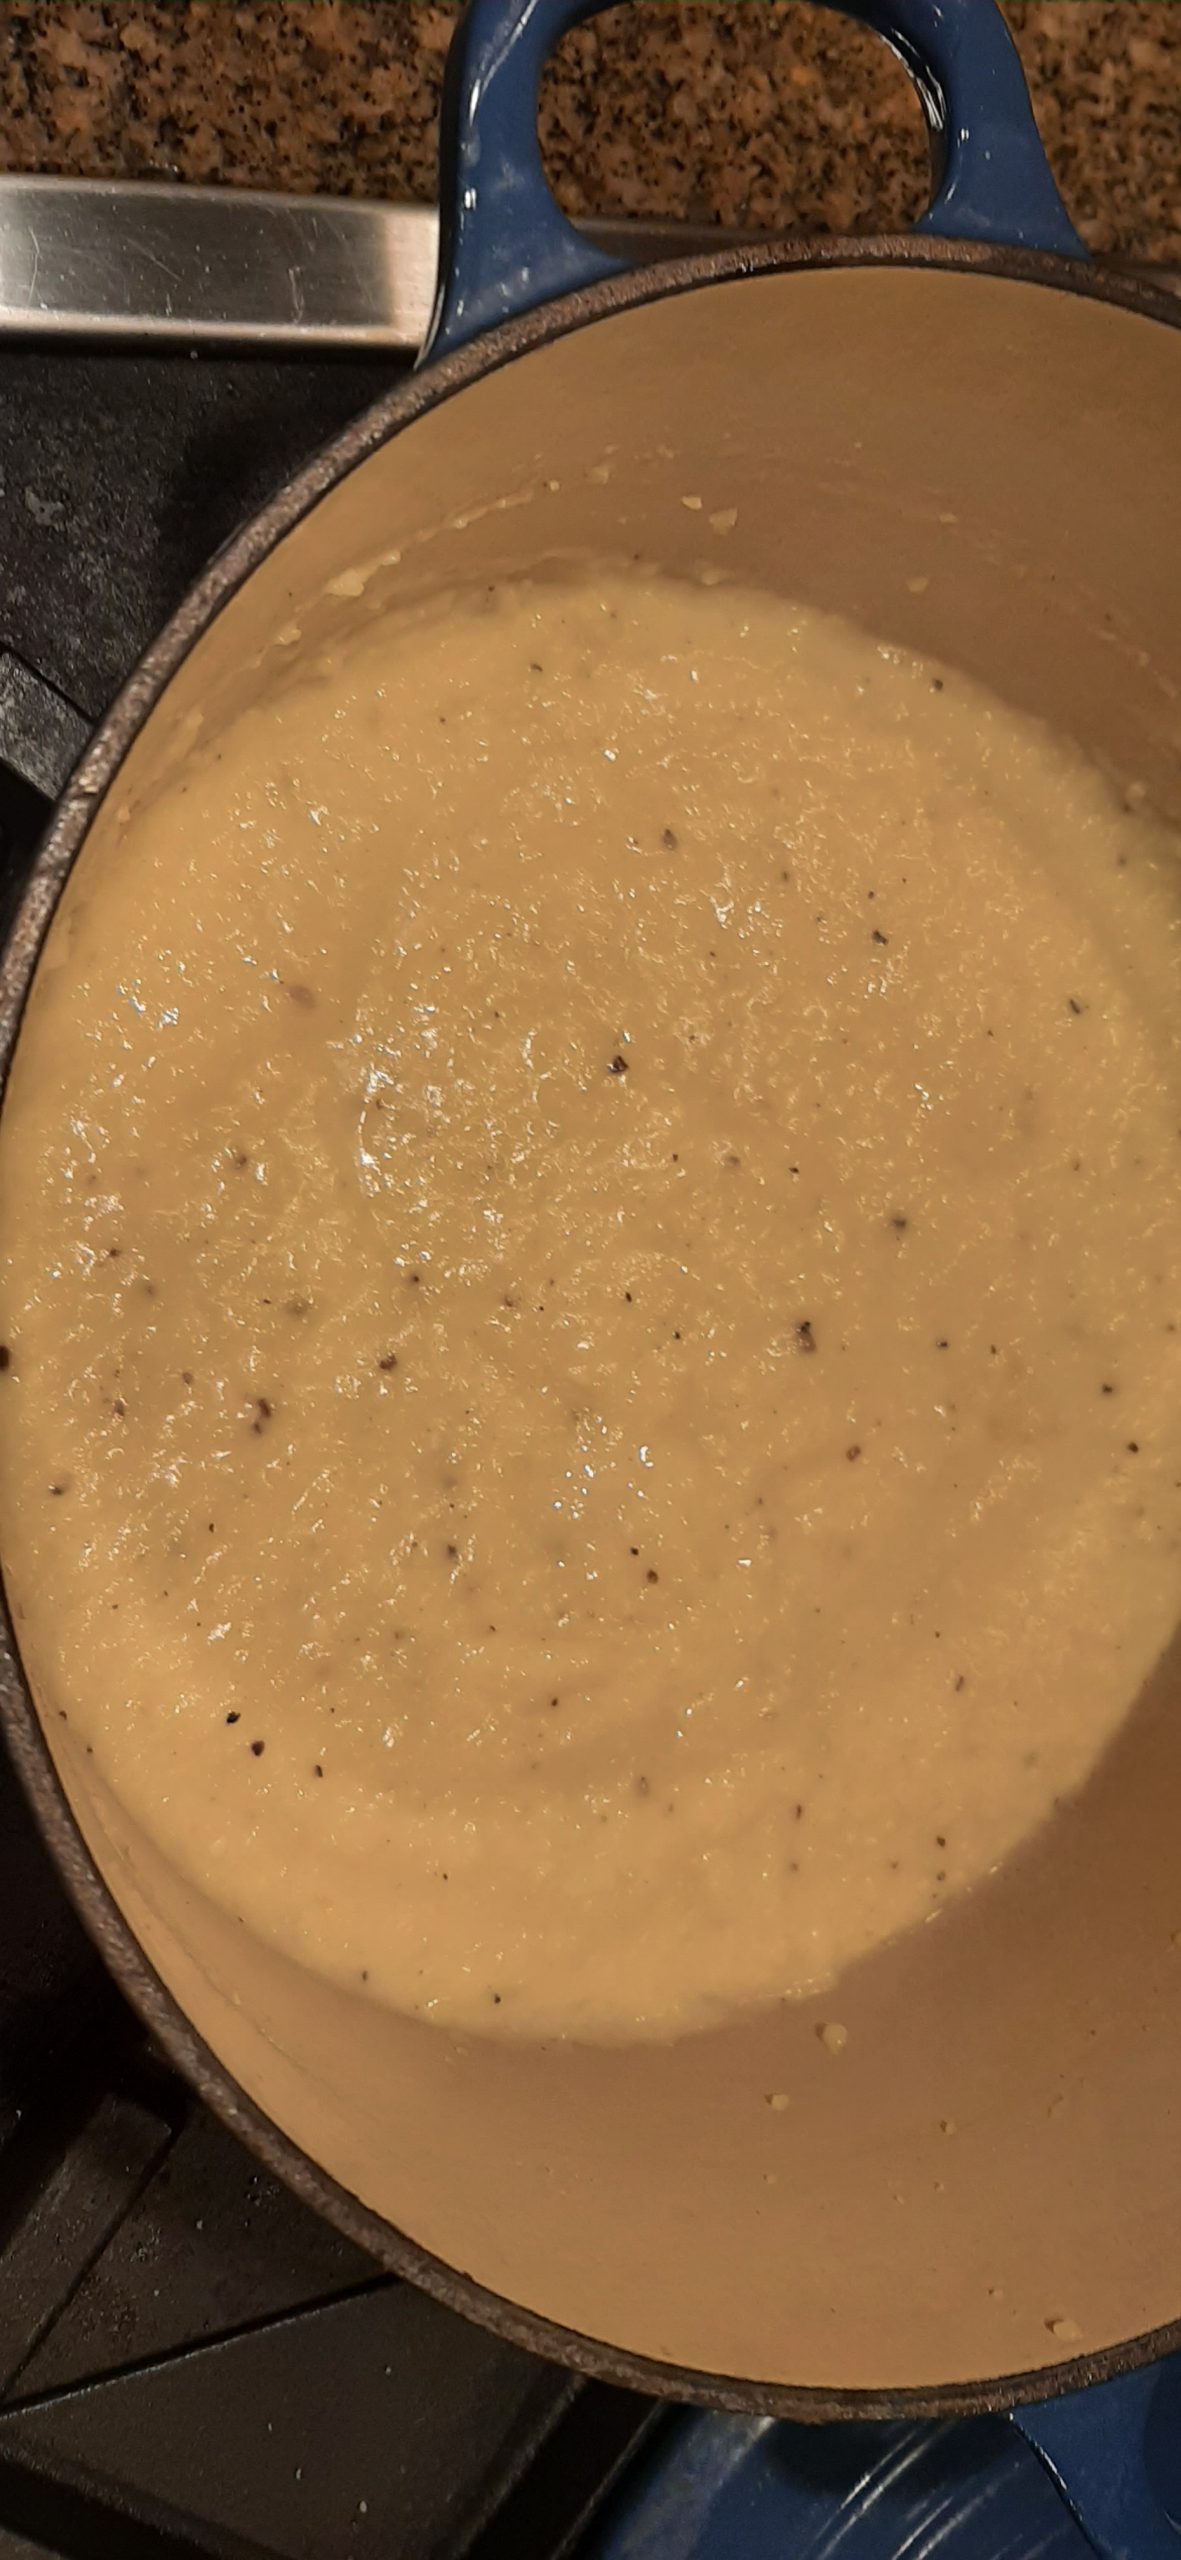
Great served with Creamy Polenta (see recipe below)
And of course, both of these recipes can be doubled or tripled.
And if you have any left-over chunky sauce, don’t throw it away. Freeze it and add it to your favorite marinara sauce. That’s what I plan to do.
CREAMY POLENTA
2 c. water
¼ c. whole milk
scant ½ tsp. fine sea salt
freshly ground black pepper
½ c. polenta (I use Bob’s Red Mill yellow polenta)
½ tsp. extra virgin olive oil
In a medium pot, bring the water, milk, salt, and pepper to a high simmer. Slowly whisk in the polenta. Bring the heat to a very low simmer. Continue to whisk the polenta until it just starts to thicken. Then cover the pan and let the polenta cook for about 20 minutes.
Stir occasionally with a wooden spoon so that the polenta doesn’t stick to the bottom of the pan. The polenta should be soft and tender when done.
If your polenta is too thick, whisk in a bit more water. (The polenta should be creamy.)
Turn off the heat and whisk in the olive oil. Cover and let stand for 5 minutes. Season to taste and serve hot.
Note: Polenta will thicken as it sits. If you are not serving it immediately, you can reheat it by whisking in more water or olive oil to make it smooth and creamy again.
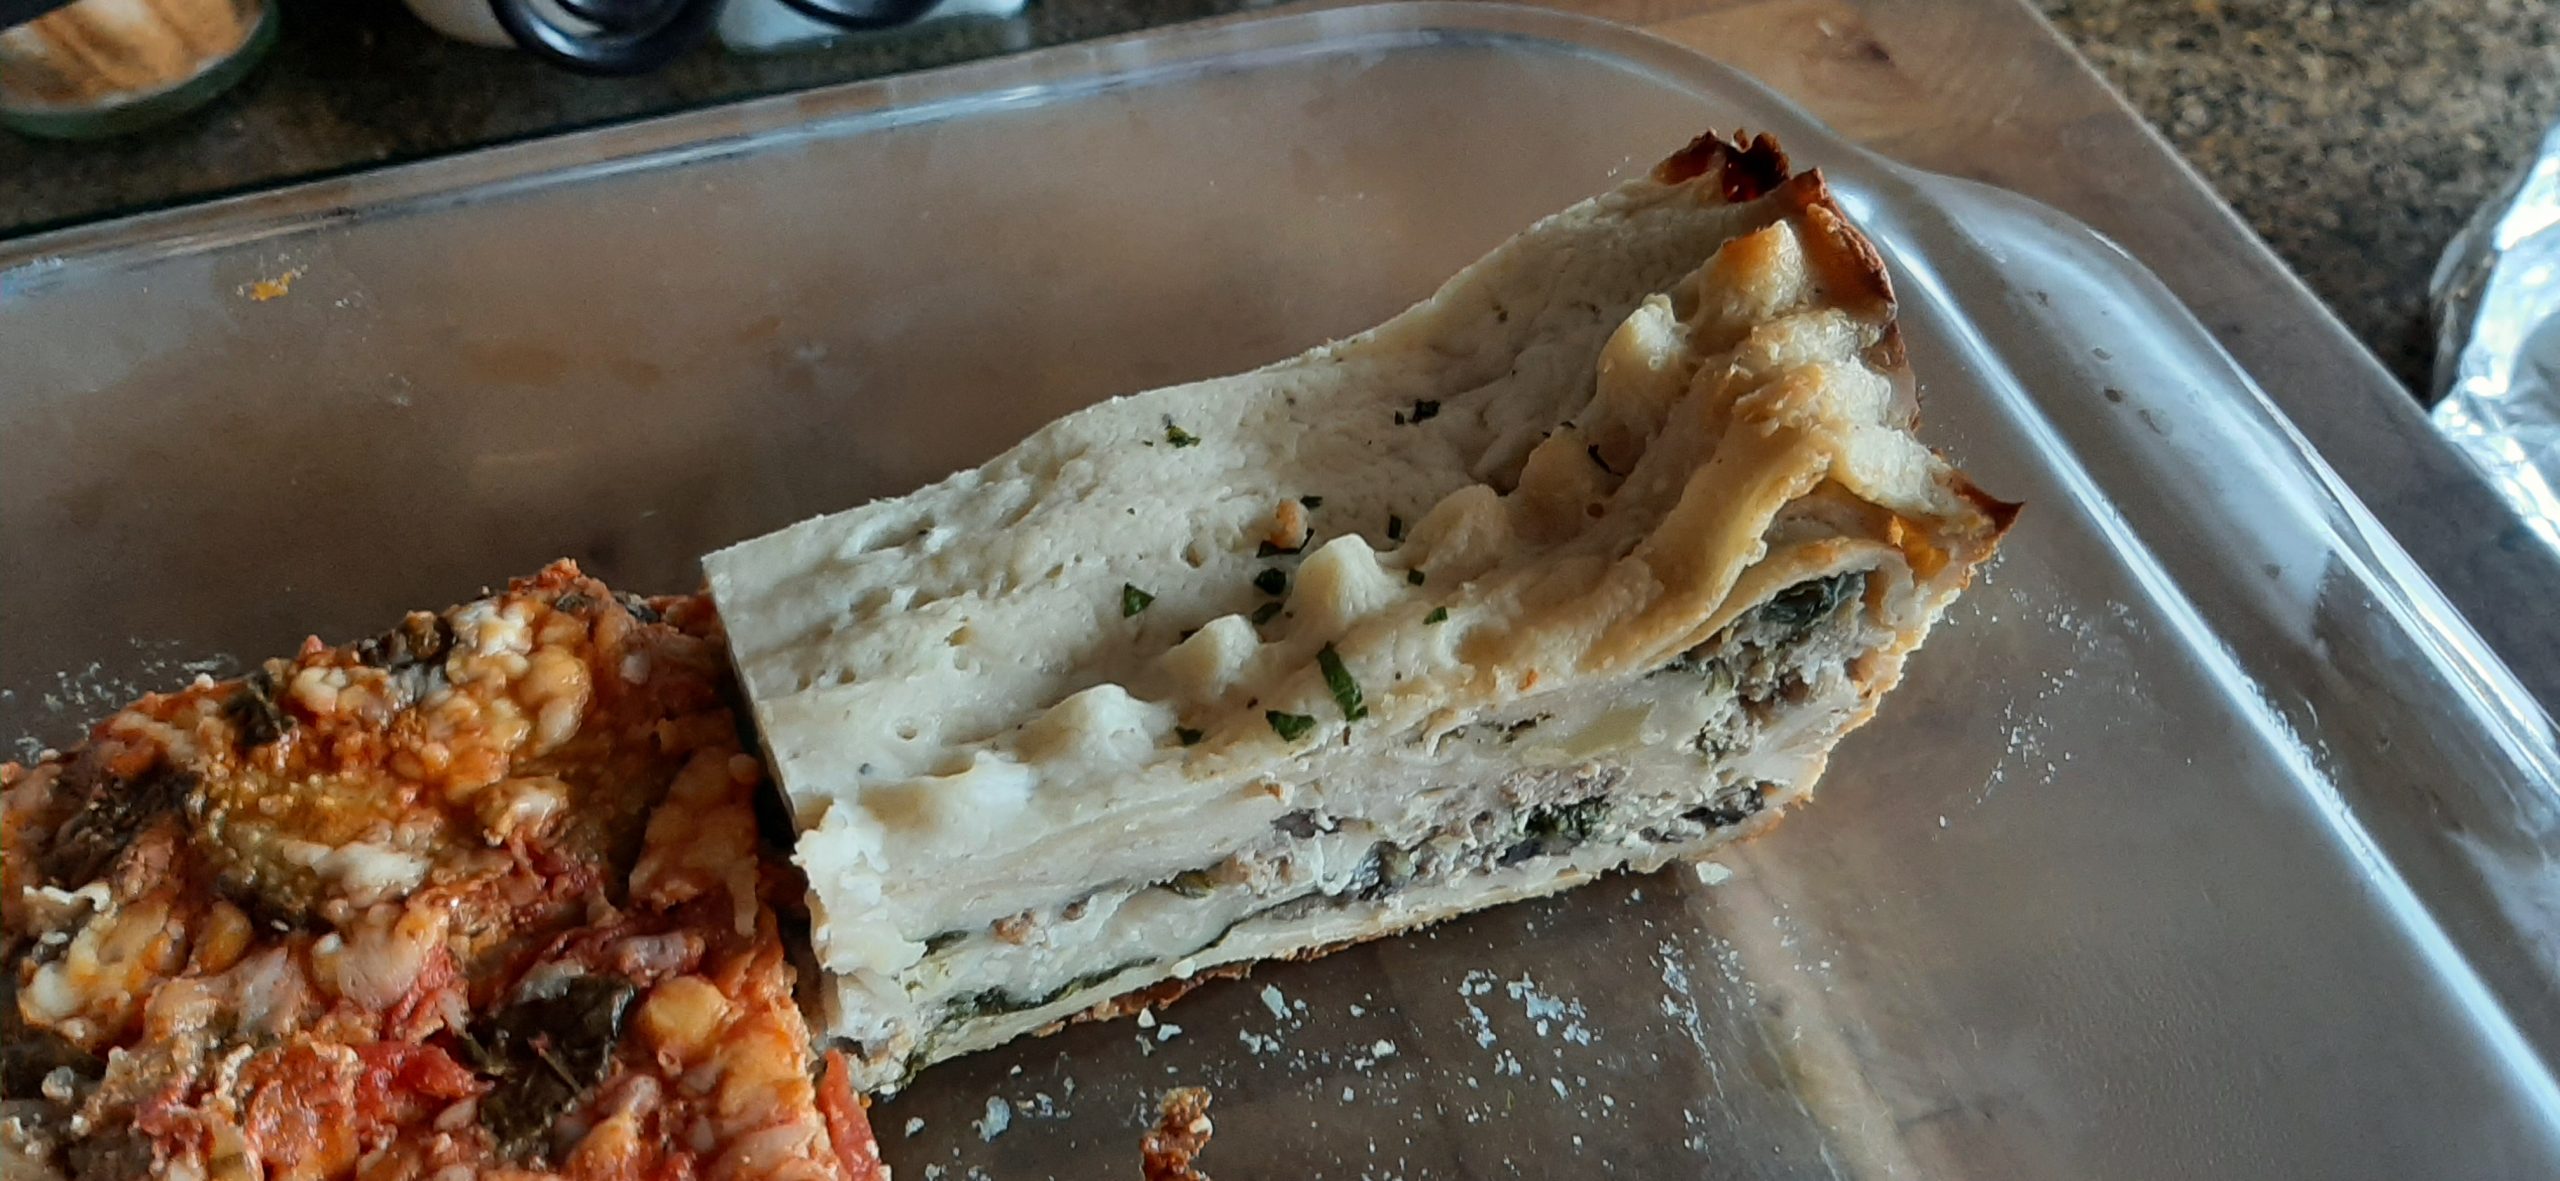
The picture is of the last piece of this lasagna and the last of Eggplant Parmesan Light. They are both delicious and go very well together.
Well, Christmas and the onset of a new year have come and gone, and frankly I’m exhausted. But even though I am in recuperation mode, I wouldn’t change one minute of all the time I spent getting ready for Christmas and the new year and the time I spent with family and dear friends. Because Mr. C. and I are well and truly blessed with fabulous relatives and the very best of friends. And for me, this is the one time of year I go a little crazy and all-out to show my nearest and dearest how appreciative I am to have them in my life. After that, they simply must make do with the bare minimum of pomp and circumstance. No longer do any of my kids or grandkids receive cute little Valentine cards or gifts, or Easter baskets, or sometimes even birthday cards, much less birthday presents. Because as I have advanced in age, there is just a limit to the amount of energy I have for such endeavors. But for Christmas, I put on a new persona. I become the embodiment of Mrs. Santa.
And if there is one wish that I truly hope and pray will continue to be granted, it’s that I can continue keeping Christmas like I always have. Because, as you know, there is just something special about all the Christmas lights, the Christmas tree, Christmas cards, and Christmas cookies. When are cookies ever as delicious as at Christmas time? Never! Oh, they still taste wonderful. But Christmas cookies just come with a certain cachet. Maybe it’s because at this time of year they are kept in Christmas tins. Because who doesn’t like to lift several lids to find just the cookies they are craving at the time?
So, may you too, my fellow Mr. and Mrs. Santas, find time during the beginning of 2025 to relax a bit, take time for yourself, and reassess your priorities. (I use the term priorities rather than resolutions because it’s much easier for me to prioritize than to make a resolution and actually accomplish a loss of 20 pounds in 15 days!) But enough about me and my idiosyncrasies. And on to this recipe.
First of all, as in every lasagna I have ever made, this recipe takes time to prepare. So, I’m not going to tell you that this is a breeze to make. It’s actually a pain in the rear to build. But it’s still worth the effort because it’s really yummy. And sometimes white lasagna is a very nice change of pace.
So, I highly recommend this recipe or my Roasted Mushroom Lasagna with Béchamel Sauce or Roasted Veggie Lasagna with Cheese Béchamel Sauce if a lasagna that does not contain tomatoes would make a nice change.
Plus, as in most lasagna recipes, this recipe yields a lot of servings. So, it is perfect for feeding a crowd. Or if you are much more efficient than I am, you could make it and cut it into portions and freeze them for those nights when cooking anything is tantamount to hitting your thumb with a hammer.
And as for books that I have recently read, forget it for now. I have been to bloody busy. But I plan to change that right after I post this recipe.
So, bye for now and may 2025 find you happy, healthy, and on your best behavior. (We are all going to need to be on our best behavior because it’s going to get rough! And civility, empathy, compassion, and compromise are going to be more important than ever.)
And as always, peace and love to all.
For the sauce:
½ c. (1 stick) unsalted butter
1 lg. clove garlic, finely minced
½ c. unbleached all-purpose flour
4 c. whole milk, plus more if needed if the lasagna looks like it might be a bit dry*
1 tsp. kosher salt
freshly ground black pepper
12-16 oz. low fat cottage cheese, whirled in a food processor or blender until smooth
½ c. grated Parmigiano-Reggiano
1 lg. egg, beaten
In a large saucepan, melt the butter over medium heat. Once melted, add the garlic and cook for 1 minute. Then whisk in the flour and continue whisking for a couple of minutes or until the paste begins to bubble and thicken.
Slowly whisk in the milk, until no lumps remain. Raise heat to medium-high and bring to a boil, then reduce to low and continue to simmer until sauce has thickened, about 3-4 minutes.
Stir in the salt and pepper, then mix in the cottage cheese and Parmigiano-Reggiano cheese, stirring until smooth. Remove from heat and allow the sauce to cool before adding the beaten egg. Set aside.
For the sausage, mushroom, and spinach layer:
1 lb. bulk Italian sausage
1 lb. sliced mushrooms
5-8 oz. baby spinach, roughly chopped
Fry the bulk sausage in a frying pan until nicely browned. Drain if a lot of fat. Then add the mushrooms and cook for a couple of minutes. Remove from heat and add the fresh spinach. Set aside until needed.
Putting it all together:
12 oz. lasagna noodles, cooked al dente, drained, and patted dry
3 c. grated mozzarella cheese (12 oz.)
freshly chopped parsley
Lightly grease the bottom and sides of a deep-dish casserole pan or dish that is at least 9×13-inch wide and long. Spread a thin layer of sauce on the bottom.
Lay a layer of lasagna noodles over the bottom. (There will be 3 layers of noodles when the casserole is fully assembled.)
Spread a third of the sauce on the noodles, and half of the sausage, mushroom, and spinach mixture. Then top with a third of the mozzarella cheese. Repeat with another layer of noodles, sauce, the rest of the spinach mixture, and another third of the mozzarella cheese. To finish, top off with a layer of noodles, and the remaining sauce. (The remaining mozzarella will be used during the latter part of the baking process.)
*If it appears that the lasagna might turn out dry when baked, poke some holes in the top and gently pour on a half cup to a full cup of milk.
Cover with foil and bake in a pre-heated 350-degree oven for about 40-50 minutes. Uncover the lasagna and scatter the remaining mozzarella cheese over the top and bake for another 15 minutes or until the lasagna is completely heated through and the cheese is melted. (The internal temperature should reach at least 165 degrees.)
Remove from oven, cover with foil, and let sit for about 10 minutes.
Garnish with parsley and serve warm.
Please note: This casserole can be made ahead and refrigerated for up to 2 days before baking. But be sure to take it out of the fridge for a good hour before you plan to put it in an oven. And even then, it might take a bit longer to bake.
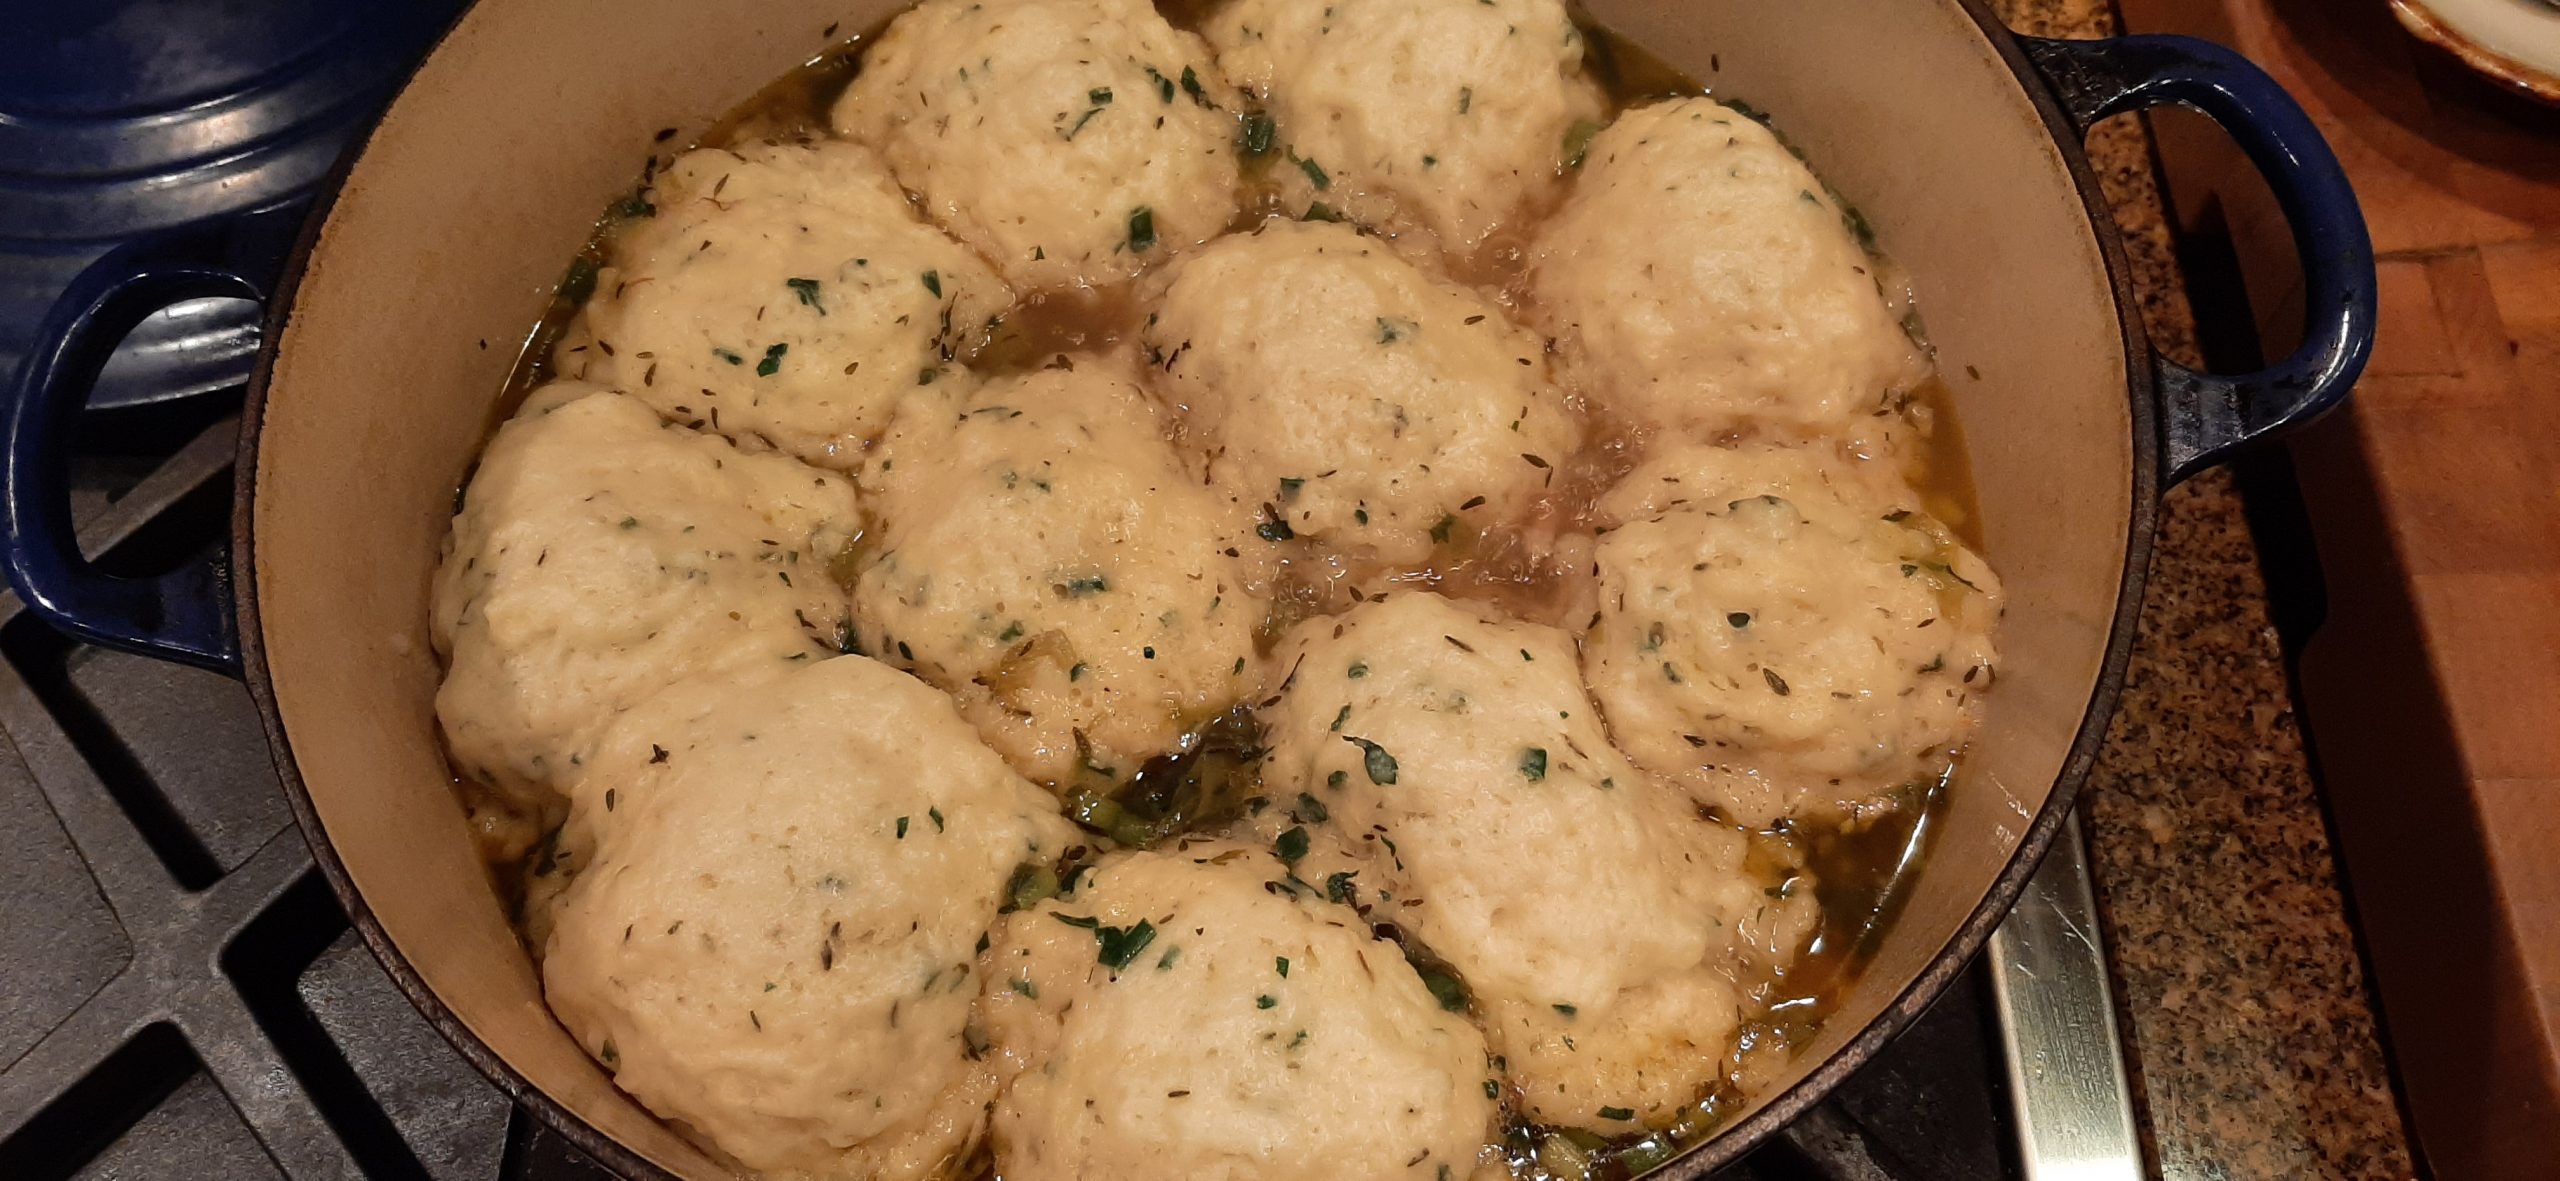
And I know, I have several recipes on this site for chicken soup. I got that. But darn, sometimes all I want is a bowl of chicken soup. (Plus, Mr. C. was still not quite over his cold. And everyone knows chicken soup cures colds.) And, sometimes, I want dumplings in my soup. Not because they are good for me, heck no, they are simply soul satisfying. They taste good, and they are made with flour. And I am addicted to flour and comfort food. And they are the very definition of comfort food.
I could give up sugar, I could give up chocolate, I could even give up meat. But the one thing I could not, and do not want to live without, is anything bread-like.
So, the next time you too need a comfort food fix, I suggest you make this soup with dumplings.
Well, Thanksgiving is over, and as much as I researched and thought I had come up with the perfect green bean casserole recipe, it turned out less than adequate. Too much onion flavor and not enough overall appeal. The presentation was fine, but the casserole itself lacked all the yummy that I remembered from canned green beans and cream of mushroom soup. How humbling to reflect on childhood memories of my mom’s green bean casseroles. Especially since my mom would never have been considered a good cook. Yet she made better green bean casseroles with canned beans, canned soup, grated cheap cheddar cheese, and French’s Onions than I produced with fresh and expensive ingredients! (Huh, and I consider myself some kind of cook.) But you know, it’s OK.
We all need to periodically be reminded that everything is not always going to go our way. And especially for those of us who cook, every dish is not going to be stellar. That periodically, we are going to try our best, and the result is not going to be nearly what we envisioned.
That’s when we need to keep on trying. Put our disappointment into perspective, and not wallow in self-pity which does no one any good and serves to stop us from allowing our creative side to blossom. Even if the result, as with this green bean mess, is a wilted blossom.
So, no I’m not going to share this disaster with you! But I am also not going to give up. There must be a way to make a green bean casserole that checks all the boxes. Great green bean flavor, a wonderful creamy, tasty sauce, with crispy onions on top.
But enough about green beans and on to this recipe.
The first thing that makes this recipe a bit different from my other chicken soup recipes is the roasting of chicken parts to enhance the flavor of the broth. And why I hadn’t thought to do this before, when I always roast chicken and/or turkey pieces when I make the stock for chicken or turkey dressing and gravy, is anyone’s guess!
But I must say, baking the chicken pieces to a crispy dark brown and scaping all the water softened brown bits off the baking pan and into the Dutch oven with the other liquids, really does make a difference in the overall flavor of the soup.
And some might wonder why I use regular chicken stock and chicken base, instead of all one or the other? As much as I like and use chicken base frequently, if I use it all by itself to make 8 cups of stock, the broth becomes way too salty. But most purchased stock or broth, doesn’t have enough flavor. Thus, the use of both.
Well, that’s it for today. I’ve started a new book, and so far, I have met two older women, neither of whom I would particularly want to call friends. But it’s early in the book, and I might have a change of heart.
But I have two other books that I finished and can write about. Ann Cleeves book entitled The Baby-Snatcher was most enjoyable. The second book, The Skull Beneath the Skin, by P. D. James, usually a wonderful writer, left me uncomfortable. I like to know that the bad guy (or gal) gets his/her comeuppance. And that doesn’t happen in this book. (In reality, yes of course everything isn’t always tidied up to my satisfaction. But in books, I want reality to be forgotten.) Plus, I found all but one of the characters to be dull, unlikable, and just too nasty or inhumane to be believable. Even the police officers were inadequately portrayed as completely unfeeling, unsympathetic, and basically bored. And I like my police officers to be bright, witty, charming, and engaged. (I know, I know! And I’m fine with being a pollyanna!)
And as such, from our home to yours, peace and love to all.
For the Soup:
2 lb. chicken parts (I used 3 boneless, skinless thighs, 1 large boneless, skinless breast, and 5 drumsticks)
1 tsp. veggie oil
seasoned salt
freshly ground black pepper
2 T. unsalted butter
1 lg. or two sm. shallots, finely chopped
2 lg. carrots, finely diced
2 stalks celery (plus leaves), thinly sliced
1 lg. garlic clove, minced
2 bay leaves
½ tsp. dried thyme
8 c. chicken stock or broth
5-6 tsp. chicken base (I use Better Than Bouillon Chicken Base)
¼ c. fresh parsley, finely chopped
2-3 green onions, finely chopped
Spread the chicken parts on a large, low-sided baking pan. Rub the oil all over the pieces and coat them liberally with seasoned salt and black pepper.
Bake in a pre-heated 400-degree oven for 1 hour or until the chicken or turkey is well browned. Give them a turn halfway through the baking process. Remove from the oven and place the meat on a plate to cool. Pour about 2 cups of water over the brown bits left on the baking pan and let sit for several minutes.
Meanwhile, melt the butter in a large pot or Dutch oven. Add the shallot, carrots, and celery. Cook, stirring often until the vegetables begin to soften. Stir in the garlic, bay leaves, and thyme. Cook for about 1 minute.
Add the chicken stock, chicken base, and the juices and browned bits from the roasting pan. (If you are using chicken legs, add them to the soup and let them cook for about 30 minutes, before removing them and letting them cool with the other chicken pieces.) (BTW, chicken drumstick meat is tender and very flavorful. So, using all drumsticks when making this or any other chicken soup is always acceptable.)
Bring the soup to a low simmer, cover the pot with a lid and simmer the soup for an hour or longer. Check periodically.
Once the roasted chicken pieces are cool, cut them into bite sized pieces and place them in the refrigerator until needed. Discard any bones or skin.
When the soup has simmered to perfection, add the diced chicken, taste the soup, and add additional salt or pepper if required. Stir in the parsley and green onions. Then add the dumpling batter as directed below.
For the Herb Dumplings:
1 egg
6 T. whole milk
2 T. veggie oil
1 c. all-purpose flour, fluffed
1½ tsp. baking powder
½ tsp. kosher salt
freshly ground black pepper
2 T. chopped fresh chives
1 T. finely chopped fresh parsley
½ tsp. dried thyme
In a bowl whisk the egg, milk, and oil together. In another bowl, whisk the flour, baking powder, salt, pepper, chives, parsley, and thyme together. Stir the dry ingredients into the egg mixture just until combined. Do not over-mix.
Using a spoon or ice cream scoop, drop dumpling balls into the stew. (The dumplings will double in size while they cook, so make them as big or small as you wish.)
Cook dumplings at a slow simmer for 10 minutes with pan uncovered. Then cover the pot and simmer for about 10 more minutes or until the dumplings are cooked through. (Make sure you don’t peek while the dumplings are cooking for the last 10 minutes. They need to steam in order to be nice and fluffy and lifting the lid will release the steam.)
To check if the dumplings are ready, use a toothpick to make sure the dumplings are cooked through. The toothpick will be clean if the dumplings are cooked enough. Then serve the soup immediately.
I don’t always have fresh fungi hiding out in the veggie drawer of my refrigerator. (And yes, you should refrigerate mushrooms to keep them fresh. Store them in a paper bag or porous container. Avoid plastic bags and sealed containers when storing mushrooms as the lack of air flow will speed up spoilage.)
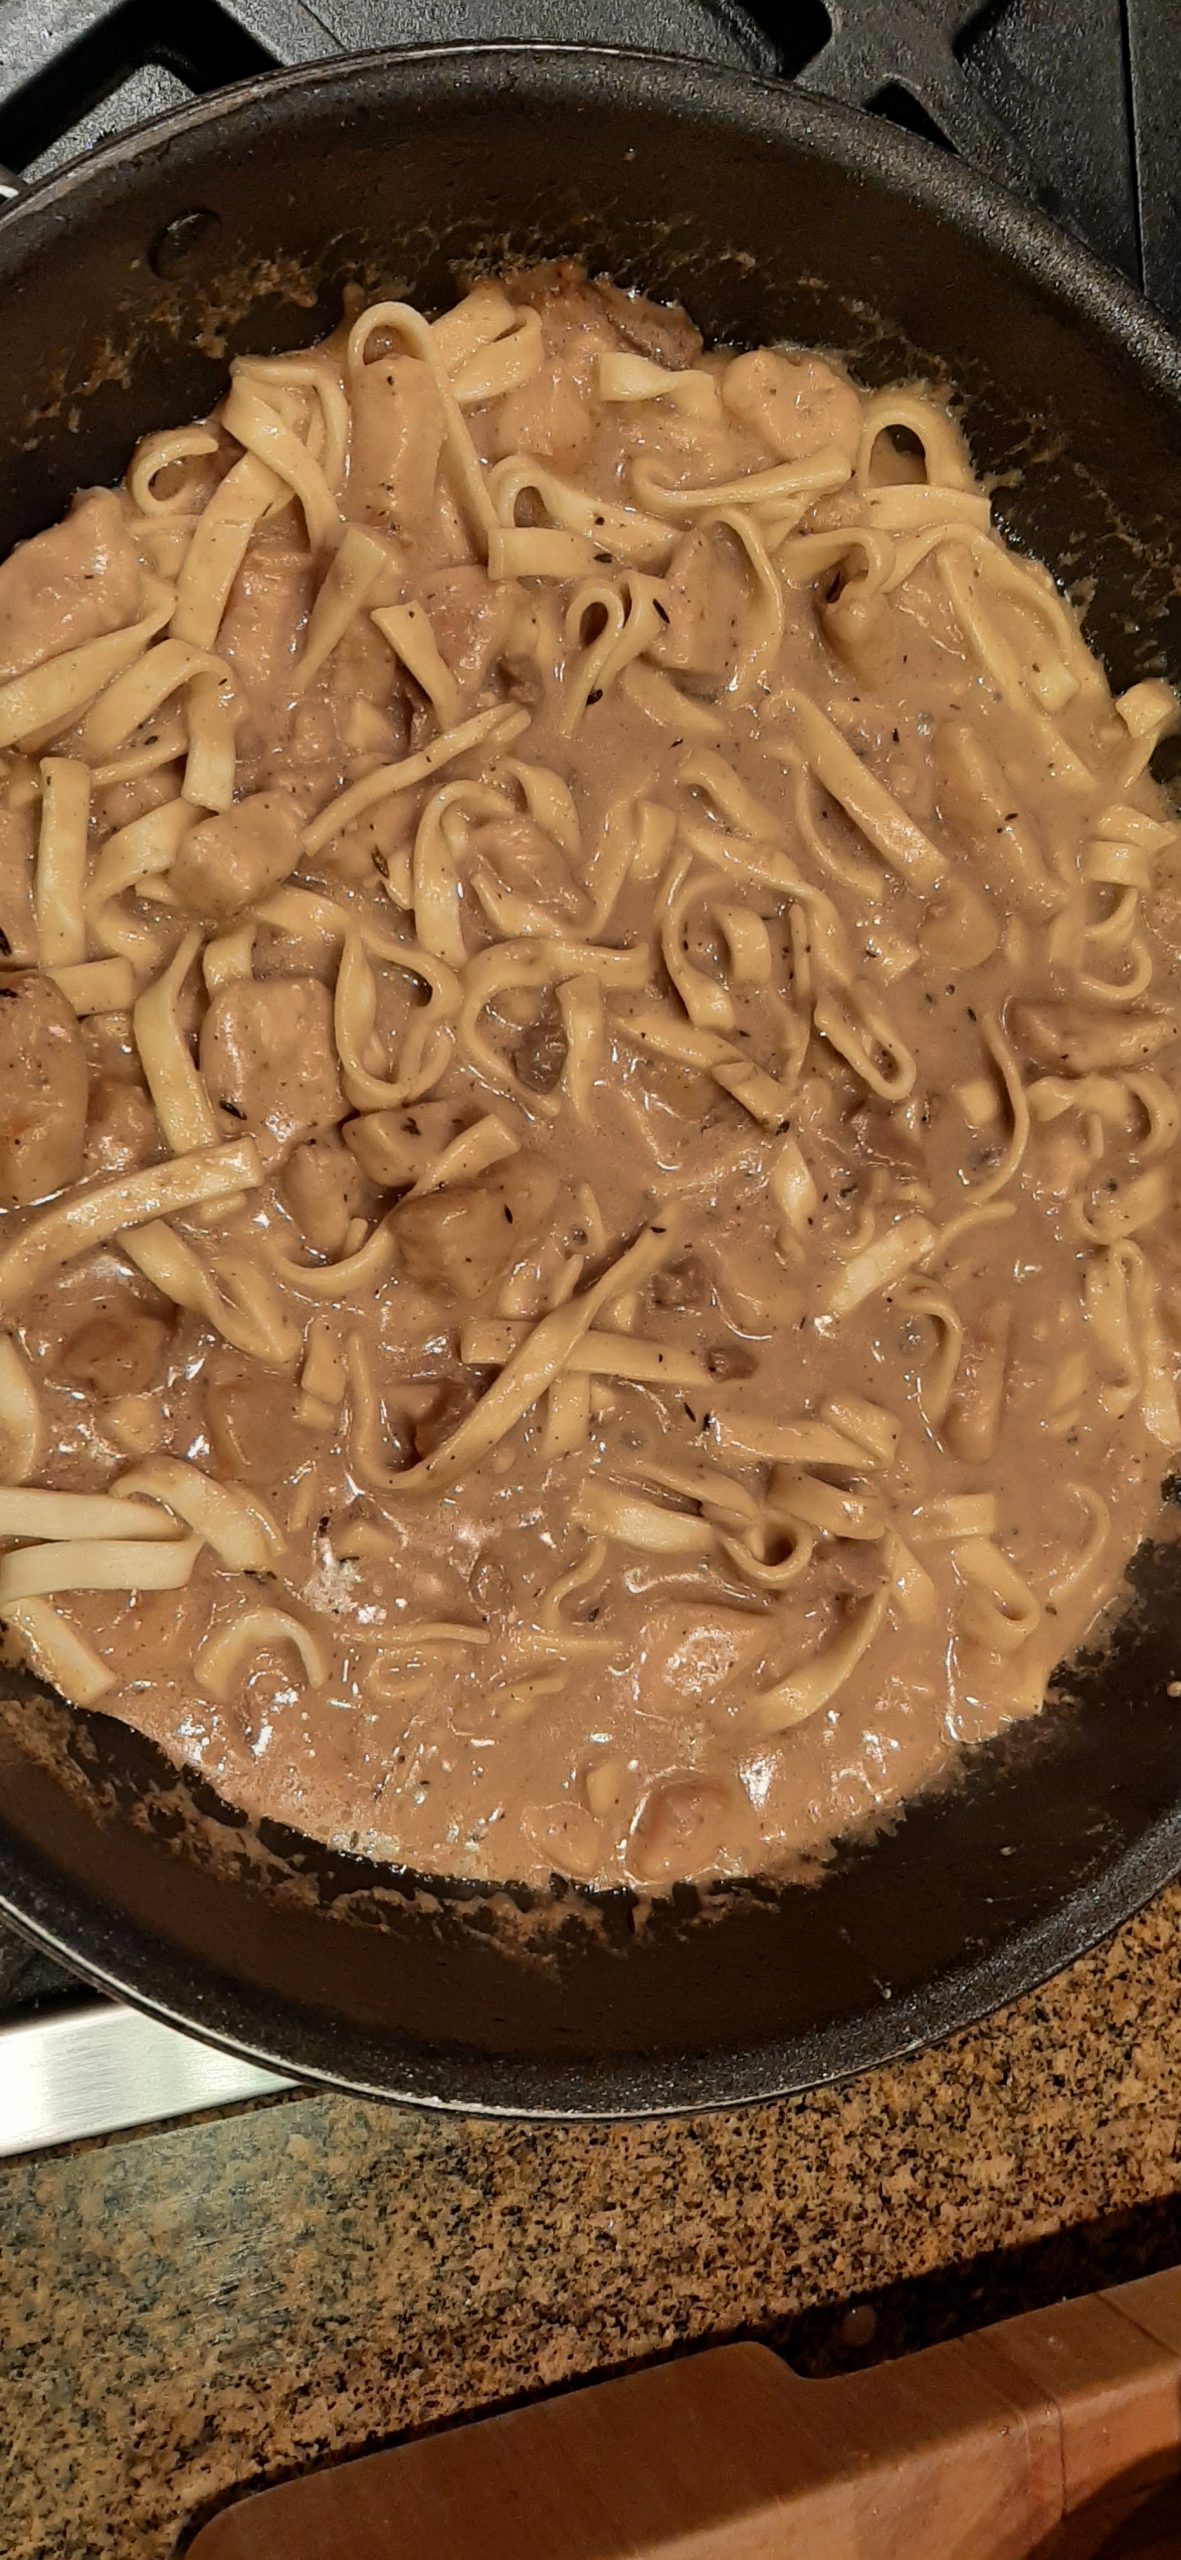
Anyway, I didn’t have any mushrooms the other day when I decided to serve chicken marsala for dinner. And as everyone knows, mushrooms are an integral component of marsala. (Chicken marsala is an Italian American dish of pan-fried chicken cutlets and mushrooms in a Marsala wine sauce. The mushrooms are typically seared and tossed with the chicken.) Well, there you go. Except I didn’t have any mushrooms, and I jolly well wasn’t going to make a special trip to the grocery store for one ingredient! So, then, what to do? Well, duh, use dried mushrooms. And that’s just what I did. (And yes, I always keep 2 or 3 types of dried shrooms in my pantry.)
I also didn’t have any heavy cream. Which is also an ingredient you find in most marsala sauced recipes. (Witness one of the other chicken marsala recipes already on this site – Creamy Chicken Marsala with Egg Noodles. (Which BTW, was the basis for the recipe you find below.) My other recipe entitled Chicken Marsala, contains mushrooms but no heavy cream. But neither recipe was exactly right for this occasion, so I simply made do with what was available.
So, basically, I’ve got you covered whether you have or don’t have mushrooms on hand or do or don’t have or want to use heavy cream. And if you hate mushrooms, just leave them out. (I’m sure you figured that part out all by yourself!)
Regardless of which recipe you use, even if it isn’t one of my recipes, you should make chicken marsala in the near future. It is just so yummy. And I would advise serving it with egg noodles.
Well, that’s all I have to say on the matter. Mr. C. is doing some errands today and has offered to stop at the store and pick up some fresh fish for tonight. And I thought simple fried rice (brown of course) would make a nice and different side dish. So, along with some kind of lemony aioli for the fish, I better do a bit of research on fried rice, because again, I am lacking some of the ingredients in the three fried rice recipes already on this site. So, wish me luck coming up with a tasty new recipe. And I’ll let you know if fried rice is a nice accompaniment to fried fish. Never a dull moment here at Chez Carr.
And as always, peace and love to all.
⅓ c. broken dried mushroom pieces (I used dry porcini mushrooms)
½ c. boiling water
3 T. unbleached all-purpose flour
½ tsp. seasoned salt
fresh ground black pepper
1 lg. chicken breast, cut into bite sized pieces
2 T. extra virgin olive oil
2 T. unsalted butter
1 shallot, thinly sliced or 2 T. finely diced onion
3 cloves garlic, finely minced
¼ tsp. dried thyme
1 c. Marsala wine
1 c. chicken broth
½ c. whole milk
2 T. cream cheese
2 c. lightly packed dry egg noodles, cooked al dente
Combine the mushroom pieces and boiling water together in a small bowl. Set aside.
Whisk the flour, seasoned salt, and black pepper together in a Ziplock bag. Toss the cubed chicken pieces in the flour mixture to coat. (Save the flour that remains in the bag.)
Heat the olive oil and butter in a large frying pan. Add the chicken and sear on all sides until lightly browned. (The chicken will not be cooked at this point.) Remove the chicken from the pan with a slotted spoon and set aside in a bowl.
Add the shallot or onion and cook for 3-4 minutes. Add the garlic and dried thyme. Cook for 1 minute.
Add the wine and the chicken stock to the pan. Scrape the bottom of the pan using a wooden spoon to remove any browned bits remaining in the pan. Let the liquid come to a boil.
Add the partially cooked chicken back to the pan along with the drained dry mushroom pieces. Simmer for 10 minutes.
Whisk the milk and the remaining flour together in a small bowl and stir the mixture along with the cream cheese into the pan with the chicken. When the sauce is smooth, add the al dente pasta and toss to coat.
Cook for another 1-2 minutes or until the pasta absorbs a bit of the creamy sauce. Taste and add kosher salt and more black pepper if required. Serve immediately.
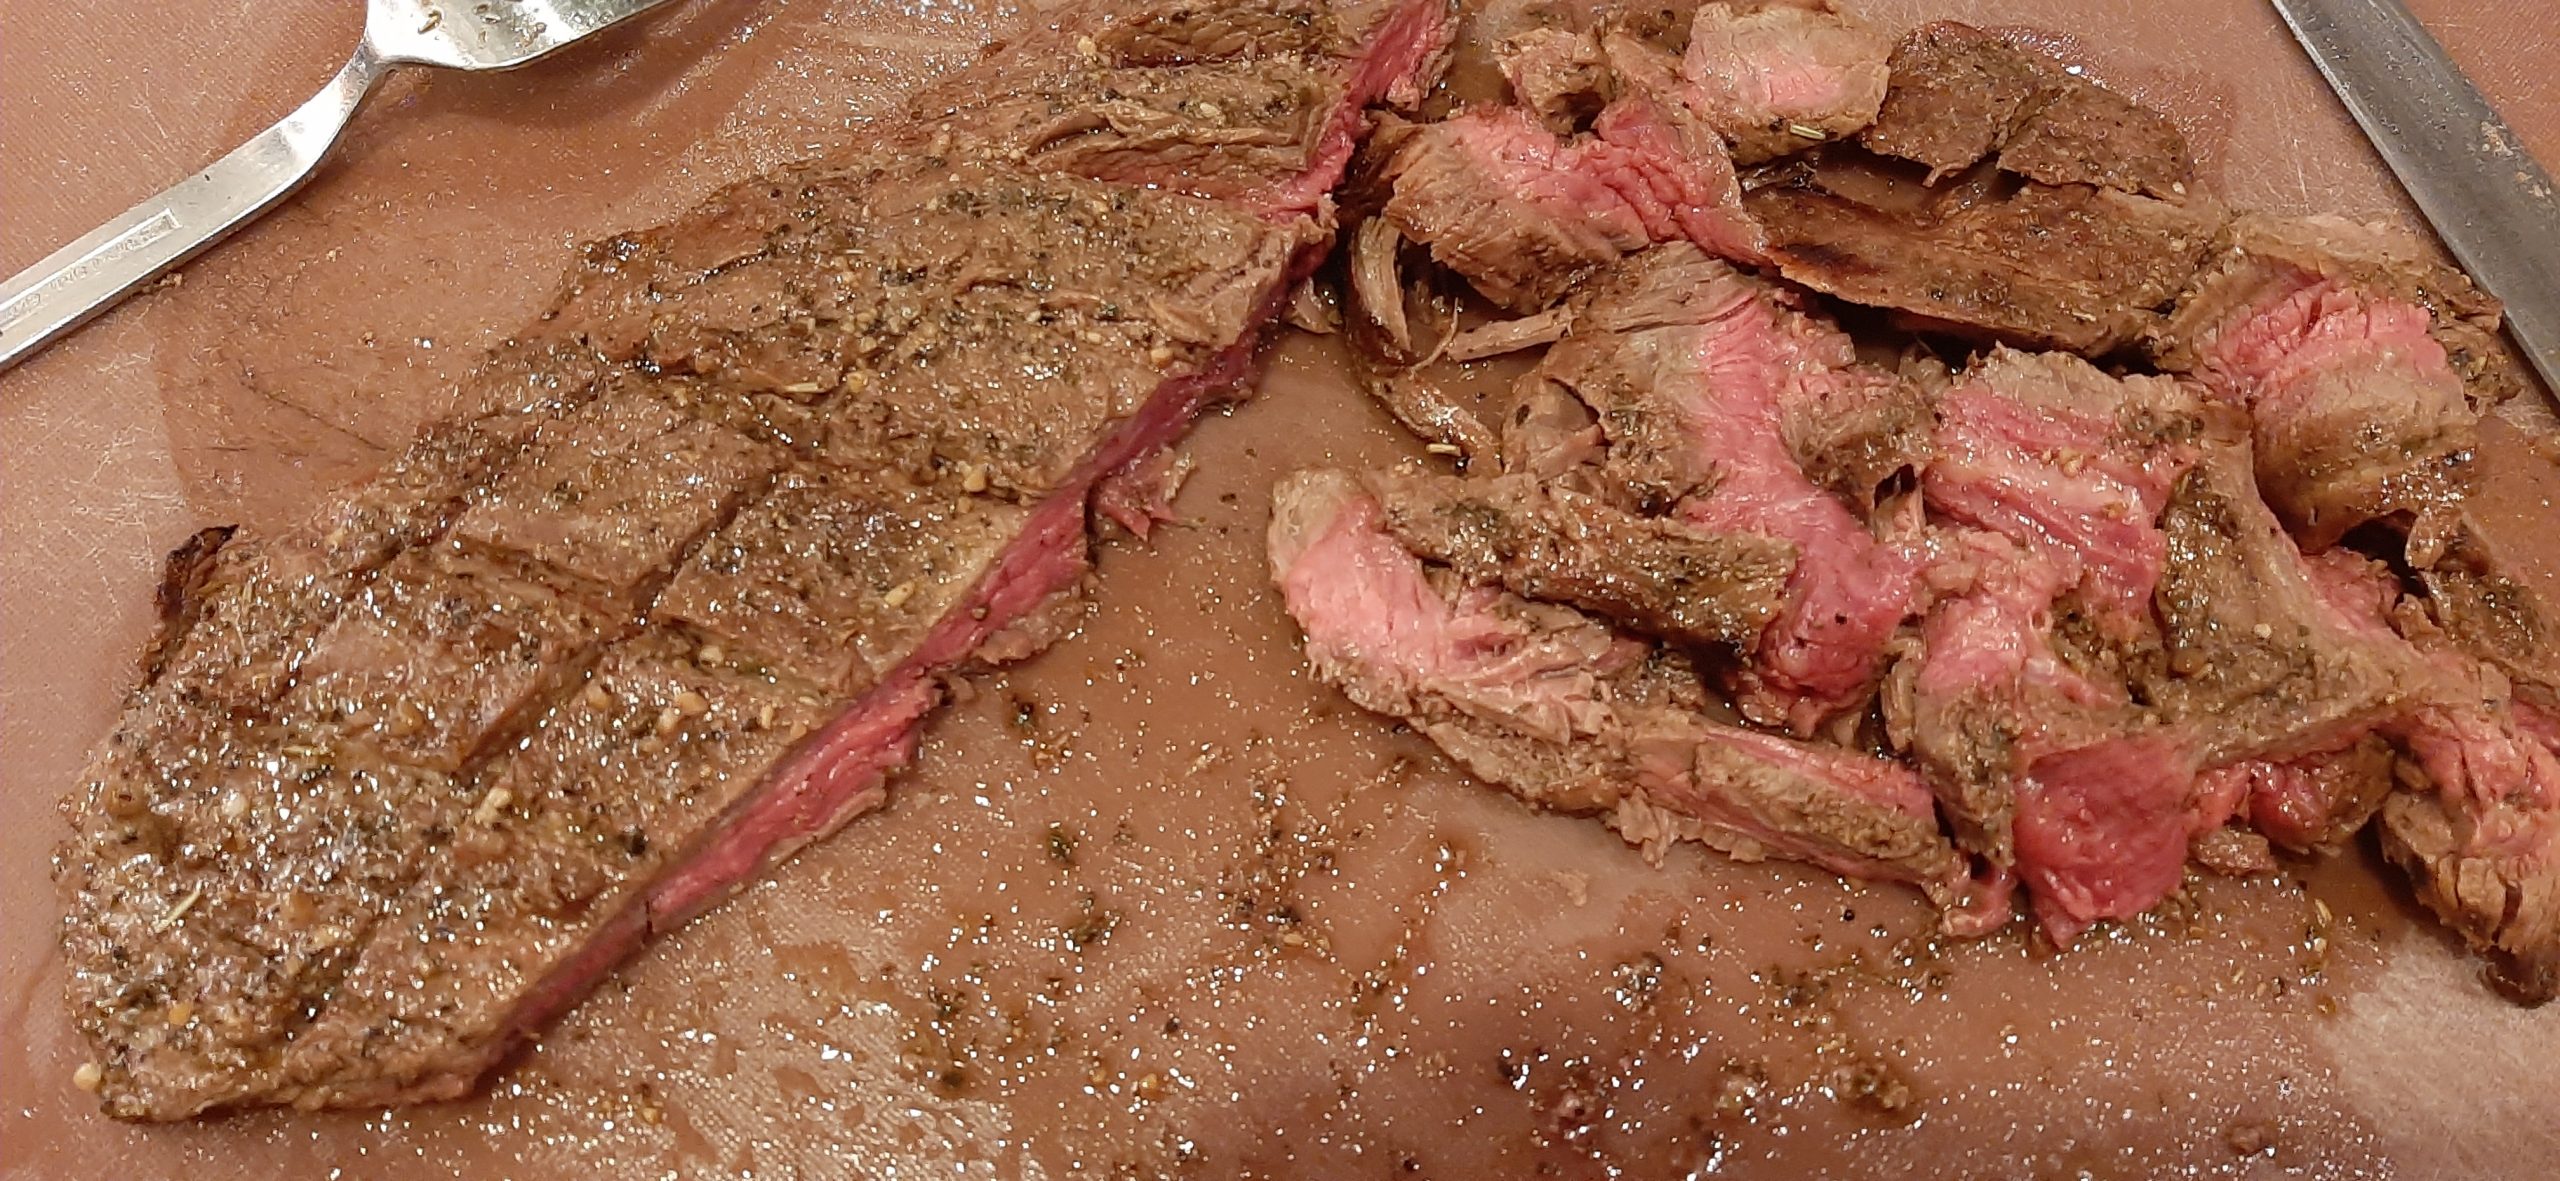
I just love being able to prepare part of what I plan to serve for dinner earlier in the day. And then, like with this entrée, ask Mr. C. to finish the dish by throwing it on the BBQ. This leaves my hands free to whip up or put the finishing touches on the side dishes. And who doesn’t love wonderfully tender and delicious steak? OK, if you’re a vegetarian, you might not feel the same way I do. But then, you wouldn’t be reading this post in the first place. So, assuming that you too are a marinated steak fan, may I highly recommend this recipe.
And I know. Not everyone has the luxury of slowly reading the paper in the morning sipping on an Americano. And then casually fixing breakfast, cleaning up the kitchen and making a marinade in which to allow the flank steak that you defrosted in the refrigerator overnight soak up all the flavors as it once again spends some quality time in the fridge. But there is a solution even if you are still gainfully employed. Make the marinade the night before. Then before leaving for work the next morning, slip the meat into the marinade, cover, put in the fridge, and walk away knowing a good portion of that night’s dinner is well on its way to being marvelous. Sounds easy, right? But, having been a working mom and not an early riser, every blessed minute of my morning ritual did not include anything more than putting breakfast on the table and getting myself out the door in time to not be late for work. So, you might just want to save this recipe for weekends.
But regardless of when you plan to serve this lovely steak, do it. It truly is yummy.
Well, that’s it for today. It has been very rainy the last couple of days because of an “atmospheric river”. And from everything I have read, atmospheric rivers are quite interesting. And no, atmospheric rivers are not a new phenomenon. They were only given this pretentious new name sometime in the 1990s.
This is what I learned about these “rivers” by going to the USGS site. I thought you might also find this interesting.
Atmospheric rivers transport water vapor from the tropics towards the poles.
Atmospheric rivers are the largest “rivers” of fresh water on Earth.
There’s a rating system for atmospheric rivers like there is for hurricanes.
Though an atmospheric river can help extinguish fall fires, they can increase the hazard of past and future wildfires.
An atmospheric river mega-storm could be California’s other “Big One.”
Atmospheric rivers are expected to increase in intensity in California due to climate change.
So, there you have it. But I’m not going to worry. Climate change is not a real thing.
At least that is what certain politicians are espousing even though there is a near-universal consensus among scientists that climate change is happening and is caused by human activity. So, la la la, I’m going to bury my head in the sand too. Not! I’m simply going to keep hoping and praying that congress can put their differences aside and just do the job of serving their constituents by making a better world for not just Americans but by becoming a positive influence for other nations. And that means both sides coming together for the betterment of all. And no, I don’t care if you’re republican or democrat. Do the job you were hired to do. And do it right! Dammit!
Only by congress standing up for “we the people”, and not caving to the whim of certain newly elected officials with only their own interests at heart, can any real, beneficial work get accomplished. Or any possibility for the return of hope rather than despair that many of us feel. We will make it through this. But we must all represent decency, humility, gratitude, and uppermost – civility. If we, as individuals can’t be civil, then we can’t expect it of others.
Peace and love to all.
4 tsp. Montreal Steak Seasoning (made by McCormick)
1 T. Italian seasoning
freshly ground black pepper
1 T. Worcestershire sauce
1 tsp. granulated garlic
¼ tsp. granulated onion
¼ c. extra virgin olive oil
¼ c. red wine
1-2 lb. flank steak, fat and silver skin removed and lightly scored.
Combine the Montreal Steak Seasoning, Italian seasoning, black pepper, Worcestershire sauce, granulated garlic, granulated onion, olive oil, and red wine together in a glass pan. Place the flank steak in the marinade and turn several times to coat every bit of the steak. Refrigerate for at least 2 hours or longer for extra flavor and tenderness.
Remove the steak from the fridge about 45 minutes before grilling over medium-high heat for about 6 minutes. (Discard the marinade.)
Then flip the steak and grill until cooked medium-rare. (About 130-degrees when poked with an instant read thermometer.)
Remove from the grill, cover for about 5 minutes, then thinly slice on the diagonal. Serve immediately.
Mr. C. has been crazy busy with rehearsals and gigs this entire summer. And especially during the month of August. So, the other day we looked at each other with the same thought in mind. “Is it really too much to ask for a little boring from time to time?” And I know. We bring all this super busy life on ourselves.
But yesterday, we were actually going to be home for dinner after days and days of seemingly always being away from home for our evening meal. Hallelujah. And Mr. C. expressed a desire to be part of the thrilling experience of cooking dinner. And I remembered that my dear husband loves to grill.
Never having been much of a griller myself (as I’m sure my two cooking buddies Jim H. and Paul F. would attest to unanimously), I just don’t often think about grilling opportunities for Mr. C. But there was this lovely rack of lamb in our freezer that had been calling to me for weeks. And although I have several great baked rack of lamb recipes on this site, I decided this time I was going to find a recipe that called for the lamb to be grilled. So, online I proceeded and found this recipe on the saltpepperskillet.com site.
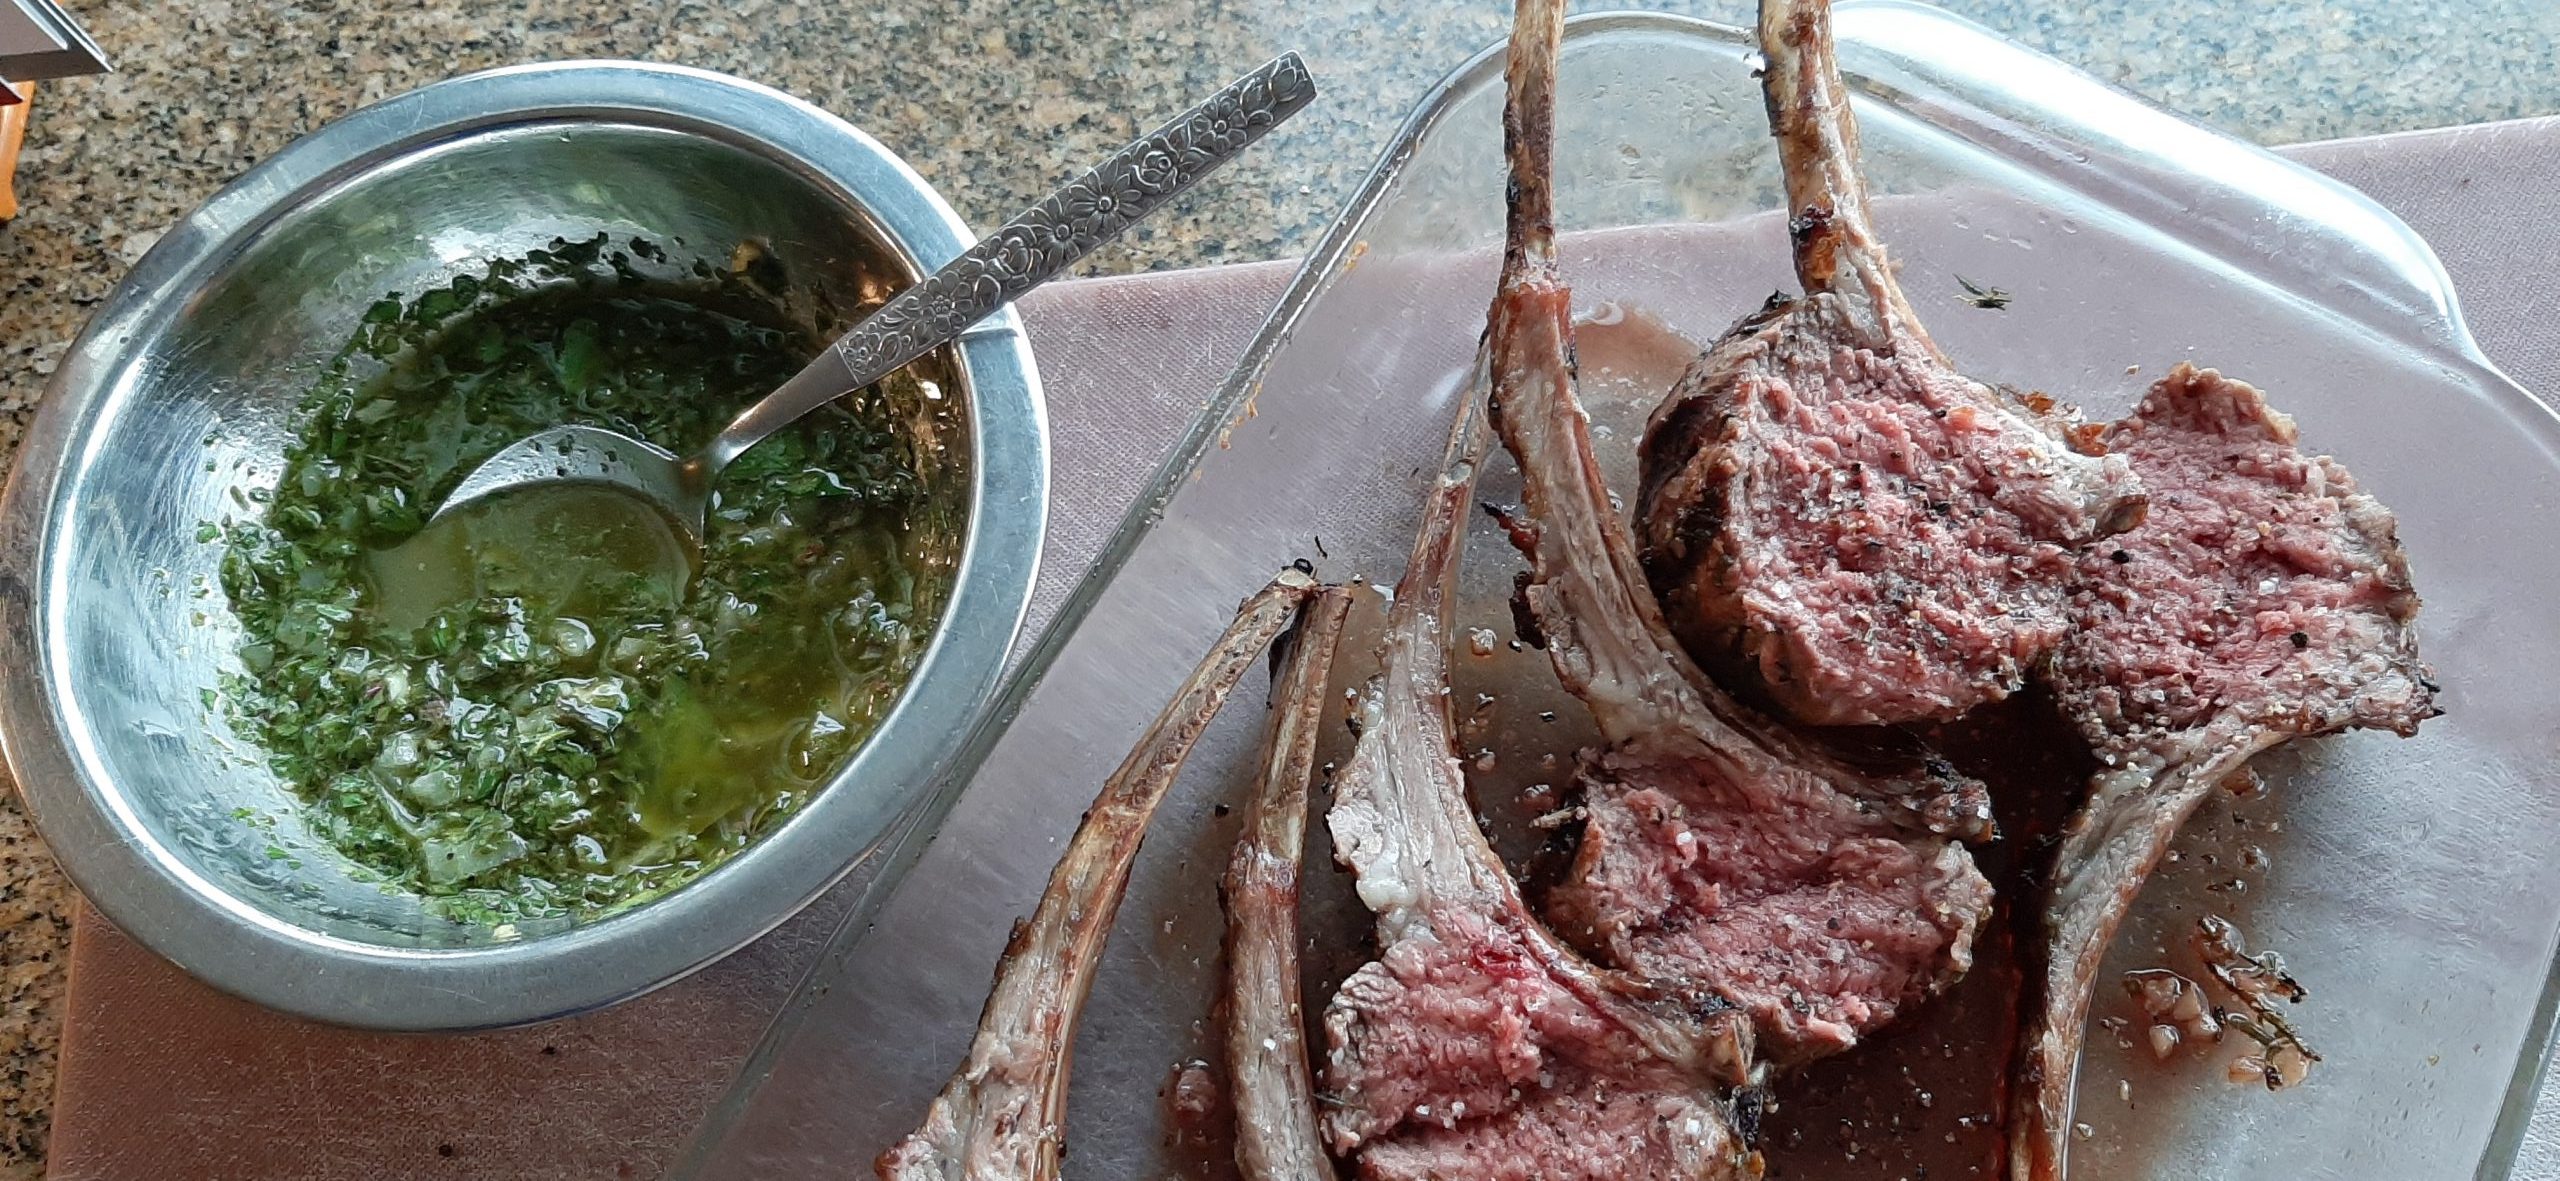
And oh boy was this recipe a great find. I made a few minimal changes, but then, that’s just how I roll. But the basic recipe is all on Justin.
What really first drew my attention to this particular recipe was the Mint Chimichurri Sauce.
I had just posted a recipe (Cherry Tomatoes in an Argentine Chimichurri Sauce),and frankly, I was still on a “chimichurri high” when I found this amazing recipe. And it was just enough different from my other rack of lamb recipes, that I just had to give it a try. Yeah me!!!
So, if you too are a lamb lover as apposed to a landlubber (a person unfamiliar with the sea or sailing), I suggest you give this recipe a try. You will not be sorry.
Well, that’s it for now. We actually have some blue skies today, which we have not experienced for the last few days. But it’s quite windy and when I went out to water, it was darn right cold. I could actually feel fall in the air.
I AM NOT READY FOR IT TO BE FALL! (That sound you hear is me stomping my feet like any typical 4-year-old!) But really. We just have not had enough summer this year. And I’m not happy about the whole darn thing! (And yes, that’s still me stomping my feet!) But I must go with the flow. (But that doesn’t mean I have to like it!)
So, my wish for you is that the rest of your summer be warm, but not too warm, sunny, but not too sunny, rainy, if you need the rain, and free of wildfires, wildfire smoke, tornadoes, eruptions, landslides, and any other egregious condition brought on by Mother Nature.
And of course, as always, full to the brim with an abundance of peace and love.
For the Grilled Rack of Lamb:
1 garlic clove, chopped
1 tsp. chopped fresh thyme
1 tsp. chopped fresh rosemary
1 T. extra virgin olive oil
1 rack of lamb, extra fat removed
kosher salt
freshly ground black pepper
coarse sea salt
Combine the garlic, thyme, rosemary, and olive oil in a small bowl. Rub mixture over the lamb and let it sit covered in your refrigerator for about 1 hour. Then remove from fridge and allow it to come to room temperature.
Pre-heat your grill to medium-hot for about 15 minutes.
Before grilling the lamb, season the lamb al over lightly with kosher salt and freshly ground pepper.
Sear the rack of lamb, bone side down, with the lid closed for about 5 minutes. Turn and grill the meaty side for another 5 minutes with the lid down. Then move the rack to indirect heat to finish cooking until the internal temperature reaches 120 to 125-degrees for medium-rare, or 130 to 135-degrees for medium.
Remove from grill and rest the lamb for 7-10 minutes on a cutting board tented with aluminum foil, then slice between the rib bones.
Sprinkle coarse sea salt on each piece of lamb before serving with the mint chimichurri sauce.
For the Mint Chimichurri Sauce:
¼ c. packed fresh mint
¼ c. packed fresh Italian parsley
1 garlic clove
¼ c. extra virgin olive oil
1 T. red wine vinegar, or more to taste
tiny pinch crushed red pepper flakes, or to taste
¼ tsp. kosher salt
freshly ground black pepper
2 T. finely diced white onion
Place the mint, parsley, garlic, olive oil, red wine vinegar, crushed red pepper flakes, salt, and black pepper in a blender or food processor.
Pulse until the ingredients are well chopped, but not puréed.
Transfer the sauce to a small bowl and stir in the diced red onion.
Taste and adjust seasoning. Cover and store in the refrigerator until needed.
I love teriyaki. I don’t care if it’s chicken or beef, as long as the meat has lots of flavor and hasn’t been cooked to death. (Isn’t that a stupid statement. Anything you cook, be it meat or vegies, is already dead. But I digress.)
Anyway, I am currently on a mission to use up the meat in our freezer that Mr. C. has deemed “obviously abandoned”. And included in that category were two small packages of mystery meat. One contained a small piece of sirloin steak (as it turned out), and the other, half a flank steak.
So, while the meat was thawing, I went to work finding a new and exciting way to give this meat the respect it deserved. And I landed on this teriyaki marinade recipe from the heartnaptime.net site. (Great site BTW.)
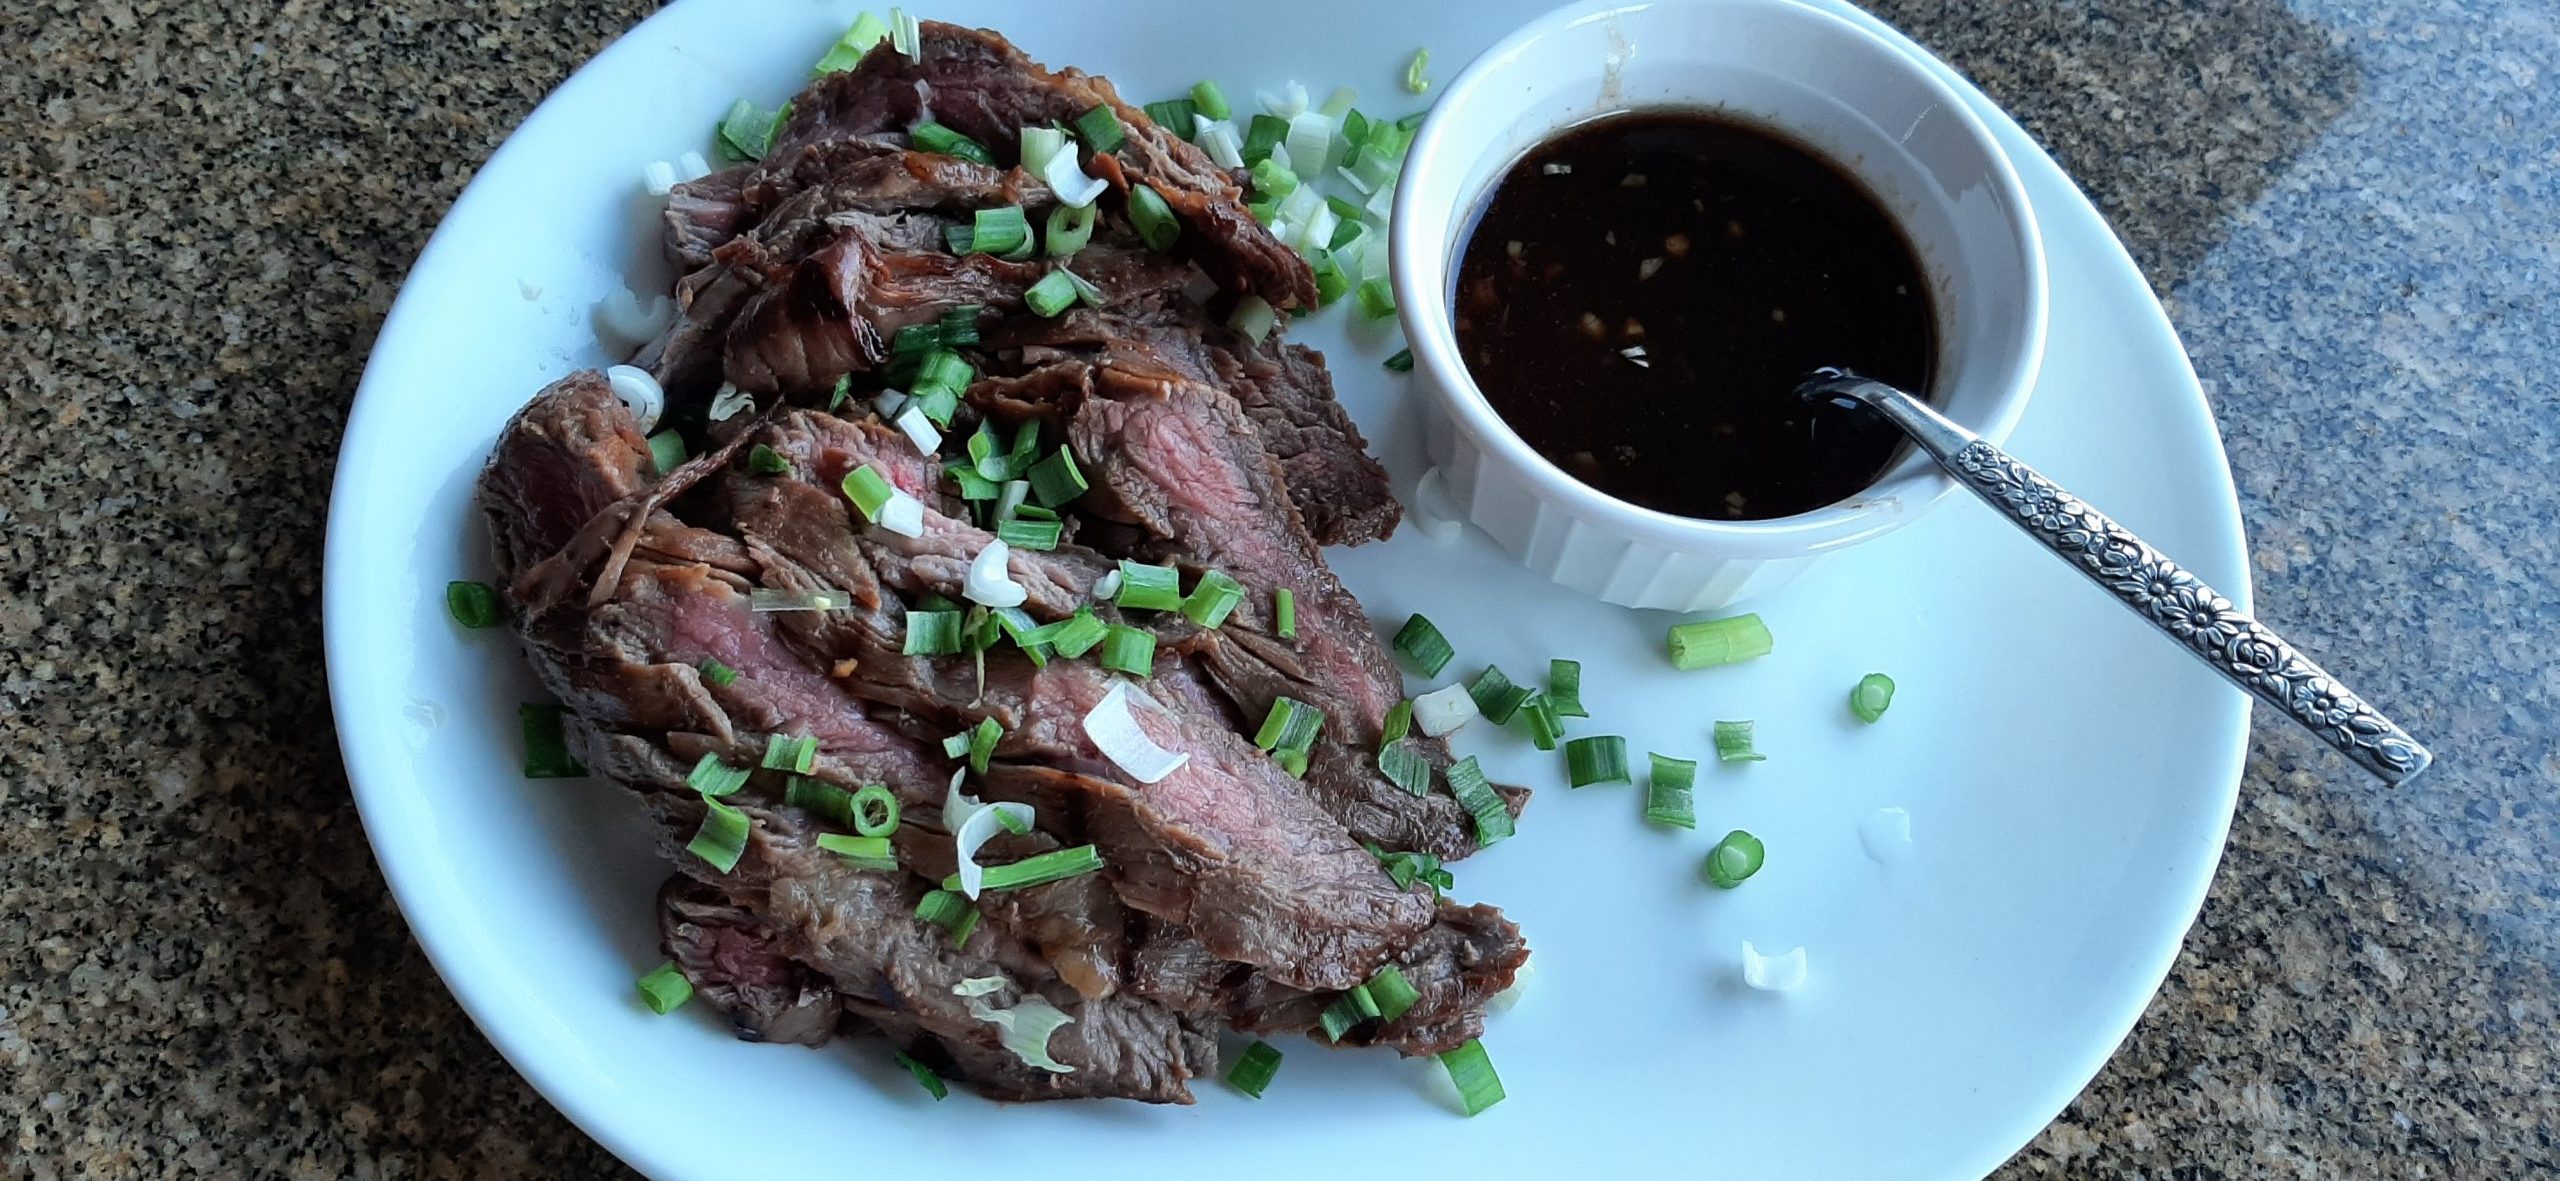
And OMG, what a wonderful teriyaki dinner we had last evening. Along with steamed brown rice, I prepared Teriyaki Salad Dressing over Romaine, Carrot, Celery, and Green Onions. (Recipe to be published in the next few days.) (But get a preview by scrolling down to find the recipe below.)
Now, this is not a wimpy marinade/sauce recipe. It is bold, brazen, and any other word you might think of to mean “holy moly powerful”! So, go slowly into that good sauce when it comes time to decorate the grilled meat before serving.
Well, that’s all I have to say today. Mr. C. has a gig in Anacortes at 3:00 this afternoon. So, I am going to keep this preface short and sweet. Which reminds me, this teriyaki marinade/sauce is not too sweet. A taste of honey, as the old song title goes, but not in the least bit overpoweringly sugary. Perfectly balanced.
So, next time you get a hankering for teriyaki, give this recipe a try. Easy, and relatively inexpensive to make. And better than most beef teriyaki you can find in restaurants.
Happy Saturday to all. And of course, peace and love from our home to yours.
½ c. low-sodium Tamari or soy sauce
¼ c. water
2 T. toasted sesame oil
2 T. honey
2 T. Worcestershire sauce
2 garlic cloves, finely minced
2-3 tsp. minced fresh ginger
1½ lbs. flank steak, fat and silver skin removed
sliced green onions, garnish
Combine the soy sauce, water, sesame oil, honey, Worcestershire sauce, garlic, and ginger in a glass bowl. Whisk until combined. Pour 1/3rd of the marinade in a small pan. Set aside.
Add the flank steak to the remining marinade, cover, and place in the refrigerator for at least 30 minutes. (Best when marinated for 4-6 hours.) Remove from fridge at least 30 minutes ahead of grilling.
Preheat grill to medium-high heat.
Place the steak on the hot grill and cook for 3-4 minutes. Turn the steak over and grill another 2-3 minutes. For medium-rare (135-degrees).
Remove from grill and let rest for about 5 minutes before thinly slicing on the diagonal. Serve with remaining marinade (now teriyaki sauce) which has been brought to a boil, reduced to simmer, and cooked for about 5 minutes.
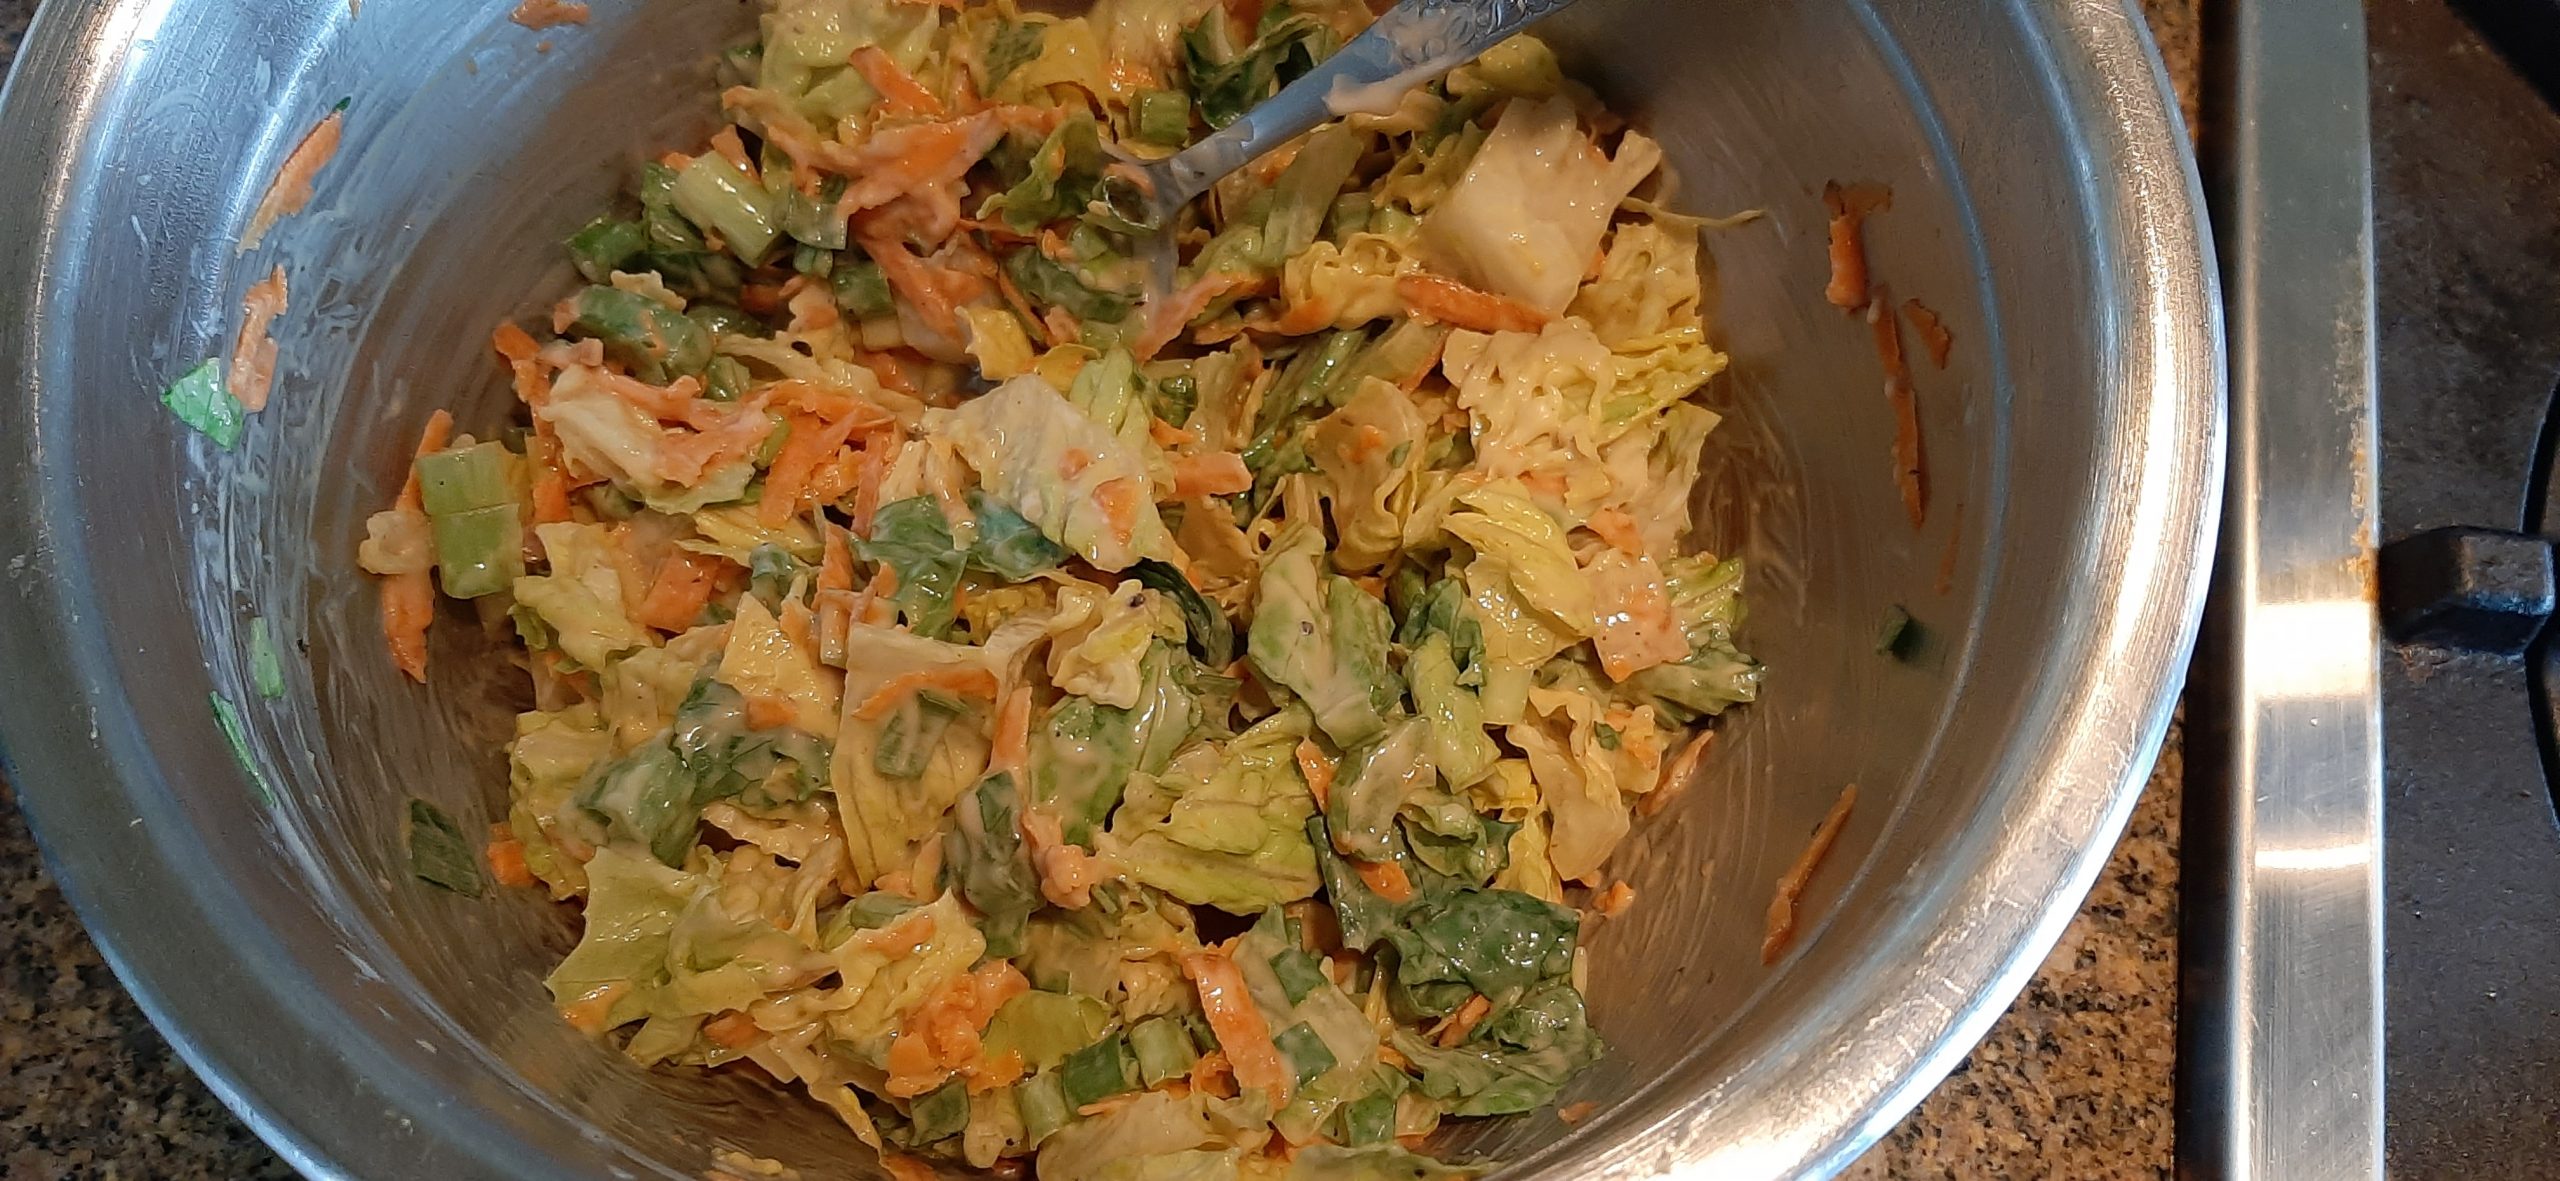
TERIYAKI SALAD DRESSING FOR ROMAINE, CARROT, CELERY, AND GREEN ONIONS
For the dressing:
½ c. mayonnaise
1 T. rice vinegar
2 tsp. granulated sugar
1 tsp. soy sauce
tiny pinch granulated garlic
1 tsp. toasted sesame oil
freshly ground black pepper (not too much)
Whisk together the mayo, rice vinegar, sugar, soy sauce, granulated garlic, sesame oil, and black pepper in a covered container. Refrigerate before serving.
For the salad:
3-4 c. chopped romaine or iceberg lettuce
½ c. shredded carrot
½ c. thinly sliced celery or cabbage
2 finely chopped green onions
Place in a bowl and toss lightly with salad dressing just before serving.
For me, there are only two sauces that truly compliment cheese ravioli, tortellini, or gnocchi. The two sauces being tomato cream and gorgonzola cream. So, the other evening at a local Italian restaurant, Mr. C. was hungry for ravioli, so he ordered ravioli that came in a fantastic tomato cream sauce. And I had my mouth set for gnocchi smothered in creamy gorgonzola sauce. So, that’s what I ordered.
Now, gorgonzola sauce, I can make at home. But a good tomato cream sauce, nope. Not until now.
Oh, I’ve tried over the years to come up with a good recipe. Using vodka, not using vodka. One with multiple ingredients, one with only 5 ingredients. Yup, I’ve given it my best. But none before had the depth of flavor I was looking for.
But after once again tasting a luscious tomato cream sauce, (I swiped a ravioli off Andy’s plate), I knew I had to try again.
So, I went online and found several recipes that looked good. I ended up slightly modifying a recipe I found on theburntbuttertable.com site.
So, if you too love tomato cream sauce, I suggest you give this simple recipe a try. The sauce is truly delicious with that wonderful depth of flavor that was missing in my other attempts.
And in case you too are crazy for gorgonzola cream sauce, please check out my recipe entitled Ricotta Cheese Gnocchi in a Gorgonzola Cream Sauce. I’m sure you will like that fantastic pasta dish too.
But do not deceive yourself. Neither of these recipes are low fat. (They are “cream” sauces after all.) But for an occasional treat, there is just no finer way to put on weight. And believe me, I am the grandmaster at adding pounds one creamy mouthful at a time!
Well, that’s it for now. I’m about to go build cornbread to go with the chili I’m serving for tonight’s dinner. I mean really, how could I expect Mr. C. to eat chili without a side of cornbread slathered in butter. Inconceivable!! And of course, for the chili toppings – grated sharp cheddar cheese, sour cream, and chopped green onions.
And as always from our home to yours, peace and love to all.
2 T. extra virgin olive oil
4 T. (½ stick) unsalted butter
½ small white onion, finely chopped
4 garlic cloves, finely diced
1 tsp. anchovy paste
pinch kosher salt
freshly ground black pepper
1 small can tomato sauce (preferably Italian tomatoes)
2-3 T. tomato paste (preferably Italian tomatoes)
1 c. heavy cream
½ c. half & half
1-2 T. fresh lemon juice
1/3 c. finely grated Parmesan cheese, plus more for table
6-8 oz. al dente cheese ravioli, tortellini, or gnocchi (depending on how “saucy” you like your pasta)
Heat the olive oil and butter in a medium sized heavy pot over medium-low heat. Add the onion and cook until very soft. Add the garlic, anchovy paste, salt, and pepper. Cook for a minute.
Add the tomato sauce and tomato paste and whisk to combine, cooking for a minute or two.
With the heat on low, add the cream and half and half and whisk to combine thoroughly. (The cream should never go past a very gentle simmer.)
Add 1 tablespoon of the fresh lemon juice, taste, and add more if desired.
Remove from heat and stir in the finely grated Parmesan.
Add your drained pasta straight into the sauce with a splash of pasta water if necessary. Let the pasta bubble away in the sauce gently for a minute or two to thicken the sauce.
If there is one dish that everyone from a gourmet to a person who favors simple food can agree upon, it’s meatloaf. Now, the ingredients may differ a bit from one category of eater to the other, but the fact remains. Almost everyone loves a good meatloaf.
So, when I woke up yesterday morning wondering what to make for dinner, meatloaf immediately came to mind. It’s easy to prepare, and there are a wide variety of side dishes that compliment this entrée. One especially came to mind (Risi E Bisi – Italian Rice and Peas) since I had just read about the dish in the book I am currently reading.
The book takes place in Venice and what the family of the protagonist eats for lunch or dinner is often included in the narrative. Not the recipes unfortunately, but enough of a description to make me either reluctant to even think about fixing it or eager to go directly to my kitchen and make like a cook.
The mystery series is written by Donna Leon and the protagonist is Commissario Guido Brunetti. The title of the book I am currently reading is “Unto Us a Son Is Given”. (Great reading BTW. I highly recommend this series if you are a mystery nut like me!) (And Risi E Bisi turned out to be as delicious as suggested by the author. I will be sharing this recipe with you in the near future.) But back to meatloaf.
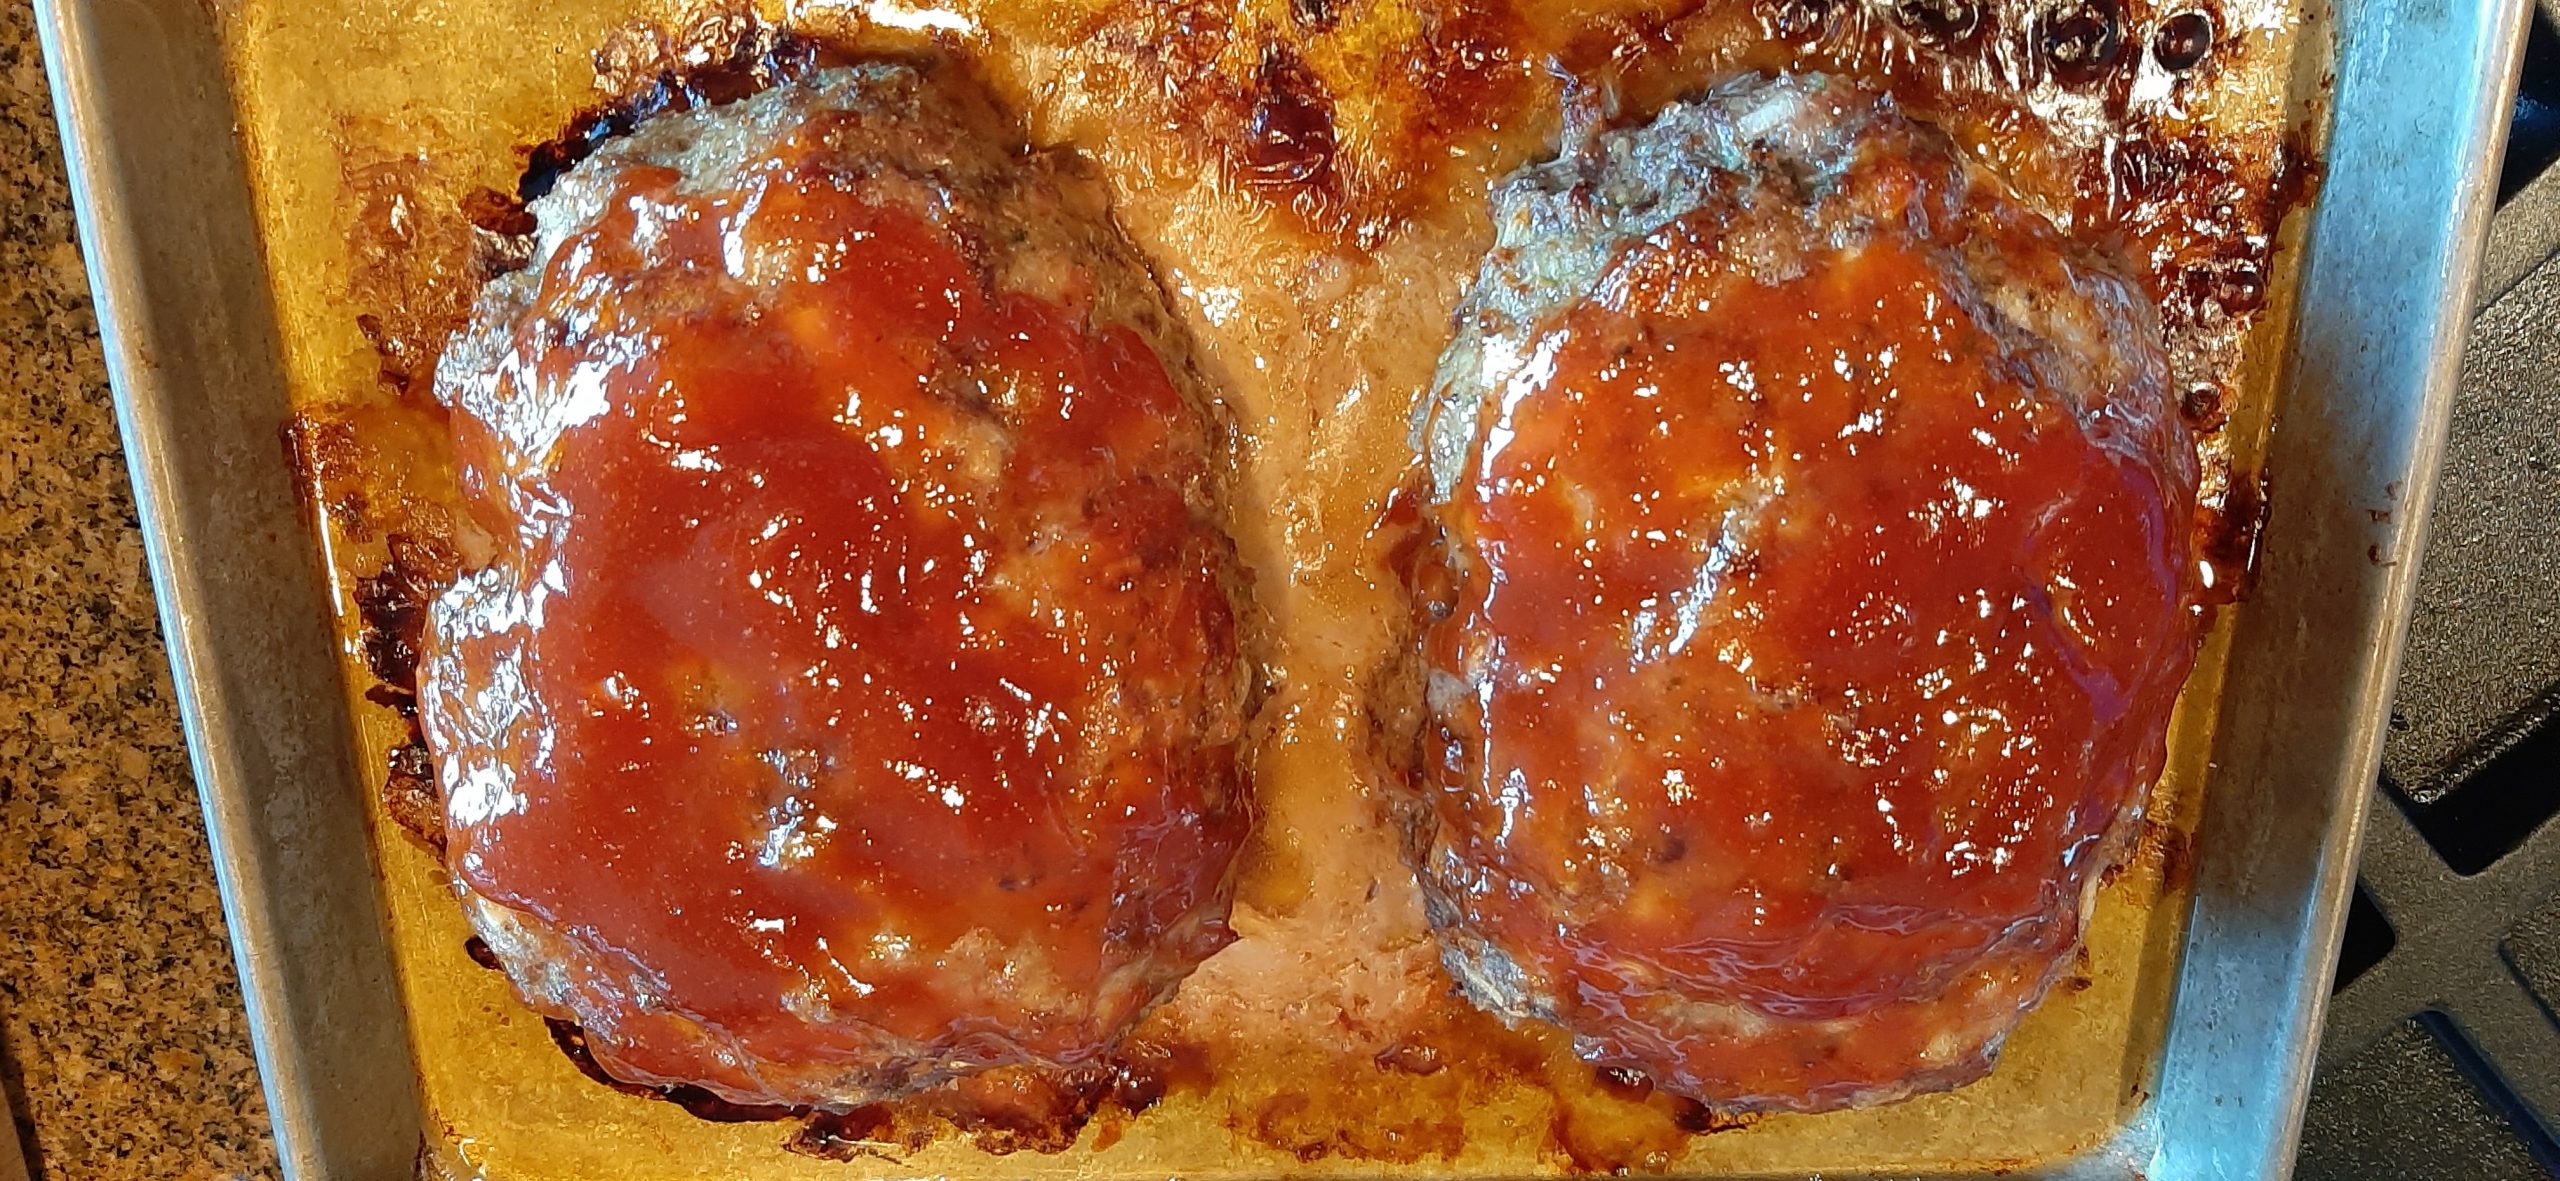
This is not a new recipe. In fact, it is already on this site under the tantalizing title – Old Fashioned Meatloaf.
But never-the-less, I thought it might be a good idea to remind you of the merits of meatloaf lest you had forgotten this simple dish in your quest for new and exciting taste sensations. Not that I don’t go that route myself at every opportunity. But sometimes it’s just nice to sink your teeth into an old favorite.
May you too have many favorite dishes from which to choose.
And as always, peace and love to all.
1 c. finely chopped onion
½ c. dried breadcrumbs (I use Italian breadcrumbs)
1 T. dehydrated parsley
1 tsp. seasoned salt
1 tsp. granulated garlic
freshly ground black pepper
¼ tsp. ground savory
1 lg. egg
¼ c. milk
1 lb. bulk sausage (breakfast or sweet Italian)
1 lb. lean ground beef
2 T. brown sugar
⅓ c. ketchup
In a medium sized mixing bowl, stir the onion, breadcrumbs, parsley, seasoned salt, granulated garlic, pepper, savory, egg, and milk together. Gently stir in the sausage, then the ground beef. (Don’t overwork the mixture.) Form into 2 loaves and place on a small, rimmed baking sheet.
Bake for 30 minutes in a pre-heated 350-degree oven. Remove from oven and spread with brown sugar and ketchup that have been stirred together. Return pan to oven and bake for another 20 – 25 minutes. (Don’t over bake.) Internal temperature should be 155-160 degrees.