Whenever I know that I will have guests that have gluten restrictions, I try to have enough GF dishes available, so they won’t feel cheated. (That’s all about me, because the family and friends I know would never cause a fuss. They just aren’t that kind of person. In fact, they would be unhappy with me for going to the trouble. But that’s tough! If I know ahead, I try my best to accommodate. Whether they like it or not!) Anyway, I had a recent occasion that warranted 2 desserts. So, I made Carrot Cake with Cream Cheese Frosting (recipe on site) and these cheesecake bars. And the GF bars were a hit. Never mind the crust was GF. They gobbled these babies up.
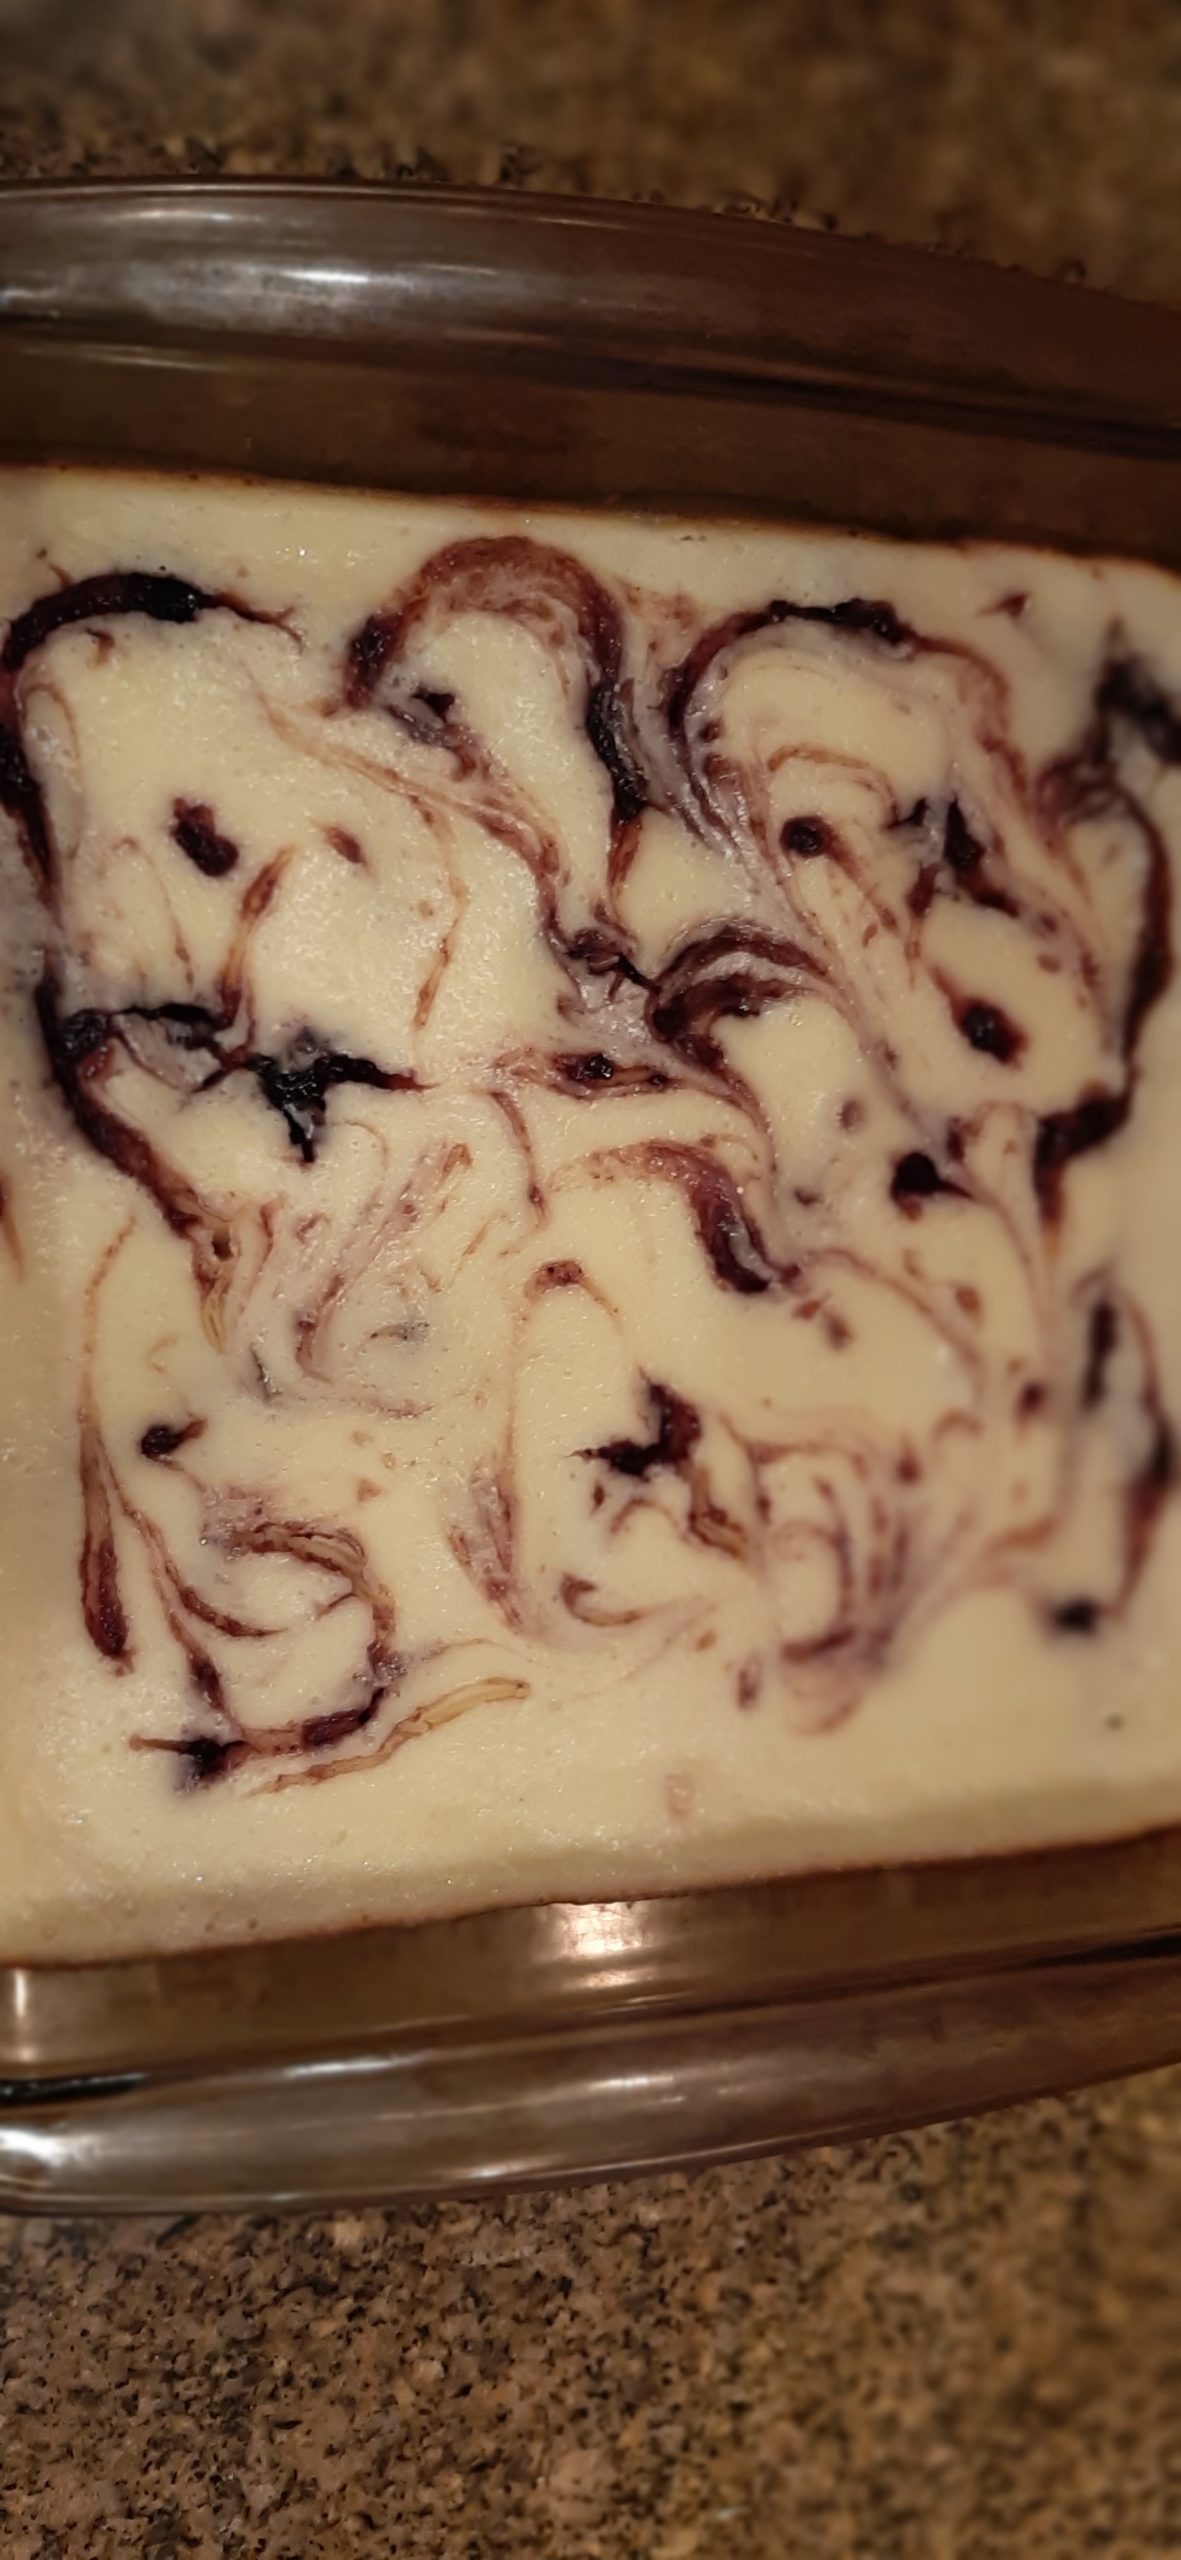
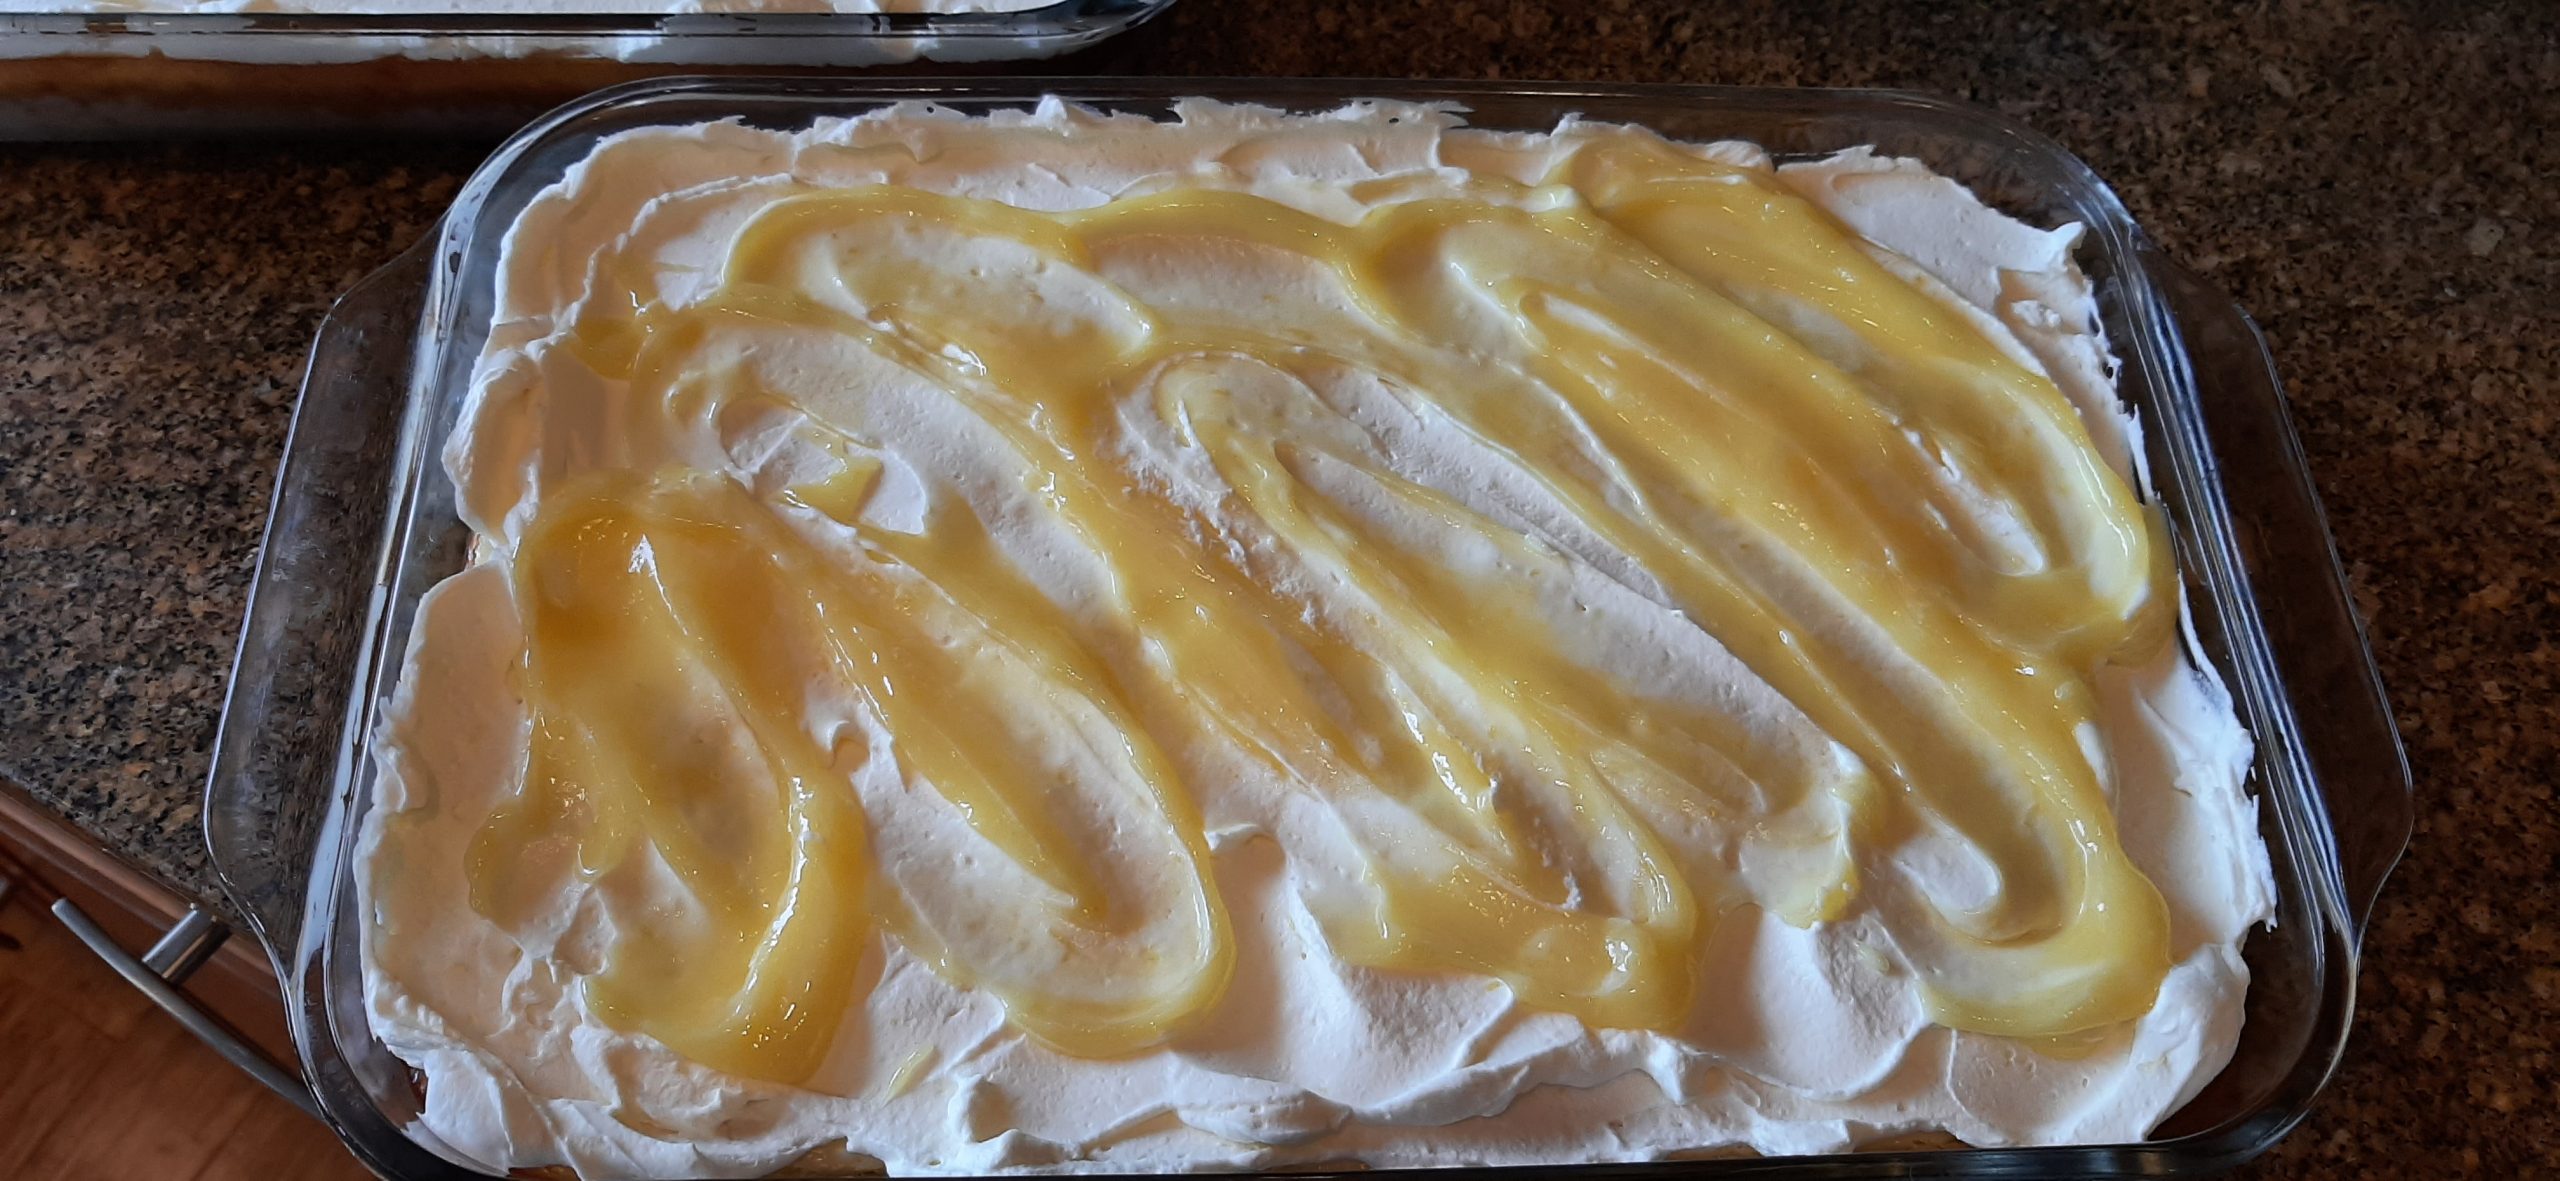
But in all honesty, they would have gone over well even if the crust were made of old shoe leather or the bumper off a 57 chevy. I mean really! Lemon cheesecake filling topped with homemade lemon curd whipped cream. Then dolloped and swirled with more lemon curd. What’s not to like?
But, if GF is not a concern, you can always use your favorite Graham Cracker Crust recipe or my recipe for the perfect 9×13-inch graham cracker crust for this recipe. (My recipe below.) Options, baby! That’s what it’s all about!
So, if you are a lemon cheesecake lover like I am, this is the recipe for you.
And for all you people who are truly gluten intolerant, I am sending you my sincere regrets. But luckily you live in an age where there are wonderful GF cookbooks and GF recipes online from which to choose. Also, quality GF flour mixes. (I like Cup 4 Cup.)
BTW, along with GF, I also try to have vegetarian options available for my guests. But vegan, I draw the line. I only have so much energy left in these old bones. And two out of three accommodations ain’t bad!
So, on that happy note, peace and love to all.
For the GF Crust:
3 c. gluten free oats
½ c. light brown sugar
2 T. honey
¼ tsp. kosher salt
¼ c. + 1 T. coconut oil, melted
6 T. (¾ stick) unsalted butter
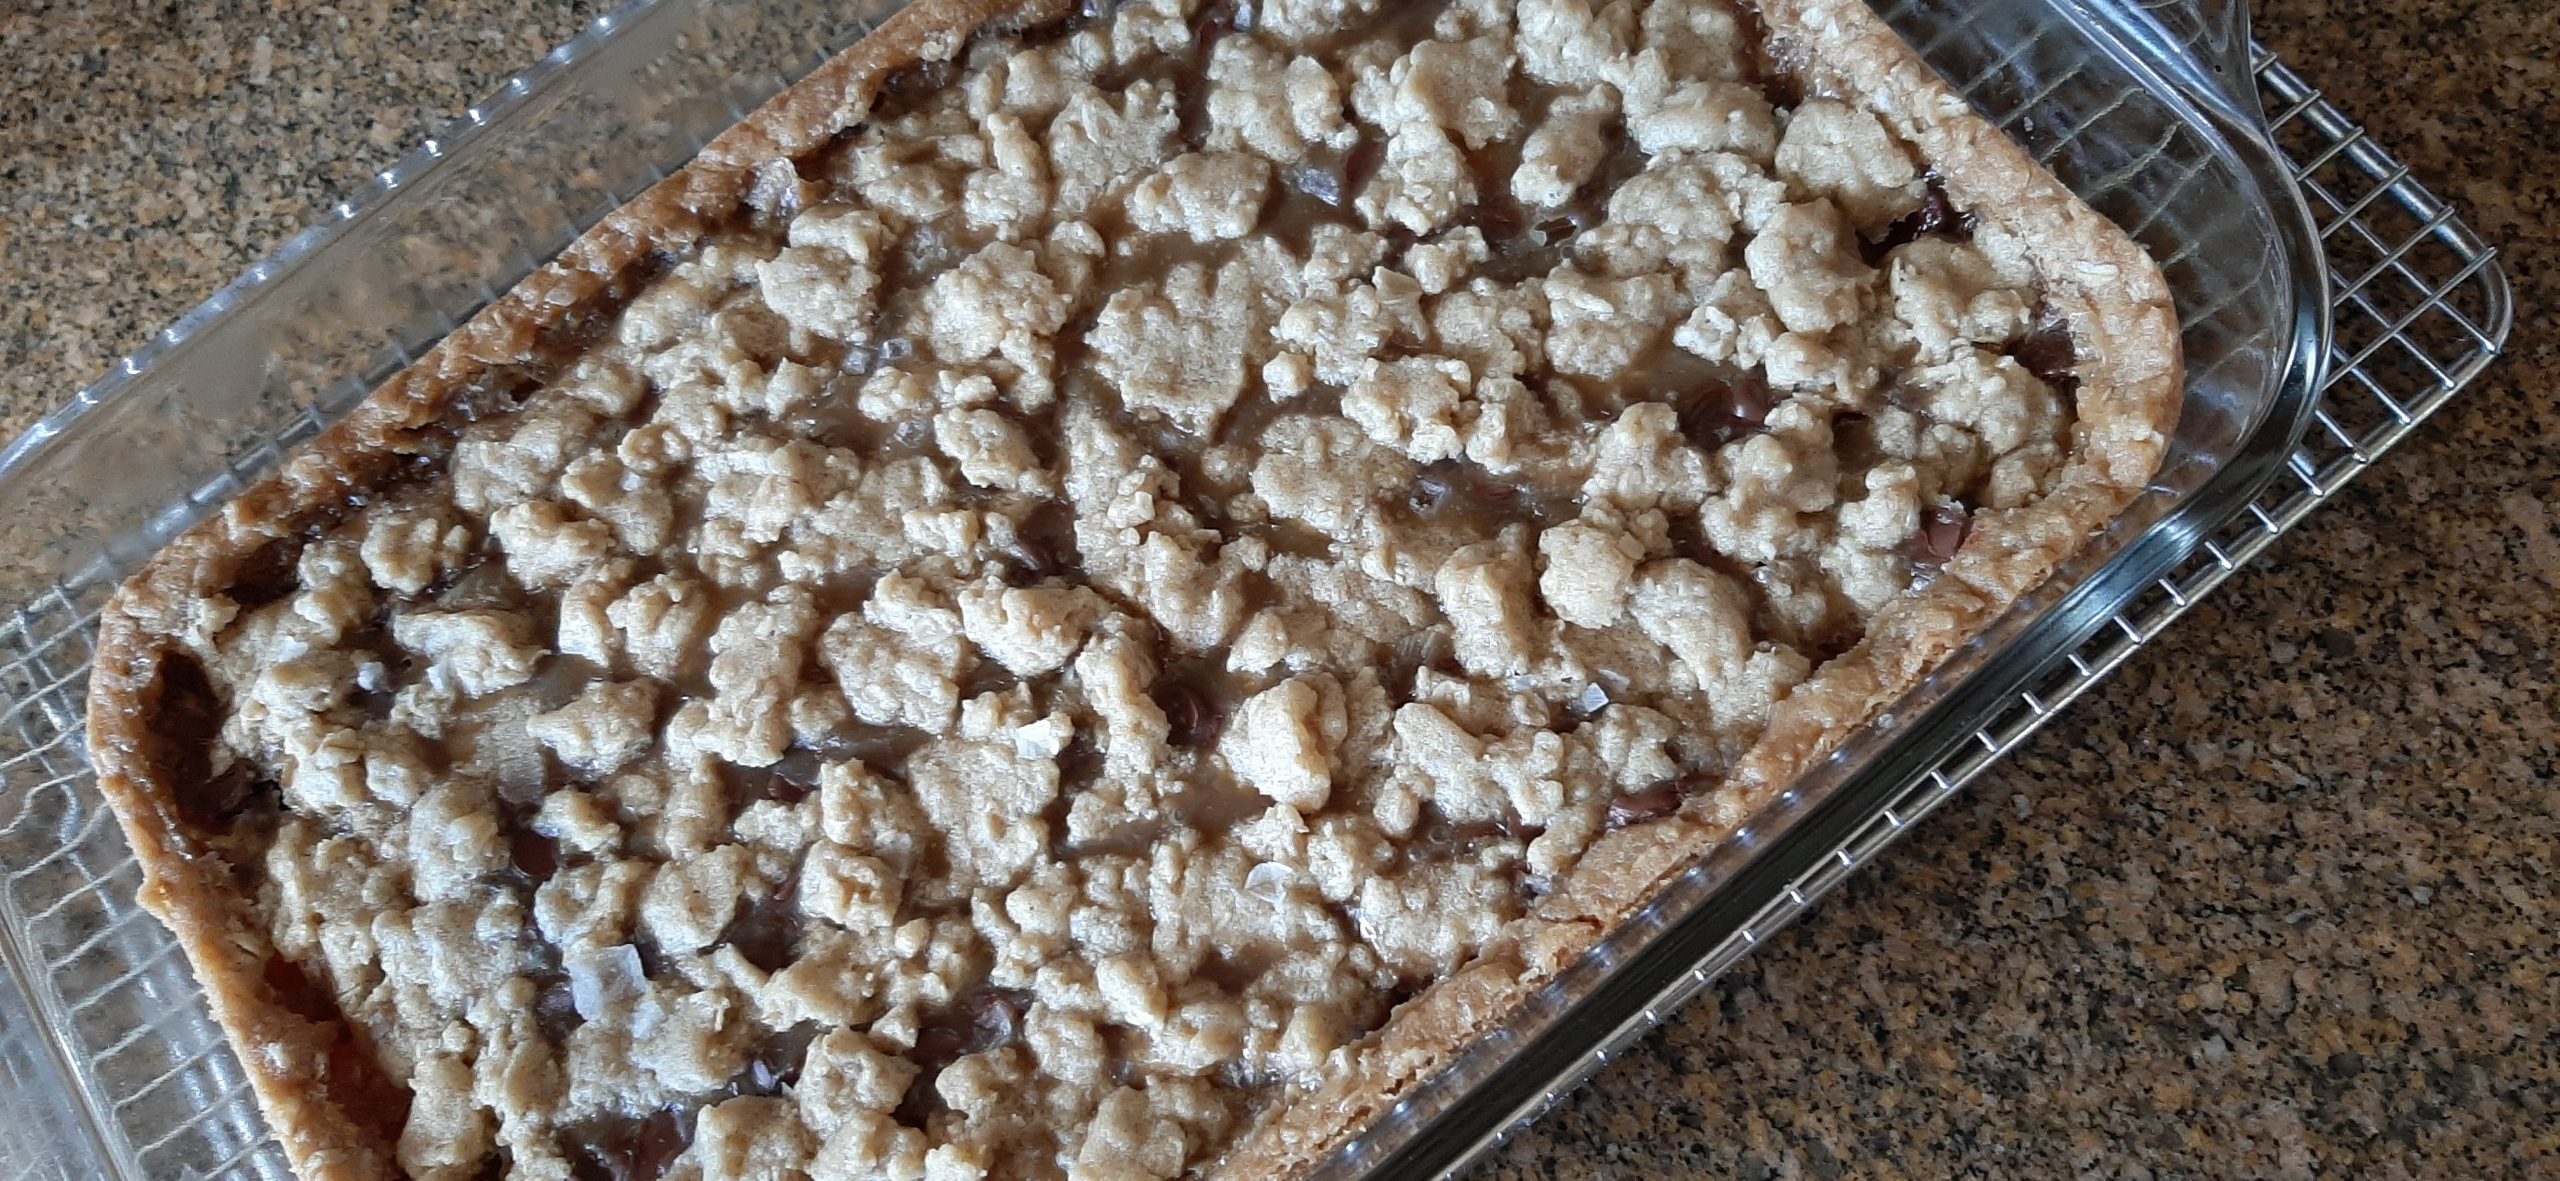
Mix the oats, brown sugar, honey, salt, and melted coconut oil together in a glass mixing bowl. Spread in an even layer on a parchment paper lined baking sheet. Bake in a pre-heated 350-degree oven for 30 minutes, stirring every 10 minutes.
Remove from oven and allow the oats to cool completely, about 10 to 15 minutes. (Oats will harden as they cool to a granola-like texture.)
Transfer to a food processor. Pulse 2 to 3 times to break up any larger pieces, then process on high for 30 to 60 seconds until the oats resemble coarse crumbs.
Meanwhile melt the butter in the same glass mixing bowl. Stir in the coarse oat crumbs. Once all the crumbs are coated with the melted butter, transfer to a lightly greased 9×13-inch baking pan. (Glass is best.)
Using your fingers, press the crumbs into the bottom of the pan and up the sides about a half inch. Bake at 350-degress for 5-7 minutes or just until set.
Remove from oven and let cool completely before adding cheesecake batter.
For the Lemon Cheesecake Bars:
3 (8 oz.) packages full-fat cream cheese, room temp.
1 c. full-fat sour cream, room temp.
1⅓ c. granulated sugar
1 T. lemon zest
3 lg. eggs, room temp.
2 lg. egg yolks, room temp.
⅓ c. heavy cream, room temp.
½ c. fresh lemon juice
In the bowl of your stand mixer fitted with the whisk attachment, beat the cream cheese and sour cream together until completely smooth.
Add the granulated sugar and lemon zest and beat until smooth, scraping down the sides and bottom of bowl as needed. On low speed, add in the whole eggs and egg yolks and beat until just combined. Don’t over mix!
Using a rubber spatula, fold in the heavy cream and the lemon juice, mixing just until combined.
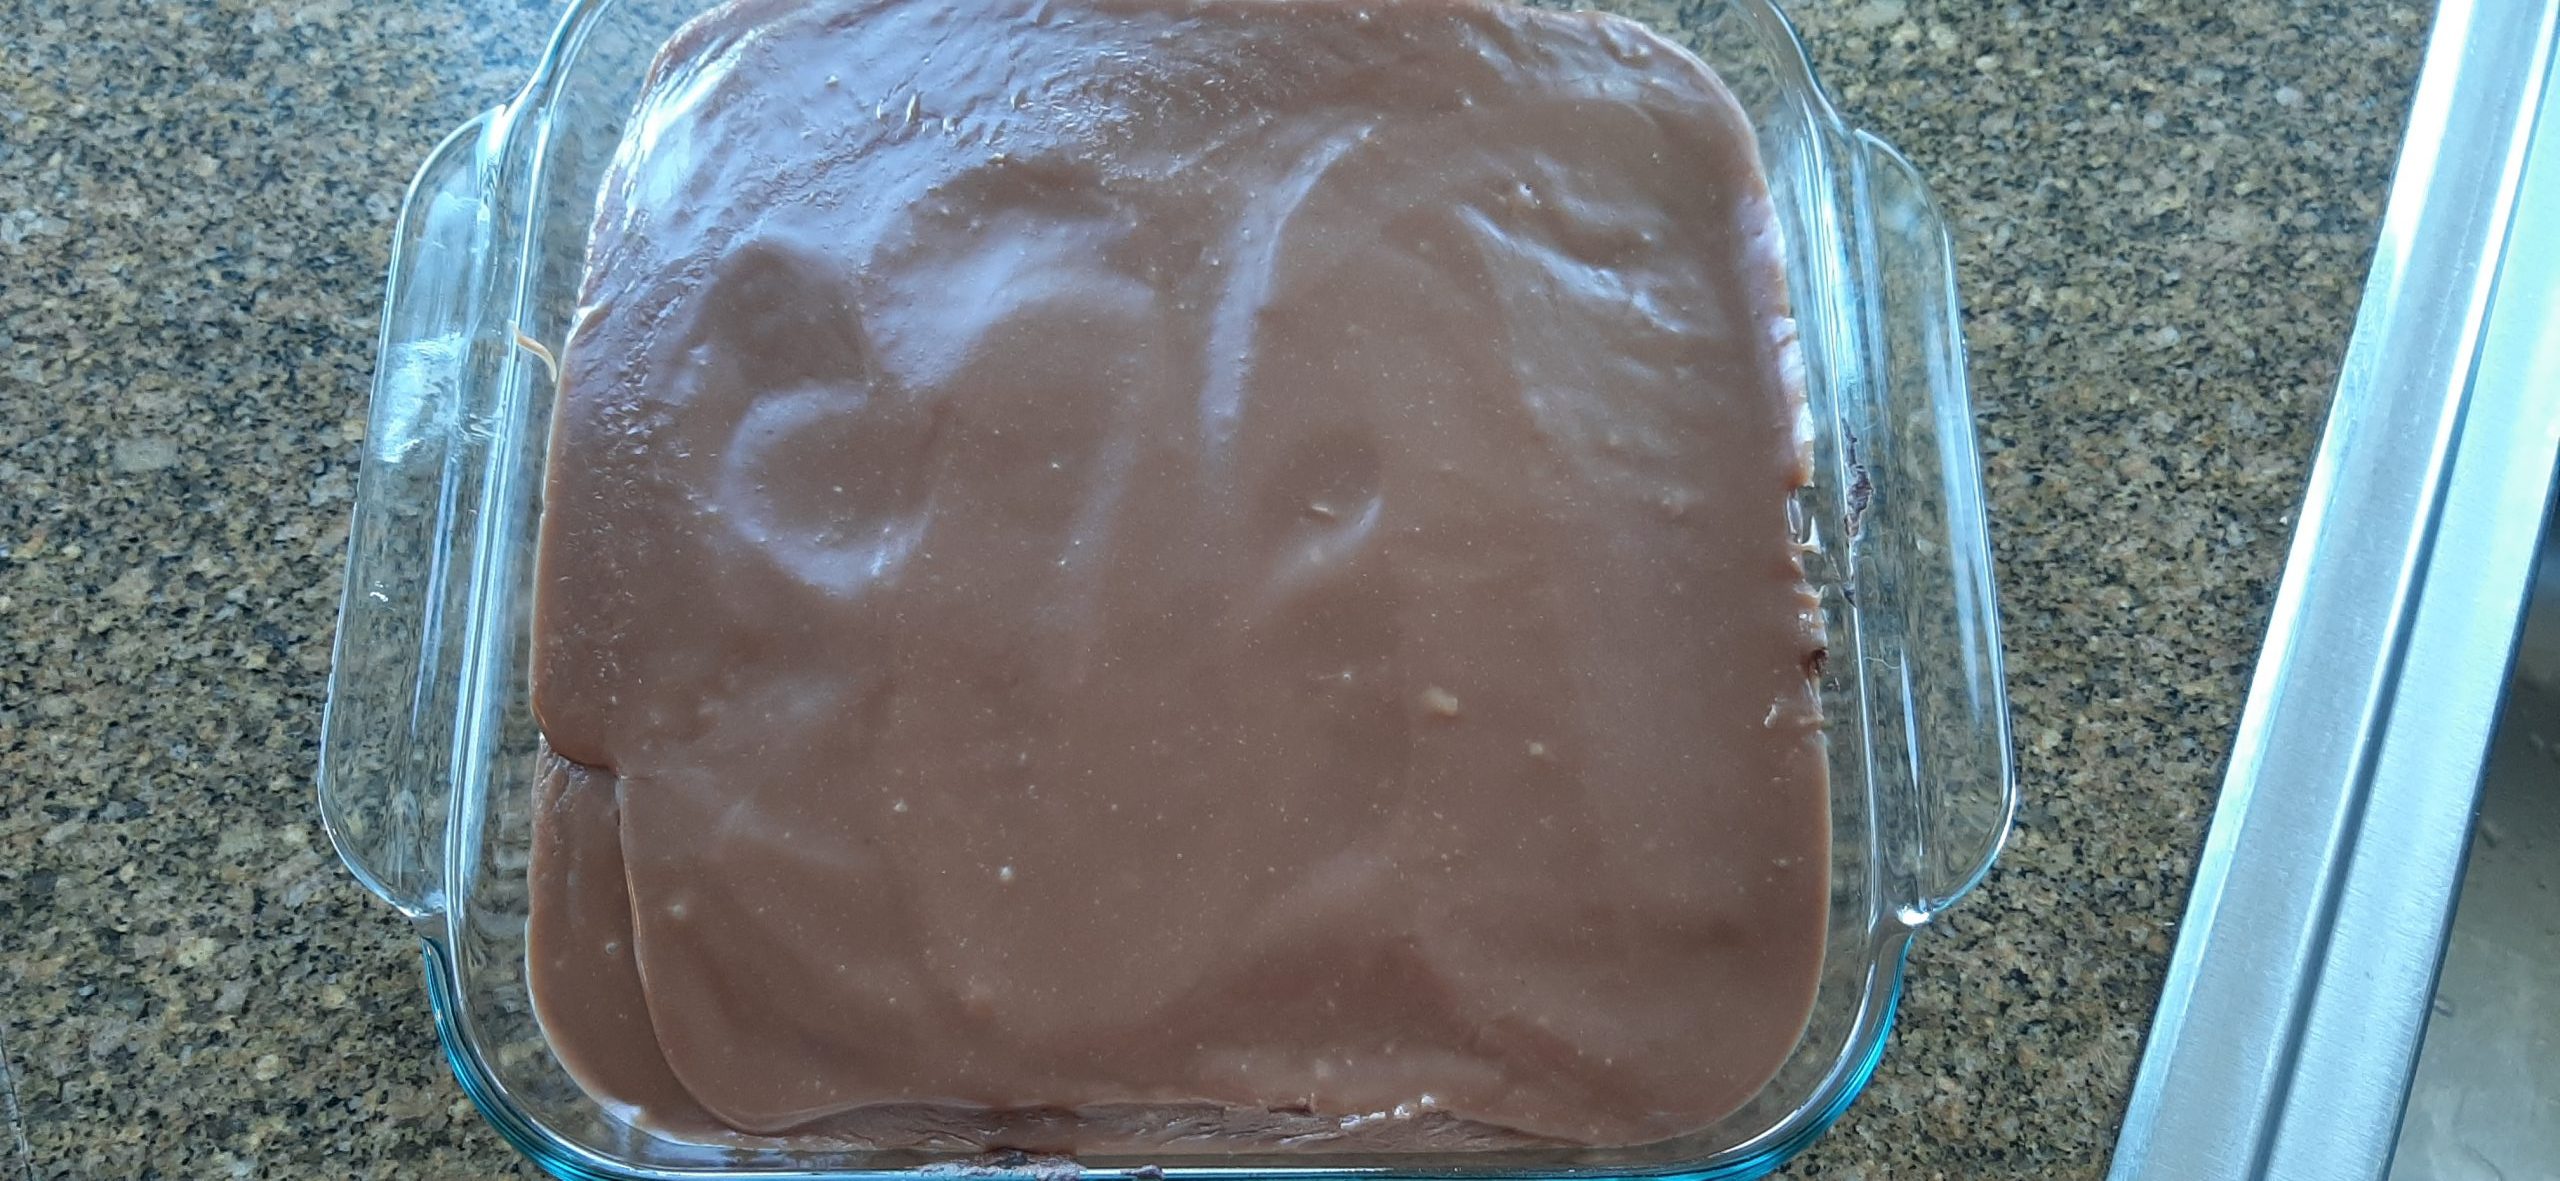
Spread evenly over partially baked crust.
Place in your pre-heated 350-degree oven and bake for 38 to 40 minutes, or until the edges are set, but the middle is still slightly jiggly. (The cheesecake will firm up as it cools.)
Remove from the oven, and park on a wire rack until both the filling and pan are cool. Then carefully cover the pan and refrigerate for at least 5 hours, but better yet 1 or two days.
A few hours before you plan to serve, make the Lemon Curd Whipped Cream. Spread on the bars and dot with additional lemon curd and swirl with an offset spatula. Carefully cover and refrigerate again until ready to serve.
Using a sharp knife, slice the bars into serving sized pieces.
For the Lemon Curd Whipped Cream:
2 c. (1 pint) heavy whipping cream
lemon curd, homemade (see my recipe below) or purchased
Whip the cream until stiff peaks form. Whip in lemon curd to taste.
NO FUSS LEMON CURD
1½ c. granulated sugar
4 lg. eggs
2 tsp. lemon zest (from 2 lemons)
½ c. lemon juice (from 3 lemons)
⅛ tsp. salt
½ c. (1 stick) unsalted butter, cut into 8 pieces
In a medium (2-quart) saucepan, whisk the sugar, eggs, lemon zest, lemon juice, and salt together. Set the pan over low heat. Cook, whisking constantly, until the mixture is thickened enough to coat a spoon (about 10 minutes). The lemon curd will thicken best just below a simmer.
Remove from heat, add the butter all at once and whisk until melted and evenly incorporated
Cover and refrigerate until cool and thickened, at least 4 hours or preferably overnight.
Lemon curd will keep in an airtight container in the refrigerator for about 2 weeks. (Good luck with that!)
GRAHAM CRACKER CRUST (for a 9×13-inch pan)
2 c. fine graham cracker crumbs (about 16 full graham cracker sheets)
⅓ c. granulated sugar
7 T. unsalted butter, melted
In a medium bowl, mix the crumbs and sugar together. Pour in the melted butter and stir until fully coated. (The mixture will have a sand like texture.)
Transfer the crumb mixture to an ungreased 9×13 baking pan and use your hands to press it evenly across the bottom and slightly up the sides.
For baked recipes, pre-bake the crust for about 10 minutes in a pre-heated 350-degree oven. Then proceed as directed above.