And yes, I know. I have two other seasoned salt recipes on this site which BTW are easily accessed by typing the terribly catchy title “Seasoned Salt” in the search box. But I ask you, can a girl (or guy) ever have too many recipes for seasoned salt? Of course not. It’s like having too many pairs of shoes. Again, a person really can’t have more shoes than is absolutely necessary. Unless they are an Imelda Marcos want-a-be. Then that’s a different story! To my thinking, 3,000 pairs of designer shoes isn’t an extravagance, it’s a psychosis! Compared to three recipes for seasoned salt, I believe I am actually being quite reasonable and rational.
Because, what it really boils down to, is that I use seasoned salt every day. And I like to change things up so that our taste buds don’t get bored. (Plus, the latent scientist in me, really enjoys playing mixologist. And seasoned salt is just so fun to play with.)
So, I am sure you are now wondering how and when I use seasoned salt. Well, that’s easy to answer. Every morning on our eggs (easy over, scrambled, scrambles, or omelets), in many soups and stews, or anytime a little extra savory punch would ramp up the flavor of a dish.
But of course, when using seasoned salt, I have to remind myself to cut back on regular salt. But I still seem to be mentally able to make that connection. (In other regards, I’m not so sure about myself!) Anyway….
If you too enjoy making your own seasoned salt, do give this recipe a try. It’s just enough different from my other recipes as to be interesting. But be warned. This blend is really quite salty. So, go easy into that good dish.
Well, that’s it from Camano Island. It’s grey today. But not grey from smoke, but rather from cloudy skies. So, hopefully, we will get some more much needed rain. And the mountains too would profit greatly from any wet largesse that might fall their way. There are still quite a few forest fires happily burning away in our state. So, benevolent deities, if you are reading this, how about a nice steady drizzle over all the areas that need your help. Not too much water so that runoff becomes a problem. Just a nice steady light downpour. And no wind or lightning, thank you. (I have found that you must be quite specific with deities, or they will get it wrong most of the time.) (And yes, I do ask and thank deities on all kind of subjects. I like to have all my bases covered!)
Peace and love to all.
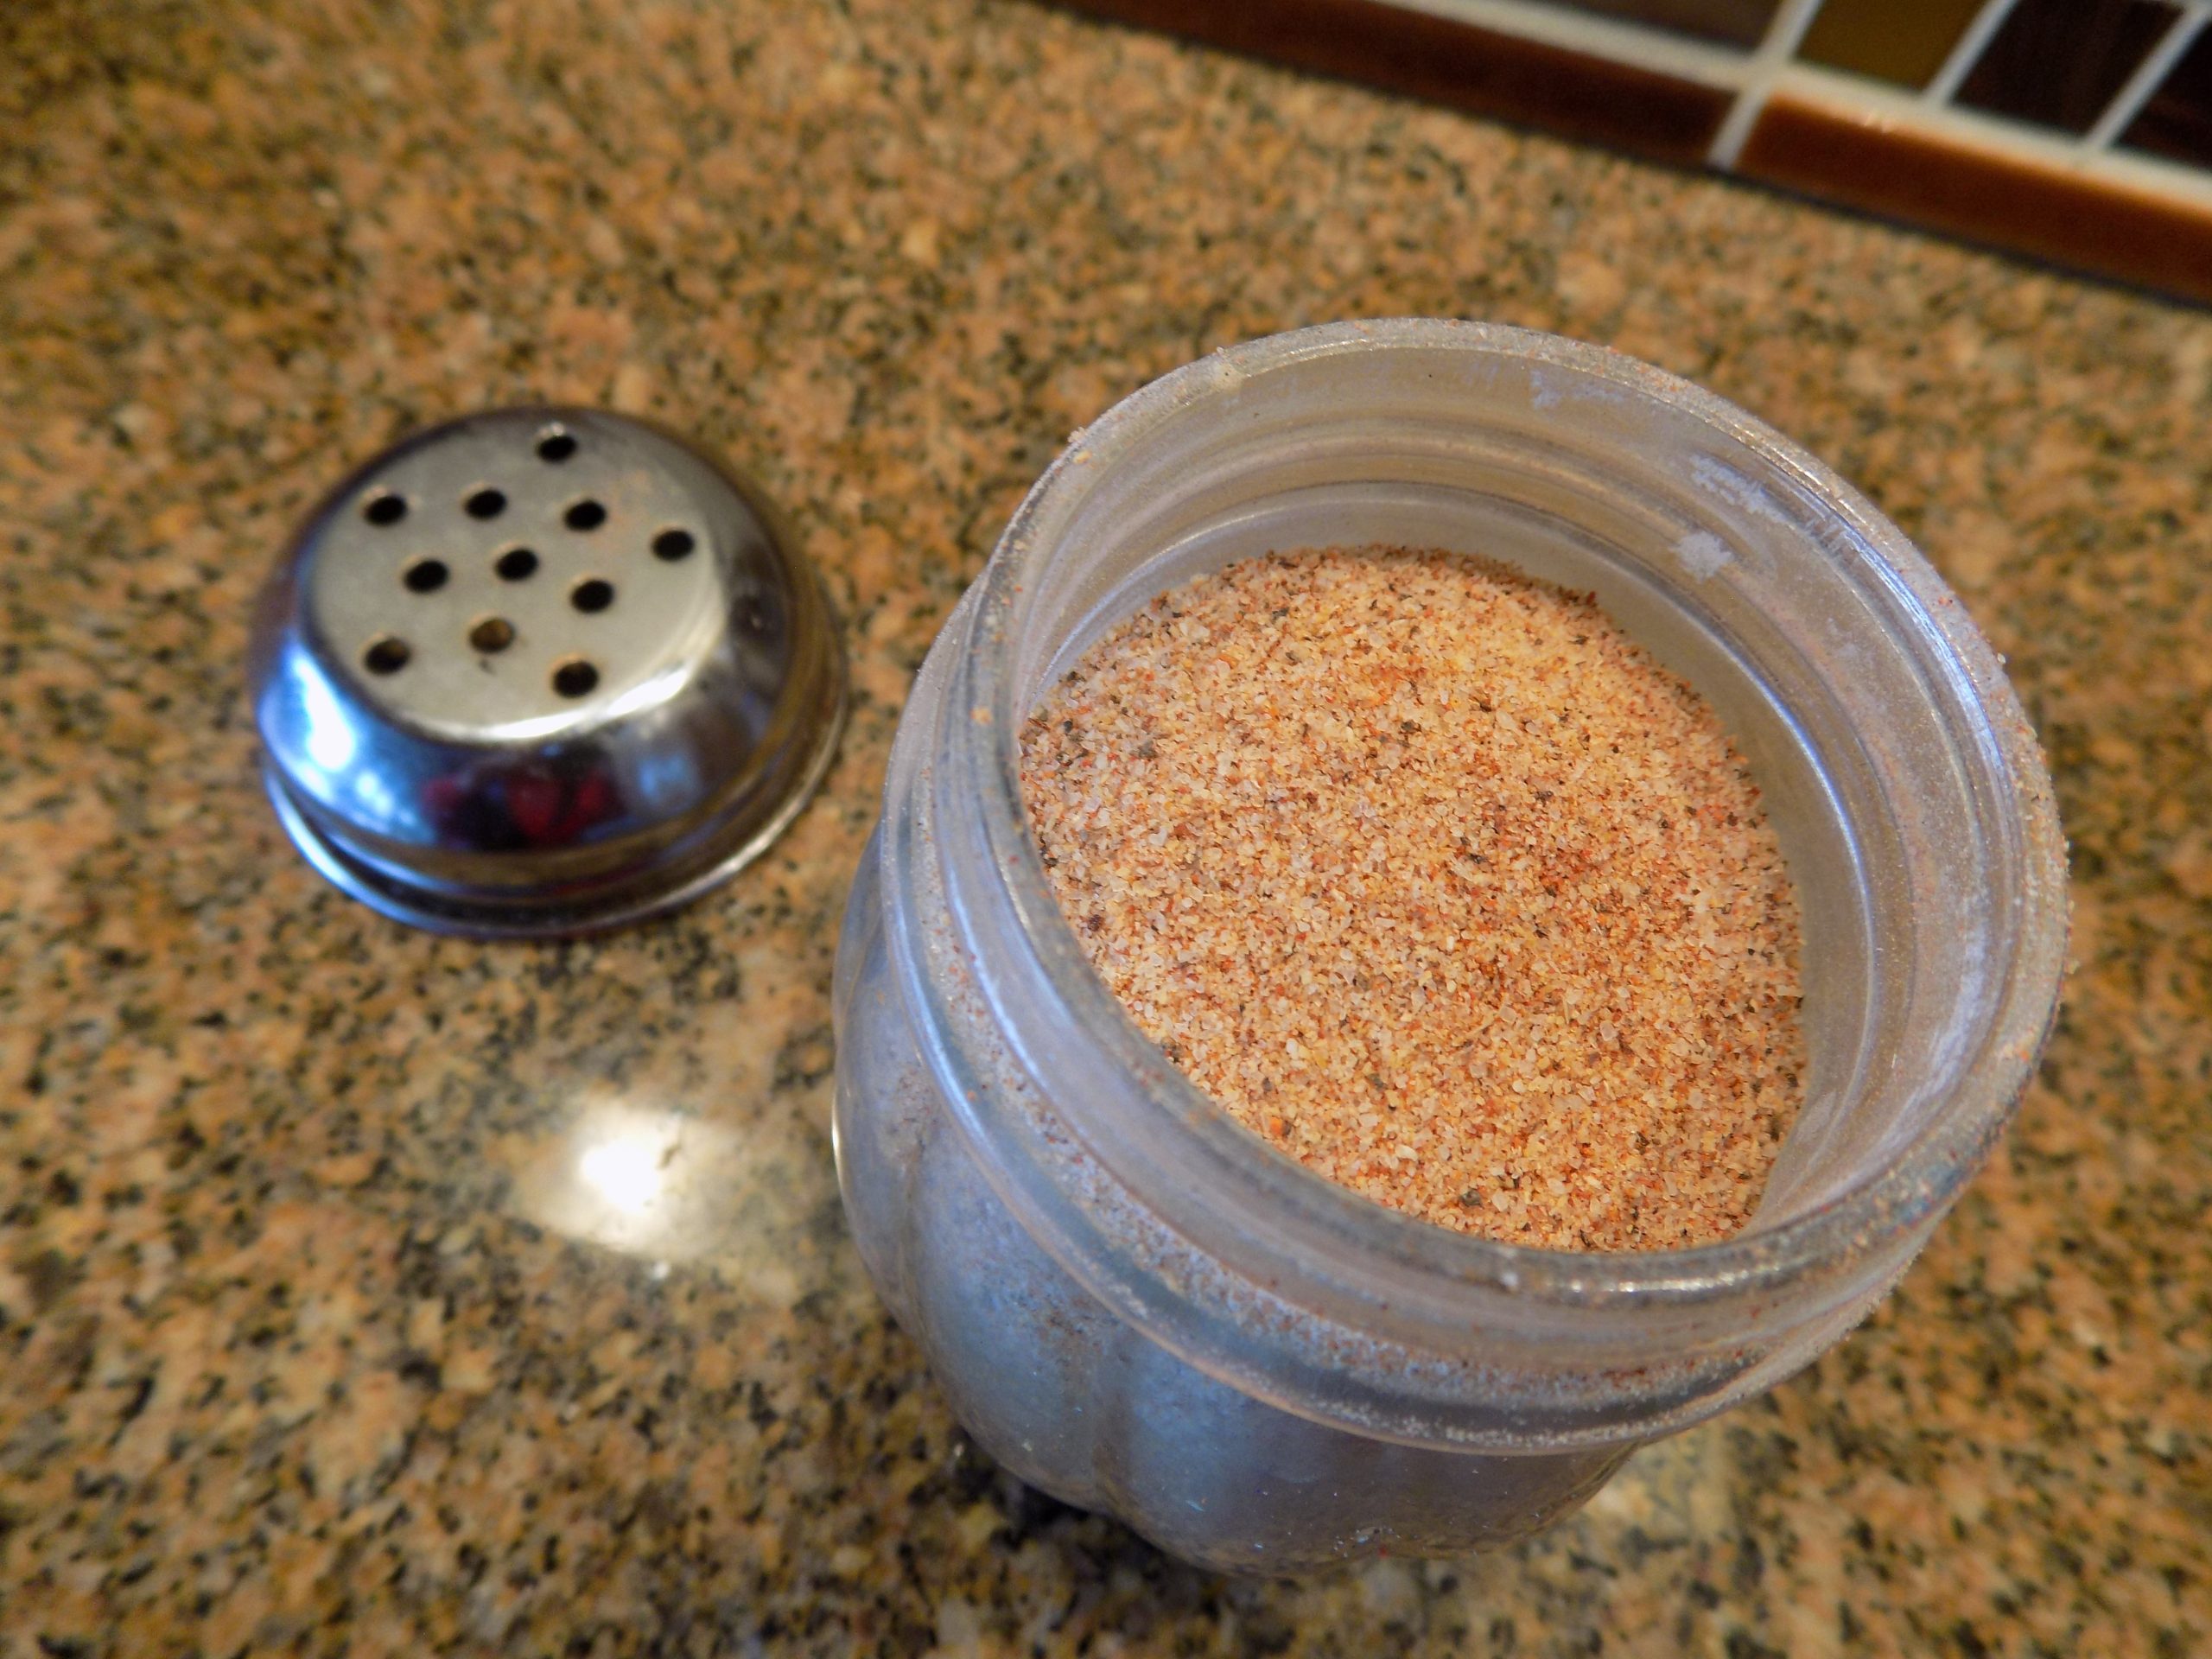
1 c. fine sea salt
3 T. finely ground black pepper
3 T. paprika
3 T. granulated garlic
3 T. granulated onion
2 tsp. celery salt
1 tsp. chili powder
¼ tsp. cayenne
Whisk or shake altogether and store in an airtight container. Use wherever seasoned salt is necessary to your very survival.