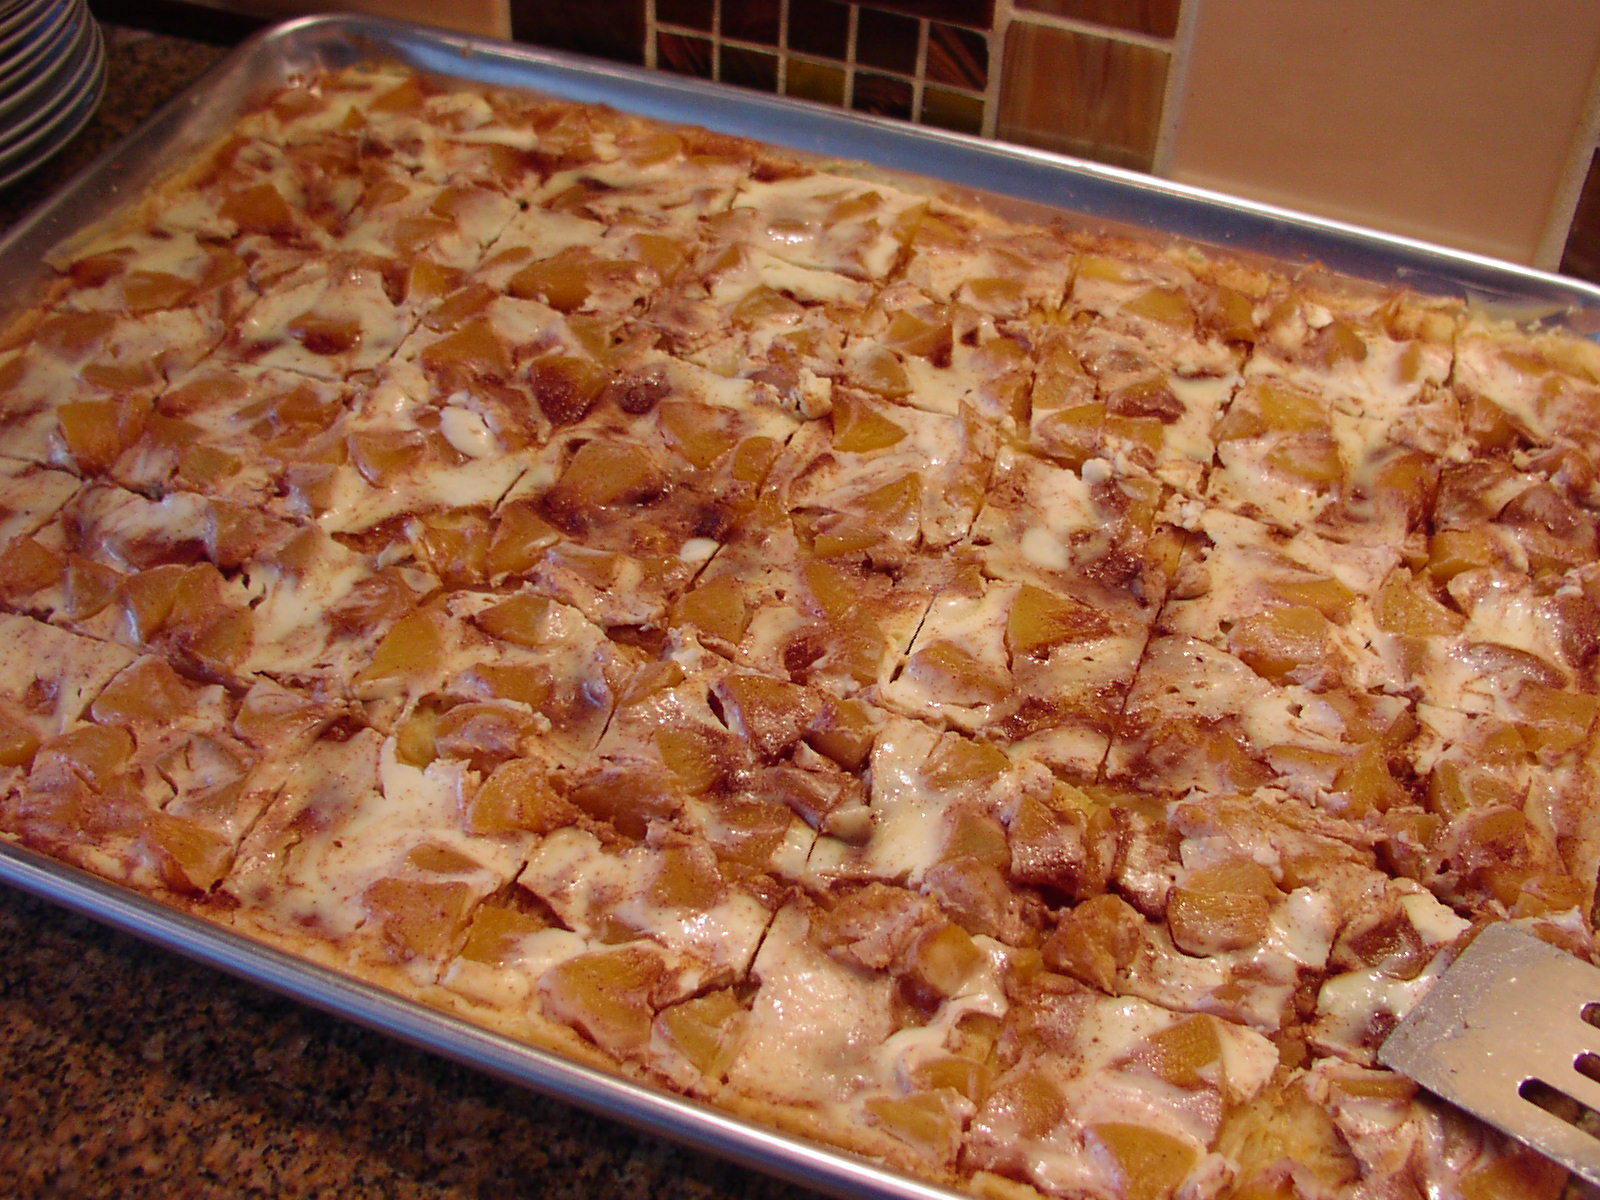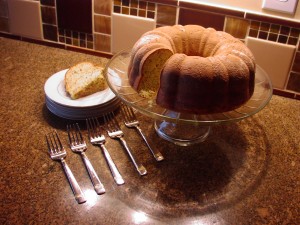
This is probably the best and easiest apple cake recipe imaginable. I received the basic bones of this recipe from my dear friend Linda’s mother Rhoda. Rhoda told me the cake was OK served the same day but was absolutely sensational after it had been frozen. I sometimes bake wedding cakes for relatives and friends and always freeze them until the day they are to be served. But until Rhoda told me about freezing this particular cake, I hadn’t really thought about why some cakes are actually moister after having been frozen. Since vegetables and fruit are built of cells containing cytoplasm (the clear liquid that fills the cells), when frozen, water expansion causes the cell membranes to rupture. This creates a distinctly different texture. In essence, plant cells lose any remaining crispness that may have remained after having been exposed to heat during the baking process. (I’m no chemist, so this is a very rudimentary, and hopefully accurate explanation.) Bottom line: I would never dream of serving any cake containing fruit or veggie matter without first letting it spend a bit of quality time in my freezer. Same goes for quick breads such as Banana or Zucchini. The difference is simply that remarkable.
Please note: There are two recipes for cream cheese frosting below
Cake:
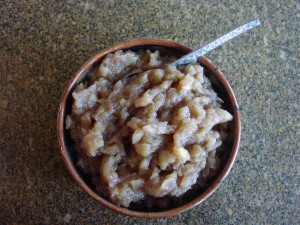
- 4 c. grated apples
- 1 c. granulated sugar
- 1 c. packed brown sugar
- ½ c. vegetable oil
- 1 c. chopped nuts
- 2 eggs, beaten
- 2 tsp. vanilla
- 2 c. flour
- 2 tsp. cinnamon
- 2 tsp. soda
- 1 tsp. salt
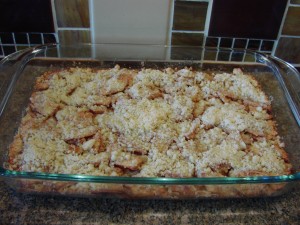
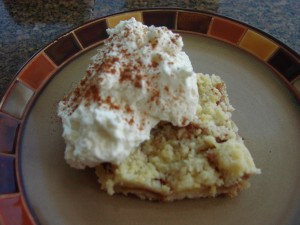
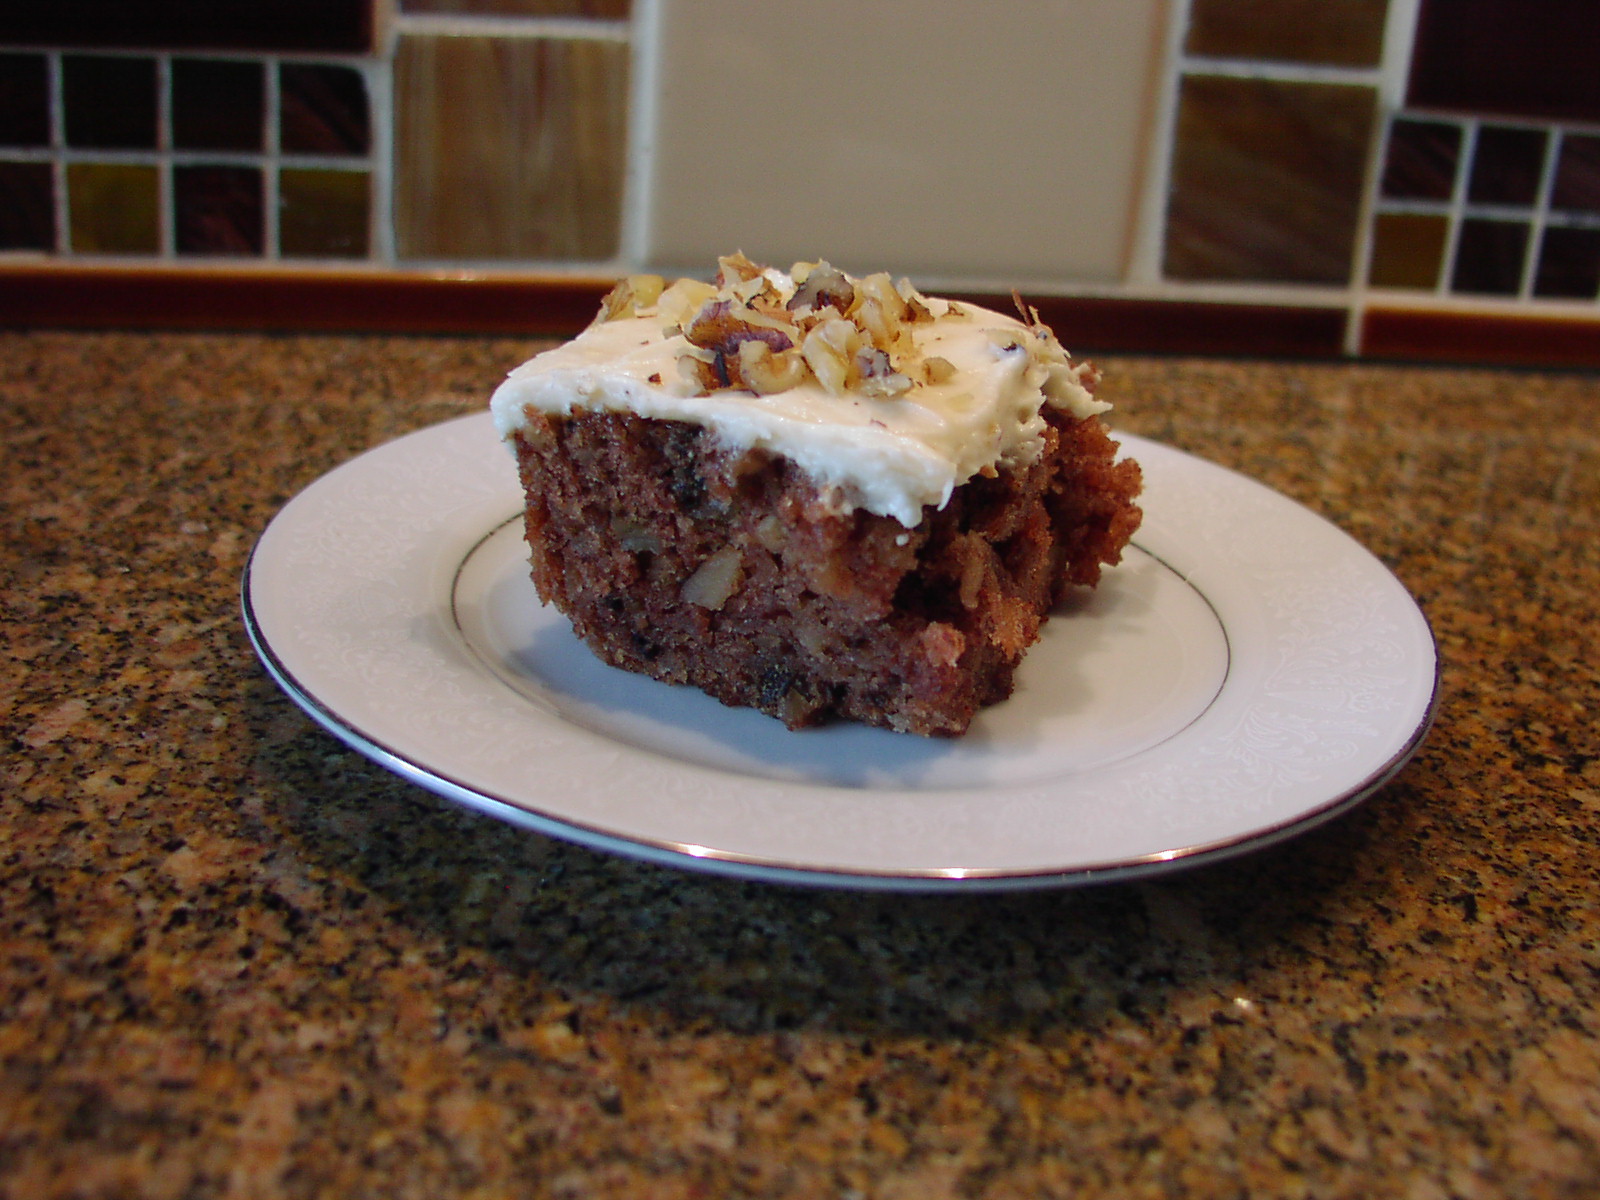
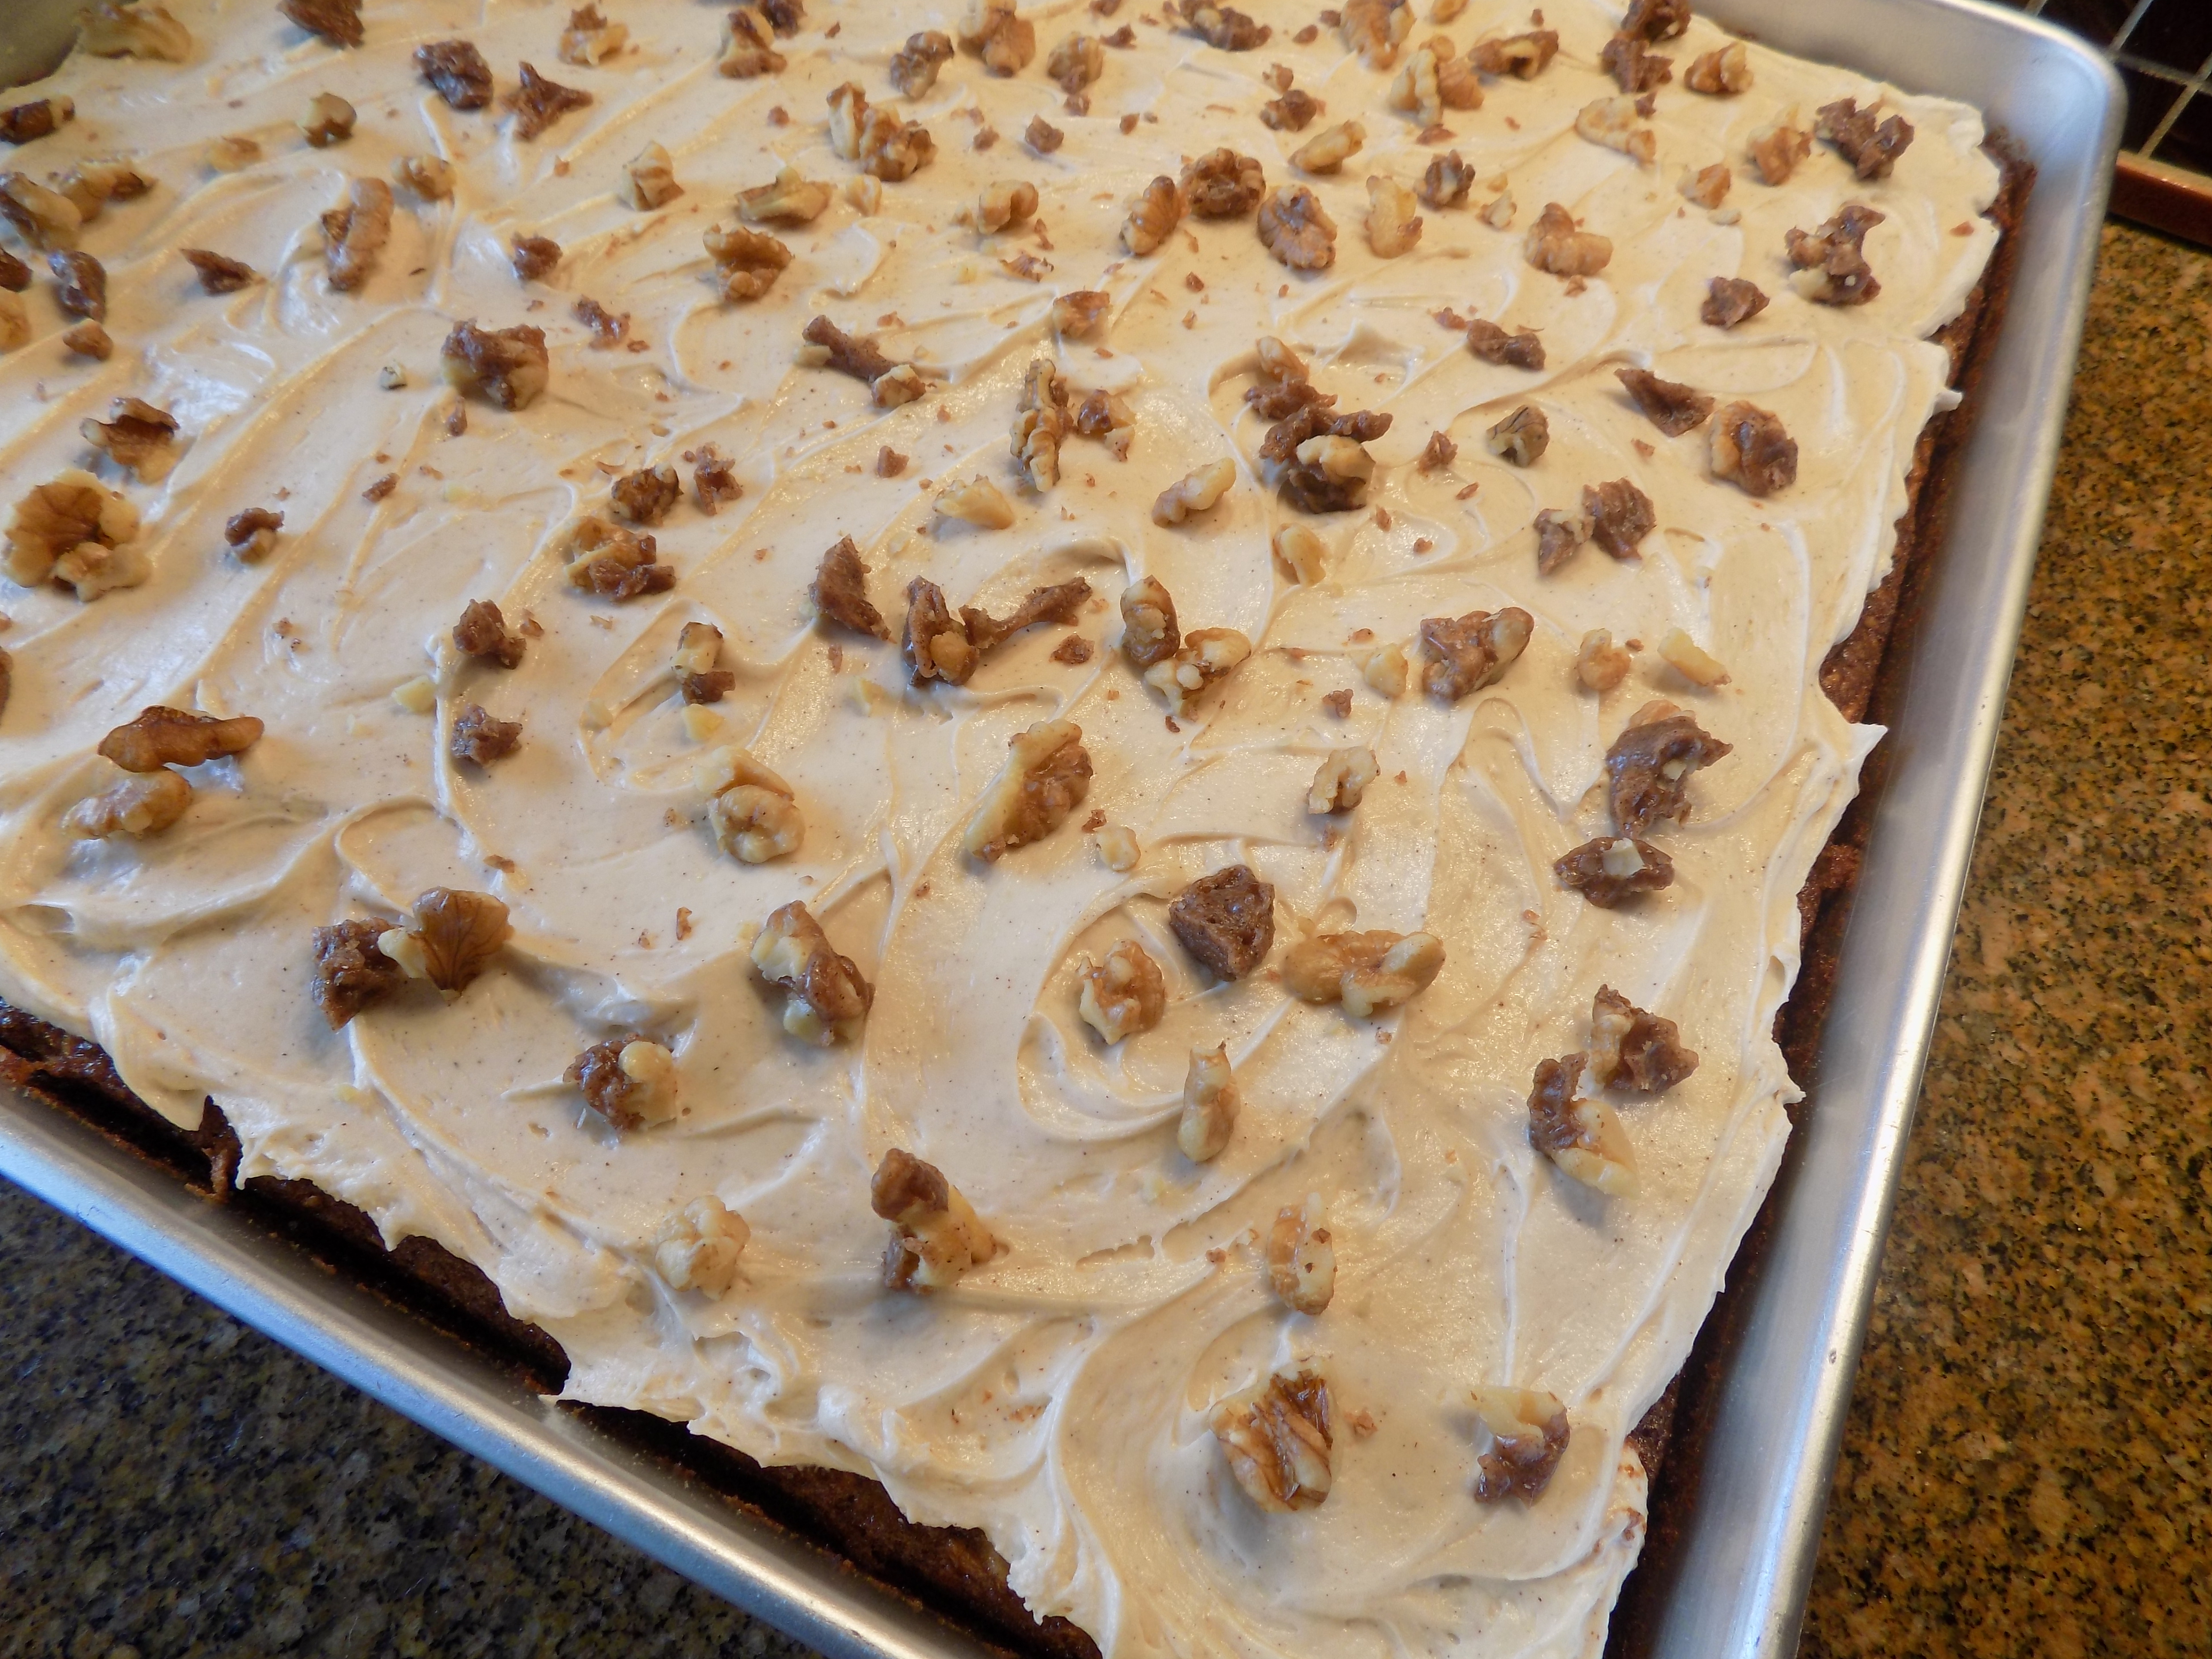
Combine apples, sugars, oil, nuts, eggs, and vanilla in a large bowl. Whisk together the flour cinnamon, soda, and salt. Add to apple mixture. Pour into a greased and floured 9 X 13-inch pan. (A glass pan is best.) Bake in a pre-heated 325 degree oven (for glass) or 350 degree oven (for metal) for 40-45 minutes or until a tooth pick inserted into middle of cake comes out clean. Cool completely, cover with plastic wrap or aluminum foil and freeze for at least 2 days. Defrost and spread with frosting. *Decorate with chopped nuts. Serve at room temperature.
*I always decorate a cake with nuts if there are nuts in the cake itself. You never know when someone might be allergic. So if there are nuts on top, no one has to wonder. Many people don’t like to cause a fuss, and having nuts so in evidence, nothing has to be said to the hostess except no thank you!
Regular Cream Cheese Frosting:
- ½ c. butter, room temperature
- 8-oz. cream cheese, room temperature
- 1 tsp. vanilla
- 1 lb. powdered sugar
- ½ c. chopped nuts, decoration
Cream butter and cream cheese together until well blended. Add vanilla and enough powdered sugar to make a firm but not too stiff consistency. Beat until smooth and easy to spread.
Spiced and Spiked Cream Cheese Frosting:
- ½ c. (1 stick) unsalted butter, room temperature
- 1 (8-oz.) pkg. cream cheese, room temperature
- pinch salt
- 2 T. brown sugar
- ¼ tsp. ground cinnamon
- ½ tsp. vanilla
- 1½ T. liqueur – Calvados (apple flavored brandy) or regular brandy
- 1 lb. powdered sugar, more or less
Beat the butter, cream cheese, salt, and brown sugar together until creamy. Mix in the cinnamon, vanilla, and Calvados. Add powdered sugar until you reach your desired consistency.